Looks awesome.
If you get the LED blink right it's gonna look exactly like these ones I saw in Vegas. How cool.


Looks awesome.
If you get the LED blink right it's gonna look exactly like these ones I saw in Vegas. How cool.
It could be worse, you could work at Starbucks...
Like me...

Truely amazing project you have going on here. Incredible design sketches. +²Rep
I have subscribed to your project, and plan on watching it take shape.

wow this is gunna be sweet... i believe i may be repping you soon....
Originally Posted by Drum Thumper


thank you everyone !
It is a lot of work, but I surely think it will be very sweet when I get the LEDs installed and the cogs spinning in water

that's a friggin sick design, man. i don't think there has been a total build like this since Doom2. your attention to detail is quite impressive. hope you can pull it off. you got the skillz... just need the stamina. too much detail for me to even fathom.
+rep
Every passing hour brings the Solar System forty-three thousand miles closer to Globular Cluster M13 in Hercules and still there are some misfits who insist that there is no such thing as progress.
Kurt Vonnegut - Sirens of Titan
yeah man the stamina is all that you need and skill helps to.
you have both so far so good luck
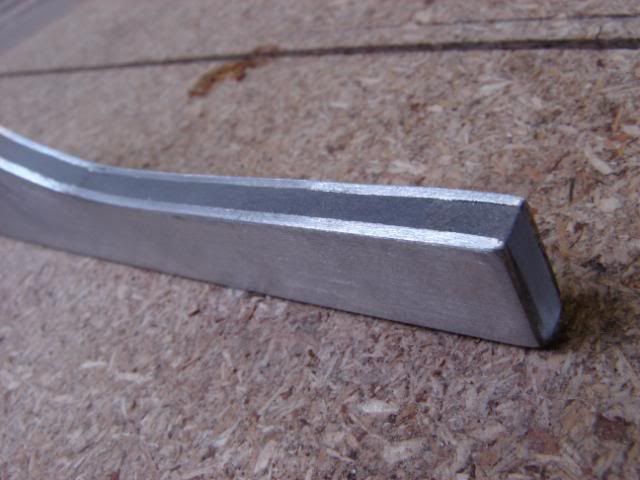
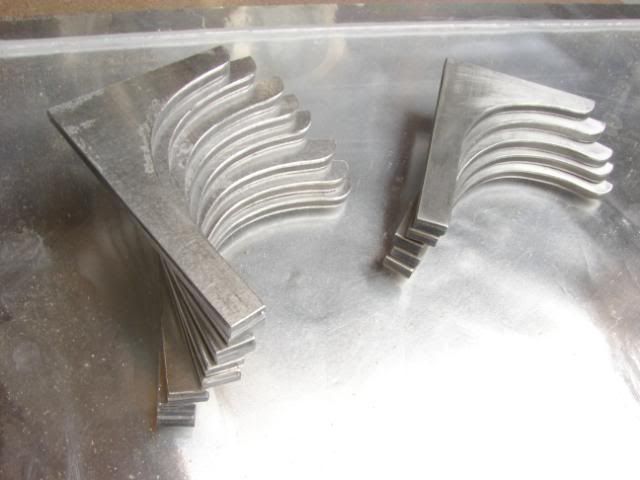
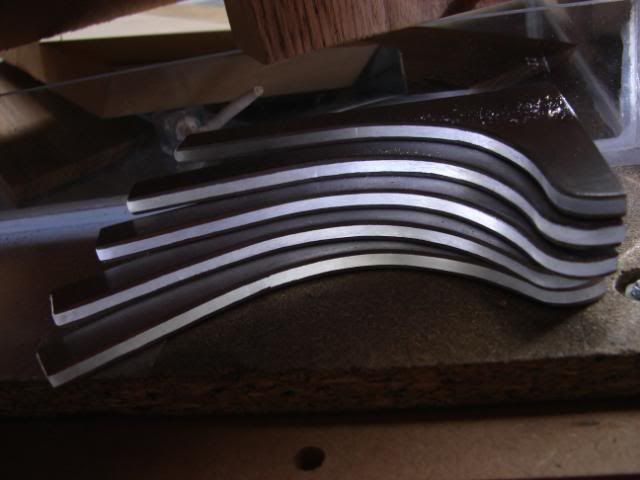
Struts … soon I’ll hate them ;p
There is just very much work on them, but I know it will be worth it !
The sanding
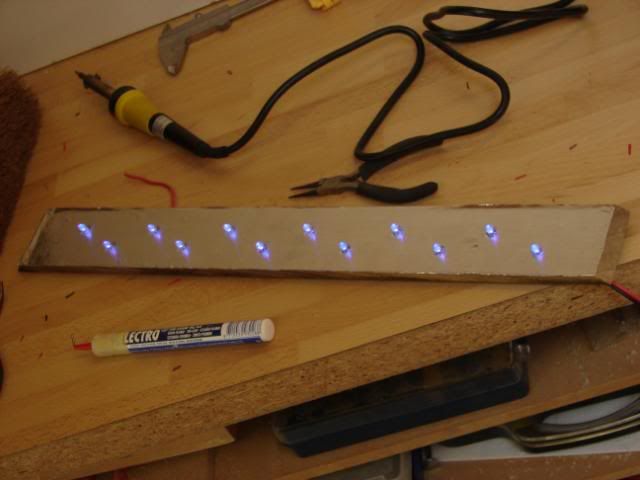
Tested with a LEDlight from my bike
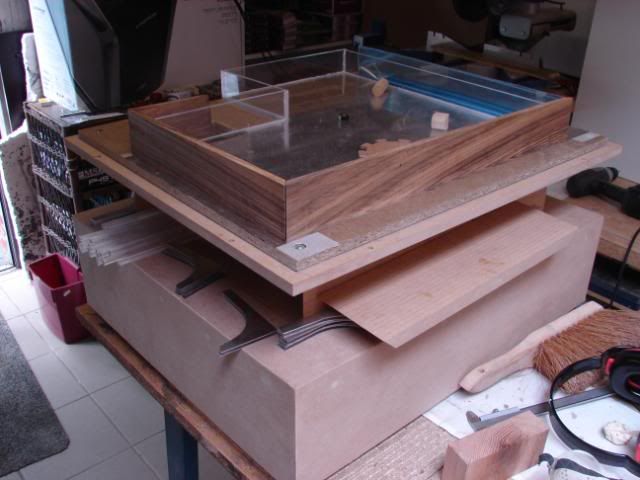
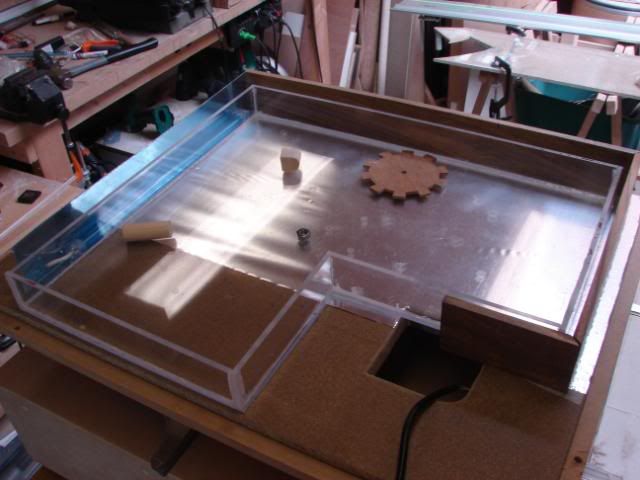
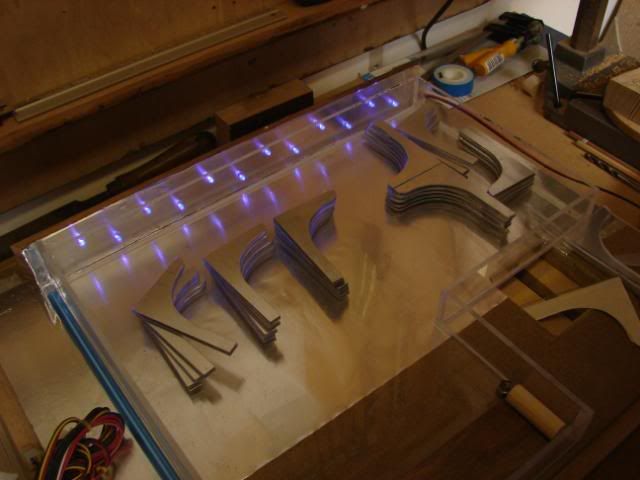
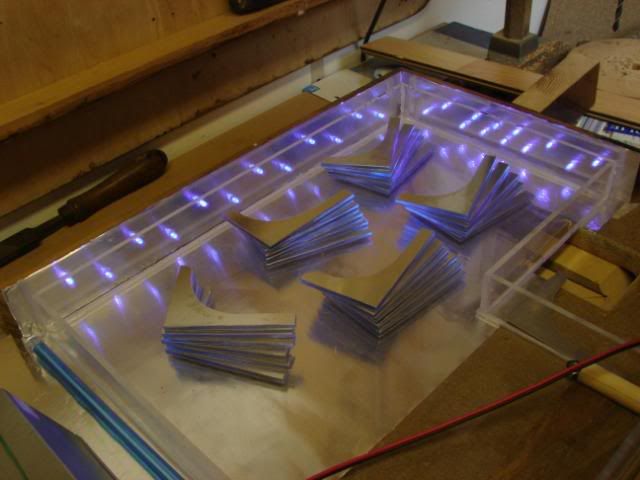
Then I worked a bit more on the reservoir.
There will be cogs inside the reservoir, as you may know … but the cogs/gears need to have some light too.
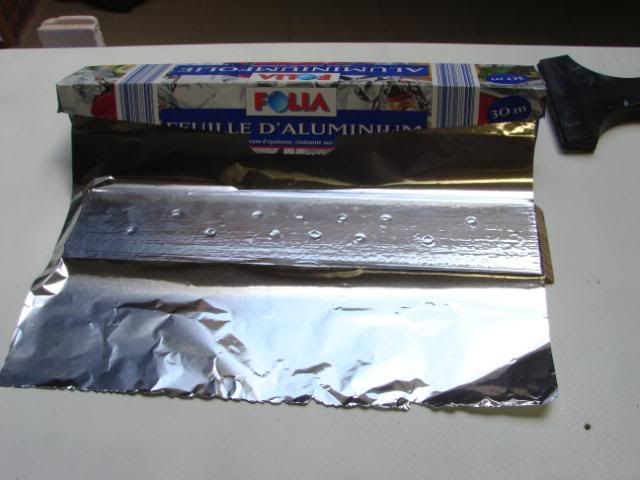
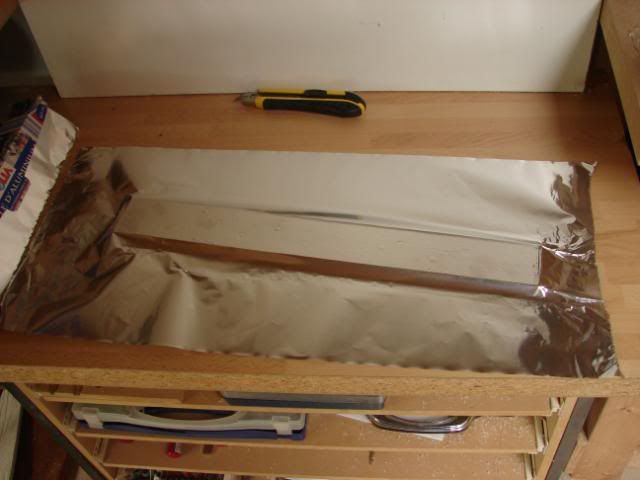
Therefore I’m making a wall around the res, and I’ll use aluminum foil to get some reflection.
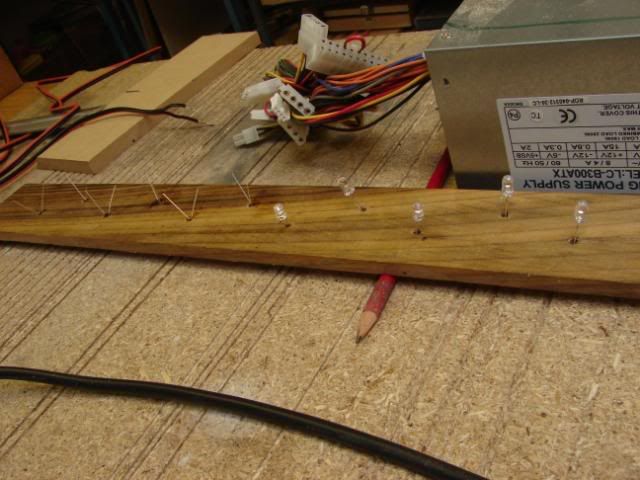
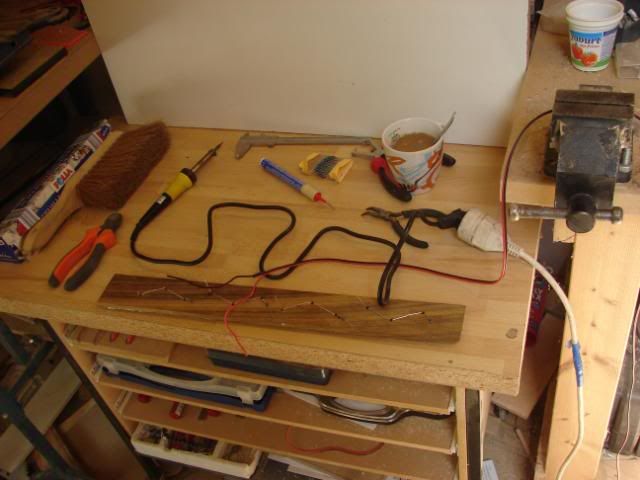
In these wooden walls, I will attach LEDs. But I also use a UV CCFL (now blue)
The LEDs:
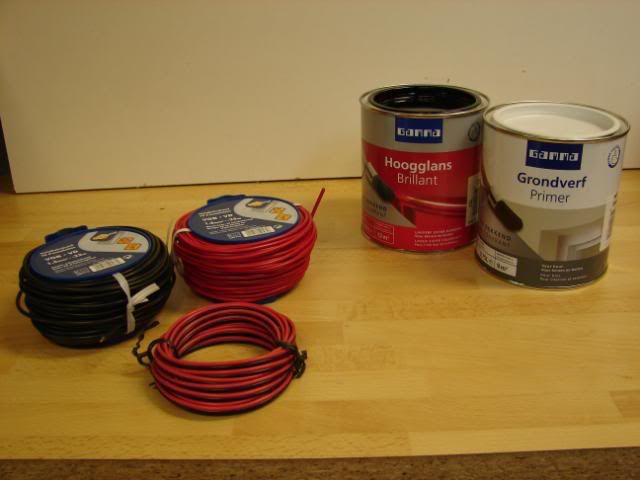
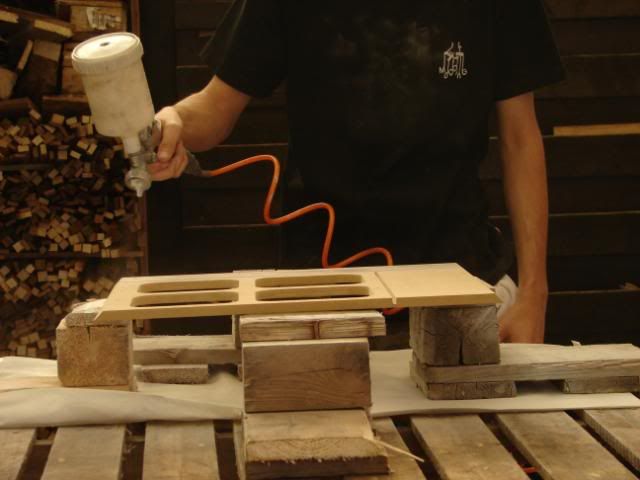
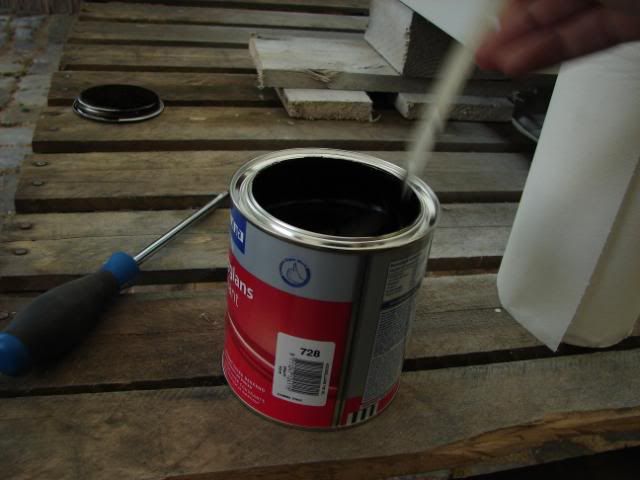
Then, I went to the local hardware store to buy some paint and wires.
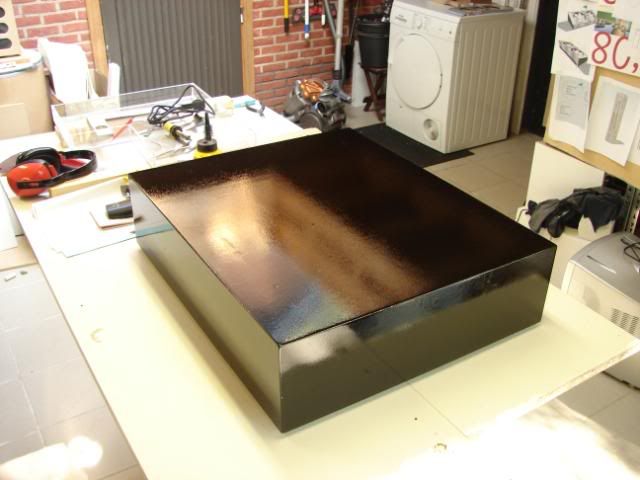
First 2 layers of primer, then highgloss black …using this paint-tool.
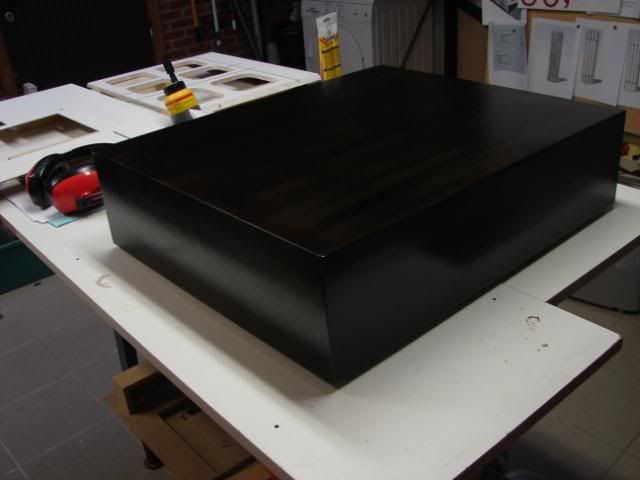
I painted the sidepanels, bottom panel and motherboard panel.
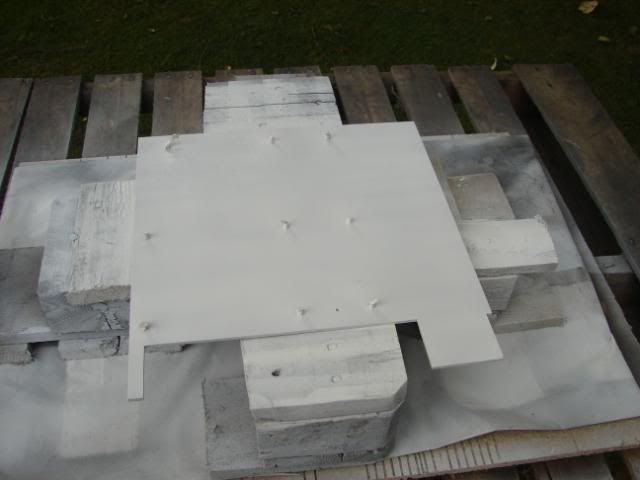
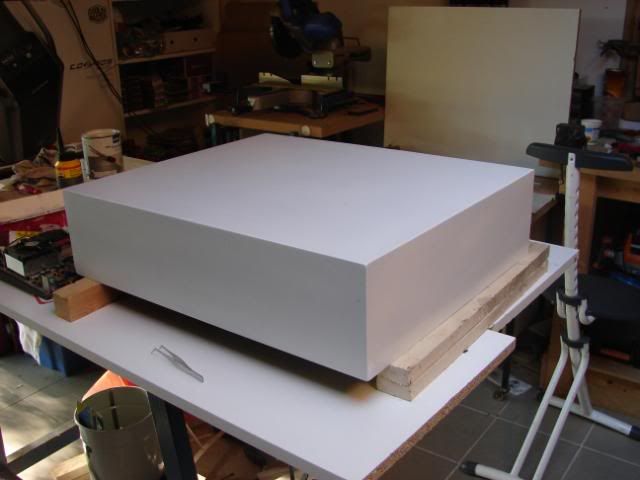
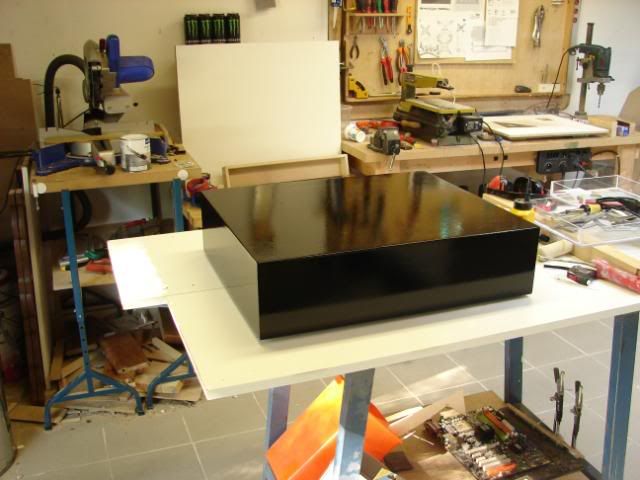
The bottom:
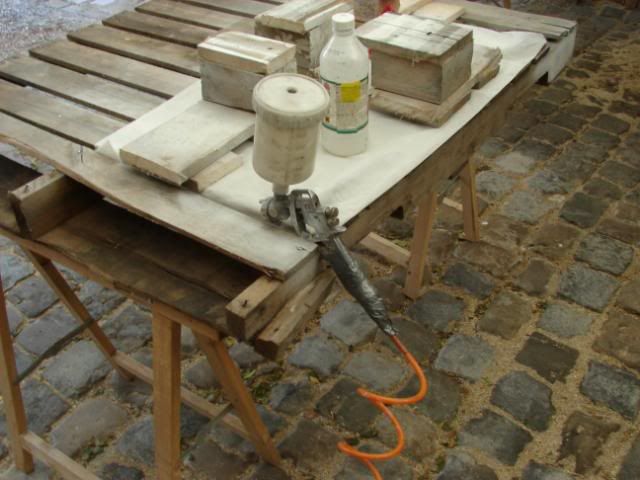
After 3 layers of primer on the bottom block, it’s now time for the first high gloss black layer.
The day after painting this, I sanded and painted the block again.
The result of the block:
The texture is a bit rough … actually this was not my intention, but it is really cool looking. I know how this comes, because the first layer primer wasn’t perfect smooth
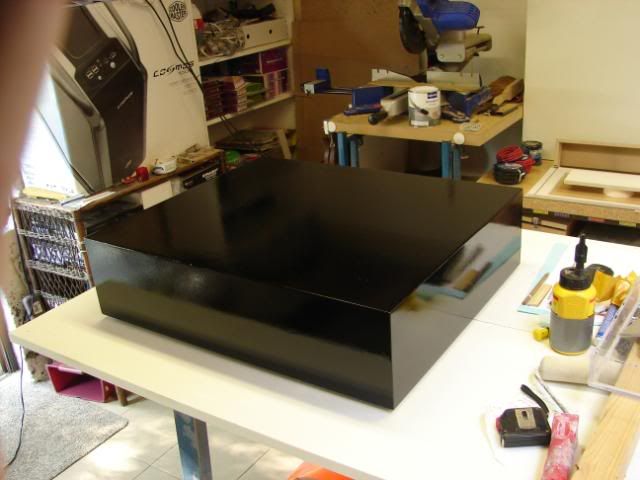
The other panels got a first high gloss paint layer too.
I also made a movie during the paintjob.
Note that it’s my first time painting something like this…. I think it worked out good.
http://www.youtube.com/watch?v=QK2RhKQGs1A
cheers
I love your attention to detail and the painstaking way you go about perfecting your work.
+1
The Cutting edge of modding, is on the end of your Dremmel
nice lots done
EDIT:
http://www.youtube.com/user/tomcat175
the use of rammstien = win..
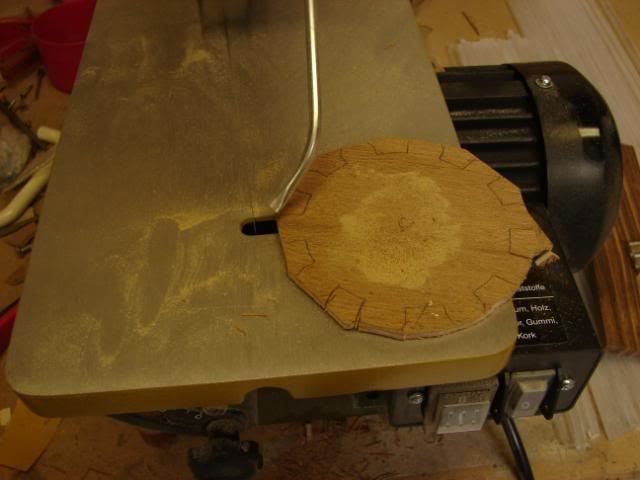
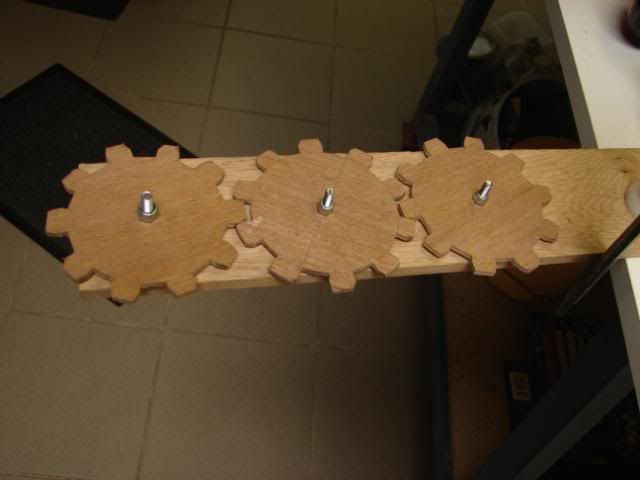
I made some models, and some more testing of the cogs
http://www.youtube.com/watch?v=j33x1uUBw10
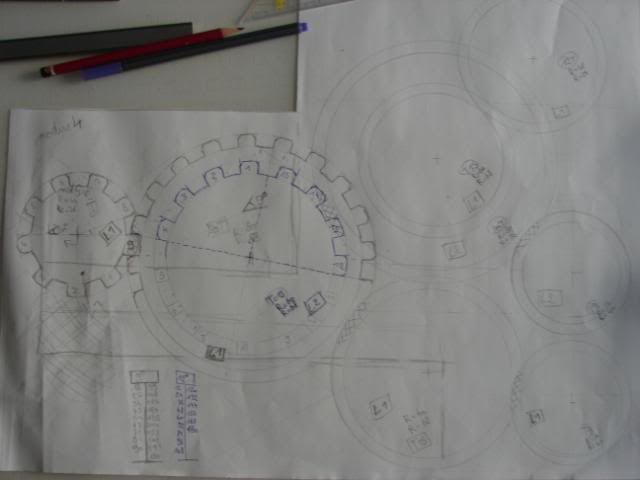
and some more sketchupping
http://www.youtube.com/watch?v=lVvntly7hL8
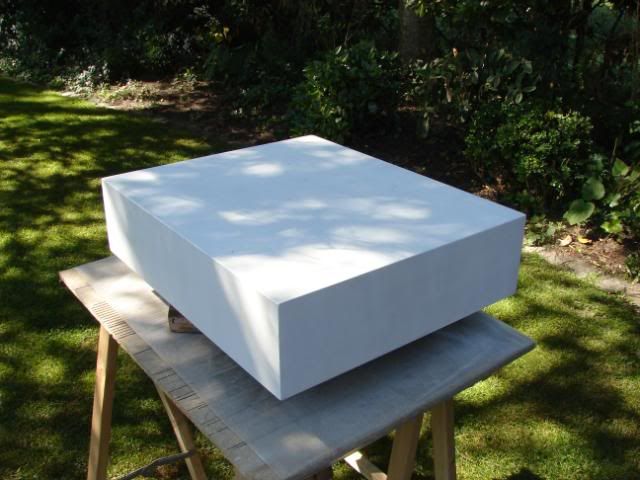
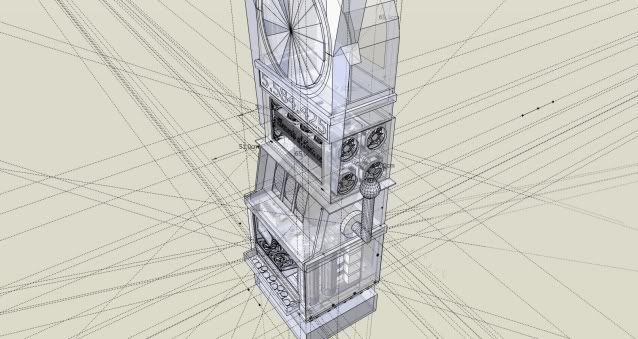
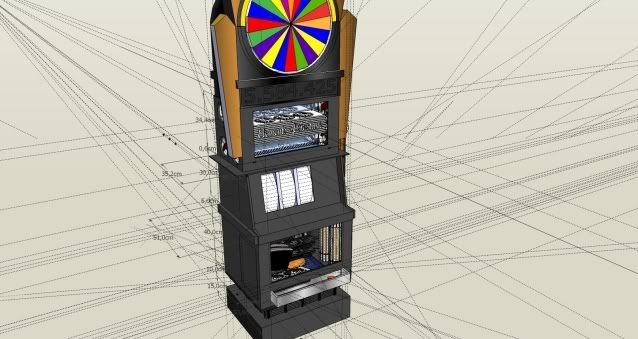
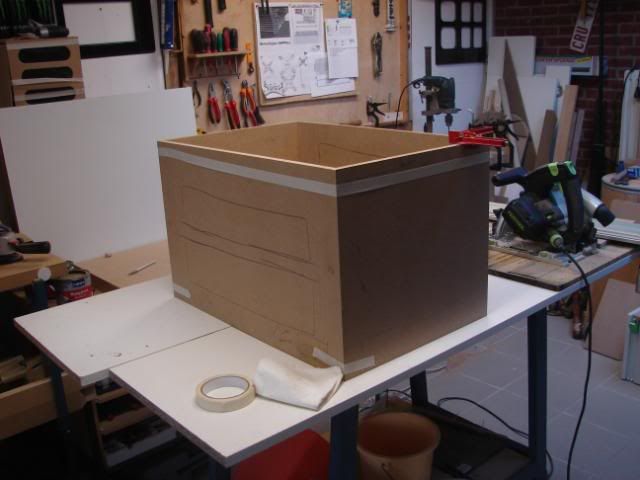
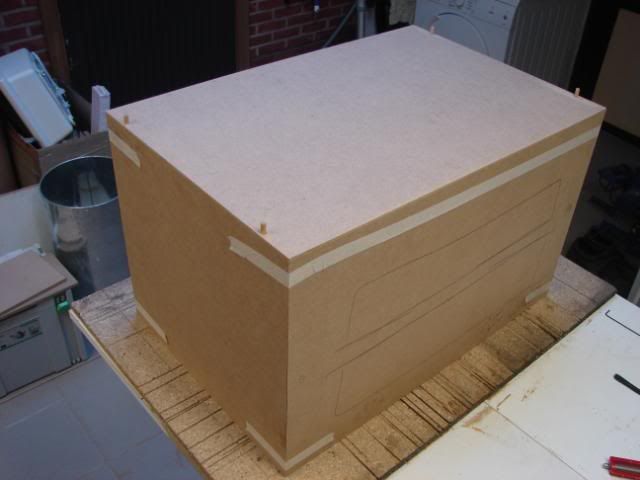
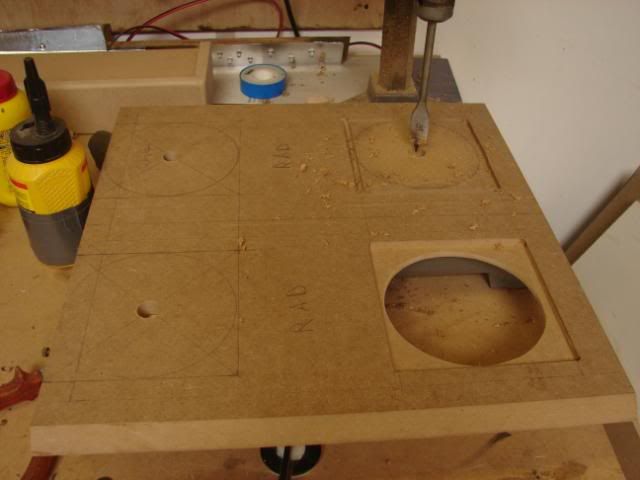
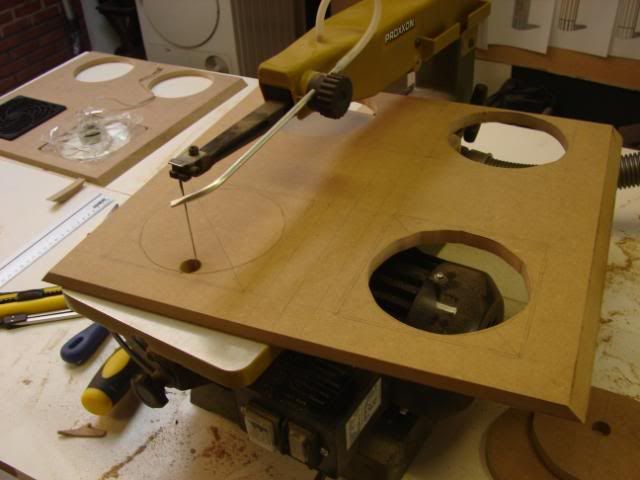
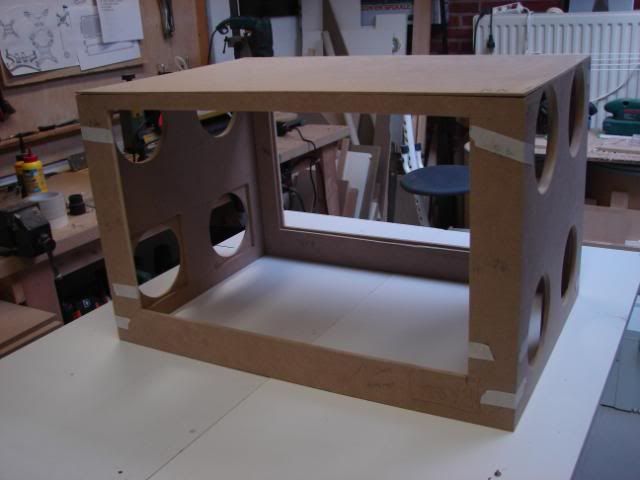
Because I’m out of materials for the cogs and lights, and a lot of people don’t know what I’m making. … I’m going to make an example of the total case.
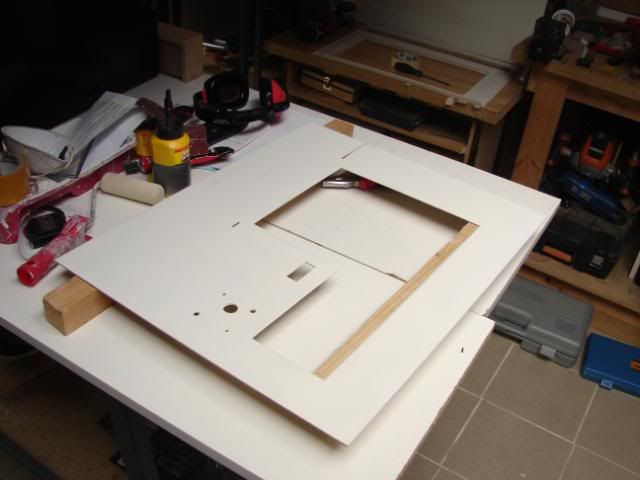
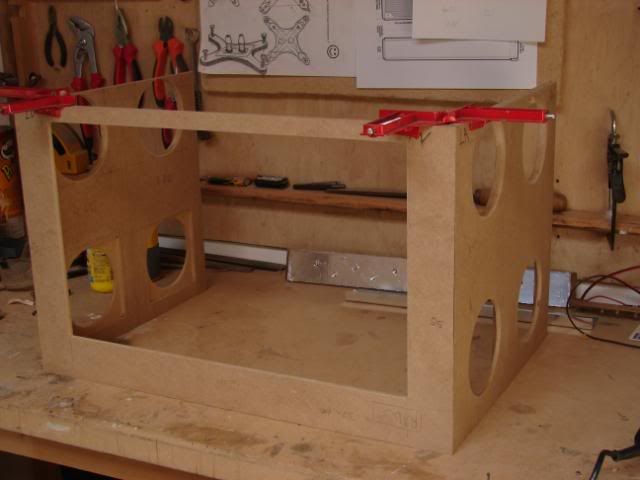
I will begin on the frame (fully MDF wood)
+The top
There won’t be a bottom, because I think I like the fact that you can see the ‘mechanics and cogs from the wheels’.
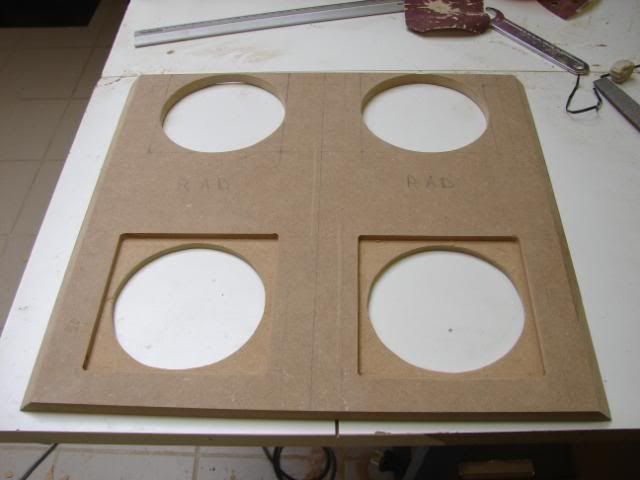
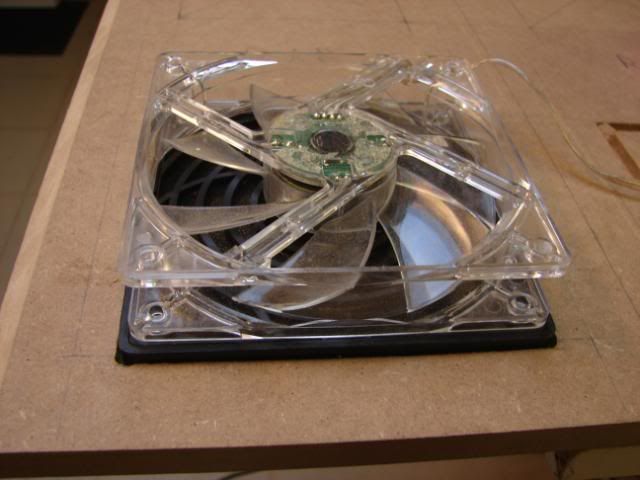
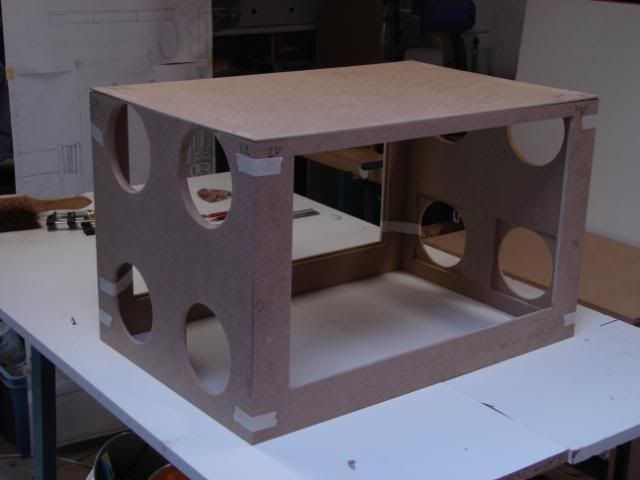
In every side panel there will be 4 FANs. So that makes 8 FANs on both the panels.
+ The FANs on the radiator … that will be 2x 6 (+= 20 FANs
I hope to get noctua fans on a lower voltage (Noctua U.L.N.)
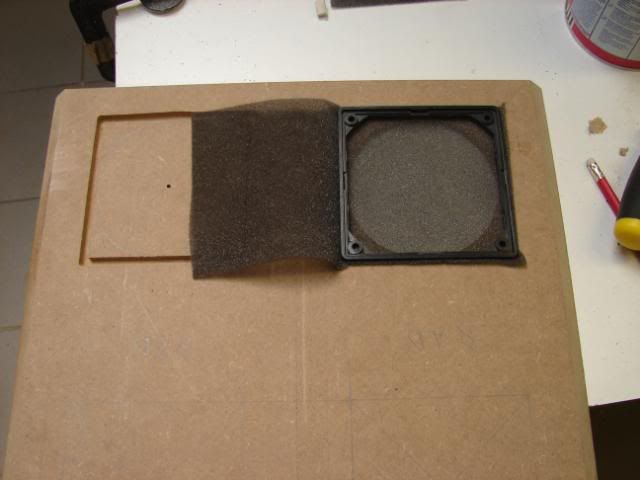
This is … don’t know how to explain in good English :p lol
But It is for the finishing of the dust-filters (intake FANs)
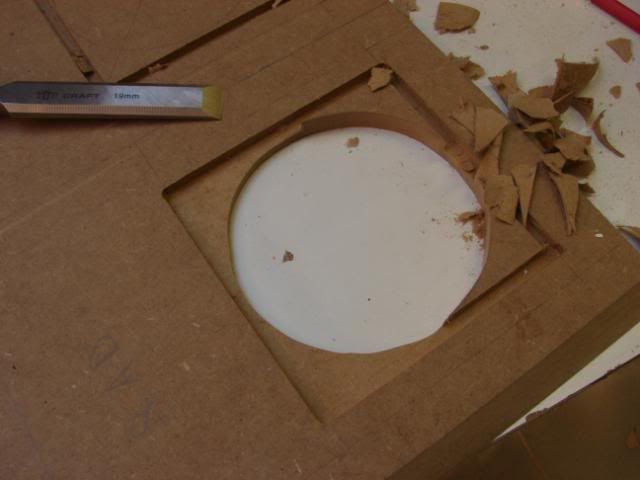
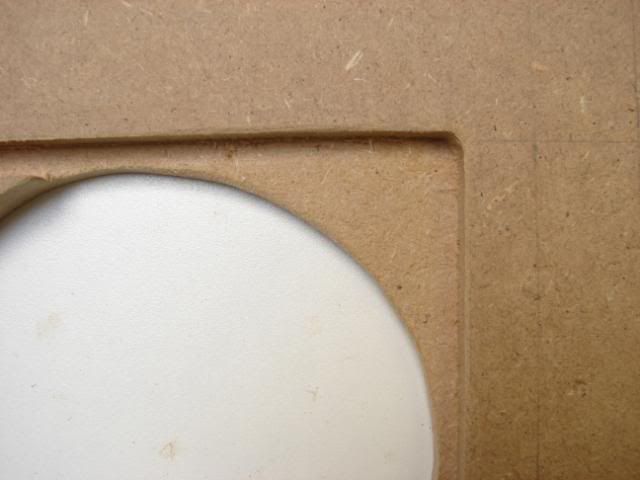
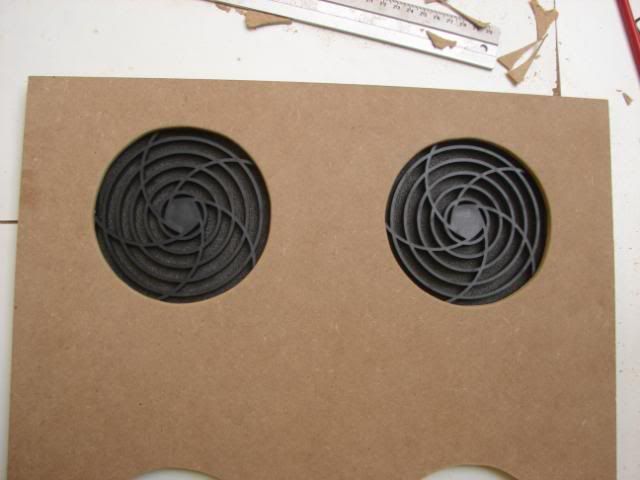
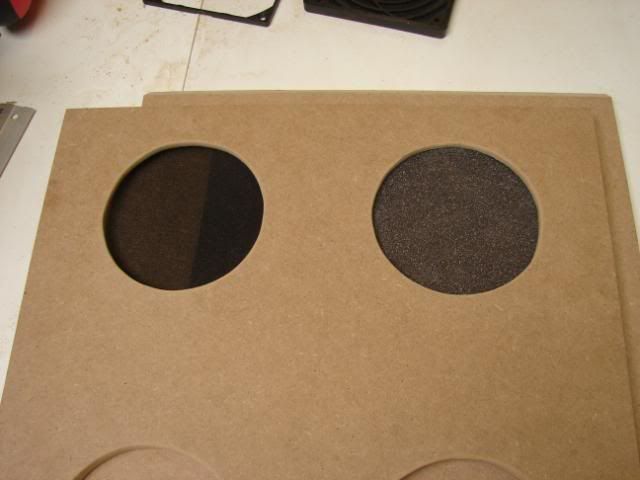
Then I finished the intake holes
Before:
2 finished panels
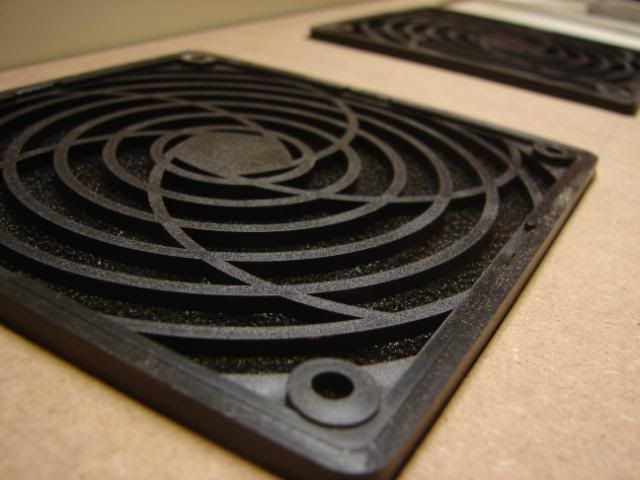
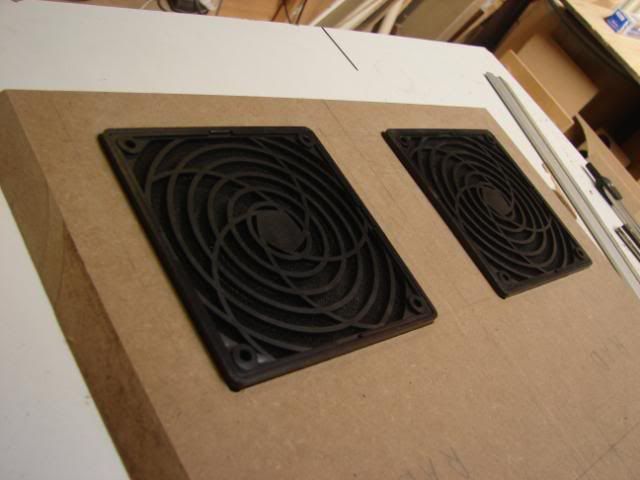
These are the dust-filters I got from a store
But I don’t really like the shape of the grill … hmm
Then I broke them
It’s a cleaner smoother result now, I think
But I’m going to make it better in the future
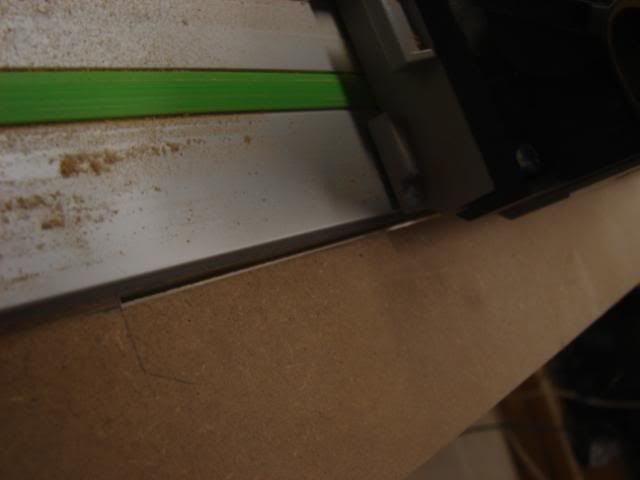
Now back to the frame
Because I’m going to make that first now !!
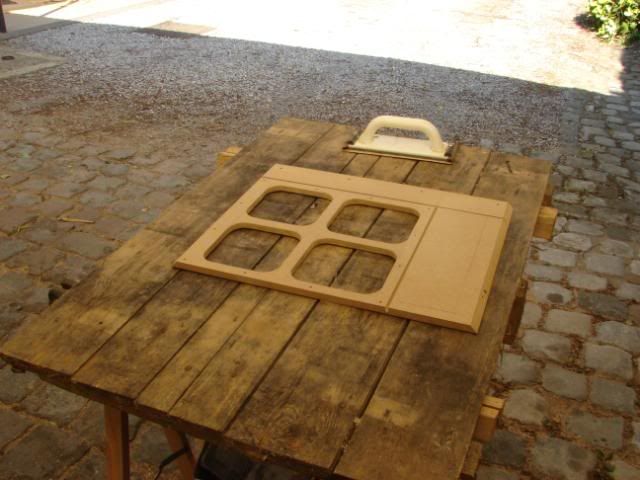
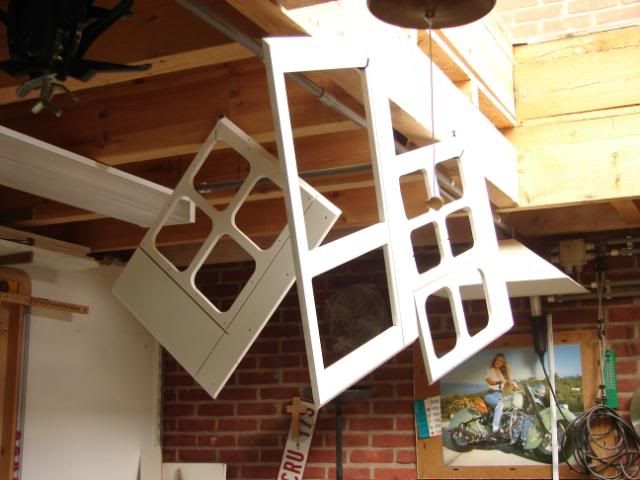
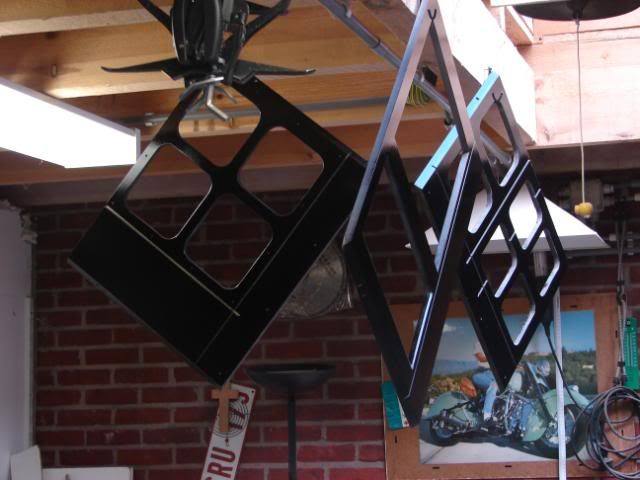
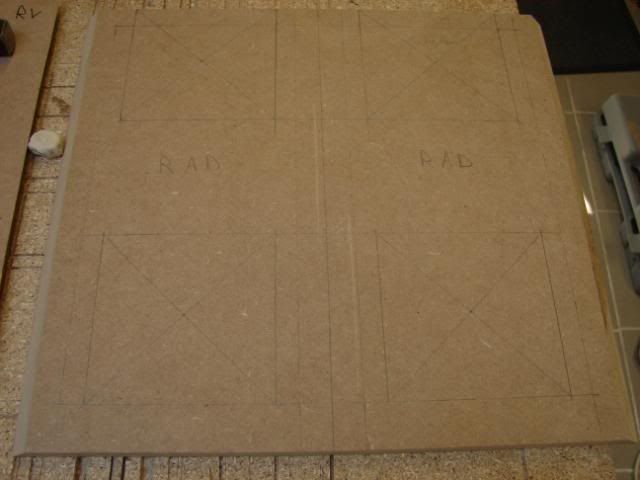
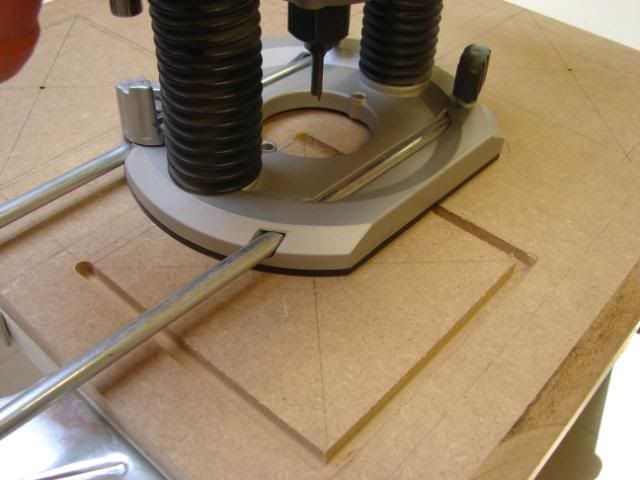
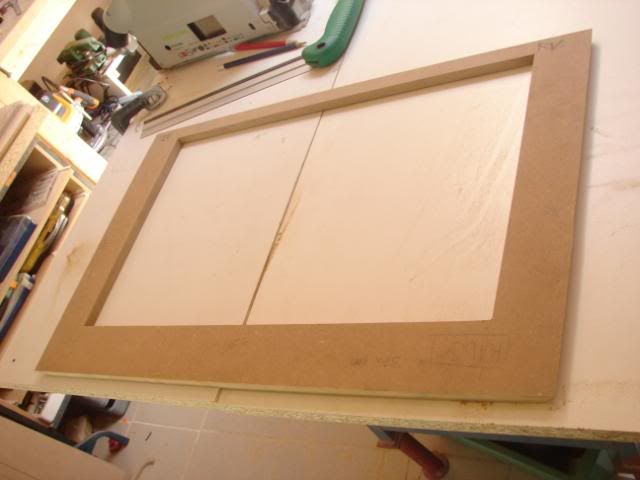
The making of the windows
The total picture for this subject of the total case
Thx for reading/watching
 Posting Permissions

 Reply With Quote