Page 8 of 9 FirstFirst ... 3456789 LastLast
Results 71 to 80 of 83

Thread: Project: Elements of Fortune

  1. #71
    Anodized tomcatt's Avatar
    Join Date
    Feb 2009
    Location
    Belgium
    Posts
    56

    Default Re: Project: Elements of Fortune

    Update time !

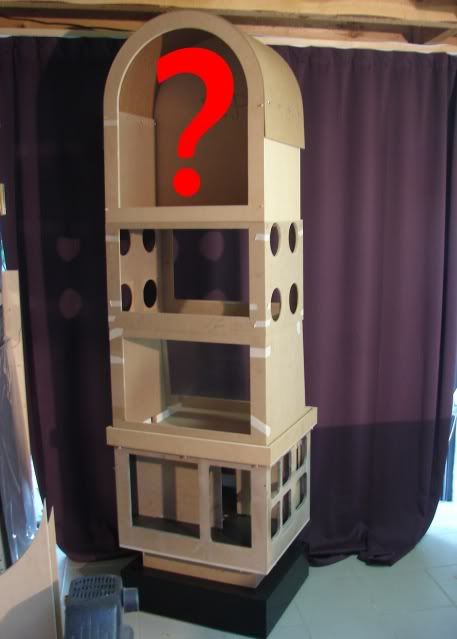
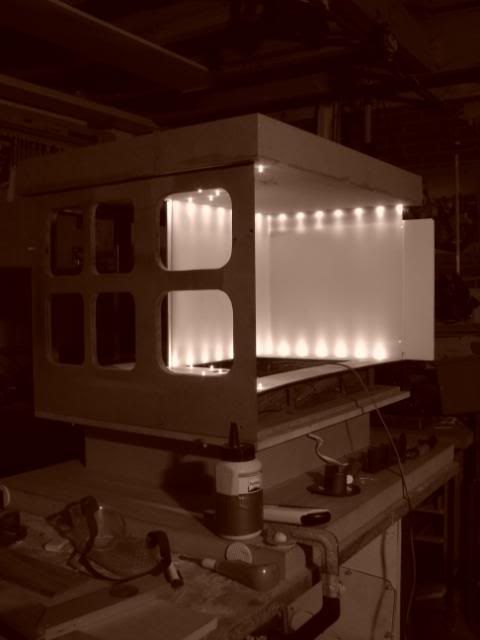
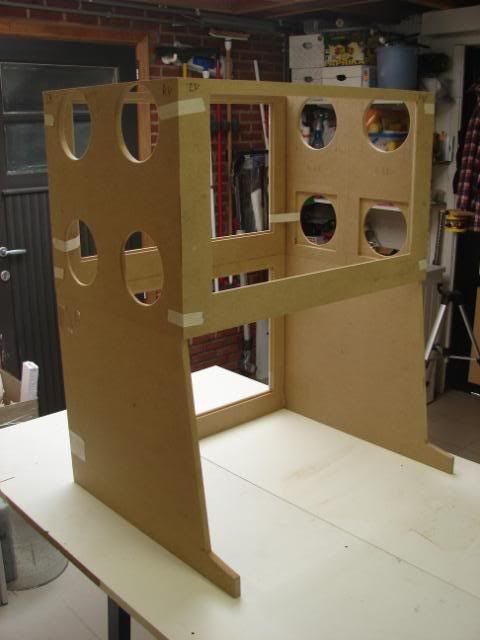
    I already started to begin on the layer where the 3 wheels will be spinning.
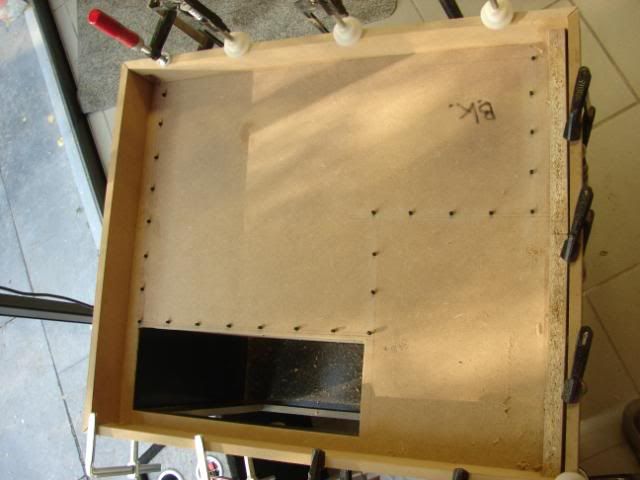
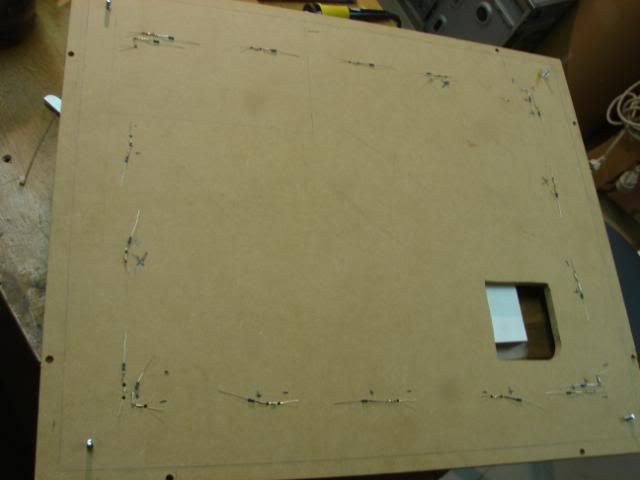
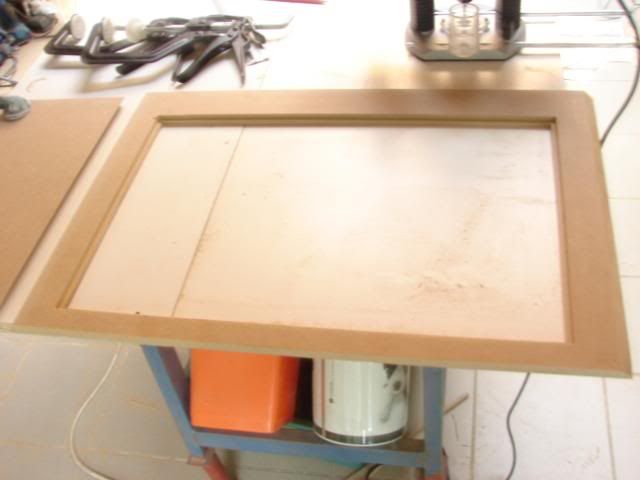
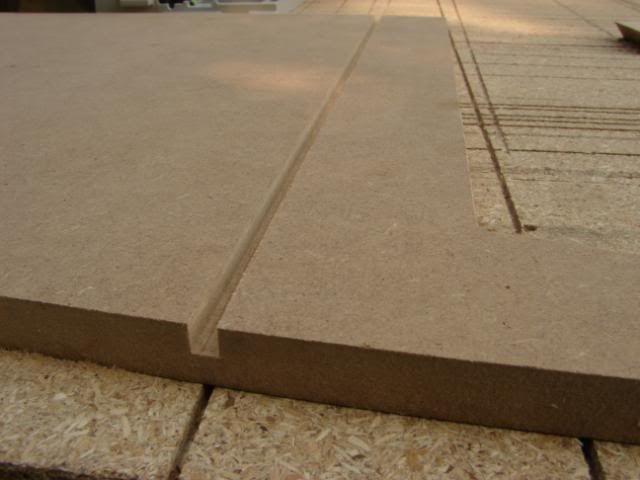
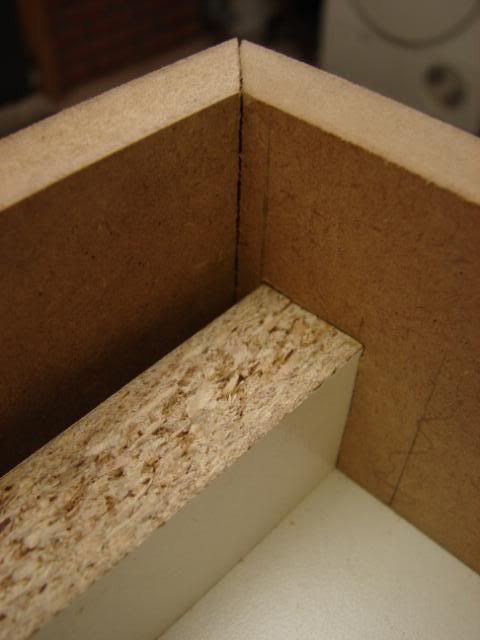
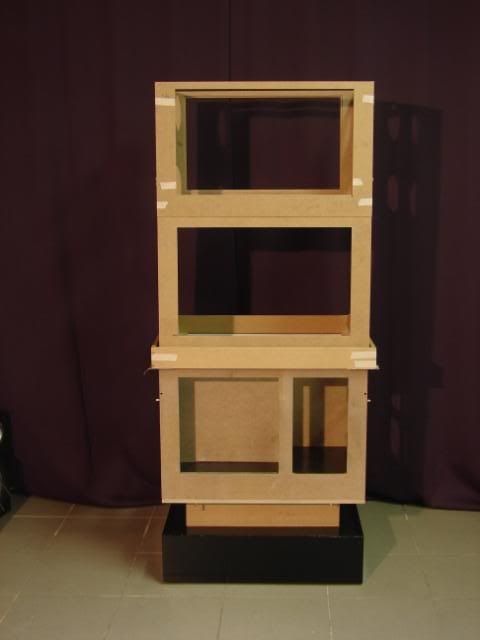
    The back panel is almost the same as the other one.


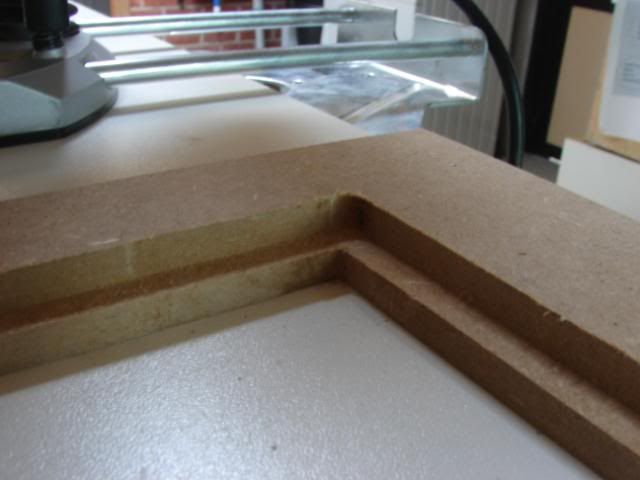
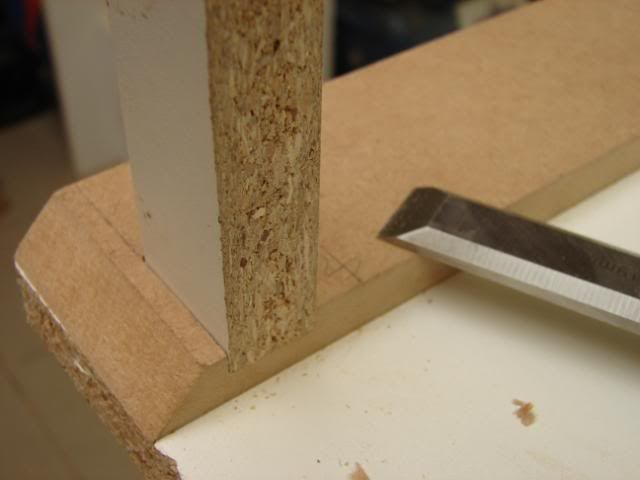
    And of course also a “gap?” where the acrylic will fit in.


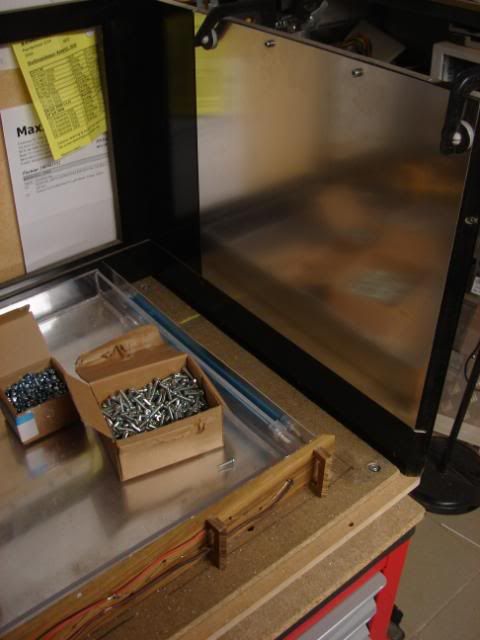
    The side panels are a little different (with different angles and so … )


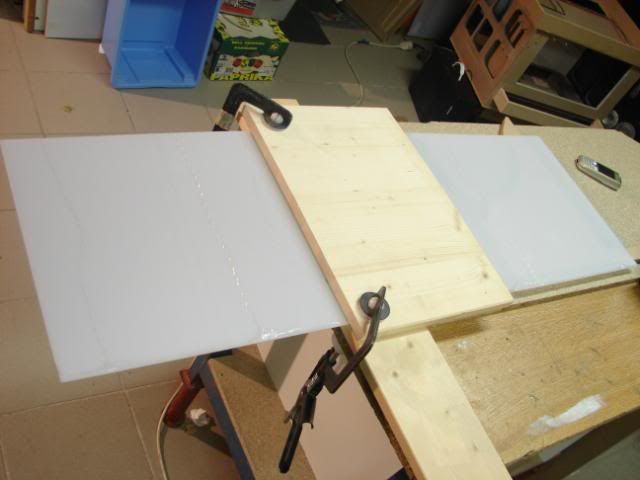
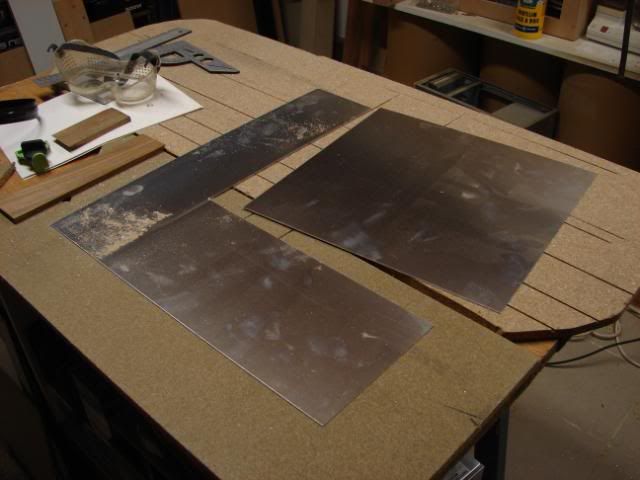
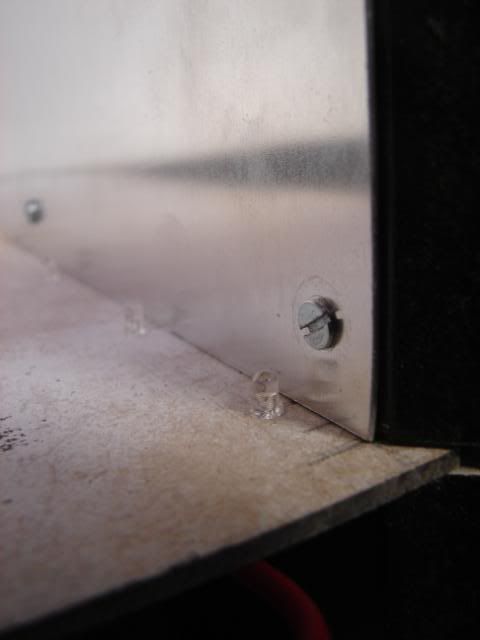
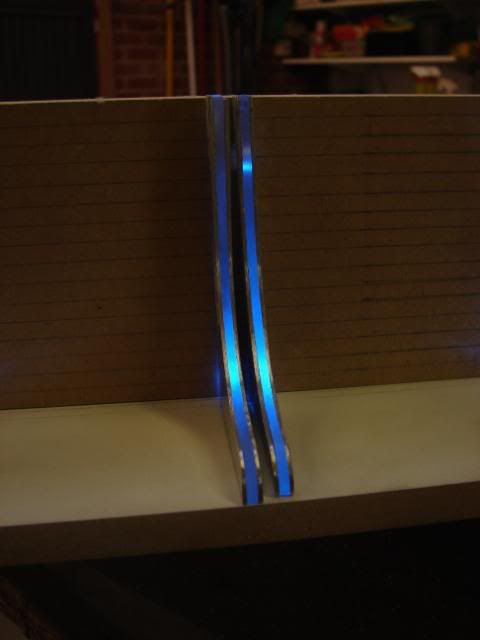
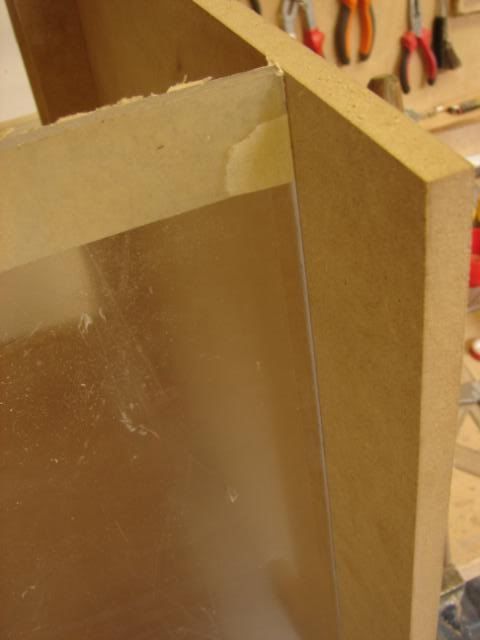
    The front side panel will be shiny. I hope to get this effect with using acrylic that will be painted high gloss on the back. So It almost look like glass.


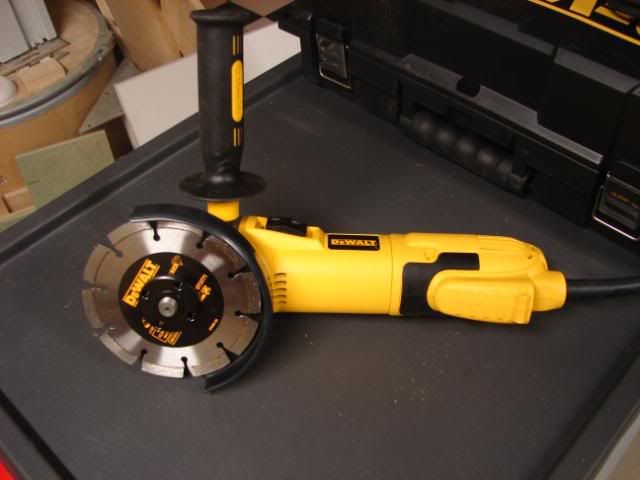
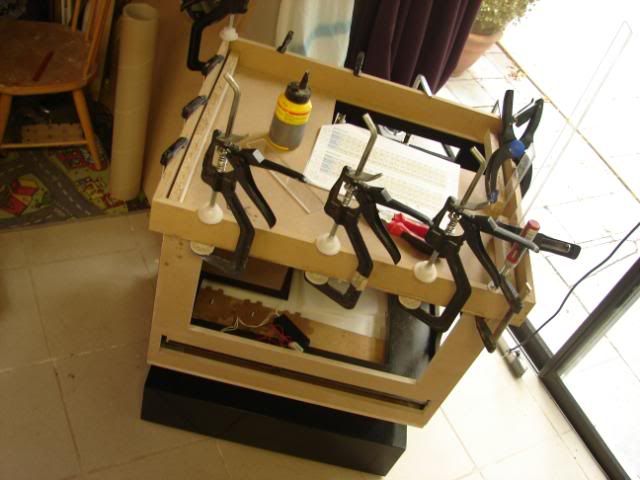
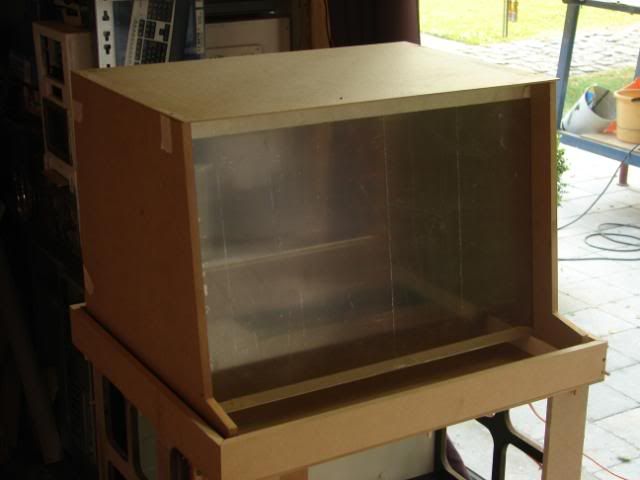
    After sawing the acrylic


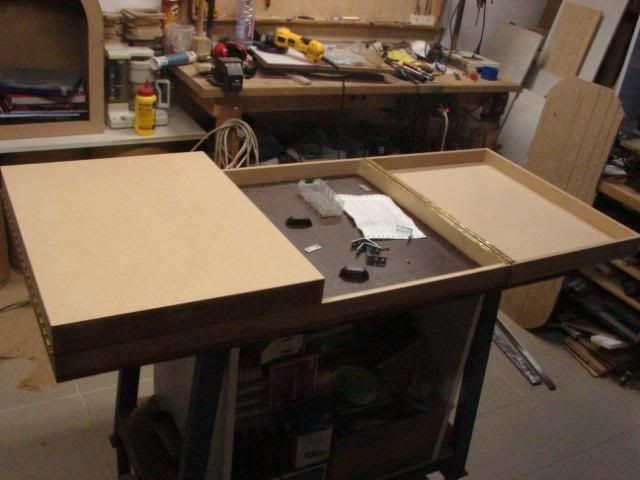
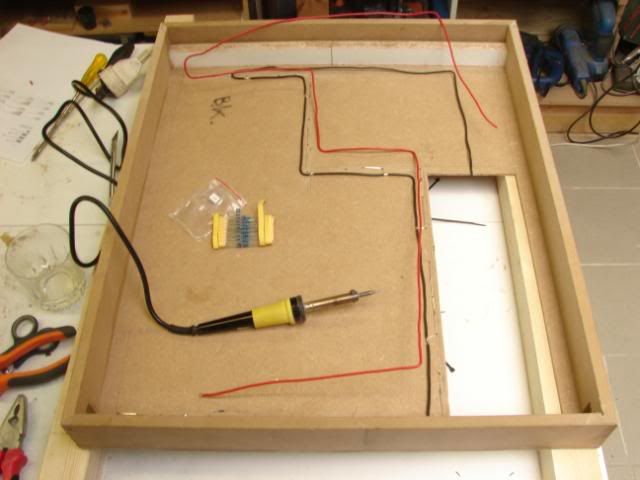
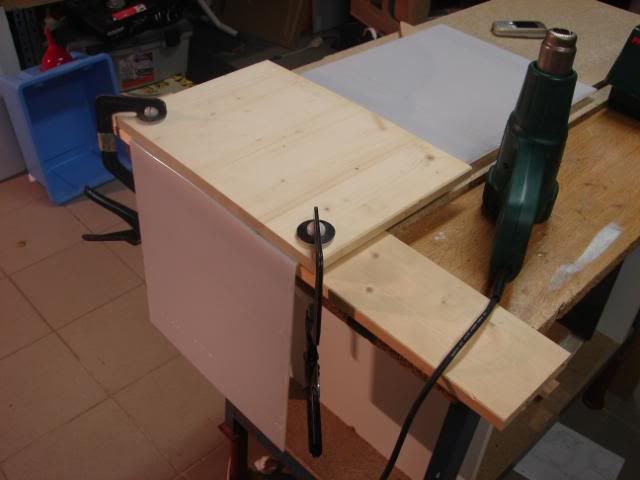
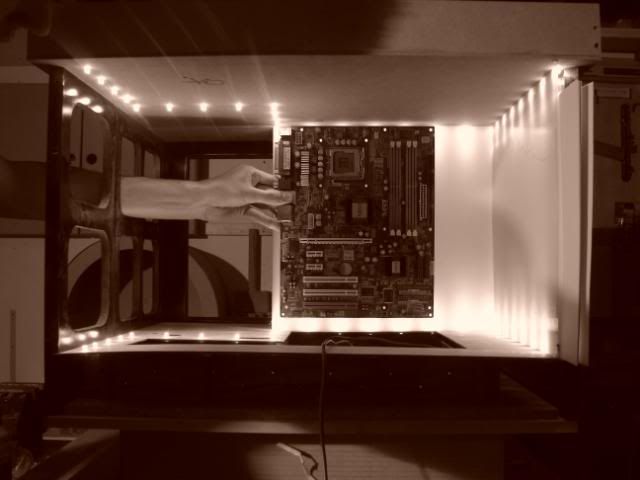
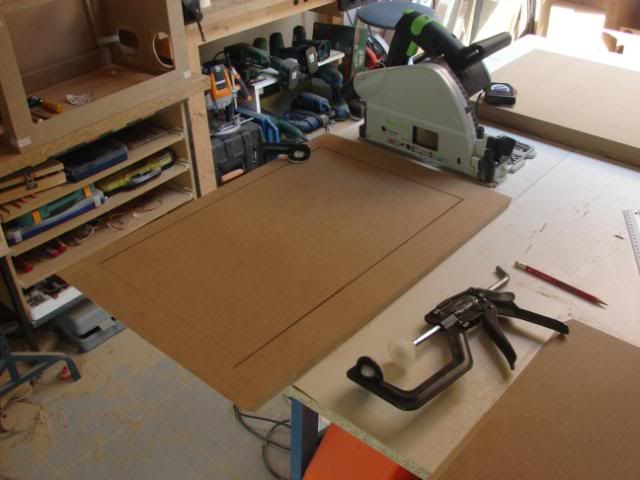
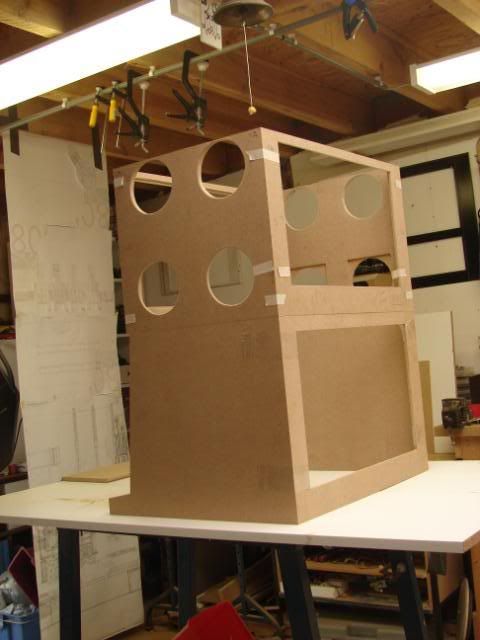
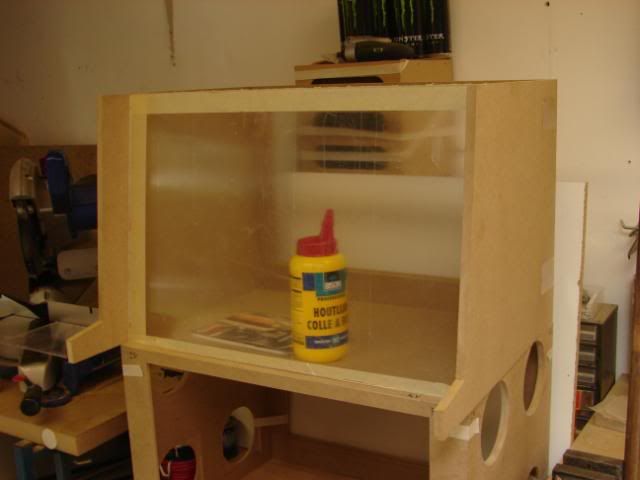
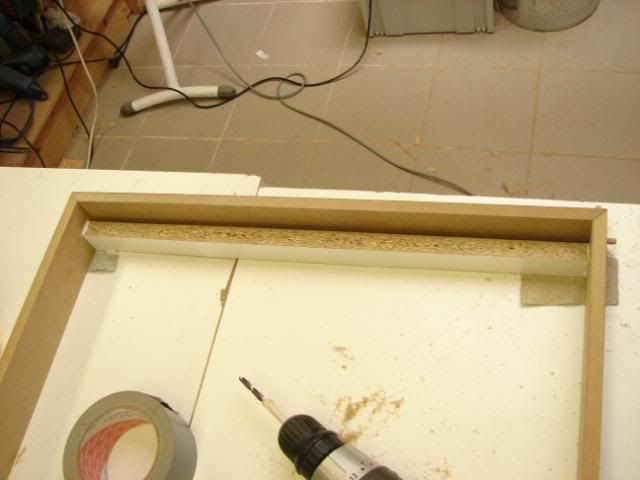
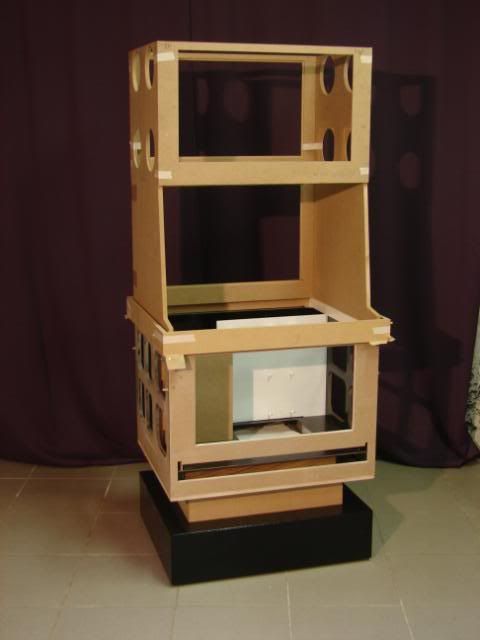
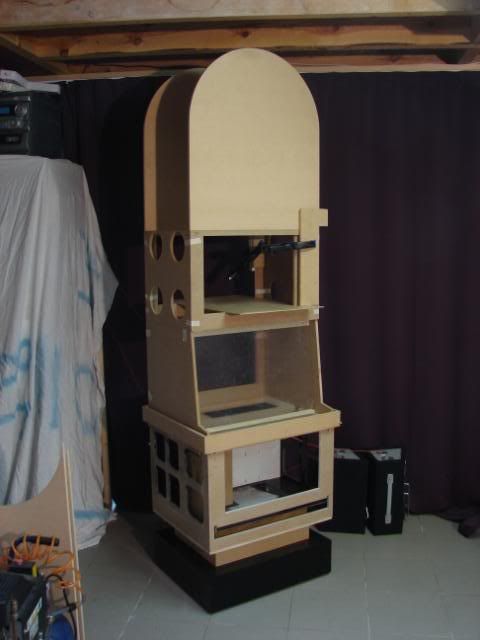
    Because I needed some space in between the hardware layer, and the gambling wheels… I made another small layer.
    this is what I mean:


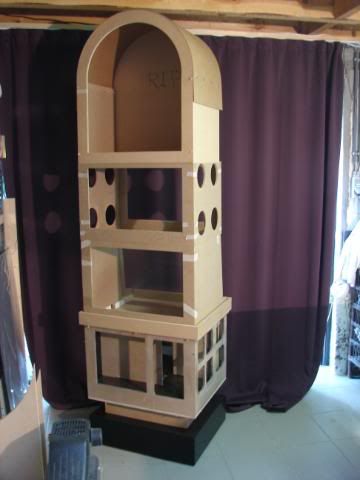
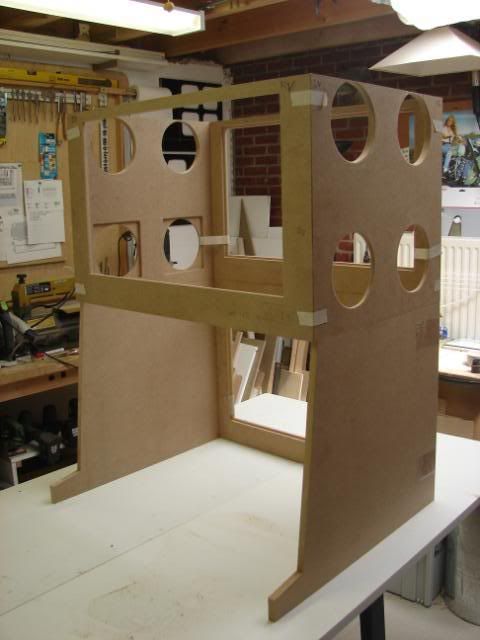
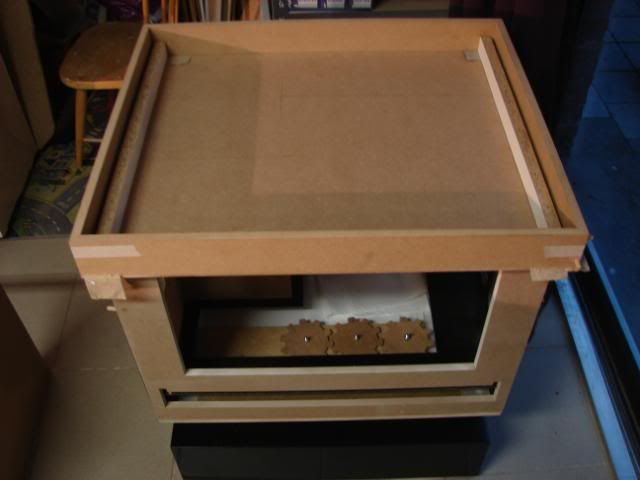
    Again, this basic frame is almost ready


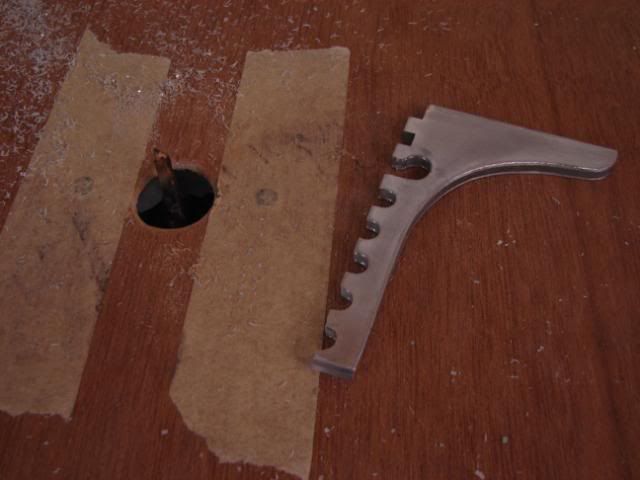
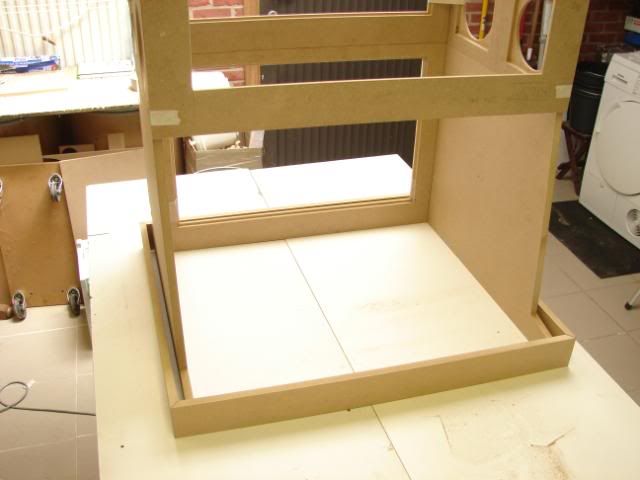
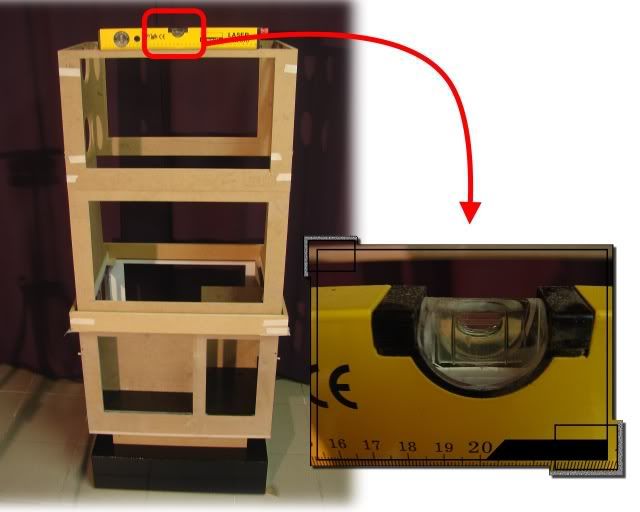
    One of the most important measurements


    Good! the ground is not totally even … so It may be a little bit leaning.

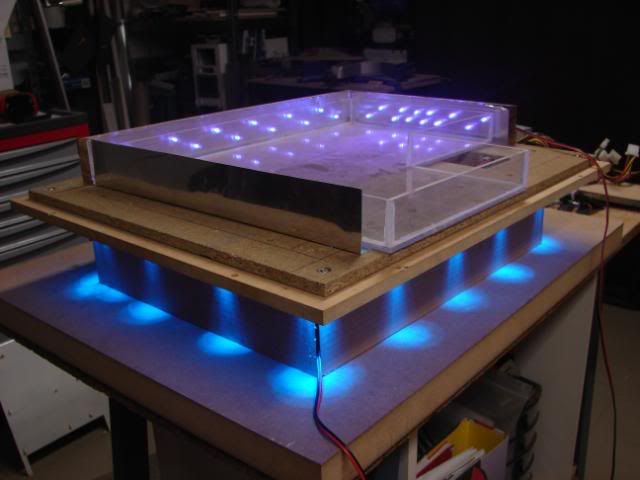
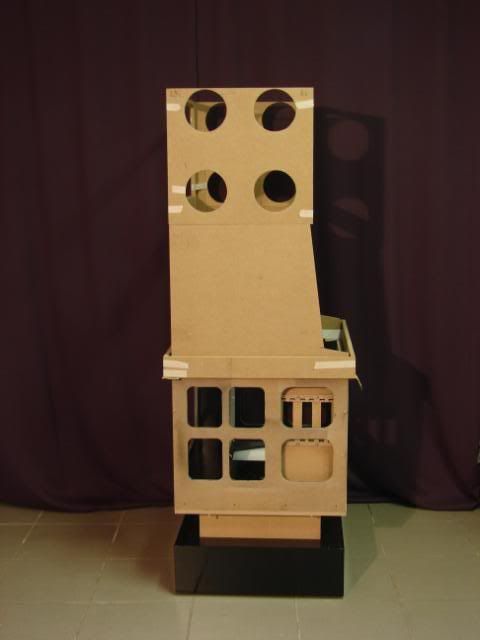
    The highest layer is the layer of the wheel of fortune.


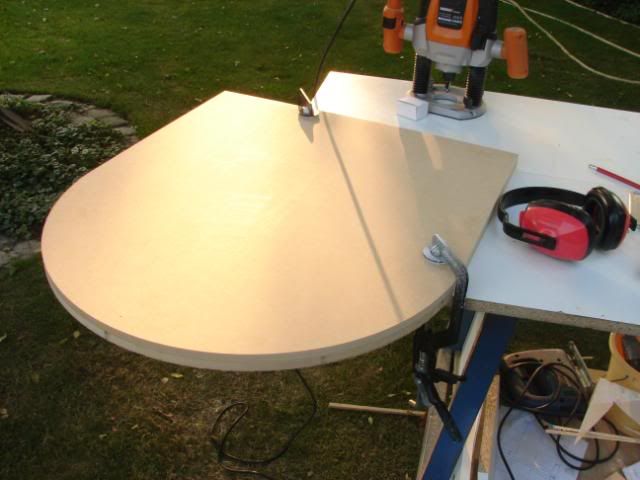
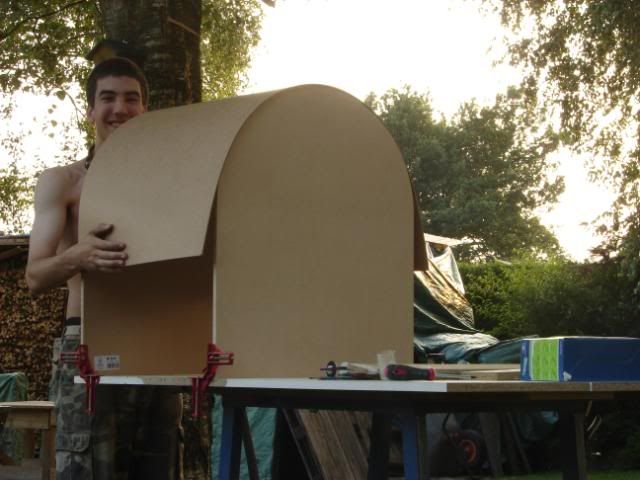
    And I will use a very thin sheet of MDF to make the top
    Hehe :p – the sun is shining btw Very warm ! xD


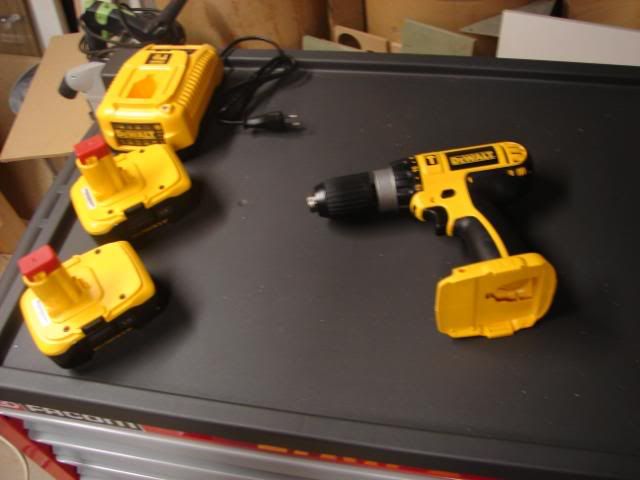
    LoL – I hope I don’t have to use these on a day


    ^^
    The project will be very tall. About 2.5 meters high.
    The weight or height doesn’t matter to me actually …
    The whole case can be dissembled in 6 pieces, so I can transport it to another location without problems

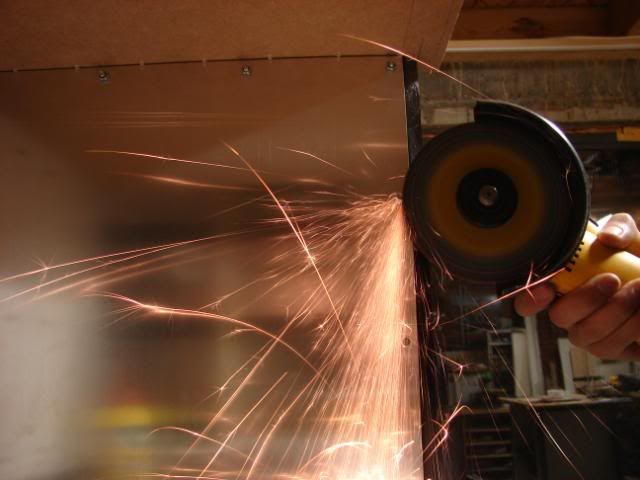
    I also will use aluminum or another kind of metal to make the frame stronger

    Tomcatt

  2. #72
    How Big's Your Mouth?! gaz_the_chav's Avatar
    Join Date
    Aug 2005
    Location
    Peterborough, England (NOT Scotland)
    Posts
    947

    Default Re: Project: Elements of Fortune

    Awesome I am going to be following this very carefully! Keep up the good work.

    -gaz

  3. #73
    WWMD- What Would MacGyver Do? Mark_Hardware's Avatar
    Join Date
    Mar 2009
    Location
    Phoenix
    Posts
    906

    Default Re: Project: Elements of Fortune

    Boy that thing is taller than mine lol! Excellent work, keep it up!
    My name is Mark Hardware, and I approved this message.

    Project; Mark1
    (On hold until......)

  4. #74
    Overclocking Guru Trace's Avatar
    Join Date
    Aug 2007
    Location
    California
    Posts
    2,077

    Default Re: Project: Elements of Fortune

    This is a very amazing build. +rep
    Quote Originally Posted by Lothair View Post
    I guess it's just widely used and has had some of the best people in the world work on it, costing a ridiculous amount of money, for no actual reason. :/
    Have you checked out the front page lately?
    Projects:
    Moe's Tavern | Sponsored by: Mimo Monitors, Crucial, Thermaltake
    Book Of Knowledge

  5. #75
    Anodized tomcatt's Avatar
    Join Date
    Feb 2009
    Location
    Belgium
    Posts
    56

    Default Re: Project: Elements of Fortune

    thx !!

    Alright listen up y’all !

    Plans are changed, well the plans in my memories actually
    I planned to make something very special in the upper side (with the wheel of fortune) of the case. But now I found something cooler!
    I hope I can figure out how to make it though ^^

    Just like my last completed casemod HELGHAN, I had a mysterious question what would take place in the front of the case. It wasn’t a LCD, or watercooling stuff, but a HELGHAST head made out of clay.

    This time I also have 2 mysterious questions in this case.


    The second questionmark will appear in the future


    Tomorrow, I will order the parts of the electricity, and after that I will see what I’m going to do. Probably finishing the bottom.

    For the progress of the case… I couldn’t work on the frame because we are redecorating the bathroom and toilet in our home. I’ve got lots of work, but I’ll try to give you all an update on the case

    cheers
    Tomcatt

  6. #76
    ATX Mental Case gamer_from_aust's Avatar
    Join Date
    Sep 2008
    Location
    thangool, queensland
    Posts
    133

    Default Re: Project: Elements of Fortune

    Bloody awesome if i must say.
    I hope he had a few beers to blame it on....

    Picking up girls at a videogame store? sigh...... a gamer's dream

  7. #77
    GIVE ME THE CAKE!!! p0Pe's Avatar
    Join Date
    Aug 2007
    Location
    proud dane!
    Posts
    1,645

    Default Re: Project: Elements of Fortune

    ?=42 inch plasma slightly resized with a dremel?
    looks great man... its gonna be frigging tall!
    is that a 120.9 raddy on your case, or are you just happy to see me?

    METO V.1
    METO V.2
    METO V.3
    PC-Beto
    Project M8 [WIP]

  8. #78
    ATX Mental Case AntraxLife's Avatar
    Join Date
    May 2009
    Posts
    102

    Default Re: Project: Elements of Fortune

    nice Lan case
    just kiddin, looking awsome mate, keep it up, still curious about what you going to do with the ''?'' there

    -AnthraxLife
    Im Dutch... can i say anything else?!?

  9. #79
    A big old Tease Apparently DonT-FeaR's Avatar
    Join Date
    Sep 2006
    Location
    Australia, south australia, Gawler
    Posts
    2,939

    Default Re: Project: Elements of Fortune

    haha thats soo cool great work mate!
    Quote Originally Posted by Drum Thumper View Post
    you tease!

  10. #80
    Anodized tomcatt's Avatar
    Join Date
    Feb 2009
    Location
    Belgium
    Posts
    56

    Default Re: Project: Elements of Fortune

    Waaw xD it’s a long time ago since I posted an update !
    Well, XS is not the only one … I have been busy for school and other stuff … so I didn’t have a lot of time to mod.

    But – here I am back again, with lots of pictures and info

    It’s time for a huge UPDATE !!! Elements of Fortune !!!

    In the beginning of august, I bought some new tools for a good price.


    There goes my money blahblah, I’m happy ! At least I got some good quality tools now

    I also made some orders in China for LEDs and electronics, and I got some very nice stuff from MDPC-x.
    And because pictures say more than 1000 words : tadaa

    The package from China


    PSUs


    Little motors

    And for these things, I also made a “cabinet” ? Well I mean a thing to store things


    Kinda WaW huh !? This cabinet will be empty once I finished this mod

    And then another package from Germany…


    Now this is quality stuff :o !! amazing

    I will sleeve this 1200W PSU from BeQuiet and all the other cables that will be visible inside the project.


    -- aye – now all eyes back to the case

    We continue from here:


    Still remember it? Here we go
    I continued with the bottom side of the case, the part where the hardware will fit in.


    Before that, I had no idea what colors I would be using. But when buying the sleeving and LEDs, I made a decision.

    Colors will be: Black, white, orange and aluminum
    The hardware components will be black/ orange / the cable-sleeving as well.

    So I needed to find a color for the background … White !
    To make a good white (and not gray looking background) I bought some white acrylic. Behind that white acrylic, I will use small White LEDs to give it a cool look.

    Placing of the LEDs


    Started to soldering


    It’s still a dark look, so let’s begin with making the acrylic.


    It looks great when because it has a good contrast with the hardware


    I’m not really satisfied with the result, So I will also make LEDs in the bottom.


    Don’t mind the rusty look, it will be painted

    Without acrylic


    With


    Still looks a bit dark on the right side… that is because the background is black. I tested the difference with a white sheet of paper. Much better


    But I’m not going to use paper … aluminum is a better quality material. And I will paint it white in the future.


    I used small bolts most of the places. Because they would dim the small LEDs.


    The other ones I gave a smooth finish


    Meanwhile I also worked on the struts beneath the hardware layer.
    Remember these?


    They will be blue – started with soldering


    Still needs a lot of work, but this is the goal:


Posting Permissions

  • You may not post new threads
  • You may not post replies
  • You may not post attachments
  • You may not edit your posts
  •