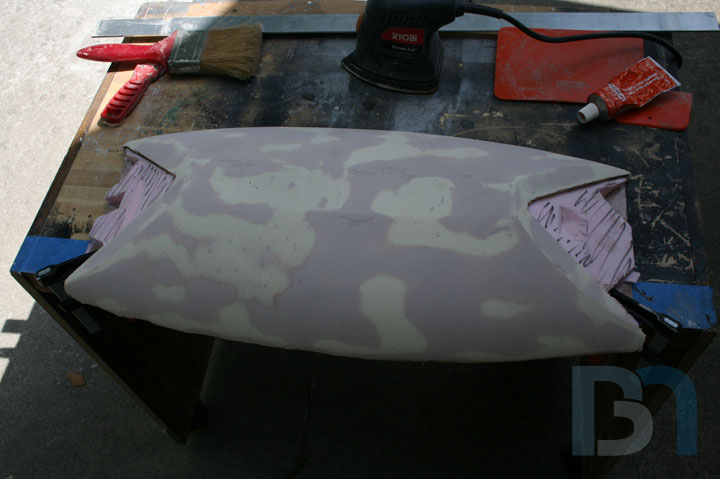
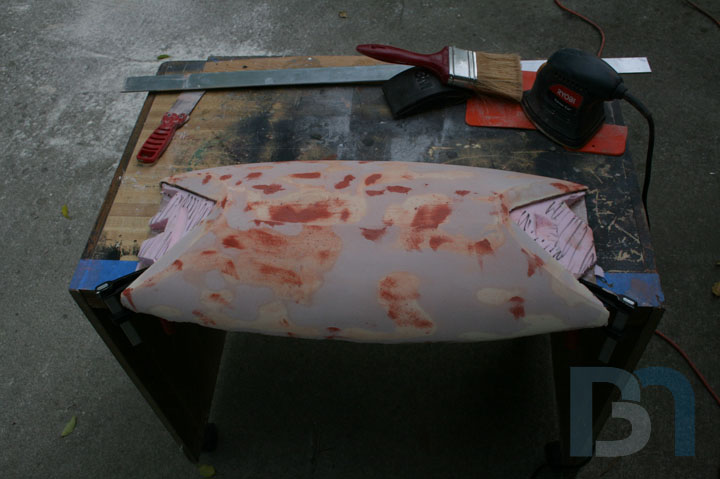
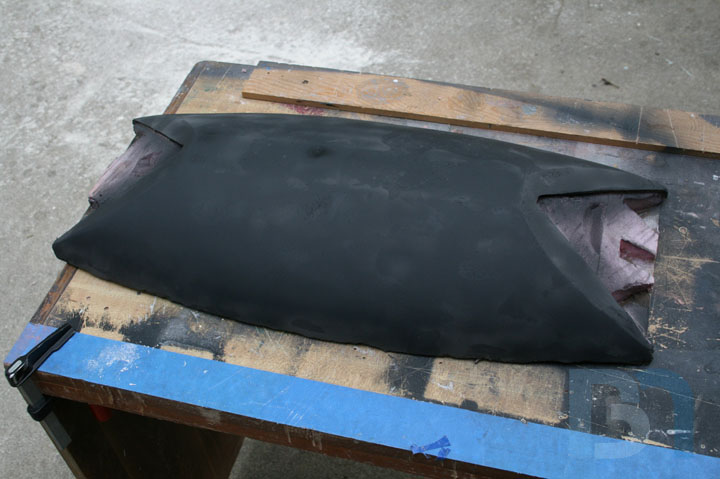
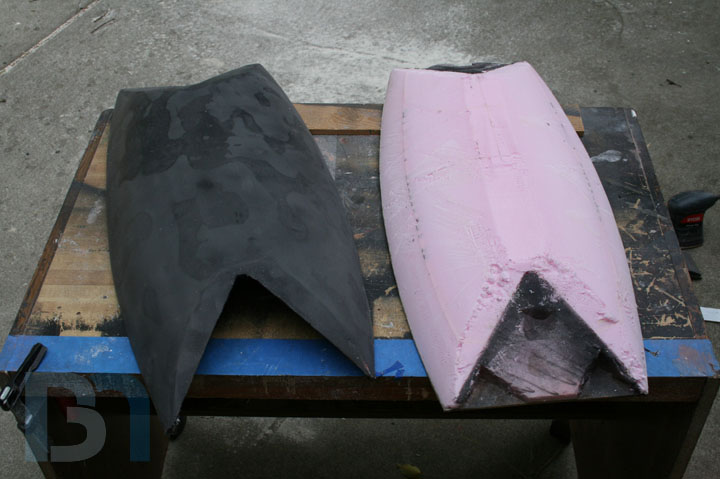
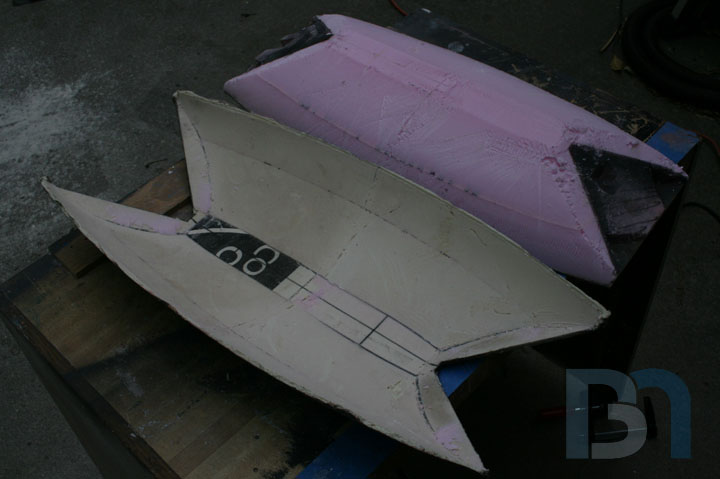
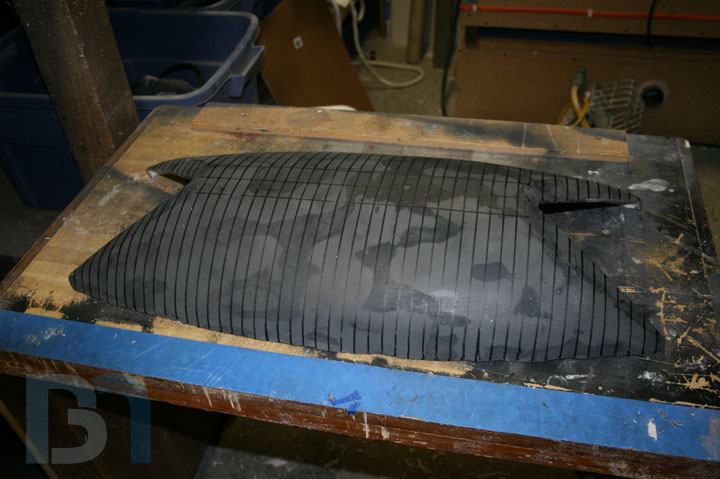
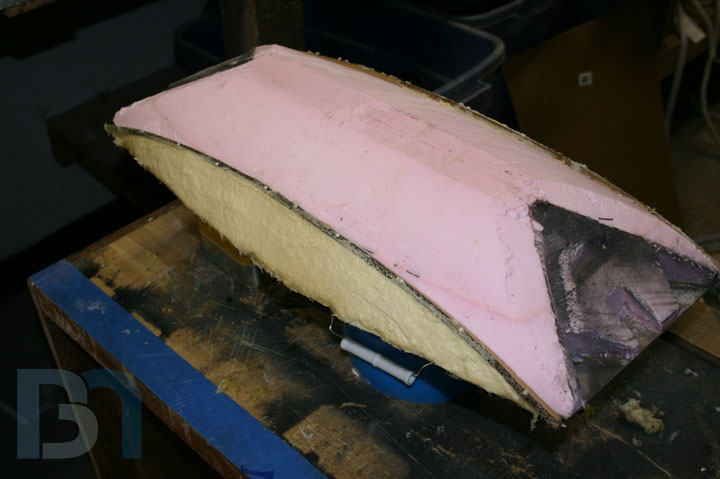
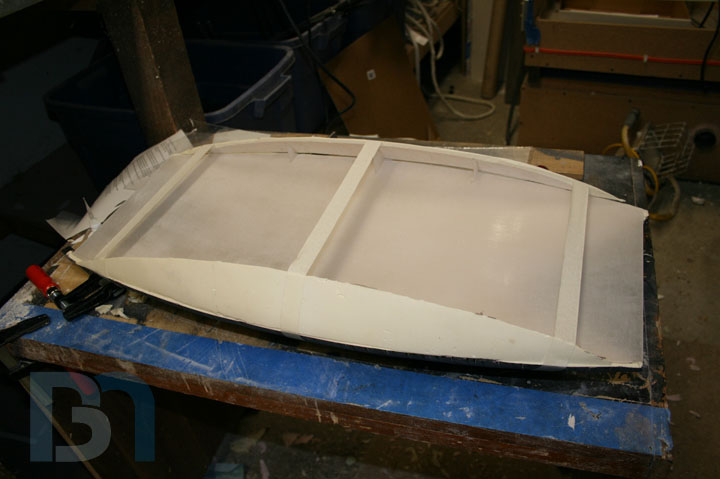
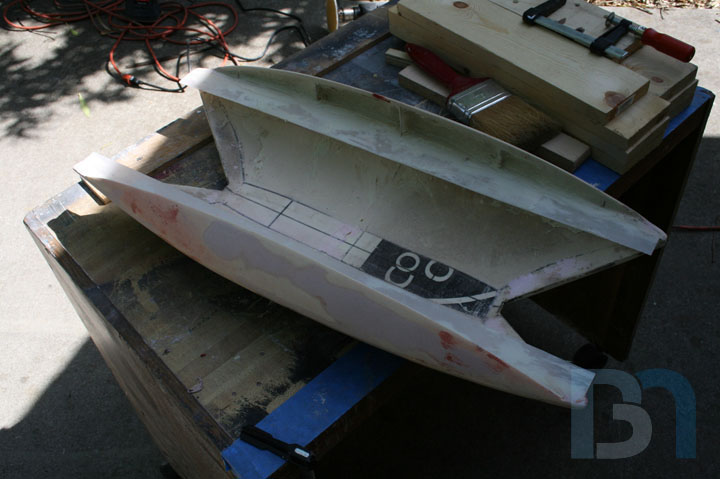
Page 1 of 10 123456 ... LastLast
Results 1 to 10 of 96

Thread: Battlestar Galactica Mod

  1. #1
    Modding the World, One Case at a Time Boddaker's Avatar
    Join Date
    Jun 2005
    Location
    Northern CA
    Posts
    818

    Default Battlestar Galactica Mod


    Time to start on my next project! And this time I thought I would include you guys in the progress. I feel I have missed out by not tapping the wide expanse of knowledge that exists on this forum. And with this next project I will be exploring new ground, so I will need all the help I can get!

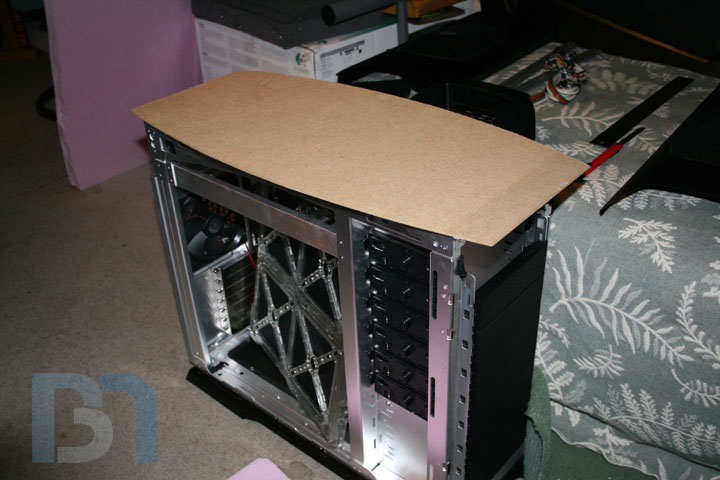
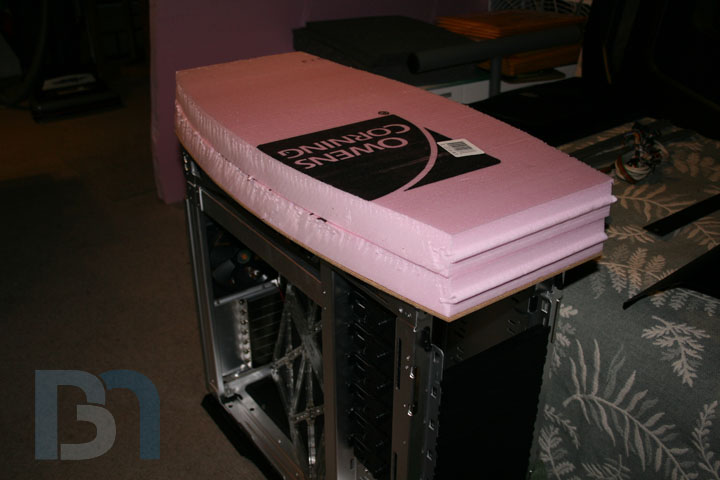
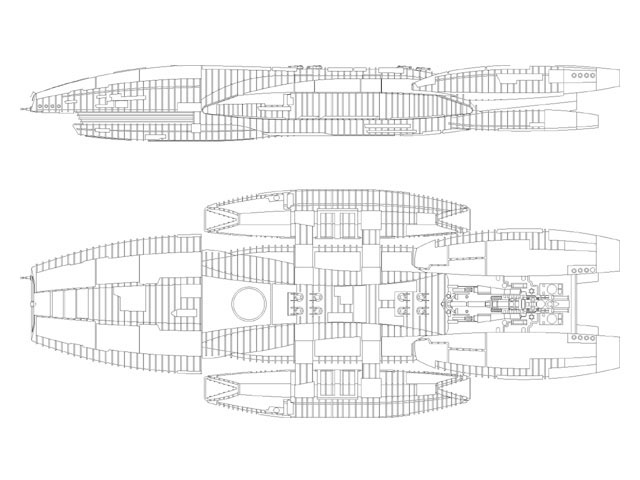
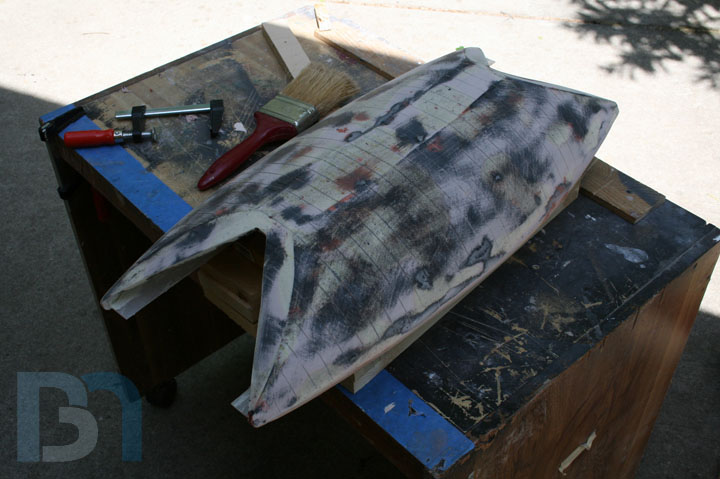
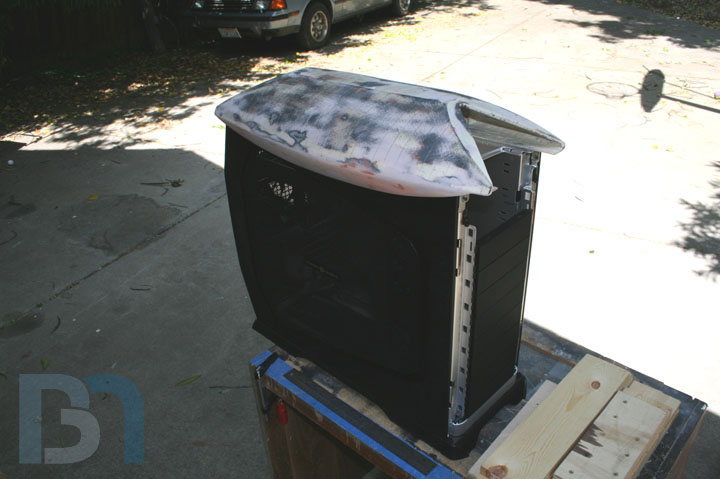
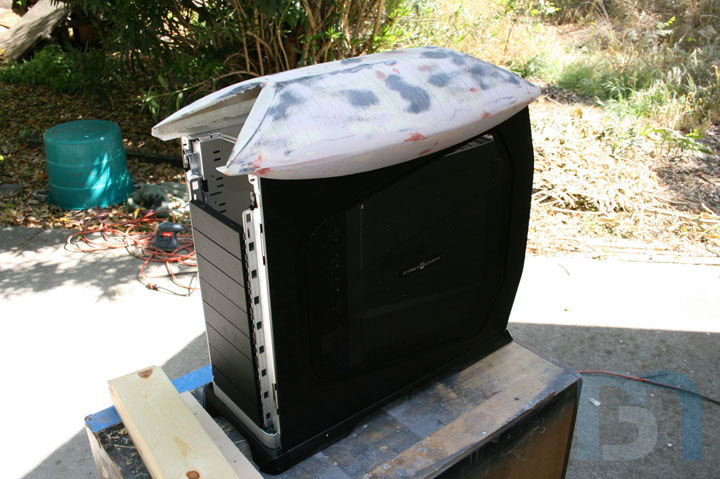
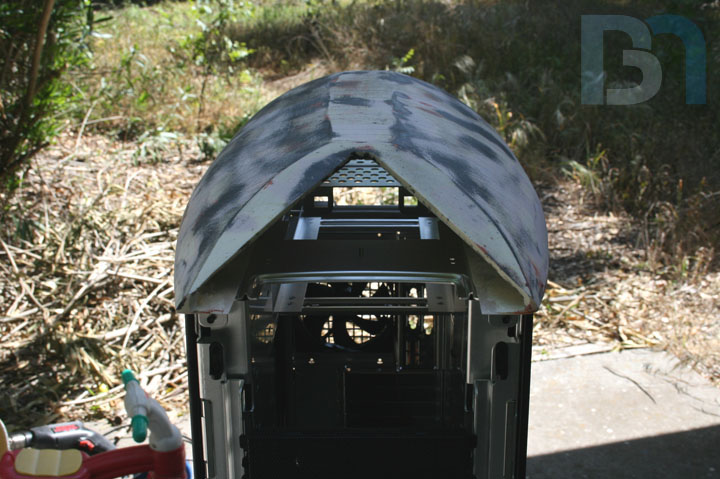
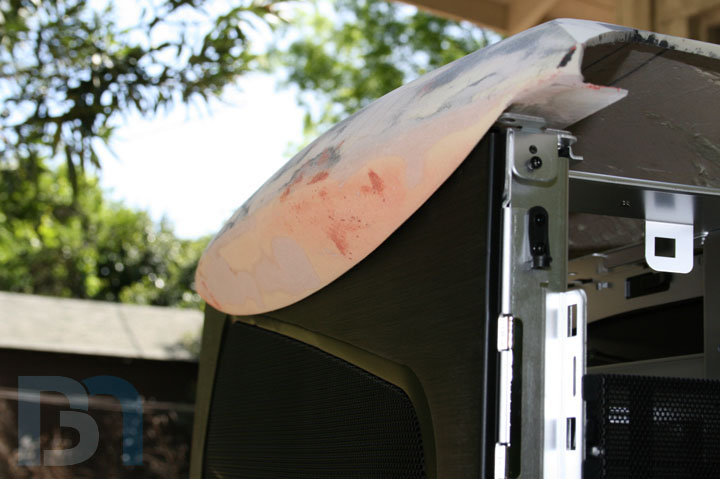
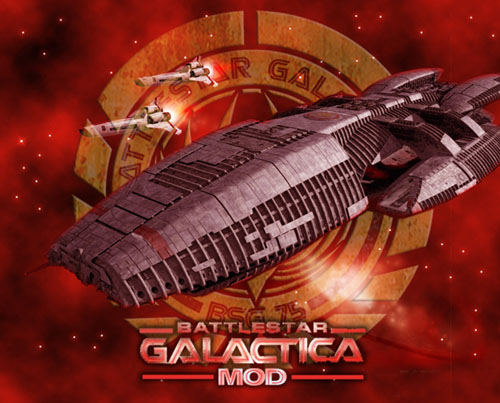
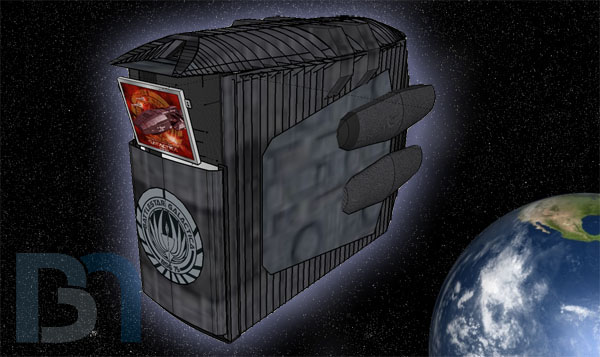
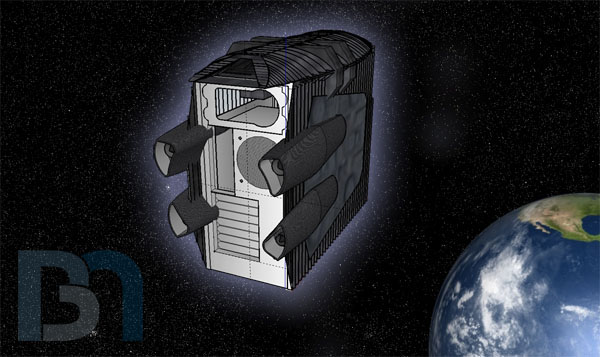
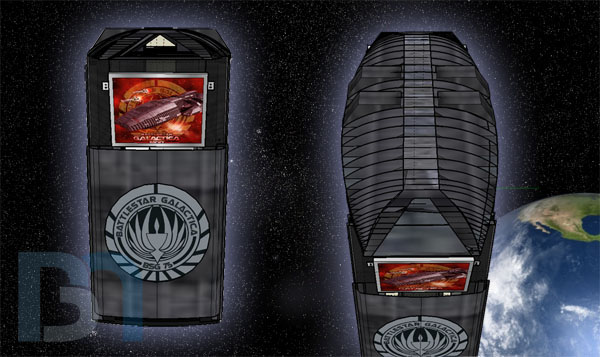
    This is going to be a mod based on the SciFi series, "Battlestar Galactica." I plan to mod my CM Stacker 830
    in the style of the Galactica. I'm still in the design and conceptual phase, and I hope to get it drawn up in Sketchup soon.
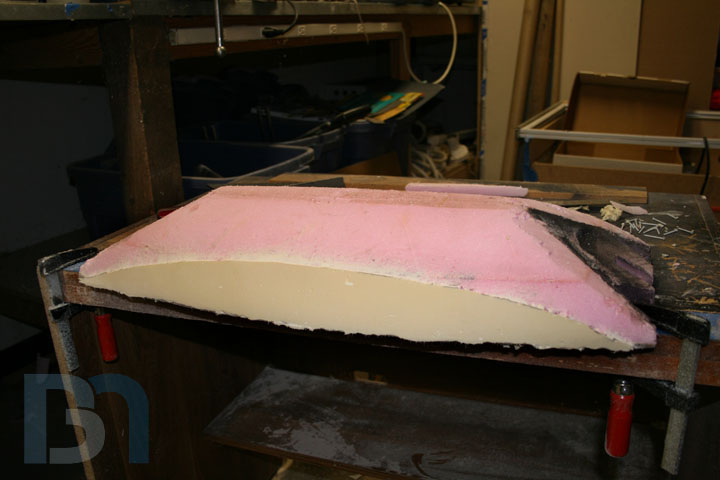
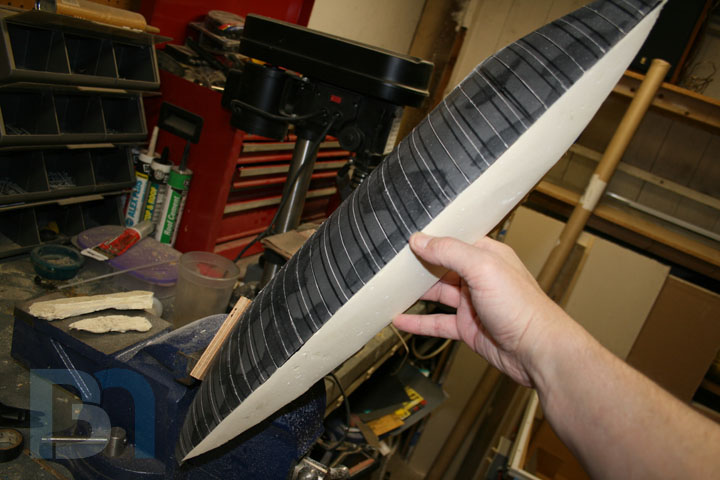
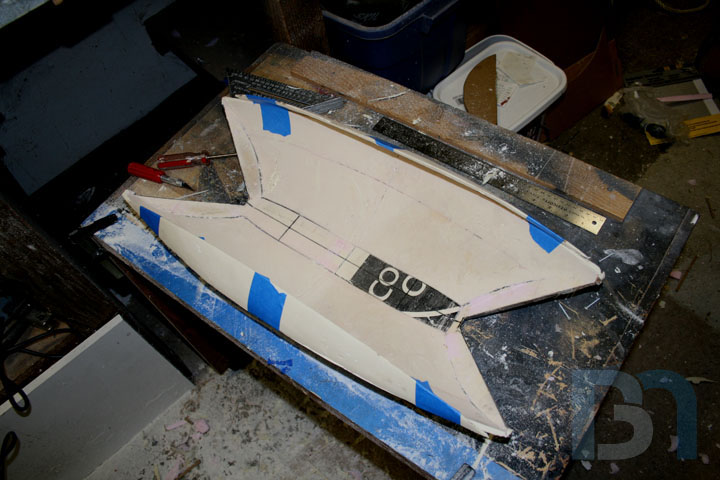
    I will post more detailed pics at that time.

    I think this will be a fun one to do! I really enjoy the new BSG TV series, and it has many elements I can draw from for ideas.
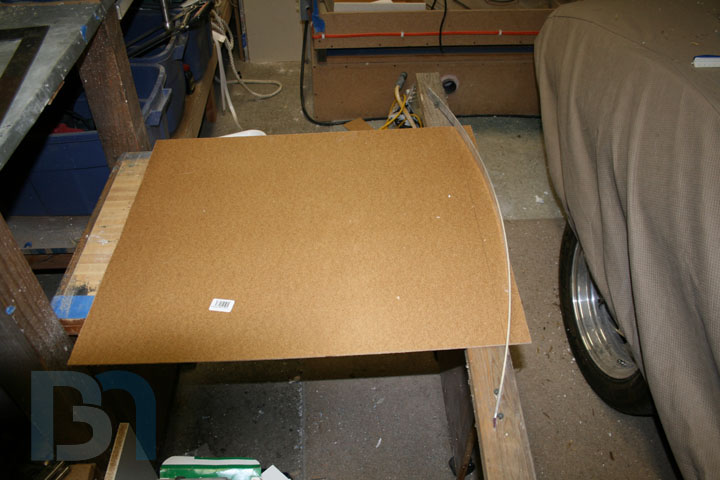
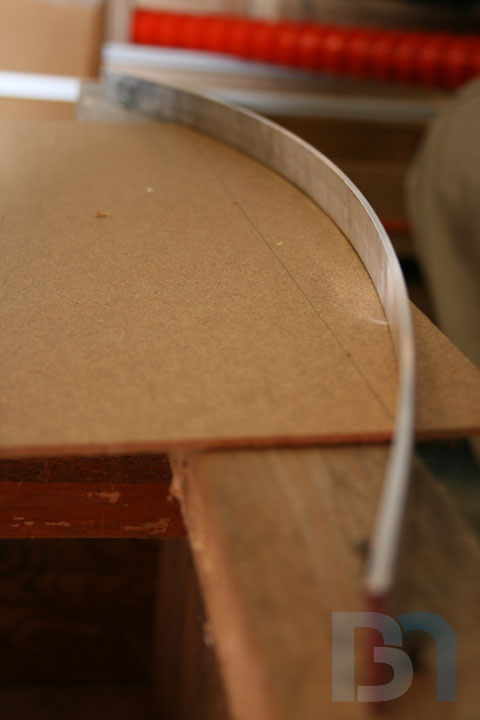
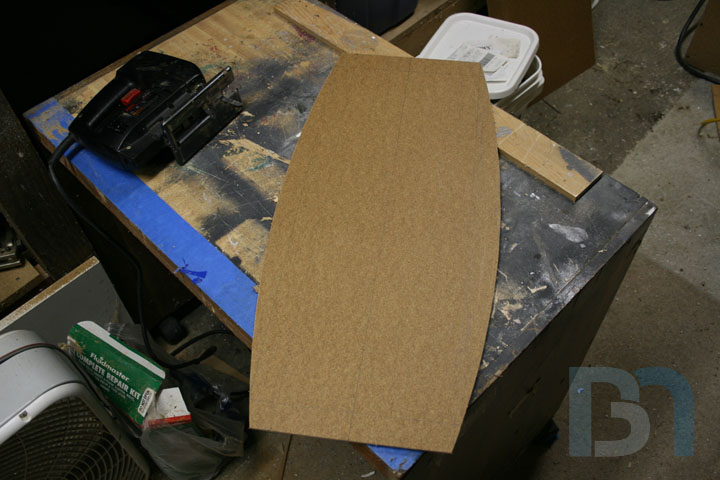
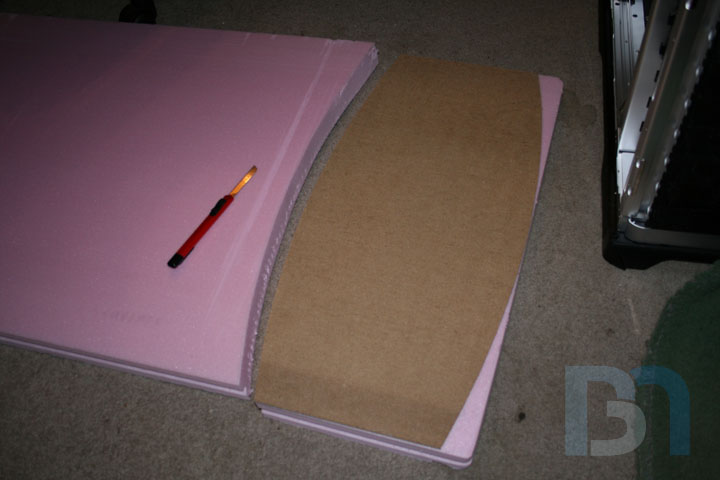
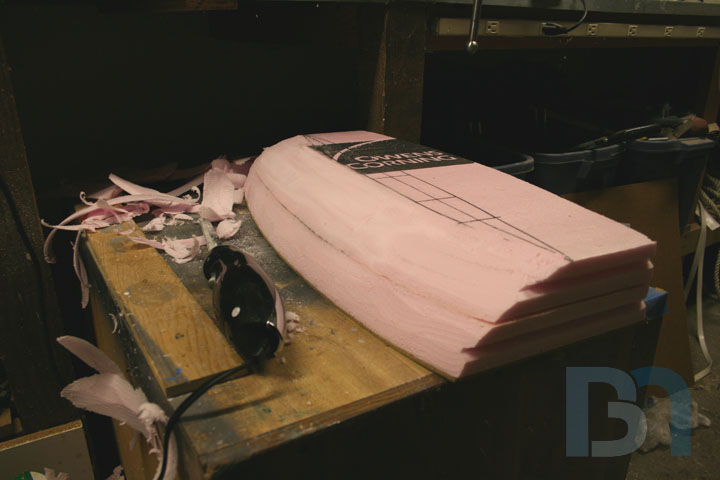
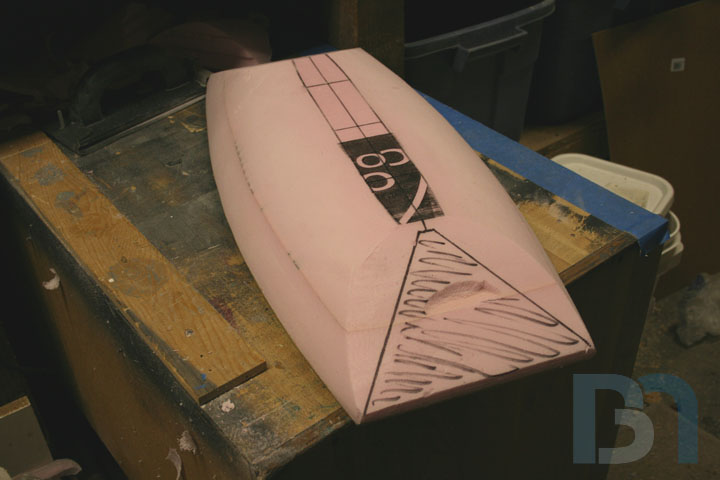
    And this case will be a huge canvas upon which to work, so there will be plenty of real estate to work with.

    Not really sure how I will be able to work on this once my garage gets torn down, but I will figure something
    out when the time comes. I'm just itchin' to start something new!


  2. #2
    Modding the World, One Case at a Time Boddaker's Avatar
    Join Date
    Jun 2005
    Location
    Northern CA
    Posts
    818

    Default Re: Battlestar Galactica Mod

    Ok, some long-awaited pics. I messed around in Sketchup, and after many, many long late-night hours I came up with
    a VERY rough mockup of what I'm planning for this Stacker case. I tried to retain alot of the original lines of the case,
    so you could look at it and know this used to be a Stacker 830. Its lines match up so well with the Galactica, I think it adds
    to the overall look (not to mention makes my job a lot easier!). So without further ado, here are the pics! (yeah, like you actually
    read this whole thing before looking at them )


    The top of the case will have the launch bay running through it from front to back, and the landing strip will be lit up on the inside.
    The front will sport a 7" lcd monitor (A Boddaker first!), and the BSG insignia below it. I have special plans for that, and you
    will have to wait and see (couldn't divulge all my plans first off, that just wouldn't be much fun )
    The sides will have vertical ribbing to match the top launch bay, with the centers being the armor plating. (retaining the stacker's
    side vent shape). There will be four engines, two on each side that will function as either fresh air intake, or exhaust. Haven't
    decided yet. I apologize for the crudeness of the engines. Sketchup was not willing to cooperate with me when trying to create
    complex curves (as evidenced from the top launch bay). So I cheated a bit and stole the engines off of an existing Galactica
    model I found in Google's 3D Warehouse. But I think you get the idea.

    I'm still hammering out the details, and don't have a clue what I will do with all that room on the inside. I do know that I am
    going all out and doing a full-on watercooling setup! (Another Boddaker first) So all you l337 WC gurus be prepared
    to answer a ton of questions!

    So there ya go. As always I welcome all your comments and criticisms. I am now off to watch more BSG episodes (got all of season 2 the other day )


  3. #3
    Modding the World, One Case at a Time Boddaker's Avatar
    Join Date
    Jun 2005
    Location
    Northern CA
    Posts
    818

    Default Re: Battlestar Galactica Mod

    I actually managed to start on this today! Been doing most of the work on paper, trying to figure out the best way to build it,
    especially the top landing bay, as it will be the most complex and detailed part of the case.

    So what's the first thing that you gotta do when starting any case mod?
    That's right- Disassemble the donor case!


    After taking some measurements, I set off to what's left of my garage to cut a pattern for the foam out of 1/8" fiber board.


    I made up a simple jig with a piece of alum flat bar. Traced my curved lines on both sides so they are symmetrical,


    And cut out the pattern.


    Set it on the case for fit,


    And proceeded to cut the foam using the pattern and a long bladed knife.


    Cut two pieces. These will be glued together, and glued onto the fiber board as well.


    Sorry, that's all I got done tonight. But at least I started! After gluing, I will commence the cutting, shaving, trimming, and slicing
    of the foam to the landing bay shape. Once the basic shape is attained, then I can coat it with resin or fiberglass.
    Although I have been eyeballing this stuff called Plasti-Paste by Smooth-On. It's a trowelable fiber resin that cures into a durable
    plastic in just 90 minutes. It would be ideal for making up the landing bay top, and all those ribs too. I would just have to work
    in sections, what with its 10 minute pot life and all. :wink:


  4. #4
    Modding the World, One Case at a Time Boddaker's Avatar
    Join Date
    Jun 2005
    Location
    Northern CA
    Posts
    818

    Default Re: Battlestar Galactica Mod: Landing Bay

    I hate it when work gets in the way of modding! :x

    Well, I didn't get as much done as I had hoped this week, but I will post up what I did get done last weekend. I plan to get more done tomorrow to make up for it though.

    Anyway, here are the carving pics. Snagging the electric turkey carver from the kitchen (shhh- dont tell Mrs. Boddaker! lol),
    I started shaving the foam down to the landing bay shape.


    Then I took the drywall sander and rounded the sides smooth. And yes, I was wearing a respirator the whole time.


    Then I hacked off the ends, and marked the eventual openings.


    Since that Plasti-Paste has just a 10minute pot life (length of time you have to work with the stuff before it sets up),
    I cordoned off sections with strips of cardboard held in with brads.


    The Plasti-Paste comes in two containers: One with the fiber reinforced paste, the other a liquid. Mix the two at a 3:1 ratio respectively.


    I mis-judged the amount slightly for my first section, and had a bit left over. So I spread what was left over the other half.
    You can almost watch the stuff set up. It changes color from the dark brown paste to the light yellow plastic within minutes.


    Here you can really see the color difference between the first hardened section and the one I just laid down.


    Completely cured and ready to sand smooth. I actually messed up and forgot to smooth it out more before it set up.
    Now I have more sanding work to do. :x


    Also because I didn't smooth it out adequately enough prior to it setting up, there are numerous divots that I will have
    to fill in as well. I might just bring out the bondo for that, since the plastic is so hard to sand.
    I plan to finish this layer tomorrow so I can move on to the fun part - the ribs!

    Honey Roasted Peanuts Ingredients: Salt; Artificial honey roasting agents; Pressed peanut sweepings.

  5. #5
    Modding the World, One Case at a Time Boddaker's Avatar
    Join Date
    Jun 2005
    Location
    Northern CA
    Posts
    818

    Default Re: Battlestar Galactica Mod

    Thanks guys.

    Made decent progress today.

    Got the whole thing sanded down pretty well with the drill and sanding discs, followed by the orbital.


    Then I layed on a skin coat of bondo to fill in the low spots, and sanded that smooth. You can really see how uneven it was.


    Lastly, I filled in the tiny air holes with the glazing putty.


    Since this is the bottom layer and will be topped with all those ribs, it doesn't have to be sanded down perfectly smooth.
    My main goal was to get these pronounced lines on each end.


    Sprayed a light coat of primer on to get a uniform color.


    And demolded the piece. I was careful not to ruin the foam because I still need it.


    Shot of the underside. Funny, it actually transferred my markings from the foam to the plastic!


    Here I started marking out the ribs. I figure one rib every 1/2" looks about right.


    Here I am forming the side skirts of the landing bay. These will attach under the overhangs on each side of the bay.
    The ribs will continue from the top , over the edge and onto these pieces. You'll see what I mean a bit later.


    All in all a productive day. Happy Easter everyone!
    Honey Roasted Peanuts Ingredients: Salt; Artificial honey roasting agents; Pressed peanut sweepings.

  6. #6
    Modding the World, One Case at a Time Boddaker's Avatar
    Join Date
    Jun 2005
    Location
    Northern CA
    Posts
    818

    Default Re: Battlestar Galactica Mod

    Quote Originally Posted by Acey View Post
    Wow.. cool... how'd you plan to make those ribs? Alu plats?
    I plan to use the same stuff I used for the main piece, the plasti-paste. I'm going to try an experiment and see if it works. If not, I will probably resort to styrene.

    But before I tackle the ribs, I have to clean up the side skirts and attach them to the main piece. That's on the docket this week.
    Honey Roasted Peanuts Ingredients: Salt; Artificial honey roasting agents; Pressed peanut sweepings.

  7. #7
    Modding the World, One Case at a Time Boddaker's Avatar
    Join Date
    Jun 2005
    Location
    Northern CA
    Posts
    818

    Default Re: Battlestar Galactica Mod

    Well, after referring to my reference pics again, I think I made too many rib lines. Right now I have 1/2" spacing, and I think I will redo the lines with 3/4" spacing. That will reduce the amount of ribs, and make it more true-to-life.

    I was lucky enough to stumble across these awesome highly detailed schematics of the Galactica:

    Image courtesy COBYWAN

    I contacted cobywan to get permission to use his schematics for my project. Great guy! Turns out he built them off of detailed renders that came straight from Zoic, the special effects house that designed the new Galactica. Talk about a great find. Thanks coby!
    Honey Roasted Peanuts Ingredients: Salt; Artificial honey roasting agents; Pressed peanut sweepings.

  8. #8
    Modding the World, One Case at a Time Boddaker's Avatar
    Join Date
    Jun 2005
    Location
    Northern CA
    Posts
    818

    Default Re: Battlestar Galactica Mod

    Minor update:

    Did some work on the side skirts. Got them smoothed down,


    and trimmed. This is how they will fit onto the main piece.


    I taped them into place, and will add some support braces for strength. Once those are in, I will bondo up the seam and smooth out the edges.


    Honey Roasted Peanuts Ingredients: Salt; Artificial honey roasting agents; Pressed peanut sweepings.

  9. #9
    Modding the World, One Case at a Time Boddaker's Avatar
    Join Date
    Jun 2005
    Location
    Northern CA
    Posts
    818

    Default Re: Battlestar Galactica Mod

    Another productive weekend!

    I managed to get the side skirts integrated onto the main piece. Here's how I did it:

    First I needed to make a paper template for the inner braces that will hold the side skirts in place.
    Since I formed them on the same foam buck as the main piece, they should be a mirror image of it.
    So I took a piece of paper, folded it in half and cut it to fit the curve with the fold facing up. I strung a
    piece of tape across for something to square off of.


    I unfolded it and cut my braces. Made two of those, then made two smaller shapes and cut four
    of each so I ended up with five braces per side.


    Next was to cut a floor with notches for the braces. I used the built-in line in the plastic (made from the
    wood base of the foam buck) as a guide to glue down the floor.


    Then I glued in the braces, making sure they were square.


    When those set up, I tacked down the side skirts. It didn't matter too much that there were some
    gaps here and there, as you'll see in the next step.


    Out came the Plasti-Paste once again for a good helping of reinforcement. I cut the floor out temporarily
    so I could get to both sides.


    Even so, it was a bear getting the stuff in the inner pockets. That was a good stopping point,
    so I let it set up overnight.


    The next day I rolled the table out for some more sanding and bondo filling. Oh what fun.


    Didn't need much, and only a few areas needed minor spot putty.


    After working the edges a bit more, I blew all the dust off it and brought the case out for a test fit.


    Not bad! I may not even have to shave anything off.

    You might think I can put the ribs on now, but there's one more thing I have to do first. I want to
    add some detail to the surface: Pipes, various sized squares of paneling and such. It will be much
    easier doing it now, than trying to work in between the ribs. If all goes well, I can get that done this
    week, then rib next weekend.

    Honey Roasted Peanuts Ingredients: Salt; Artificial honey roasting agents; Pressed peanut sweepings.

  10. #10
    Modding the World, One Case at a Time Boddaker's Avatar
    Join Date
    Jun 2005
    Location
    Northern CA
    Posts
    818

    Default Re: Battlestar Galactica Mod

    Quote Originally Posted by chaksq View Post
    You should leave that hollow and rig up an HD mount or some thing in there. You could use it as a channel for cooling by adding a hidden fan(s) to it with the hanger bay as the opening.

    That is looking great so far though!
    Yes, the landing bay will be totally hollow throughout, complete with running lights. Being such a large case, I can fit most/all of the components inside, so the bay's functionality might just be limited to ducting exhaust. I will get all the internals finalized though before I commit to building the floor and mounting it to the case.

    Honey Roasted Peanuts Ingredients: Salt; Artificial honey roasting agents; Pressed peanut sweepings.

Posting Permissions

  • You may not post new threads
  • You may not post replies
  • You may not post attachments
  • You may not edit your posts
  •