Page 2 of 10 FirstFirst 1234567 ... LastLast
Results 11 to 20 of 96

Thread: Battlestar Galactica Mod

  1. #11
    Modding the World, One Case at a Time Boddaker's Avatar
    Join Date
    Jun 2005
    Location
    Northern CA
    Posts
    818

    Default Re: Battlestar Galactica Mod

    Time for my Sunday evening update. Not much has transpired since my last significant update.
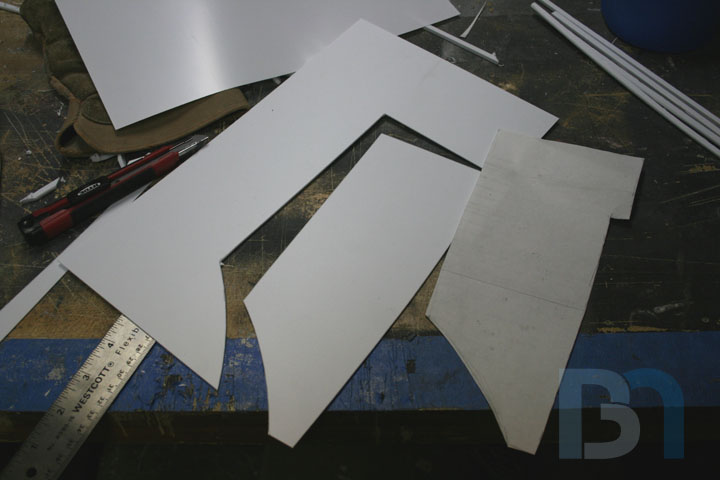
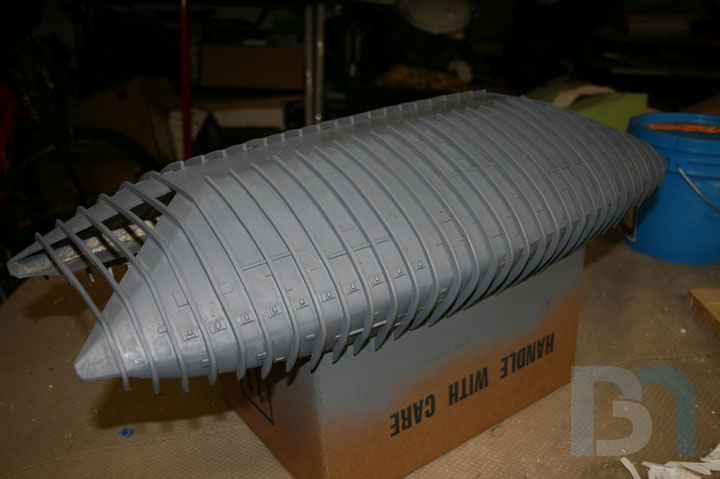
    Last time we left off with finishing up the side skirts and preparing the surface for the detailing.
    Well I got most of it done over the last two days. It was good because this type of work could
    easily be done in the living room with the wife and our 3-yr old. Although when my pile of
    styrene piping disappeared, I knew who to ask!

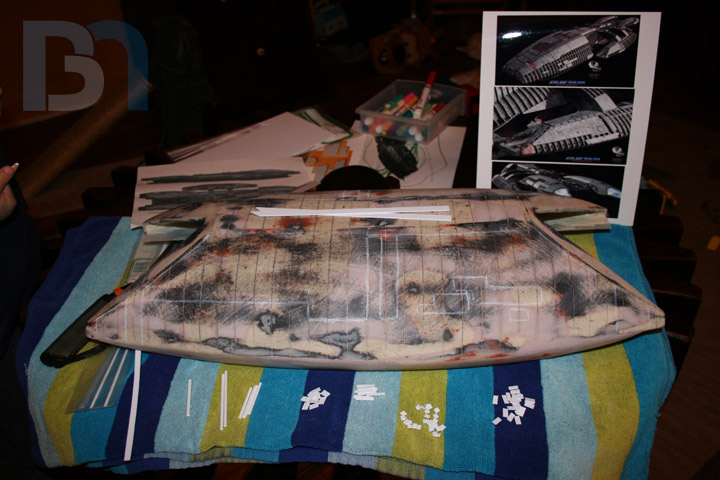
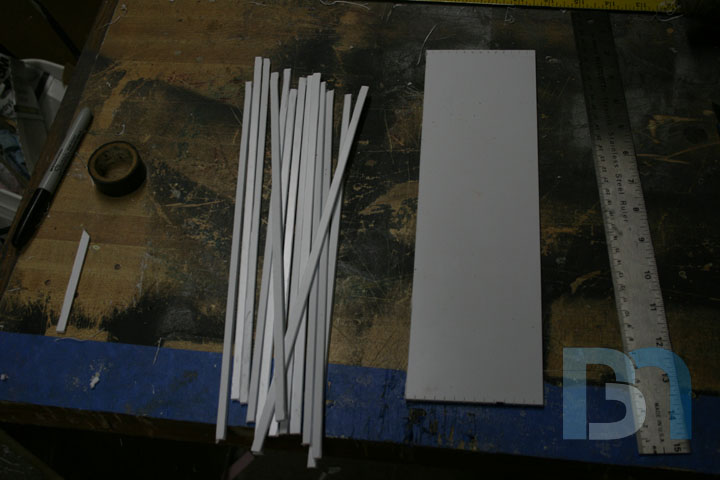
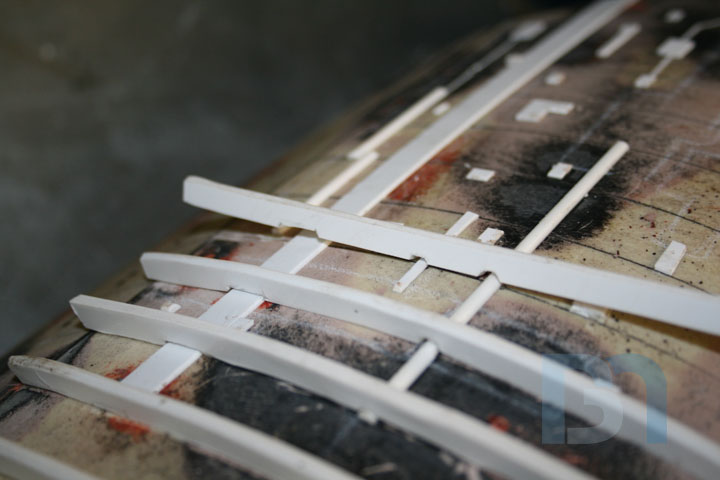
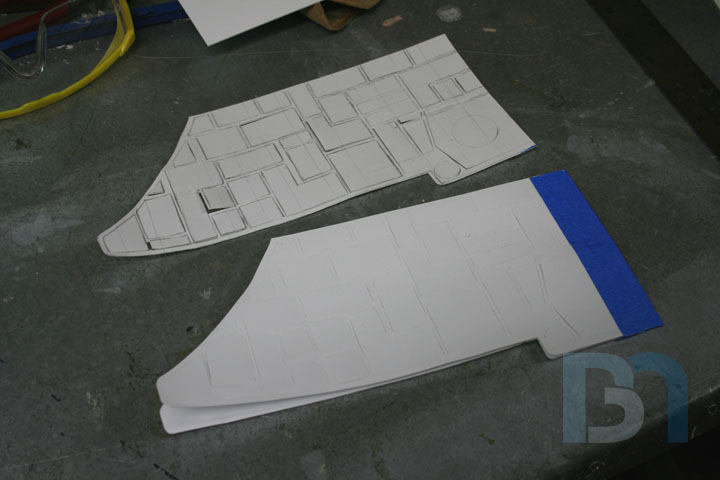
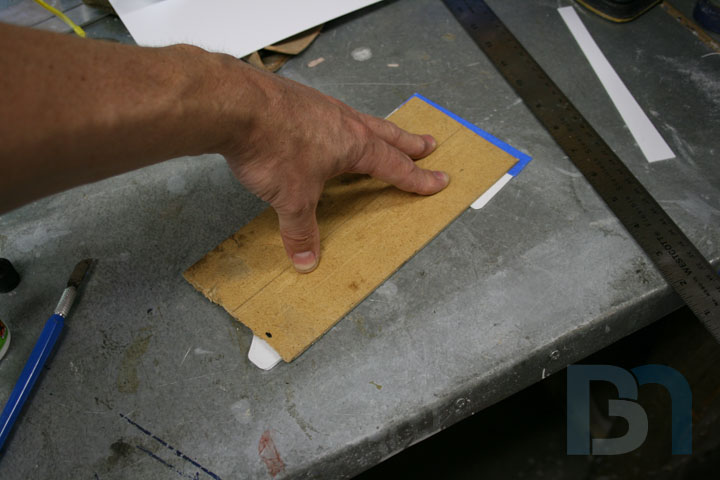
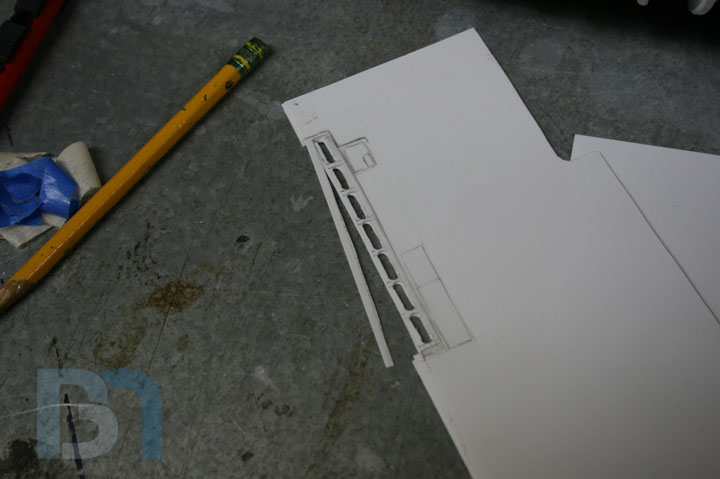
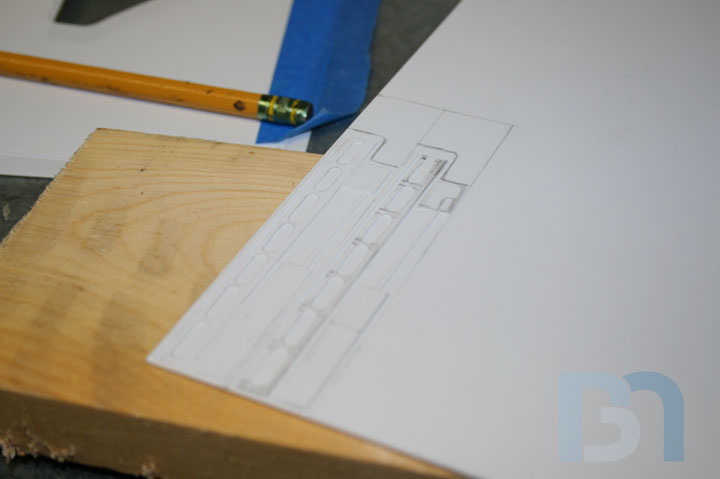
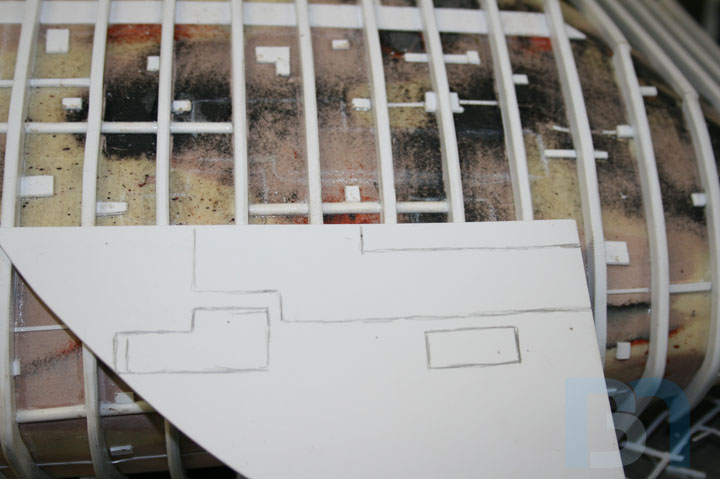
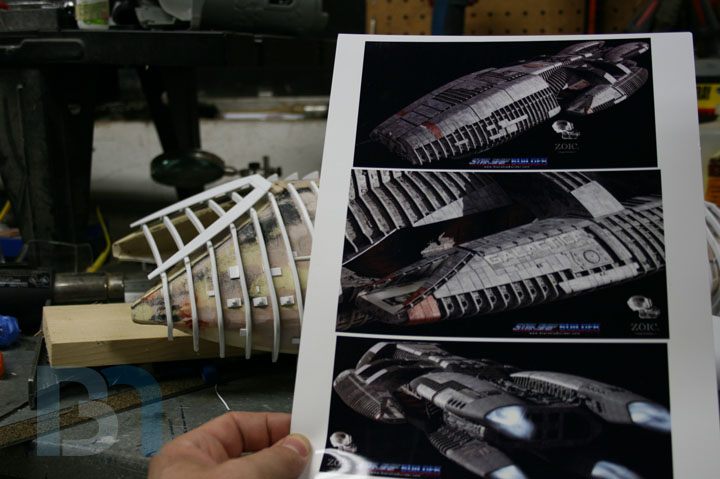
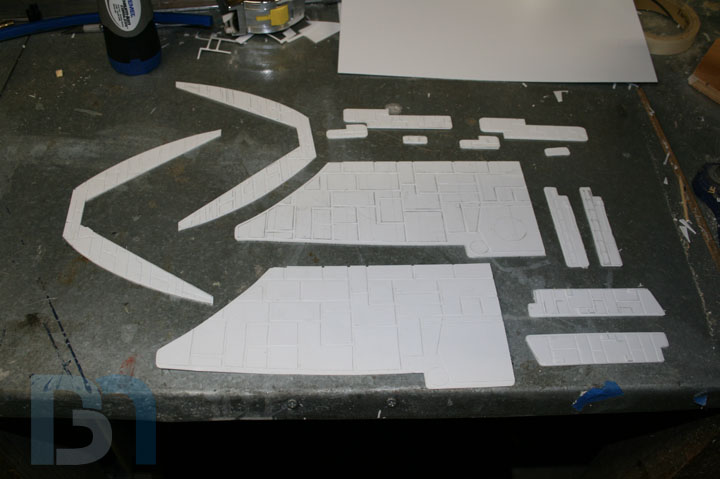
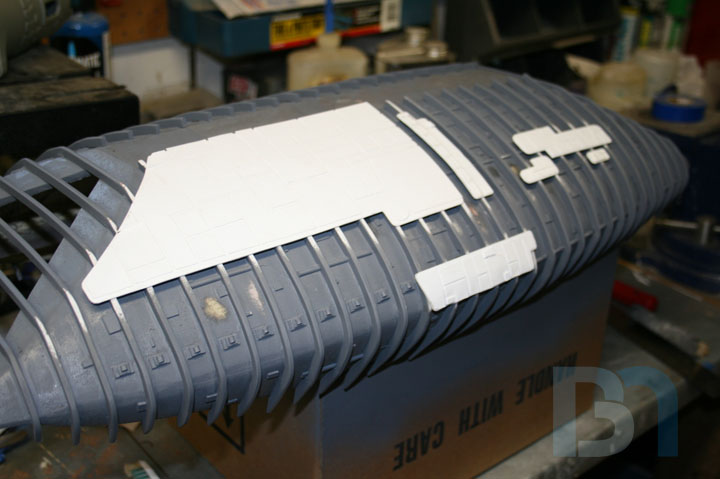
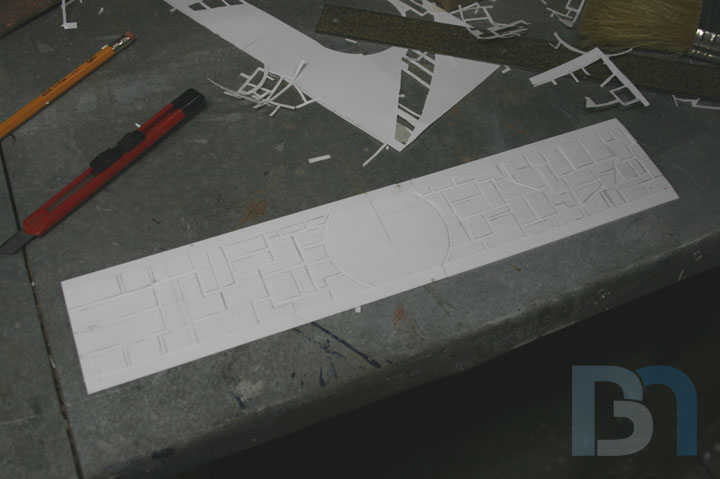
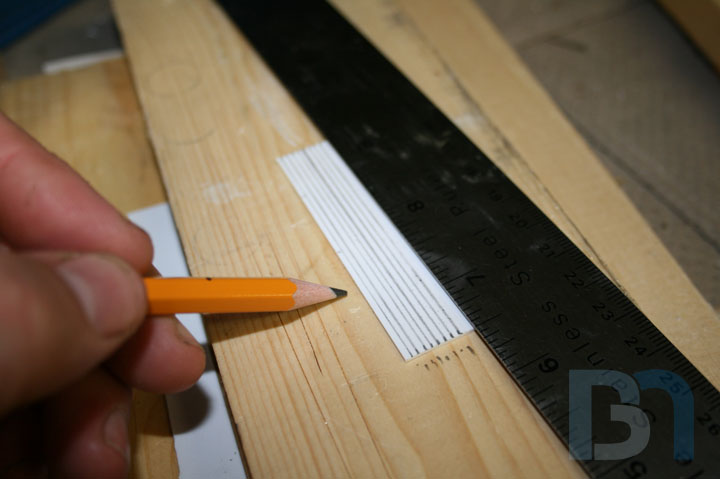
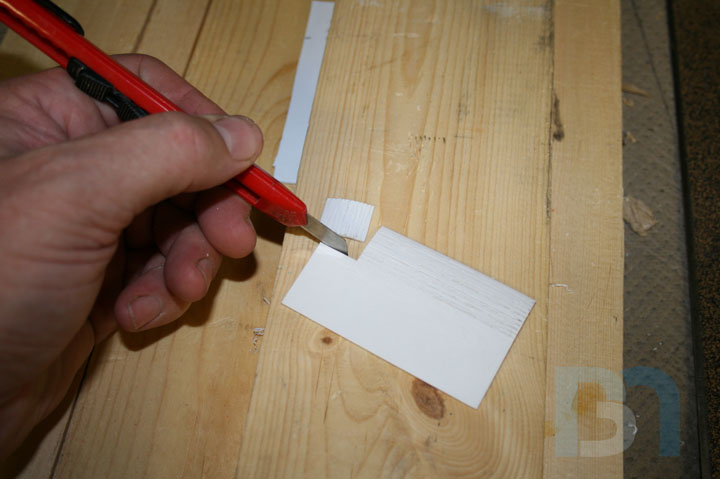
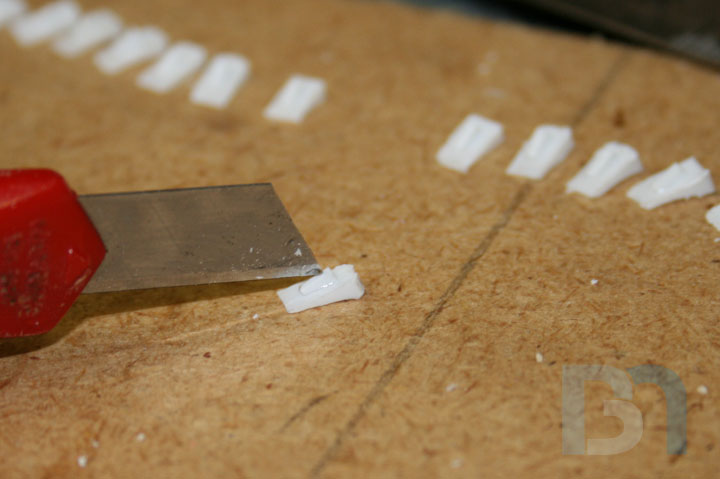
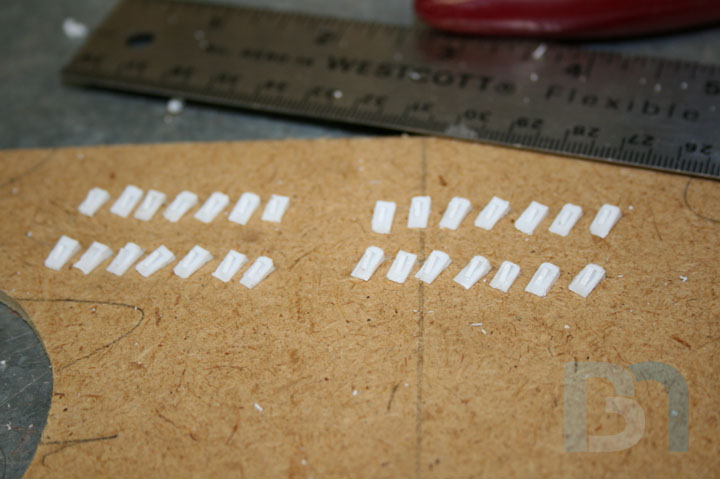
    Here I had just finished cutting up the first batch of squares of various sizes and shapes. You can
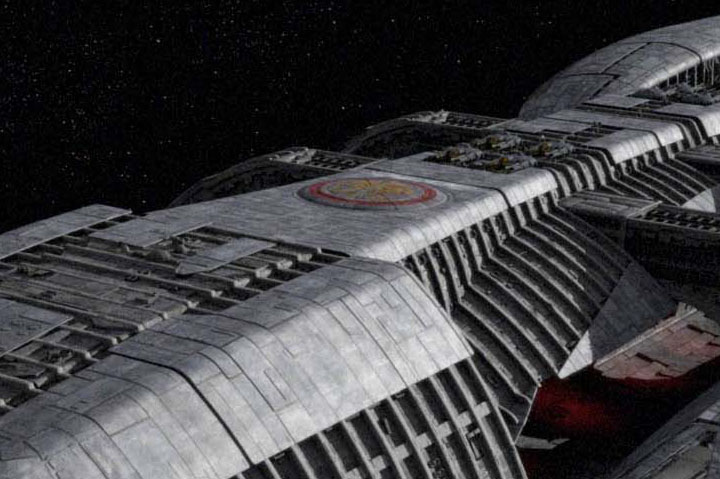
    see the printout of high res reference photos of the Galactica on the right (thank you Starshipbuilder.com).
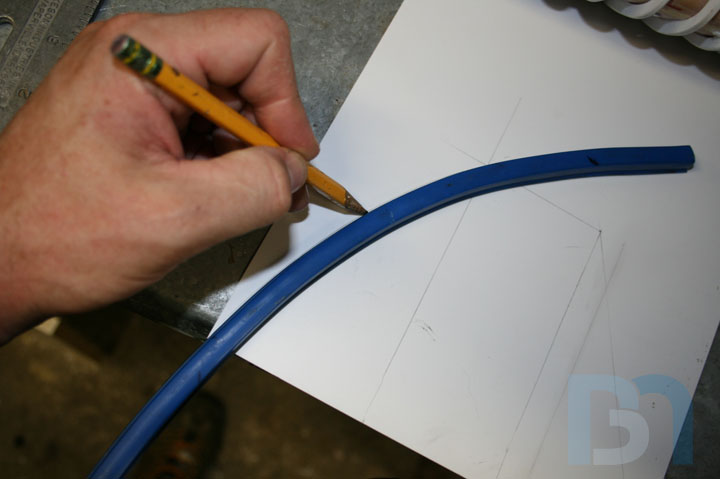
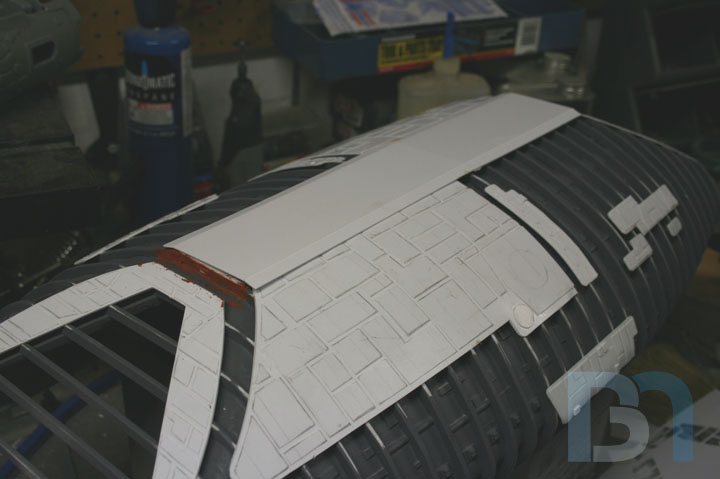
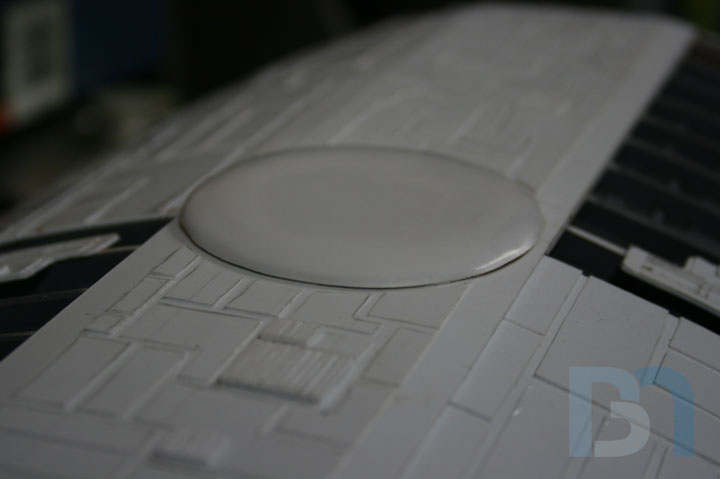
    In order to save myself some work, I drew a rough outline of where the outer armor plating will be,
    so I knew where not to add the detail (since it will be covered up anyway.)


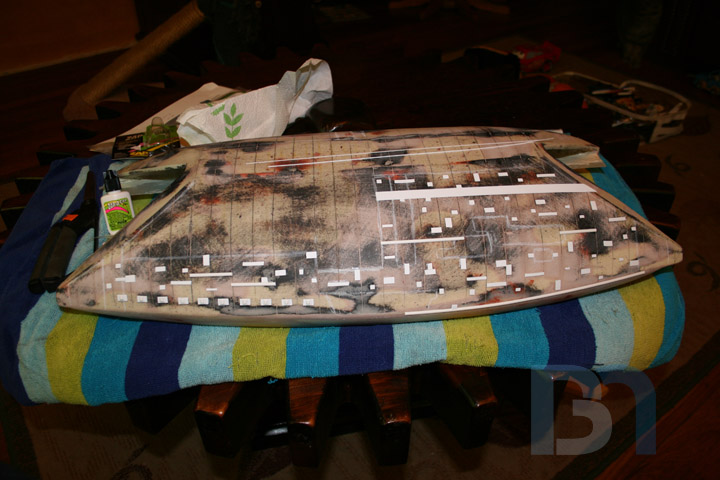
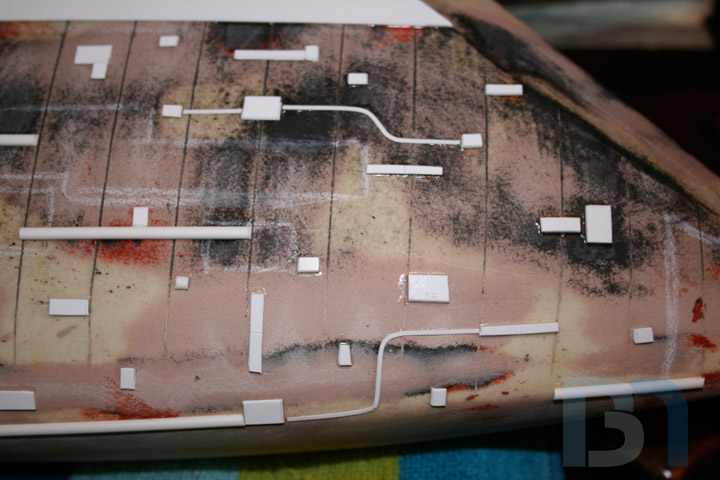
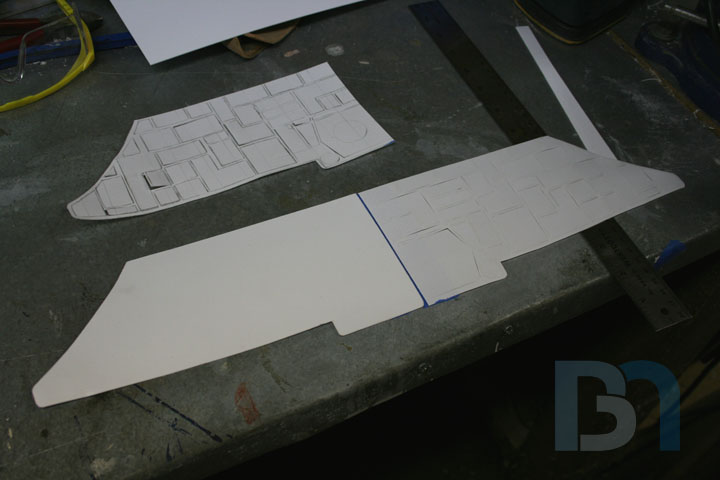
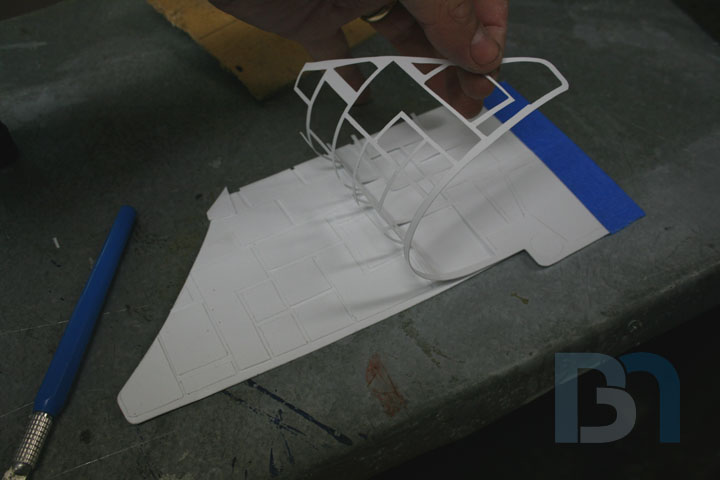
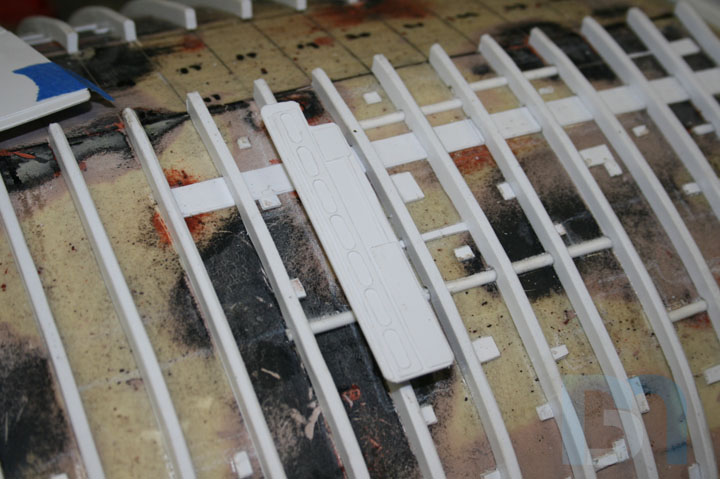
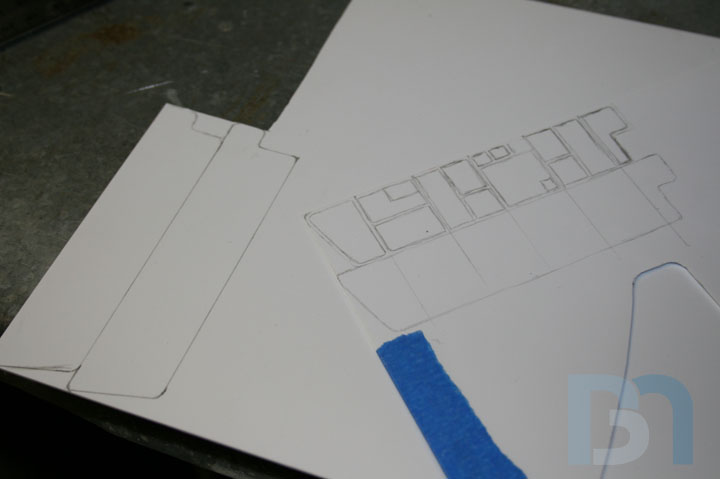
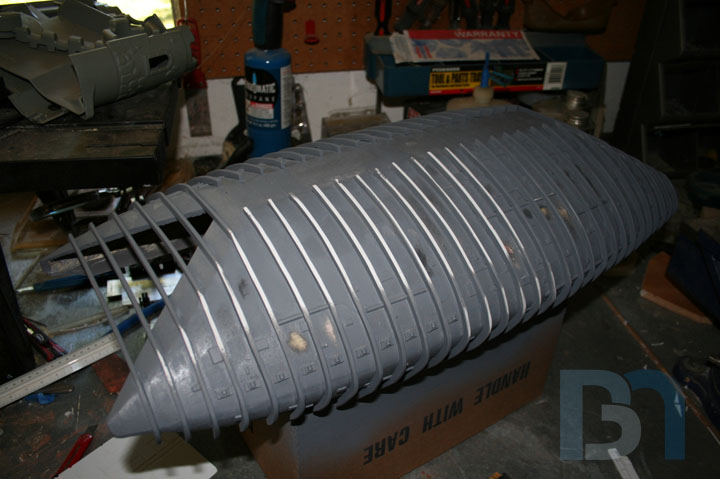
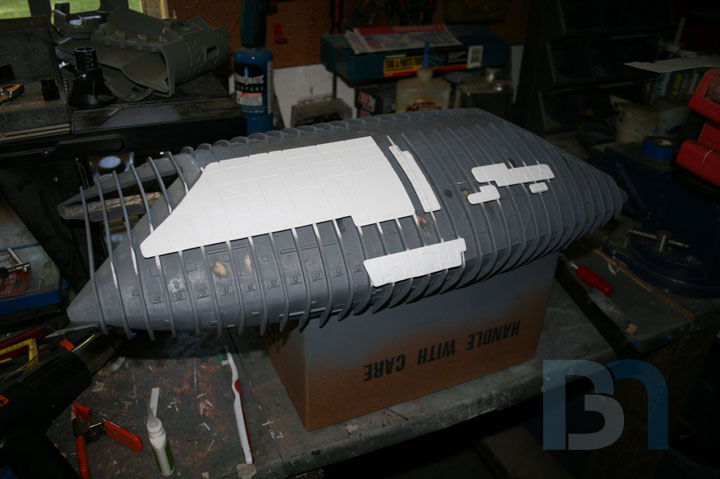
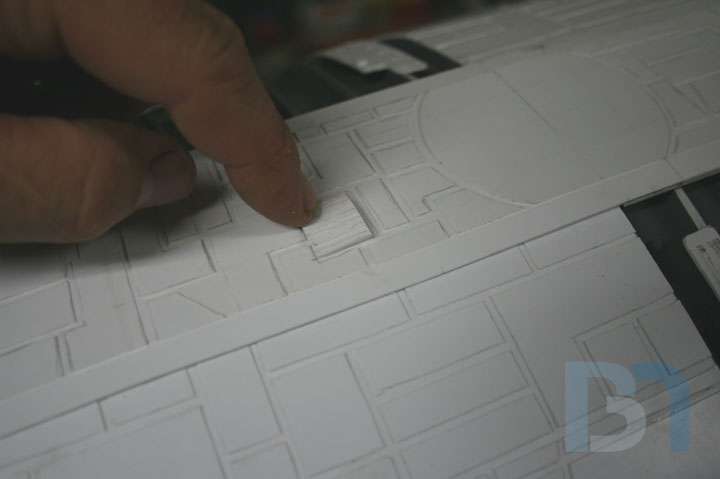
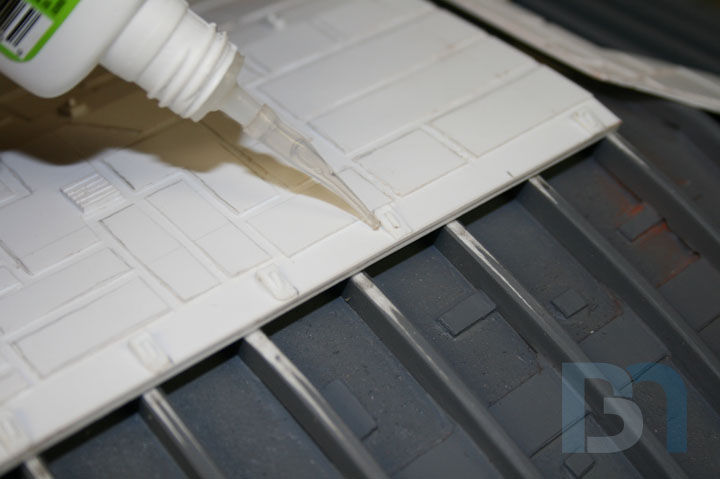
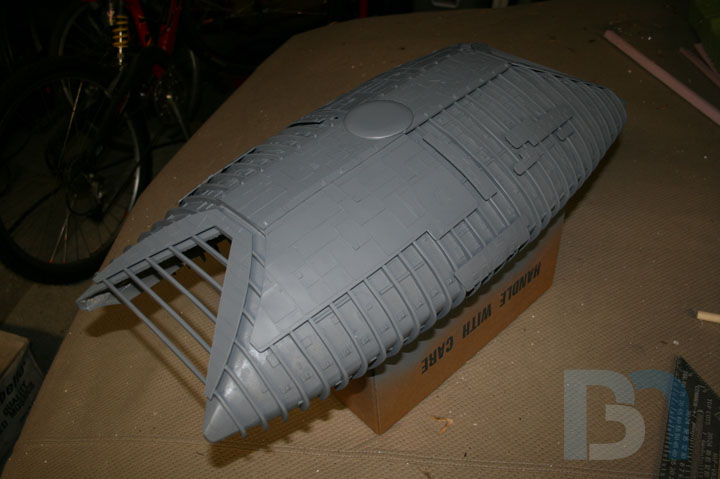
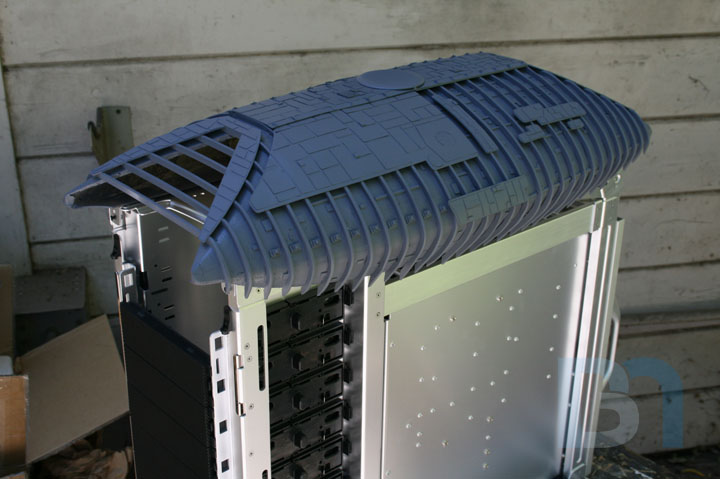
    ...And after I got one side completed. I basically followed the ref photos loosely, just using them
    as a general guideline. I proceeded in a random fashion so as not to look too uniform.


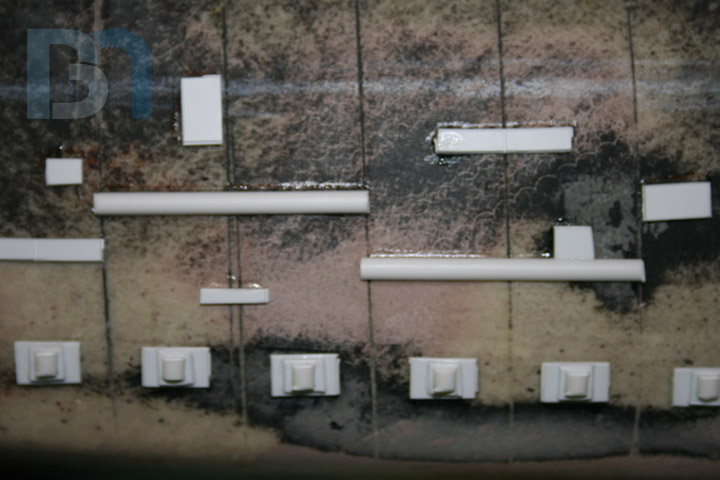
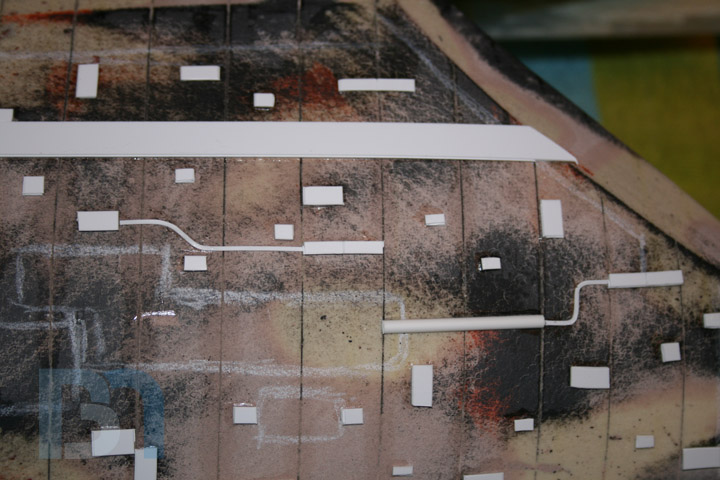
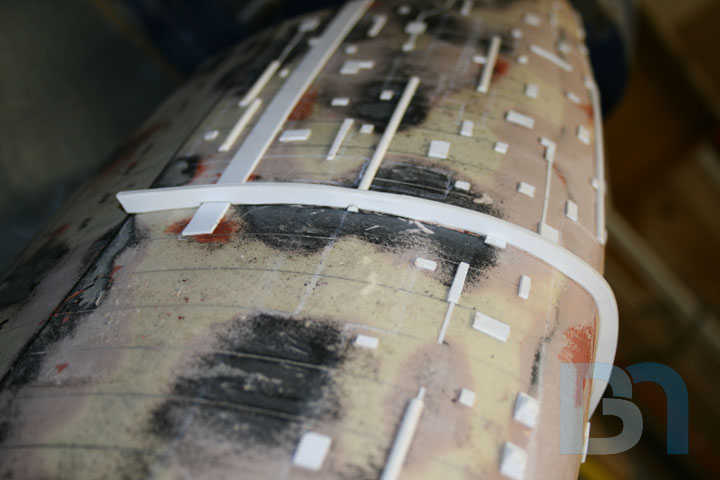
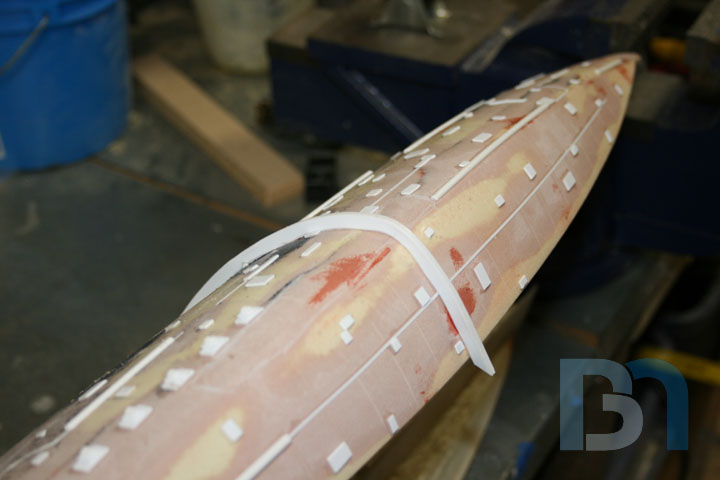
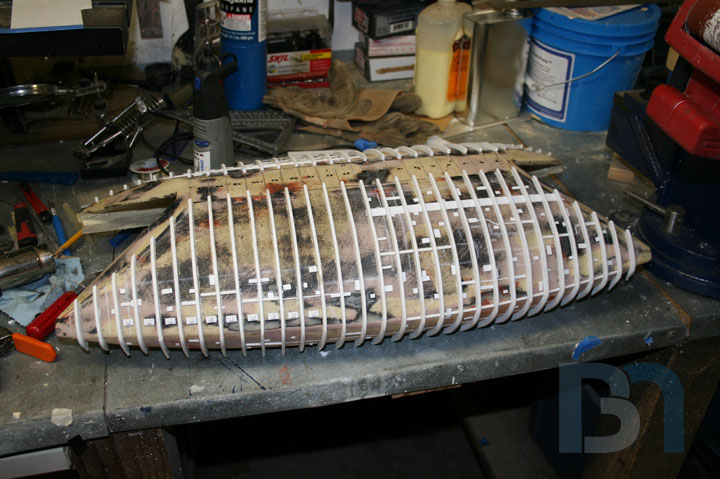
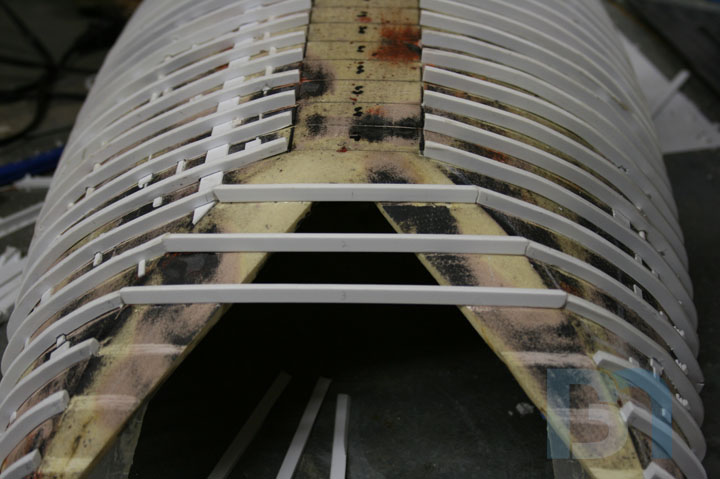
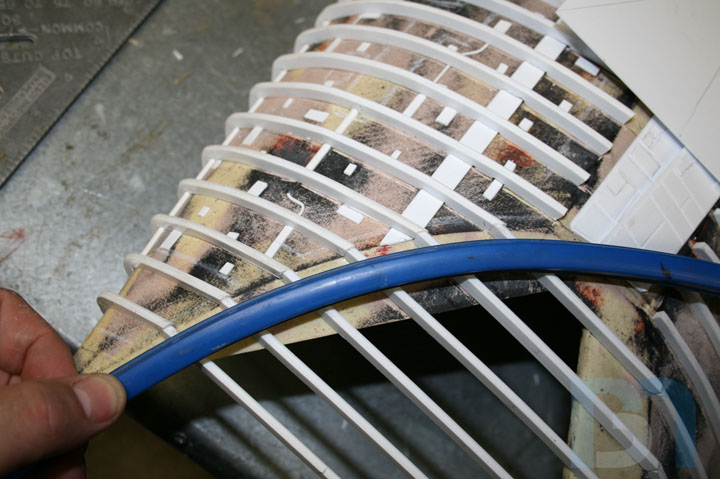
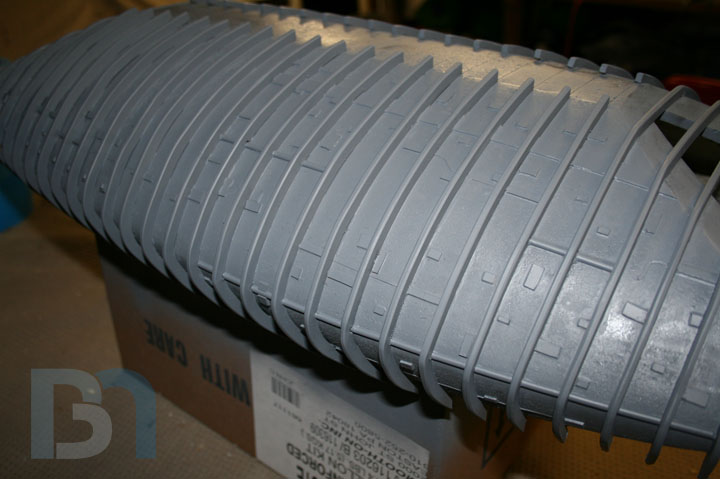
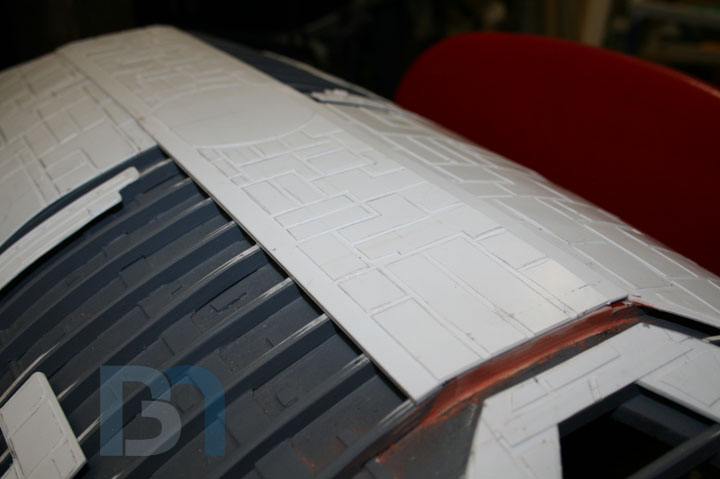
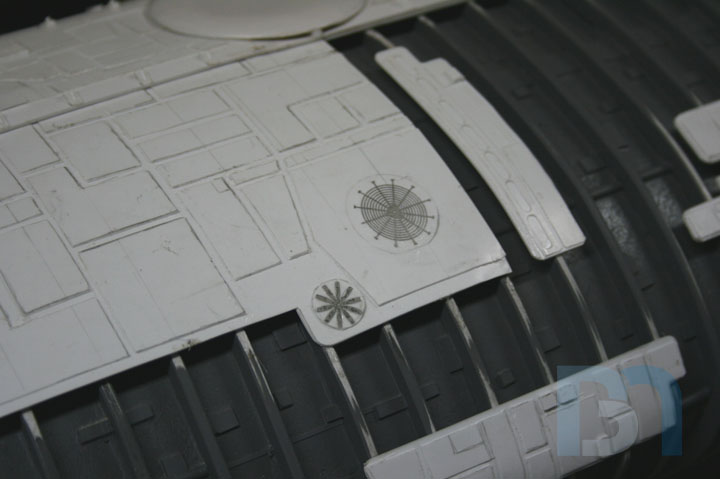
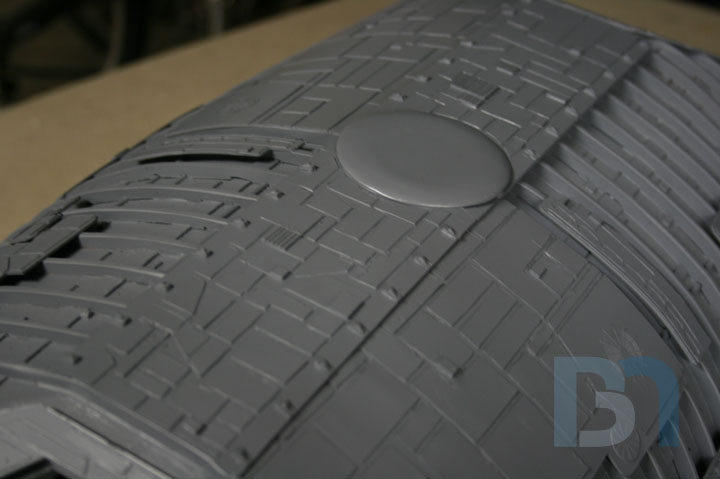
    Some close up shots. Keep in mind all this will be painted the same color in the end.


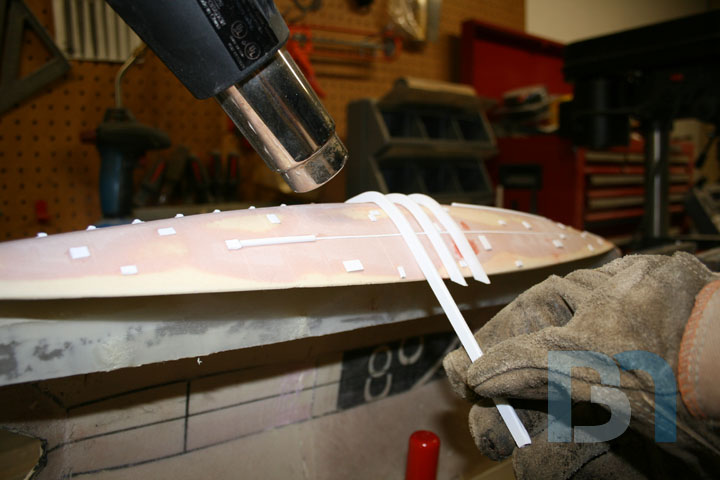
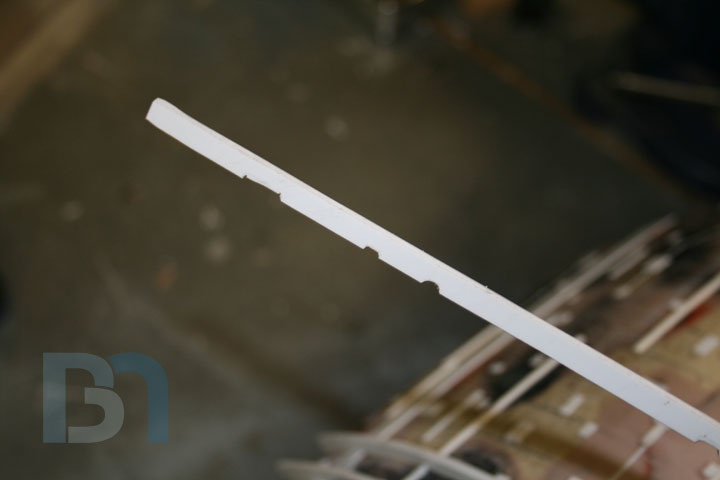
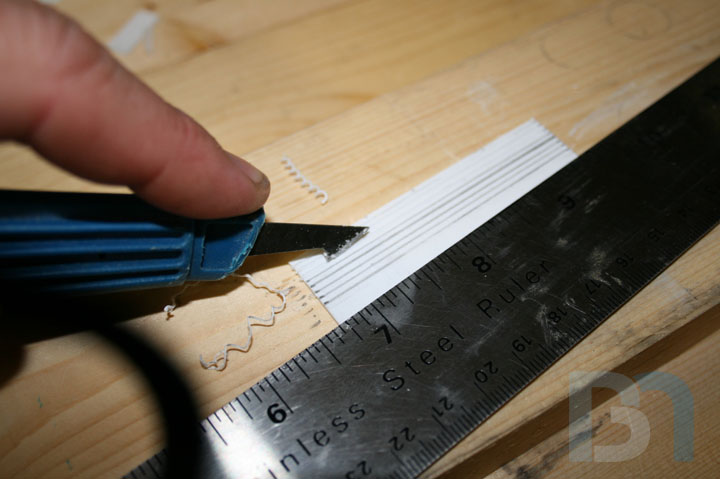
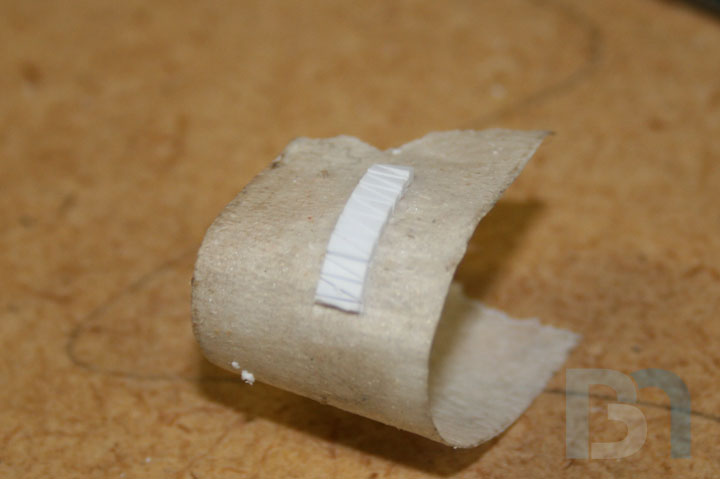
    For the detailing I used .040 Styrene sheet, and half-round styrene rod for the piping. The sheet came with
    ultra-thin flexible strips, so I decided to use them as well for a smaller size pipe.

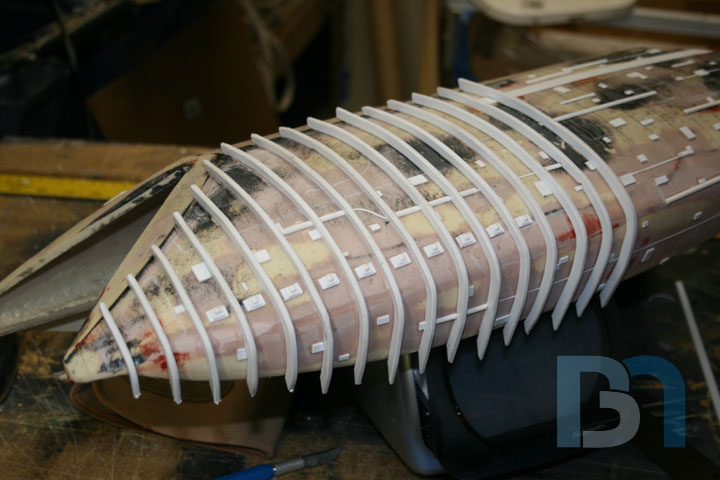
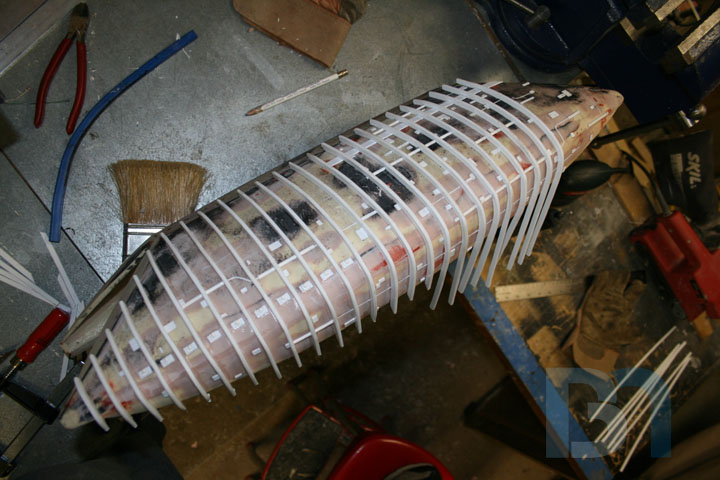
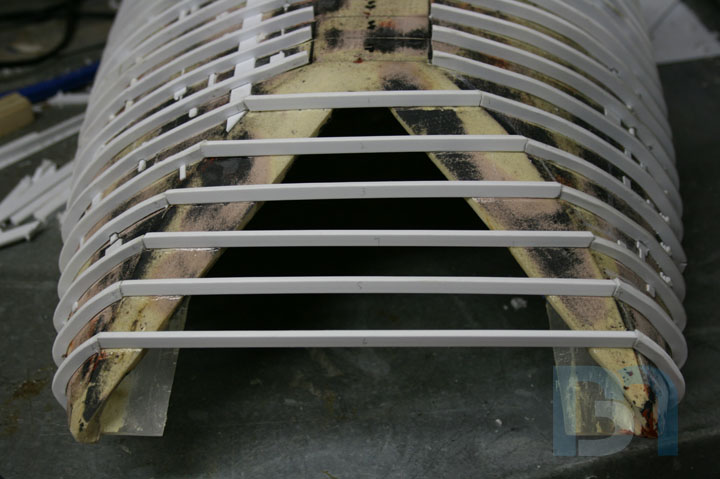
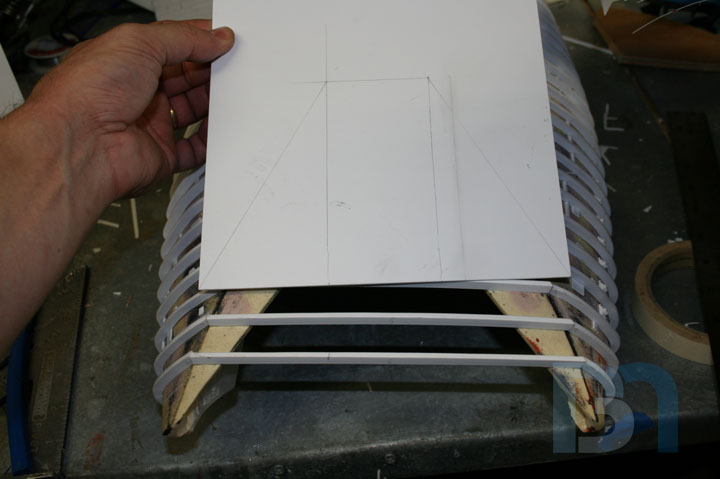
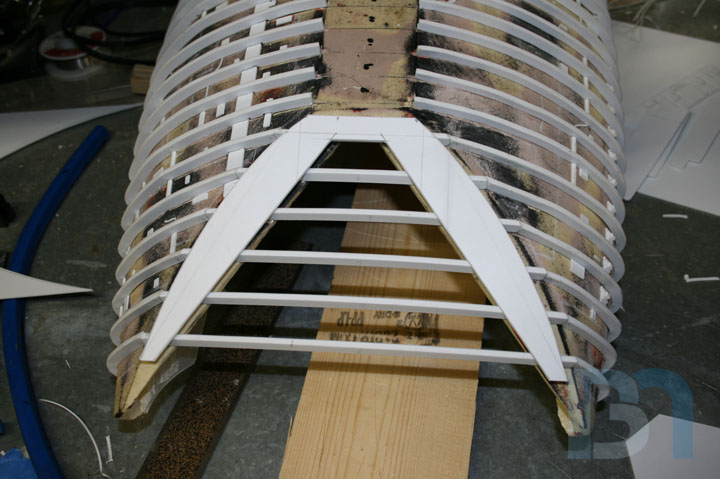
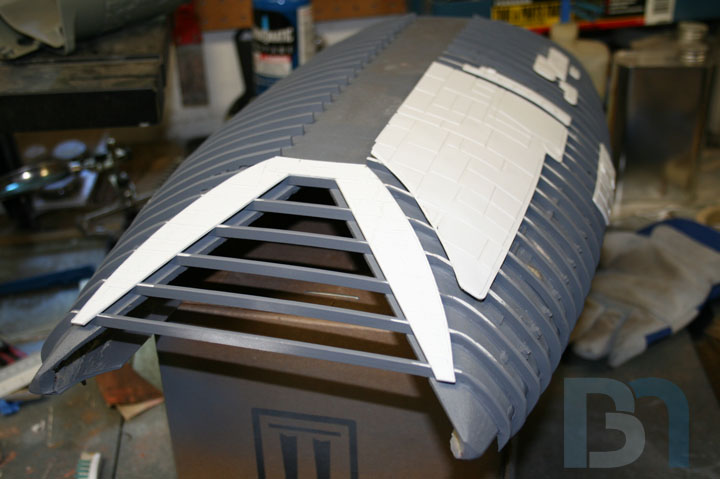
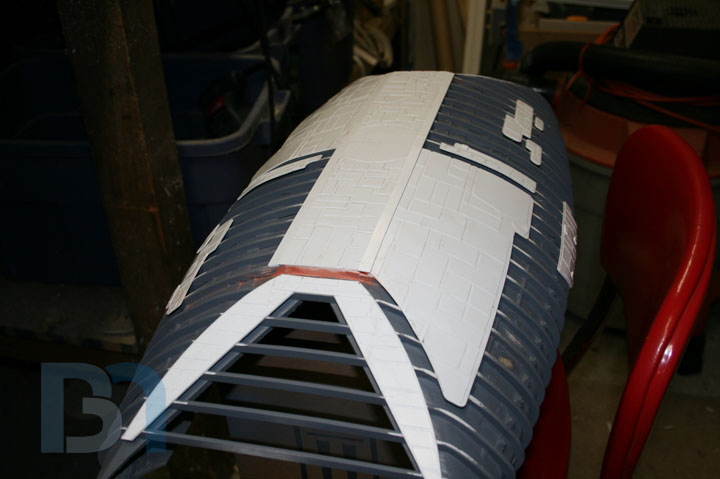
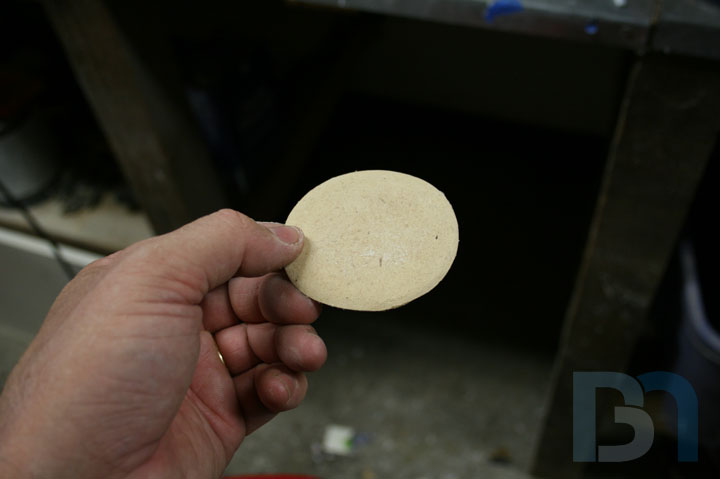
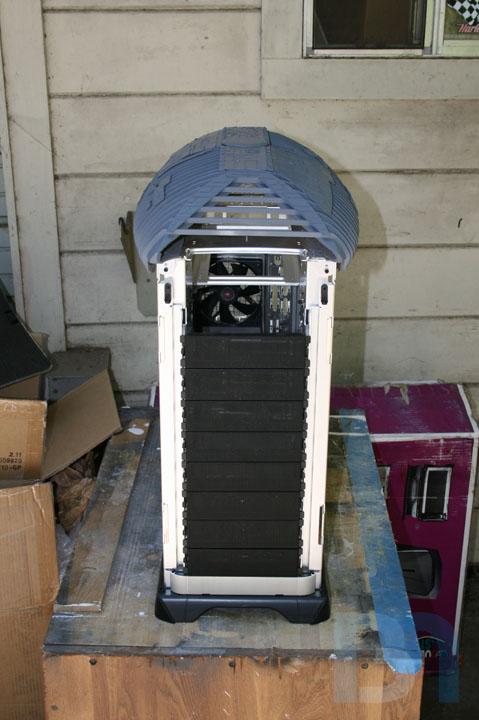
    After adding a bit more detail on the side skirts, I think I can finally prepare the landing bay for the ribs.
    If it works out, it's going to look awesome! Stick around.

    Honey Roasted Peanuts Ingredients: Salt; Artificial honey roasting agents; Pressed peanut sweepings.

  2. #12
    Modding the World, One Case at a Time Boddaker's Avatar
    Join Date
    Jun 2005
    Location
    Northern CA
    Posts
    818

    Default Re: Battlestar Galactica Mod

    Well, my little ribbing scheme didn't work the way I thought it would.

    I was originally thinking I could build up the ribs using more Plasti-Paste, first by laying down strips of weatherstripping with a 1/8" gap in between, then troweling the paste over the whole thing and working it into the 1/8" slots thus making up the ribs. But when I couldn't find weatherstripping of a suitable size, I turned to foam strips as a possible solution. I cut a bunch of those and sprayed one side with adhesive. But that didn't work either because the strips wouldn't take to the curves very well and the ends would pop up as a result.
    So I am now in the process of laying the ribs down one by one, using 1/8" thick styrene strips cut to 1/4".

    Sorry I don't have pics just yet, my DSL is down at home. I will post them tonight if I can get my internet back up.
    Honey Roasted Peanuts Ingredients: Salt; Artificial honey roasting agents; Pressed peanut sweepings.

  3. #13
    Modding the World, One Case at a Time Boddaker's Avatar
    Join Date
    Jun 2005
    Location
    Northern CA
    Posts
    818

    Default Re: Battlestar Galactica Mod

    So my internet at the house is still down, so I brought the pics into work and posted them.

    Here's what I was trying to do with the foam strips, but they wouldn't stick.


    So I cut up a bunch of styrene strips and went to work.


    I have to fit each strip over the detail pieces. (had I known I was going to do it this way, I would have added the
    detailing after laying down the ribs.)


    The styrene is very soft. Doesn't need much heat to become pliable.


    Here's where I'm at, about 1/4 done. But you can kinda see what it will look like.


    Once all the ribbing is in place, I will add the outer armor pieces over select areas, then add detail to them.
    Honey Roasted Peanuts Ingredients: Salt; Artificial honey roasting agents; Pressed peanut sweepings.

  4. #14
    Modding the World, One Case at a Time Boddaker's Avatar
    Join Date
    Jun 2005
    Location
    Northern CA
    Posts
    818

    Default Re: Battlestar Galactica Mod

    Small update. Basically got more of the same done. Almost got one side completed!

    Anyway, here's a few more shots:


    Honey Roasted Peanuts Ingredients: Salt; Artificial honey roasting agents; Pressed peanut sweepings.

  5. #15
    Modding the World, One Case at a Time Boddaker's Avatar
    Join Date
    Jun 2005
    Location
    Northern CA
    Posts
    818

    Default Re: Battlestar Galactica Mod

    Ok here we go- a Sunday night update actually posted on Sunday!

    Well I finished one side of the ribbing, so I thought I would do one panel of the outer armor to see how it looks on there.
    I am using a couple sheets of styrene, one .040 and one .010.


    I took the sheet of .040 and cut out the shape, after making a paper pattern.


    Then on the .010, I outlined the same shape and drew some squares, triangles, and other shapes according to
    the reference pic.


    I took an exacto knife to it, almost cutting each shape out, but leaving them attached for now. I matched it up
    to the main piece and taped the ends together.


    Now that I mated them up how I want them, I open it up and put a dab of glue under each panel.


    Fold it back over and glue it down.


    After a few minutes, I can pull off the leftovers, completing all the cuts along the way.


    And voila! We have raised armor paneling! Much easier than cutting them out and pasting them on individually.


    A shot of the panel in place on the landing bay. It's just taped on for now, because I will need to paint
    underneath it before permanently gluing it down.


    Now it is on to the other side of ribbing. It may be a while 'til my next post, because I won't be doing
    anything different and exciting for some time. At least until I do the ends.
    Honey Roasted Peanuts Ingredients: Salt; Artificial honey roasting agents; Pressed peanut sweepings.

  6. #16
    Modding the World, One Case at a Time Boddaker's Avatar
    Join Date
    Jun 2005
    Location
    Northern CA
    Posts
    818

    Default Re: Battlestar Galactica Mod

    Quote Originally Posted by Tech-Daddy View Post
    Oh my effing ghod, Bod.... this thing is going to be A-M-A-Z-I-N-G! Stellar construction detail!

    Styrene... I have never used it. Where do you get it from? Hobby shops? And am I corret in seeing that it is semi rigid but is bendable with a little heat? Very good! How is it after it cools? Is it flexable? brittle? Just curious....

    I love the original BSG, and I have loved the few BSG's that I have caught on TV (almost made me start watching the TV again... *almost*)

    The use of that Stacker is a perfect use for the style of that case! Your use of a foam mold and plastic is a stroke of genius! I had never heard of that stuff, else I would have used that on the BOSS scoop! Much better results!

    (madly scribbles notes down in notepad)

    I just wanted to chime in and say, "Beautiful work bro!" I am watching this thing like a hawk!

    /me subscribed!
    Wow thanks man!

    Yeah any hobby store will have it. I got my sheets from hobbylinc.
    Those strips are somewhat flexible, but can turn into a wet noodle with very little heat. Once cooled it regains its rigidity.

    I'm taking a bit of a break right now, since we just had an addition to our family last week. A beautiful baby girl! :p Our second one, so as you can imagine my spare time has all but disappeared. Once we get into some semblance of a routine, I might be able to sneak out to the garage from time to time. We'll see how it goes. Right now, I am just basking in the glow of our new daughter and lovin' life!
    Honey Roasted Peanuts Ingredients: Salt; Artificial honey roasting agents; Pressed peanut sweepings.

  7. #17
    Modding the World, One Case at a Time Boddaker's Avatar
    Join Date
    Jun 2005
    Location
    Northern CA
    Posts
    818

    Default Re: Battlestar Galactica Mod

    IT LIVES!!!!!!

    Ok I'm back on this project, and I actually got something new to show.
    Looking back at my last update, I had just finished the one side of ribs,
    and one armor panel. Well, I finally managed to finish the ribs on the
    other side, and much much more! Check it out:


    After that exercise in tedium, I did the ends.


    The center areas will be cut out later, but I kept them intact for now. I won't know how
    much to cut off until I get the inside panels done.


    Then it was on to the rest of the outer armor plates. Going off the ref pics, I sketched out some designs
    and cut them out just as before.


    Using the same technique, I glued the smaller panels onto the main piece.


    More sketching, going off of my earlier chalk markings.


    For the end armor panels, had to do some measuring and a little geometry to get the right shape.


    I also needed to get the correct curves for the shape so they match.
    I brought my trusty flexible curve out again to transfer the curve from the main body to the sheet.


    Not a bad match! Now to do it again for the other end.


    Comparing it to the ref pic.


    All the armor panels done! Well, almost all. I still need to do the top.
    But I can't do the top until I get all these panels glued on.


    I thought I would shoot a coat of primer onto the whole thing to get underneath the panels before I glued them on,
    but also because I wanted to see this thing all one color for once!


    Looks pretty good, don't you think? This is where I'm at now. Next step is to get all the armor pieces glued down, and the top armor on.

    Feels good to be back on track with this mod. I can't believe it's been over two months since I stopped working on it.
    Hopefully I can keep at it now, and post some regular updates from here on out.

    Honey Roasted Peanuts Ingredients: Salt; Artificial honey roasting agents; Pressed peanut sweepings.

  8. #18
    Modding the World, One Case at a Time Boddaker's Avatar
    Join Date
    Jun 2005
    Location
    Northern CA
    Posts
    818

    Default Re: Battlestar Galactica Mod

    Ok, more work done, yay!

    Was able to finally attach the outer armor panels to the ribs. I sanded off the areas and commenced gluing.


    Got one side done, then the end.


    Once I got both sides done, then I could measure out the top panel. Since this panel overlaps both sides,
    I had to wait til everything else was on before making this piece. I drew it up, cut it out (leaving the
    panels slightly attached), and glued them down.


    ...And the gutters removed.


    ...And glued onto the top. I had to add a styrene rib under each end to sort of cap it off and give it
    something for the edge to adhere to. After gluing that down, I applied some glazing putty to smooth
    out the seams. Once painted, it will look like a contiguous part.


    A close up shot.


    All that's left is adding a few more detail pieces here and there, and then I can paint it.

    Honey Roasted Peanuts Ingredients: Salt; Artificial honey roasting agents; Pressed peanut sweepings.

  9. #19
    Modding the World, One Case at a Time Boddaker's Avatar
    Join Date
    Jun 2005
    Location
    Northern CA
    Posts
    818

    Default Re: Battlestar Galactica Mod

    "God is in the details."

    Adding more detail pieces on the top. This will be some grates on a couple of the panels.
    Took a piece of styrene and drew out some lines.


    Cut out some material with my acrylic cutter, taking care not to cut all the way through.


    Chopped down to size,


    And glued into place.


    I wanted to add this raised circle portion in the middle of the top panel and put the BSG insignia on it,
    but I didn't have a thick enough piece of styrene.


    So I found a scrap piece of press board and cut out a circle,


    and sanded down around its circumference to get the required shape.


    Sanded.


    Profile.


    Test fit.


    Next was to skin it with a thin sheet of styrene. In order to work with it, I temporarily glued the wafer
    to another scrap piece of wood for a holder.


    Cut out an oversized piece of styrene, glued the center down, and turned on the heat. Didn't need much!


    After a few minutes it looked like this.


    Trimmed.


    Glued.


    Profile.


    Test fit.


    Once I sand down the edges, I will glue it down permanently. Then once the whole thing is painted,
    I will go back and apply the insignia along with the requisite weathering and such.

    More detailing to be done over the weekend. Stay tuned.

    Ok, pop quiz hot shot! Who can tell me the name of the person who said that quote at the top of this post? And no googling!

    And as a bonus, who can tell me where the quote "pop quiz, hot shot!" came from? Again, no google cheaters!
    Honey Roasted Peanuts Ingredients: Salt; Artificial honey roasting agents; Pressed peanut sweepings.

  10. #20
    Modding the World, One Case at a Time Boddaker's Avatar
    Join Date
    Jun 2005
    Location
    Northern CA
    Posts
    818

    Default Re: Battlestar Galactica Mod

    "The details are details. They make the product.
    The connections, the connections, the connections.
    It will in the end be these details that give the product its life."


    Another appropriate quote I found. This one is a bit more obscure, but see if you can get it. You are free to use Google too.

    Here we go, more detail pieces. These will run along both edges of the top armor panel.
    I cut a bunch of wedges off a piece of styrene, then a bunch of smaller wedges from a tiny piece
    of scrap .040 sheet.
    It looks tedious, but once I got going, it didnt' take long. I had to make 28 of them.


    Gluing the small wedge onto the big wedge.


    I used a piece of tape to keep all the small wedges in place until it was time to use them.


    All 28.


    Gluing them to the top panel.


    I had this package of detail pieces lying around, so I thought I would throw some onto the armor.
    I will be doing some kit-bashing later.


    Glued in place.


    ...And primed.


    Here's a few shots of the landing bay on the case.


    The top being pretty much done (other than final paint), I started on the interior panels, which will include support beams with lighting.


    Oh, and the answer to the previous quote quiz is: Ludwig Mies van der Rohe.
    Honey Roasted Peanuts Ingredients: Salt; Artificial honey roasting agents; Pressed peanut sweepings.

Posting Permissions

  • You may not post new threads
  • You may not post replies
  • You may not post attachments
  • You may not edit your posts
  •