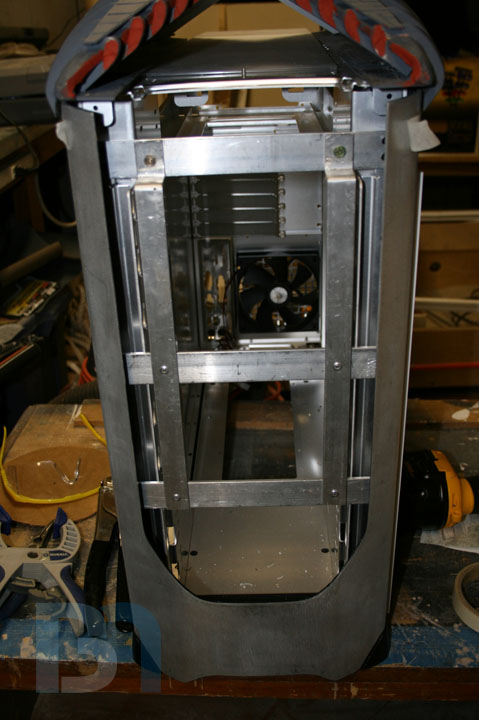
Ok, well I was going to post an update last night, but my server was down. But now it looks like it's up and running, so on with the update!
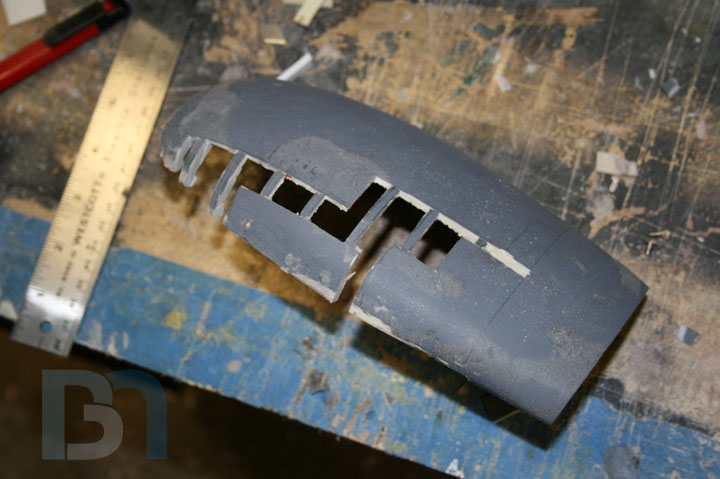
Got a bunch of work done on the pods over the course of last week, adding detail and basically
hacking them up!Essentially, what I wanted to do was continue the ribbing/armor motif,
but I didn't want to just glue more styrene ribs over the pods. So I came up with the idea to cut out
areas of the pods to give the impression of ribs running through them.
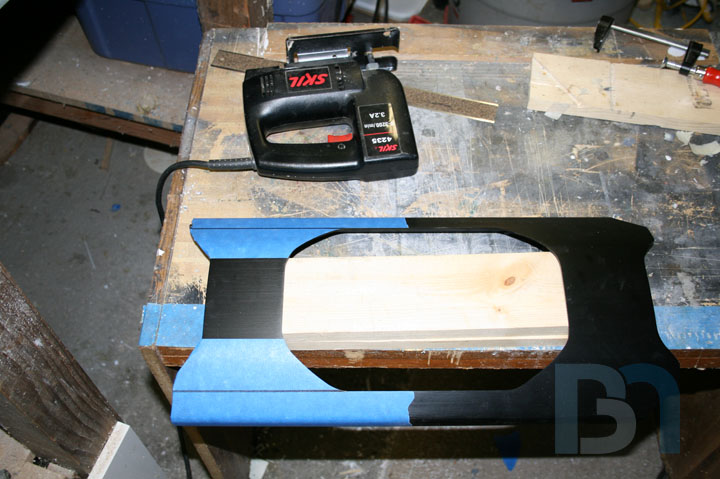
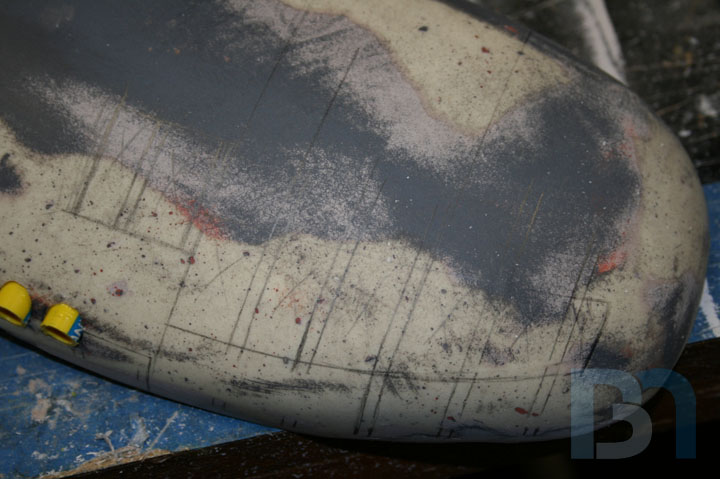
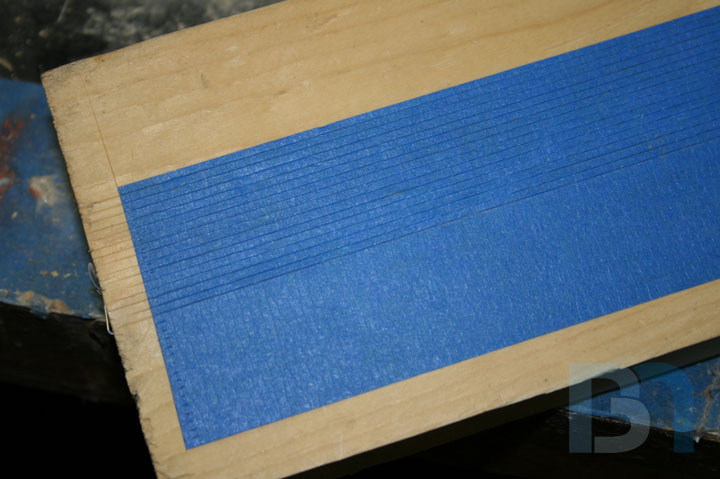
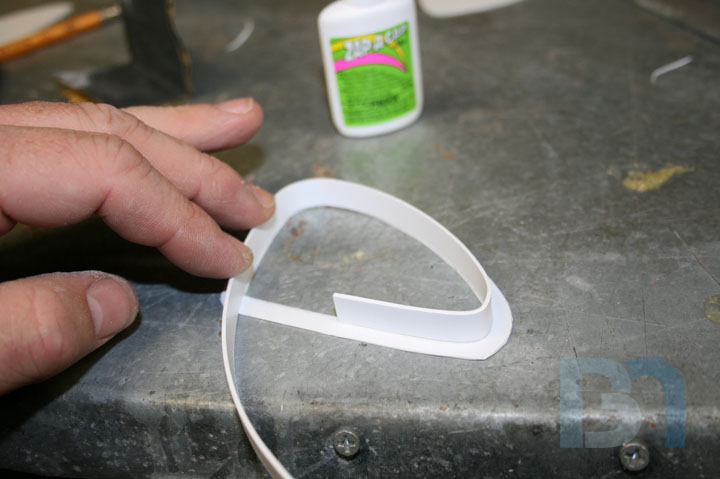
So I drew out my design,
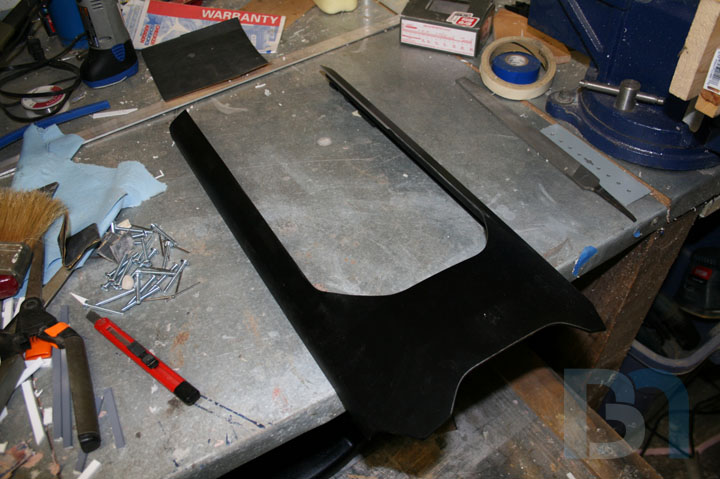
...and cut it out.
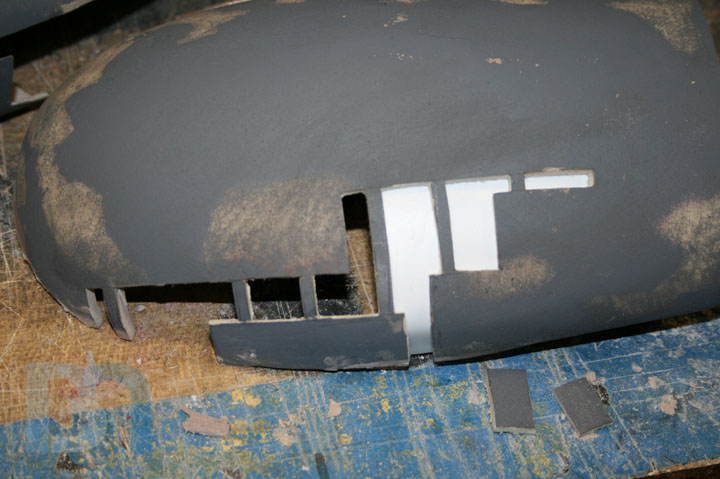
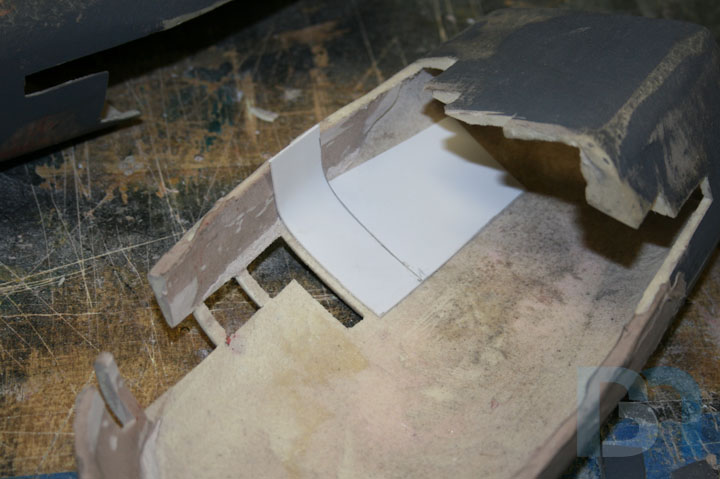
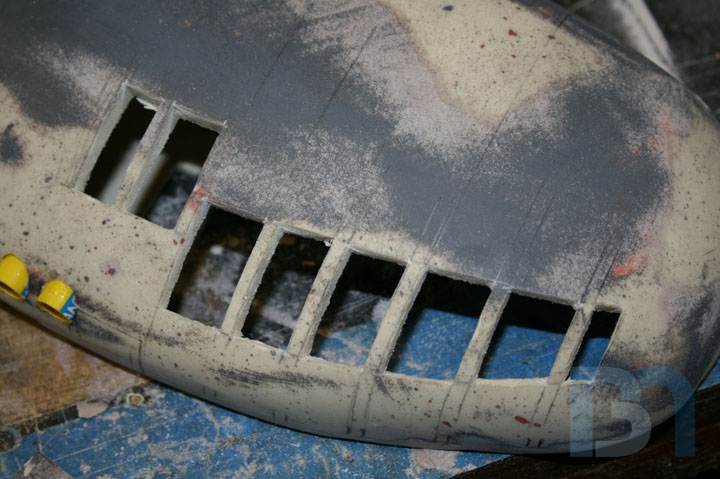
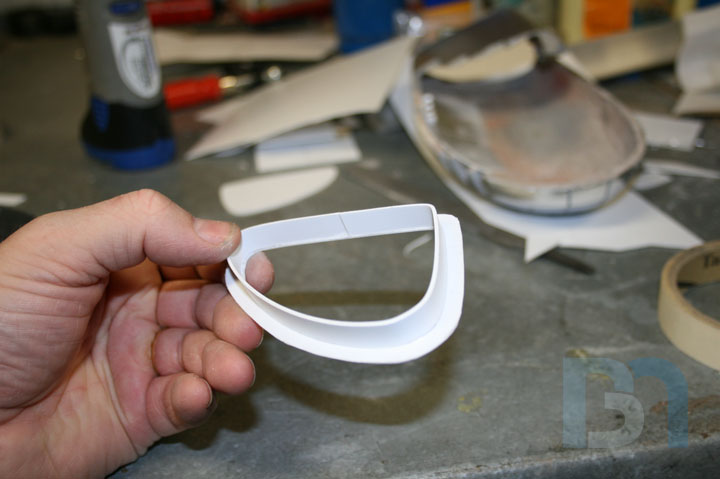
Then I proceeded to add a styrene backing to the underside.
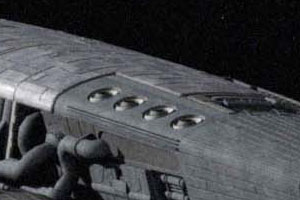
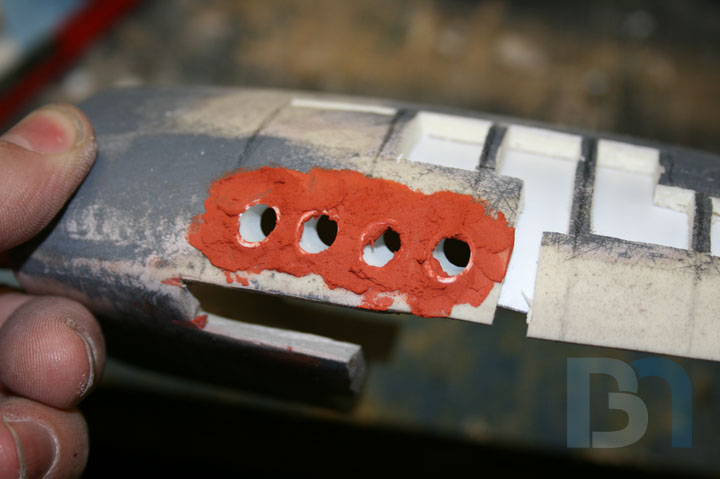
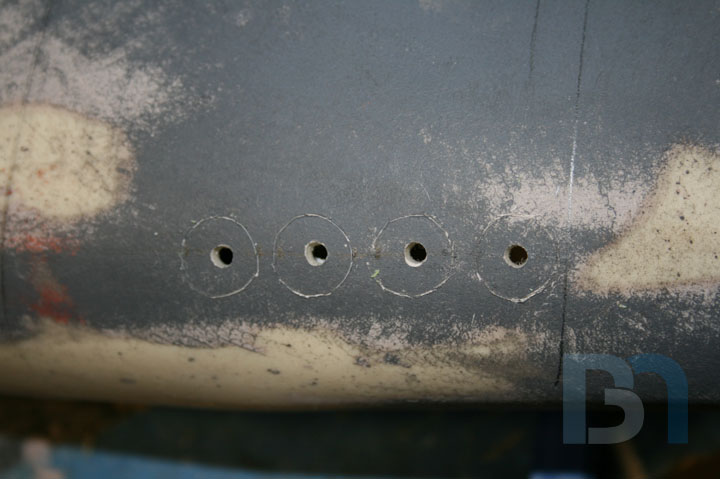
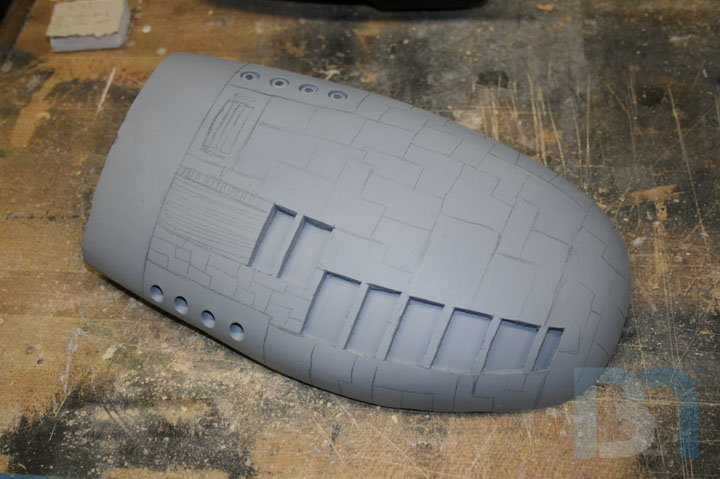
Once that was done, I started on those rows of ports seen here:
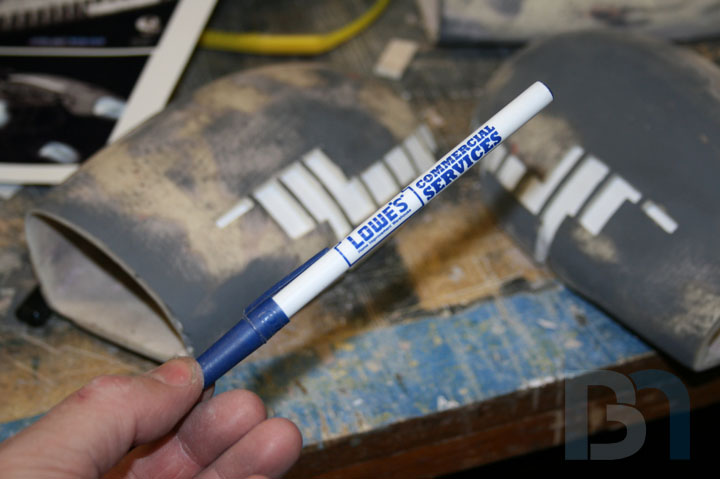
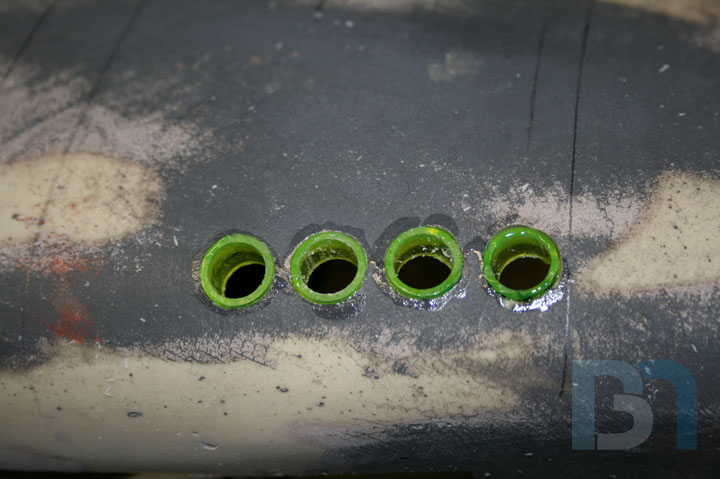
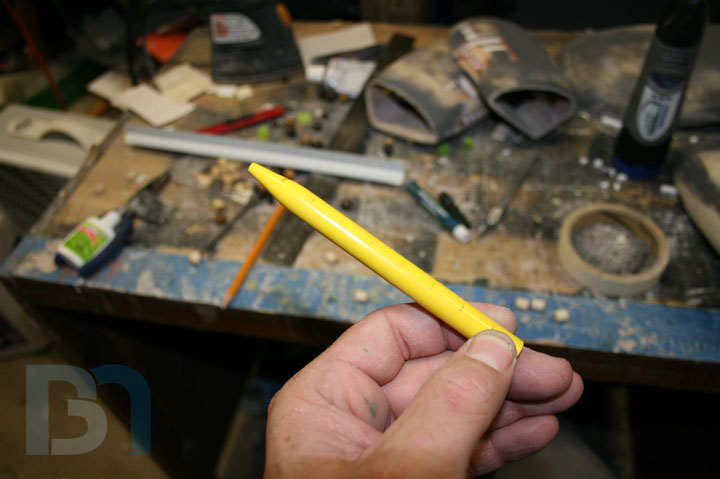
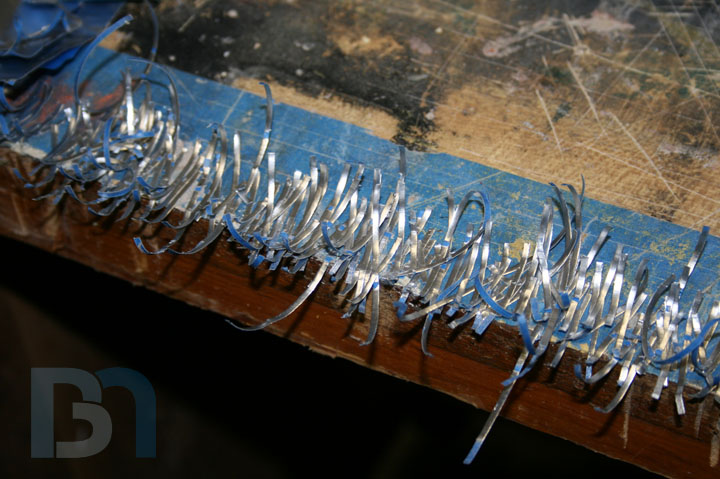
Since I didn't have any styrene tubes lying around, I figured a few pens would work just as well. Sorry Lowes!
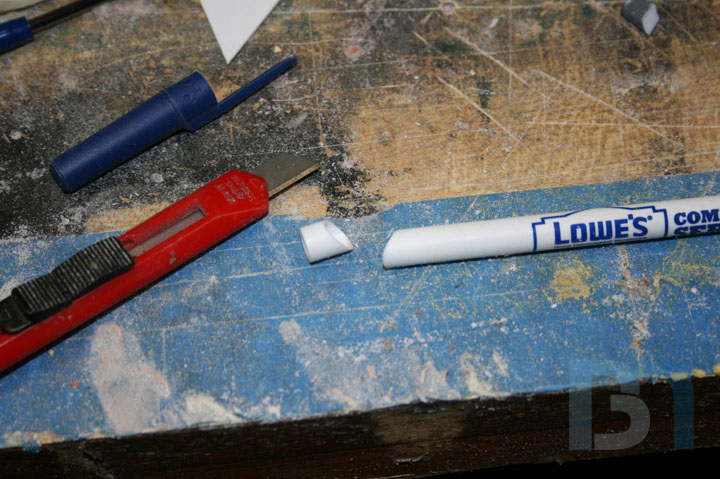
Chopped it up,
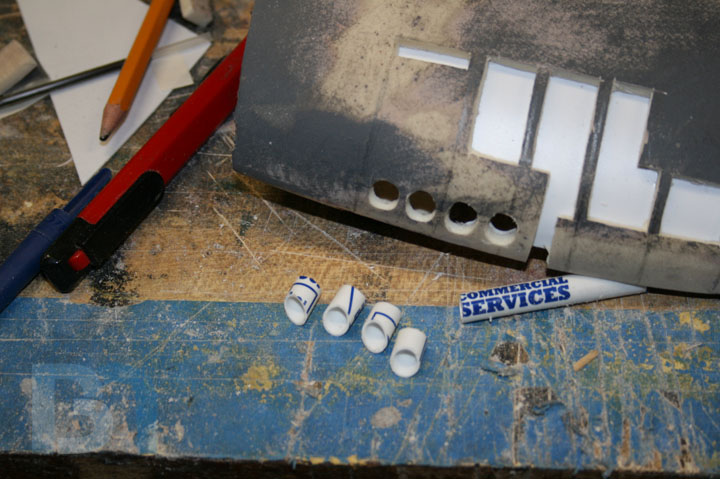
Drilled the holes,
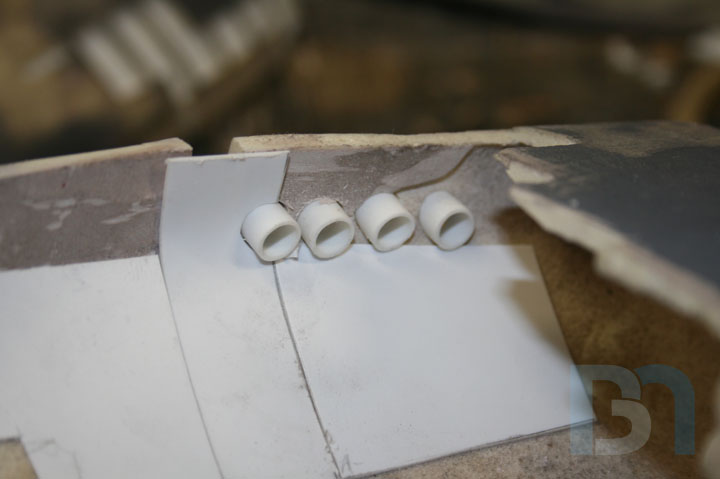
and glued them in. Here's a shot of the back side.
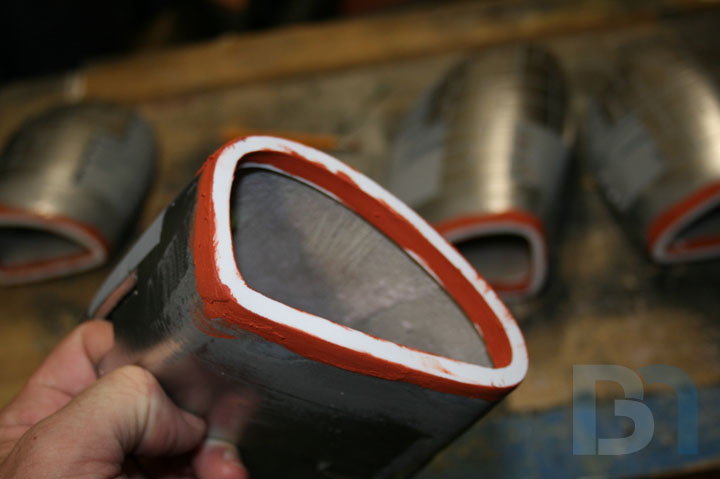
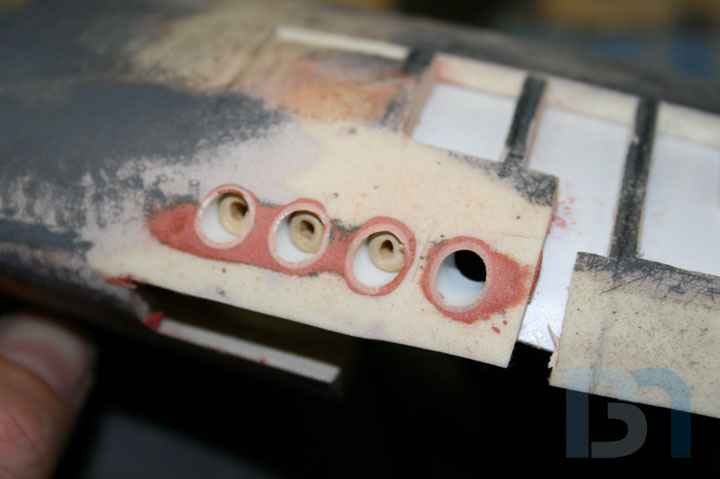
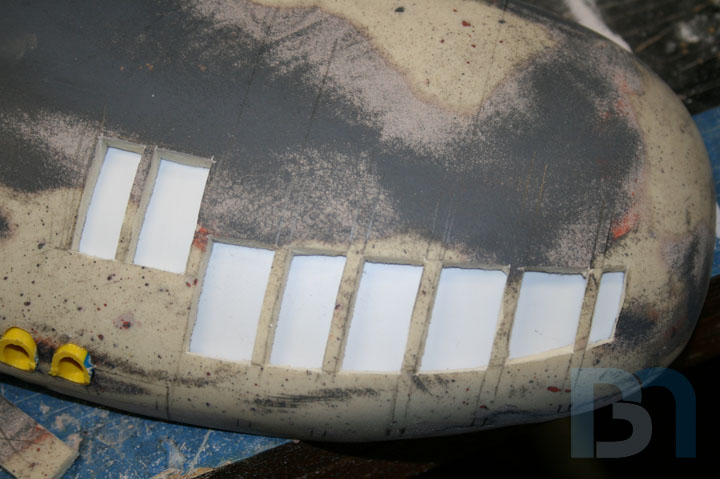
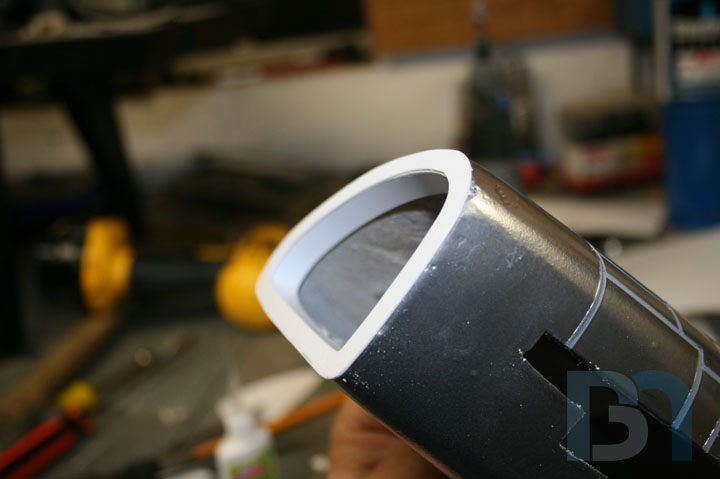
Used some glazing putty to fill in around the edges.
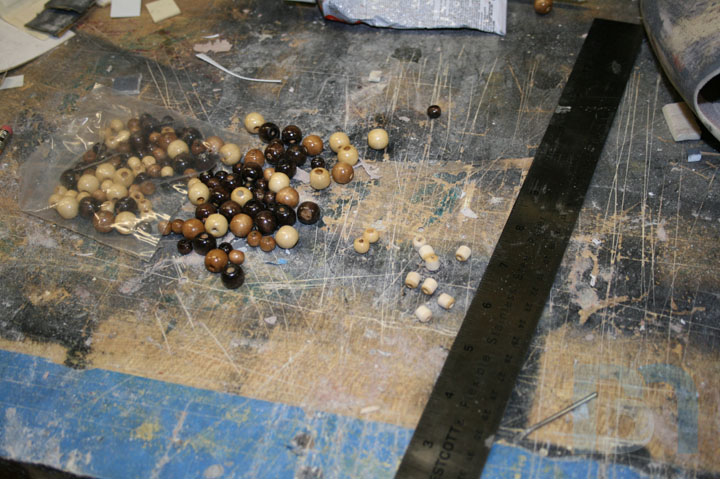
I was trying to figure out what I could use for the inner nozzle. After looking around in Michaels
craft store, I found these wooden beads.
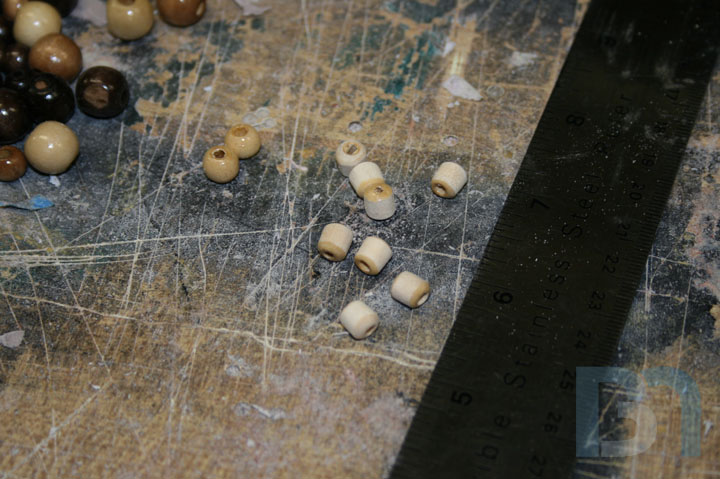
Had to sand them down a bit so they would fit into the pen tubes. I stuck them onto a nail and
rotated them over the belt sander.
One more to go!
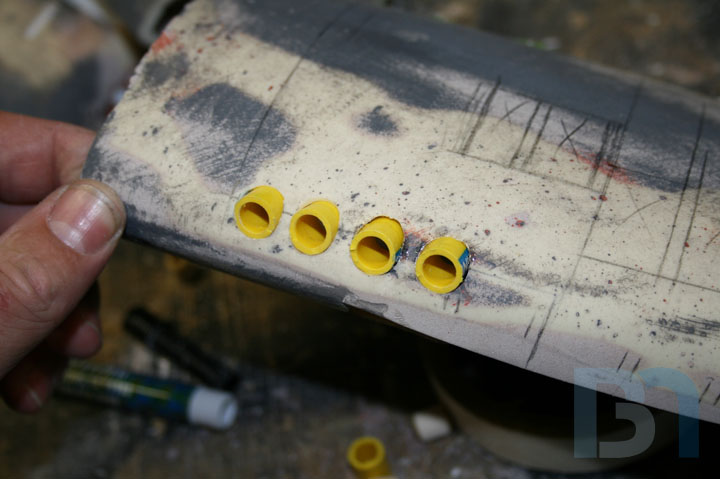
For the bigger pods, I had to find bigger pens. These are 7/16" dia. Drilled a pilot hole, then used
the dremel to rout out the rest. A bigger drill bit would crack the plastic.
Pen #2 cut and glued in place.
Pen #3 bites the dust!
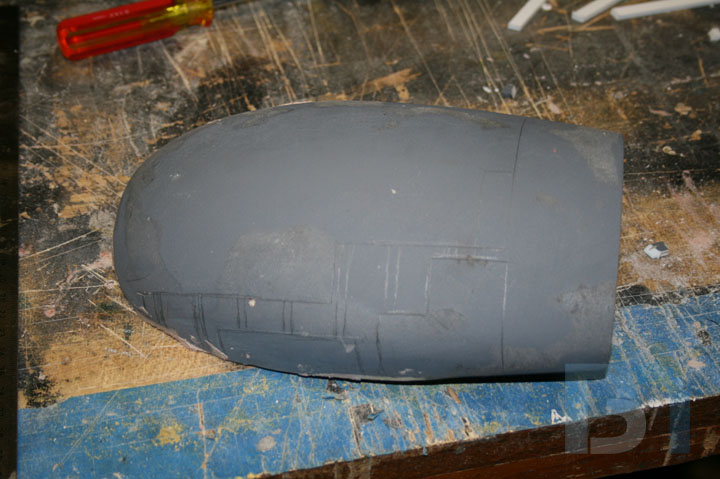
While the pens were setting up, I drew out the rib sections on the larger pods.
And cut those out.
With the styrene backing in place.
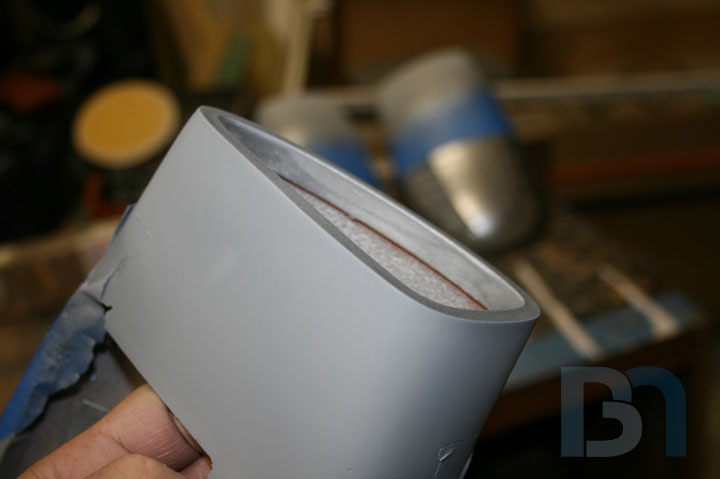
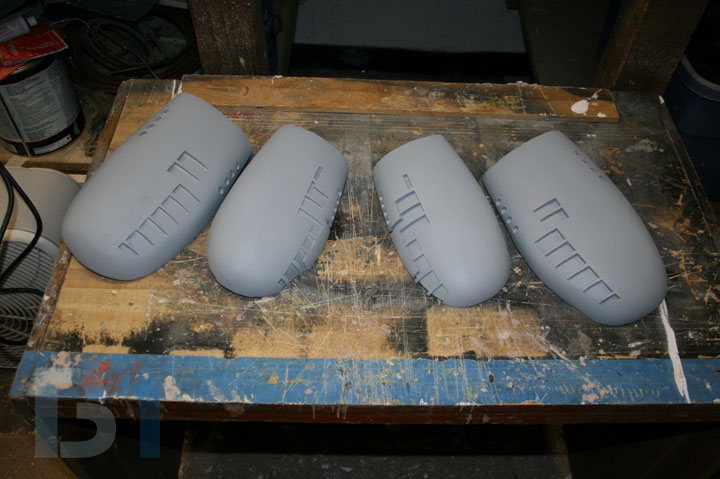
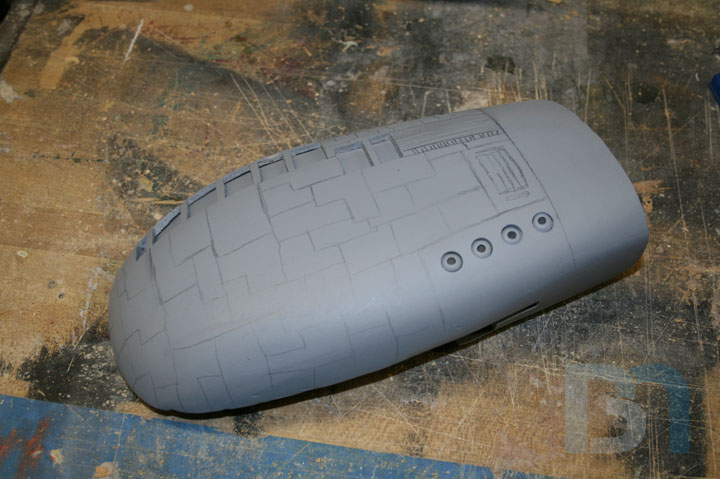
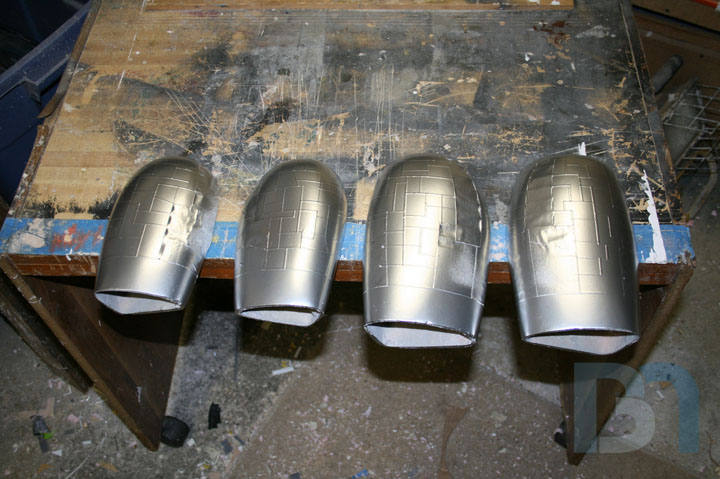
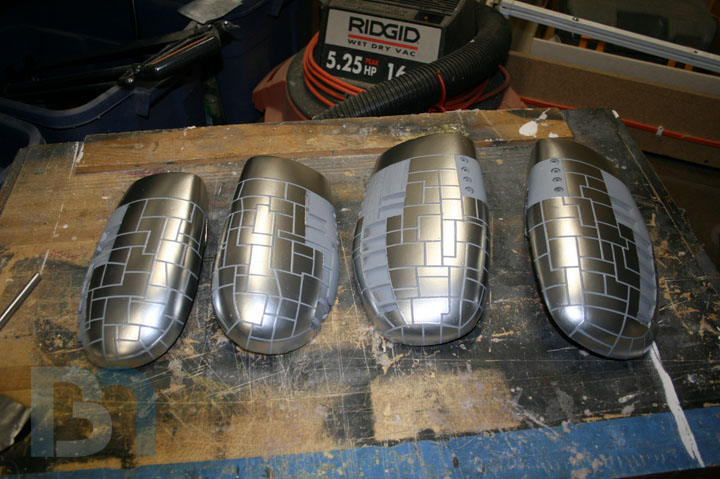
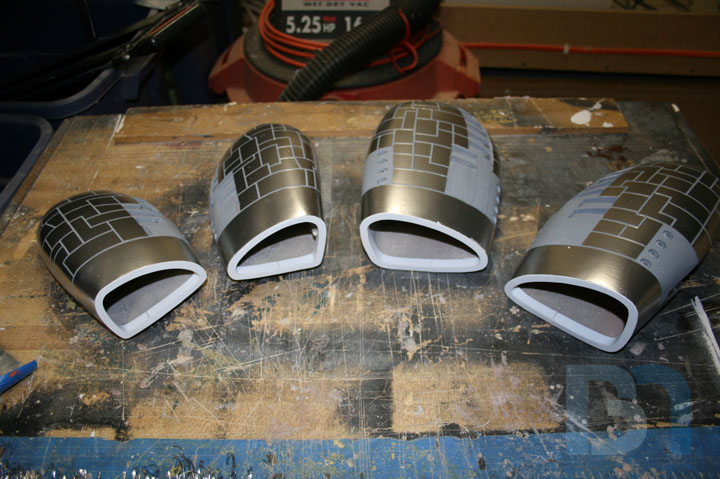
After more sanding and filling around the ports, I got all four primed.
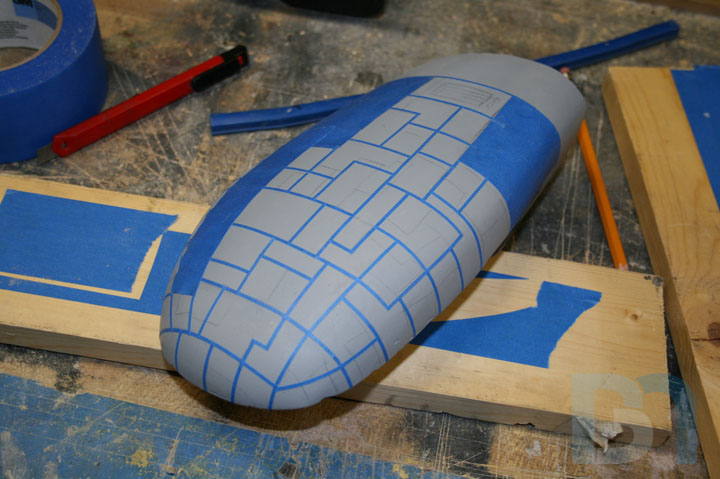
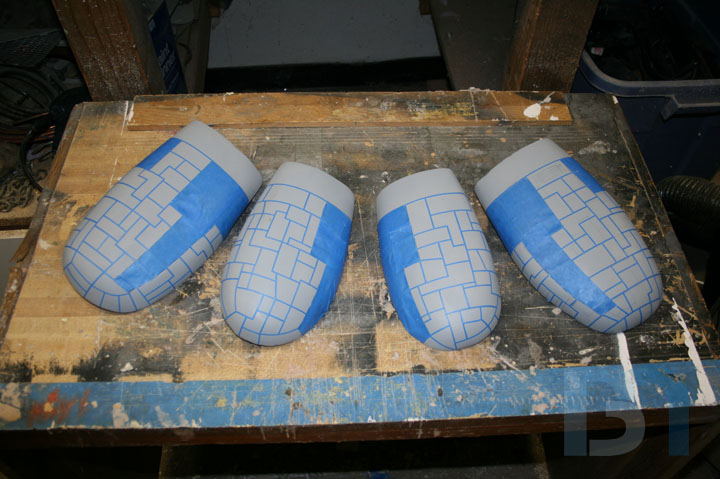
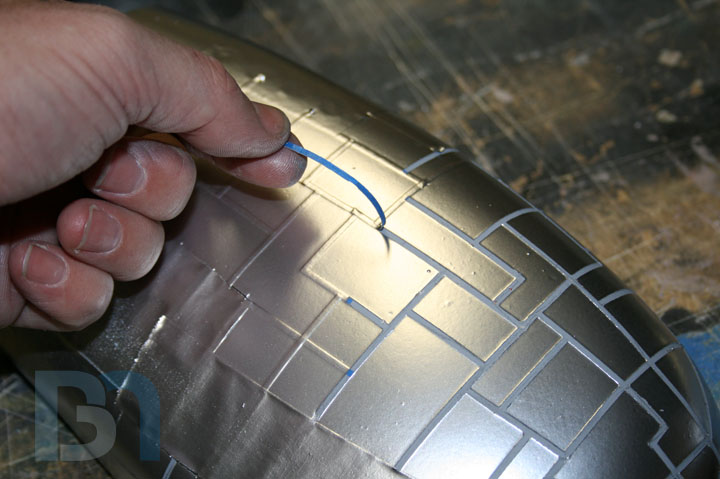
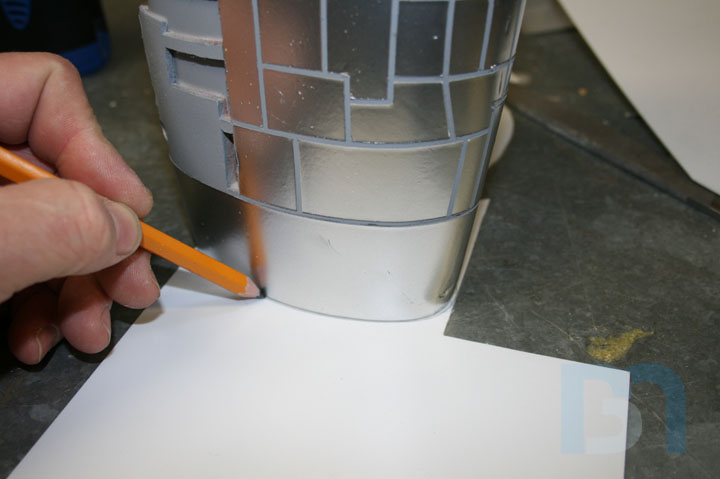
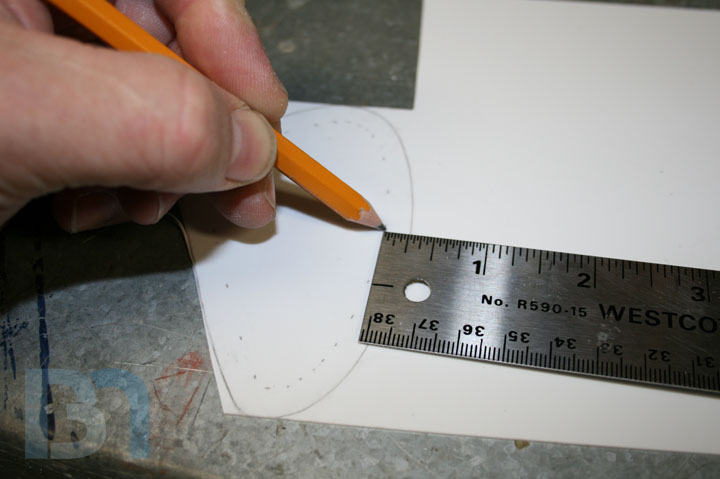
Now I can start lining out the armor pattern. I just did a quick sketch on one to show you what it will look like.
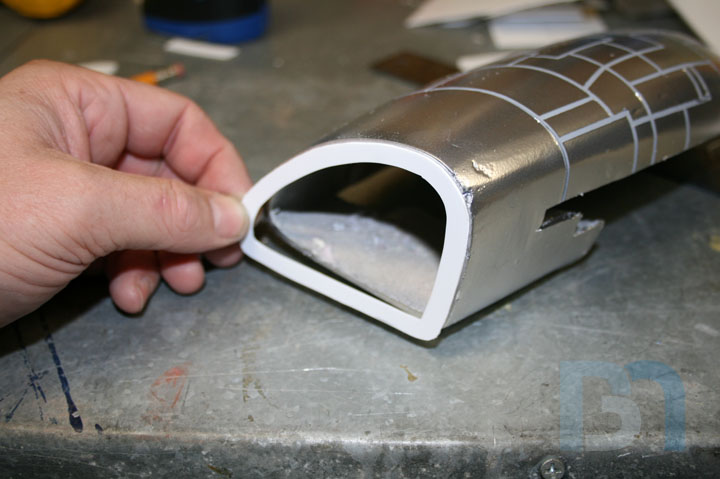
I won't be doing these armor panels the same way as before. The pods' complex curves would make it too difficult to
lay them down flat. I have a much easier method in mind, but I'm gonna leave that for next time. In the interim though, feel
free to speculate how I will do it!


 I think that's the best compliment a modder can get. Thank you!