-
Anodized


-
-
Anodized


 Re: Aperture Science
Got some more painting done today.
First off were the top and bottom bars, first with primer and then 2-3 coats of black, the molotow paint drys out very quickly so you don't have to wait 24 hours to do the next coat which saves me a lot of time 
Then I painted the Power/Reset buttons and started priming both of the sidepanels. Everything came out really well, I think this is the first mod for me where almost everything goes just as planned 
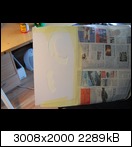
Note that I used white Primer so the sidepanels look as if they've already been painted. That's not the final white though, it's going to get even brighter!
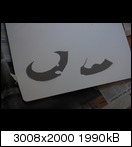
One of the bars with primer:
And after the first coat of black. Yes, I'm drying this the same way I dry my clothes 
The buttons:
After drying I put them in the top part that I have already painted. Here you can also see that the paintjob is very smooth and even, thanks to the great paint.
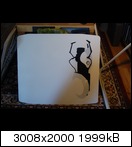
And now the sidepanels, before priming:
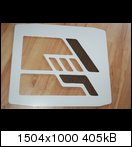
And after. Just as planned, the surface of the sidepanels is now completely smooth, so my sanding did the trick.
And another last shot of the top an bottom bars. Next up is clear coat, then they're finished. I think I'm going to put something over the bottom ones to protect them (I was thinking small black rubber bands) so they don't get scratched underneath. Nobody would see it but I hate the thought of ruining a perfectly fine paintjob that way 
Tomororw, I'm going to get the final white on the sidepanels. I'm hoping I'll get the painting done over the weekend, then maybe I can already start putting everything together next week and have this mod finished in 1-2 weeks 
-
Anodized


 Re: Aperture Science
I spent the whole day painting today and have made a lot of progress.
I've got a bunch of pics so no reason to bore you with unnecessary text 
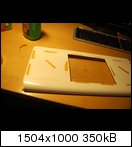
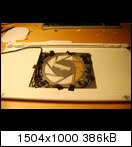
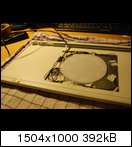
First I had to bring out the dremel one last time to make a big cutout in the front door. Since I'm not using the white plexi anymore it had to be done so that there's a space where I can fit in the lightning stuff for the logo. I'm going to cover it up from behind later, I'm not sure how yet, maybe I'll just use another piece of the same Metal I made the frontplate out of.
Making those cuts was a tedious task, the Aluminum of the front door is twice as thick as the sidepanels so it took ages to get through. I actually had to pause several times to let the dremel cool off, it got so hot that I couldn't hold it any longer.
Filing, Sanding, you know the drill
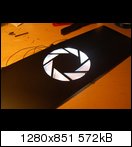
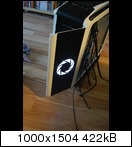
Just to make it clear, this is what the hole is for:
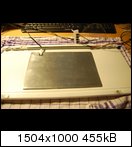
Then I finally started painting. The mesh for the window in black:
And basically everything else! All the major parts are painted now, the only remaining step is clear coat for everything and then I'm done with the painting. Well, almost. The Portalgun still has to find its way on the right sidepanel, hopefully I'll get that done tomorrow. These are the white parts I did today, note that they're going to get a bit more glossy tomorrow with the clear coat, other than that, this is pretty much it.
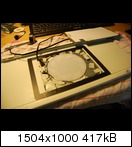
After the paint for the door was dry I put the frontplate on it to see what the final thing will look like. As expected, the combination of those colors is beautiful.
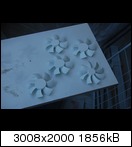
Last step today, preparing the fans for painting.
More tomorrow 
-
Anodized


 Re: Aperture Science
I've got good news and bad news today. Good news is, the painting is finished and everything except the right sidepanel looks pretty awesome. The Bad one is, the right sidepanel didn't quite turn out the way I had hoped. I'll explain with pictures:
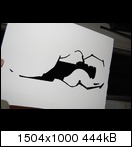
First I'll finally explain how I was planning on getting the portalgun on the sidepanel. As for a bunch of other stuff, I used stencils again. I made two of them, one for the grey areas and one for the black areas of the portalgun. The third color is the white of the background.
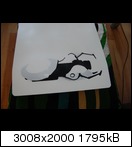
This is stencil for the black parts:
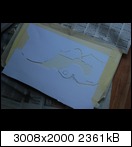
And this is the one for the grey ones, already on the sidepanel:
That's what it looked like after spraying:
Next one:
And now comes the problem. As it turns out (I was afraid this would happen) it's impossible to use spraypaint and stencils without the outcome looking like something that has been done with .. well, spraypaint and stencils. It's just impossible to get the stencil to lay on the sidepanel 100% flat, there's always little gaps here and there where some paint particles can get under, and then you get that typical spraypaint look. While this may look good on a brick wall in the ghetto, it looks like crap on a case that's supposed to be smooth and elegant. I thought I could somehow pull it off anyway but as you can see, I too am not perfect 
Now it may not look as bad as it sounds on the pictures, but it's enough for me to want to do it all over again, and I think I will. Because on top of the not-so-great portalgun, the overall paintjob on the right sidepanel is far from perfect too. You can't see it on the pictures. but I just didn't have enough paint to get an even paintjob on that giant thing. The amount of paint it takes to coat such a big piece of material evenly with a spraycan is ridiculous.
What am I gonna do now? I think I'll order some more paint to do the whole thing again and then think of a different method to get the portalgun on there. Stencils obviously won't work the way I want them to, so right now, I'm thinking Vinyls or some other form of sticker I can maybe print (or get it printed) and later put it on the finished paintjob. If you have any ideas or suggestions, let me know 
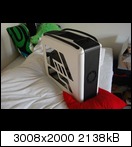
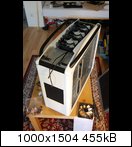
After the disappointment, I decided to put everything else together roughly, I haven't done this since taking it apart right at the beginning and boy, did that lift my mood. It looks awesome. I can't wait to get the rest finished and see this thing all lit up and with hardware inside 
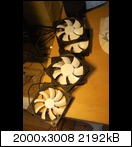
The Fans are ready too:
That's it for today. I'll put the last stuff together during the weekend (like the logo) and then I'll put the hardware in next week. The sidepanel can wait for now, it's not like it's a critical part or anything 
-
Anodized


 Re: Aperture Science
Good news everyone!
My mod isn't dead and neither am I, I just had a lot of stuff to do during the past weeks and there were also quite a few setbacks regarding the mod. Sometimes I was too lazy to write an update because I only did little things here and there and didn't think they were worth a post, and sometimes I was just too frustated with all the stuff that has been going wrong, so I didn't update this for a while. But now I solved most of the problems and I've got a lot of work done too so here's my double-whopper premium update!
First things first: As you might remember, I screwed up the portalgun on the first try, so I tried it a second time, this time with masking foil to avoid the overspray from the stencils. What can I say, it was a freaking desaster. The outcome simply looked like **** and after that disappointment, I thought it was pointless to try it a third time so I sanded EVERYTHING down and did a white paintjob all over again and it's probably going to stay that way too. That's right, I'm giving up on the portalgun. This whole ordeal has already cost me a lot of time, effort and most importantly, money. I don't think it's possible to realize it the way I want it with the means I got and since I'm all "If you're gonna do something, do it right or don't do it at all", I choose the latter. No hard feelings though, the white sidepanel looks good too, and since its the right side, nobodys really going to see it anway since it's going to be next to the wall.
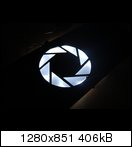
The next problem was, again, the front door and getting the logo to glow. I had to do the wiring THREE times because there were always new problems but I managed to finally get it working two days ago and the mod is almost finished now!
Now, a crapload of pictures for your viewing pleasure.
After the last update I put in the painted fans and the two radiators
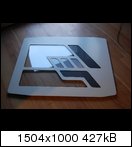
I then finished up the sidepanel. Like I said, there's not just clear plexi going in there, but also the painted-black mesh
the white plexi
and the clear plexi
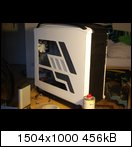
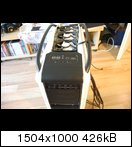
And that's what it looks like on the halfway-done case
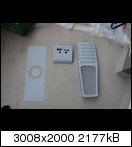
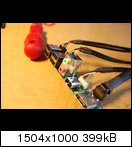
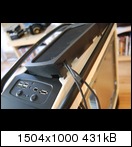
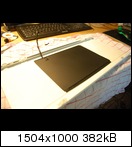
Then I finished the frontpanel (which isn't really a frontpanel since it's on the top but who cares). Like I said earlier, I don't need the audio jacks because my X-Fi doesn't support them so I "carefully removed" those with a pipe wrench 
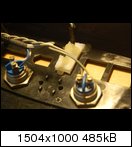
I had originally planend to put two switches for the lightning stuff in those holes in the frontpanel, but after searching through a lot of electronics sites and stores, I just couldn't find any switches that look good on the now very clean case and that aren't too big. So I decided to do something entirely different with those holes. I put two pieces of white plexi behind them and the HDD and power led's in the plexi so it glows just like the logo (I'm also using the same LED's I used for that).
And with the rest of the frontpanel cables
Then I finally put it in
I know, I now have those 2 little holes in the frontpanel that the LED's were originally supposed to go into. I might think of something to cover those up or use them otherwise, but right now, I'll just leave them like that because they don't really bother me and I want to get this finished.
Then I put the top part with the mesh in, I had to make a small hole for the fan cables first
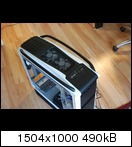
And the finished top. I think the white fans underneath the black mesh look really neat.
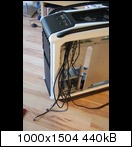
And there's already a frightening amount of cables hanging everywhere, without a single piece of hardware in the case.
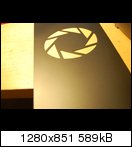
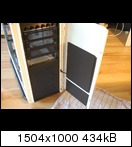
Now, on to my nemesis, the door with the logo. After painting the whole frontplate a second time (I ruined it with a piece of tape, remember?) I put it in using double sided tape again, hopefully for the last time.
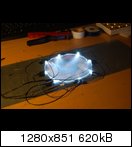
Then I put the led's in for the first time. Normally, it would have been pretty much finished now, but ..
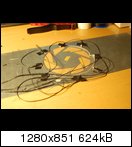
At the time I started soldering the LED's together, the door wasn't even finished yet. I pretty much guessed how long the wires would have to be to reach all around the piece of plexi in the middle later, and of course I guessed wrong. While some of the cables where too long, most of them were way too short and I couldn't put the LED's where I wanted them. So I ripped everything out again and extended all the cables. After that, it looked like this (You might also notice that I switched back to white plexi rather than the stuff I got out of the keyboard. I'll explain the reason for that later)
Now that I had extended the wires, there was a new problem. I could put all the LED's in the right spots now, but I also had an assload of wires in there and there just wasn't ANY space at all to put them. all those wires stacking up made it impossible to put on the cover I had made.
The thing is, there's only a very small space between the inside of the door and the front of the case. With all the cables and the cover, everything was way too thick and the door just wouldn't close anymore. The cover has multiple functions by the way: First of all, it keeps everything from falling apart of course. Secondly, it keeps everything from looking like **** when you open the door, and thirdly, the inside of that piece of metal is white. It took me a while to figure this out, but that's how this whole thing works. You can't really make the plexi ITSELF glow with LED's, no matter if its milky plexi, sanded plexi, the stuff that I took out of the keyboard or anything else. What you can do though, is put something reflective directly BEHIND it so that reflects the light from the led's evenly and then it works. That's also why I decided to go back to white plexi, it fits the case better and it works just as well with this technique. (Funny fact: the "reflective material" inside is nothing but an ordinary piece of paper :p)
Anyway. After all this, I did the wiring for the third time, this time making every cable exactly as long as it needs to be and luckily, it finally worked now. The leds worked, the cover fit and the door closed. Yay!
I also painted the cover black to match everything else.
And that's what it looks like on the case:
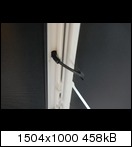
Now, I spent a lot of time thinking about how to make the wire go from the door into the case without either bending, being in the way or just looking stupid. The solution was as simple as it is effective. I simply cut a piece off of one of the "bodys" from the headphone jacks and put that in to help guide the cable inside the case and also provide a bend protection just like it normally would. It works absolutely perfectly, the cable goes into the case very smoothly as you close the door.
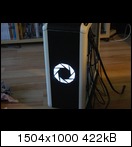
And now the big moment: Yes, the bloody thing is completely assembled and it WORKS. Boy am I glad I finally got this over with.
Alright, so much for my big update. I don't have much left to say, except that the next update is going to be a lot sooner, I'm making good progress towards the end and chances are good that I'll start putting the hardware in during the next days!
-
Anodized


 Re: Aperture Science
Progress, Progress! I finished making the casing for the RGB Controller and the other circutry stuff I made for the lightning system, which, after a lot of problems and problem solving finally WORKS by the way!
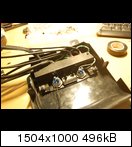
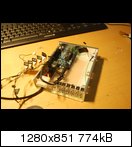
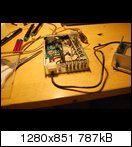
Like I said before, I used one of the harddrive cages for the casing and it works perfectly. Everything fits in there neatly, so no loose cables in the case. Also, I can just plug everything out and remove the whole thing if I feel like it.
I just added the molex connector and the hole for the USB cable to the backpanel, I already had the headphone jacks finished a while ago. Then I put it all together and used hot glue to make sure the piece with all the connectors doesn't rip out no matter how hard you pull on those cables. Hot glue is never a pretty solution, I know, but nothing works better if you want to make something last forever 
Nobody is going to see this box anyway so I didn't put a lot of effort into making it look good. Form follows fuction!
Aaaand everything fits and there's still some space too. Perfect!
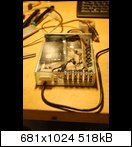
And to finish it up, I added a plexi cover of course. Now I have a neat little box with all the fragile stuff safely stored inside and a bunch of connectors in the back. It's so simple but I really love this thing, it's very convenient.
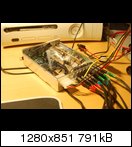
This is what it looks like in the case
Then I did a final test to see if everything still works. At first, it actually didn't and I nearly threw the damn thing against the next wall, because it had worked perfectly 2 days ago. When I tried it again 2 hours later, it worked again. Man, electronics are weird, I don't even want to know what happened there as long as it works now. I only connected the RGB channels this time, the free headphone jacks are for the white LED's inside and the ones for the front. The code for the controller to use those hasn't been written yet though, so I can't test them yet 
But everything else works. Phew.
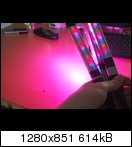
And a few color examples to show what all this work was about. I can now create virtually any color I want and make them fade in and out smoothly plus a bunch of other stuff. It looks way cooler in motion, I'll definitely make a video of this once everything is inside the case and working.
-
Anodized


 Re: Aperture Science
Thanks guys 
Looks like I'm back to one update per day now, just like it should be!
I put in the LED strips today. Sounds like a 5 Minute job, but it actually took quite a while because I had to hide the over 20 metres (Yes I'm serious) of cable attached to them. As you can see I'm slowly starting to do the last steps here, I think everything will be finished by next weekend. The case itself is pretty much finished, I just need to get some anticorrosive before I can start putting the hardware in and fill the watercooling system.
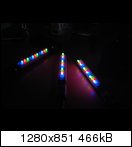
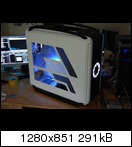
In the meantime, I made some fotos of the empty case with the LED's inside. It looks even better than I had imagined, like I said, I'll make a video of this when everythings finished, right now I can only show you a few colors and you'll have to imagine the transistions 
And another big pic with everything in action
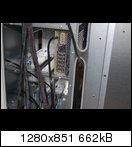
This is what it looks like in the harddrive area now, these are nothing but the LED cables, so it's going to get pretty crowded in there. I'll pay a lot of attention to cable management though, so hopefully, you won't see many cables around the actual hardware later.
-
Anodized


 Re: Aperture Science
 Posting Permissions
- You may not post new threads
- You may not post replies
- You may not post attachments
- You may not edit your posts
-
Forum Rules


