Always like your mods Acey. Never know where they're going but its a fun ride and a great destination!


Always like your mods Acey. Never know where they're going but its a fun ride and a great destination!

Thx mate. You gave me a hand in tools' site and stuffs so hopefully better mods starting from this one haha. +rep for helpOriginally Posted by Mach


Subsribed, I like the look of this, great start.
my 1st scratch case made july 2008 (finding my feet)
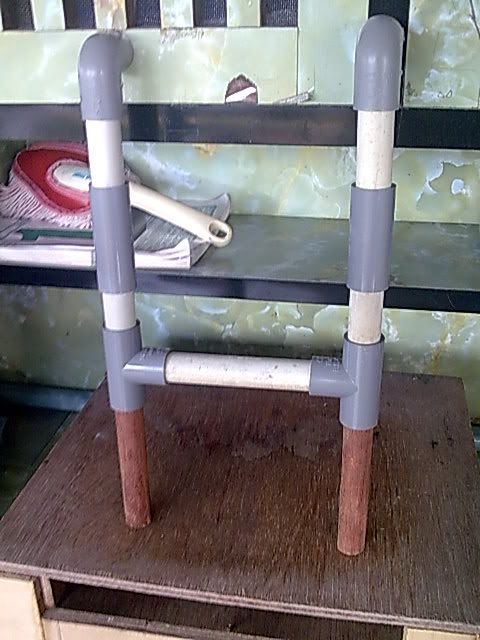
Air Cube prototype (fin jan 2009) (still finding my feet)
Air Cube v2 now with added cpc stack (fin aug 2010) (getting better)
Project Stealthlow (fin sep 2011) (much improvement)
Lean and Green - modular dual PC scratch build - Paused
Midlag Crisis

yeah man good work so far, can't wait to see more!
Thx mates. This will be slower updates compared to the previous two.. I'm working 12 hr shift a day now =/ So on normal days i usually mod before work and during lunch break. Some minor updates...
Didn't like the look of the frame. Too rough and shabby looking and since I'm really bored at work, did some Tony Stark to make life easier and have no chiselling (left my dremel somewhere again). Hopefully the jinx (doing proper measurements and fd it up everytime) don't strike again after so many times.
Remember them? I got the 2nd one back from the other town I built it...
And that means my wares are sunbathing naked under fluorescent sun...
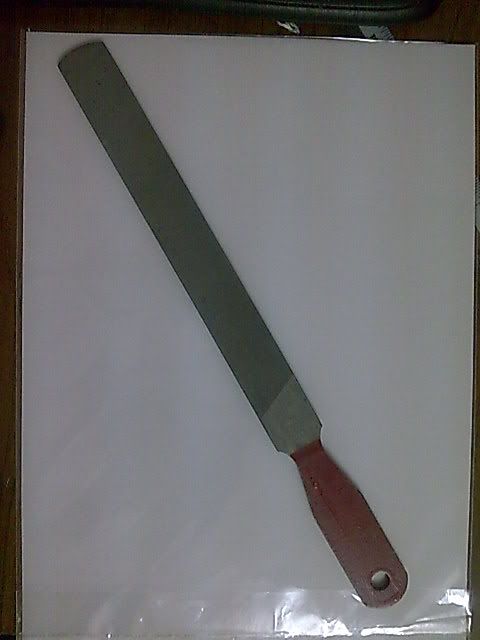
Browsing at a small hardware store when I saw this file. Thought it looks better and more applicable than the smaller one I had. Since its only 9.90 (approx USD 3.00)... oh well
Tas all for now.. If I can wake up 3 hours earlier before work will replace some of the plywood tomorrow.
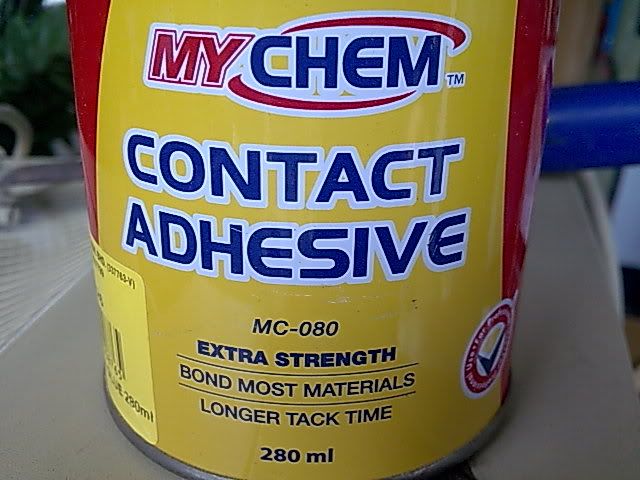
Grabbed a can of this a last week. Seems to be working pretty well so I'll use it to cover the sides of the plywood so moisture don't seep in when I add the pulp on. The bad thing is, it looks and feels like snot.
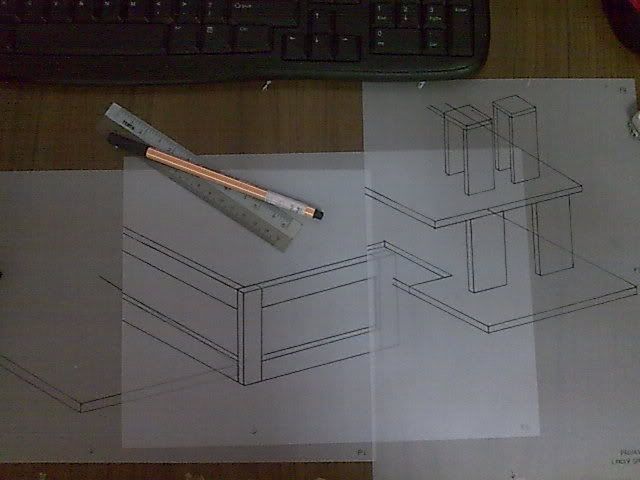
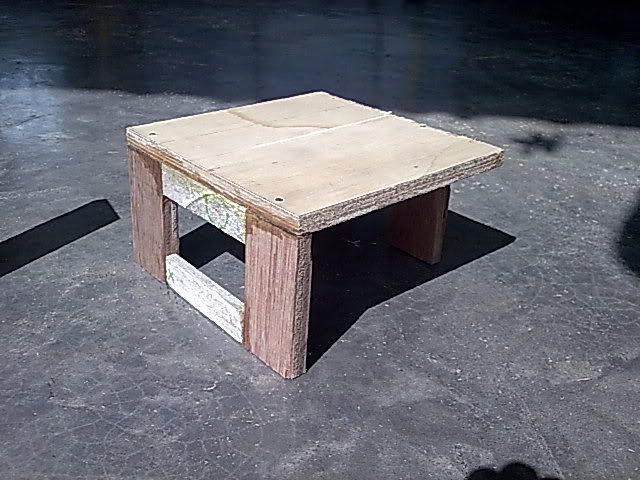
Spent the whole morning n noon resizing the thing accordingly, tacking the wood panels and even changing the size of nails used lol. But only 1 nail per piece since there's the glue thing.
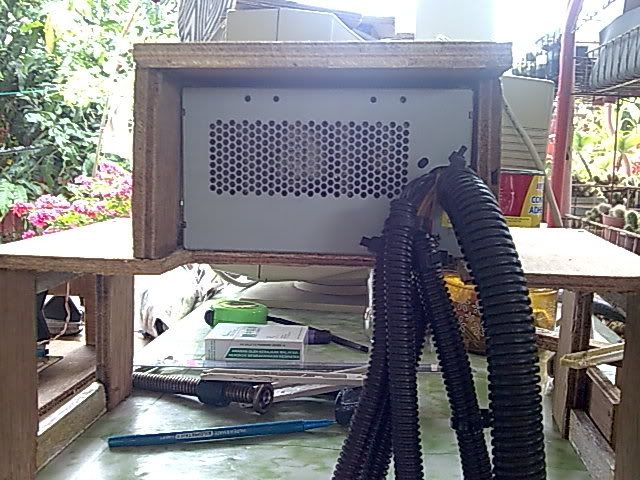
The PSU bracket. First did it 4 legs one the same alignment but moved one further into the center as it was blocking the 24 pin cable.
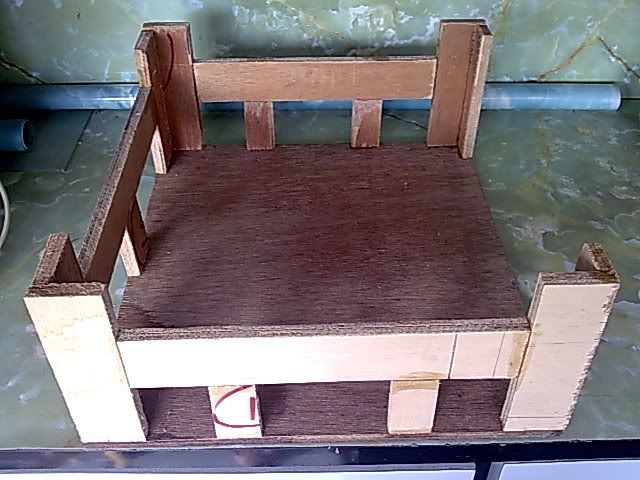
Hardware tray that clears 14cm off the base. No clear pic of it yet as the glue is still drying and have to keep the edges packed.
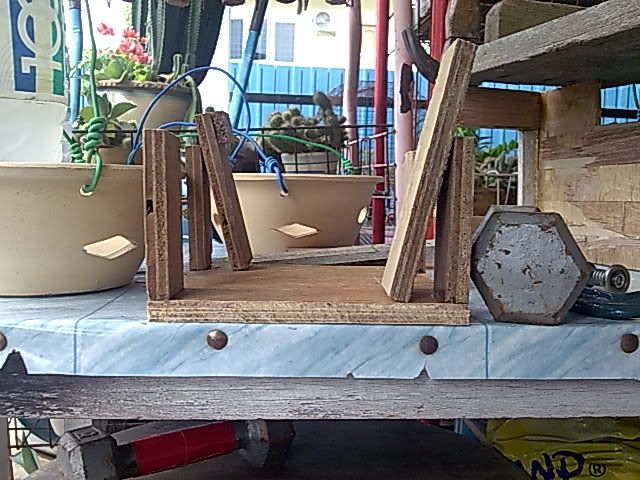
Lastly front part of the base
Its too freakin hot to continue right now. Thought of finishing the frame today and start the paper work next week. Probably do both together next Sun and Monday.
Hit a snag yesterday, was supposed to be home by 1pm but with the boss' new showroom opening in 3 days' time, had to do some work till 5pm. So no mod for Sunday. Now picking up from where it was left off... added the sides on.
Making sure the PSU slot fits with some extra space. Talking about that, I forgot to work on the back panel of the PSU slot today. Damn.
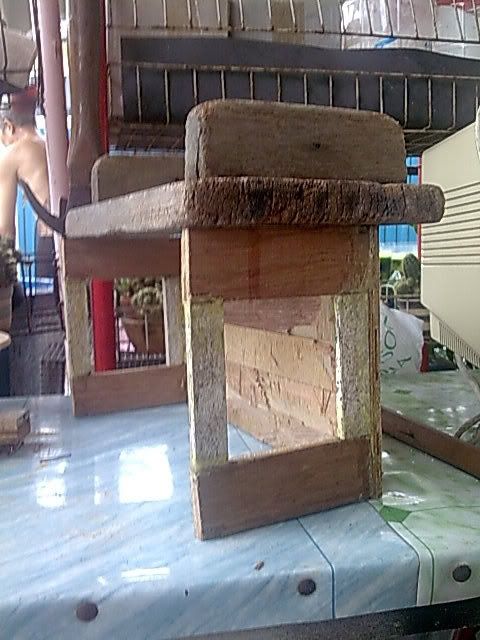
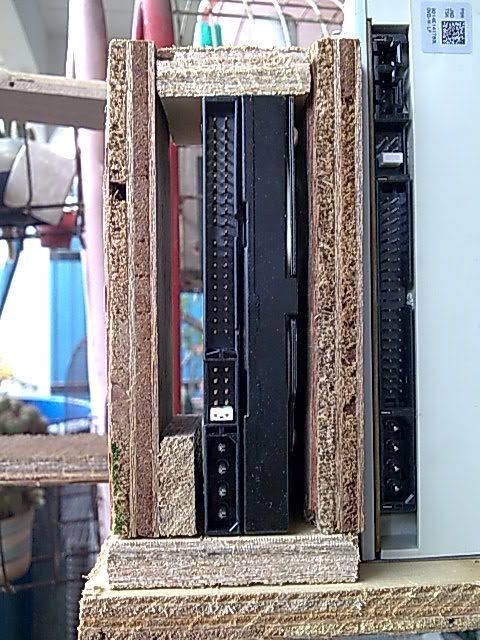
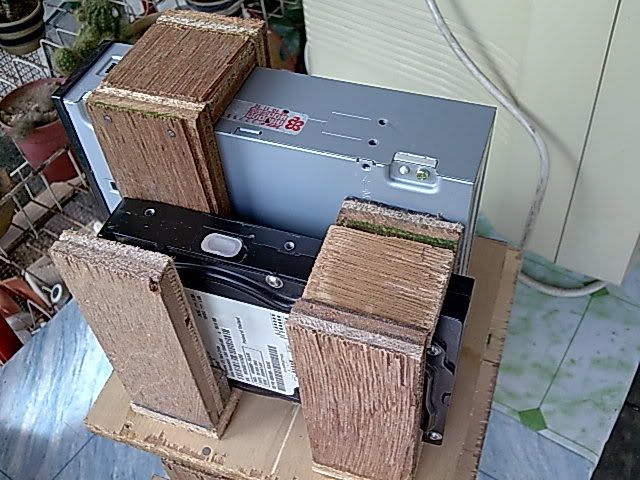
ROM and HDD holder. Will look sorta out of place once done.
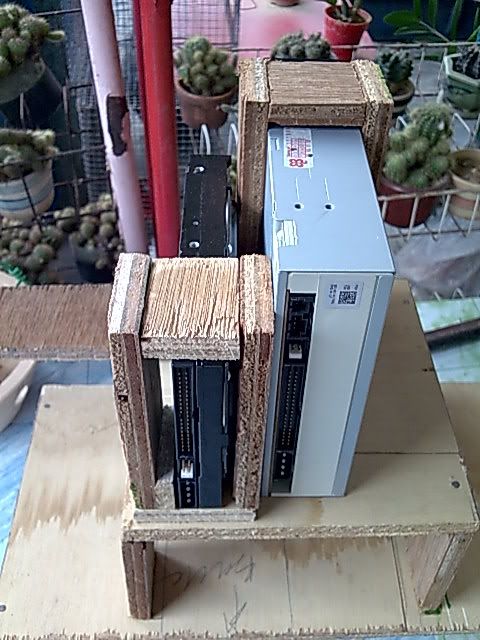
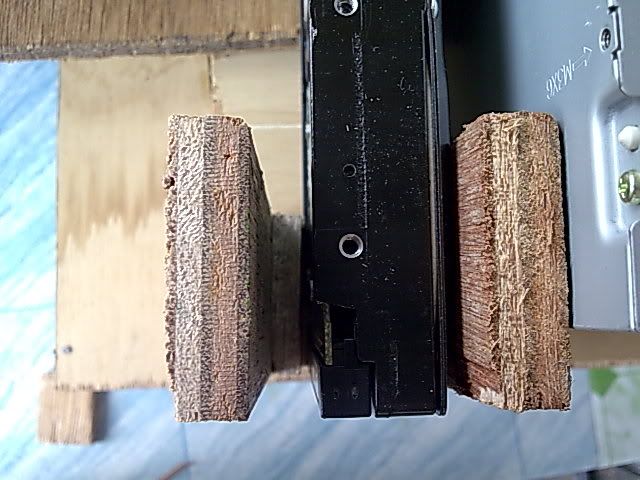
Will look roughly like this once done. Had to use a gap on one side of the HDD since the screw hole will be too near to the vertical holder.
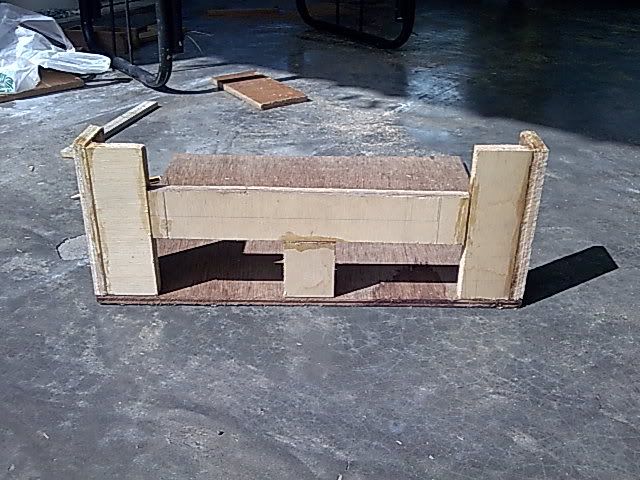
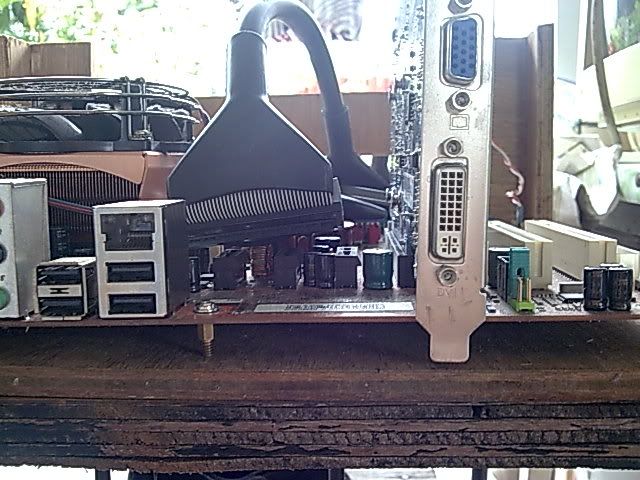
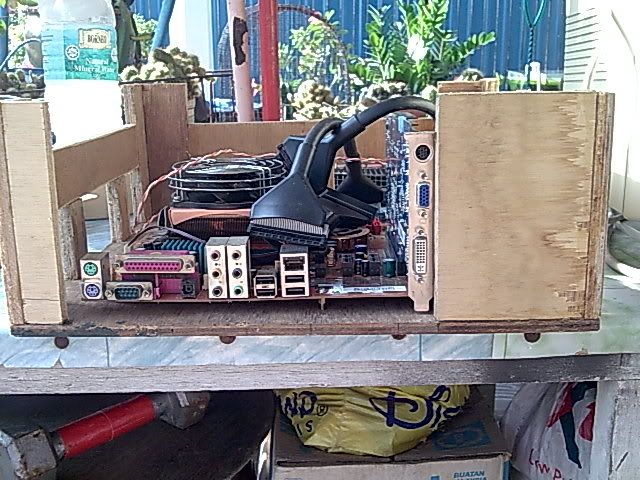
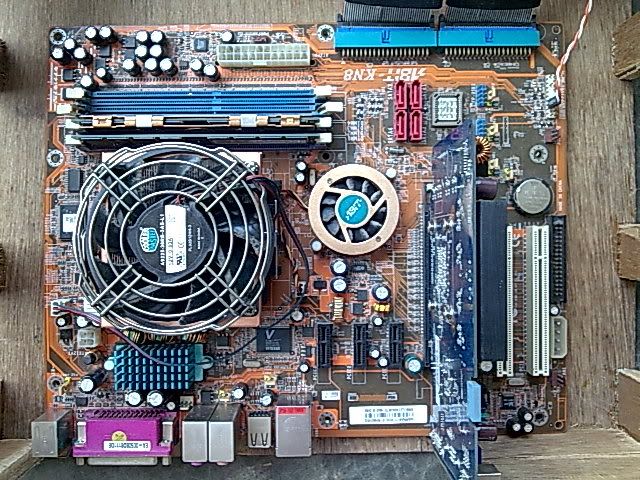
Mobo fitting and back panel. Some little chiselling work required. The airflow will be from the front and exhausts on both L-R sides next to the VGA and processor's heatsink.
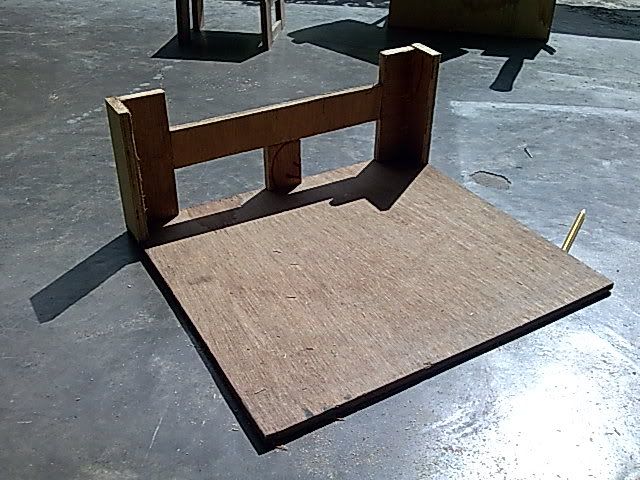
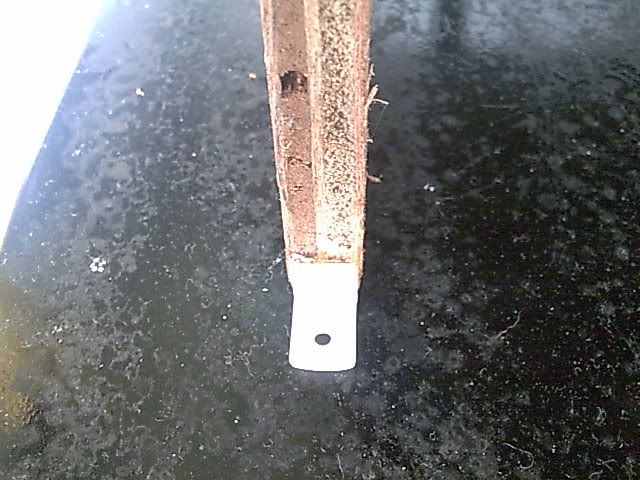
Used a screw and hammer to nail a smaller hole and then fitted the hexagonal legs in. 4 turned out fine with one near the VGA out of place.
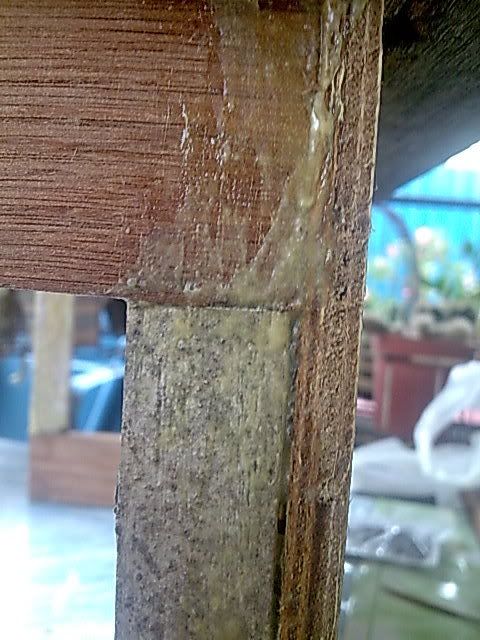
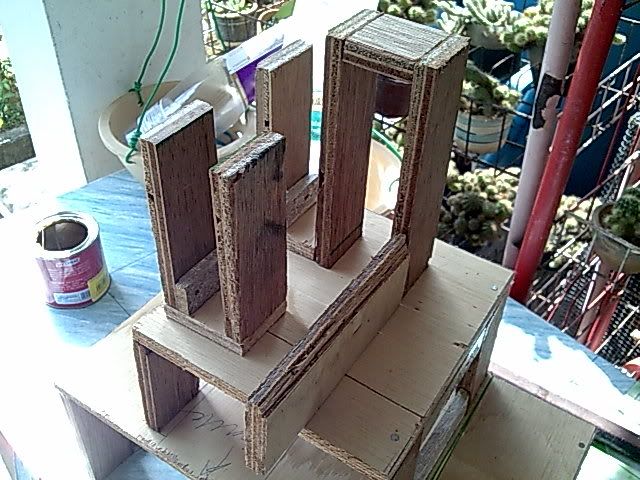
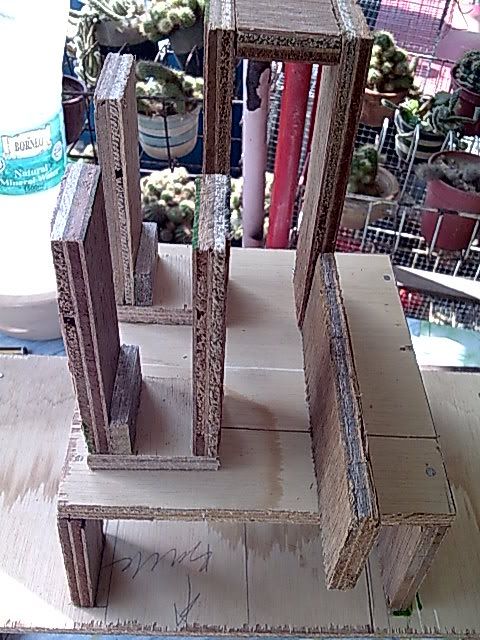
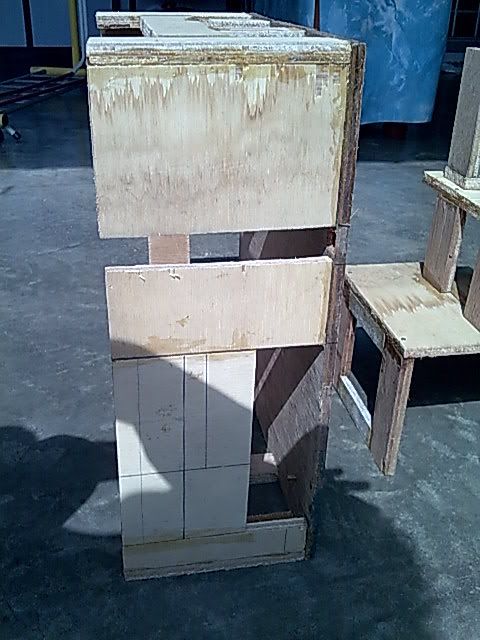
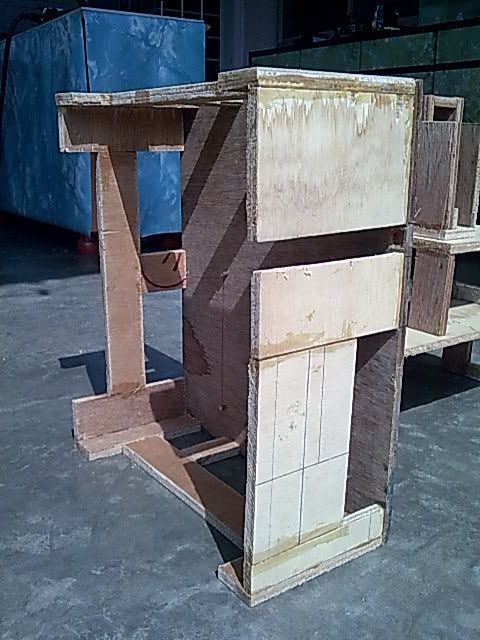
After some measurements and "jigsaw puzzle" assembly lol.. Had to leave it vertically for the adhesive to dry.
That's all now, slightly behind schedule with the top not done yet. And then the worst part of the mod... prepping the paper T________________T Till next week
Not much to update this week. Still trying to adjust to working 10-10 6 days. -_-
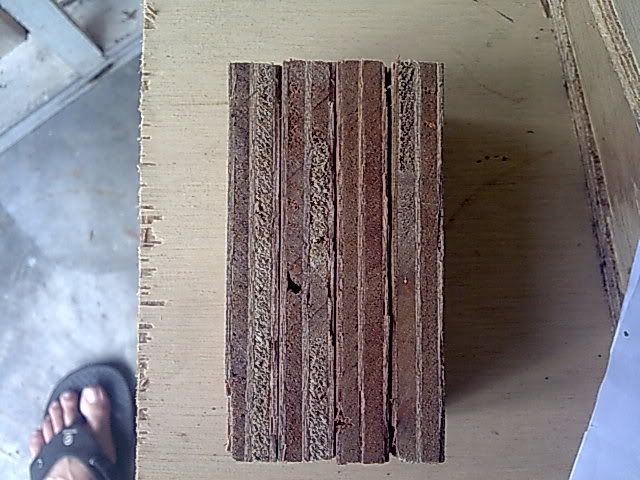
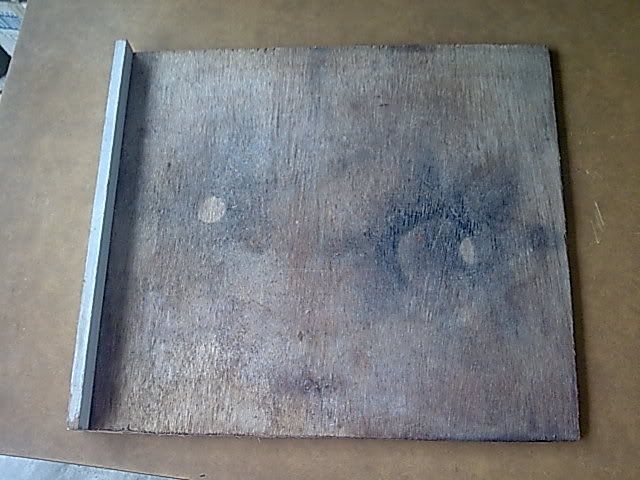
Found this piece lying around. Slightly shorter from front to back but perfect from L-R
Glued 4 of these to the PSU/HDD/ROM frame
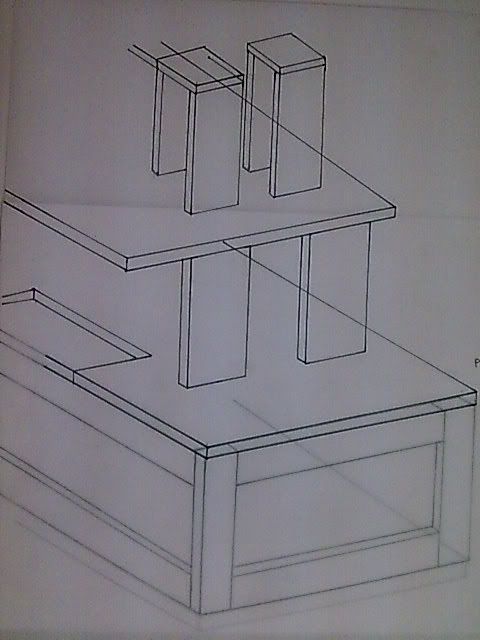
This is what the top part will look like before being covered with wire-mesh to hold the gargolye mold in place... this is just the front
That's all for now. Bloody bad weather for the past one week and the piece of plywood's kinda damp so don't really wanna do any cutting till its dry.
This project will have to be on hold for the mean time till probably early next year. Still trying to iron out a few issues at the showroom and busying myself with cheap beer lol. Be back after the new year.

almost cant wait champ!
is that a 120.9 raddy on your case, or are you just happy to see me?
METO V.1
METO V.2
METO V.3
PC-Beto
Project M8 [WIP]
 Posting Permissions

 Reply With Quote