Back in the early winter I was commissioned to do a built for a customer who was replacing a very old P4 based system. As near as we could figure their old system was 7 years old and it wasn't cutting it anymore.
Old system:
P4 1.6GHz 478
Asus P4B800
512MB 133MHz RAM
ATi Radeon 7000VE
40GB Maxtor
160GB WD
17" Samsung CRT and 15" Dell LCD
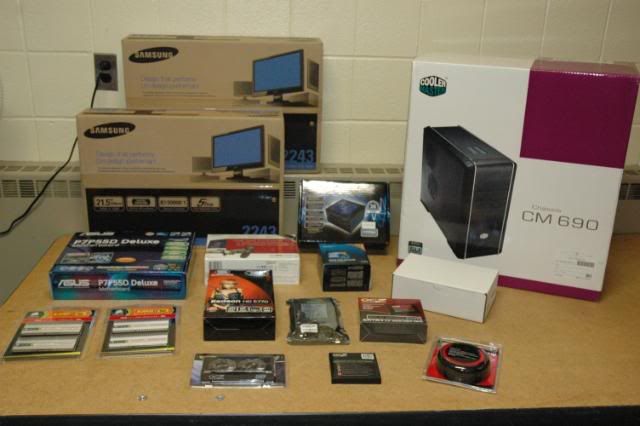
New system:
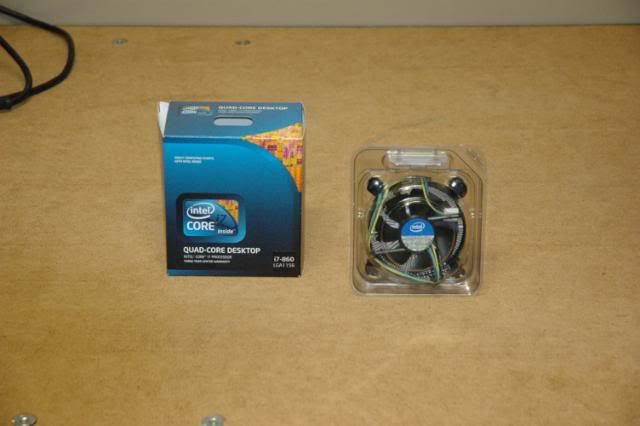
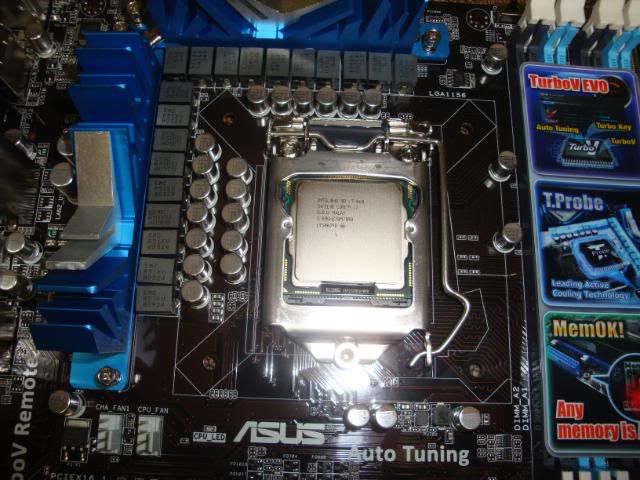
Core i7 860
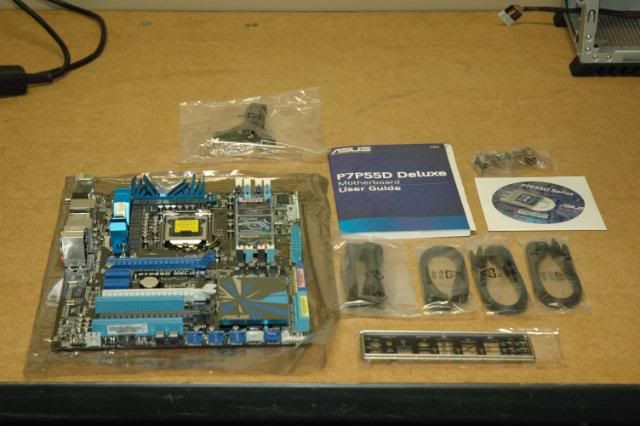
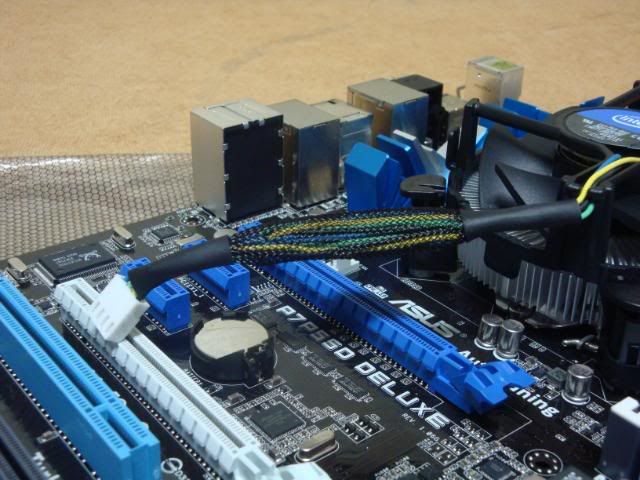
Asus P7P55D Deluxe
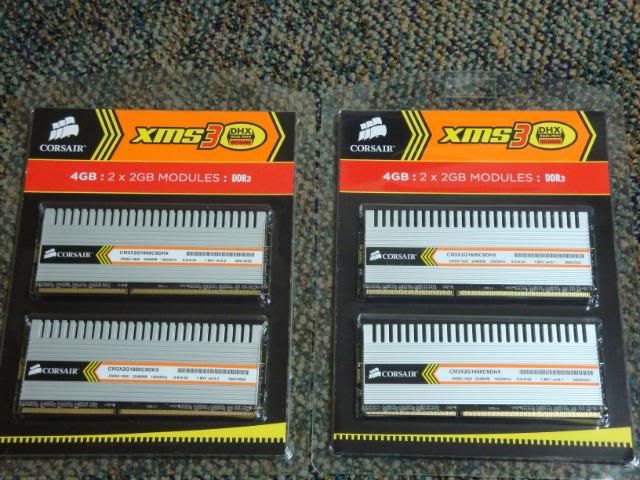
8GB Corsair XMS3 DHX heatspreader RAM
Sapphire HD5770
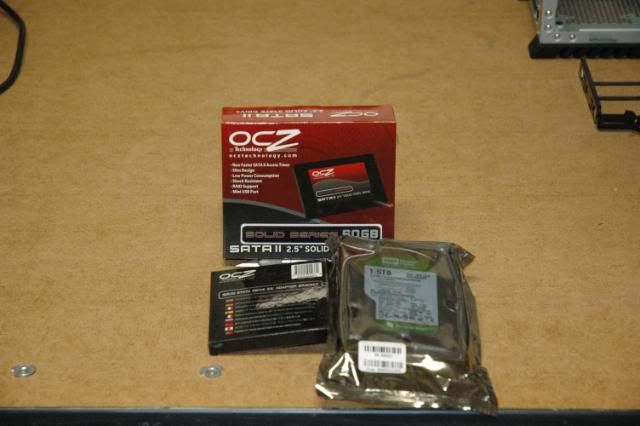
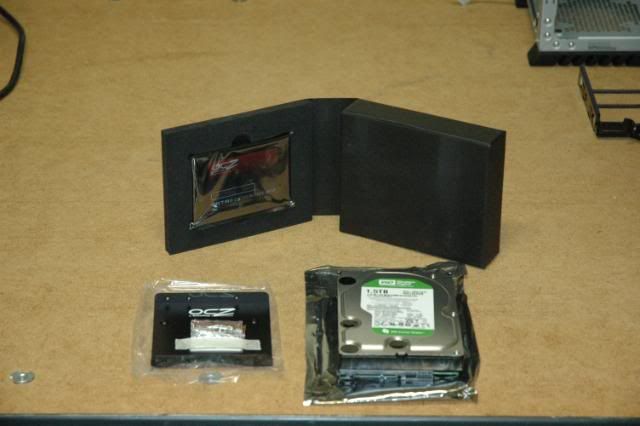
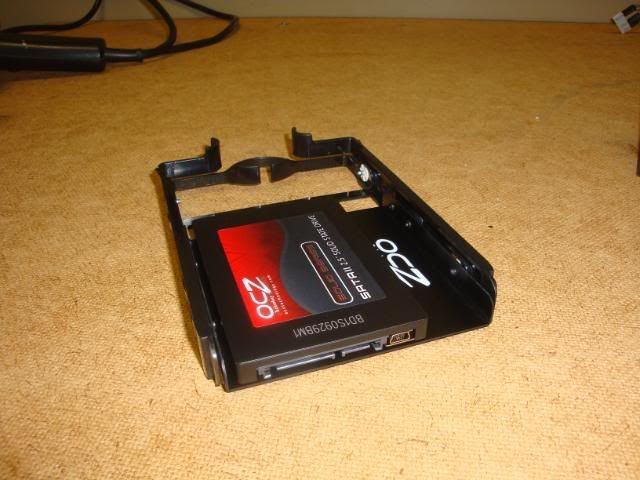
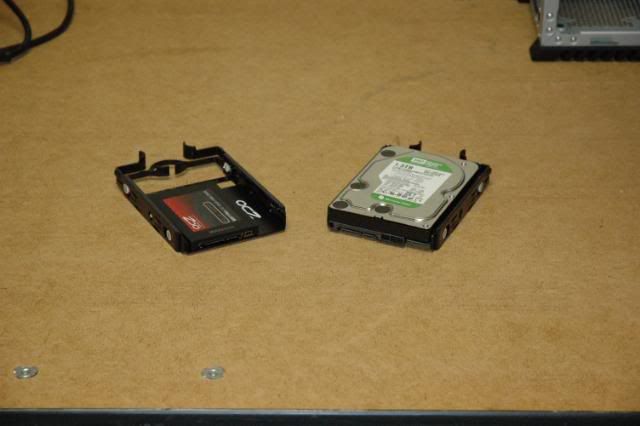
60GB OCZ SSD
1.5TB WD Green
Hauppauge WinTV HVR-2250
OCZ 750W GameXStream
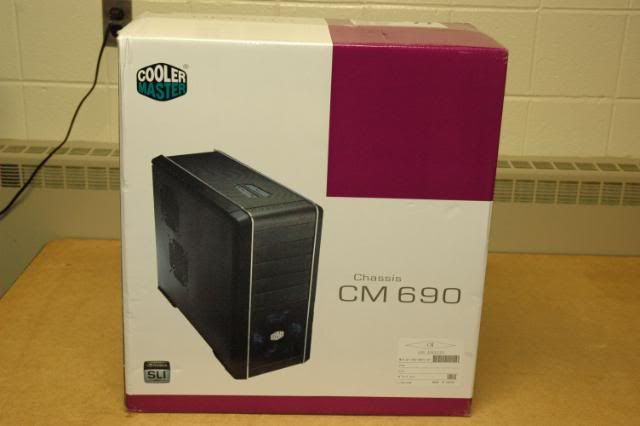
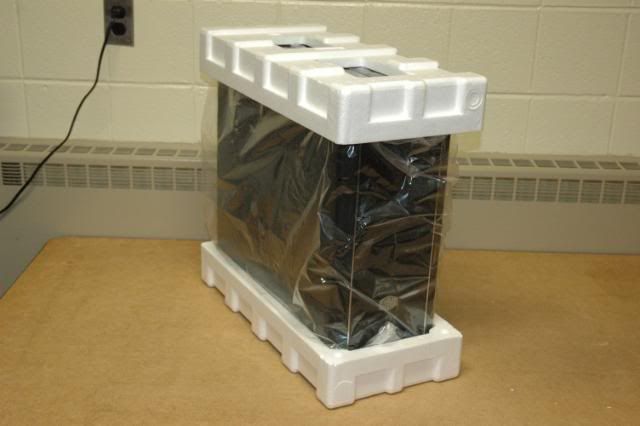
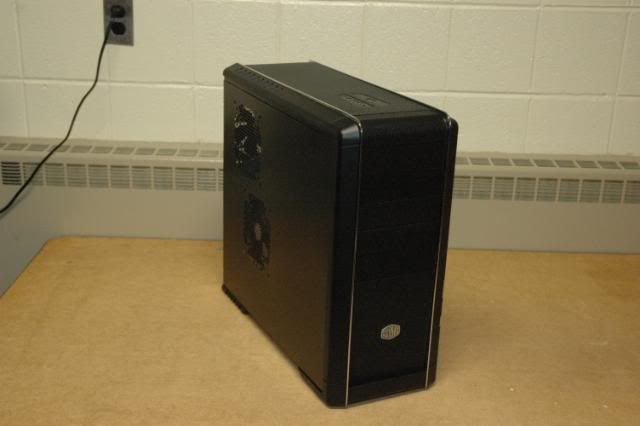
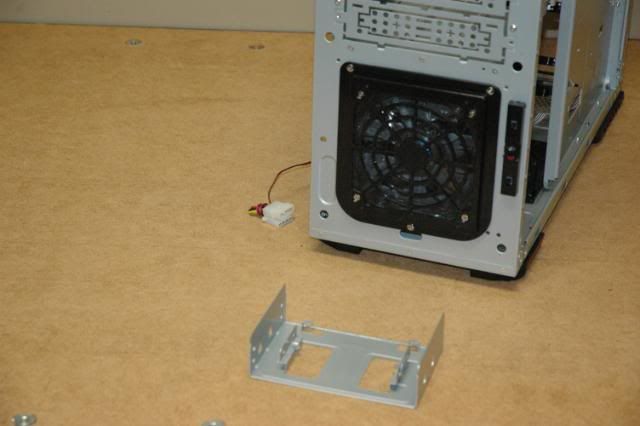
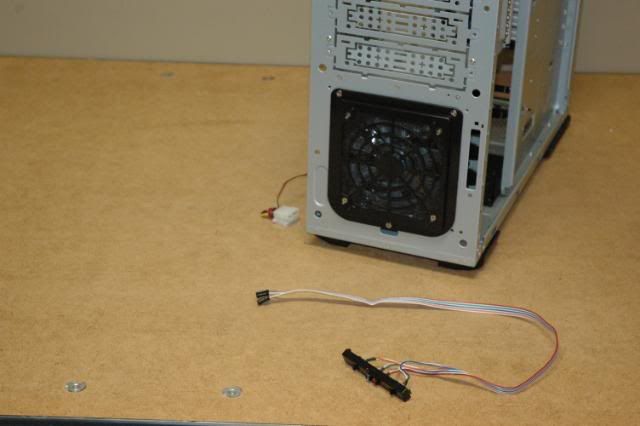
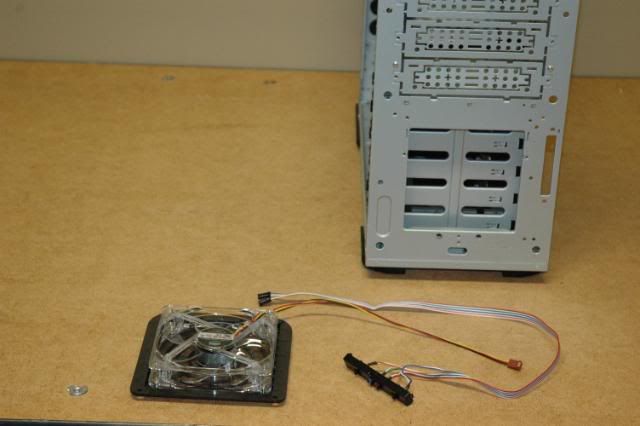
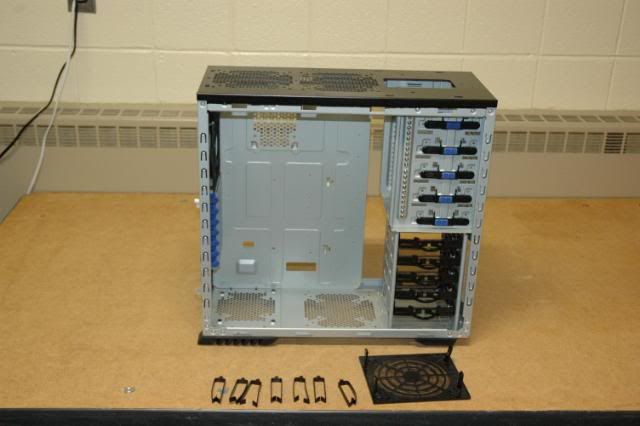
Coolermaster CM690
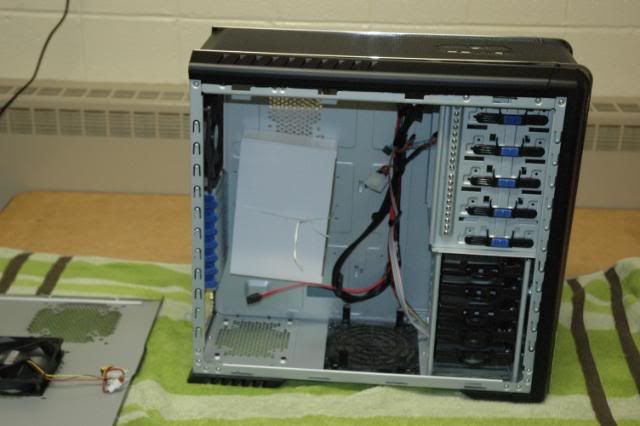
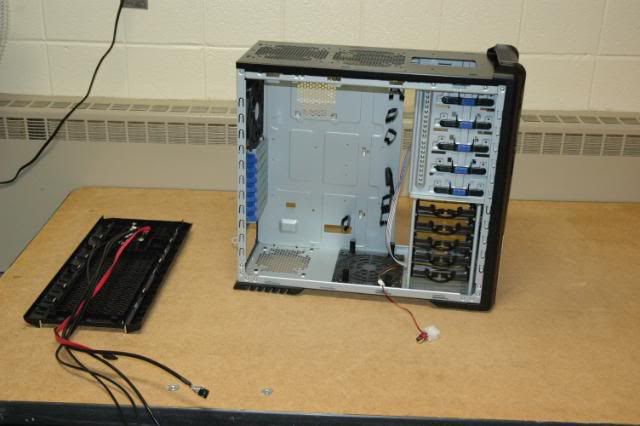
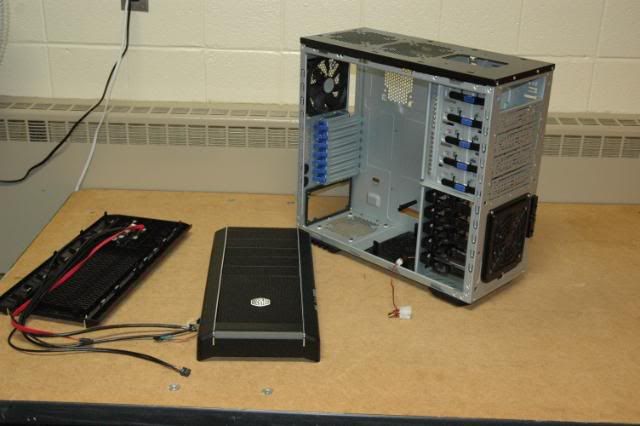
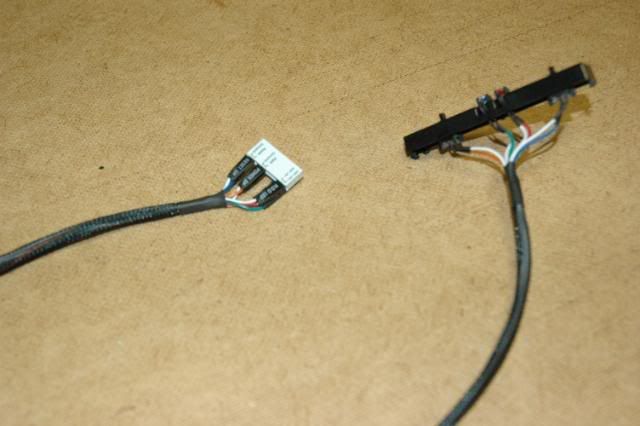
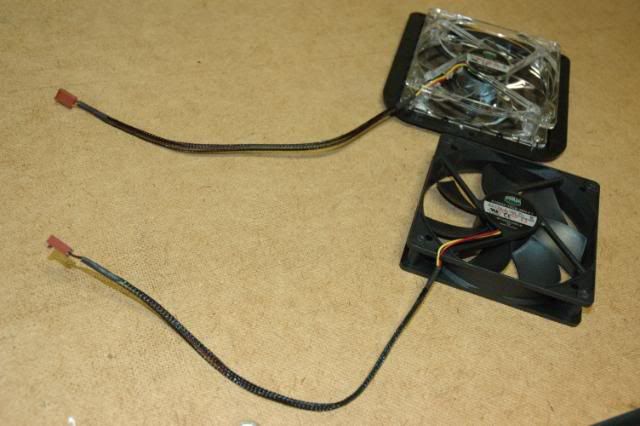
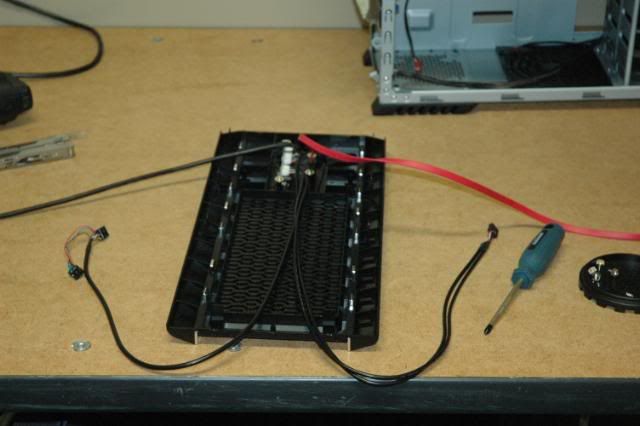
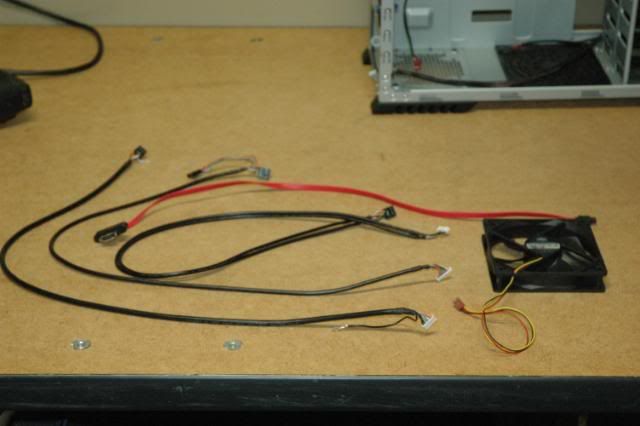
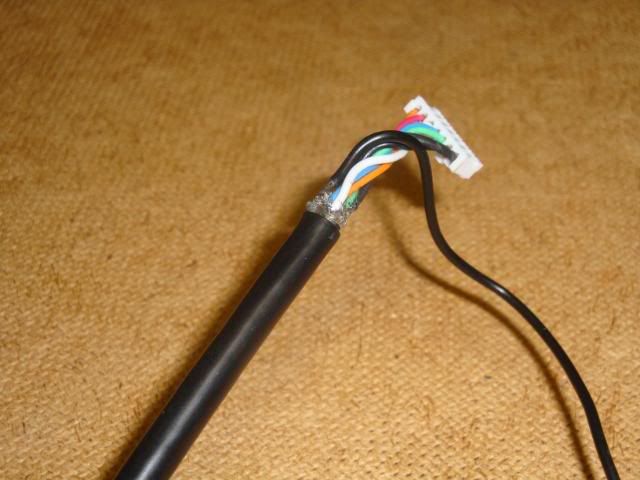
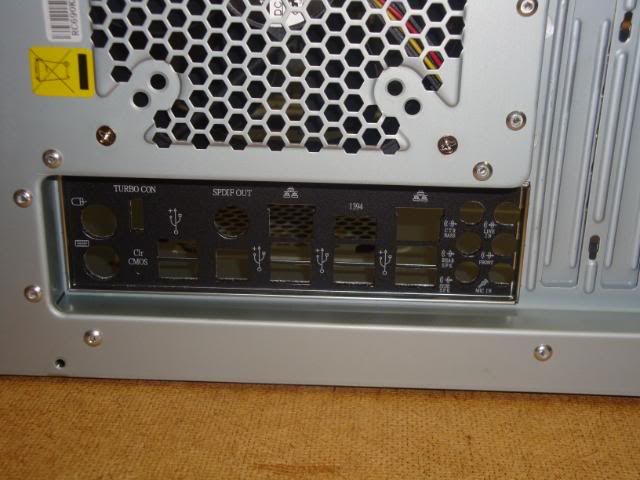
This is the first system I have built all at once rather than through a process of upgrades so there were a few things I was looking forward to doing. First, cable management was of highest priority and every possible wire would be sleeved (with one exception which I'll cover later). Secondly, it meant that I would get a chance to modify the case prior to putting in the hardware.
* Note * Comments are appreciated however this system has been completed and delivered to the customer so changes I can make are limited.
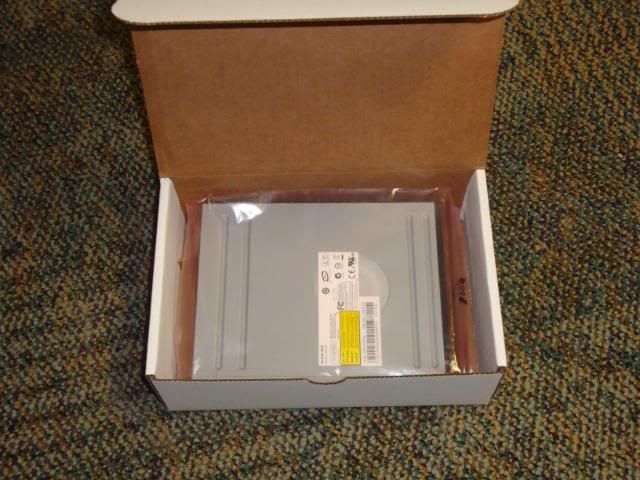
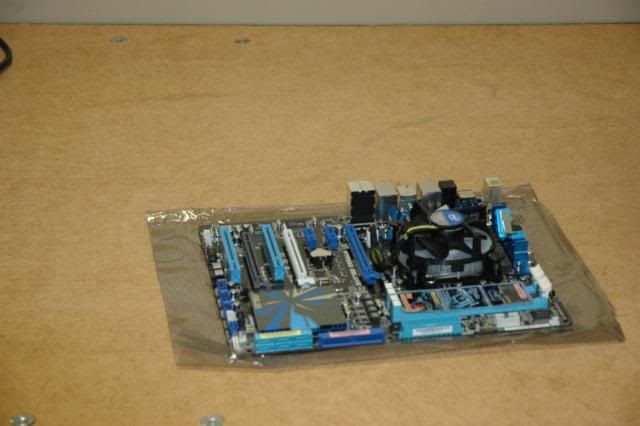
Here's a teaser of all the hardware.

 Reply With Quote

 I love the CM690; one of my favorite cases.