Page 2 of 3 FirstFirst 123 LastLast
Results 11 to 20 of 25

Thread: Core i7 Build

  1. #11
    Why must hard drives fail together? TheMainMan's Avatar
    Join Date
    May 2008
    Location
    Canada
    Posts
    804

    Default Re: Core i7 Build

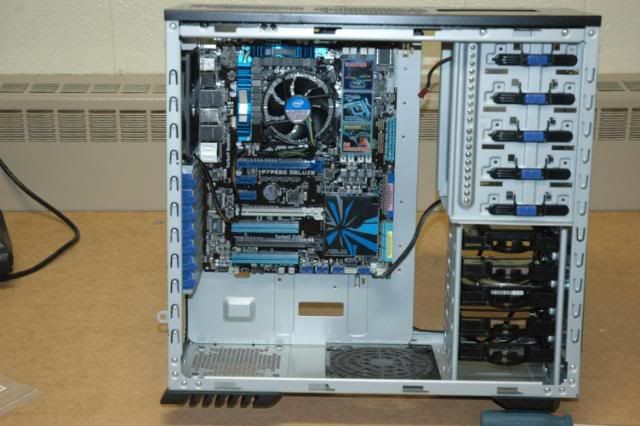
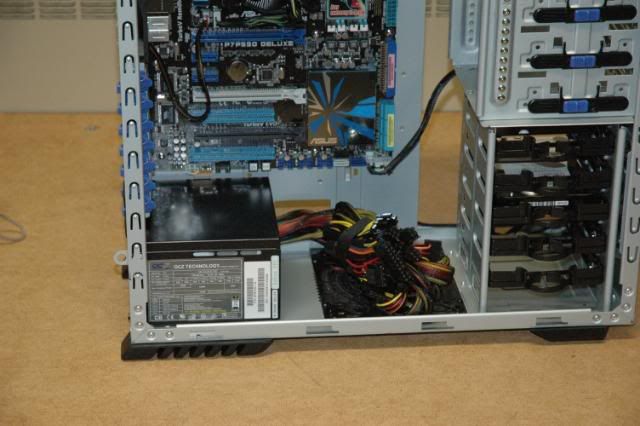
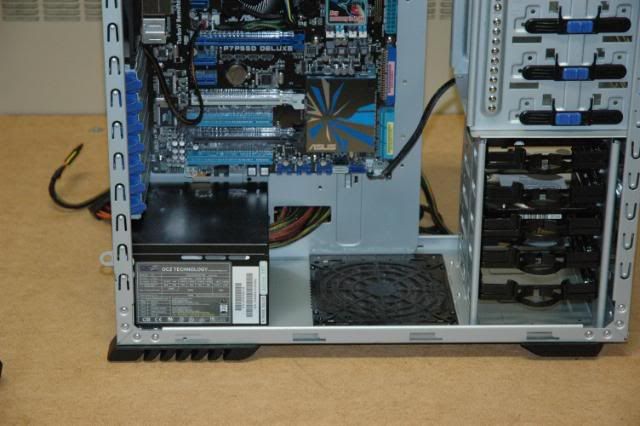
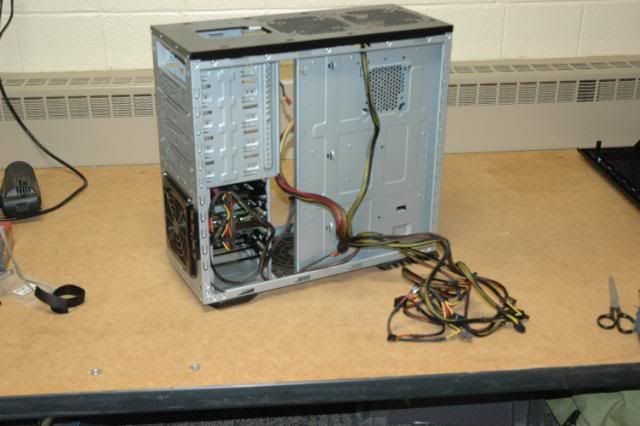
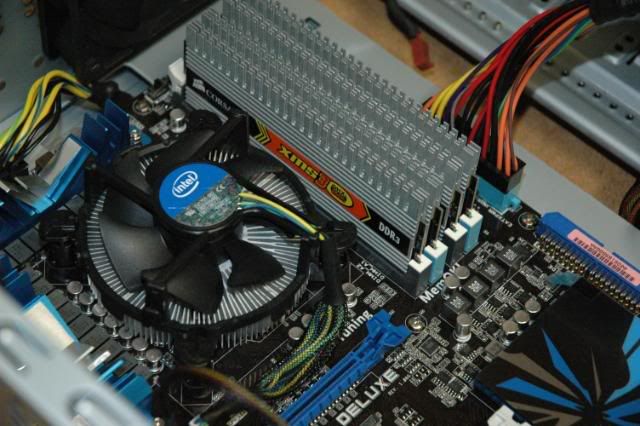
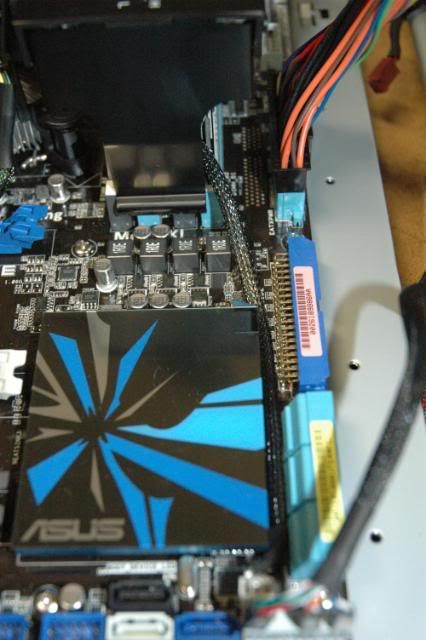
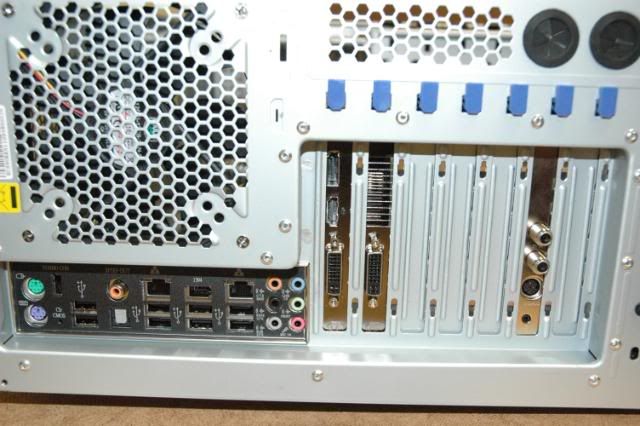
    Unfortunately, I won't be. I haven't had the time or workspace to learn to use my airbrush yet. Also, this system was built in December in Canada so I couldn't even do something simple. I had wanted to do the chassis blue but I'll have to settle for doing my own in red sometime soon.
    TheMainMan

  2. #12
    rawrnomnom diluzio91's Avatar
    Join Date
    Jan 2010
    Posts
    2,471

    Default Re: Core i7 Build

    I understand the pains of trying to paint in december... or between November and March for that matter... Wisconsin = Cold... Canada = Colder. lol... Is this a finished work? or rather getting close to finished?
    Not dead yet

  3. #13
    Why must hard drives fail together? TheMainMan's Avatar
    Join Date
    May 2008
    Location
    Canada
    Posts
    804

    Default Re: Core i7 Build

    It is a finished work as the case was delivered just after Christmas. I`m providing ongoing tech support for the customer so I do have some access for tweaks and photos if I need. I wanted to try my hand at writing a worklog before I post my true mod in the fall. A lot of what I learned working on my own case went into the layout and selection of parts for this one which allowed me to buy, build and test in about two weeks. There should be about 3 more updates till the end.
    Thanks for reading!
    TheMainMan

  4. #14
    Why must hard drives fail together? TheMainMan's Avatar
    Join Date
    May 2008
    Location
    Canada
    Posts
    804

    Default Re: Core i7 Build

    Wow, it's been a long time since I've updated this thread. I'm going to try to finish posting the rest of the updates before the new year. This project is long since done and so I should get the worklog done and move onto starting one for my main system, Thor.

    A quick recap shot of what the system looks like at this point.


    Now onto the power supply for this machine.


    Shot of the PSU mounted. I love the bottom mount idea in a case as it just makes so much more sense.


    As you can see I'm going to have my work cut out for me as this is not a modular PSU so I've got a lot of cables to hide.


    For the time being I'm putting them all on the backside of the mobo tray.


    It was a tight stretch to get the 8-pin CPU power cord to reach with the PSU on the bottom but it did fit and doesn't stress the connector.


    Onto the RAM portion. I went with 8GBs of Corsair DDR3 Dominators in two 4GB kits but decide to cool it with OCZ's cooler instead of Corsairs. Since I wanted this build to be fairly quiet the 2 60mm fans should produce less noise than the 3 40mm fans the Corsair uses.


    The RAM slots came covered by a promotional sticker extolling the virtues of the board. Why they couldn't just put the info on the box I don't know.


    Now that the RAM is in place, it's time to sleeve the fan wire for the cooler. I made a bit of a mini-guide of the steps for sleeving a wire here.

    First, this wire could be completely detached from the fans as it plugs into a controller board on the housing.

    Then I took the pins out of one connector with a small jeweler's screwdriver.

    Next, I measured out the length of sleeving I needed to cover the cable.

    The sleeving on the cable and the heatshrink cut to size and positioned.


    A couple of seconds with the heat gun (or very carefully a lighter or soldering iron if you don't have a heat gun) to tighten the heatshrink.

    And finally the cable reattached to the cooler and ready to be installed.


    This is where I had my first stumbling block of the build. Asus decided that it would be a good idea to make one end of the RAM slots without locking tabs for reasons unknown (since AFAIK you can't hot-swap RAM so speed of install shouldn't matter). Unfortunately for me, the cooler mounts to those tabs.

    Thankfully the revision two cooler (which is what I'm using here) actually has some clamping force and so I was able to move it lower down on the slots so that it isn't holding onto the RAM.

    Then to tuck the cable in under the SB cover to hide it nicely.


    Last section for this update will be graphics. Since the customer doesn't game but will be driving two 1080p monitors I chose a decent ATI 5770 by Sapphire. Keep in mind that this build happened a year ago and so there weren't a lot of the now higher model cards.

    Brown cardboard inner box, neatly packed.

    The fairly standard set of accessories contained within.

    Expansion slots removed and ready for the card to go in.

    Installed and ready to go!


    I did try to see if I could take the plastic housing with the red and black stickers off as it doesn't go with the colour scheme of the rest of the case. I would have had to take the entire heatsink off and since this isn't my machine I chose not to.

    That's all for now, another long update will be coming soon.
    Thanks for reading,
    TheMainMan
    TheMainMan

  5. #15
    Will YOU be ready when the zombies rise? x88x's Avatar
    Join Date
    Oct 2008
    Location
    MD, USA
    Posts
    6,334

    Default Re: Core i7 Build

    Looks good. One thing about the shroud, yes it may not go with the color scheme, but it does aid in cooling the card by forcing the air from the fan to go through all the fins. Also, the RAM sticker is likely there more as a dust shield than anything else.
    That we enjoy great advantages from the inventions of others, we should be glad of an opportunity to serve others by any invention of ours, and this we should do freely and generously.
    --Benjamin Franklin
    TBCS 5TB Club :: coilgun :: bench PSU :: mightyMite :: Zeus :: E15 Magna EV

  6. #16
    100% Recycled Pixels. Twigsoffury's Avatar
    Join Date
    Jan 2006
    Location
    Oklahoma city
    Posts
    2,017

    Default Re: Core i7 Build

    Pimping hardware, but you need to throw some D's on that like you just bought a Cadillac

  7. #17
    Why must hard drives fail together? TheMainMan's Avatar
    Join Date
    May 2008
    Location
    Canada
    Posts
    804

    Default Re: Core i7 Build

    So this update will cover Blu-ray, cables and TV tuner install.

    A very unassuming Blu-ray drive.


    The Blu-ray drive will go in the top and an older IDE DVD drive will occupy the bottom slot.


    While the drive bays have tool-free installation brackets I will be putting screws in the back side as the customer will not be swapping drives.


    I tried multiple times to create my own rounded IDE cables without much success. While I can usually split 40-60 wires with no problem I couldn't get all 80 split without exposing a few. Rather than putting flat IDE cables I got creative. One teal coloured rounded IDE cable will be the victim. Yes, teal!


    I can't imagine why there were so many of these in stock at the store I went to. That's okay, I'm about to deal with the colour.

    Time to sleeve it black.

    I wish I had thought of this earlier but I had the normal IDE cables around.

    While I was sleeving I did a few SATA cables for later.


    I also realised at this point that I had overlooked the top input cables for USB and audio when I was sleeving so I did them as well.


    The last component I have to install is the TV tuner card.

    Hauppauge really packed this box full of all kinds of goodies. I won't be using most of them since the customer does not need to control a set top box.


    Installed, it doesn't take up a whole lot of space.


    There will be two more updates until this worklog is finished. The next one contains case mods and the final one is glory shots of the finished product.
    Thanks for reading.
    TheMainMan

  8. #18
    Why must hard drives fail together? TheMainMan's Avatar
    Join Date
    May 2008
    Location
    Canada
    Posts
    804

    Default Re: Core i7 Build

    So this build was a little bit backwards as I needed to have the sustem built and running, then take it apart over my exam break and mod the case when I had access to the tools I needed and a space that was safe to work in. I'm sure that shooting streams of sparks and cutting metal with power tools is probably NOT allowed in my dorm.

    Let's start with a shot of the case and the tools I'll be using.


    My first Dremel!


    Comes with a mini workbench! Too small to use with this build but nice to have for the future.


    One Dremel, two very large safety and user manuals (which I read entirely before using).


    The other weapon of choice, a beefy cordless drill and 1" drill bit.


    Drilling shots first. Before...


    ...and after. A nice clean hole for the ATX power cable to pass through.


    Removing the pins from the ATX power connector after having clearly labled each wire.


    With a rubber grommet installed all I have left to do is match the wires up with the connector.


    Here you can see what a help to the overall cable management that small mod was.


    I also trimmed away the bottom of the rolled edge of the motherboard tray to allow some of the larger cables to pass behind the motherboard. The edge was filled clean and since there shouldn't be any movement inside and the cables run parallel, I wasn't worried about it damaging the cables.


    This is the mess of cables to get sorted and managed.


    The final update will be the cable management situation finished and some testing and glory shots.

    Thanks for reading!
    TheMainMan

  9. #19
    rawrnomnom diluzio91's Avatar
    Join Date
    Jan 2010
    Posts
    2,471

    Default Re: Core i7 Build

    Quote Originally Posted by TheMainMan View Post
    I'm sure that shooting streams of sparks and cutting metal with power tools is probably NOT allowed in my dorm.
    That never stopped me.
    Not dead yet

  10. #20
    Will YOU be ready when the zombies rise? x88x's Avatar
    Join Date
    Oct 2008
    Location
    MD, USA
    Posts
    6,334

    Default Re: Core i7 Build

    I found a cardboard box with the top and one end cut out worked great to catch the sparks and metal filings. Maybe wet it down a little if you're concerned about the sparks. Another thing I would worked well was one of the basement loading docks..
    That we enjoy great advantages from the inventions of others, we should be glad of an opportunity to serve others by any invention of ours, and this we should do freely and generously.
    --Benjamin Franklin
    TBCS 5TB Club :: coilgun :: bench PSU :: mightyMite :: Zeus :: E15 Magna EV

Posting Permissions

  • You may not post new threads
  • You may not post replies
  • You may not post attachments
  • You may not edit your posts
  •