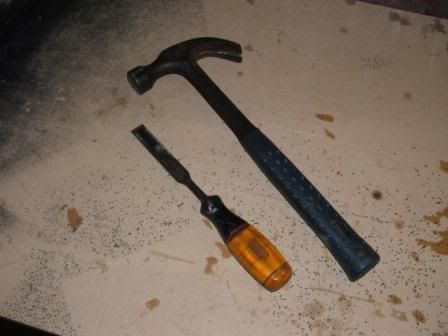
Thanks for the comments guys! Should be finished some time in the next 26 days :p
Will be an update soon. I have some new pics just have to resize and write some stuff to go with them.


Thanks for the comments guys! Should be finished some time in the next 26 days :p
Will be an update soon. I have some new pics just have to resize and write some stuff to go with them.

ooo updatewell if its got to be done, get doing it lol
Time for an update as promised.
Havent done a whole lot on the case lately. Progress is slow due to be not being to into the boring repetitive work of adding fake rocks to the case. This will change over the coming few weeks as there are only 25 days left till xLAN. Its going to be a bit of a challenge to get it done on time, but with a lot of hard work I think Ill get there.
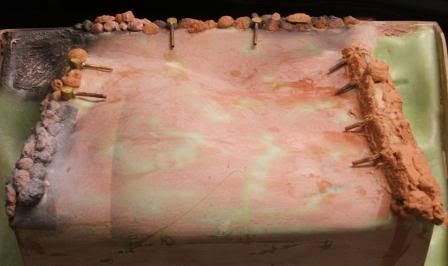
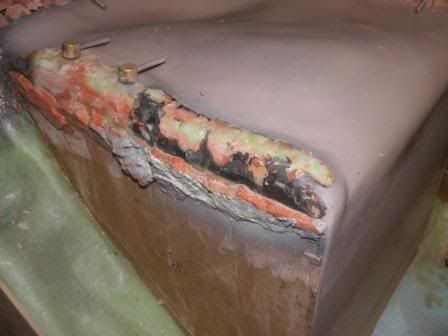
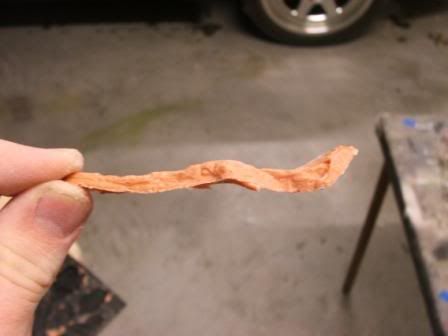
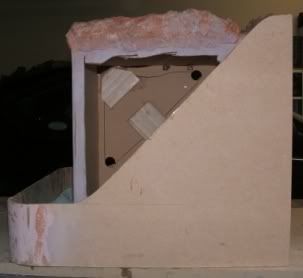
So first up we have a pic of the top as it was a little while ago. You can see the outlets up the top and how they will be covered by the rocks. Also note that the small tubes coming out of the rocks are left to long and will be cut down flush with the rocks later. This is just so I dont get filler or glue down them and block them up.
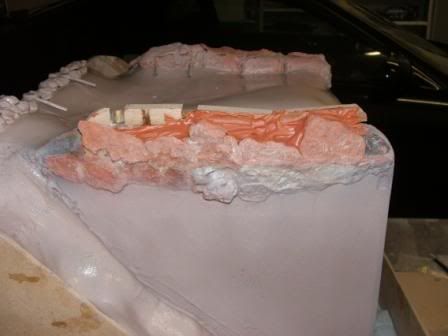
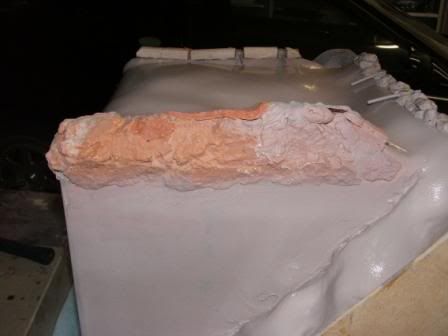
Just a different angle of the top right side to show the new rocks.
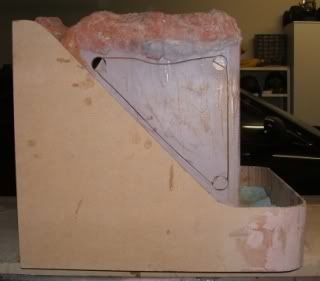
This is the underneath showing the inlets. This was a real pain to solder as I had to do it without heating the tubing seeing it was going through the case. Hopefully it works out. I will leak test it for a while before it goes near any computer parts.
That was one or two days work. So this is onto a new day
As you can see, my new method for the rocks looks a little more natural and closer to the game then the old way.
New
Old
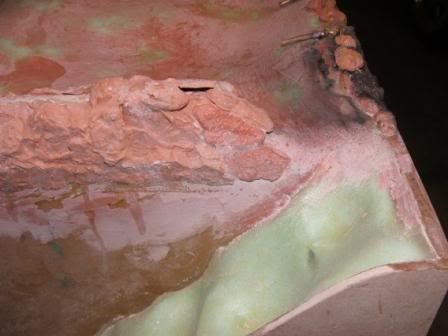
This is due to me using rocks from the new mould I got which creates larger flatter rocks. Also my new method of filling the gaps between helps a lot. The way I do it now rather then using filler and trying to shape it later and make is natural is I put a little thin CA down and while its still wet (which is quiet a while as its sort of a contact glue) I get an old block of dried up filler and the sanding drum for the dremel tool. I then sand the block of filler down with the dremel tool while aiming the dust thats flying off at the wet CA. I then repeat this method a few times till the gap is filled. Doing it this way is completely random as you dont know where its going to stick better then other places and you dont know how the filler dust is going to fly. I feel it gave me a much better result soooo ..
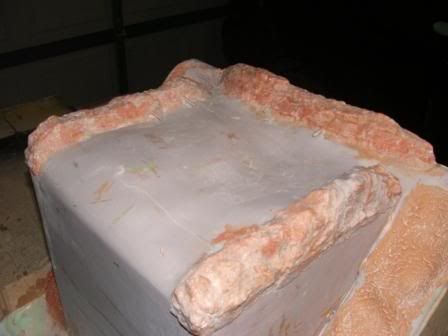
And the newly remodeled left side of the case.
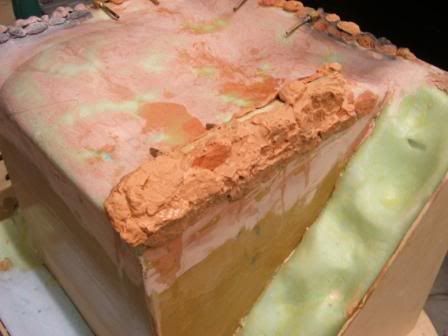
After that destruction it was time to start rebuilding. You can see in this pic some bits of wood. This just fills up a large gap rather then filling it with the more expensive and heavier filler. If you look closely at some of the pics from the other side you can see that I have done the same there. Thats where the left side is up to now. I will be going out to the garage as soon as I have finished writing this to complete it.
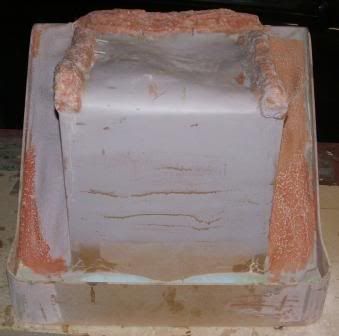
Onto the other side now. I tried another new thing for the other side which I had been thinking about for a while. While making some new rocks I took one out before it was completely dry but dry enough to keep the rock details on the front. I then put it in place and taped it down till the filler had finished drying.
The results were pleasing. You can see from this pic how it shaped the rock. It still doesnt fit perfectly in place but it is much closer then before.
This is just a pic of the right side to show progress. Again I will be going out to finish this as soon as I am done writing this.
So all this means much to do and little time to do it in, my own fault really for not working hard enough on it at the start. I think it probably looks worse then it actually is though. The bulk of the actual building work is done and its just finishing and painting to do.
Check back in a few days for another update. Im not sure when though, I will have more work done by tonight but I normally dont feel like writing after I get in from the garage.
Thanks for looking guys, hope you enjoy seeing my progress on the project. Much much more to come in the next couple of weeks.
looking good, lets hope it doesn't leak! just get the mod done, then give us updates when its finished, rather a good mod working than a good mod leaking
Brilliant stuff so far. What are you planning in terms of painting method? I love where you've gone with this so far, and can't wait to see what you do next.
Haha yea wouldnt be to nice if there were any leaksOriginally Posted by Scotty
will do some updates along the way. Unfortunately at the moment there just isnt much to update. I have just finished with the rocks up top so will post a few pics tonight.
Thanksfor painting I plan to prime the whole thing with grey sanding primer and then test the water feature in case I have to make any changes. Then paint it all a matt black and dry brush over the rocks in a greyish sort of colour. After that I will add in any other details I want and add the sand etc to the upper area.
Time is running out fast, unfortunately I lost a couple of days trying to get a friends computer going but Im only about a day behind where I should be to get it done on time so I am still confident that it will be ready.
Thanks guys!
Well peoples its finally update time! I have been working pretty hard on this thing trying to get it done in time. I have done a lot of work but as you will see from the next few pics it doesnt look like much.
I have mainly been working on the rocks up top. Here are a few pics.
I did a little work on the side window area. This next pic shows where I have cut out very roughly. It wont look anything like this once its done as I said its very rough.
This pic is of the other side. It shows the bit I cut out stuck back in place to be removed again later. This will be explained a little better in the next couple of updates as its far easier to explain with pics them my writing.
Also today at work I started on the second logo
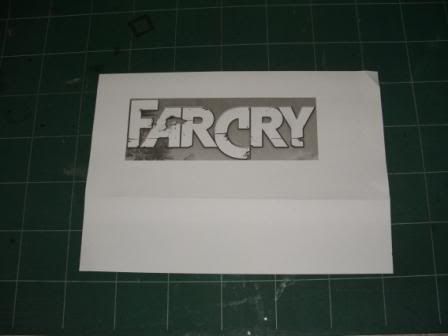
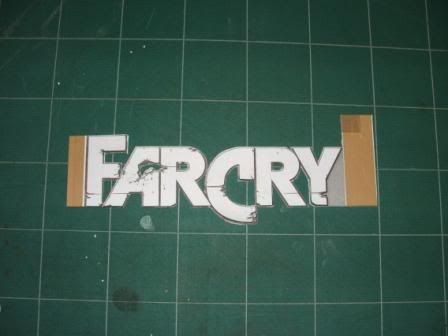
Printed out the logo to the size I needed.
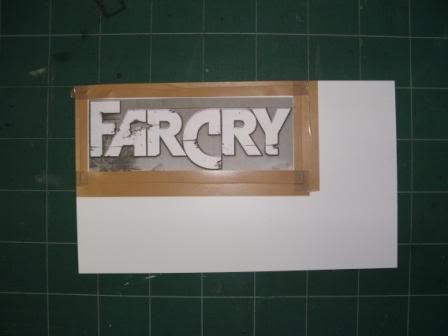
Stuck it onto a bit of 0.8mm Plastruct.
Then cut it all out. I left the bits on the side till last so the paper was still stuck on.
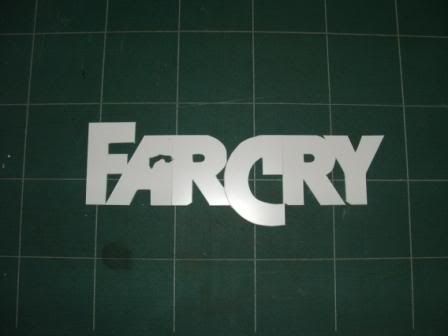
Here it is all cut out.
A couple of hours of work with the needle files and it will be all done.
More updates to come in the next few days 14 days to go :p
lovely work so far mate. the windows should look really cool in that cae, nice cutting there too
haha thanks man. yes yes the cutting, I wasn't sure if I was even going to post that pic but I thought what the heck not everything has to look great before i post it, helps show the process and all the work that goes into it (thats my excuse and im sticking to it lol) :p
Hey guys
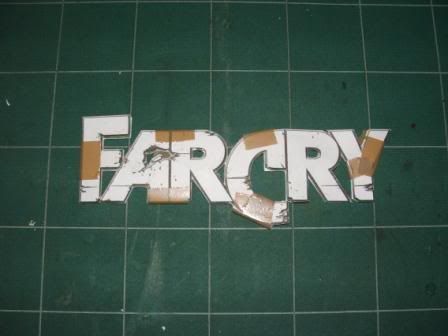
Got a little more done on the logo today at work. This little bit you will see in the following pics was the result of about 2 hours of work and one snapped needle file.
Sorry for some of the pics being unclear but its hard to show details when the whole thing is white. Anyway here are the pics.
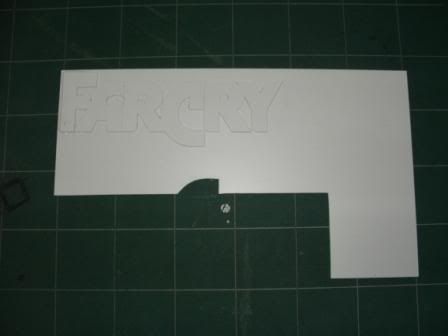
First I decided like last time I would add a second layer of 0.8mm plastruct for strength. So I stuck the logo down to a sheet of it. The reason I did it in two layers rather then one 1.6mm layer is that using the 0.8mm is much easier to get a neat cut. Then its just a matter of running the knife along the edges to cut out the second layer.
Then I roughly cut out the shape so it was easier to work with.
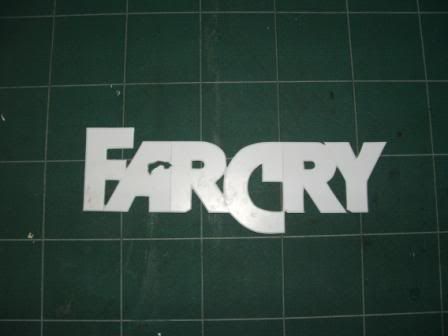
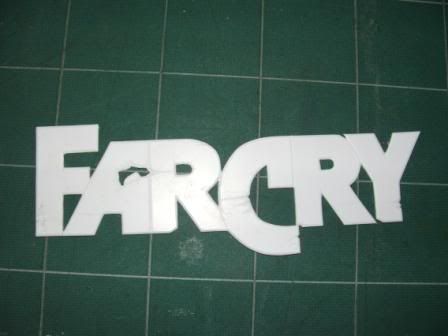
Big jump ahead now and its all cut out.
It’s a bit hard to see in this pic but I have done a lot of work with the file and angled all the edges and neatened up the sides.
After that I stuck the print out back on to mark the damage.
Then some more filing and this is how it turned out. I may do a little more work on it as I am not quiet 100% happy with it yet.
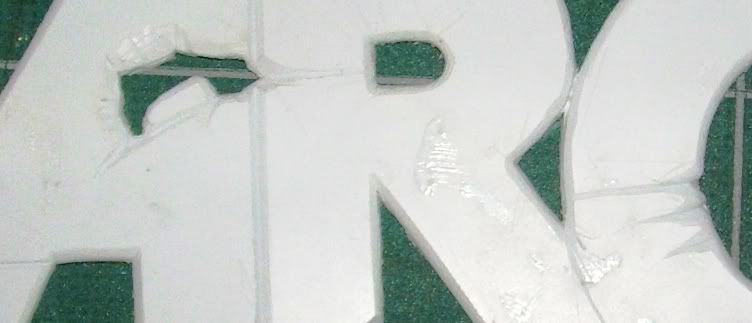
This is just a close up of the center of the A and some other letters to show the detail of the damage.
Once I was home from work I stared on the case again. This next pic should explain why the cut in the last update was pretty rough. Because it didn’t matter as you weren’t going to see it anyway. The rocks act as the boarder for the window. I think its quiet effective.
That’s all for now. Should be another update tomorrow providing I get round to writing something up.
13 days to go now… much to do in the coming days. Thanks for looking guys, as always comments are appreciated
 Posting Permissions

 Reply With Quote