Sponsored by:
Hello my friends.
About 4 weeks I was doing nothing, My wife was getting crazy.
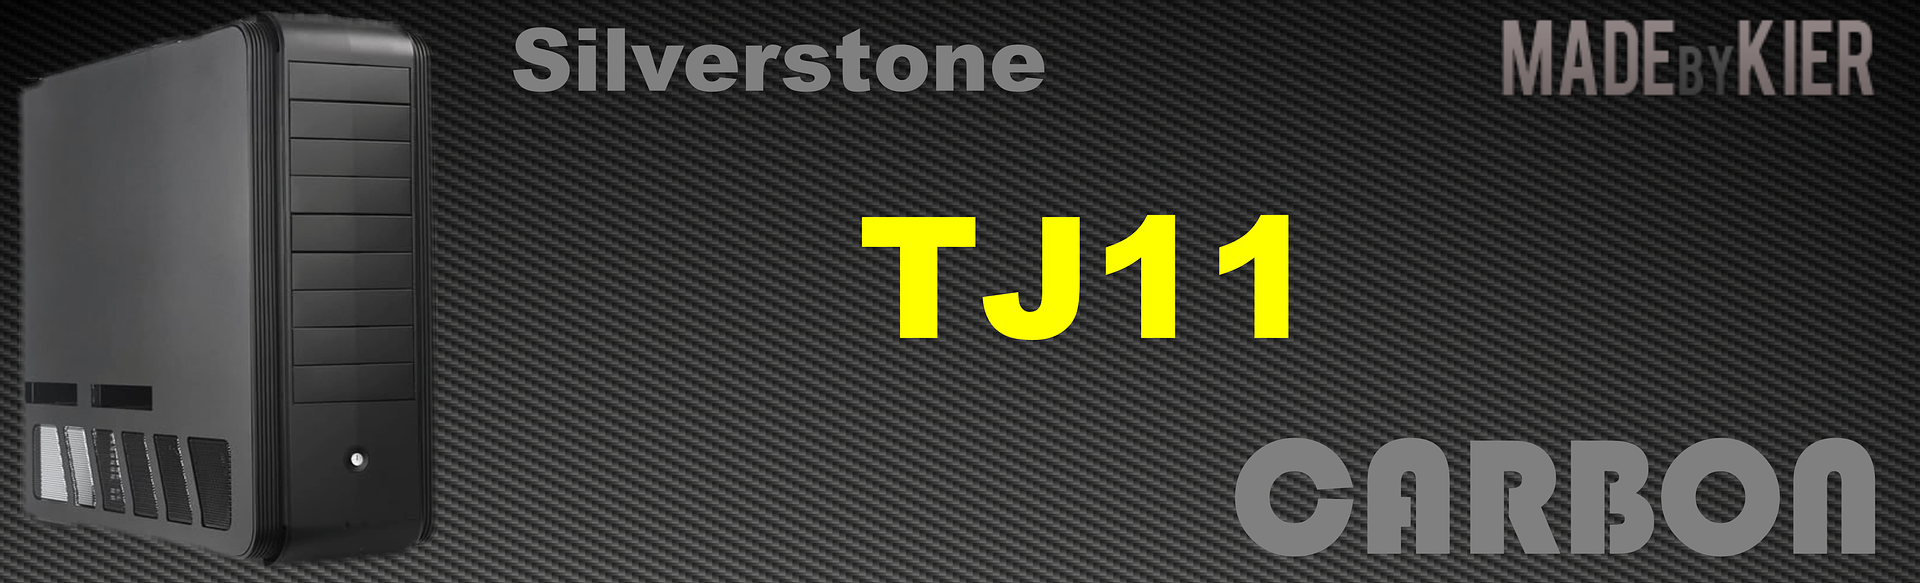
But now it is here ......... a new build, with a beautiful case, the Silverstone TJ11
When I first saw the case I had something like "I to want to mod this one"
I must admit that a number points are not so nice at this case.
This "negative" points I will certainly adjust. But they have also a lot of beautifull things renewed.
The main hardware and other materials
De hardware:
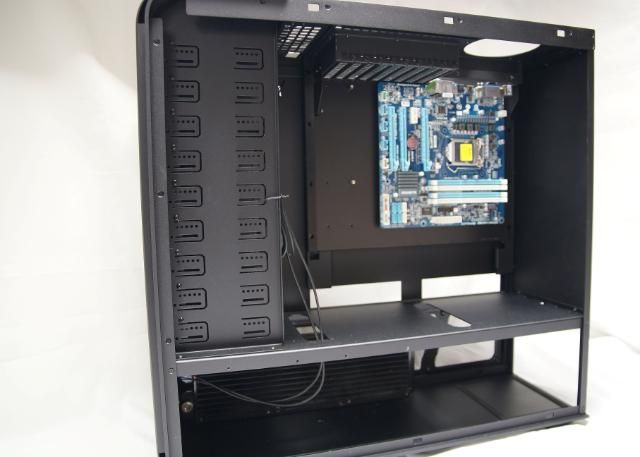
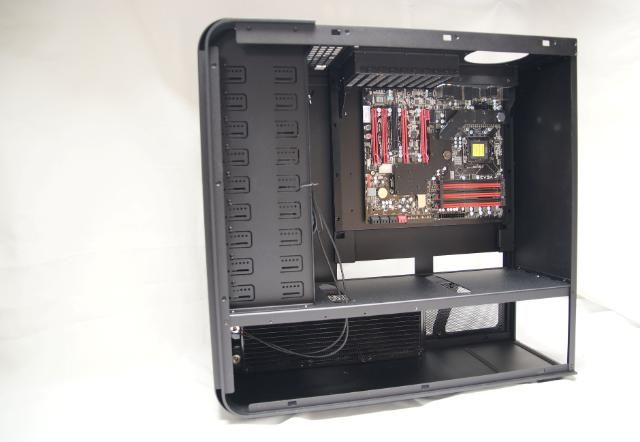
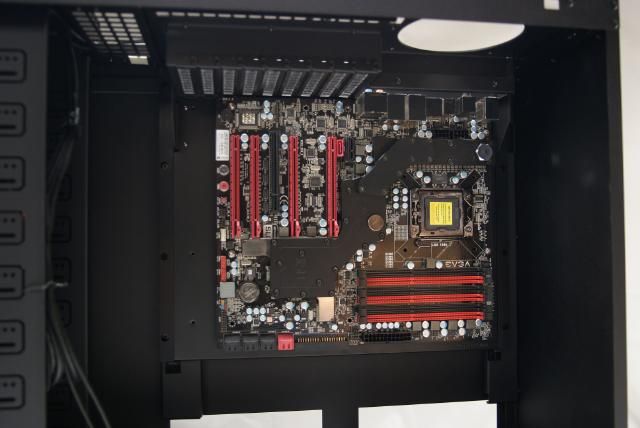
Case: Silverstone TJ11
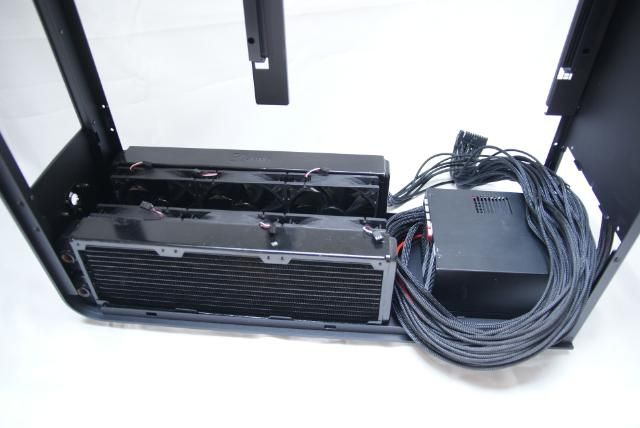
PSU: Coolermaster 1200w
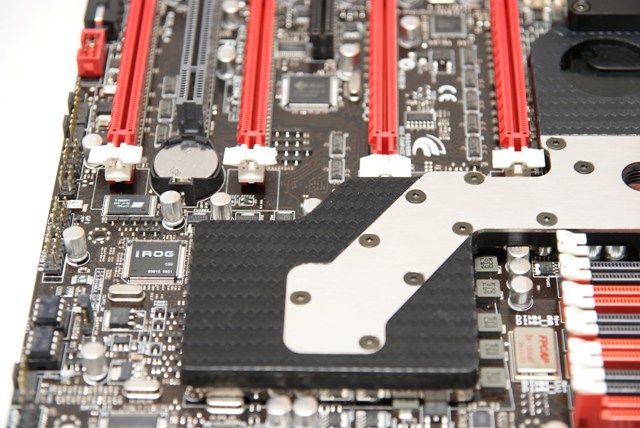
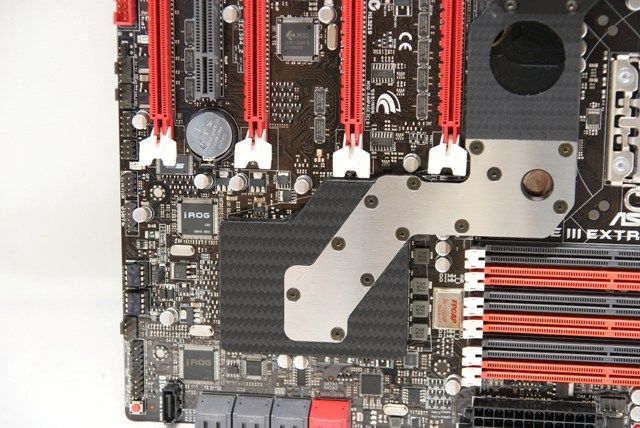
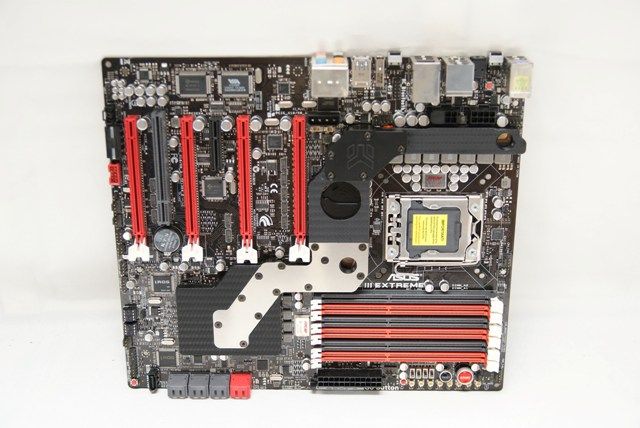
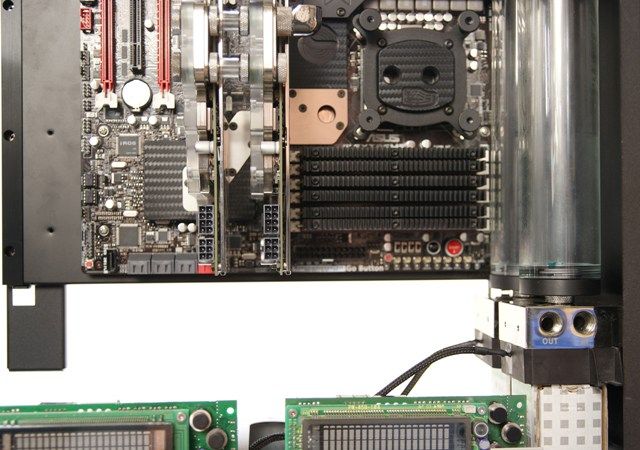
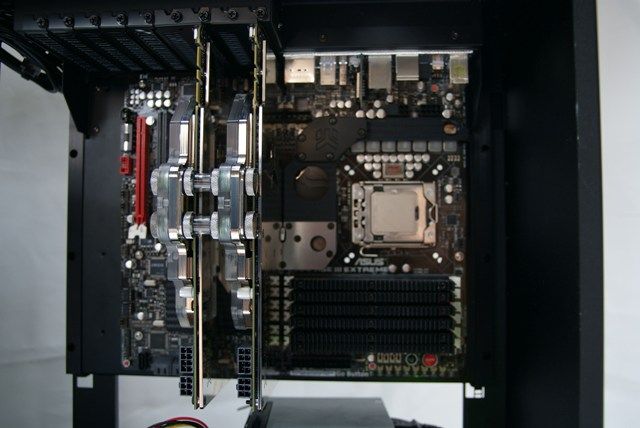
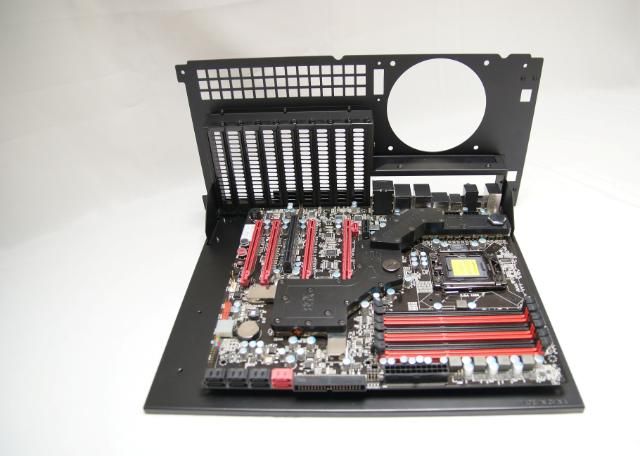
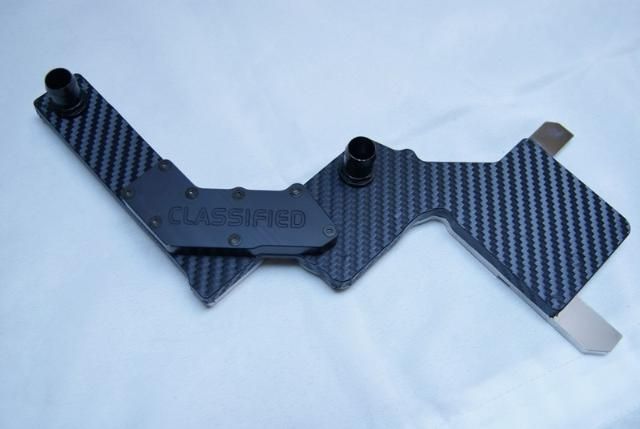
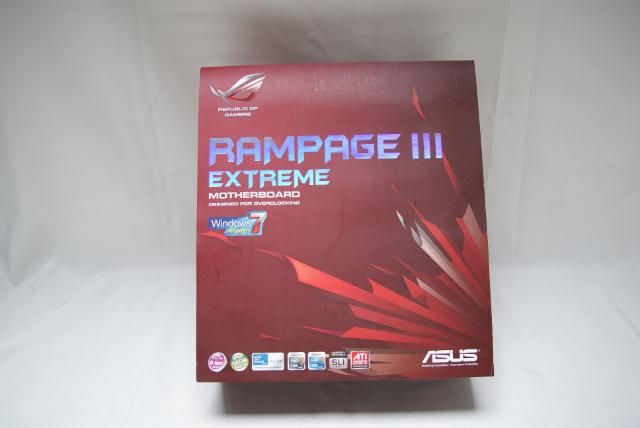
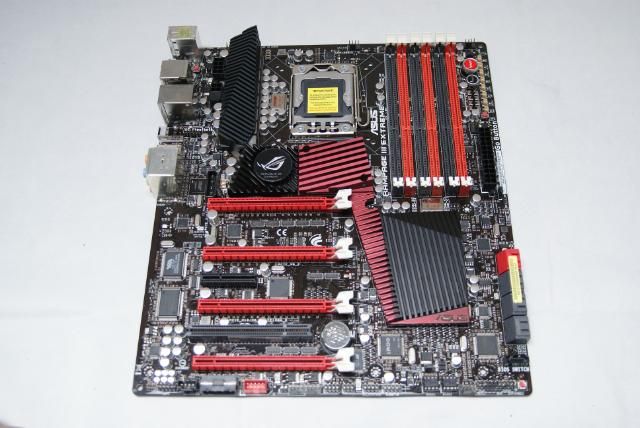
Motherboard: I’m not quite sure, but for the fitting and measuring, gonna use a EVGA Classified E759
Processor: i7 930
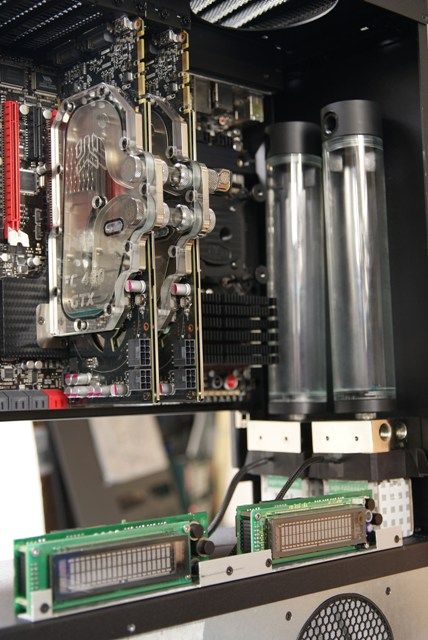
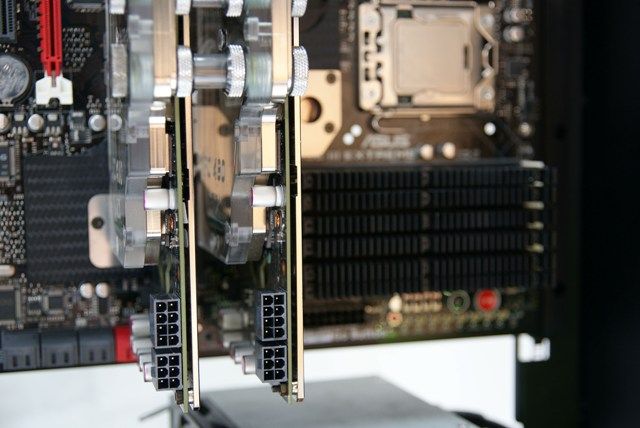
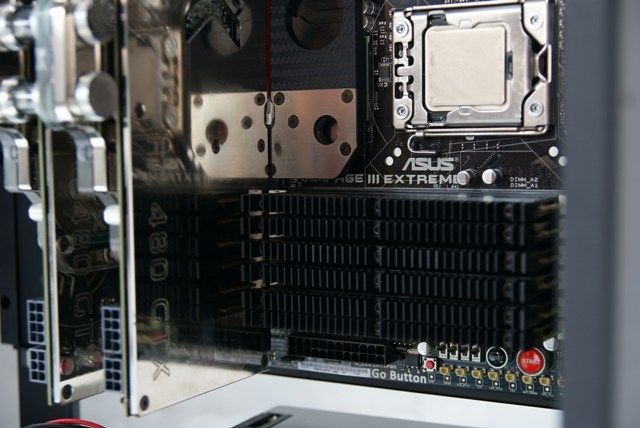
GPU: 3 x GTX 480
Memory: 6 x 2GB Corsair DDR3 1600
HDD: 2 x SSD 120GB And some sata
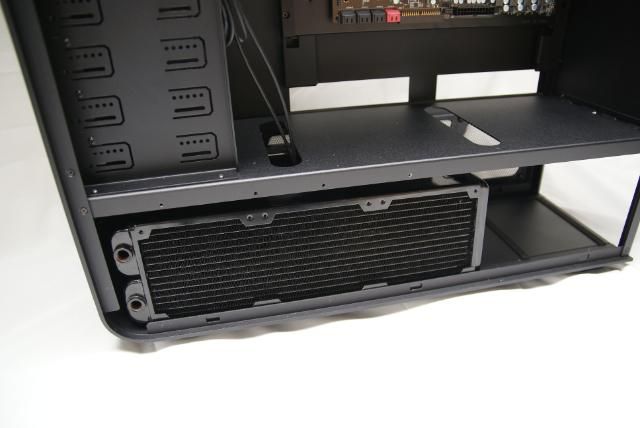
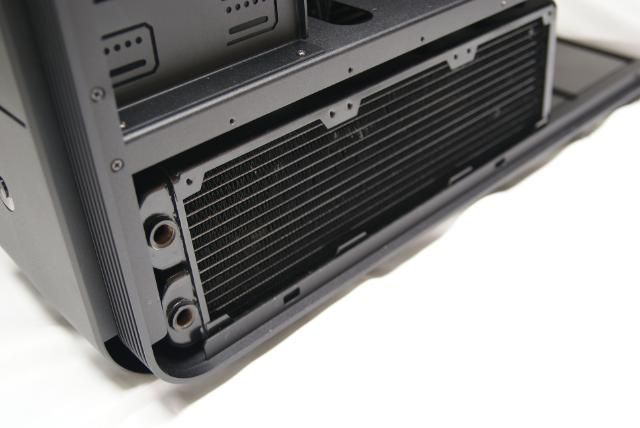
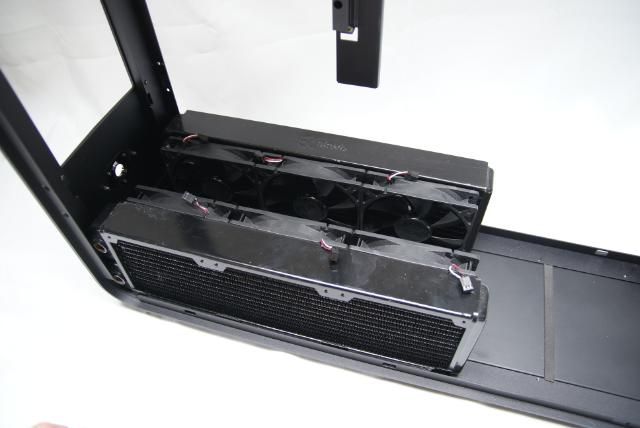
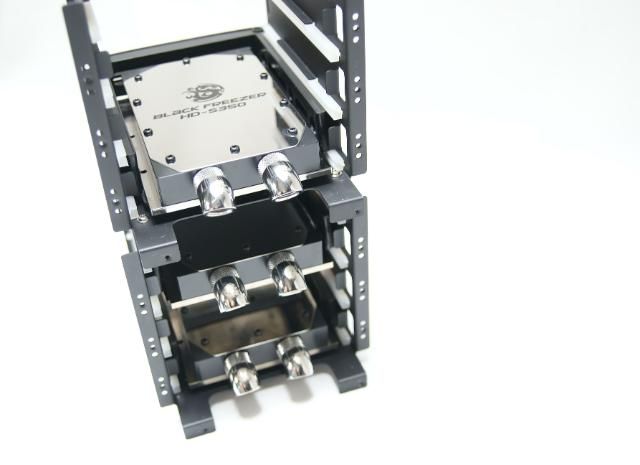
Cooling:
Water cooling of course, but have to gather and brainstorm what best suits the TJ
So it’s a bit of a gray area. But I have some great ideas.
For now:
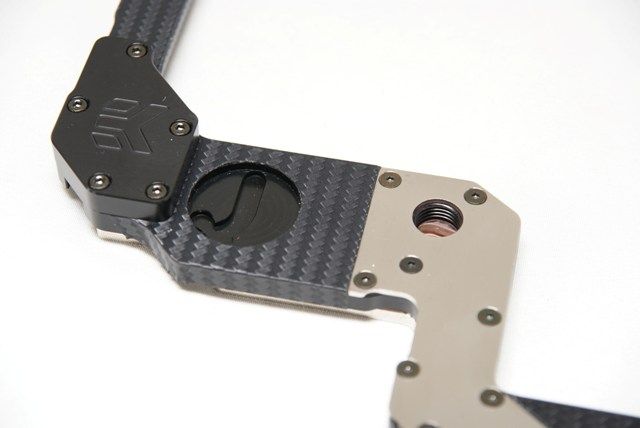
2 x EK 360 radiator
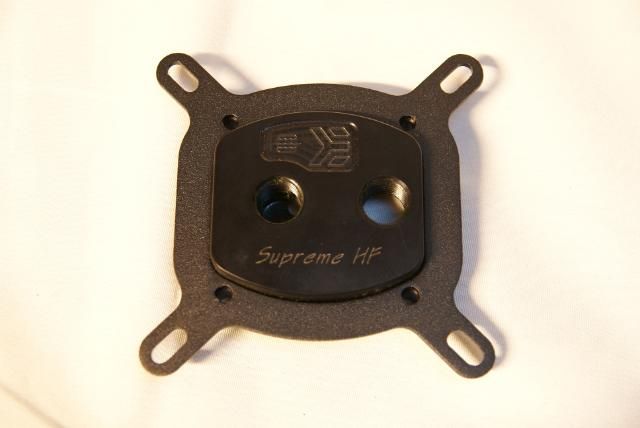
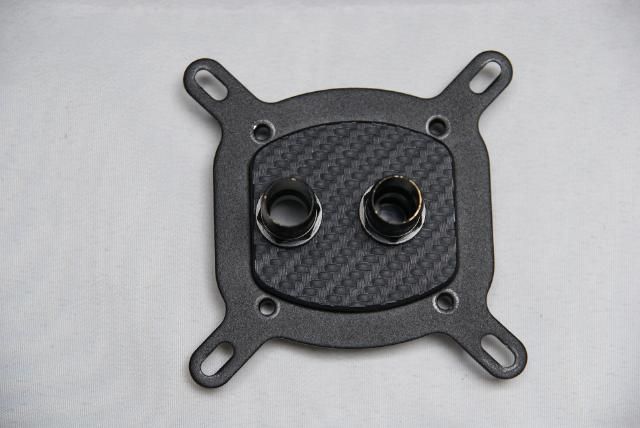
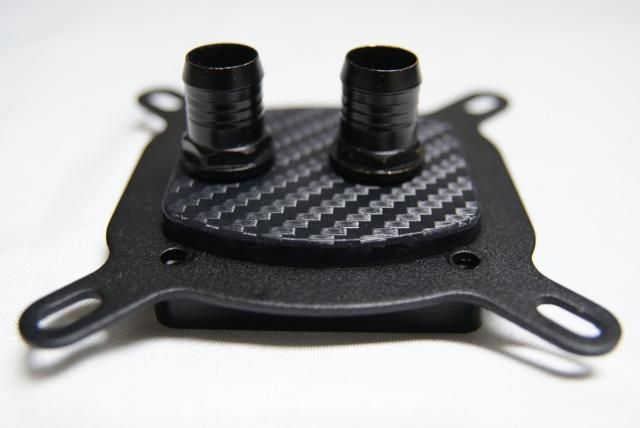
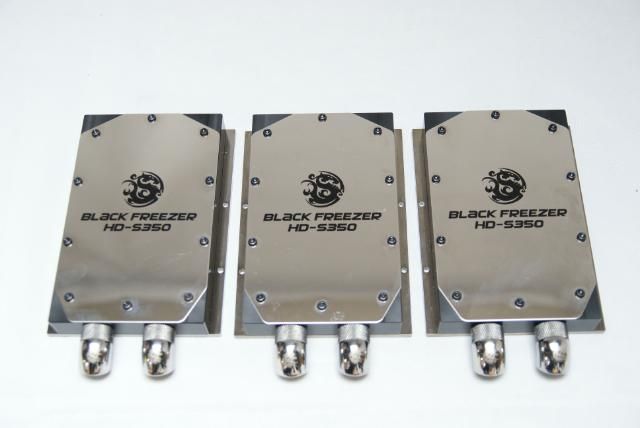
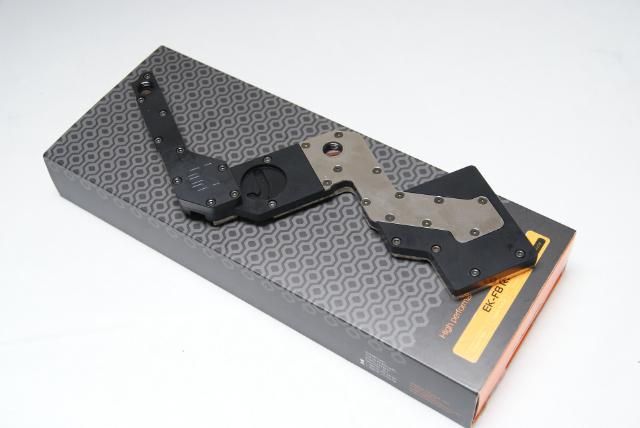
EK HF Supreme plex
EK Ram cooler plex
BitspowerSilver shiny
Tygon tube Transparant
And more…….
Other products/ materials:
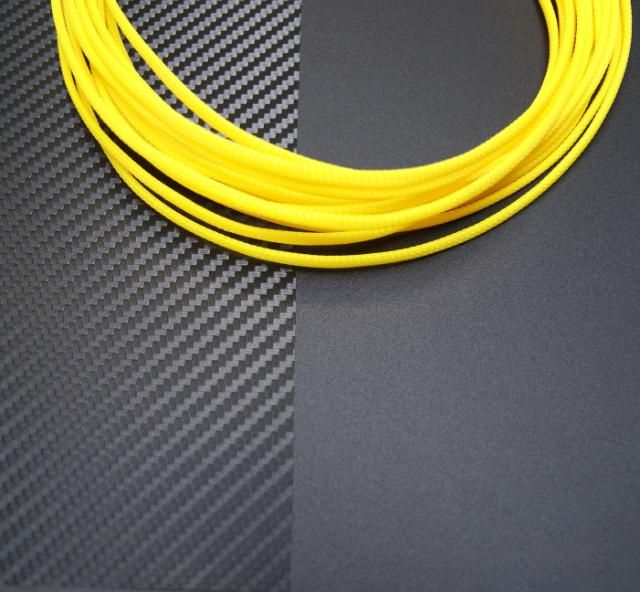
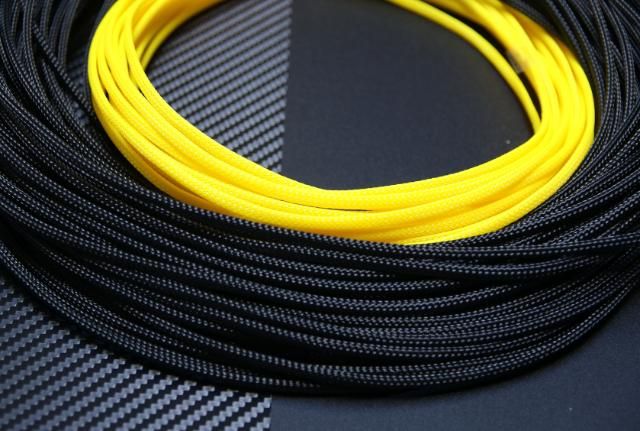
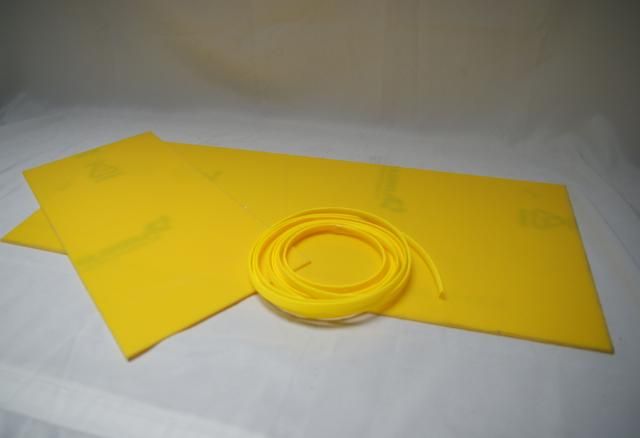
MDPC Sleeve, colors: Black and...........yellow
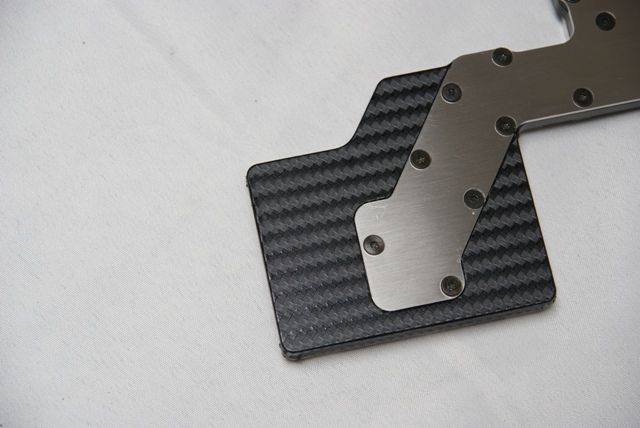
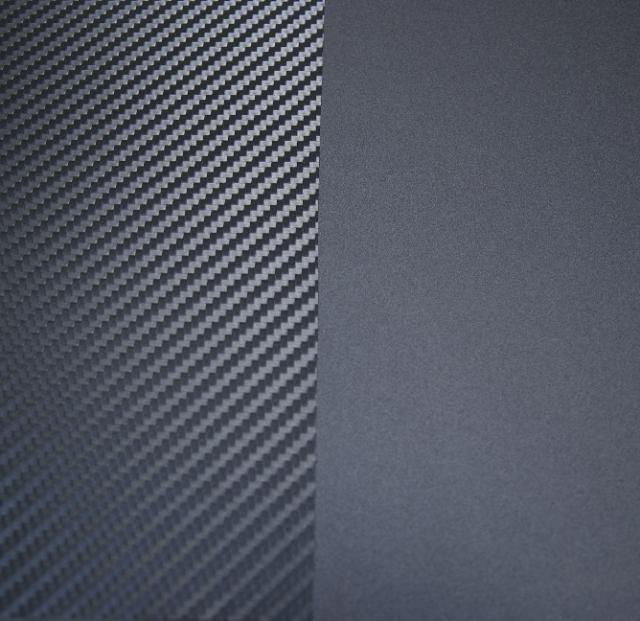
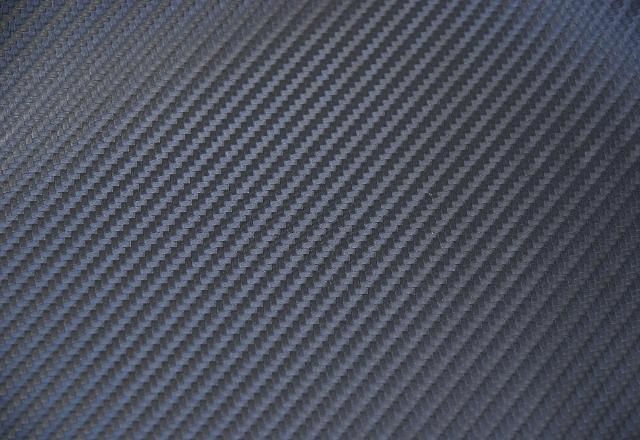
Carbon fiber film
SMD lighting I think, but not too much this time
Some Acryl, yellow and black
About what exactly will happen, I will not say too much for now. I have a lot of ideas
The beginning:
My hero the guy of GLS, delivered the package of highflow.
Luckily, he treats the case with love and the TJ is without damage.
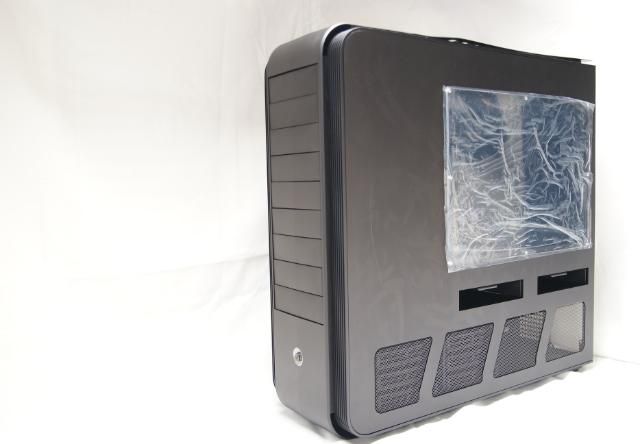
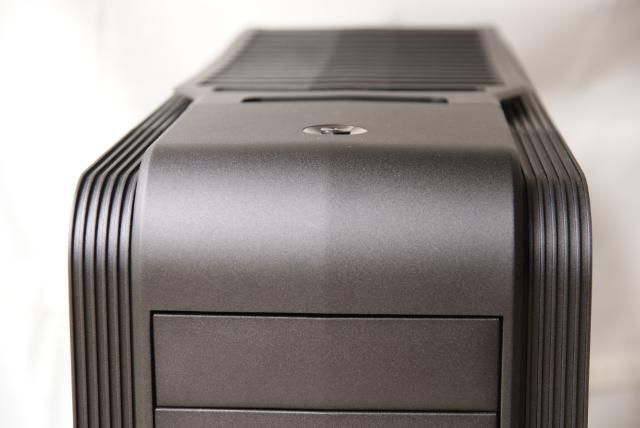
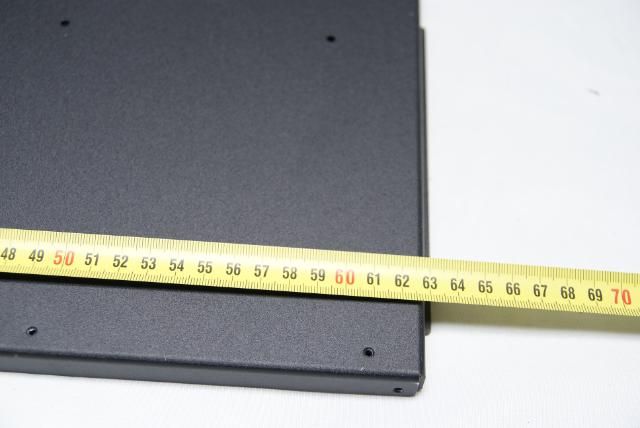
It’s big, really big…………..but beautifull
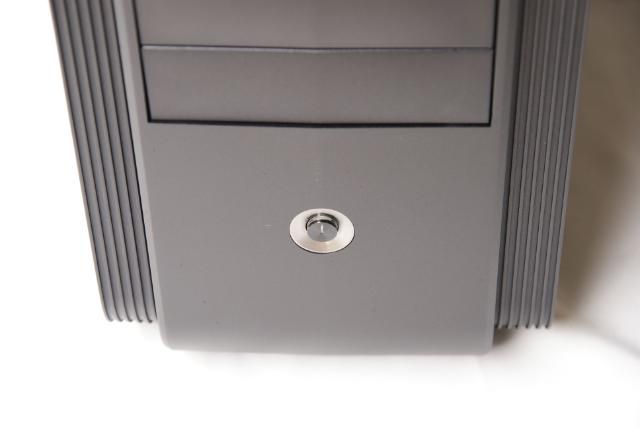
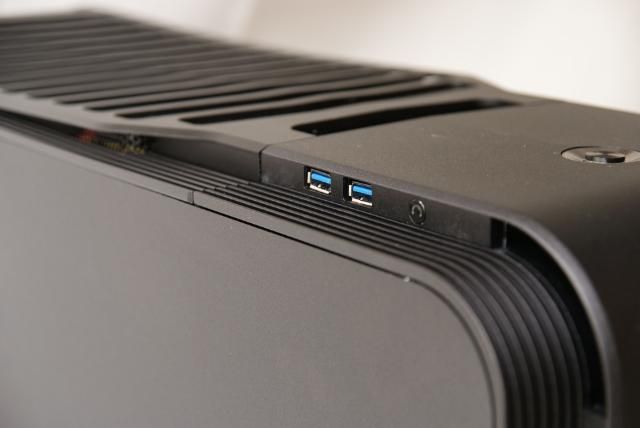
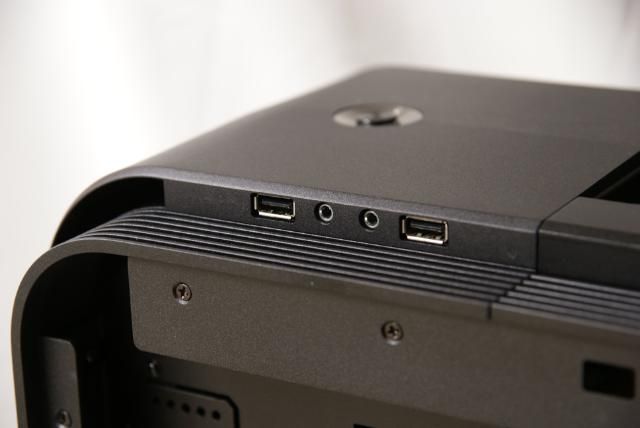
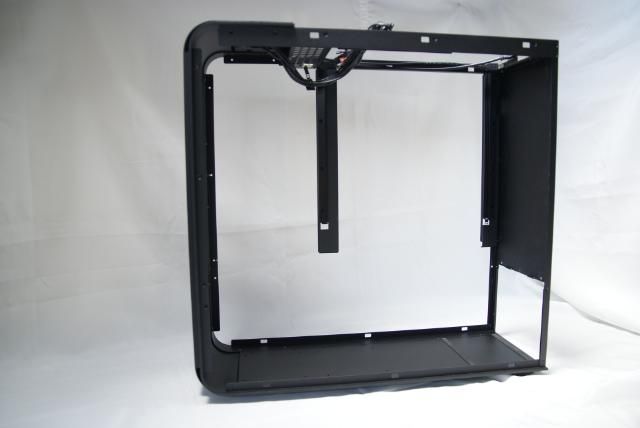
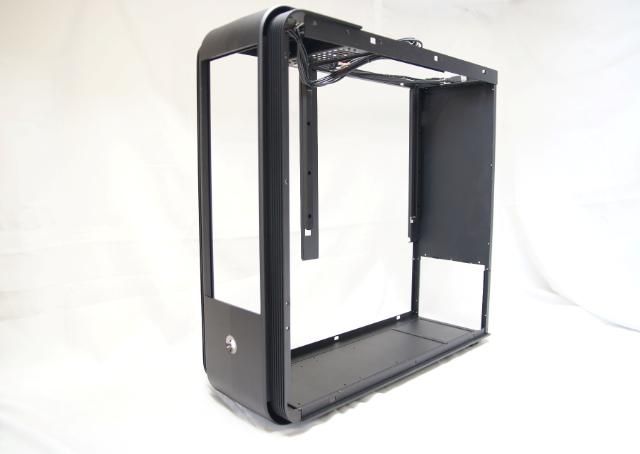
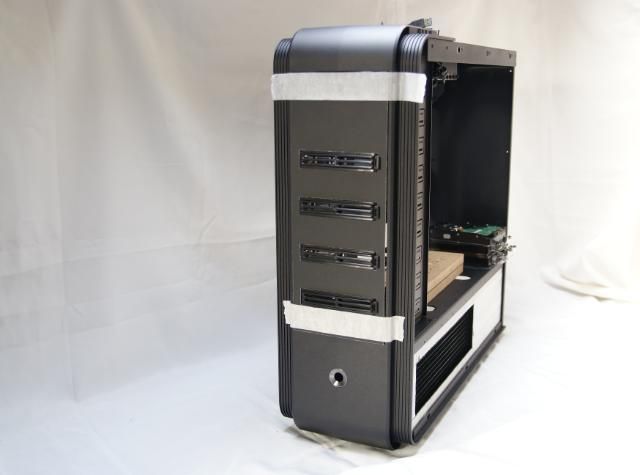
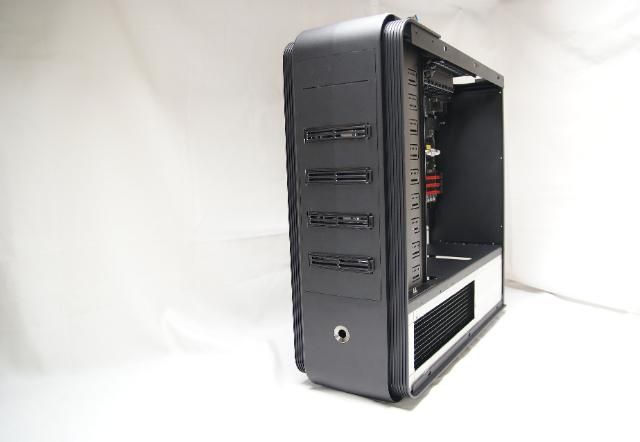
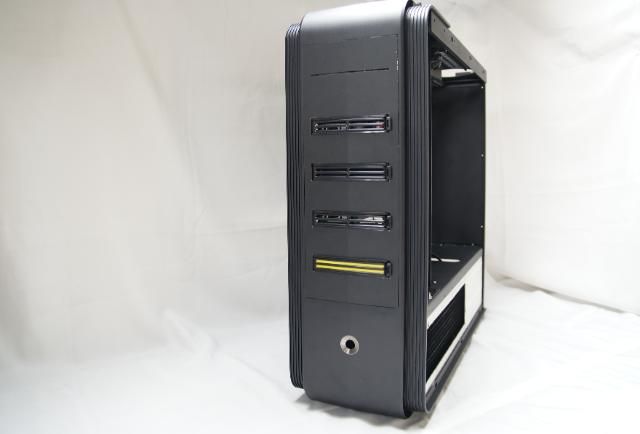
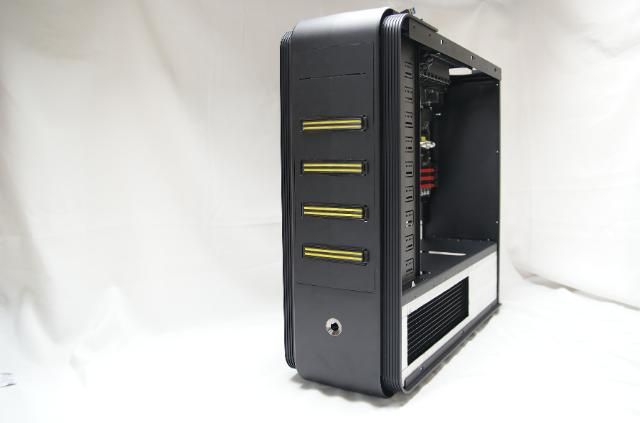
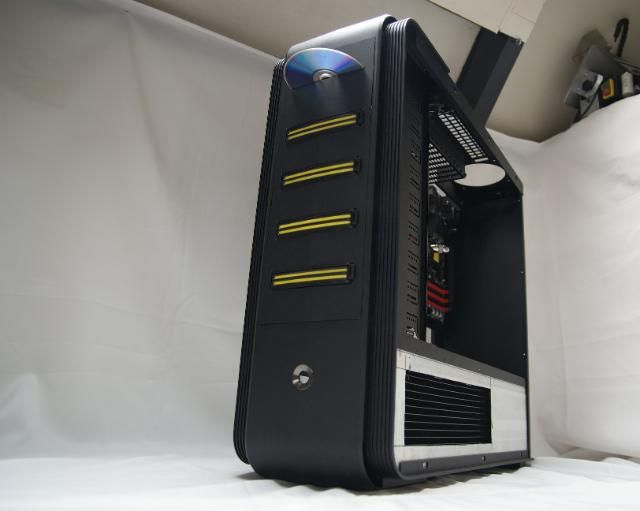
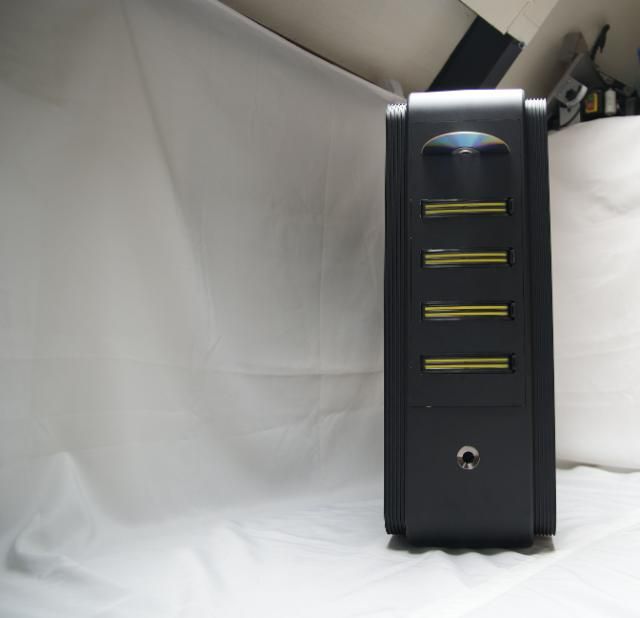
De Silverstone TJ11
The box
Out of the box
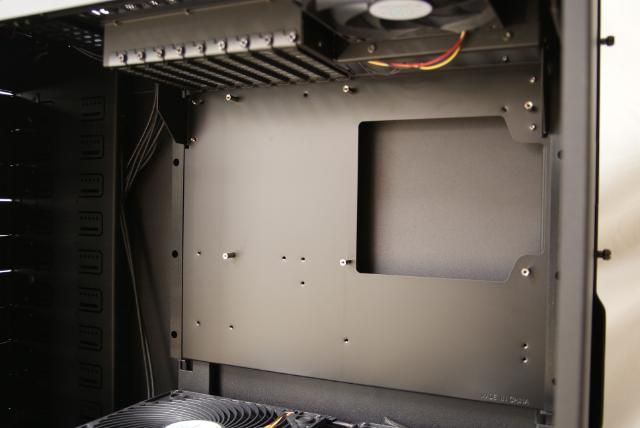
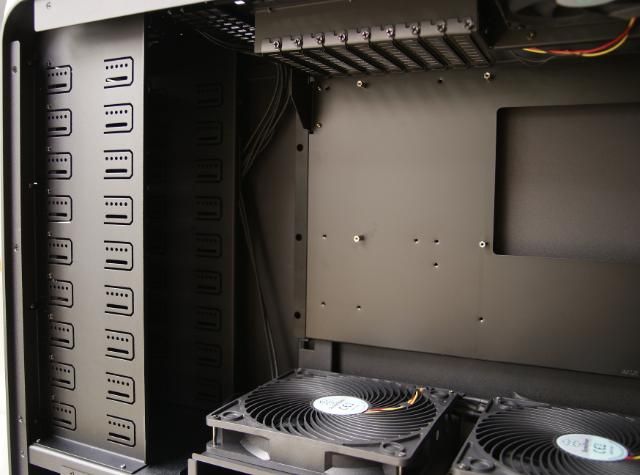
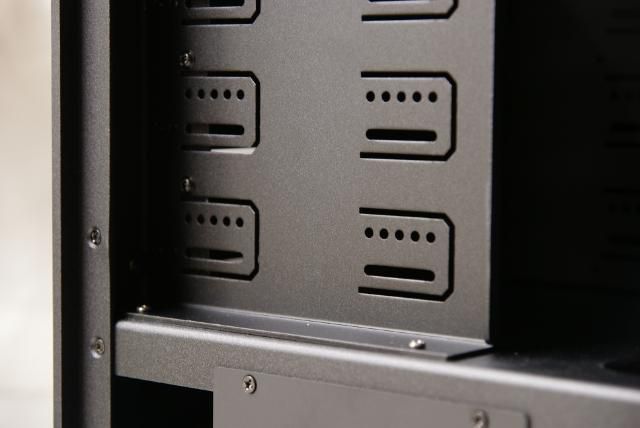
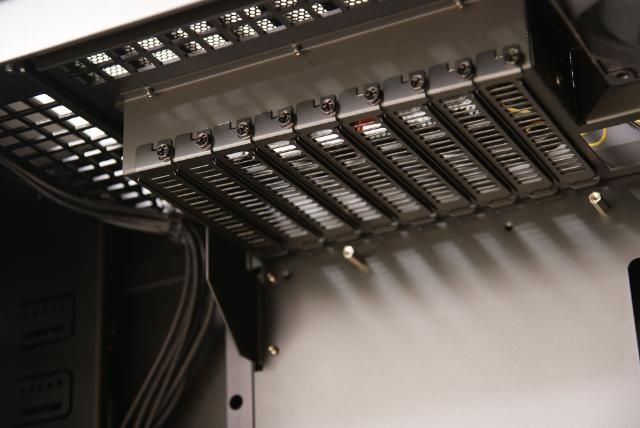
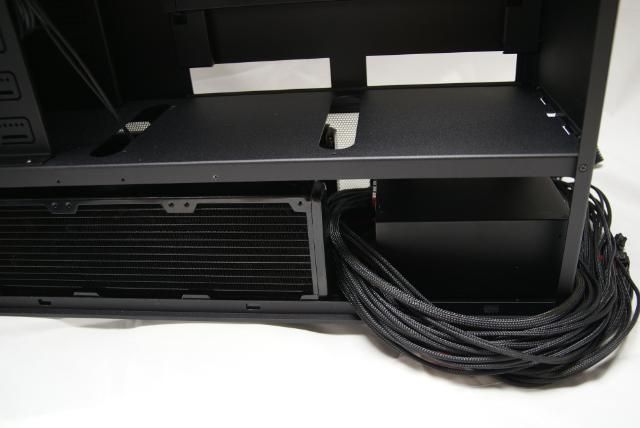
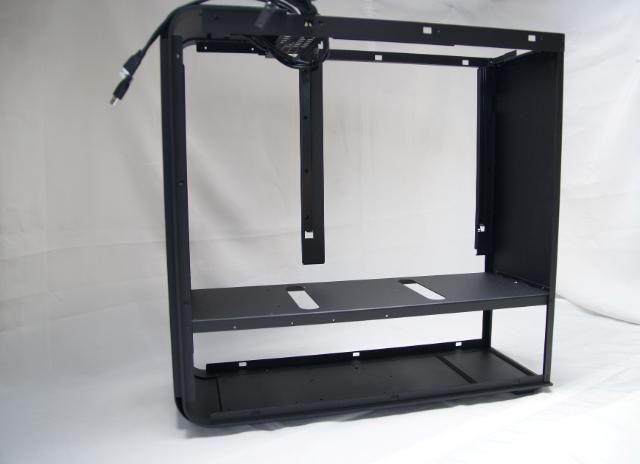
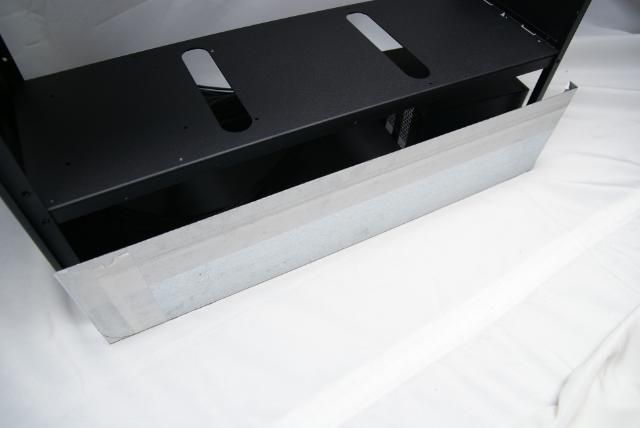
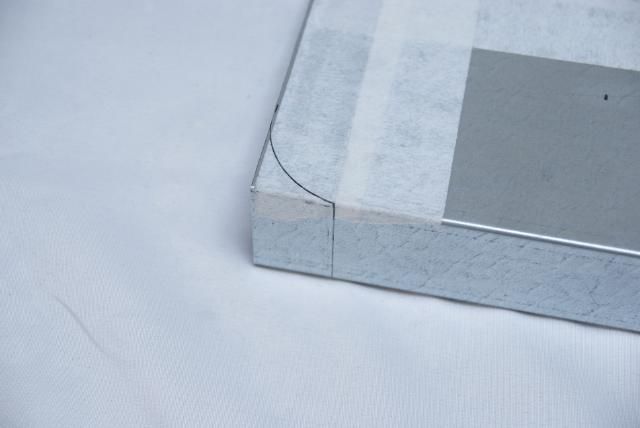
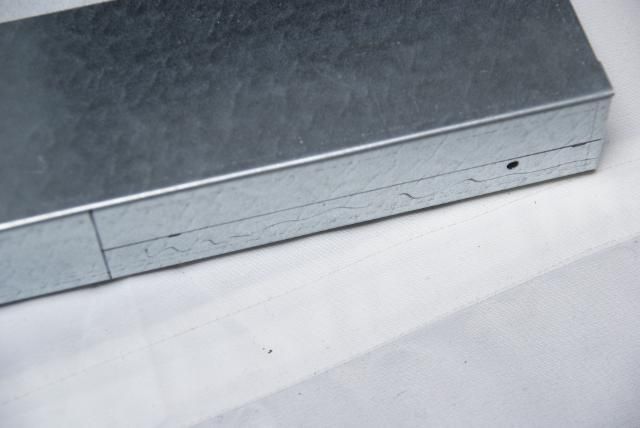
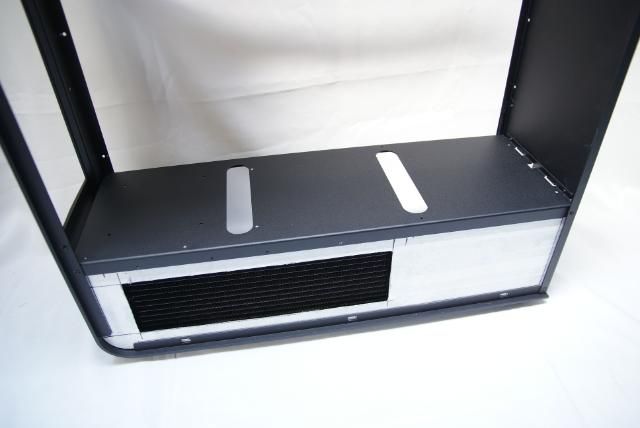
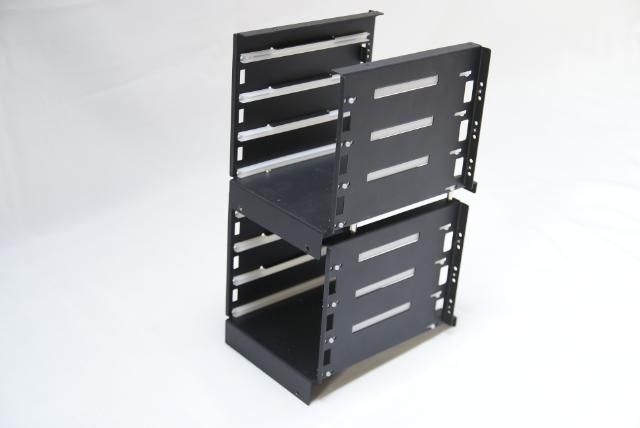
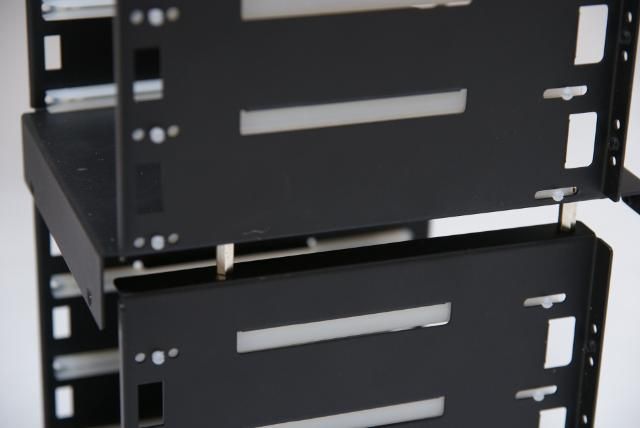
Inside
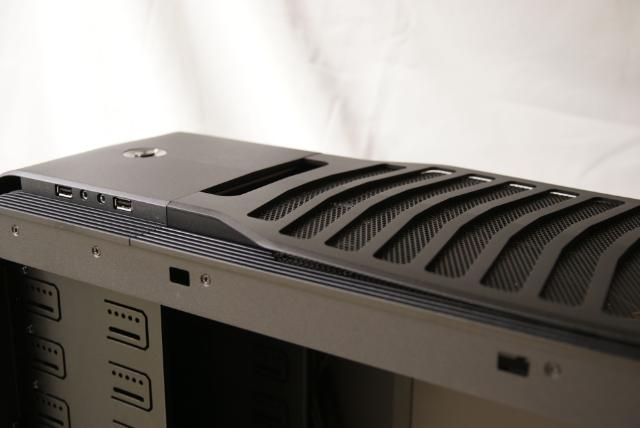
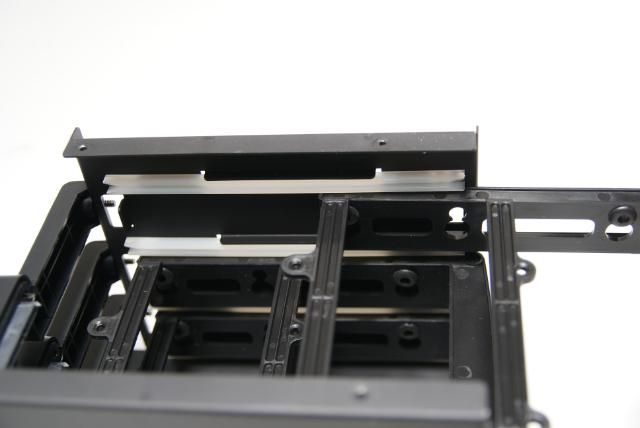
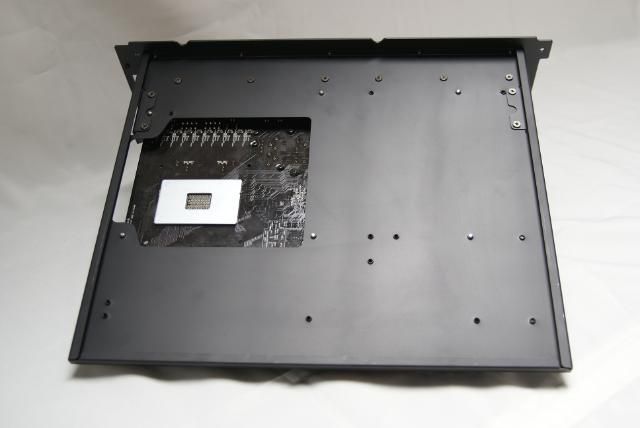
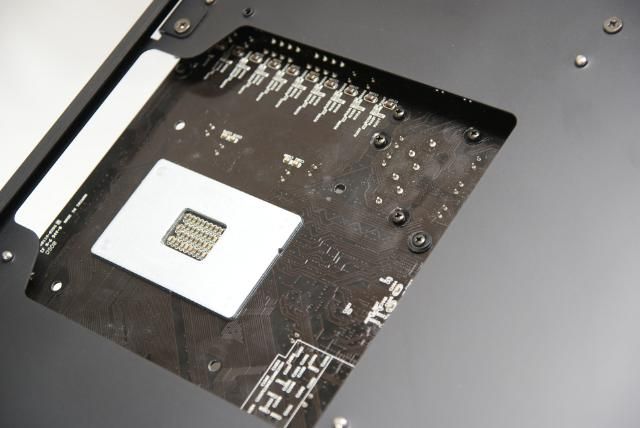
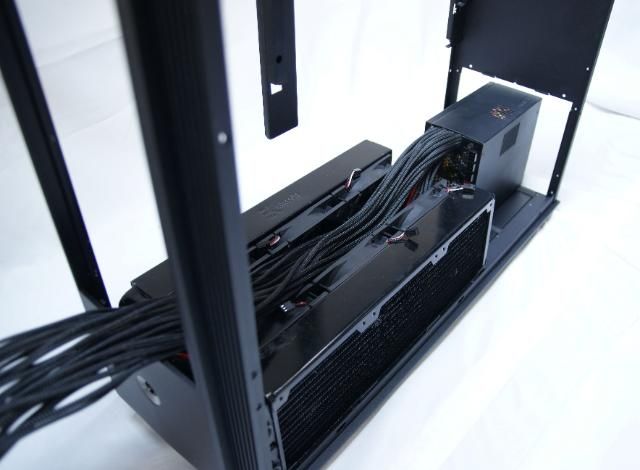
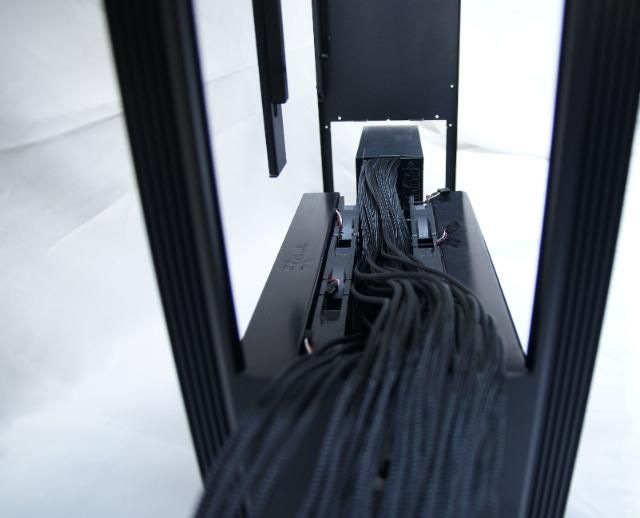
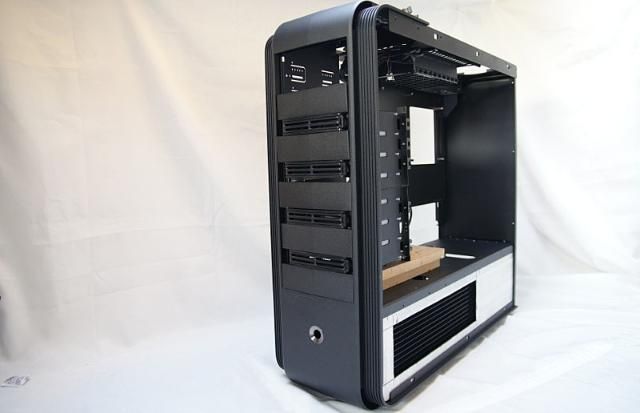
Top-mounted slide out motherboard tray
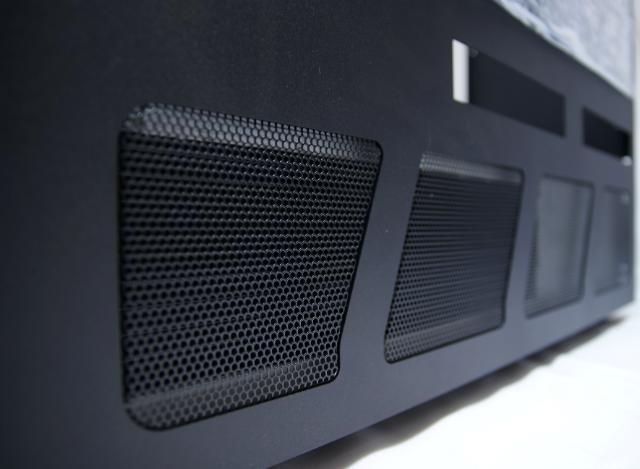
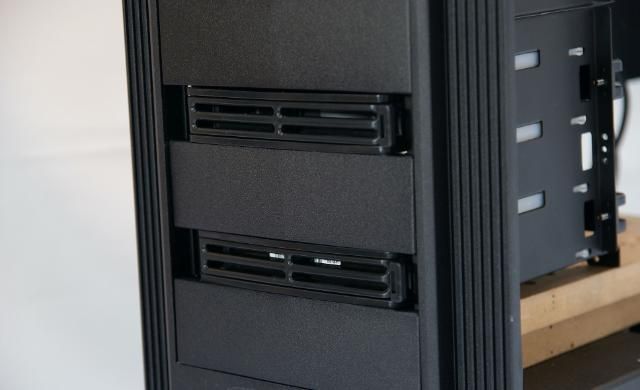
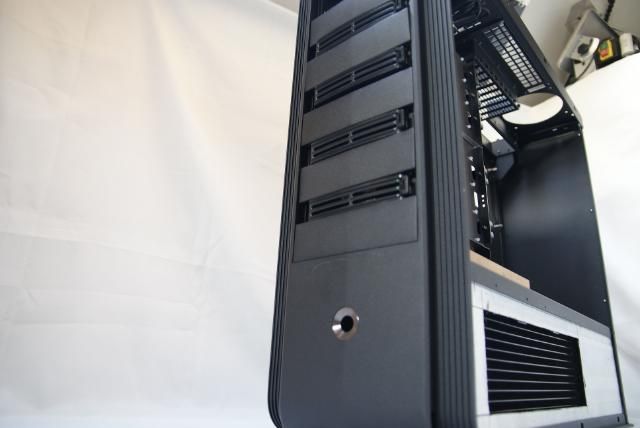
9 uninterrupted 5.25” drive bays
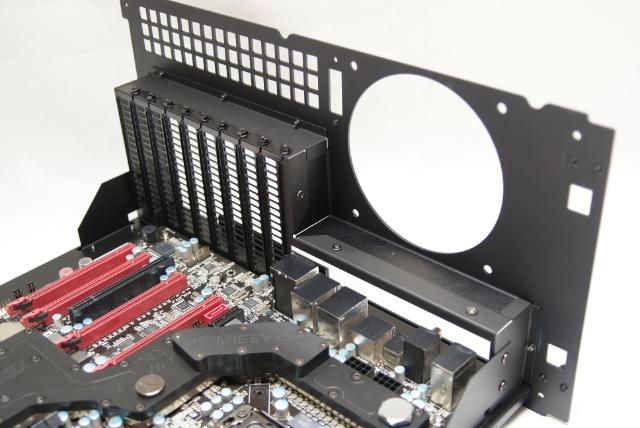
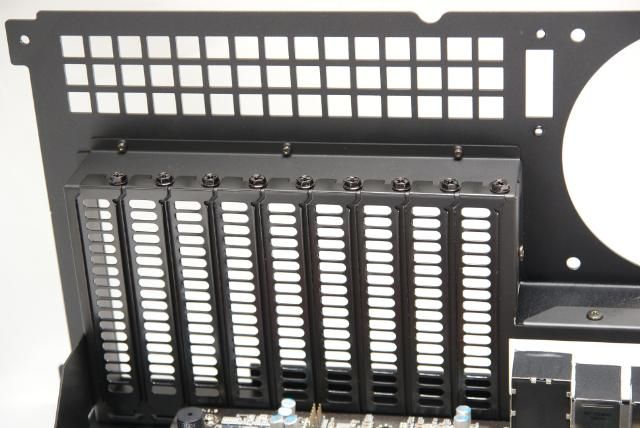
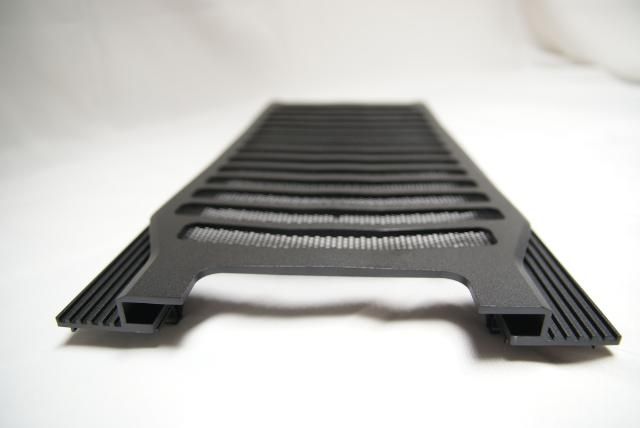
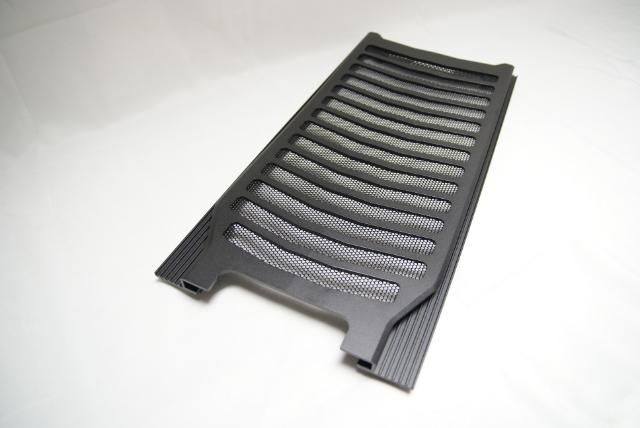
9+1 expansion slots
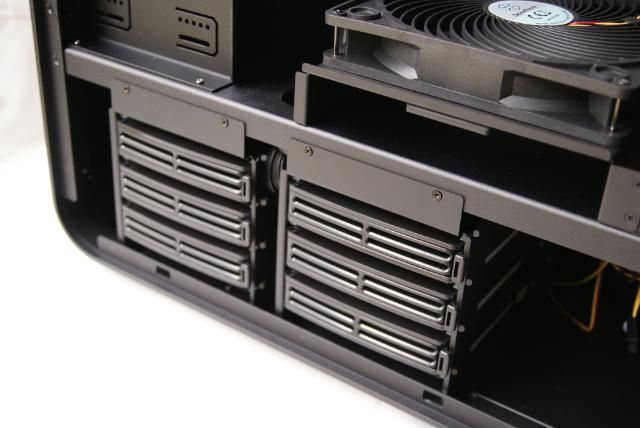
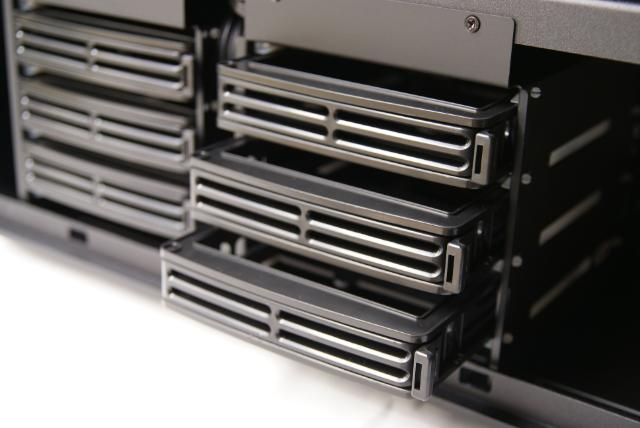
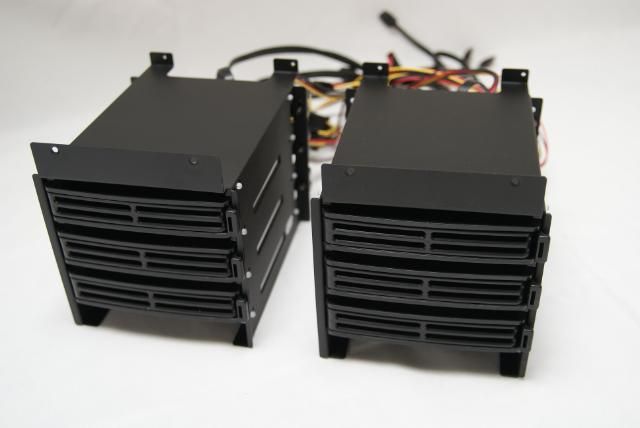
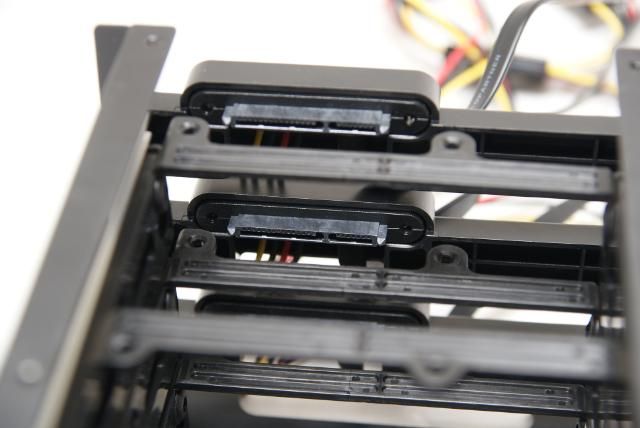
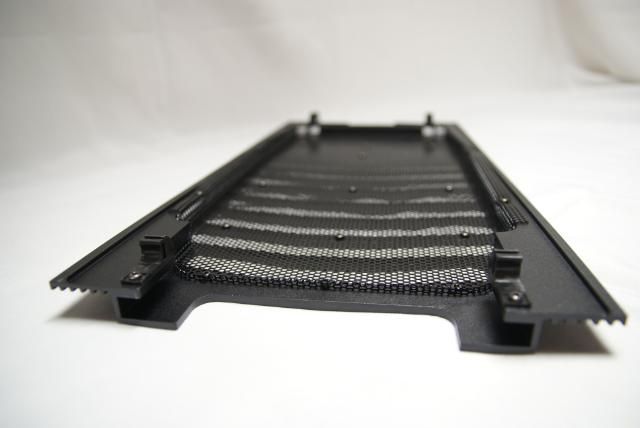
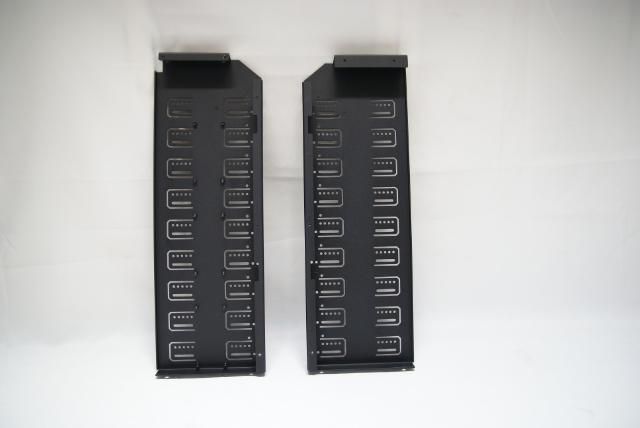
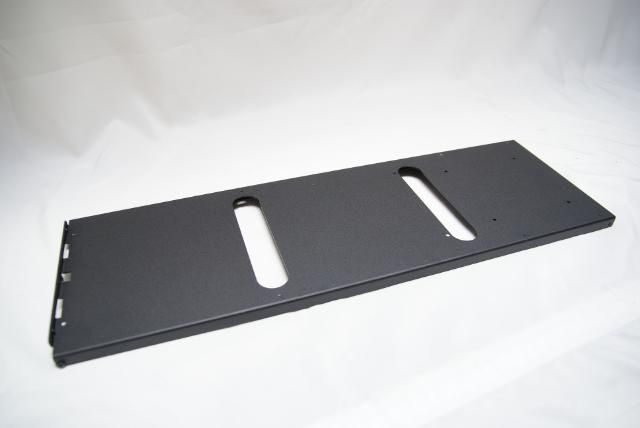
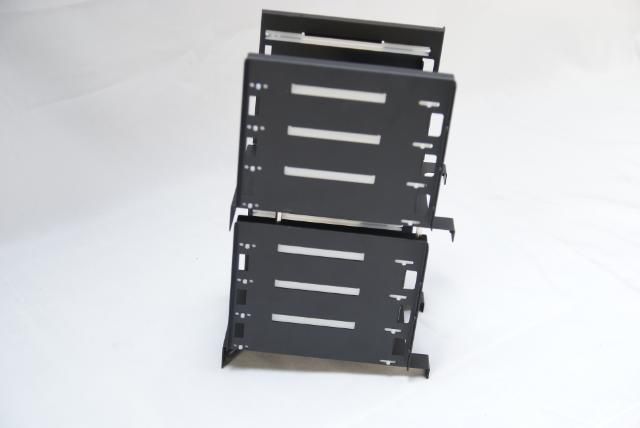
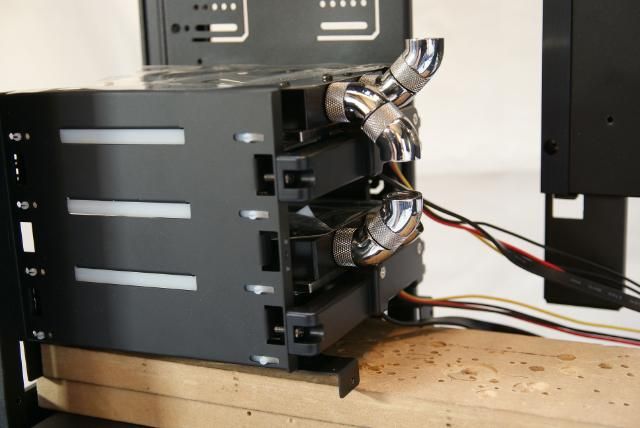
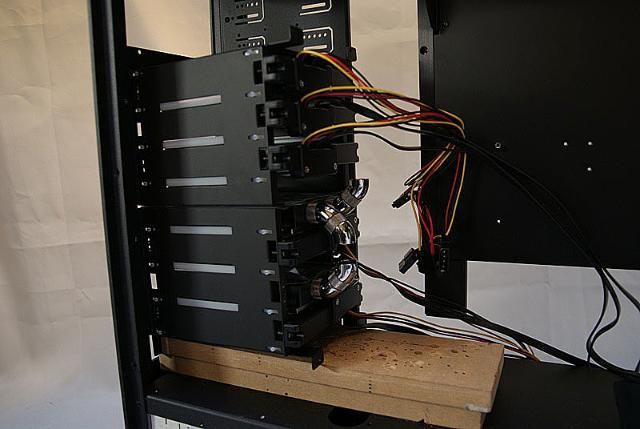
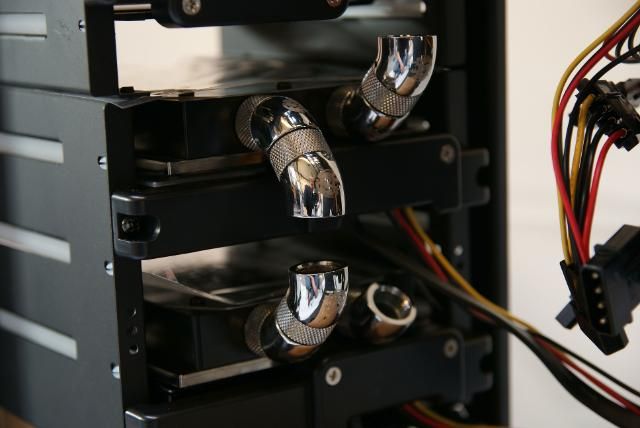
6 x 3.5” hard drive trays
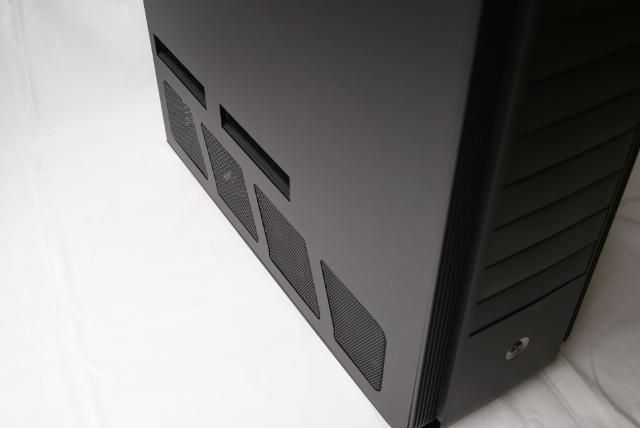
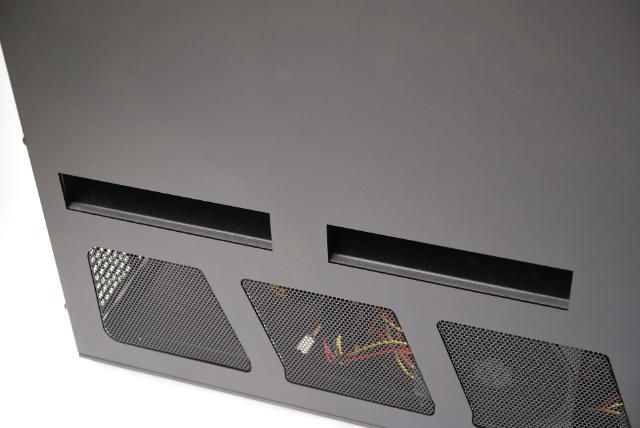
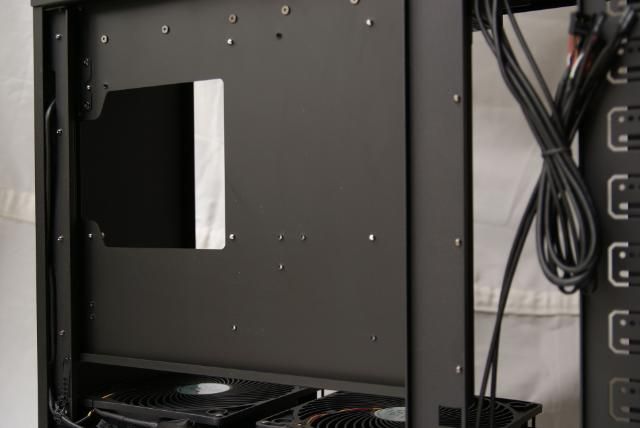
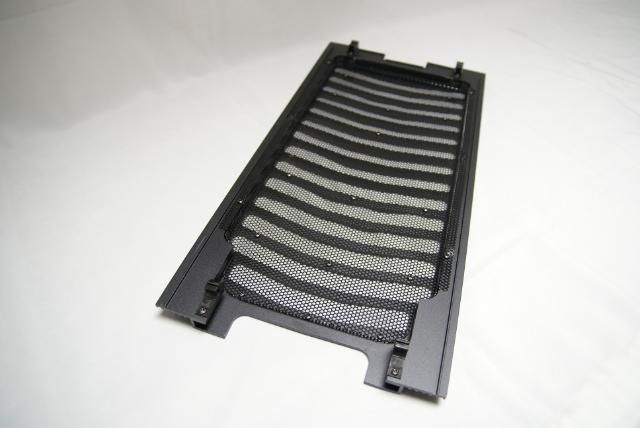
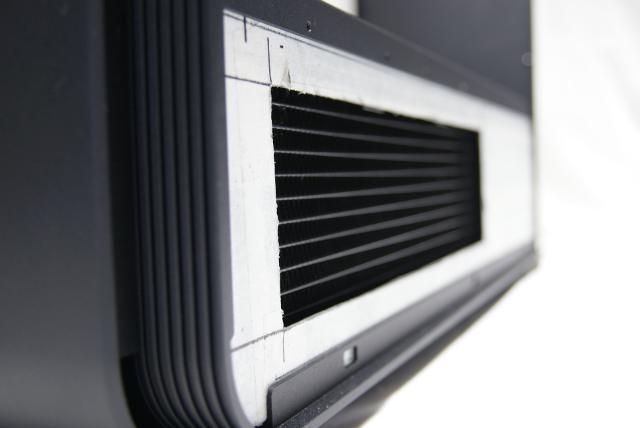
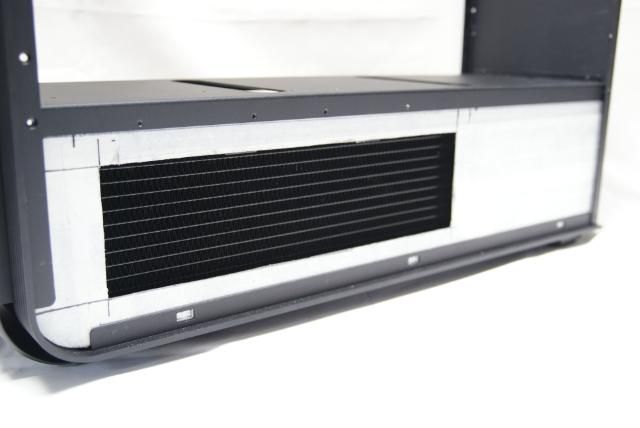
Dual see-through air intake vents
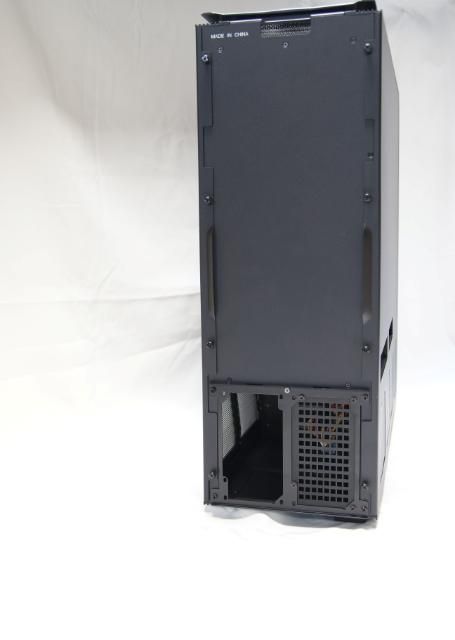
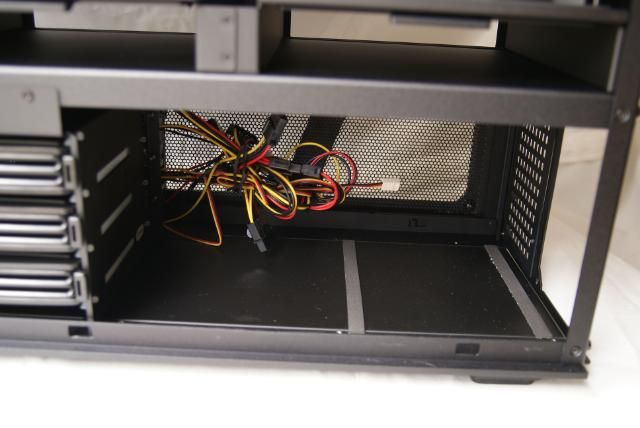
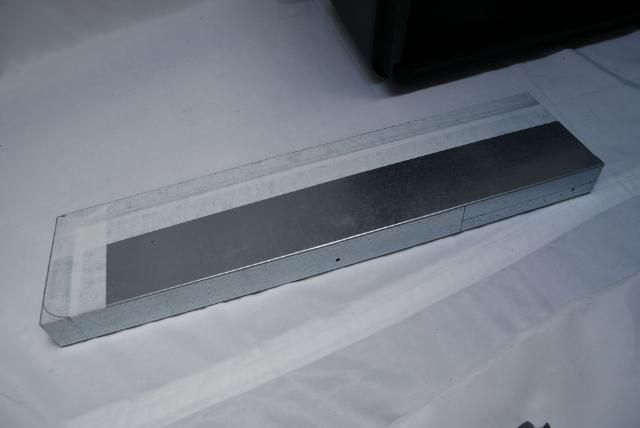
Dual ATX/PS2 PSU compartment
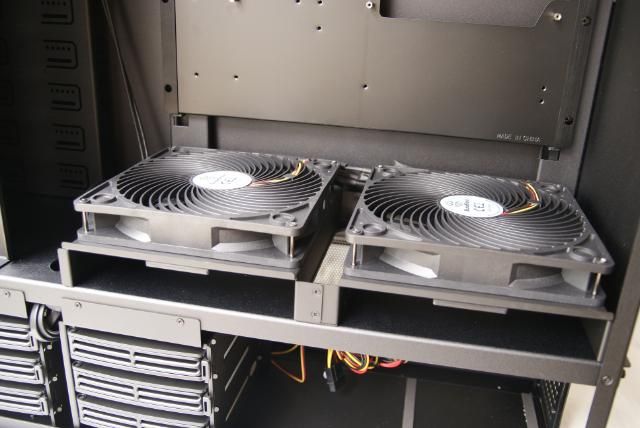
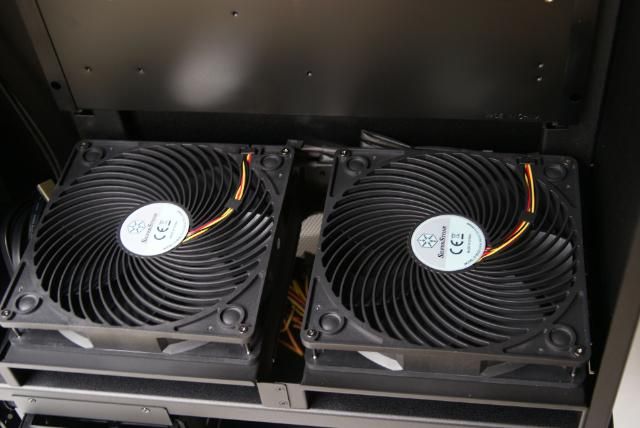
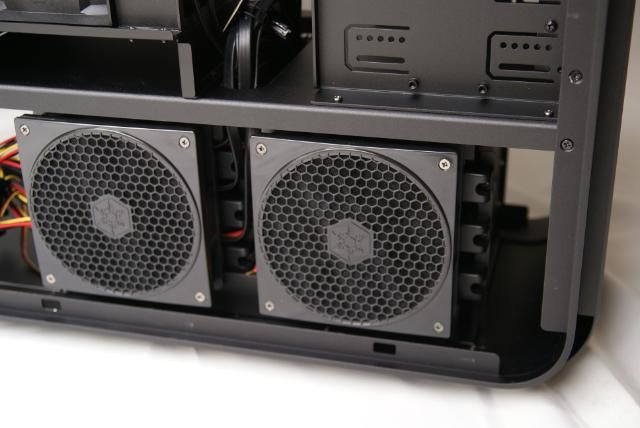
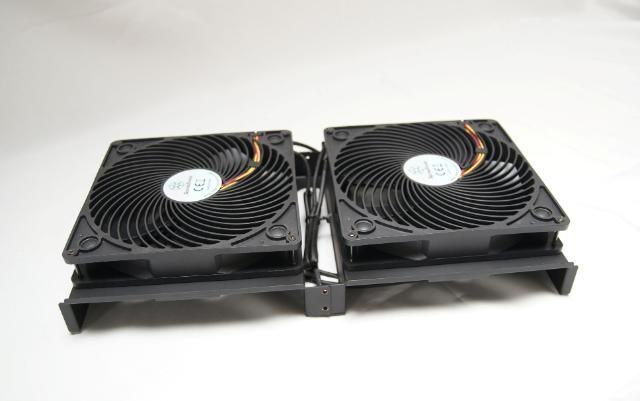
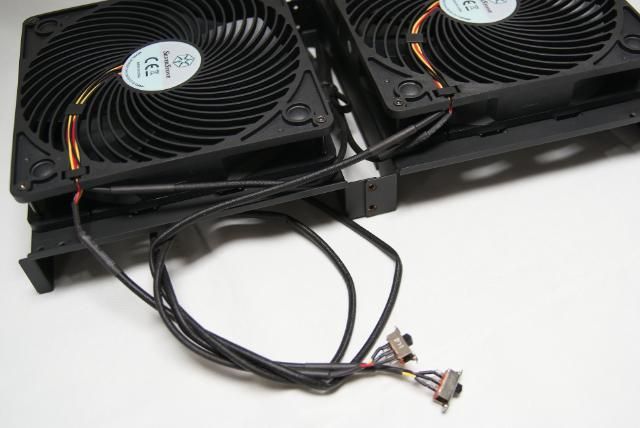
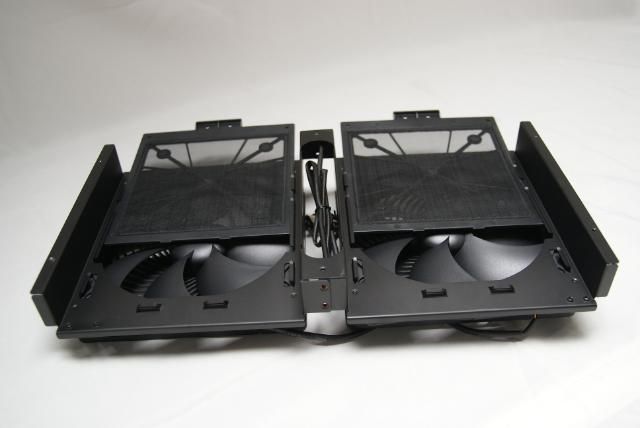
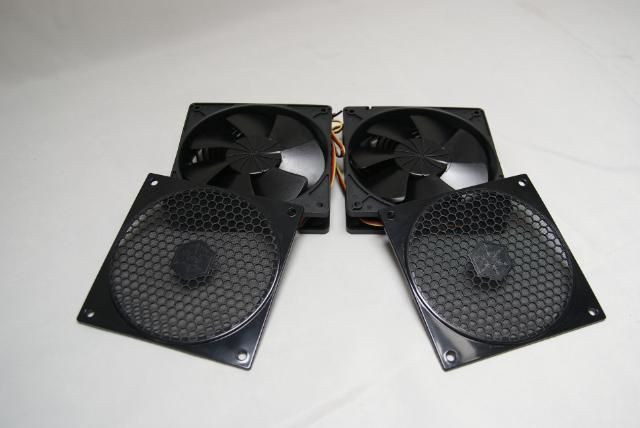
2 x AP121 fans with hot-swap adapters
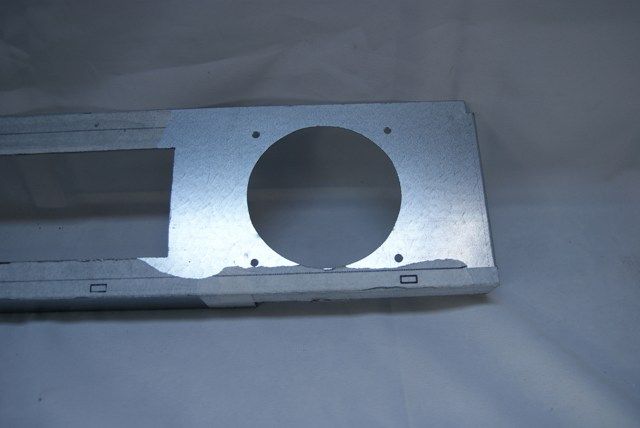
Extra large motherboard tray cut-out for CPU cooler backplates
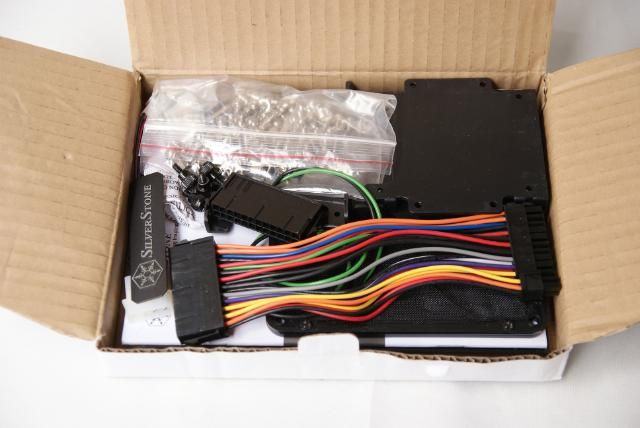
And a little box with small stuff
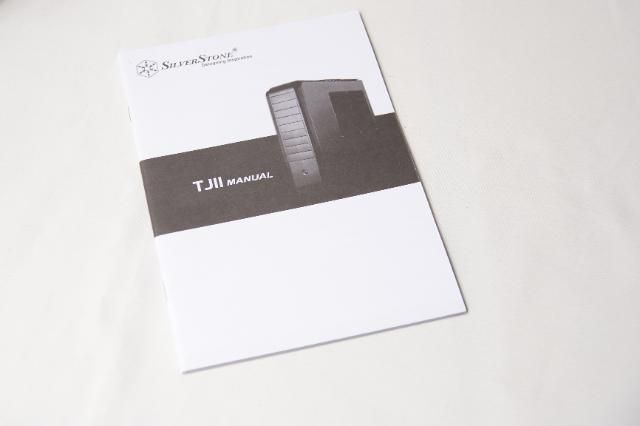
Manual……….lol
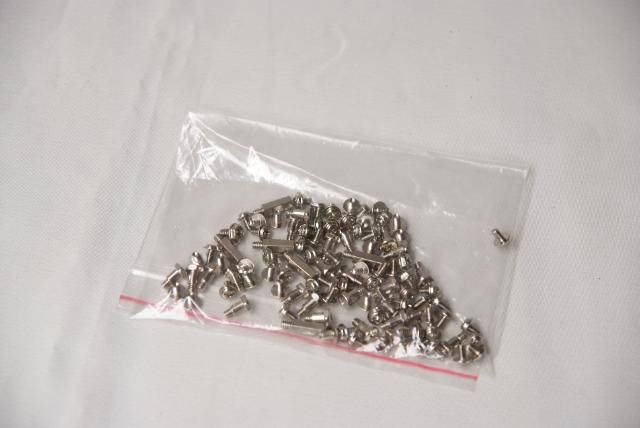
Fasteners, unfortunately silver not black. Missed opportunity
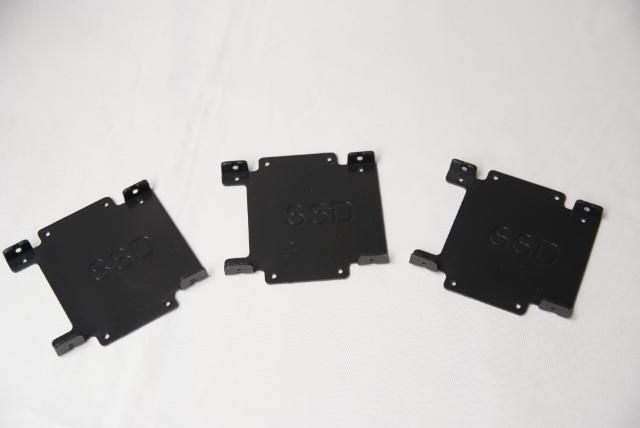
SSD Brackets
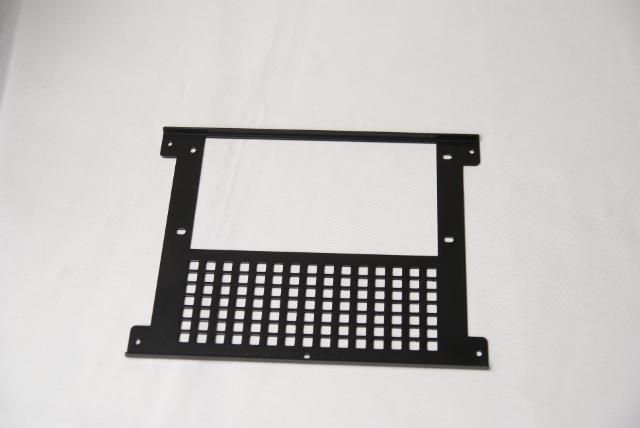
Horizontal mount bracket for the PSU
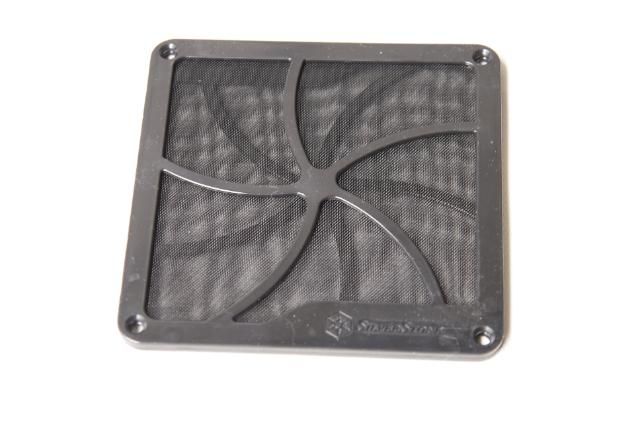
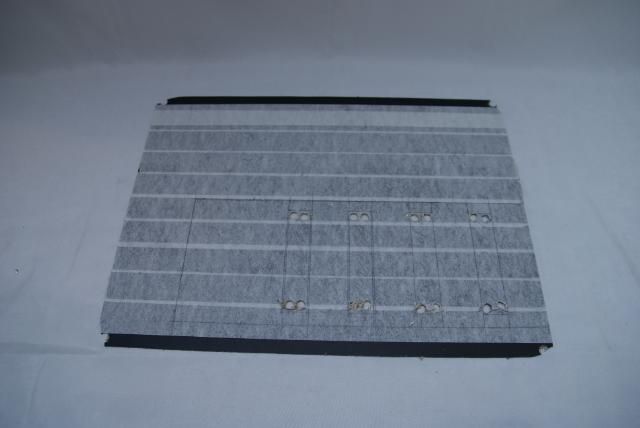
Filter
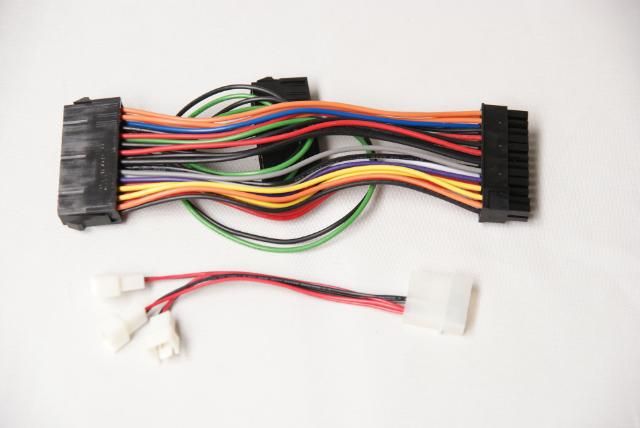
PSU cable
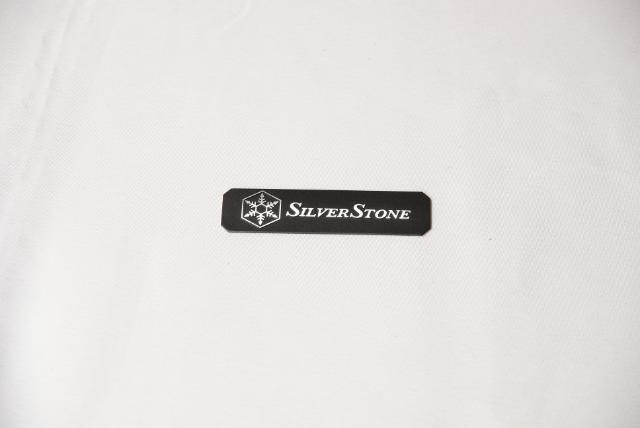
And a Silverstone logo for on the case or something. could laugh about this
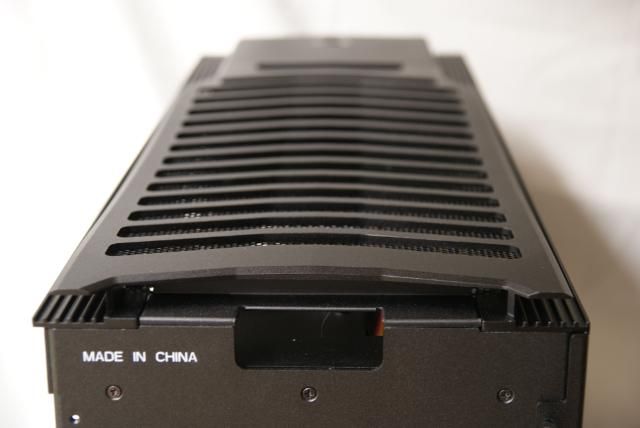
Because the painted this on my beautiful expensive case
Do not mind that it’s made in China, but please don’t do this anymore
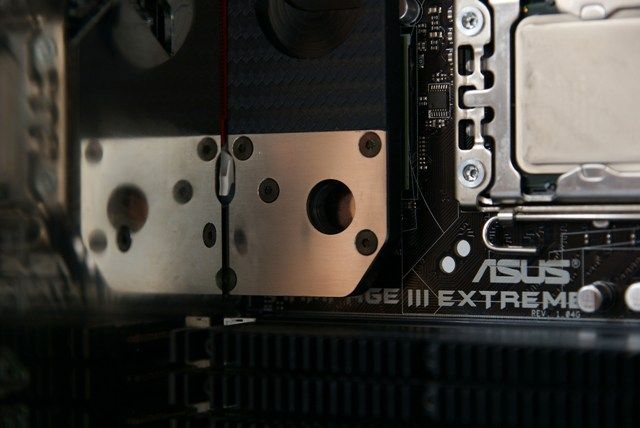
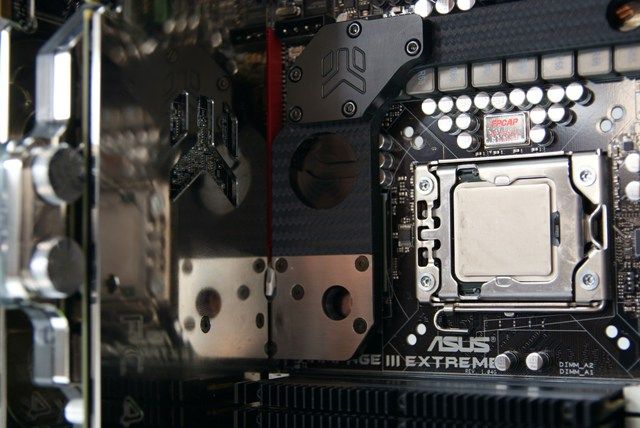
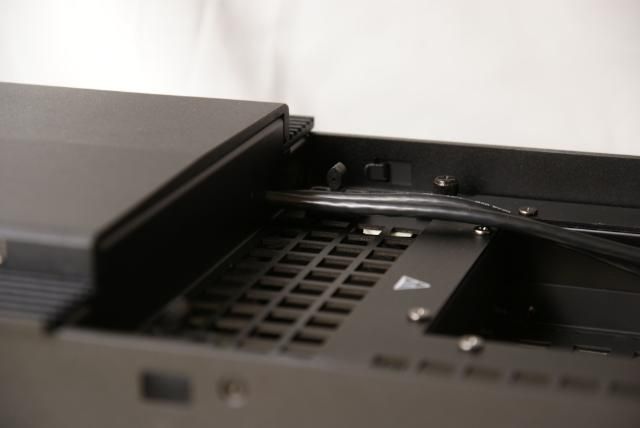
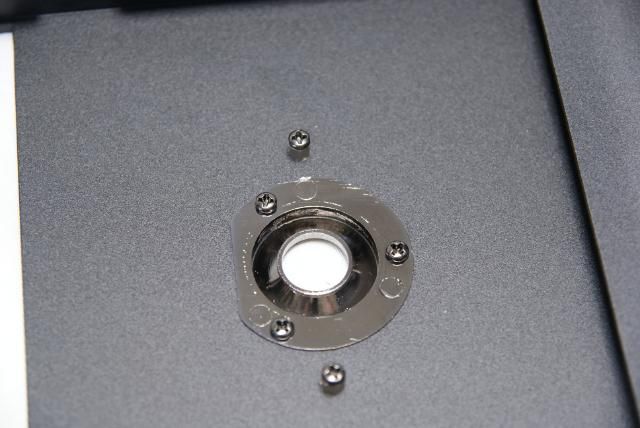
This was the case step by step. next challenge is to brainstorm how to install the various components.
New case, new challenges I love it :clap: ............... to be continued
Grtzzz.


 Reply With Quote


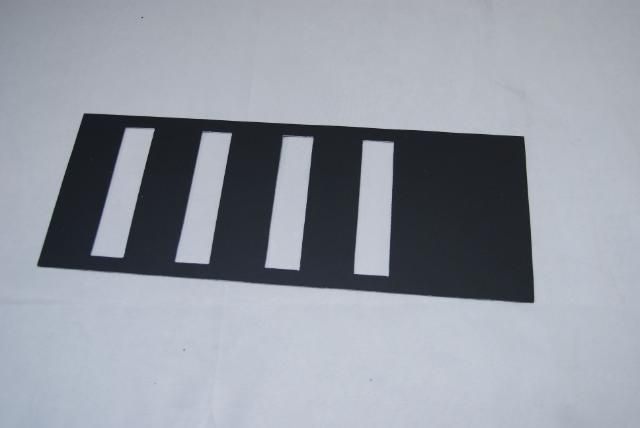
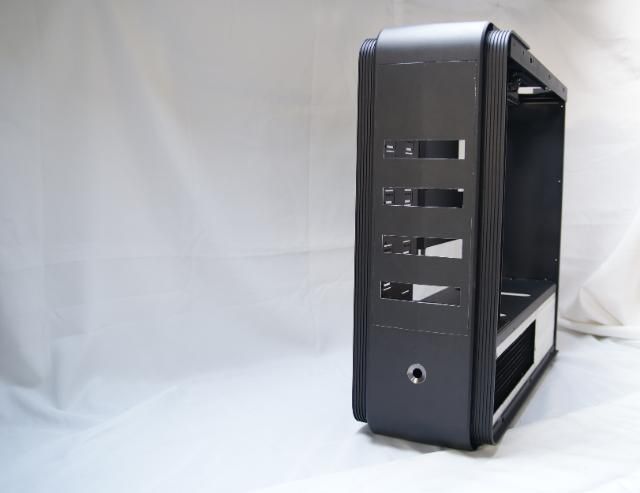
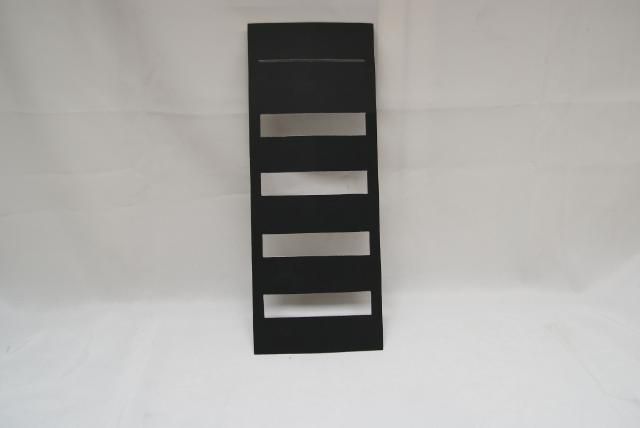


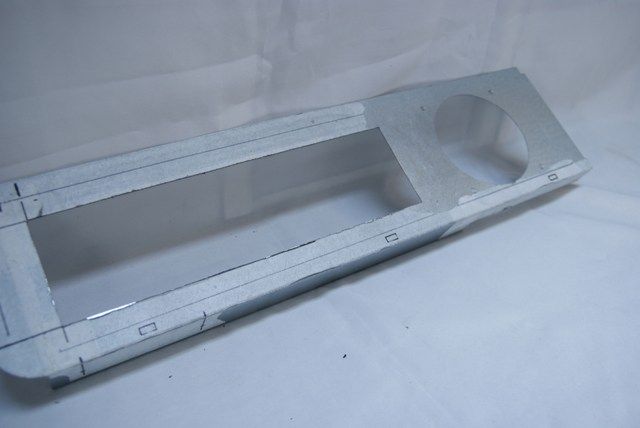
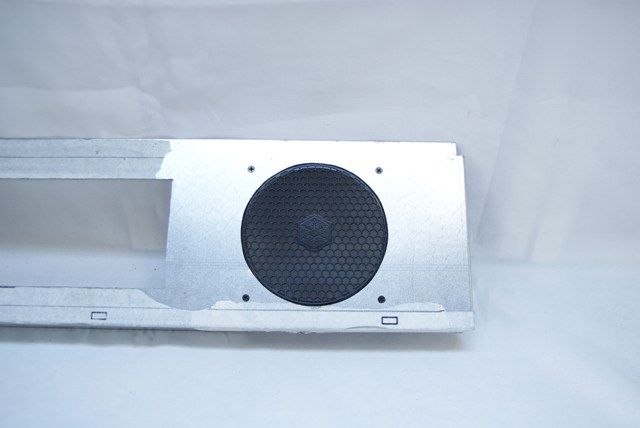
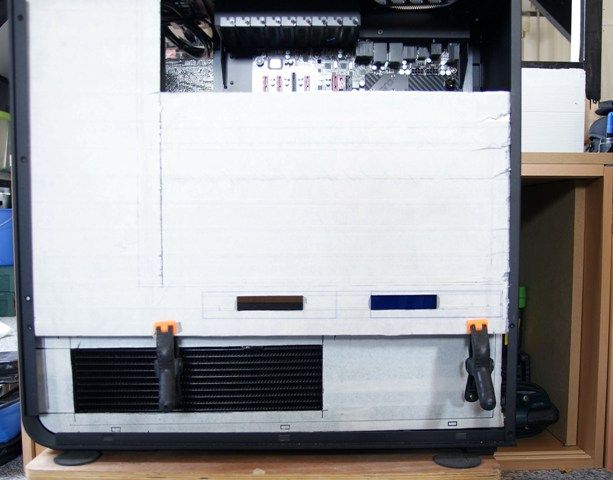
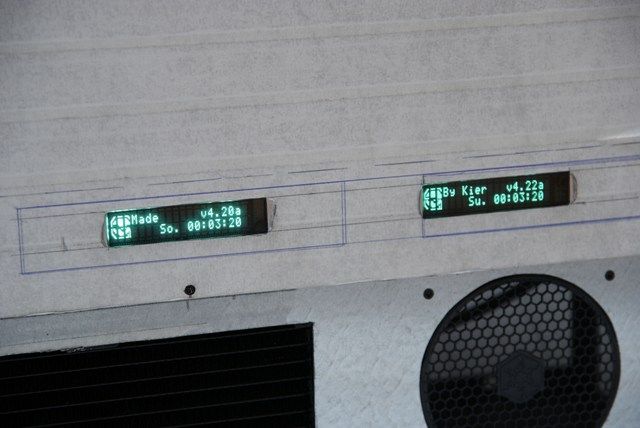
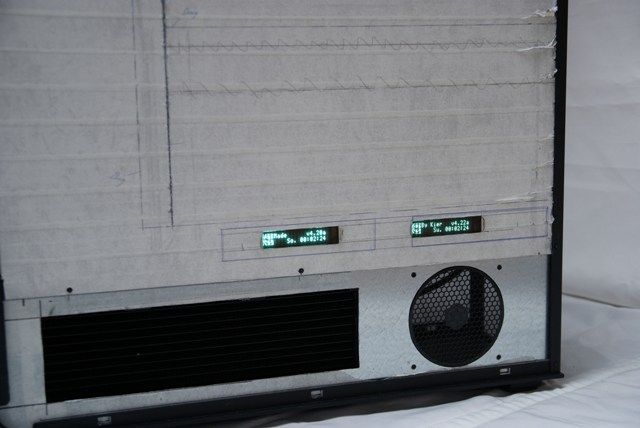
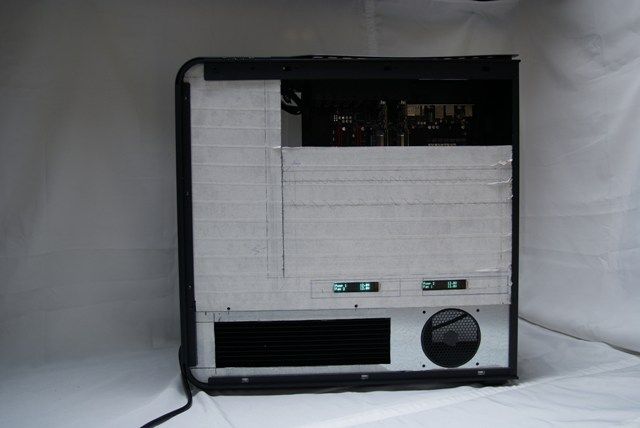
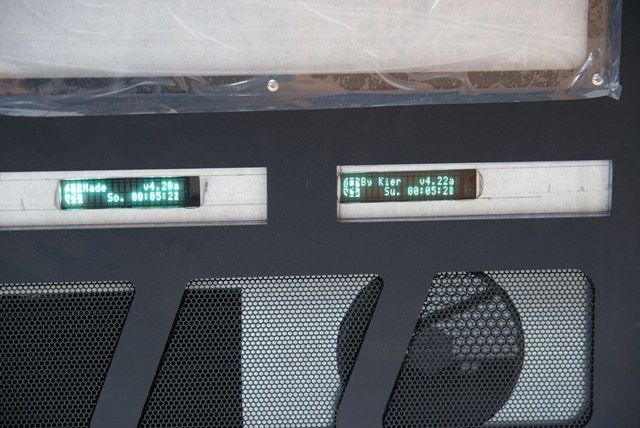
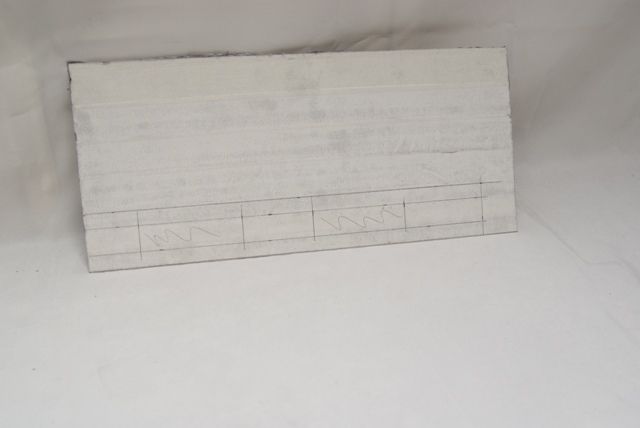
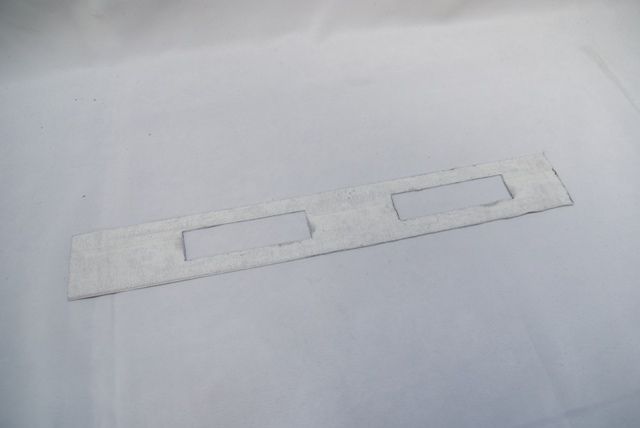
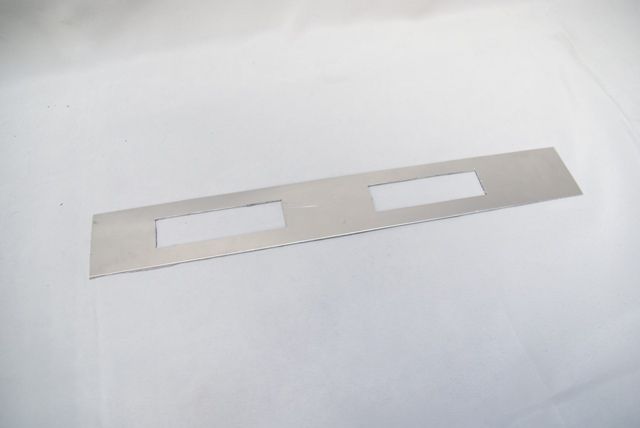
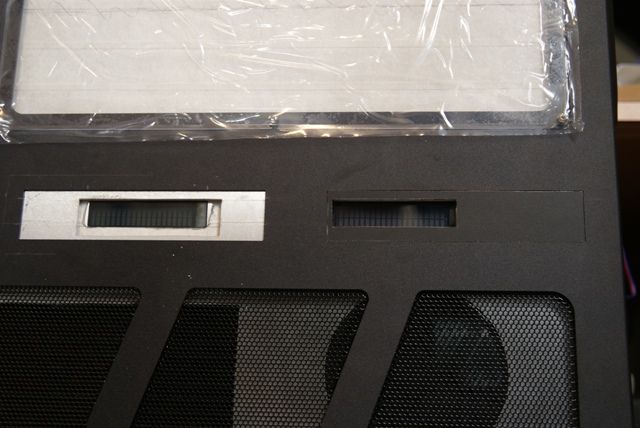
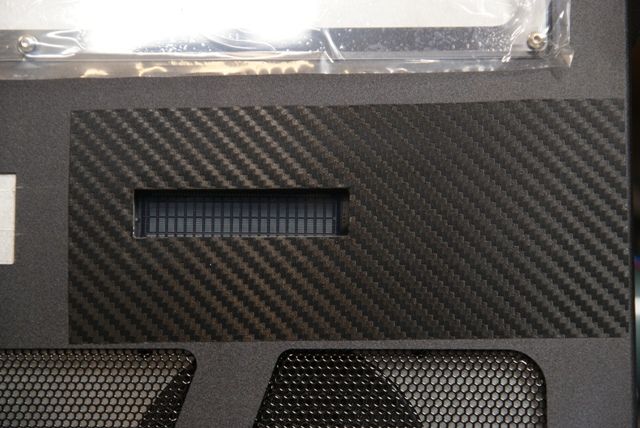
 The new front panel really cleans it up.
 so far left of center i'm in right field