Page 1 of 2 12 LastLast
Results 1 to 10 of 14

Thread: Quake Wars Radio Backpack

  1. #1
    Fresh Paint Americanfreak's Avatar
    Join Date
    Sep 2010
    Location
    Arizona
    Posts
    24

    Default Quake Wars Radio Backpack

    Well I thought I would start posting a few of my mods here and I will start the time machine and go back to 2006.

    All my other mods had to be put on hold for this one as it is a special case mod for QuakeCon 2006.

    CPU Magazine asked me if I would make a case for them to give away at QuakeCon this year and well how could I say no...lol

    I mean this has been one of my dreams and goals for the past few years to be able to make a case with some sort of sponsorship. I wish that ever modder could experience this excitement and pressure.

    So I would like to thank all the companies that supplied the hardware for the case mod and CPU magazine for getting big $$ items sponsored.

    Cooler Master for the Ammo 533 case, Musketeer 3, and fans.
    Ultra Products for another "One of" power supply.
    Crucial for the 4gigs of Ballistix Tracer Ram
    Razer for the Copperhead mouse, eXactMat, an Armadillo cord holder.
    AMD for the FX-62
    Asus for the M2N32-SLI Deluxe
    Sapphire for the X1900XTX 512MB Video Card
    Logitech for the G-15 Keyboard

    and a special thanks to DT (my son) for allowing me to bounce ideas off of him, for his great suggestions, and artistic eye.

    On with the mod!

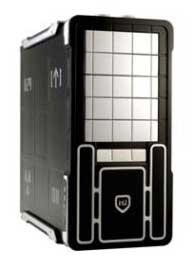
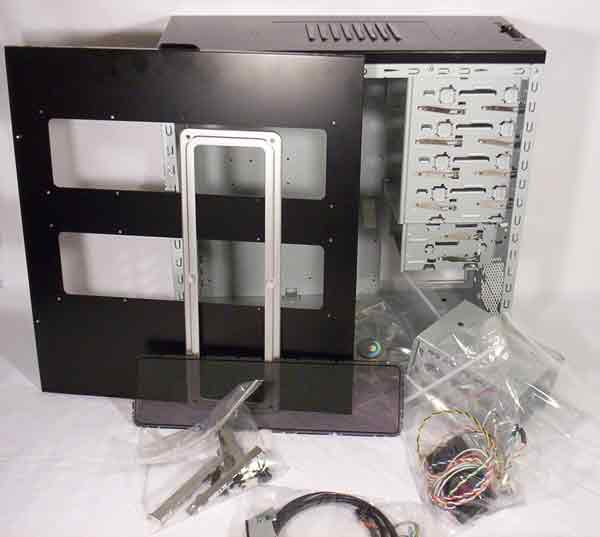
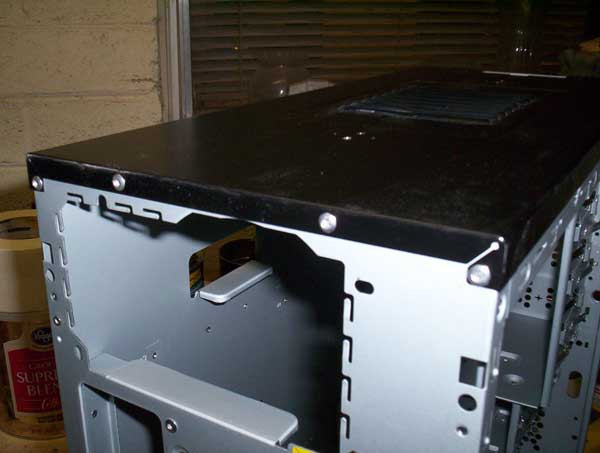
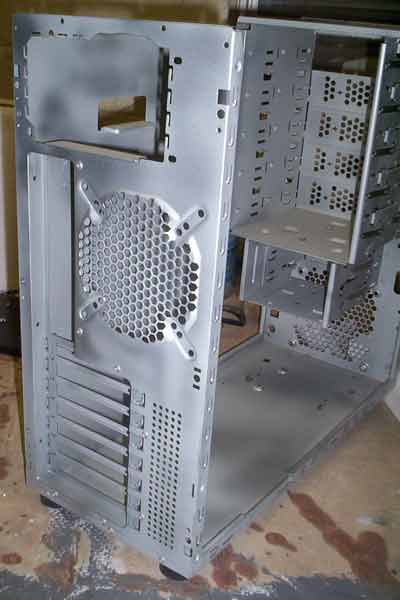
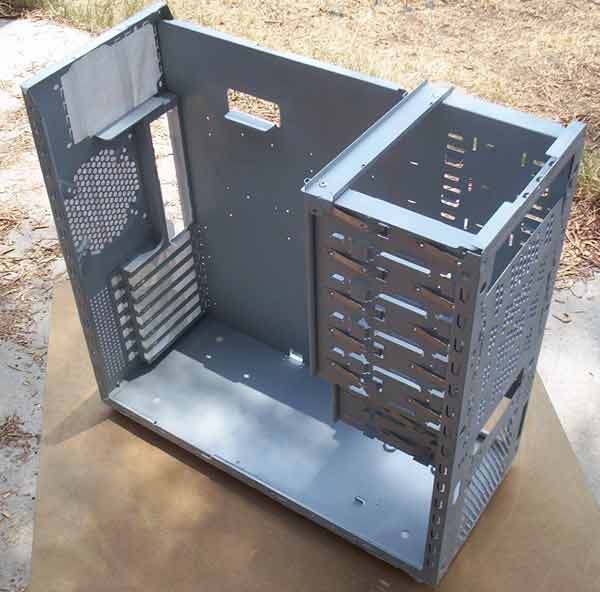
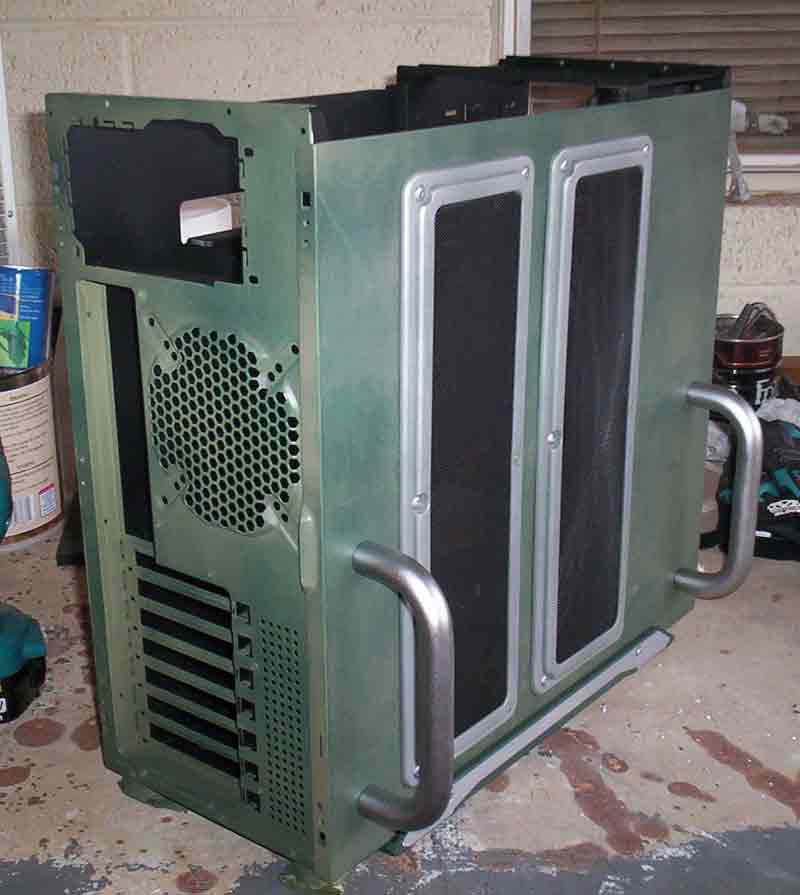
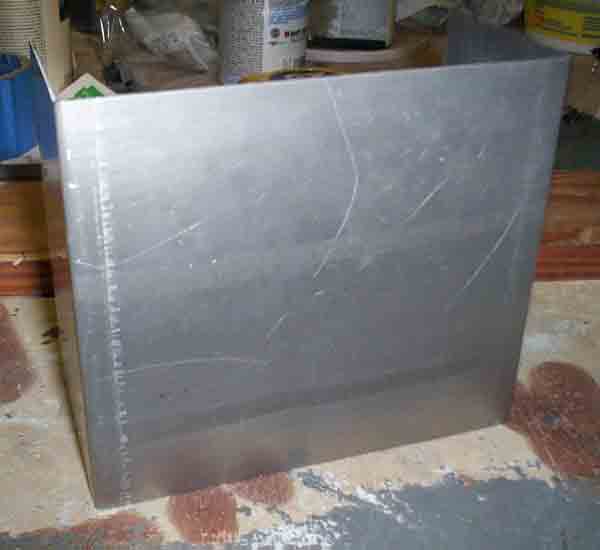
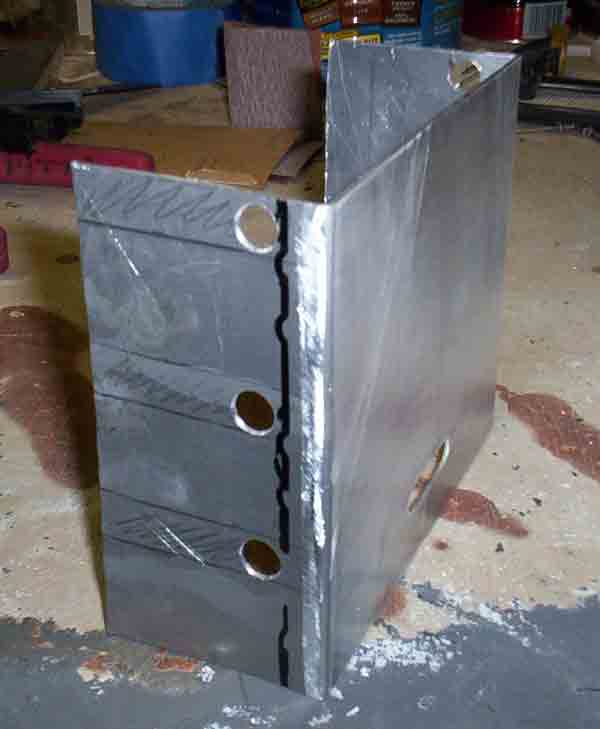
    This is the case I was giving to work with, the Cooler Master Ammo 533.


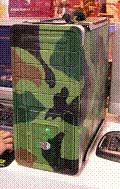
    Here is a picture CM sent to me of a Ammo 533 modded.
    I think I can top that one.


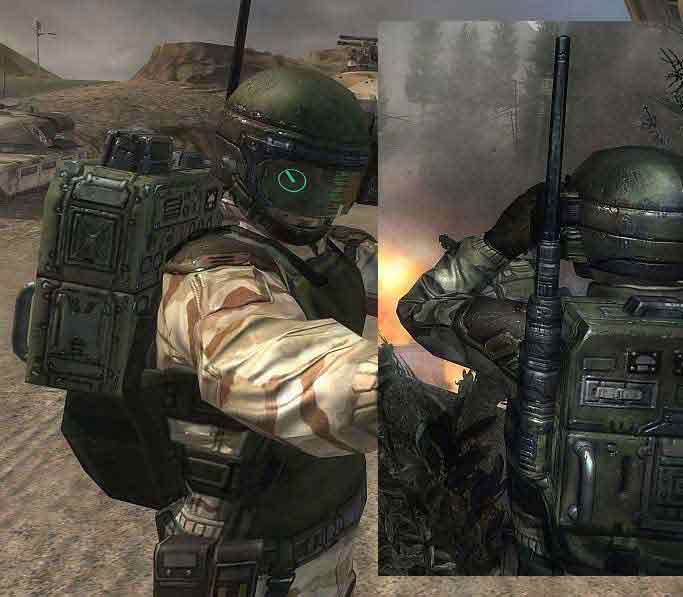
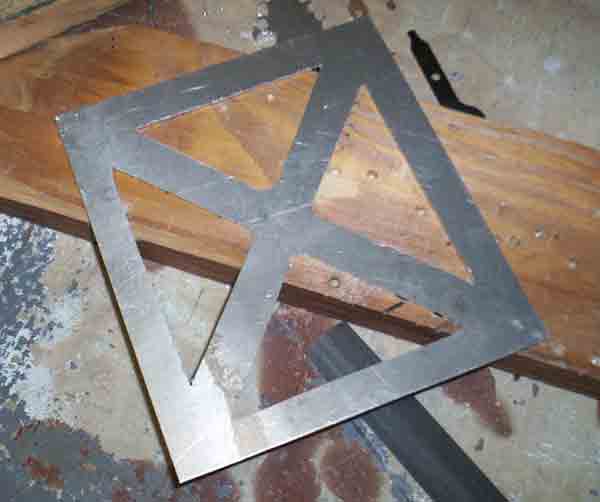
    After looking at the case and thinking why it was being built (QuakeCon) it was obvious that I should do something about the new id game coming out...


    So after tracking down some screen shots and looking thru them I stumbled upon the answer.


    The Ammo case already had the basic shape and well it was the only thing I could find that fit...lol

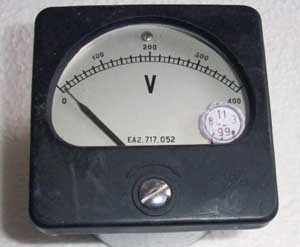
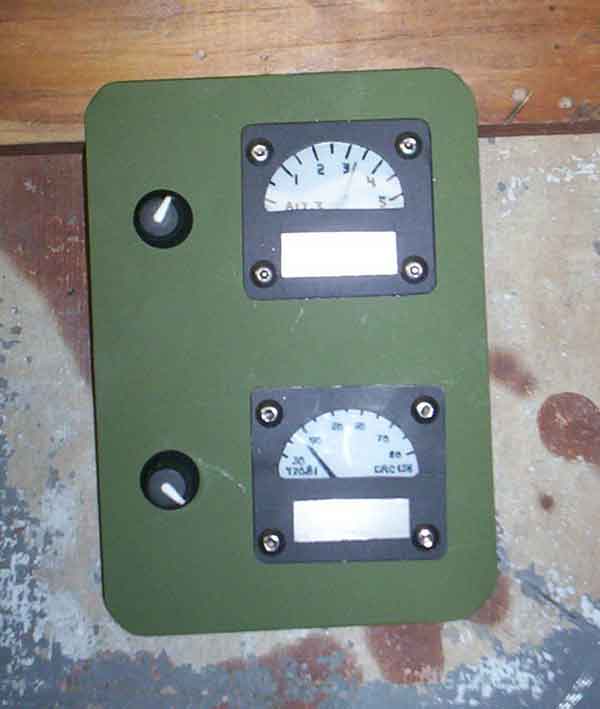
    Now you got to remember that I was only able to find about 4 screenshots that even had the radio in them and only two that had a fairly close shot of them. I tried to make the case look like the actual screenshots rather than create my own modded version.

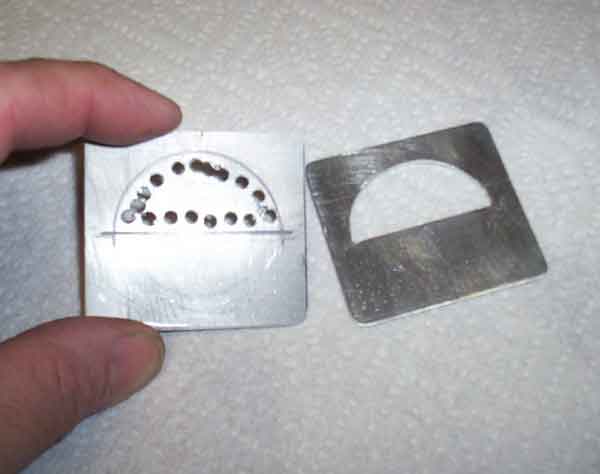
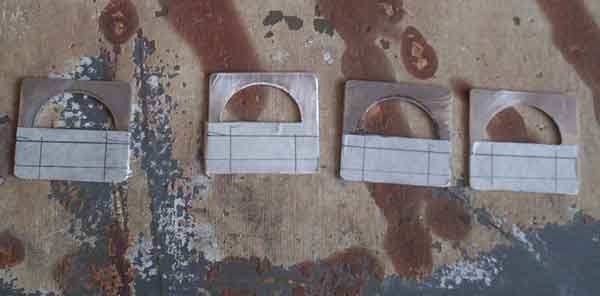
    I don't have all the fancy tools that most top modders have, I have my hands and hand tools.
    I actually kind of like it like this as it really means that I have to create stuff for the mod rather than
    do a CAD drawing and let a machine do the work


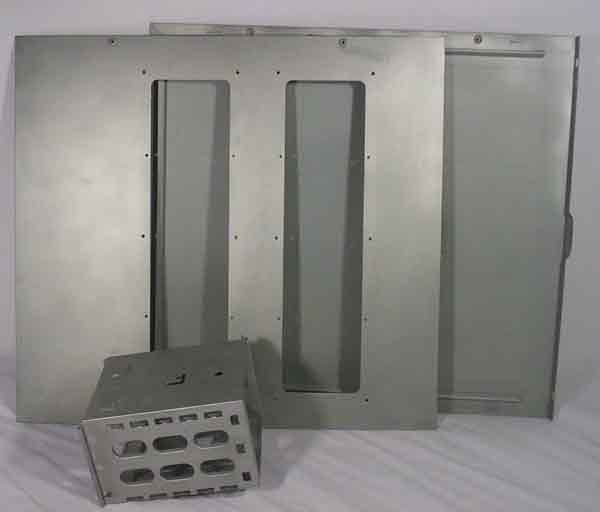
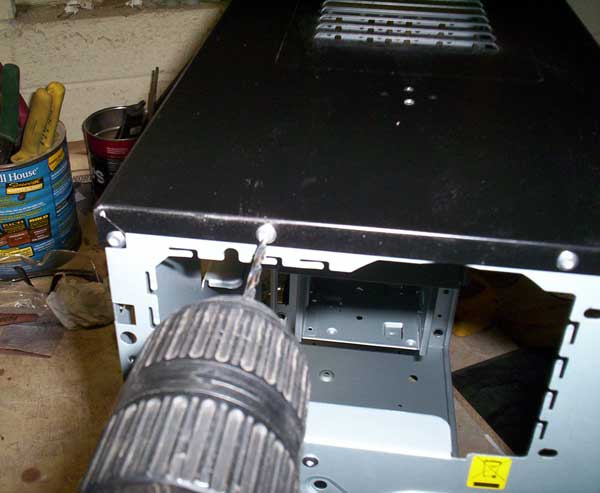
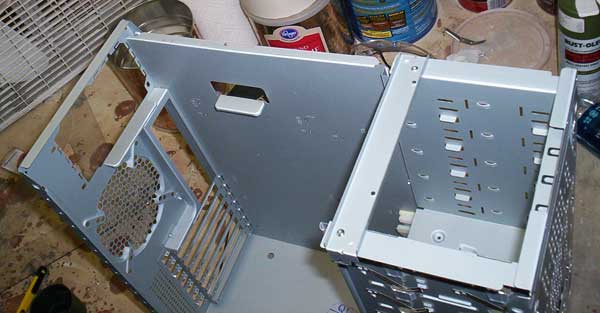
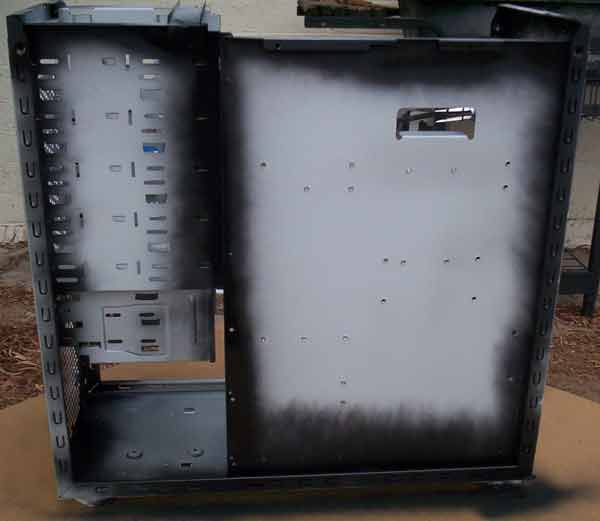
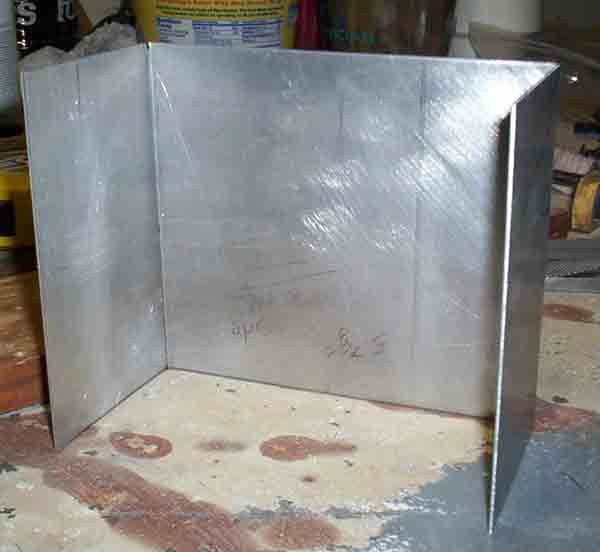
    I tore the case down. Luckily I had access to a sand blaster so I sand blasted the parts to removed the paint and prep the surface for painting. This saved me many hours of work.


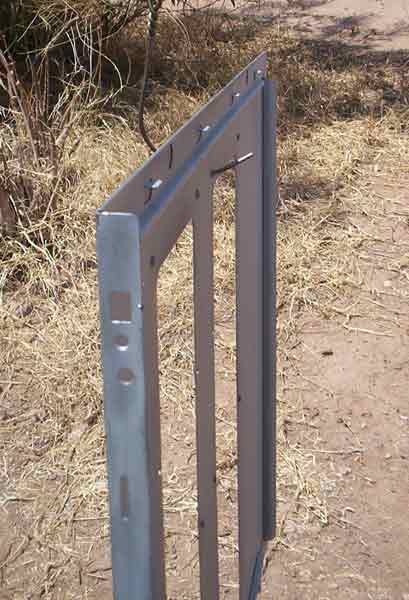
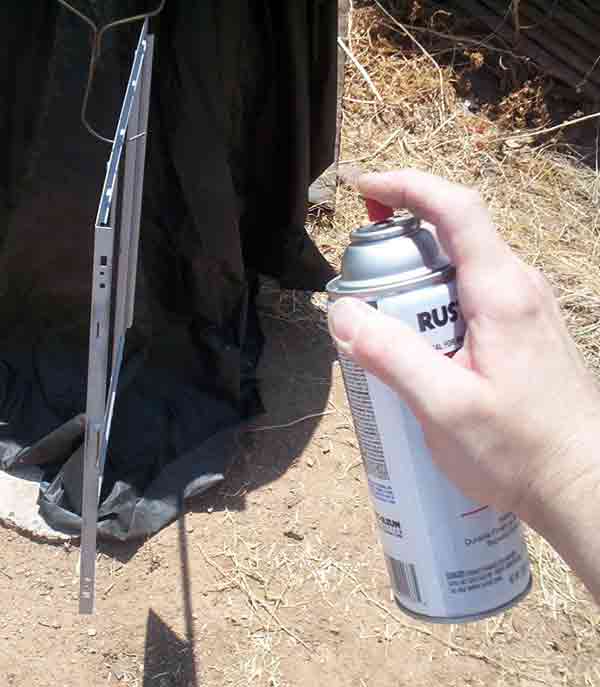
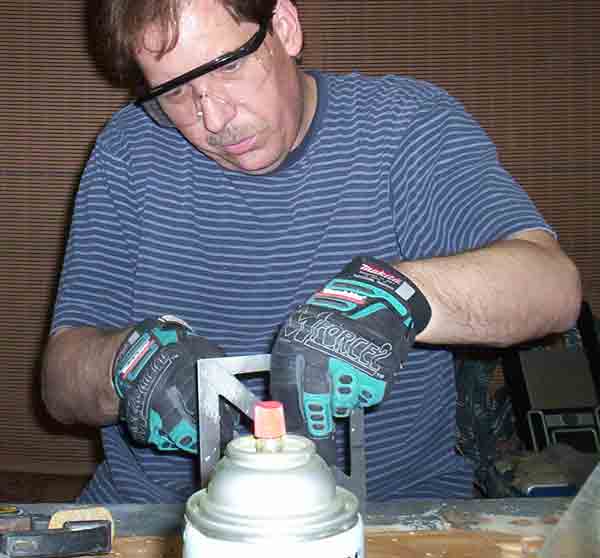
    Here is my hightech spray booth, a stick with a bent coat hanger. The Arizona heat and sunshine works great for a "Bake-On" finish.


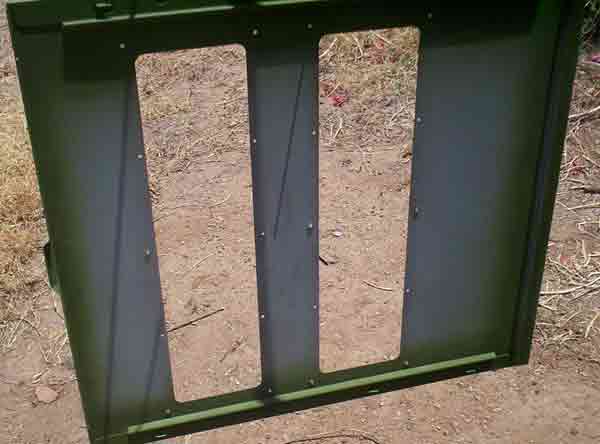
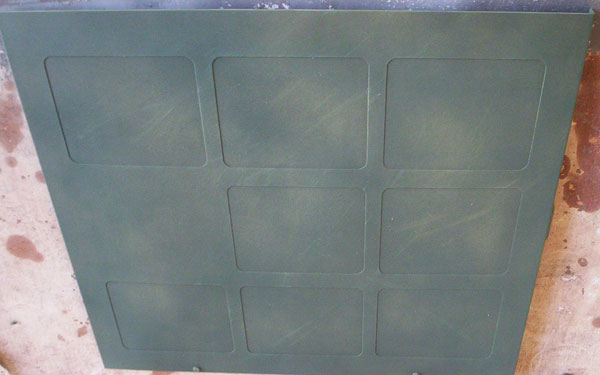
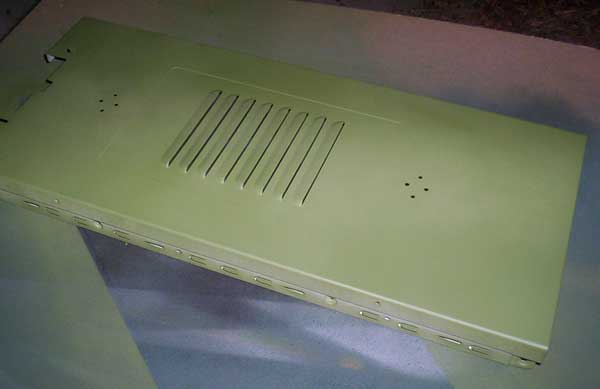
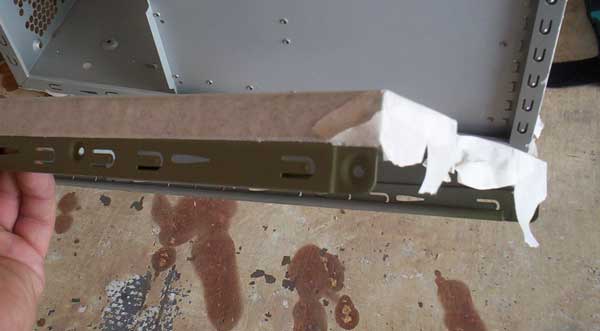
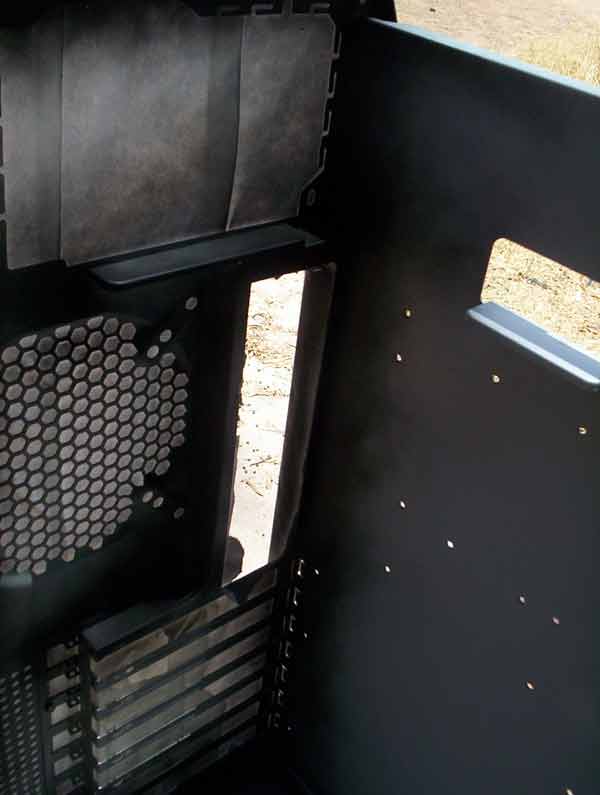
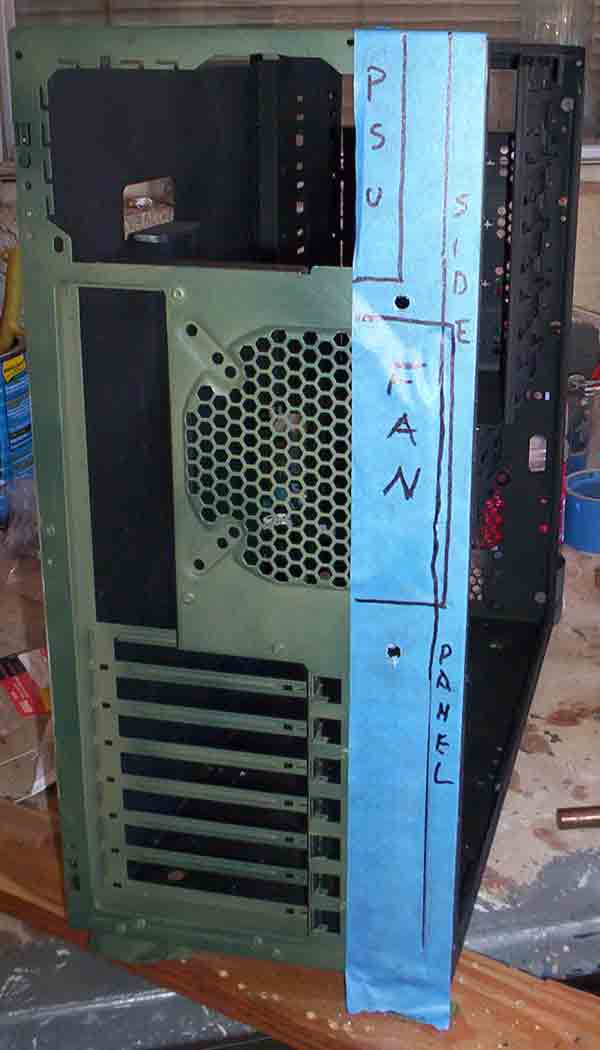
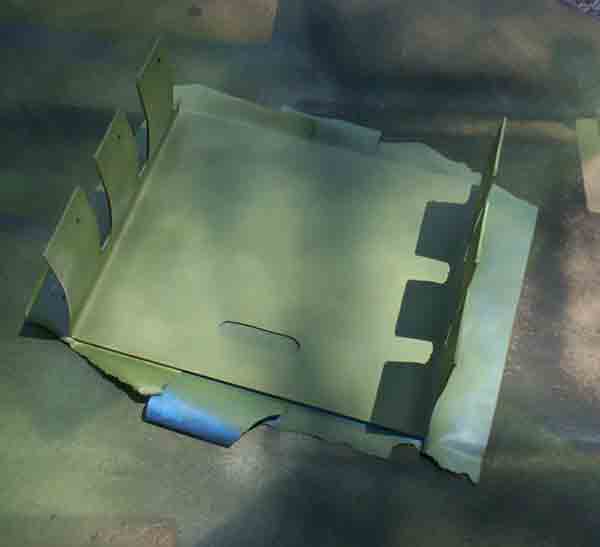
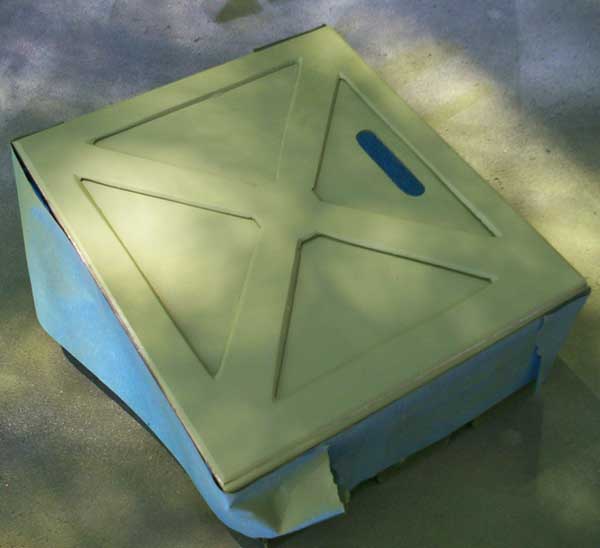
    I will be putting a dark green primer on any item that I will be painting green. I started off with the side
    panel that has the mesh windows. I like to start spraying items along the edges as it is much easier to blend the larger areas into the smaller ones and you will get less overspray into the larger areas. This gives you a much better finish.


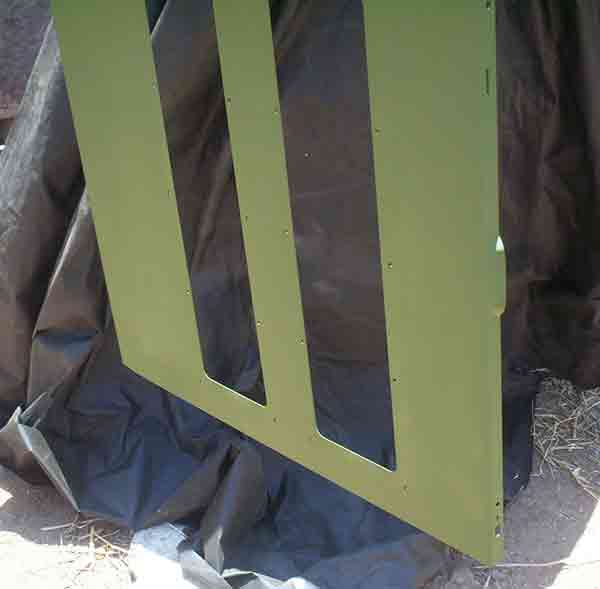
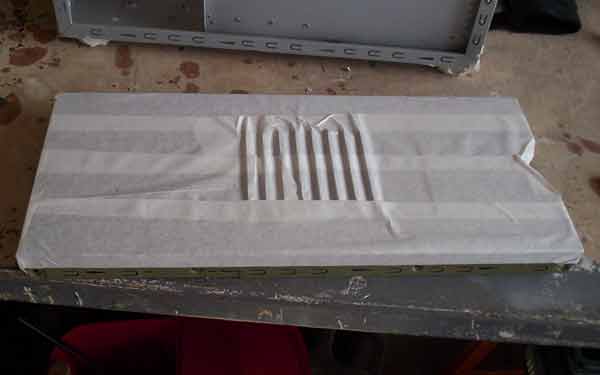
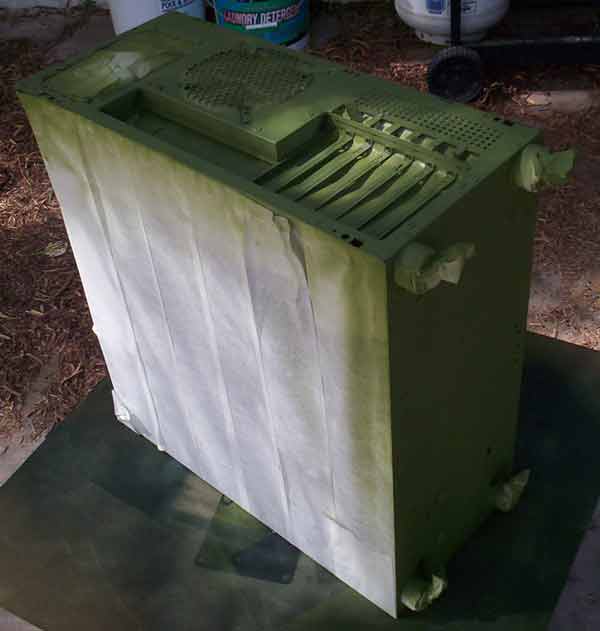
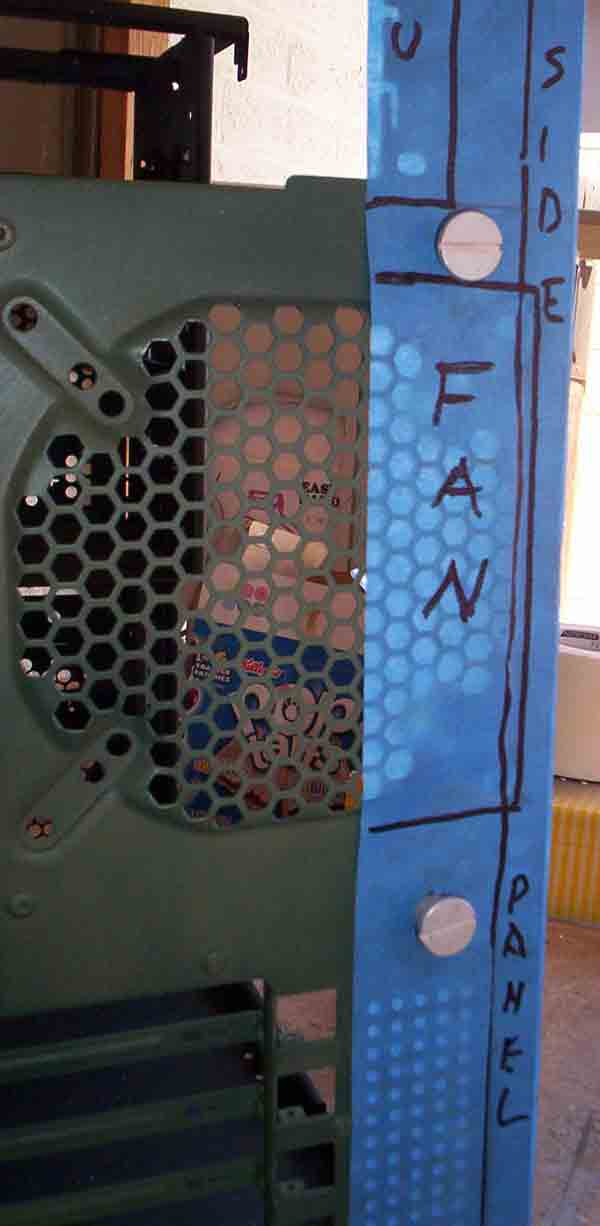
    Next I laid a base coat of a lighter green/tan looking paint on the panel. I am hoping this will help me achieve the
    dirty faded look of the case in the screenshots later on after I apply the darker green paint.


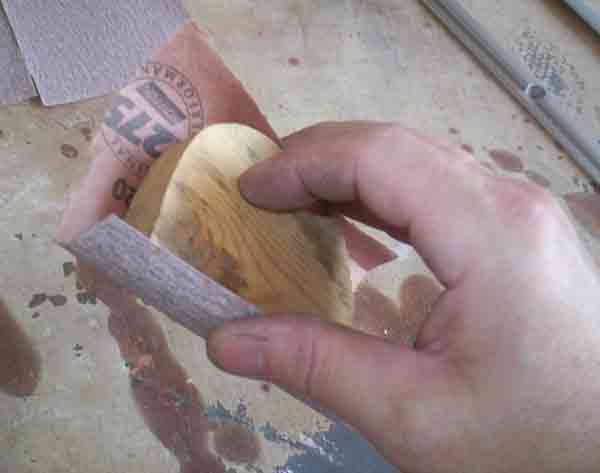
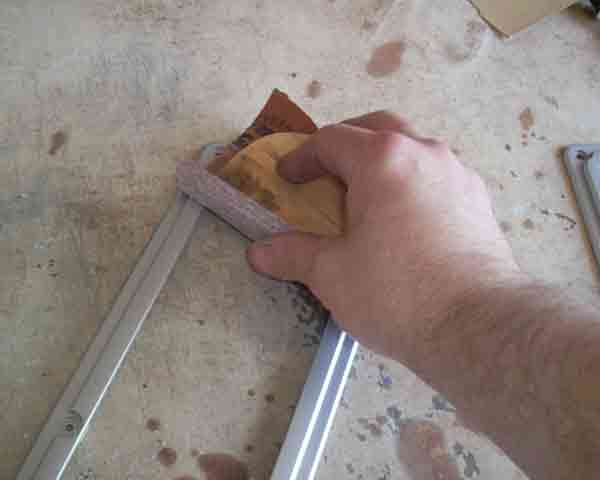
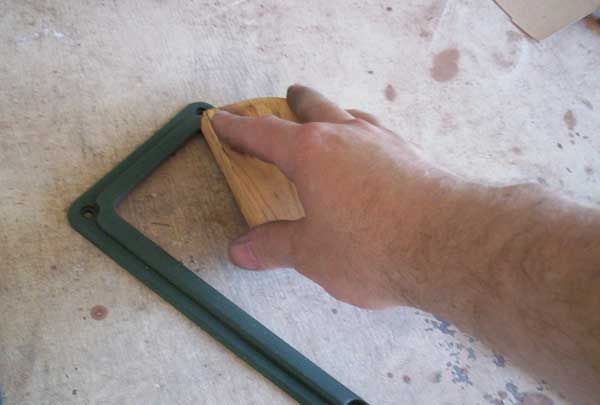
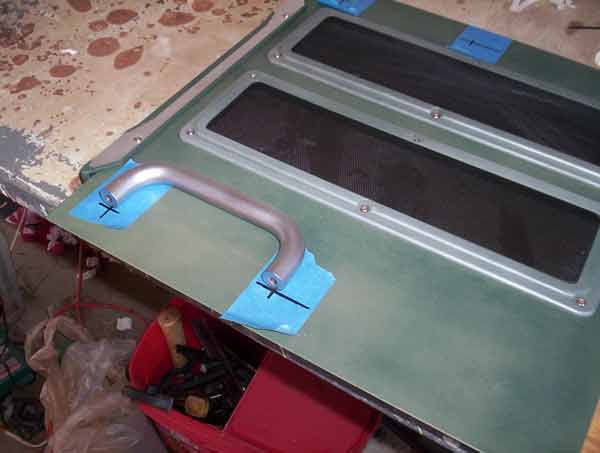
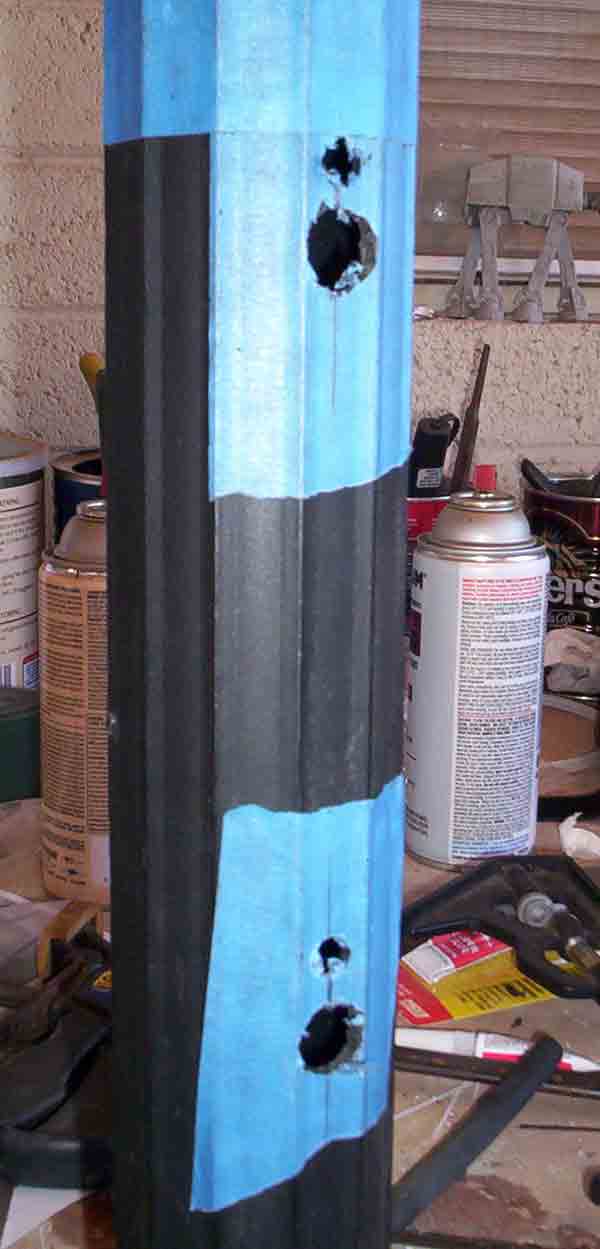
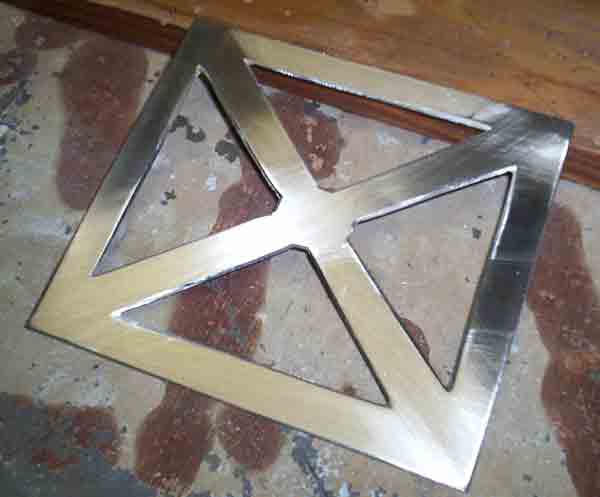
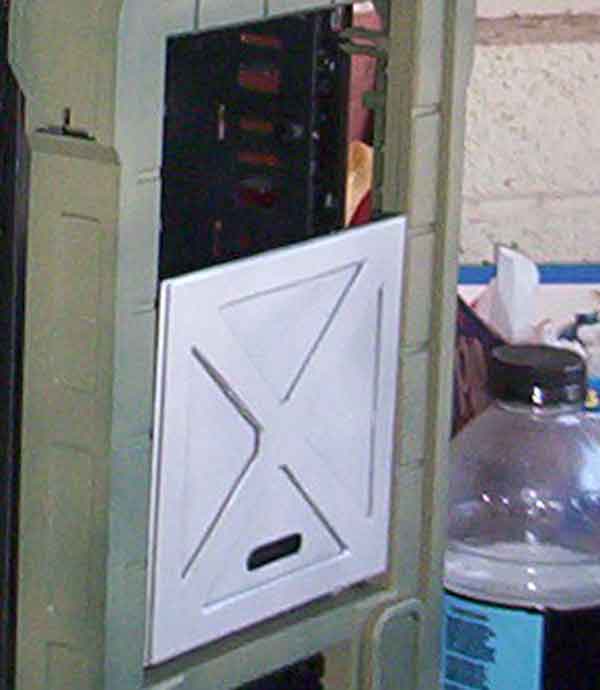
    I thought I would try out my idea from above on the trim pieces that go around the mesh windows. If I mess these up all I would have to do it sand them and start over. This would be a lot easier than starting over on the side panel.

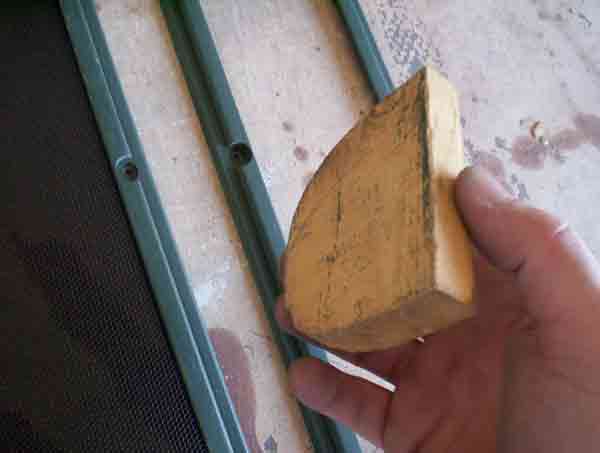
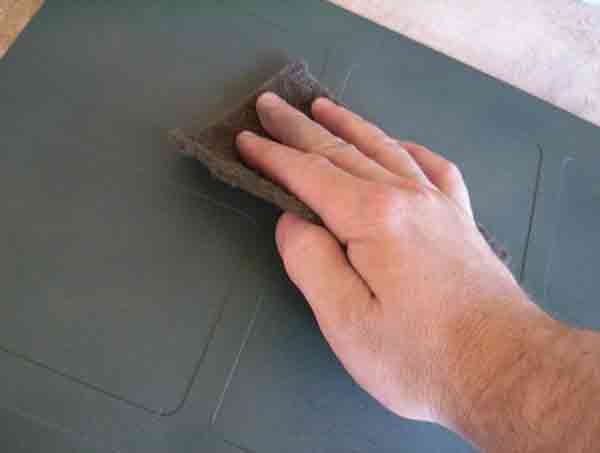
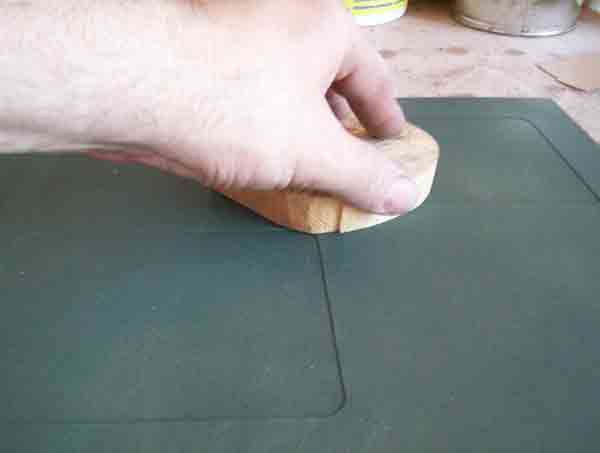
    I grabbed a block of wood, put some fine sandpaper around it and started to lightly sand the paint off the trim pieces.


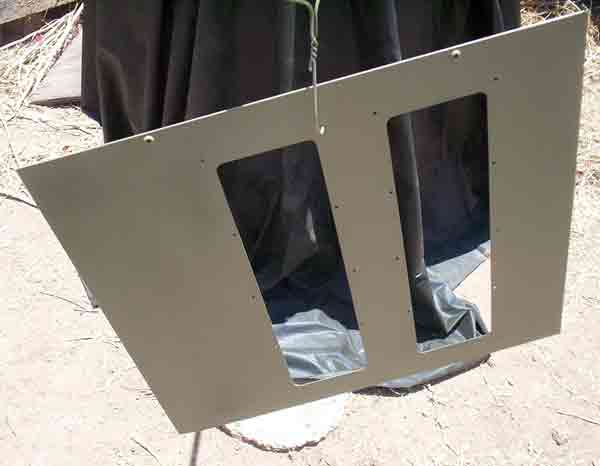
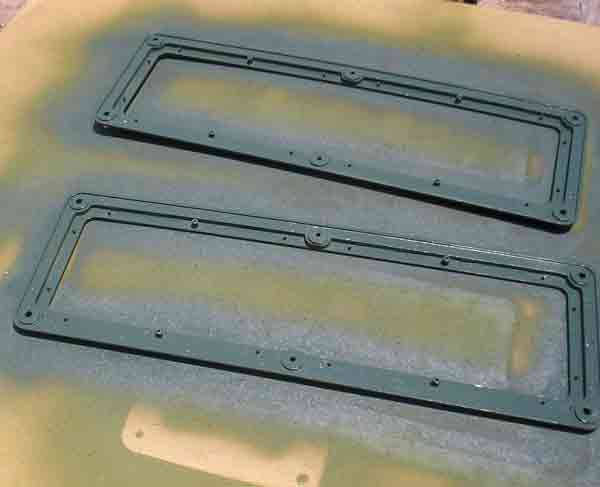
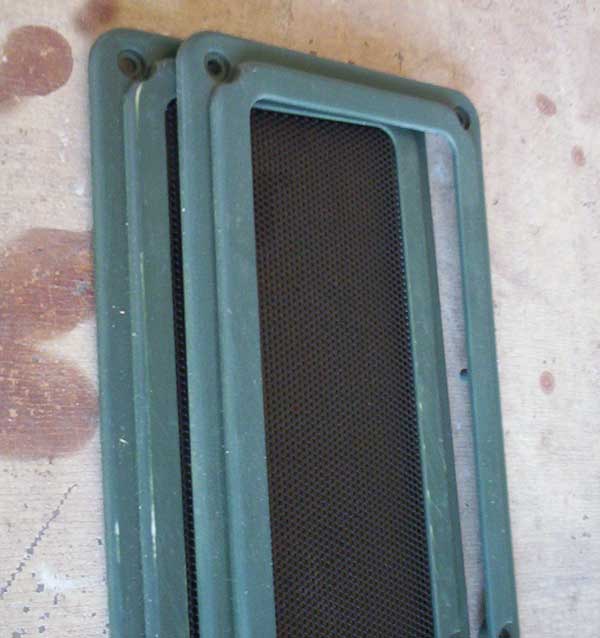
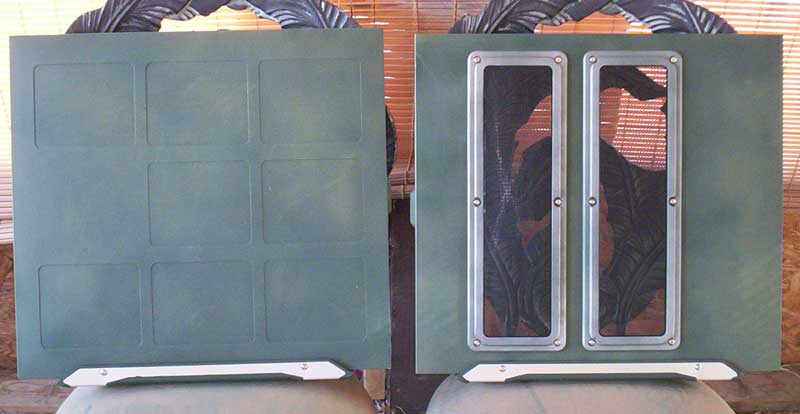
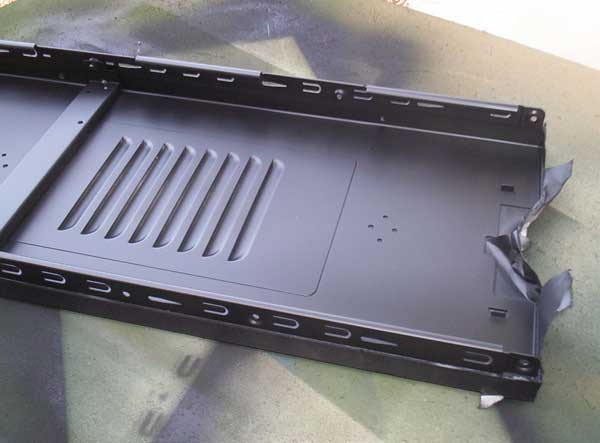
    I put on the primer, lighter green/tan paint, and then hit it with the darken green paint.


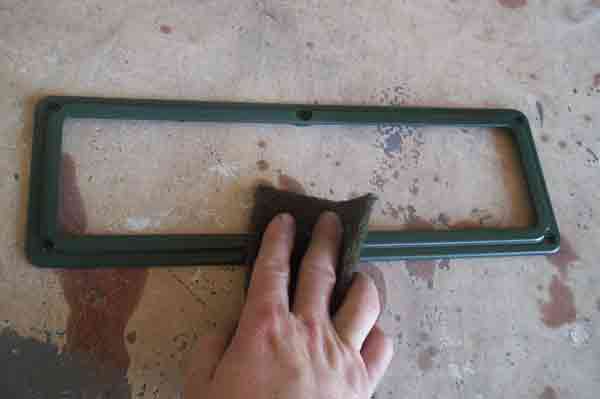
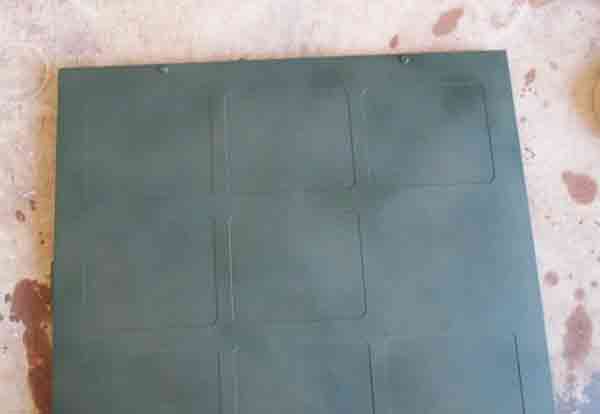
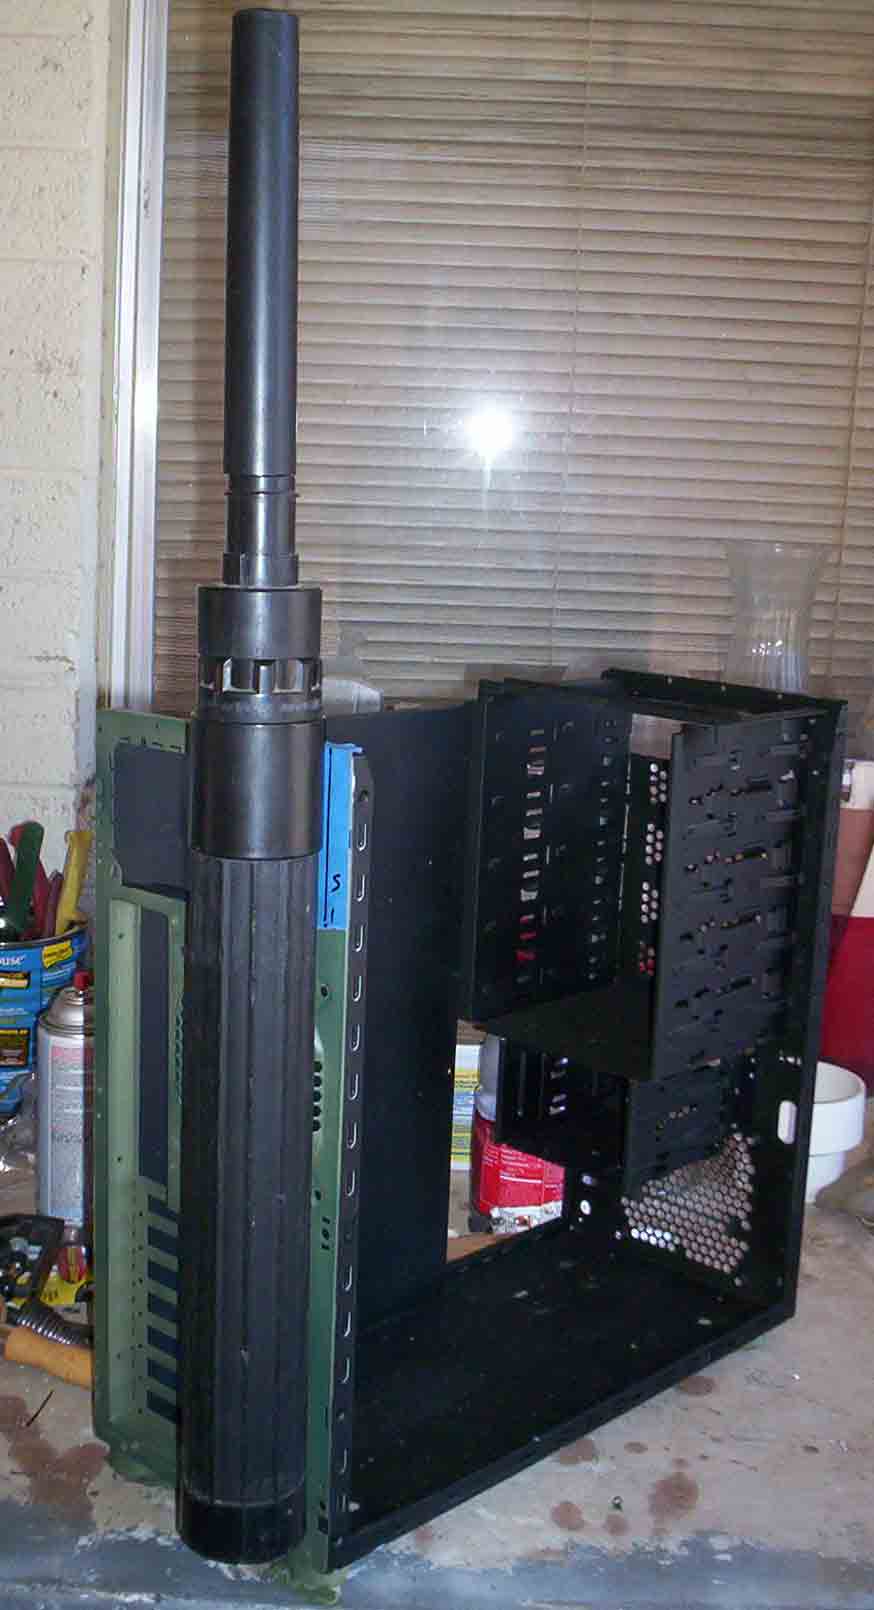
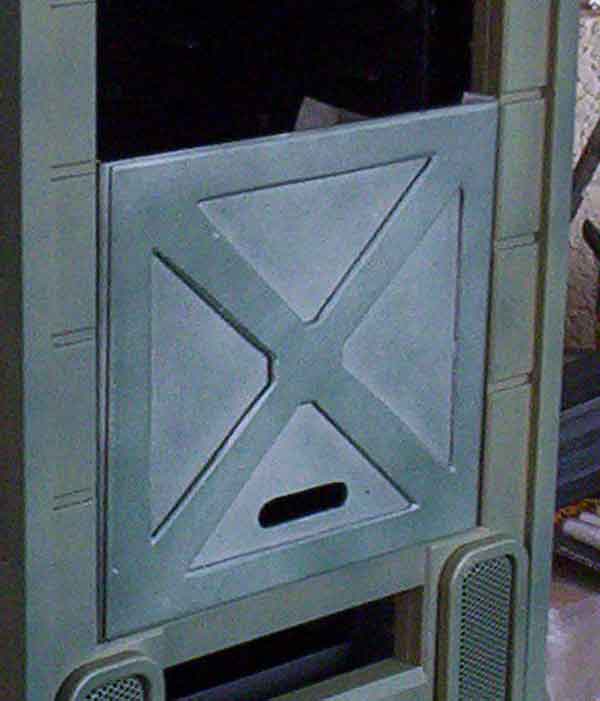
    Here it is sitting atop of the side panel. You can see that the side side panel and the rest of the case will be darker.
    In the next update I will show you what I did to make the trim pieces look like they have been abused as the whole case will get this "Battle worn" effect look.

  2. #2
    Fresh Paint Americanfreak's Avatar
    Join Date
    Sep 2010
    Location
    Arizona
    Posts
    24

    Default Re: Quake Wars Radio Backpack

    Let me jump backwards a bit...I had painted the frames and then added a sliver coat to them as I thought that was like the pictures, but after close study I was wrong. It more of a green color. So you may see the frames painted silver in some shots :-)


    Ok lets jump back to the here and now...to help give the satin finish paint a little less shine I took a cleaning pad and lightly went over the entire trim piece.


    Next I took the magic sanding block and looked at how this side of the case may get hit or damaged.


    I then skimmed the block across it to make the marks. I pressed harder in some areas than other if I thought it would get more abuse.


    The trim piece on the top has not been touched but the one on the bottom got the special treatment.


    I repeated the same steps on the side panels.

    Paint the them...


    Cleaning pad...


    The magic block...


    And how it looks...for now


  3. #3
    Fresh Paint Americanfreak's Avatar
    Join Date
    Sep 2010
    Location
    Arizona
    Posts
    24

    Default Re: Quake Wars Radio Backpack

    OK on with the log....

    The top part of the case had to be removed to get sandblasted and painted. Cooler Master made sure that the casew ould be nice and strong by pop-riviting just about every connection point, which is good, but a pin in my butt to take apart.


    The easiest and quickest way to remove all the rivits is by drilling them out.


    The case now without a top.


    Once the top was sandblasted and cleaned I gave it a once over with the green primer.


    After that was dry I masked off the top and painted the underside a flat Black as this is what color
    the inside of the case was going to be.


    The reason I did it this way was that I could put the case back together and paint the enire outside of the case ot once if I wanted to, which I kind of did.
    I did end up putting on the lighter green paint on the top and a bit of darker green over that to help see what things were looking like at this point.

    Next I turned my attention to the case frame. Since I was not going to do any mods to the frame it was safe to start painting it now. I figured that flat black would be a great color for the inside of the case. I would imagine that if you were out in a battlefield somewhere and you had to open it up you would not want to have a bunch of reflective stuff giving away your position.


    I masked off any areas that I was later going to paint green, Here we are looking at the I/O port section.
    I cut a few slits to be able to push the tape over the areas I did not want to get black paint on.


    Ready to paint...


    Like I said start with painting the edges then work you way to the larger areas. It makes for a much better job.


    After a few coats of the black and letting it dry I masked of the case to spray the green primer on it.


    Well this kind of takes us to turning point in the build. Now all the special features will be made to help create the Radio Pack look.

  4. #4
    Fresh Paint Americanfreak's Avatar
    Join Date
    Sep 2010
    Location
    Arizona
    Posts
    24

    Default Re: Quake Wars Radio Backpack


    If you look at the screenshots you will see two handle sticking out of the side of the case. I was able to find two handles that looked just like what I wanted. They were chrome plated so I glass beaded them to give them a more dull and used looked. I put blue painter tape down about where I wanted the handle to go, mark the spots and


    then drill the holes.


    Here is what the case looks like up to this point with the handles on.


    You can't have a radio without an antenna. Again looking at the pics the antenna is rather large with details on it like lines and stuff. After scrathing my head for a few days I came across sometthing at work and the light bulb over my head went on. What I had found was an extension tube for a shop vacuum. It had detail, was light, and strong. So on my next day off I head over to Home Depot and found all the different tube sizes I needed to make the complete antenna. Can you believe my luck?

    Here are the pieces put together before any cutting or mods done to them.


    Mounting the antenna assembly was pretty tricky. It could not go over any of the I/O ports nor block the air on the PSU, plus it would have to be able to come off for traveling or taking the case apart. I found the perfect loaction on the right side of the backside of the case. I laid out where everything went, maked the holes and drilled them.


    The bolts that I used where made to be mounted on to a flat surface and extend out with a large flat head. This means to could drill a notch into something slide it over the bolt and have it lock into place. That is what I did.


    I drilled two holes that would allow the larger part of the bolt to pass thru.
    Next I drilled to smaller holes the size of the actually bolt above the larger holes them removed the material between the two to create a slot.
    Doing this made it so the antenna could be pushed on then pushed down to lock into place.


    This is what the antenna looks like mounted. Further in the build the antenna will be cut and painted for a much better look.


    So how's it looking so far?

  5. #5
    Fresh Paint Americanfreak's Avatar
    Join Date
    Sep 2010
    Location
    Arizona
    Posts
    24

    Default Re: Quake Wars Radio Backpack

    Next I needed to make the piece that filled the lower section of the bays to continue the look of the case.

    I took some aluminum and bent it into shape.


    I then made a second piece to make the square with the x in it. I laid out the design, drilled lots of holes along the edges, then used my dremel to cut out the unwanted sections


    I hand filed the edges smooth to get the design right.


    I beveled the edges of the straight pieces and then sanded it to a nice finish. Too bad I had to paint it.


    I bent the side so that it would fit into the bay cage and marked what I need to removed. This was done so that I could use the locking system the case had to lock bay devices in place.


    I primed it and now it is ready to be painted to match the rest of the case.


    I laid down a base coat of silver since the screen shots show it to have a slight metal look to it.


    Some of the colors were also sprayed onto the piece to see how it looks. The piece will be painted later to match the whole case at a later time.


  6. #6
    A.B. normal msmrx57's Avatar
    Join Date
    Jan 2008
    Location
    Western Wisconsin
    Posts
    1,602

    Default Re: Quake Wars Radio Backpack

    Awesome work so far!
    Quote Originally Posted by SXRguyinMA View Post
    Now, off to the basement to do some fiddling with the rods and such.
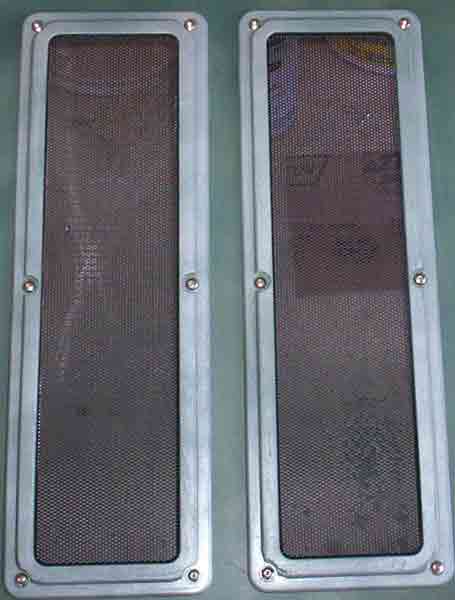
    so far left of center i'm in right field

  7. #7
    Retrosmith Mach's Avatar
    Join Date
    Mar 2005
    Location
    Texas
    Posts
    910

    Default Re: Quake Wars Radio Backpack

    Woah flashback! That antenna idea was absolute genius. I love home depot kit bashing .

  8. #8
    Overclocked BS Mods's Avatar
    Join Date
    Feb 2010
    Location
    Union Washington
    Posts
    333

    Default Re: Quake Wars Radio Backpack

    Wait.......you have a time machine?
    Life is tough, it's even tougher when you're stupid. - John Wayne

  9. #9
    WWMD- What Would MacGyver Do? Mark_Hardware's Avatar
    Join Date
    Mar 2009
    Location
    Phoenix
    Posts
    906

    Default Re: Quake Wars Radio Backpack

    Nice work! That antenna is total win!
    My name is Mark Hardware, and I approved this message.

    Project; Mark1
    (On hold until......)

  10. #10
    Fresh Paint Americanfreak's Avatar
    Join Date
    Sep 2010
    Location
    Arizona
    Posts
    24

    Default Re: Quake Wars Radio Backpack

    Flashback...LOL Yes, like I stated earlier it is from 2006

    The best part about modding is making something out nothing or things that you would not normally think of; thus the antenna was born along with a few other ideas you will see coming up.


    So lets take what I just did and apply that to the some analog displays. With the limited time and space on the side panel were I wanted some "Radio Gauges" I decided that some fake,yet real looking gauges would have to do.

    This is an image of what I used to help me create them.


    So I made a couple of square pieces laid out the design, drilled some holes, and cut them out.


    I clamped them down to drill the mounting holes...


    Sorry about this part as I seem to not be able to find ANY pics on how I make the dial part. But I can tell you what I did. I took some very thin clear plastic from a packaged piece of hardware I had. I cut it just a bit larger than the curved section of the pieces. I then made a template in photoshop to halp me draw the lines and numbers on the plastic, but I flip the images first before I printed them. That way the making would be on the back side of the "window" and I could Sharpie the lines, letters, and numbers onto the plastic and have them show the correct way. This allow allowed me to paint the back of "window" white which made the letters and stuff look like they were printed on the gauges...;-) BUT, before I painted the backs I added a small narrow piece of plastic that was black to be the needle on the analog gauge.

    I was trying to figure out if I like the pop rivit look or the allen head bolt look. I went with the allen head. I also made another small plate for the gauges and two knobs to set on. I thought it would had some depth the side panel


    I think it turned out pretty darn good and looks MUCH better when painted to match the case and I painted some progression bars under the knobs to indicated which ways to turn them to increase what ever they do...lol


Posting Permissions

  • You may not post new threads
  • You may not post replies
  • You may not post attachments
  • You may not edit your posts
  •