awesome idea on the fan LEDs! that came out perfect!


awesome idea on the fan LEDs! that came out perfect!
Arctic Cat * Maximum Security * Cribbage Board * Rockin Case * Armor Redux
Tempest SXR * Power House * Red Comet * ICHIWZ * Acrylic Headphone Hook
Continuing sponsorship support from PCBoard.ca

hey i came across this website with a ridiculous amount of multi-color LEDS
Heres RWB
http://www.ledkid.com/?page=cart&pid=7ST-RWB-D
**PATTERN**
1.)Red
2.)White
3.)Blue
4.)Red and White
5.)White and Blue
6.)Red and Blue
7.)Red and White and Blue
Ordered some Pink/White LEDS for a computer im working on. I'll tell you if i get them or not in a week or so from this website (never ordered from them before)
man awesome job with the RWB fans.

Hey nice find!Originally Posted by Twigsoffury

I'll check this out for sure. I'll order a couple too and see how they are. Might be a great resource. Thanks
Life is tough, it's even tougher when you're stupid. - John Wayne
they say they come with a "circuit controller"
Now i'm not sure if they are talking about the internal circuit like the RGB LEDS i have now. or some external controller.
I noticed some are Three lead LEDS and others are two LED circuits.
definantly cool though. I bought some RGB/UV/RBP LEDS for my Vento 3600 from frozencpu.com and was more then satisfied.
Big FYI though about the color changing LEDS. You'll need to use a capacitor to get them to work with a HDD activity light. Some odd reason the RGB three color ones won't light up at all. and the two color LEDS i have will only flash a single color. But a small capacitor inline with it makes it work flawlessly.
http://www.youtube.com/watch?v=F0rFAR06zik
Thats a vid of my computer, skip to about 40 to see my lighting. (didn't want to post pics, since its your work log and all) The hard drive lighting is the coolest though as i've never seen anyone outside of me and my friends use multi color activity lights. Majorbud did it one step up from me and has triple LED activity lights that turn on one by one then all simultaneously change colors. you can kind of see the lights in one of his videos http://www.youtube.com/watch?v=PcVub-ow418
if your interested in specifically how we did it, i can PM you pics and draw out a mspaintCAD diagram its pretty dang easy for a pretty cool after effect.
Sorry for the spam post but i thought you might be interested.
Hey totally cool. Thanks for sharing! I don't mind people posting stuff on my work log at all. We're all here to learn.
Life is tough, it's even tougher when you're stupid. - John Wayne
http://i56.tinypic.com/2u9qypi.jpg
here's is the backside of it, sort of simple but it works well : P
mspaint CAD diagram
http://i53.tinypic.com/2czsdx2.png
not 100% sure on the capacitor rating. i'll have to get unlazy and peel the VHB off to see.
Nice! Thanks
Life is tough, it's even tougher when you're stupid. - John Wayne
Parts are starting to pile up on this thing so I need to keep moving. I have temporarily ran into a mental block on what I want to do with wiring. Not sure if I'll change out the actual wires to solid colors, or, sleeve them all. If I sleeve them do I want all the same color, or do a combo of red/white/blue. Mental Block!
And I am working on the inside paint scheme and am seriously driving myself insane! My wife wants me to keep the inside all gloss black, but I feel I need to carry the theme to inside the case. So I am doing a little of both.
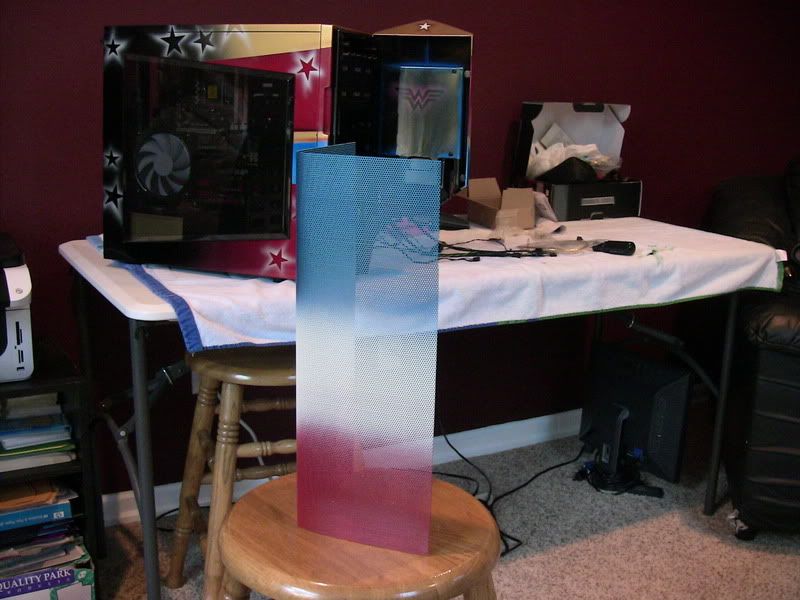
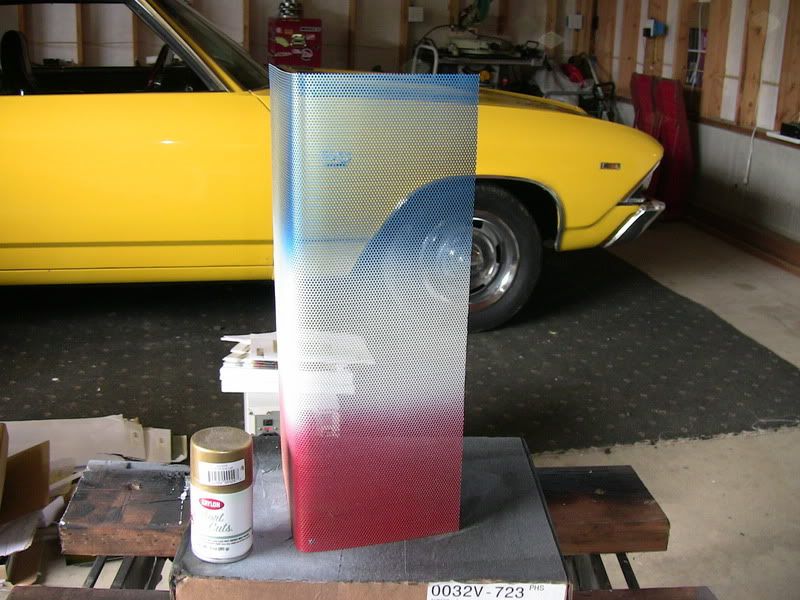
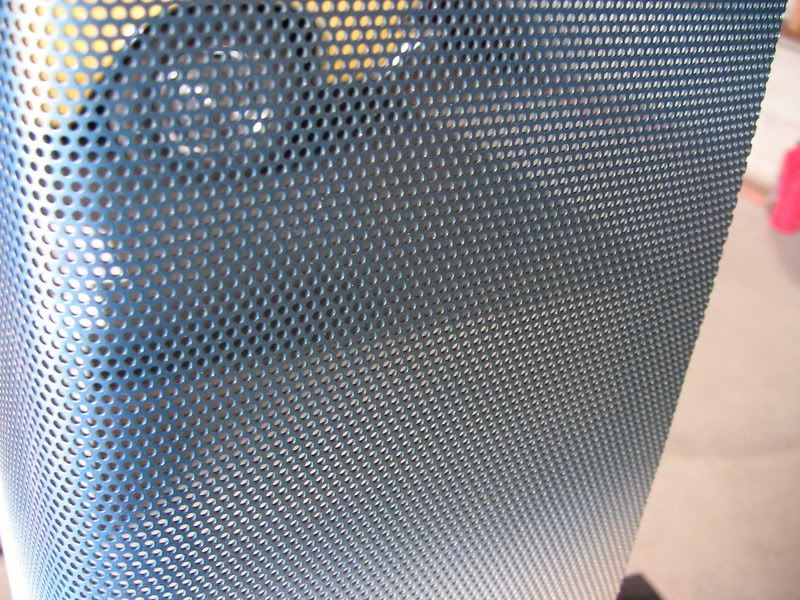
I have painted the cover I made for the drive bays with a red/white/blue and will be putting random star decals on here and there and then spray it black. Then I peel off the decals and have the colored stars underneath. It will be similar to what the outside looks like.
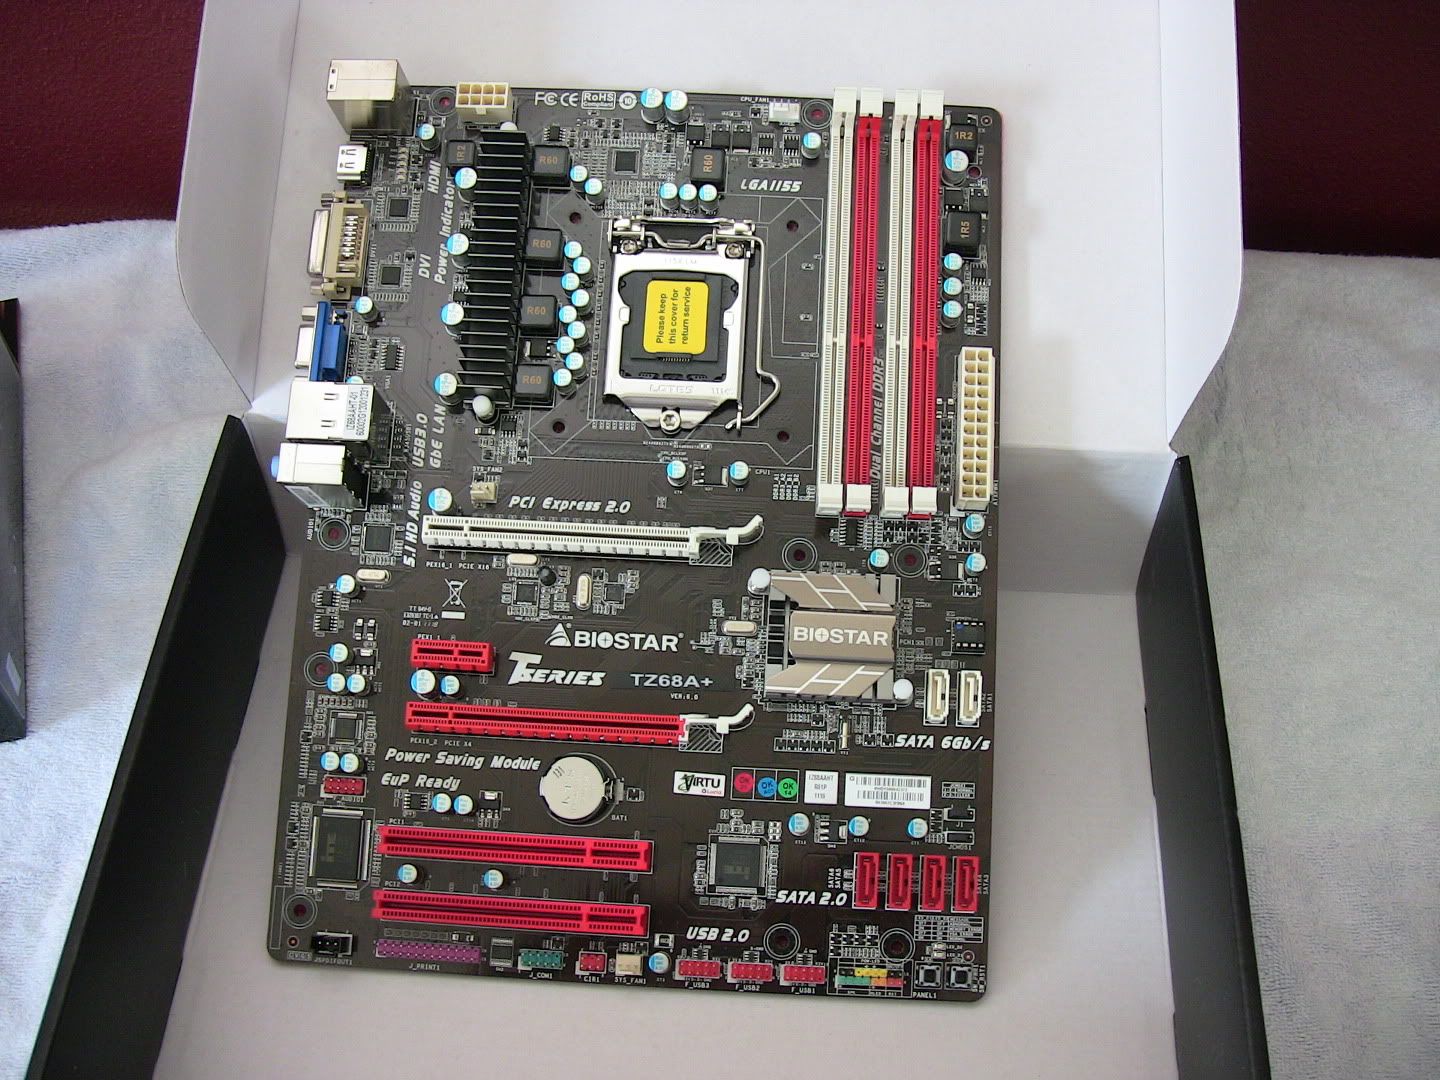
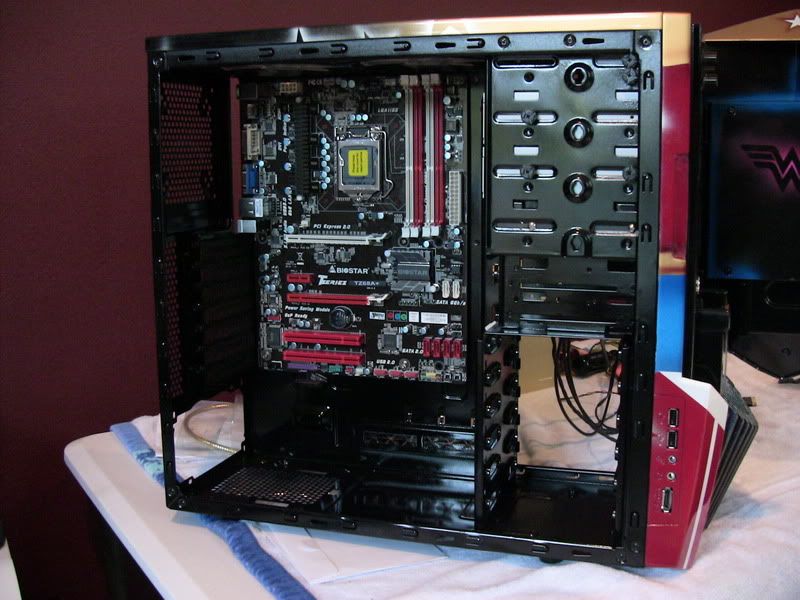
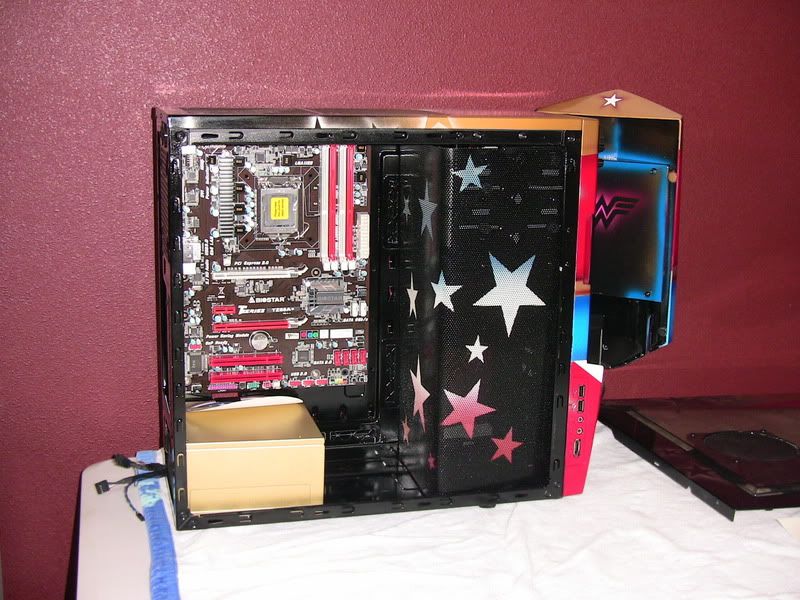
I mounted the mobo to get an idea of locations of wires and stuff. I picked up this Biostar because it had the colors I need basically. It's a Z68 board too!
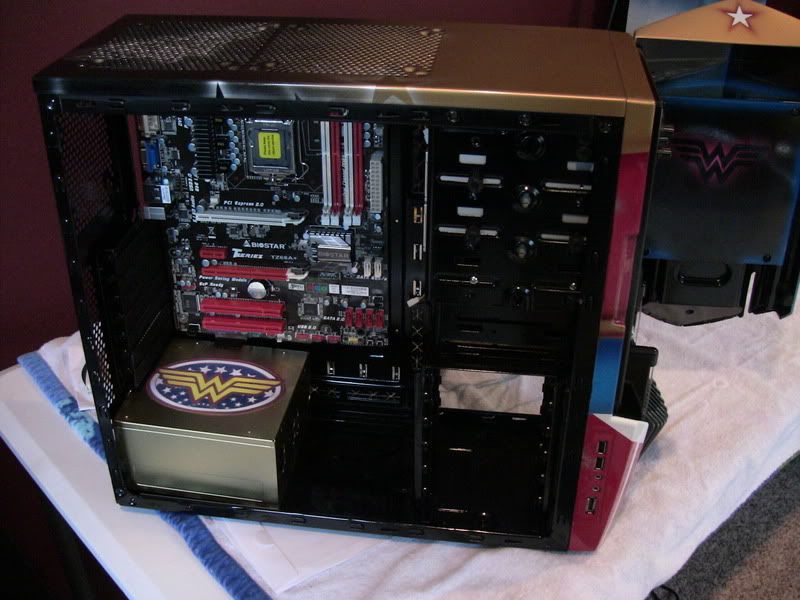
I have painted the power supply gold and put a Wonder Woman decal on the top. Not sure if I like it or not. My wife thinks it's great so it may stay this way. :wink:
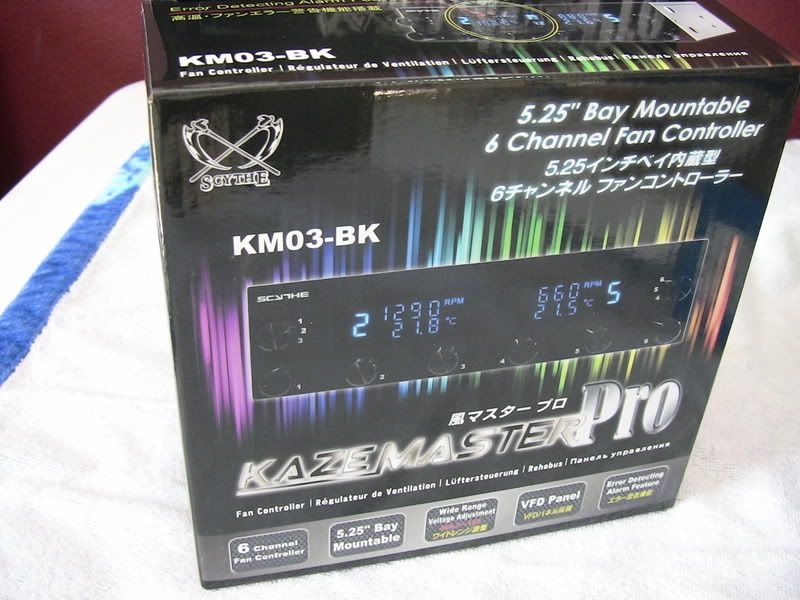
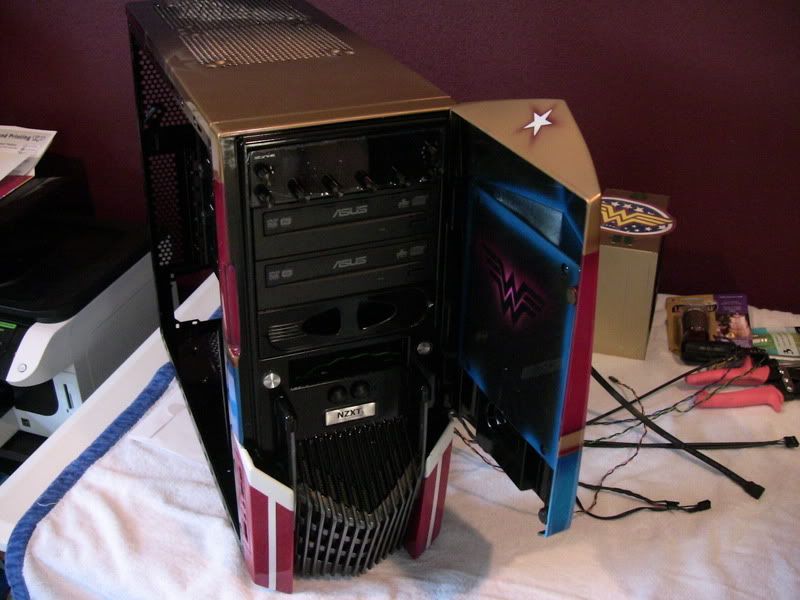
I mounted all the drives and stuff in the front to see what it will look like and so I can decide on locations. I bought a fan controller that has knobs sticking out so it has to go on top because luckily the front door has a perfect place for them to fit inside once the door is closed.
Now you can see why I painted the front piece black again. It goes better with the overall appearance of the drives.
I still need to get a little card reader but that's it for the front.
I'll have more parts on the way as soon aspaydayLotto rolls around for me.
Life is tough, it's even tougher when you're stupid. - John Wayne
I got the last of the paint work done. I think.
I finished painting the drive bay cover and I think it came out pretty nice. I was worried about it being a little too busy, but it actually helps pull everything together I believe.
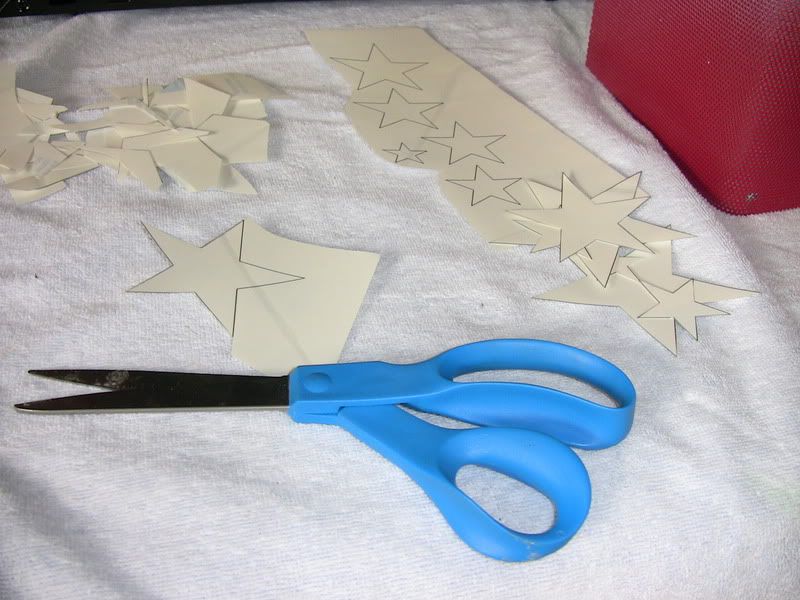
First it was time for a little "arts and crafts". I printed some stars on a decal sheet and cut them out.
Before I stick them on I "dusted" the part with a little gold paint. This is so I would get some of the gold flaking on the paint and give it a little extra pop once the lighting hits it inside the case.
You can kinda see a little gold flake - you don't want it to hide the colors.
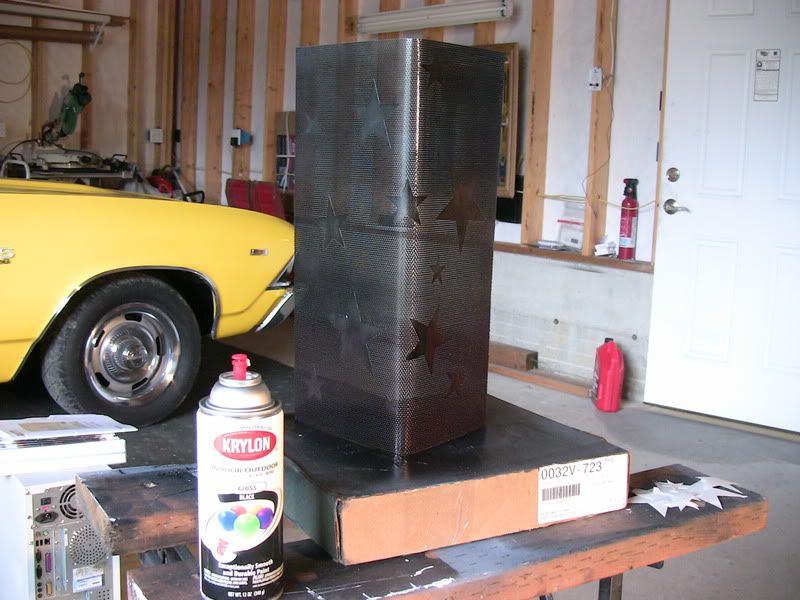
Then I stuck on the stars in a random pattern -
Shot it with the black about 4 times -
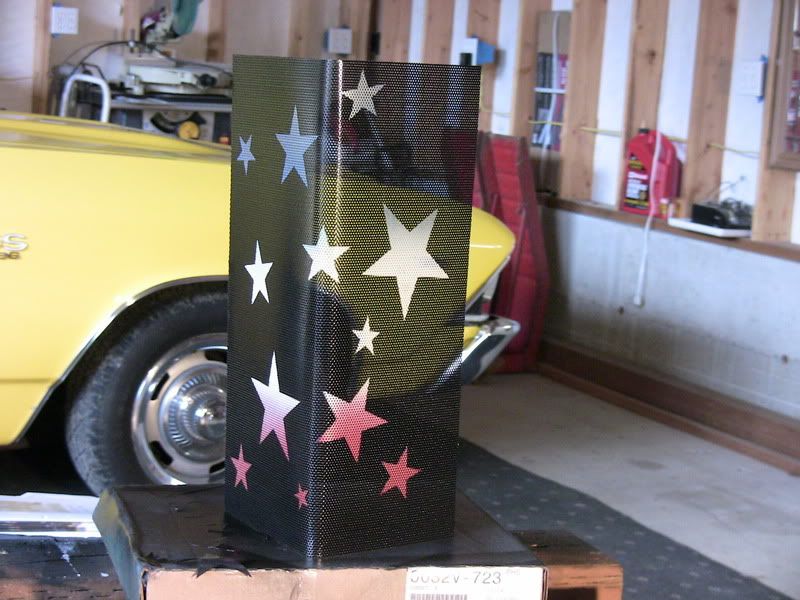
Let it dry and peel off the decals....BAM! Colorful stars!
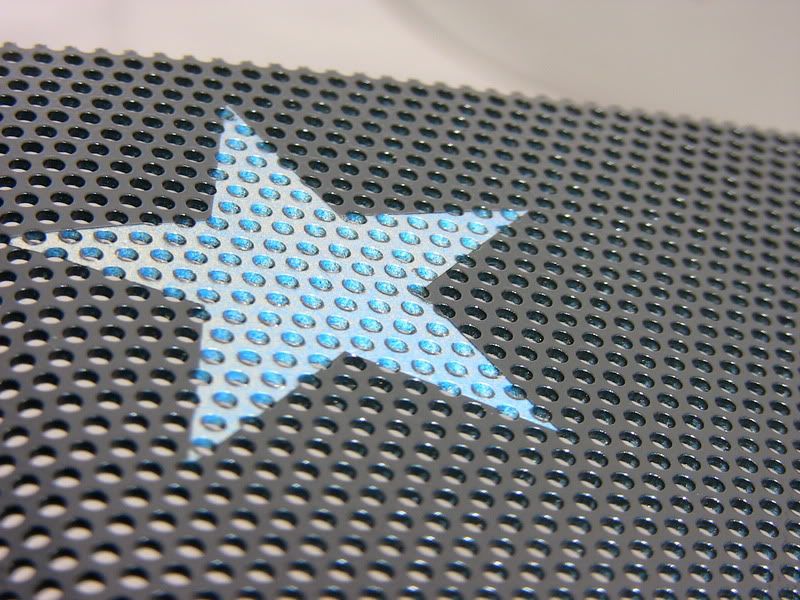
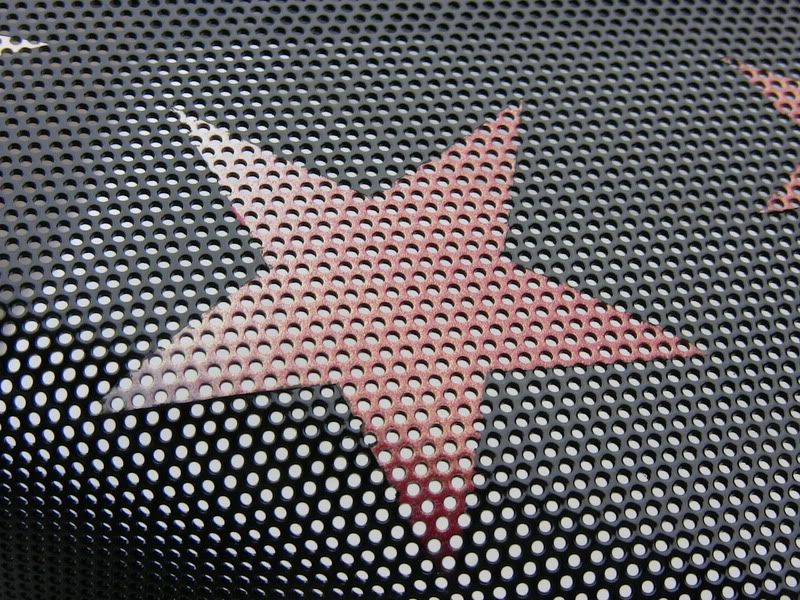
Here's a close up of the stars with some gold flake. -
With the panel installed you can see it ties everything together pretty good. You'll notice the stars are done different than the stars on the outside. I wanted these to have the colors instead of a shadow effect. I bet most people won't even realize it.
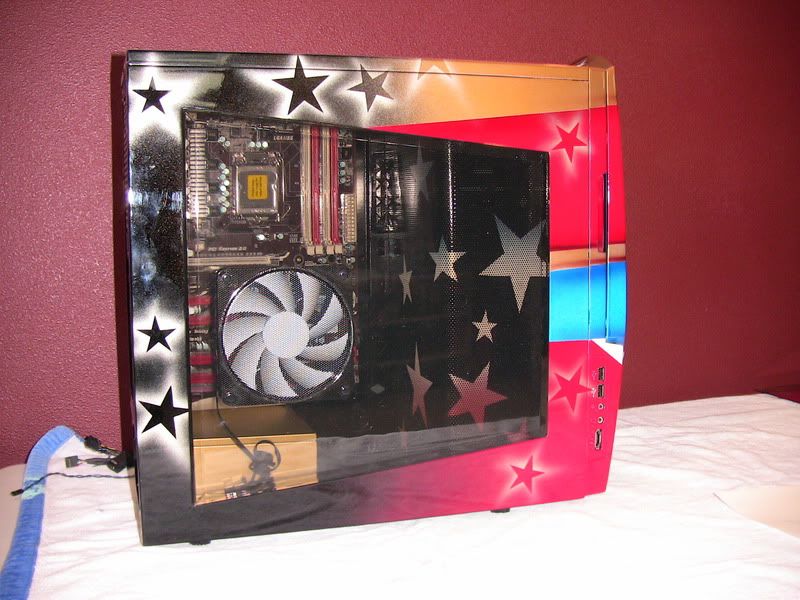
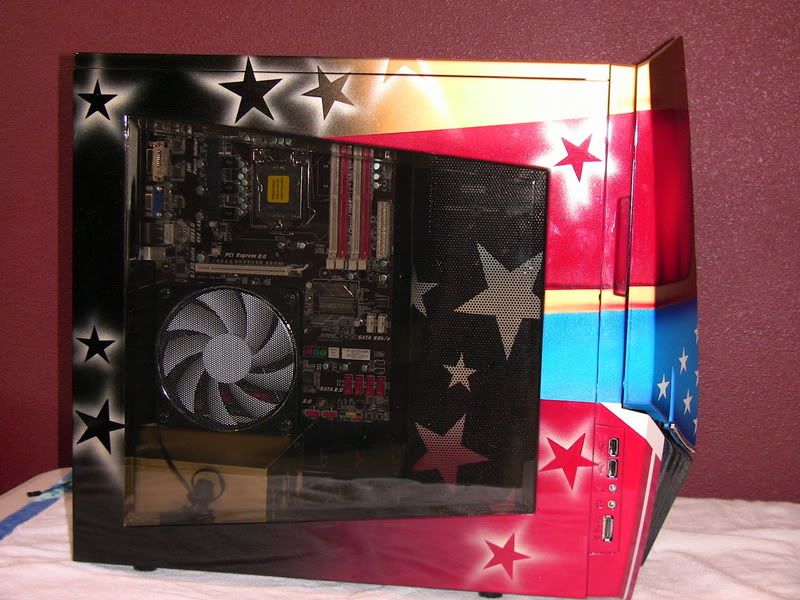
And with the side panel on you can see it's not too busy at all. It all just flows together like a big bunch of happy colorful Wonder Woman-ness.
Once I install the lighting that I'm getting .....look out...it's gonna make the gold flake pop out (I hope) :wink:
I still need to replace the fan in the window. It's on order and will need a little modding too. I almost wish there wasn't a fan there now. I could make a new window? This one is nice though since it's beveled edge and is tinted.
I have made a decision on sleeving for the cables. I have an account with Techflex and I was talking to a girl on the order desk about what I was doing and she informed me they have something that isn't shown on the market yet!!! So I ordered a bunch of it and let's just say it will tie everything together Wonder Woman style <<< huge hint right there
So now I just wait for the remainder of parts to pile in. I can't wait to start sleeving cables especially... << sarcasm
Life is tough, it's even tougher when you're stupid. - John Wayne
 Posting Permissions

 Reply With Quote