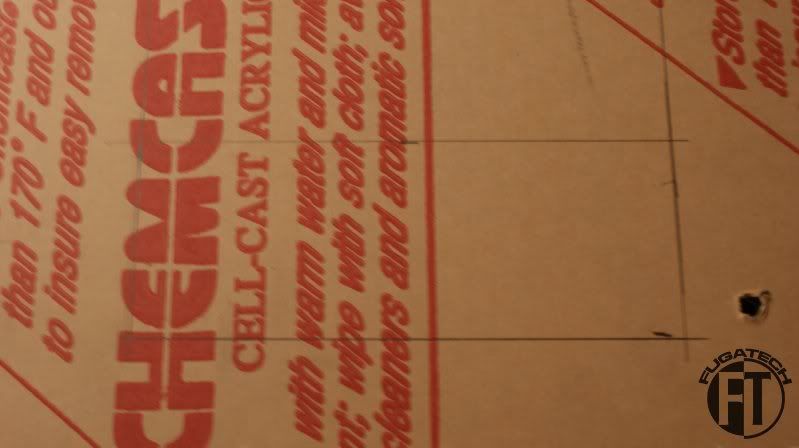
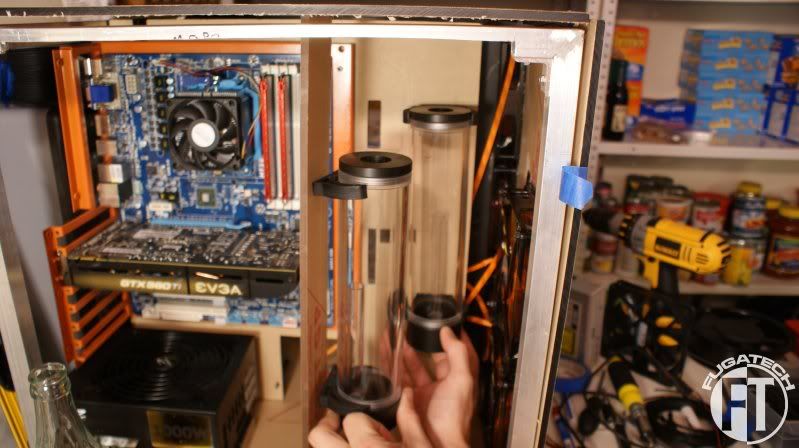
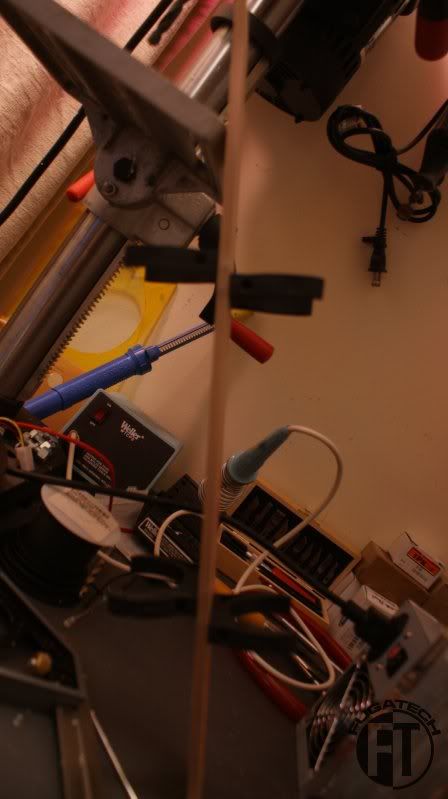
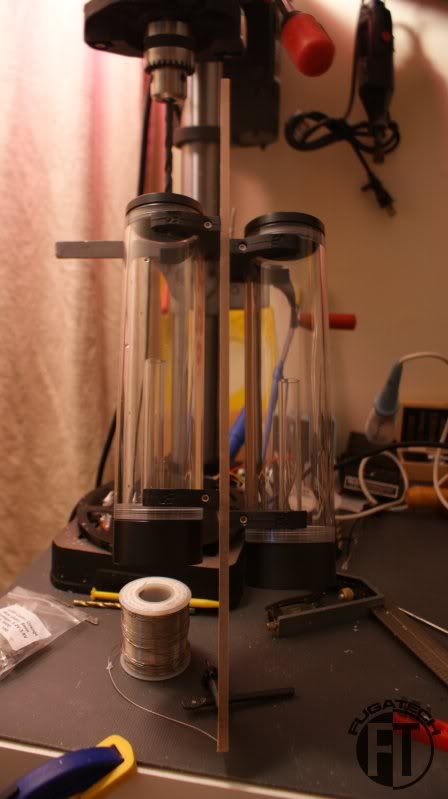
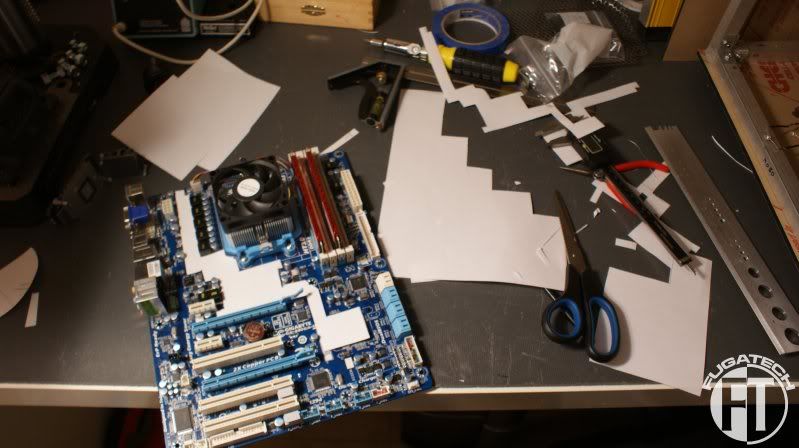
After talking to a guy on one of the forums he has agreed to help me make a custom made mobo waterblock. Here are some shots of the beginning stages of me planing it out.
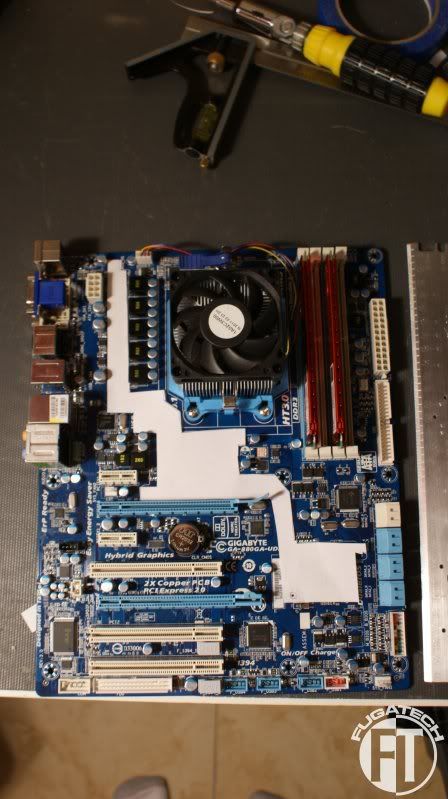
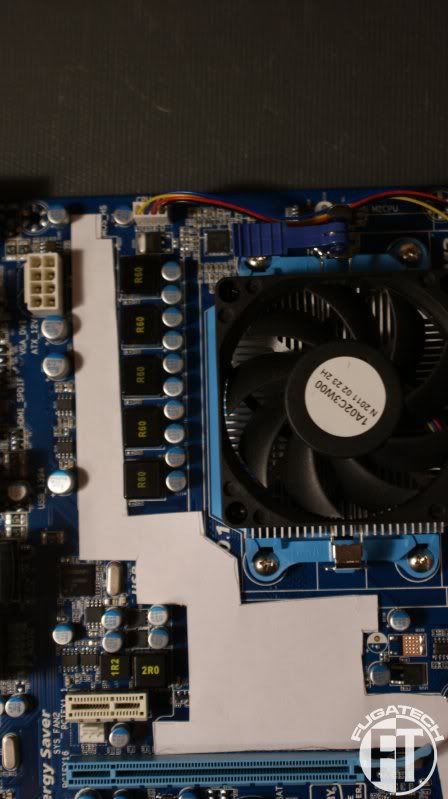
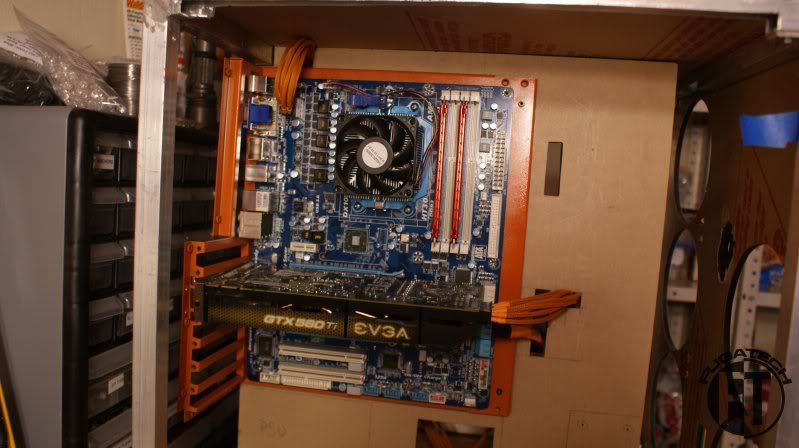
These are pictures from a few days ago. The current layout is almost perfect. I still have to work on it for a few more days.
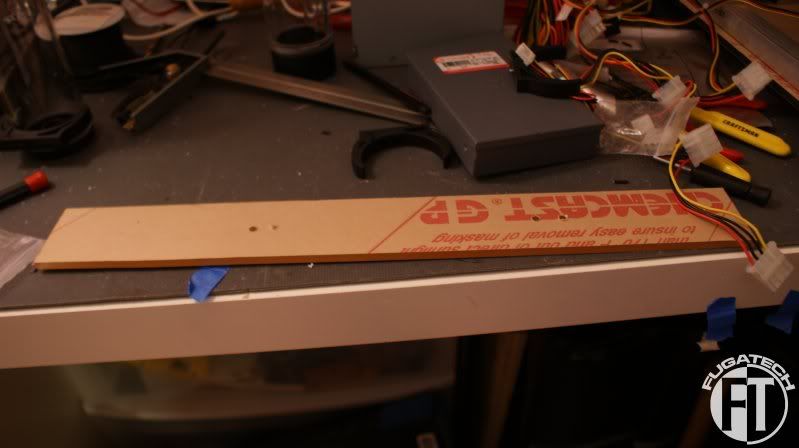
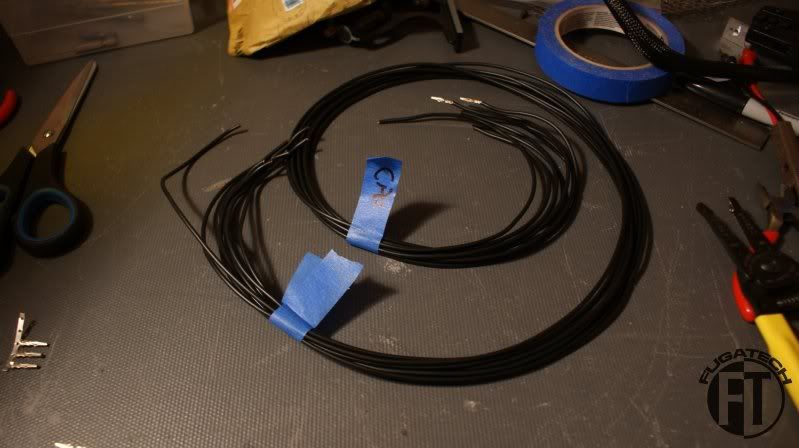
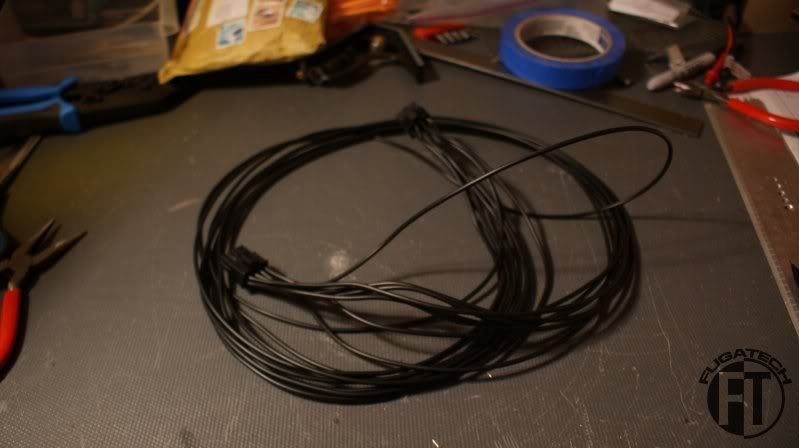
Now for the cables.
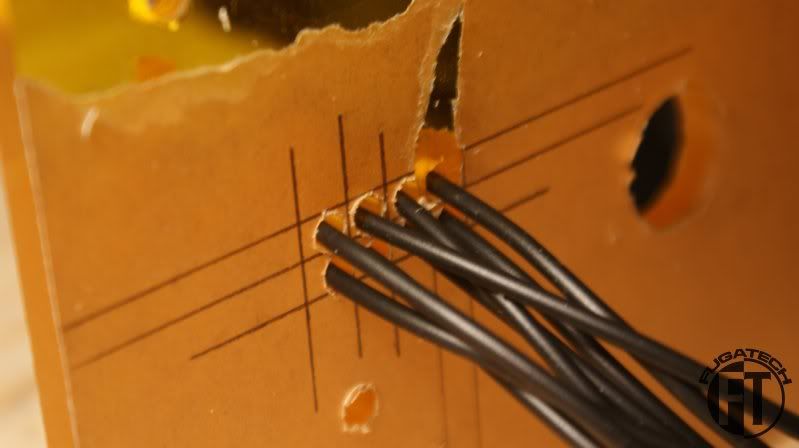
CPU Power cable cut.
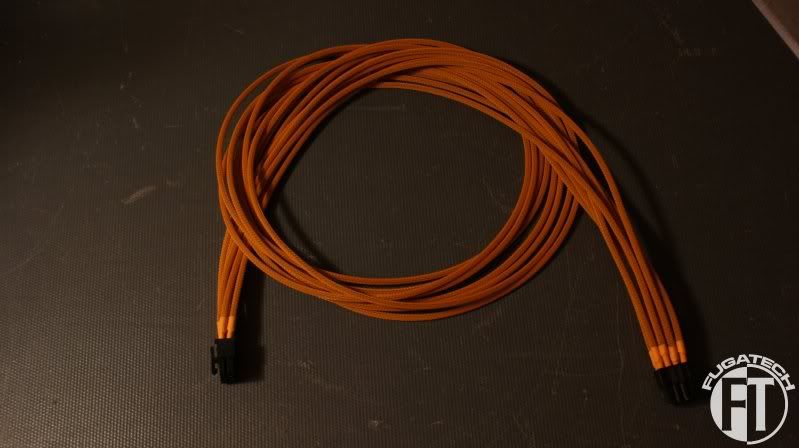
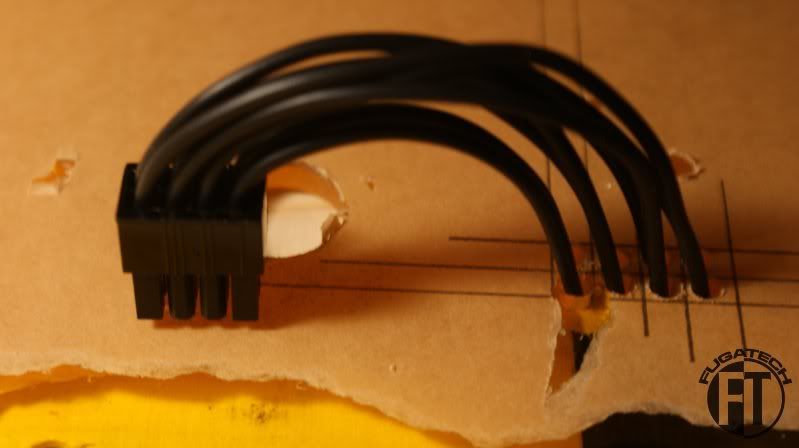
Assembled
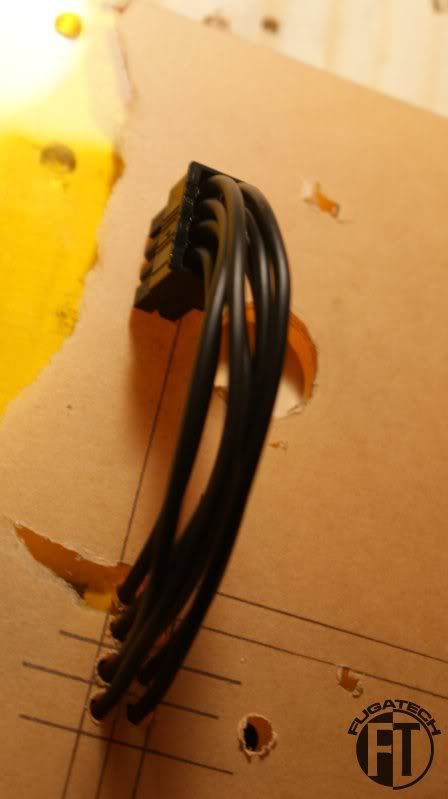
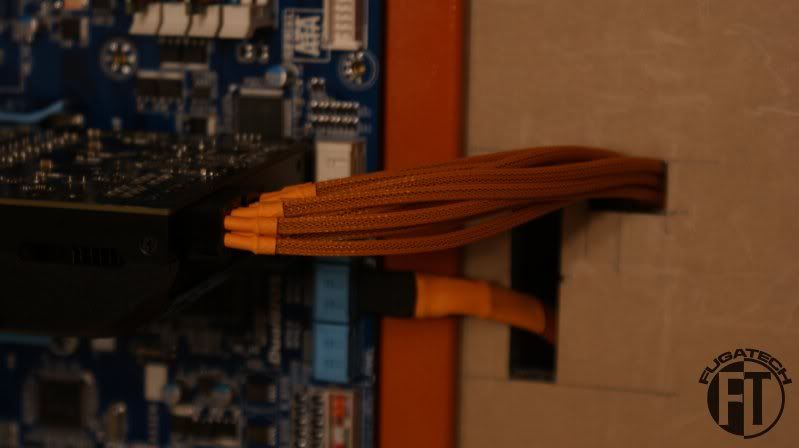
And sleeved.
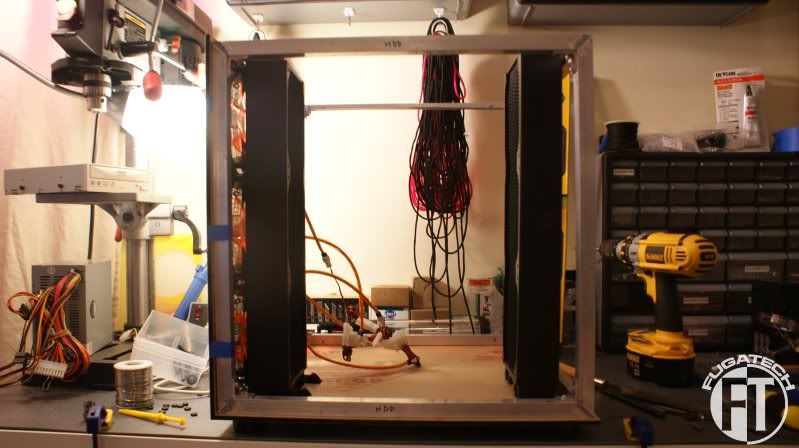
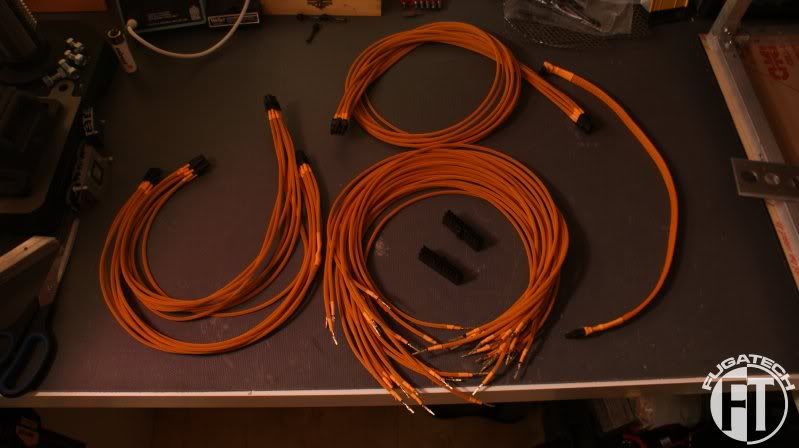
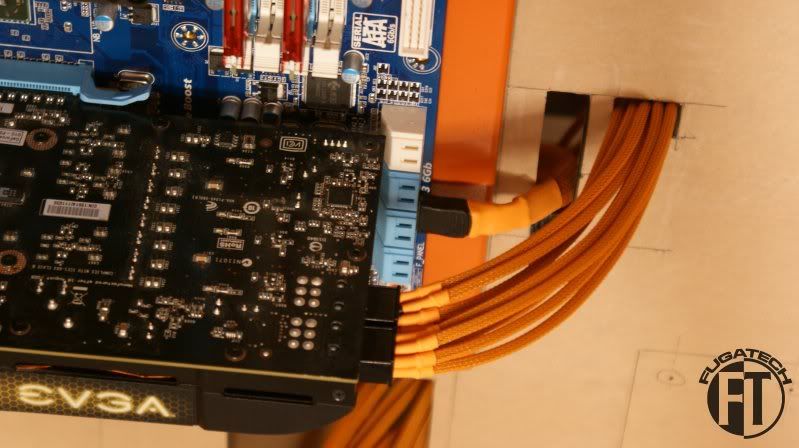
Here is where I stand with all the other cables.
The CPU Power and 2 PCI-E cables are assembled so far. I have the ATX Power cable cut in the middle and on the left was an attempt at sleeving a SATA cable. I just finished cutting the cables for the SATA power for all the HDDs, the SATA power for the Blu-Ray player and the fan hub power cable.
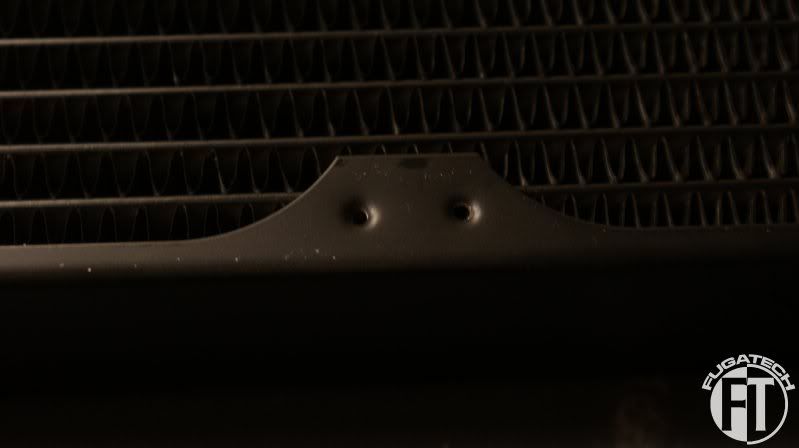
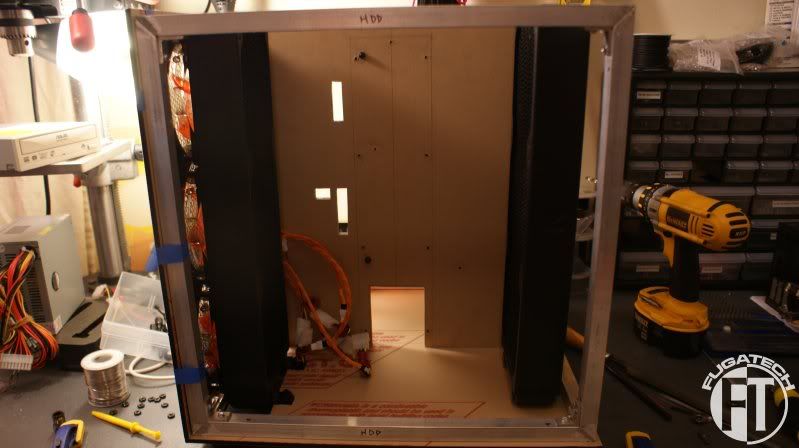
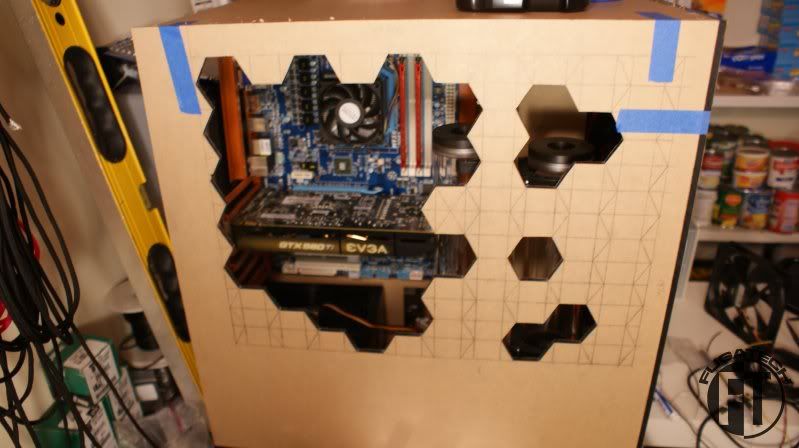
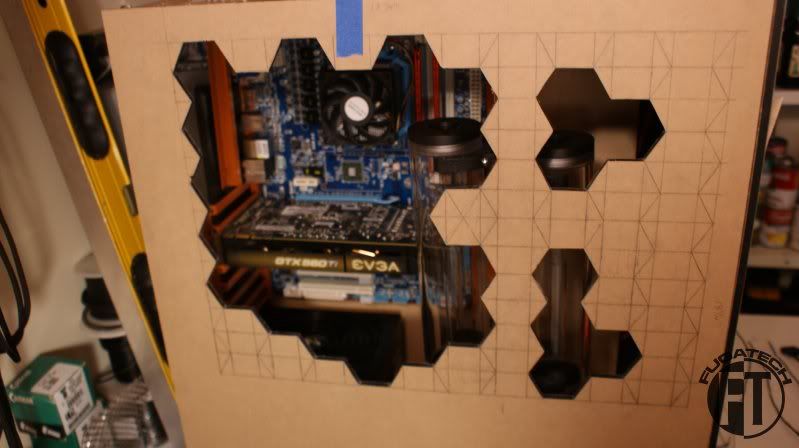
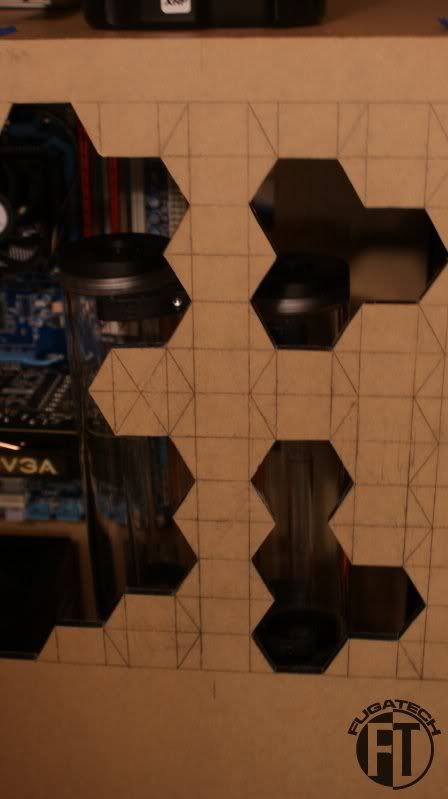
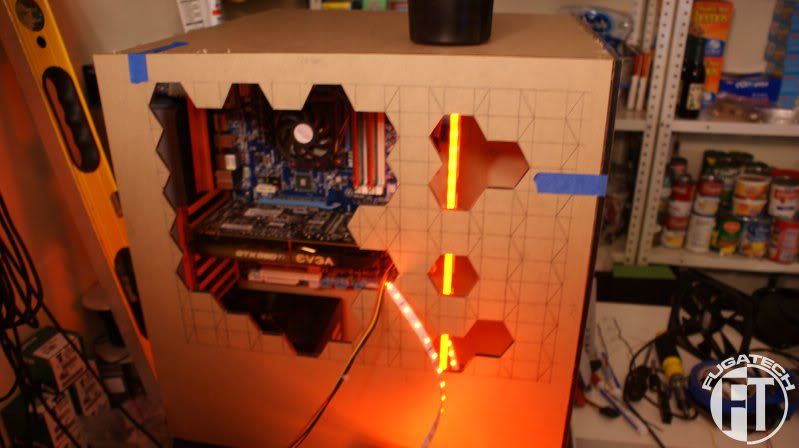
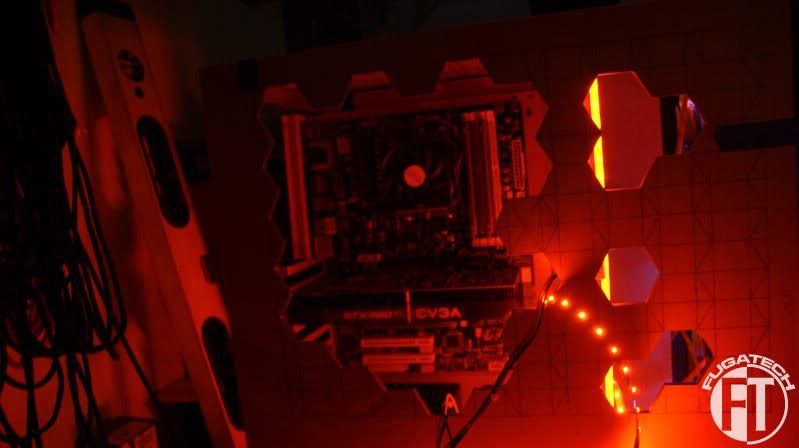
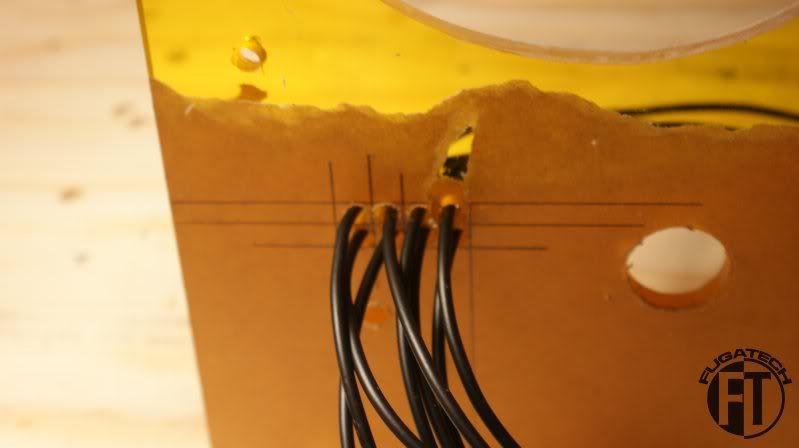
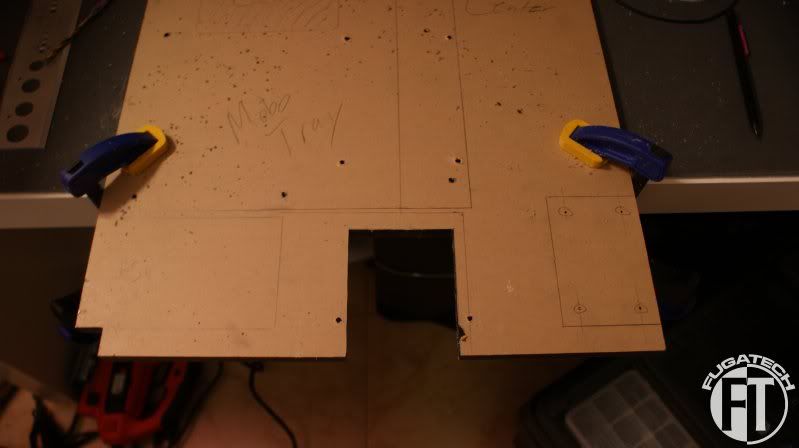
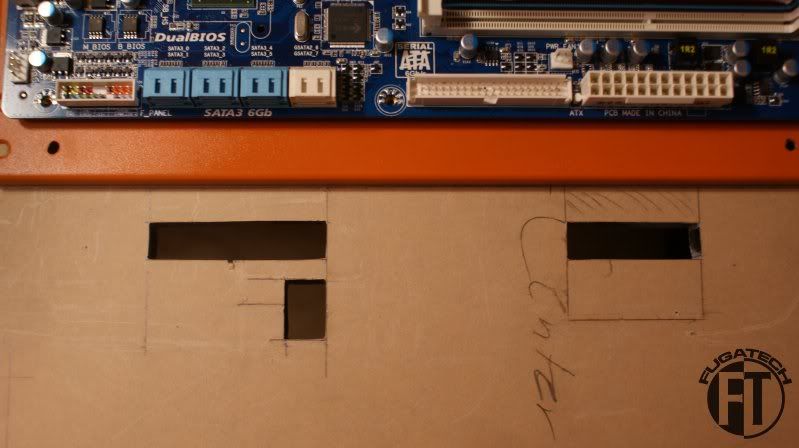
Now to connect all these to the mobo I need more holes. I wanted to make a hole for each wire to go through but that didn't work out. But it did look good.
I ended up doing this.
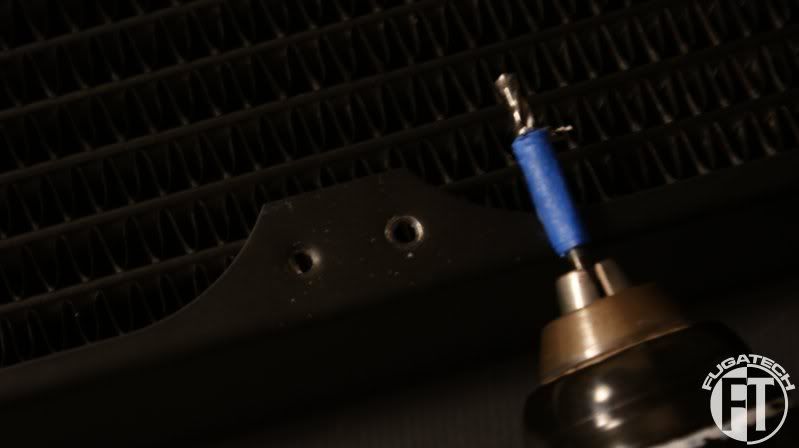
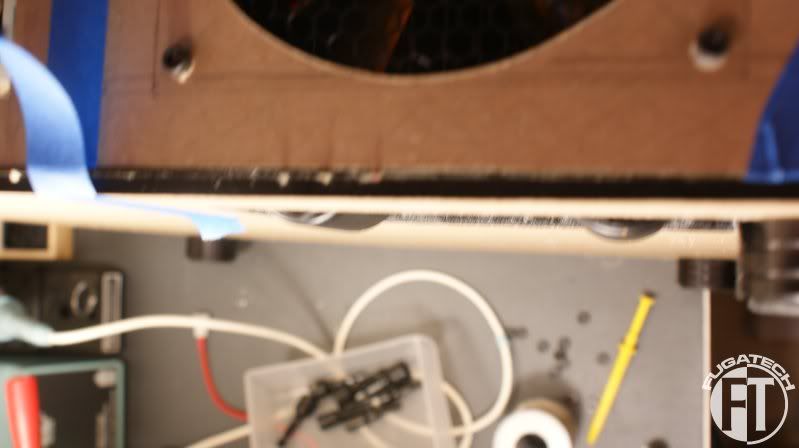
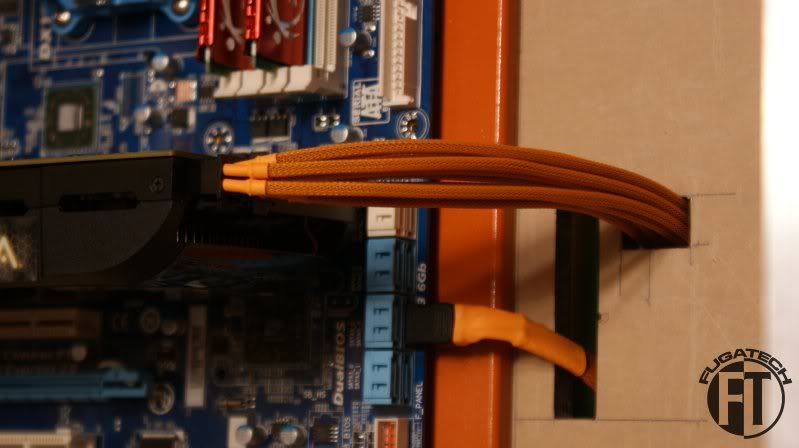
Here is where all the wires will pass through the center piece.
This is at the top left of the mobo. The CPU Power will pass through here.
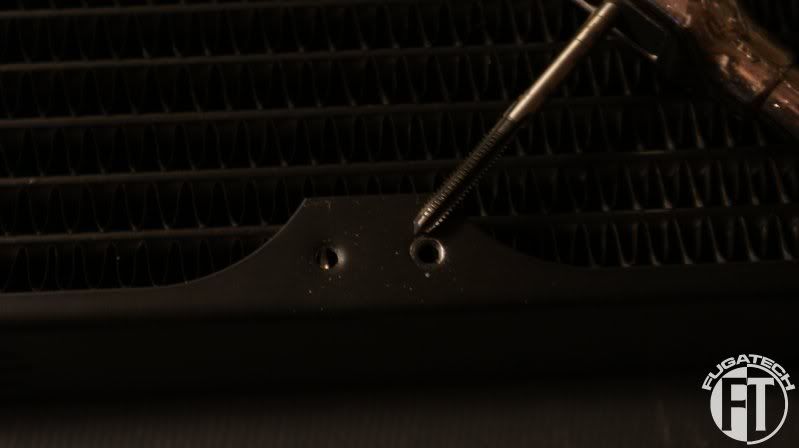
Here are the holes for the ATX Power, SATA cables and the PCI-E cables.
I didn't get a good one of the CPU power. I'll have more later.
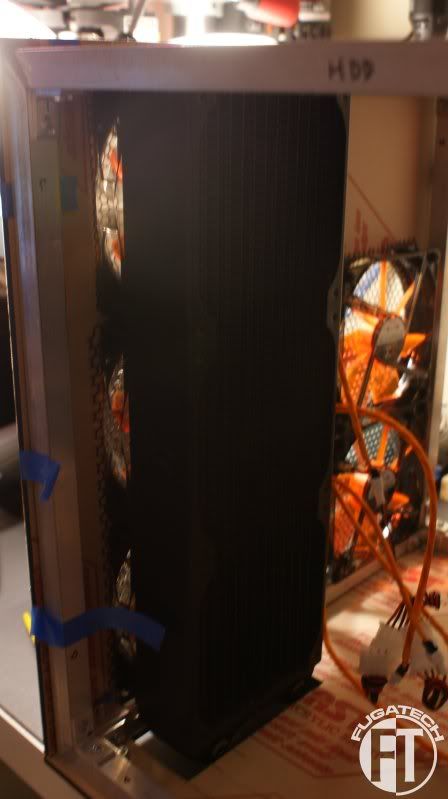
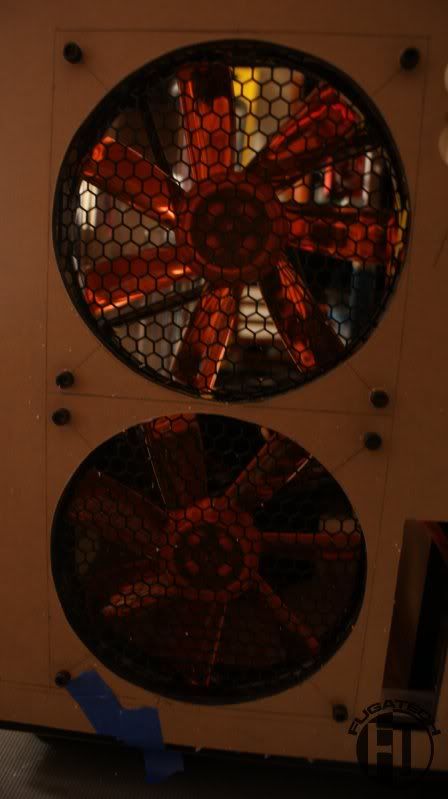
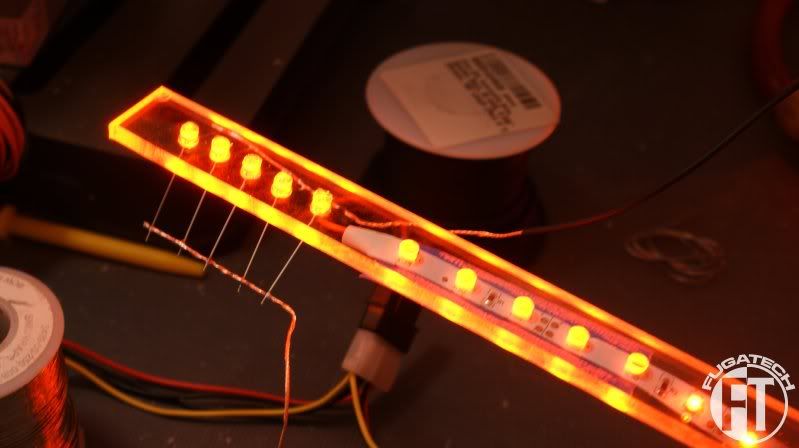
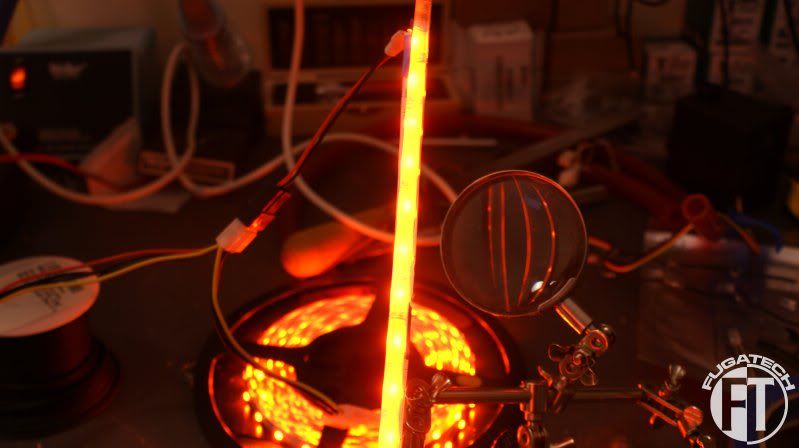
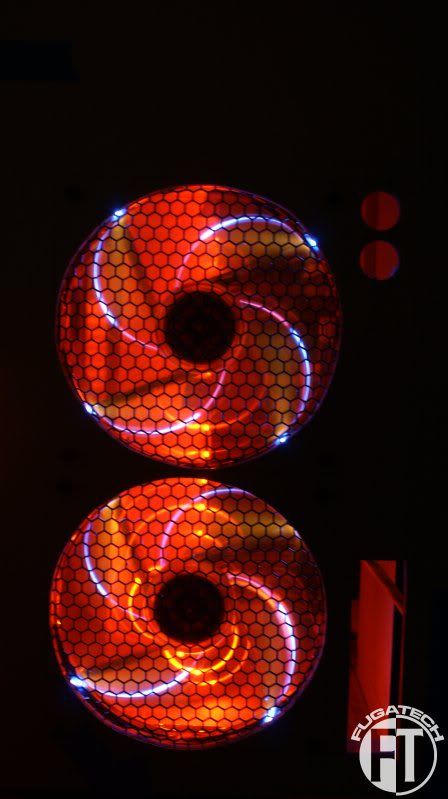
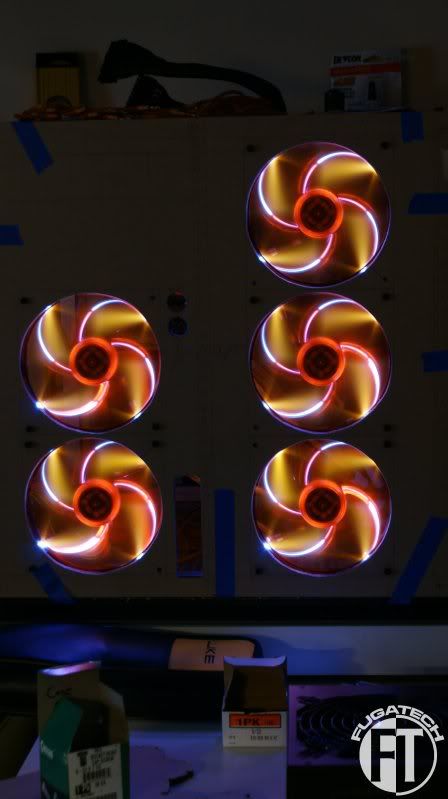
And finally I couldn't resist doing a fan test. The white LEDs look good for now.
Today I am working on the PSU support, fan grills, painting the I/O backplate/PCI covers and more PSU cables.
Cheers till next time.


 Reply With Quote