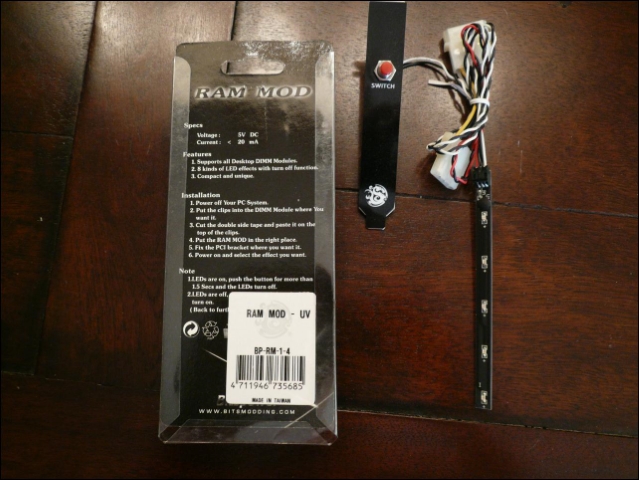
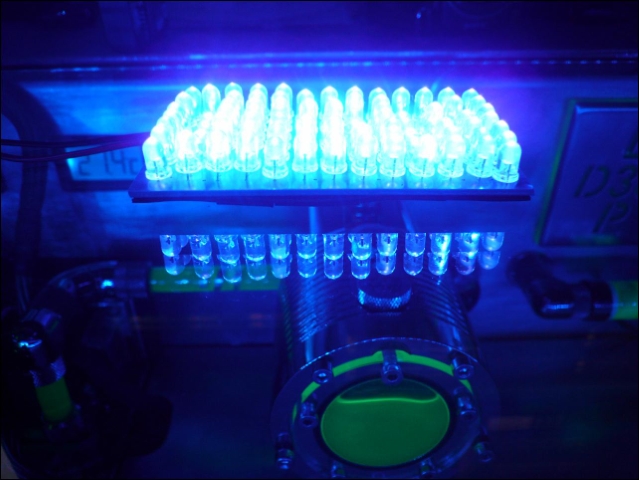
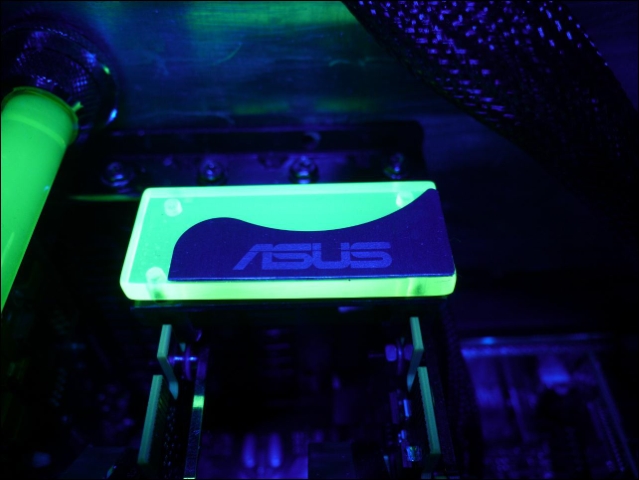
Received a nice UV led board today.
It's specially for making photo's from UV-active parts.
You can only use it for 5 minutes per time, else it gets too hot
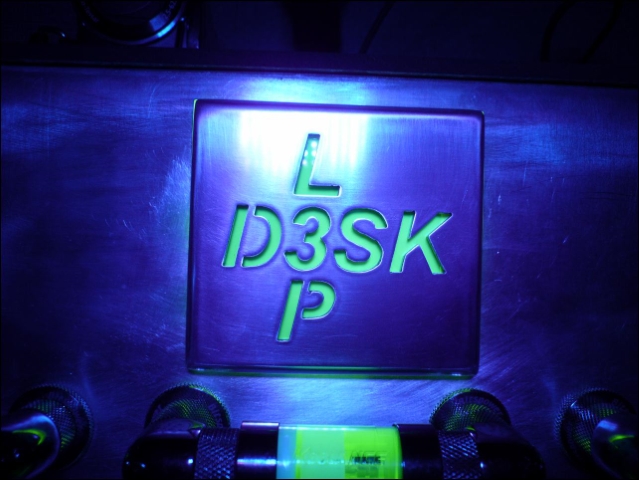
Small surprise between the UV leds
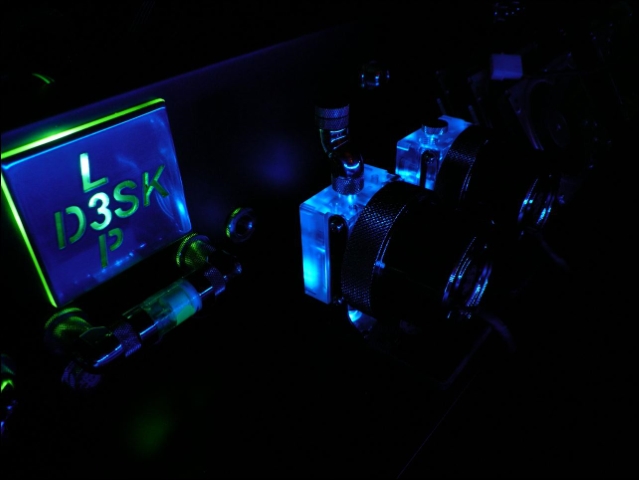
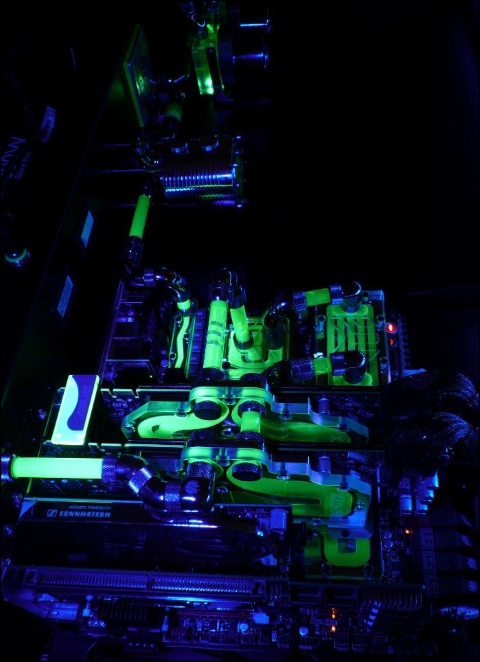
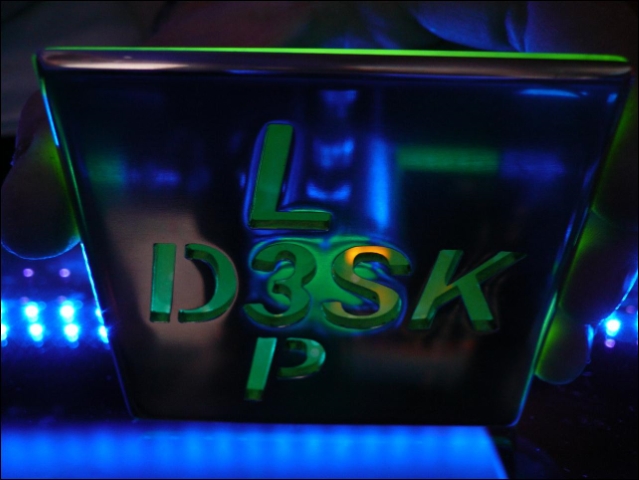
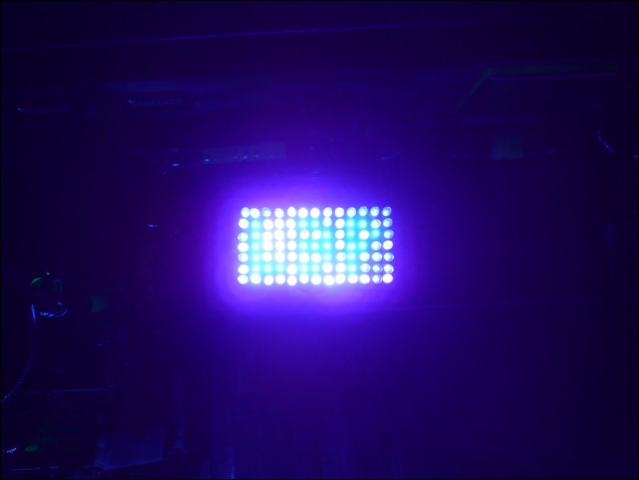
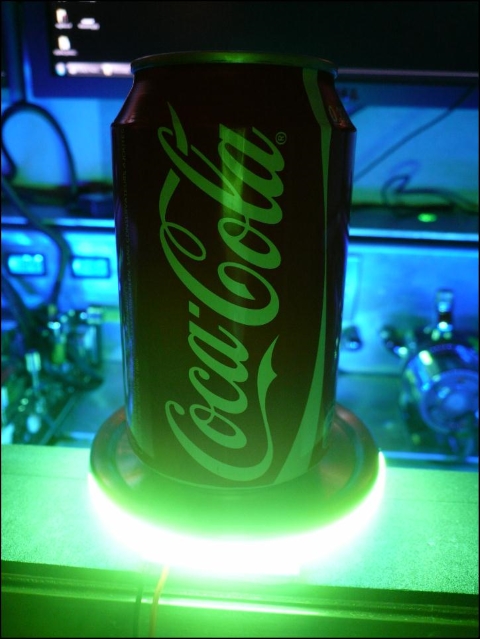
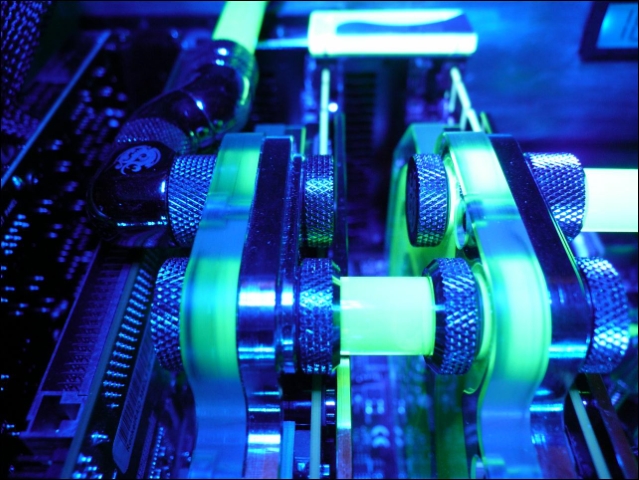
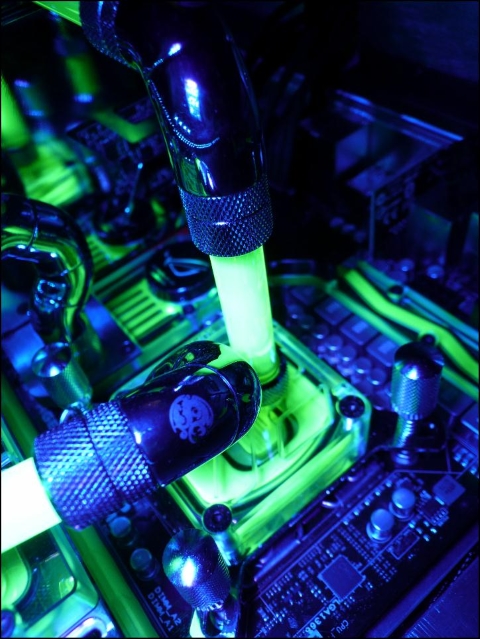
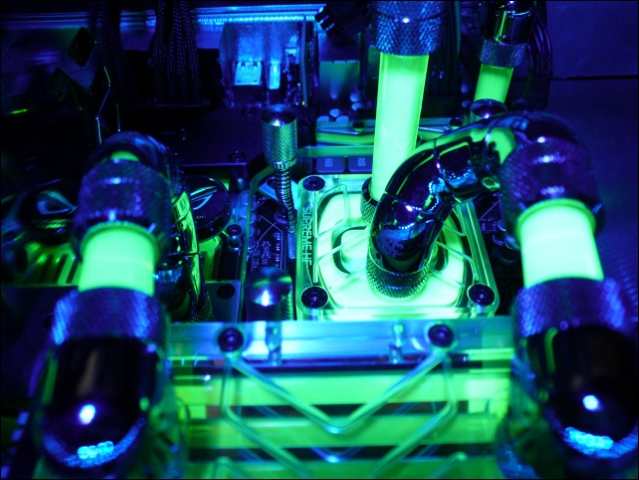
And some pictures with the effect


Received a nice UV led board today.
It's specially for making photo's from UV-active parts.
You can only use it for 5 minutes per time, else it gets too hot
Small surprise between the UV leds
And some pictures with the effect
The date for powder-coating the desk has set !
10 minutes before unplugging it
And 3 hours later : )
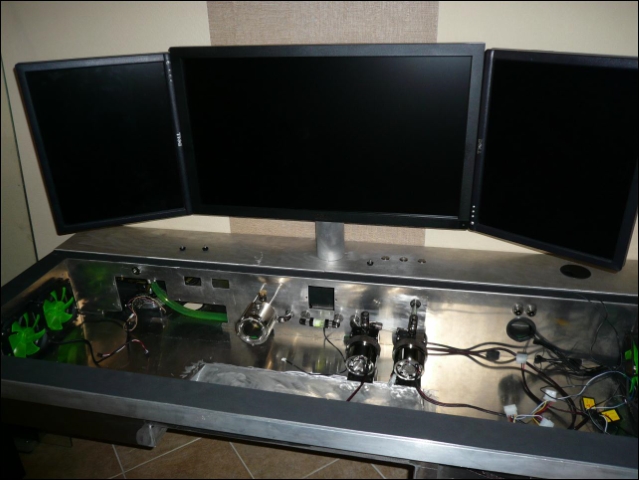
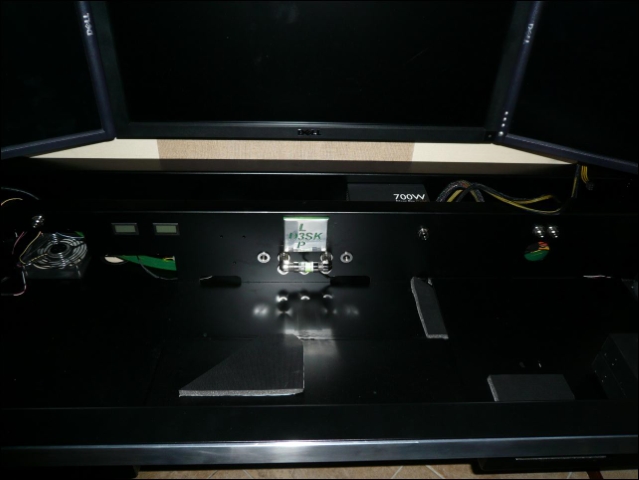
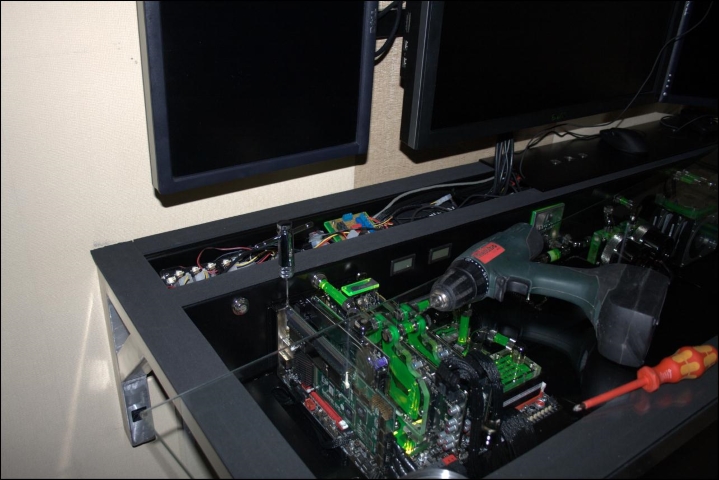
Also took me half an hour to think how i will place the second PSU.
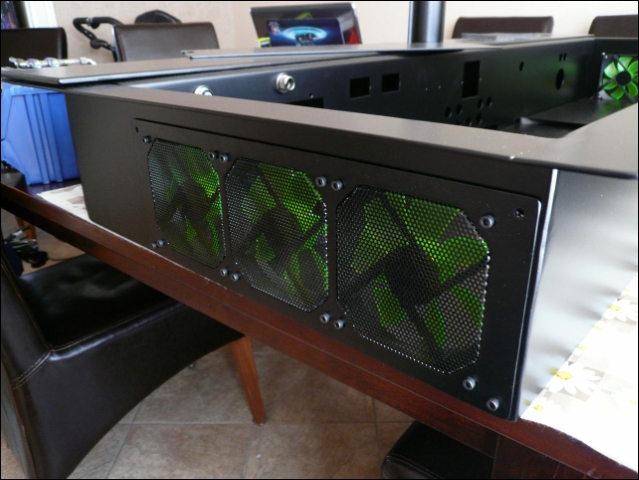
Decided to place them like this, ill creata another 120mm fanhole between the psu's tomorrow
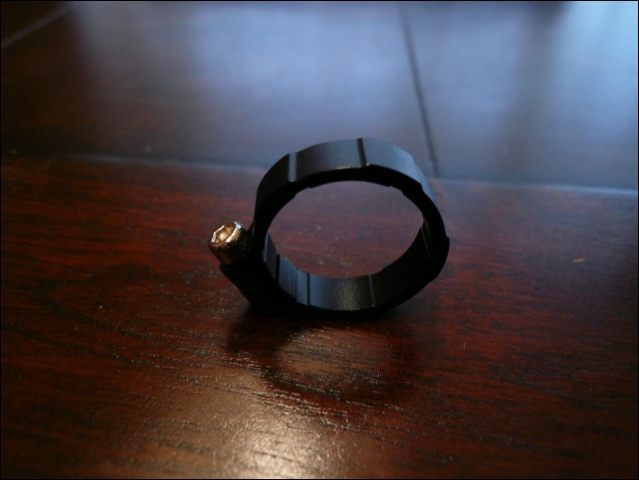
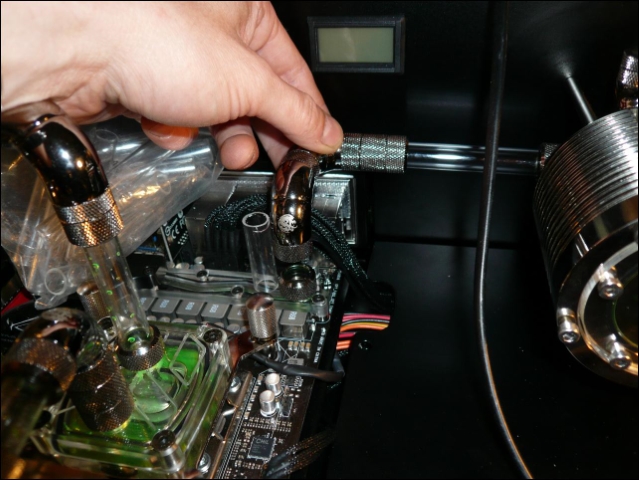
Wanted to use these for my quick connectors outside the desk
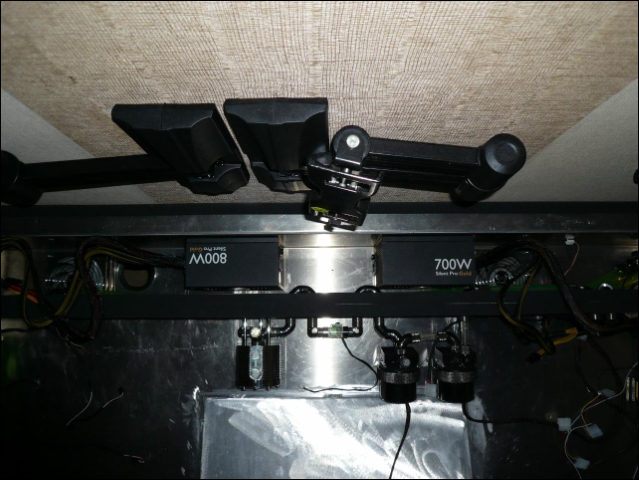
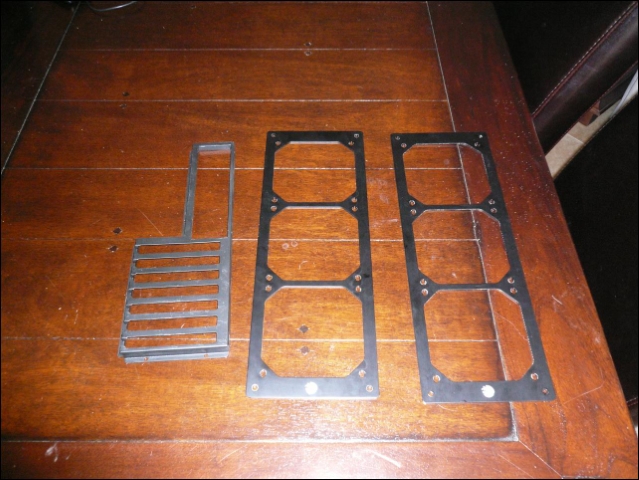
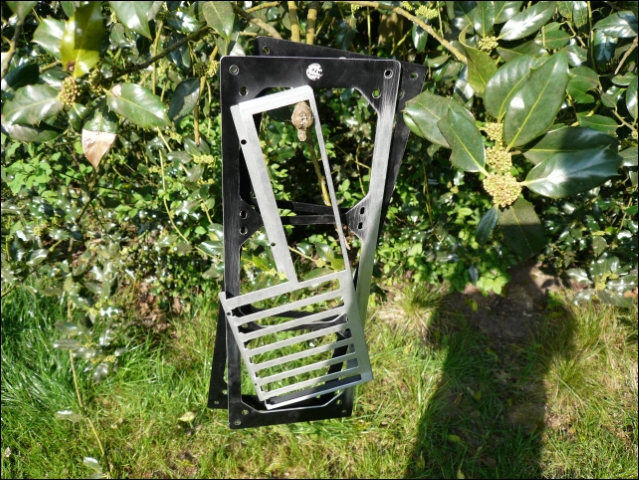
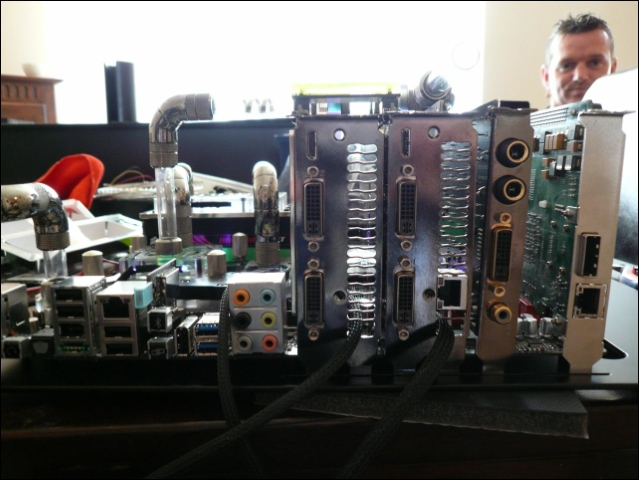
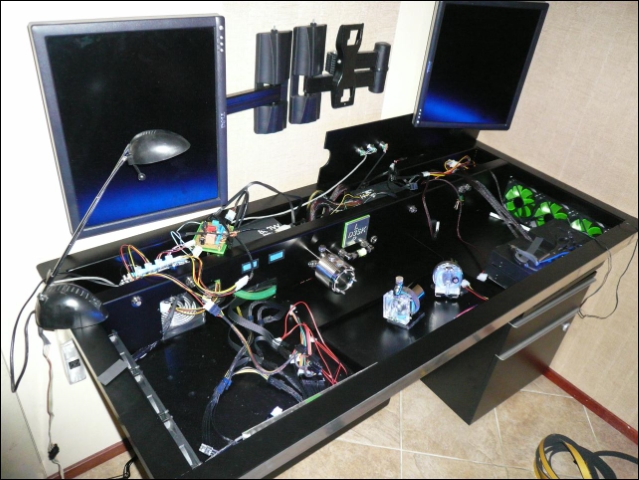
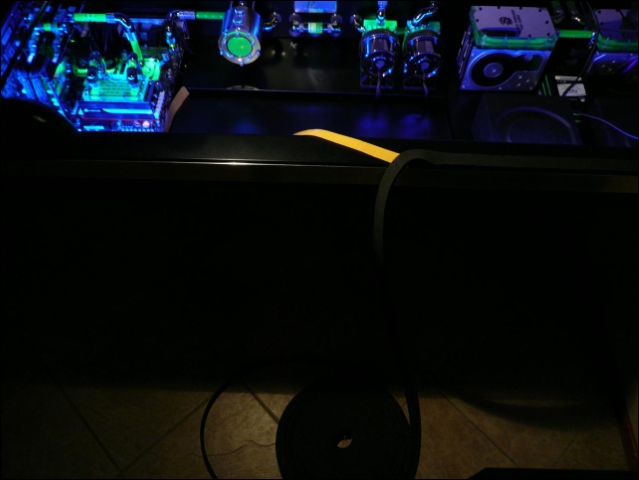
Yesterday the idea came up for hiding my cables from the 3 screens.
Some won't like it, but for me this works great since my pc is more open then closed
So this way it's very easy to take away the backplates.
It's only connected with the left side of the panel.
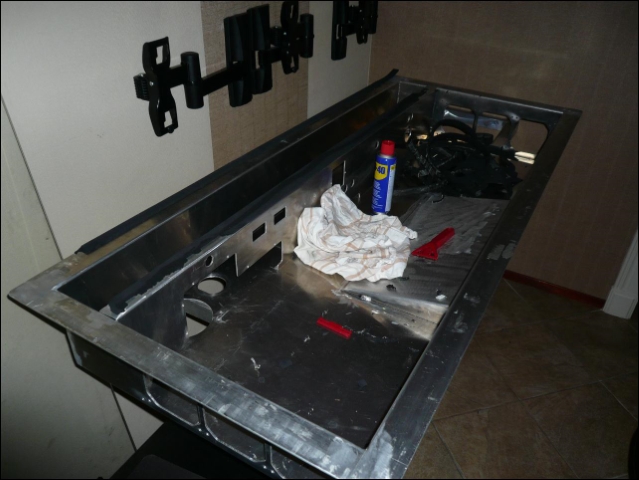
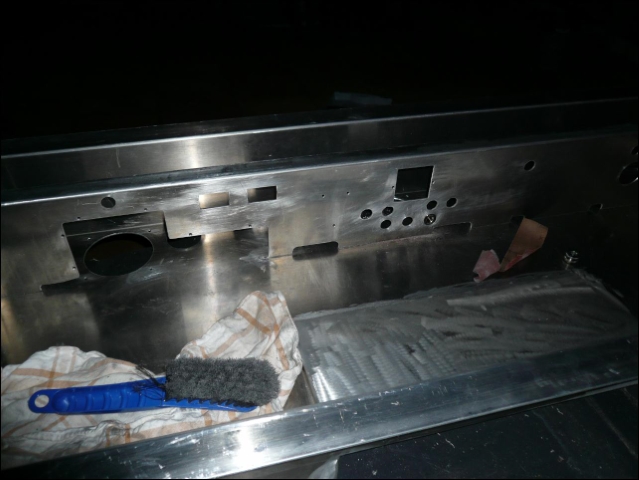
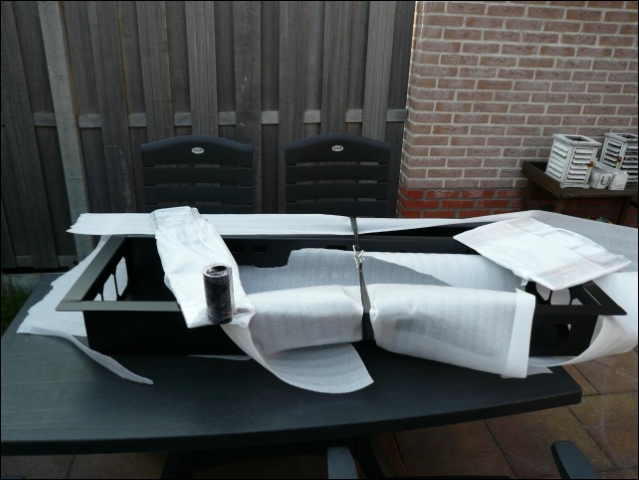
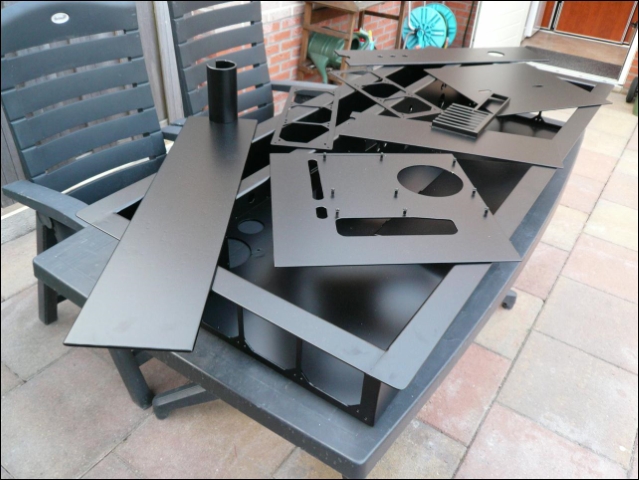
2 hours later it was really empty, looks like a reverse buildlog
Sanding it some.
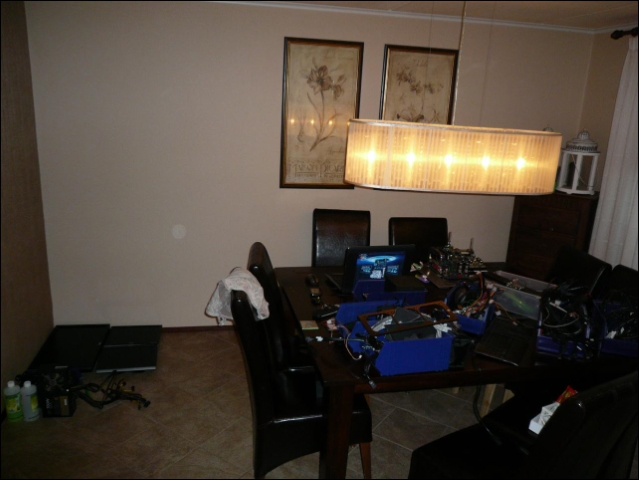
Like a bomb exploded.
Here i was finished for today
Thanks man !
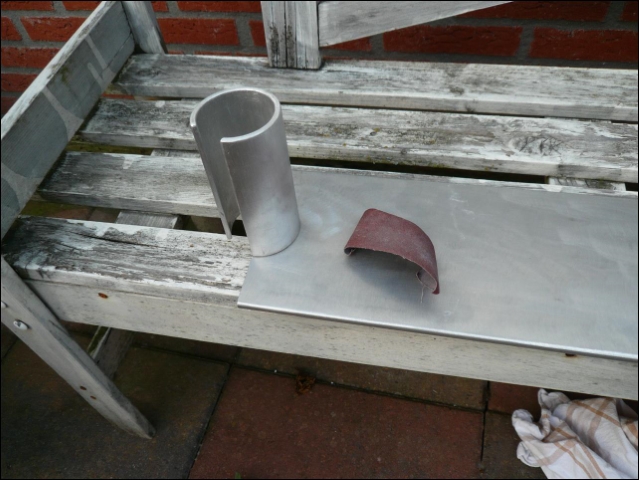
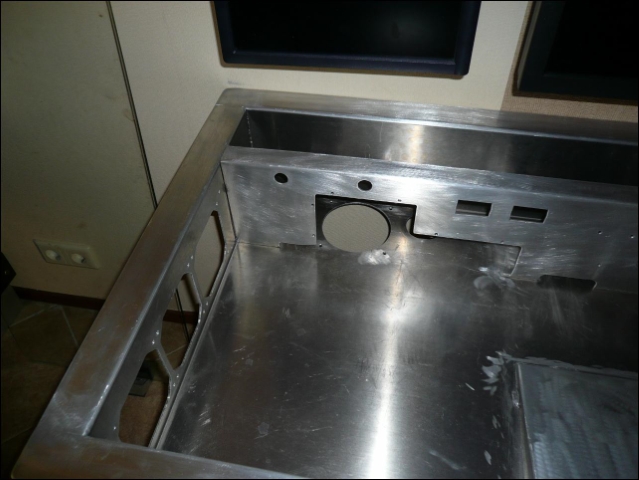
Finally got the rubber removed.
Thank god for WD40
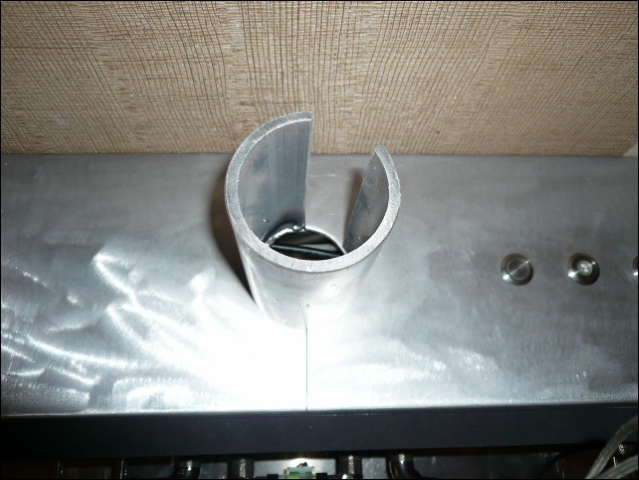
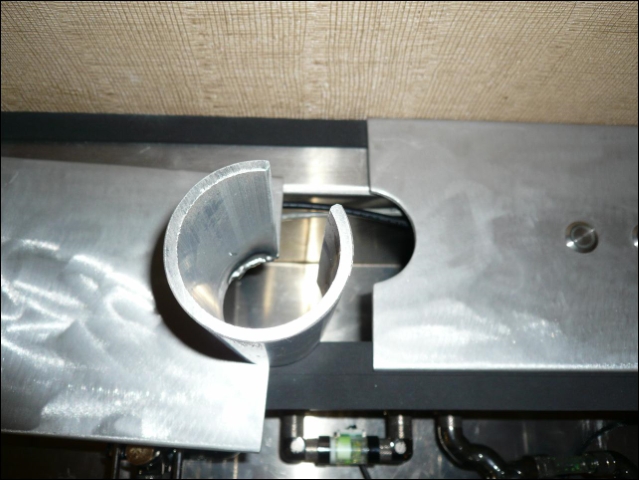
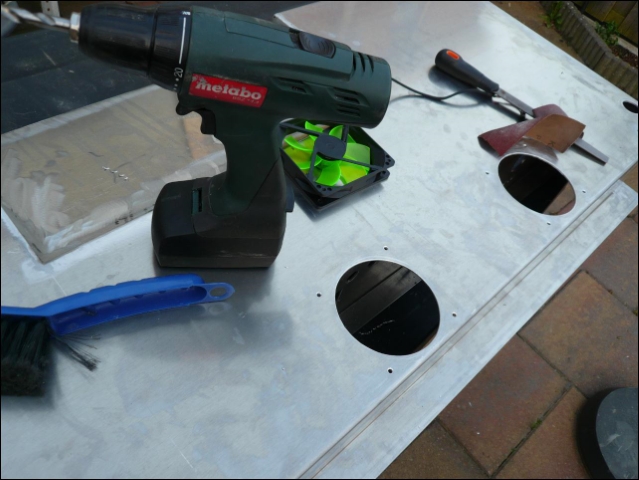
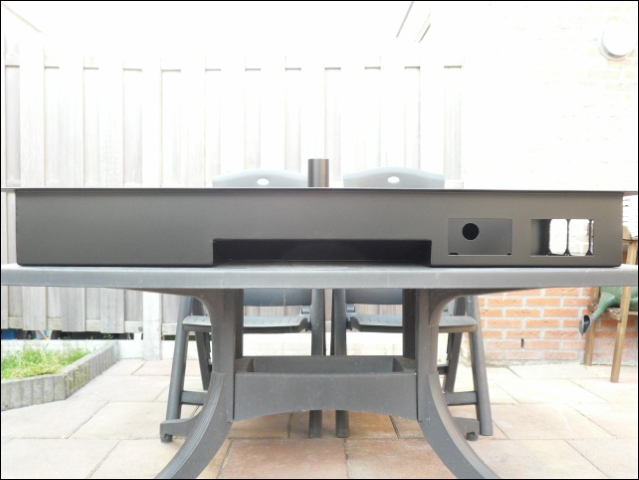
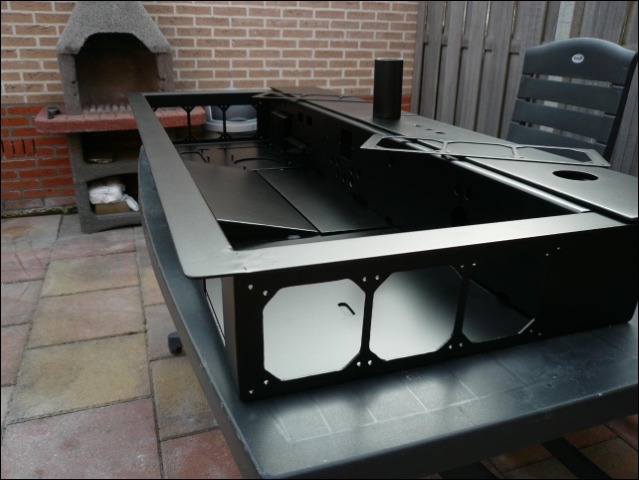
Also made the fanhole for between the 2 psu's
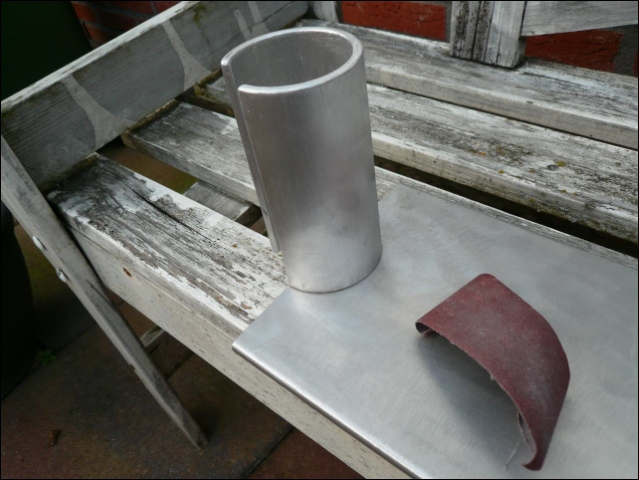
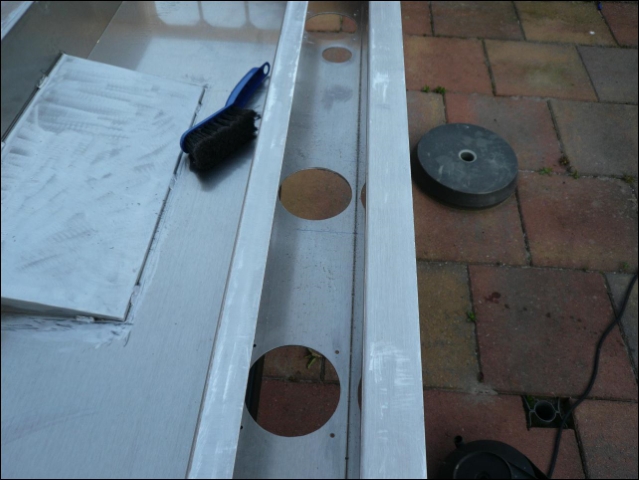
Just some sanding left
And the extra fillports for future usage ^^
Also removed some of the backplate again, this time with a grinder
Made the last fillport hole for future usage
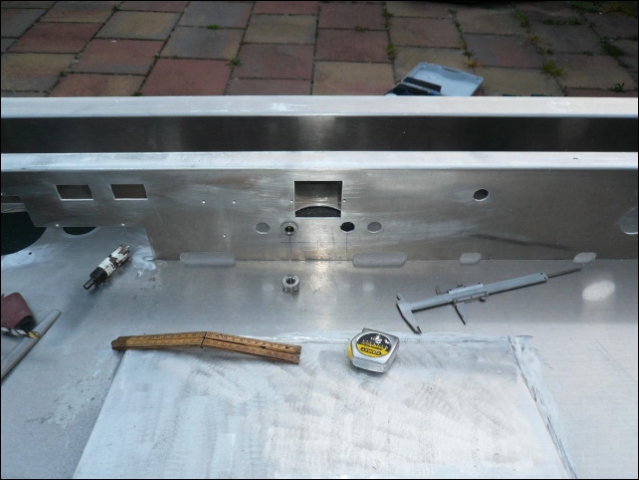
Almost forgot i need to sand these too so they can be powder-coated in the same color.
Hmm nasty job, sanding anodized aluminum by hand, think i'll use the grinder for it.
Quite a busy day.
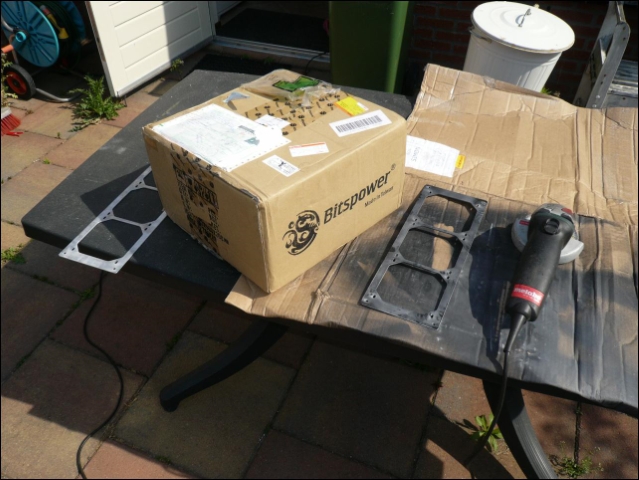
Still had to sand some plates.
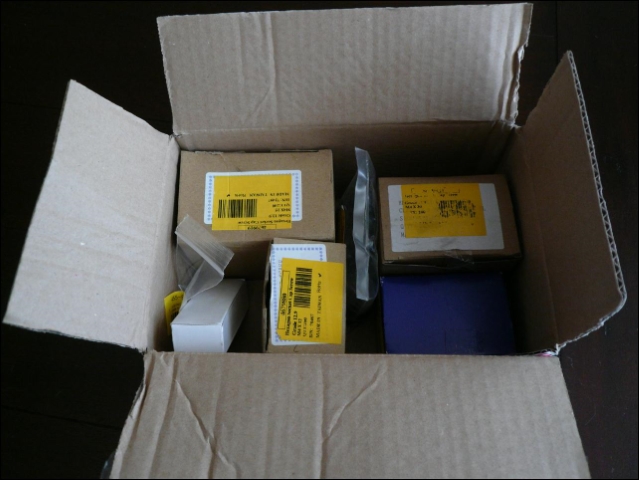
Then my wife came in with a nice box.
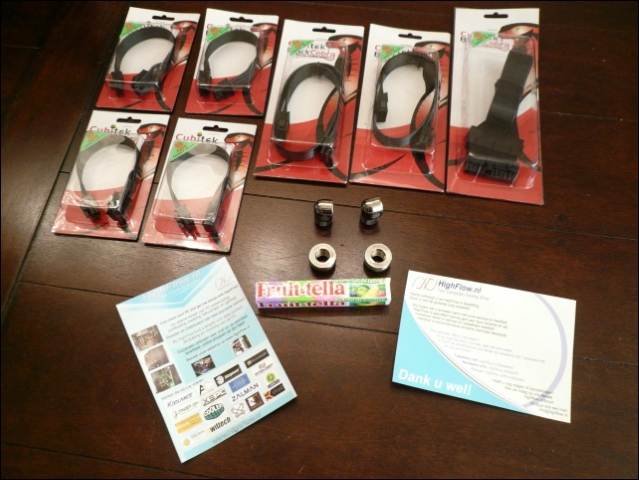
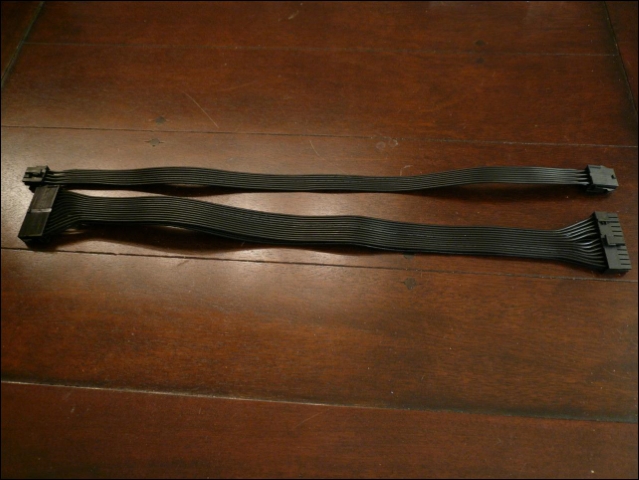
Also an other package i ordered at Highflow
These Cubitek extension cables are 50cm, very thin and not expensive at all
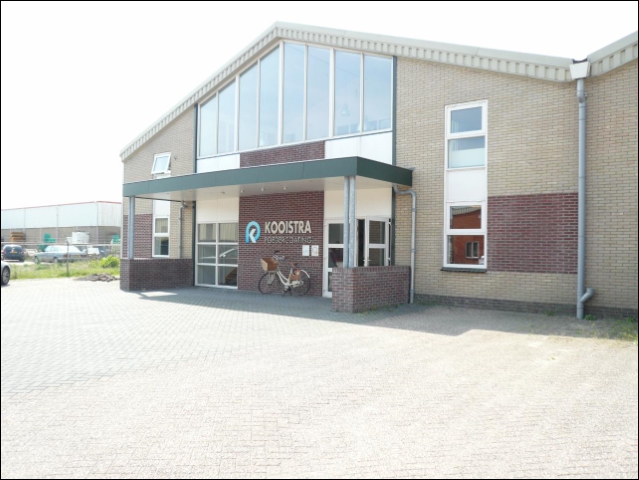
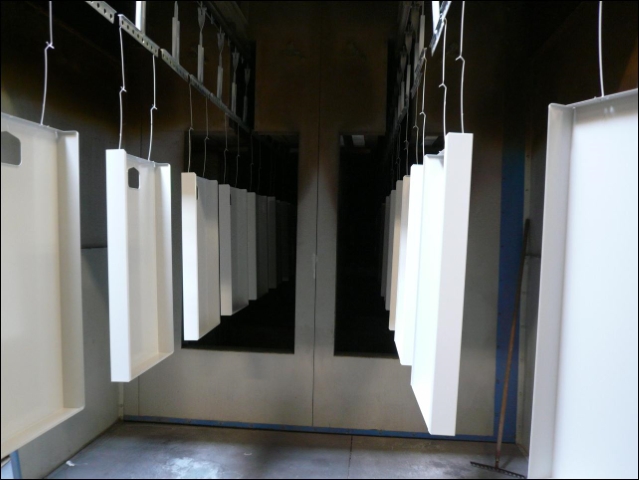
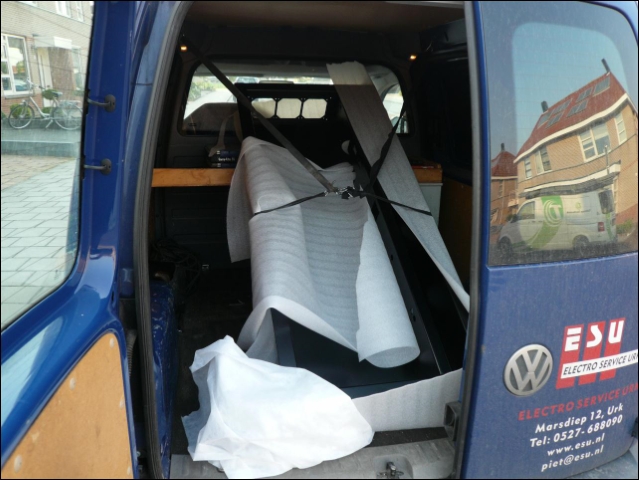
Later that day i brought away my desk to the powder coater.
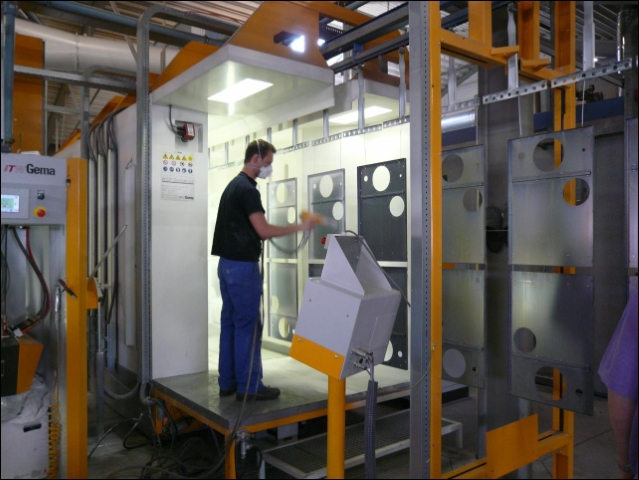
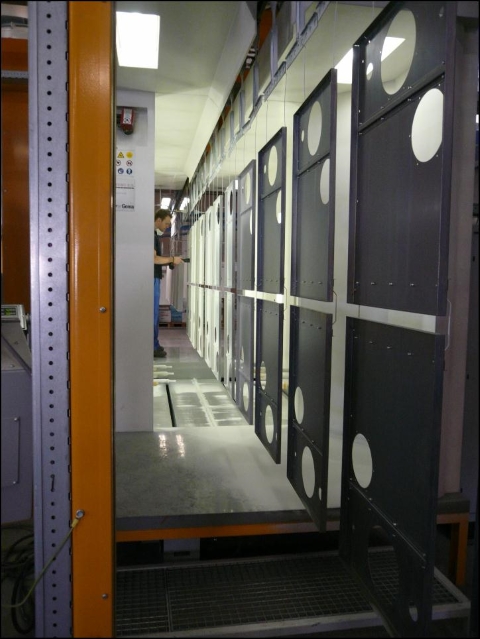
As curious as i am i asked everything
Here all the uncoated products slowly move to a man who "powders" all the hard to reach spots.
This guys
2 meters behind him the machine powders the rest.
It's just some sort of dry powder that normally would let go.
But because it's electrically loaded it's sticks to the product.
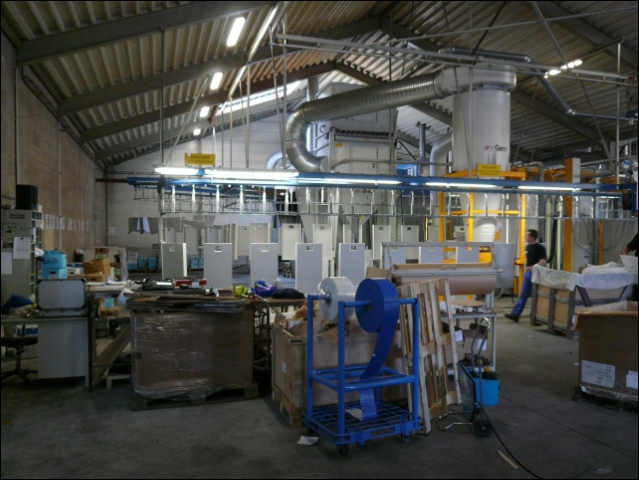
After that everything goes to the oven.
Here it's heated up till 200 degrees Celsius so the coat gets very hard and equal
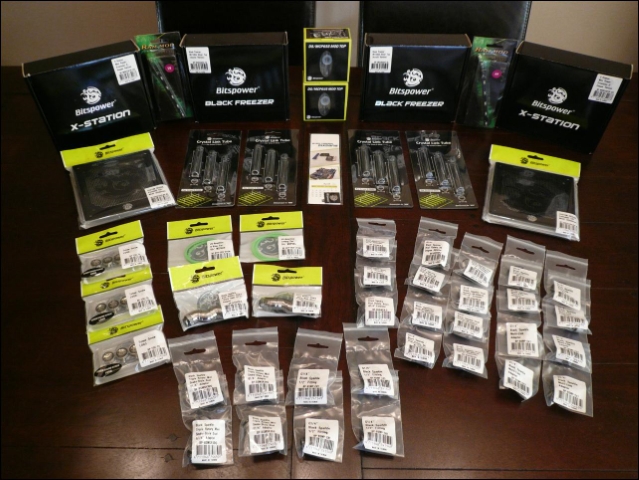
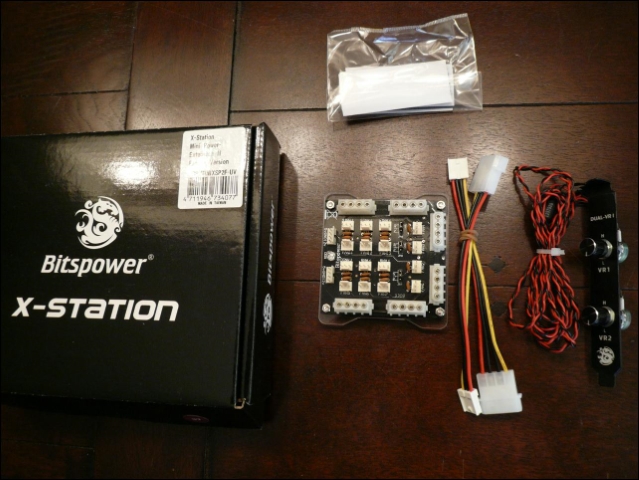
Back home i had to unpack the BP box
Offcourse i want to use these on my backplate after getting such a nice box
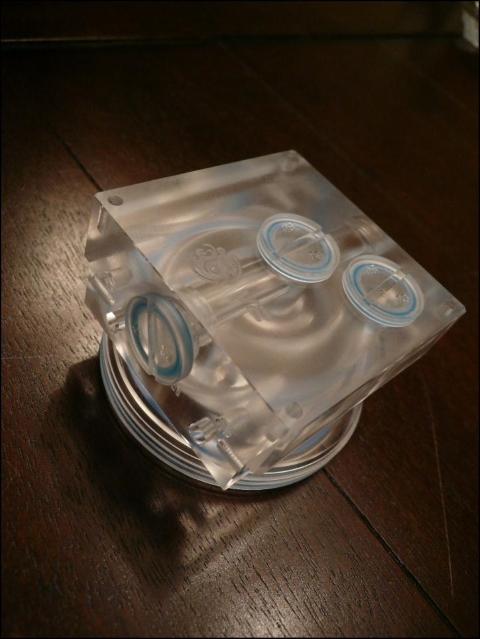
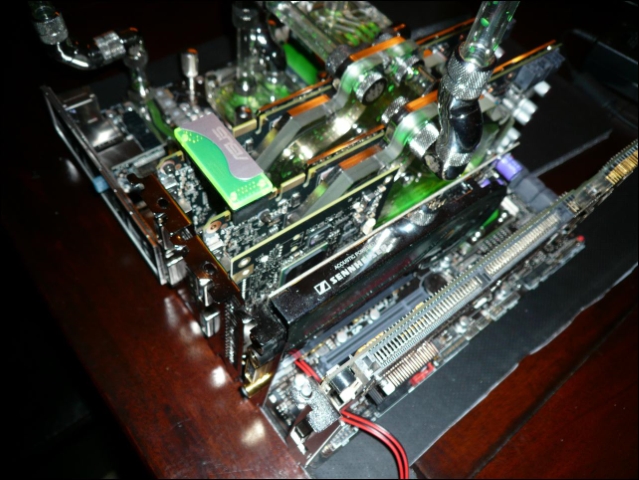
Want to use these Ram Mods for under my GPU's.
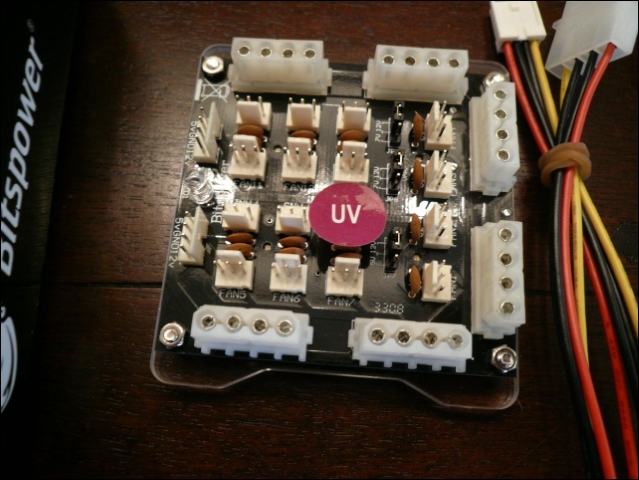
Also want to use these X-stations since they are smaller and have female molex.
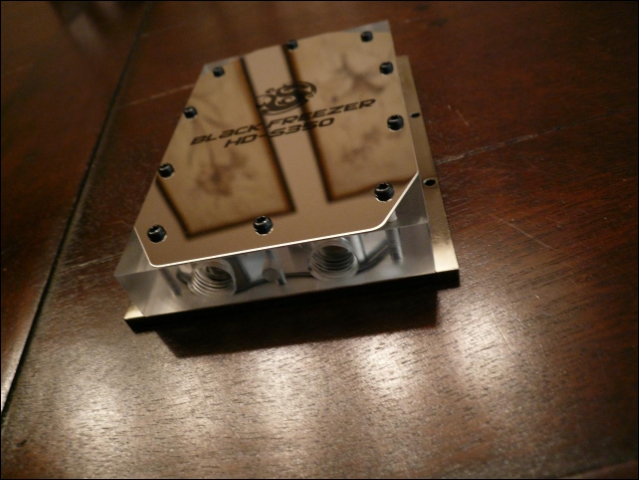
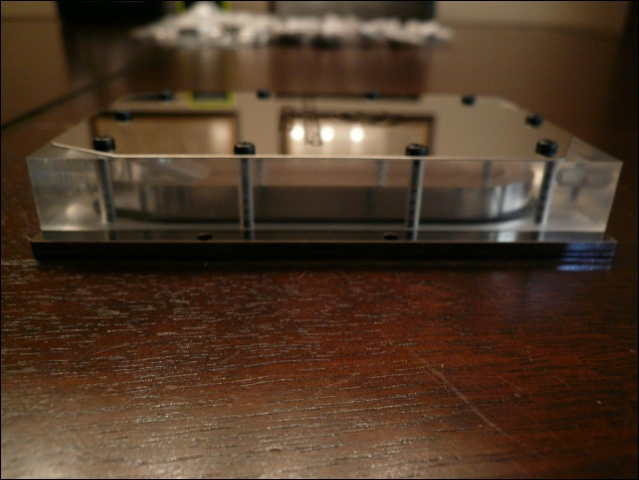
Cause the desk will be black soon and all my blocks are plexi, i will try these blocks in plexi too.
Same here.
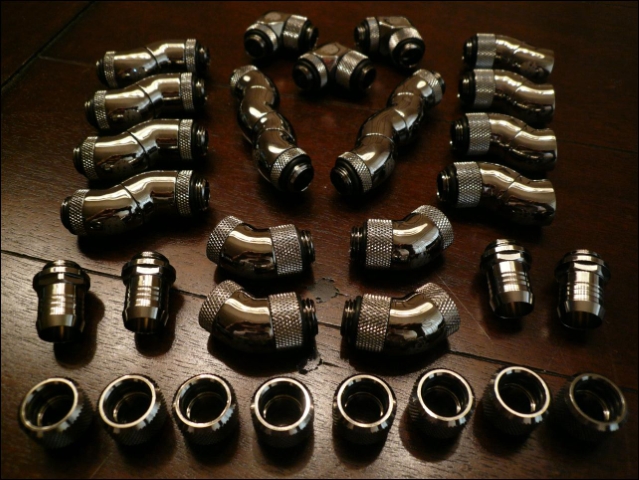
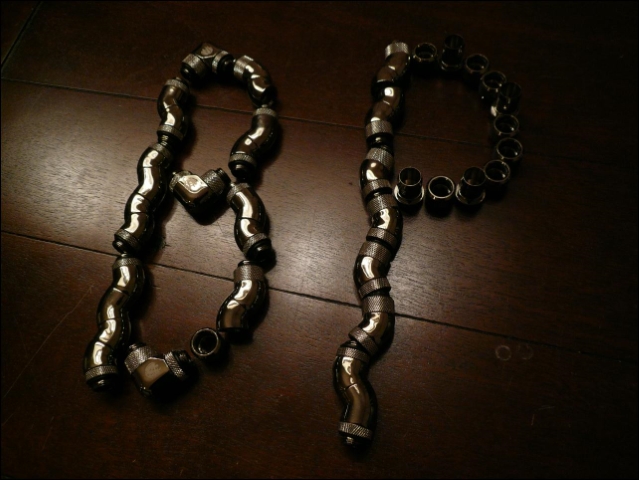
And some extra and new kind of fittings, ill need them for future updates
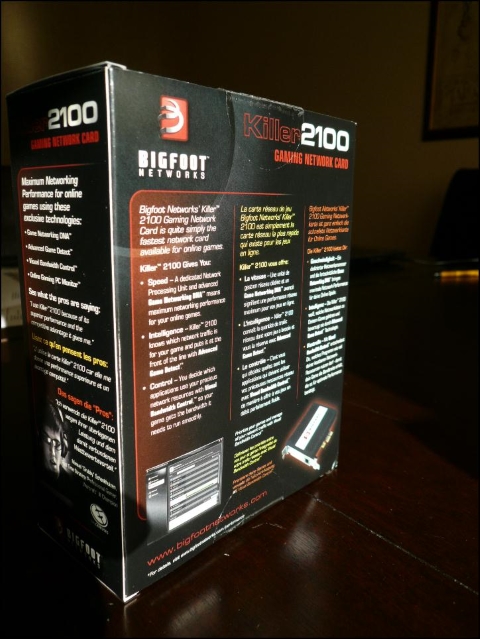
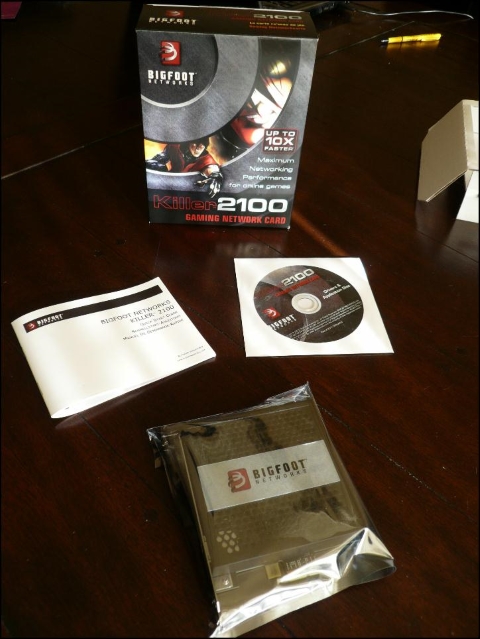
Got a real nice present from Bigfoot Networks
A Bigfoot Networks™ Killer™ 2100 Gaming Network Card
Thanks Timo and thanks for the help Xtrafris !
"The Killer™ 2100 Gaming Network Card delivers maximum networking performance for online games, whether you’re playing MMOs or first-person shooters. Featuring Advanced Game Detect™, Killer™ 2100 automatically classifies and accelerates traffic to your game ahead of other network traffic for maximum online game performance and a competitive edge."
Off course i want to try that out, im really in for some on line gaming after such a year
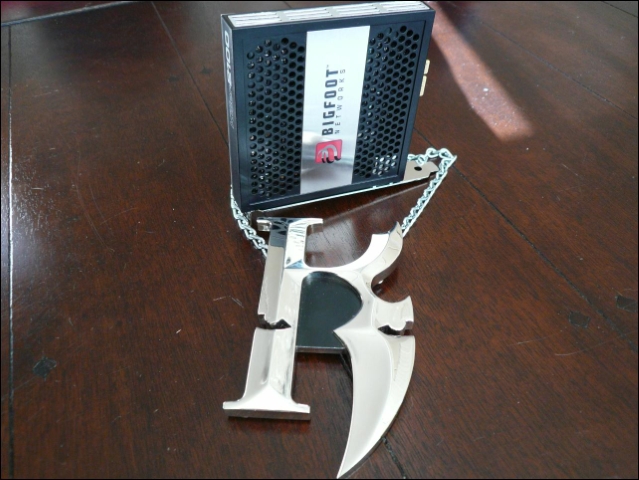
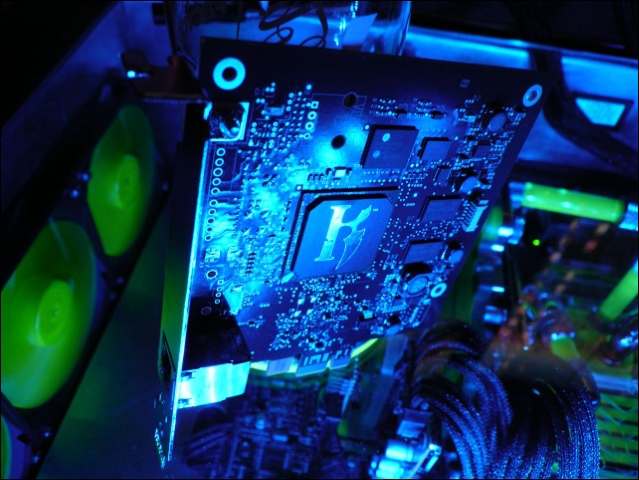
Casemodder Xtrafris also sent me a K`Bling
Wanted to use this to mod it on the Killer™ but seems i don't have enough space.
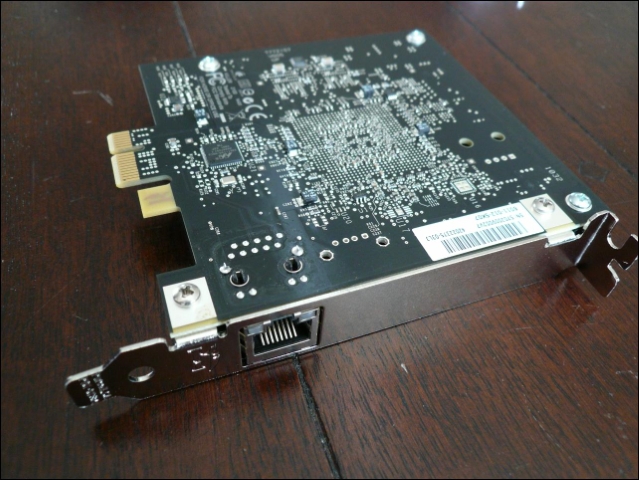
So first with it's cap removed next to the Gpu's.
Maybe later i'll use a pci-e extender to make some space.
Think i'll just make a square hole in the gtx580 backplate for the network cable.
It's the only Pci-e 4x slot left.
Also got a 7000rpm polisher with some sort of wax from my brother-in-law.
You need to hold it tight, but the effect is perfect !
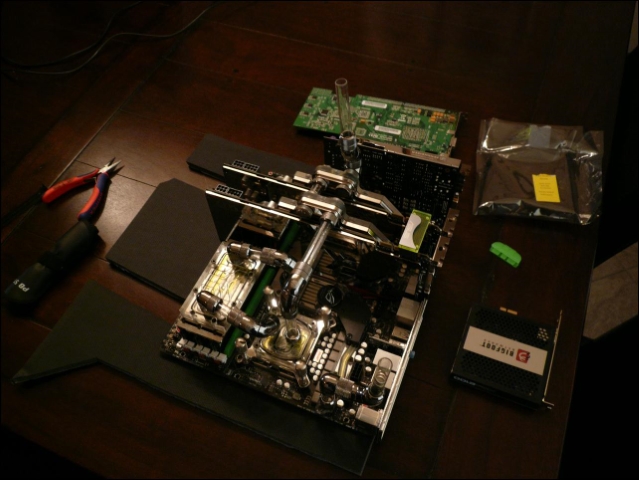
Finally !!
And still exciting
All unpacked.
Very glad i coated the Bitspower radguards in the same color.
Also the lianli backplate.
This is how it will look.
Monday ill get some new rubber tape for the desk and glass so i can lift it in the desk holder.
Before the desk goes into desk holder i first wanted to polish it, but need a new polisher first, this one had no hairs left
Small update.
Changed 2 fittings, looked nicer .
Sleeved some led cables, and modded the Killer 2100 in the gtx580 backplate.
(Also a beer with my neigbour)
Fans also in its place.
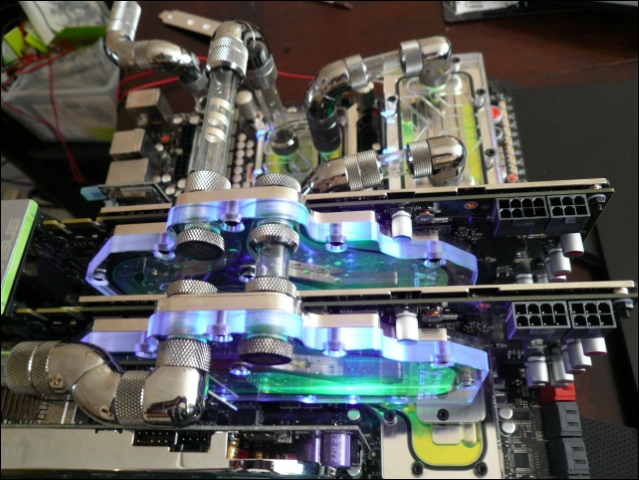
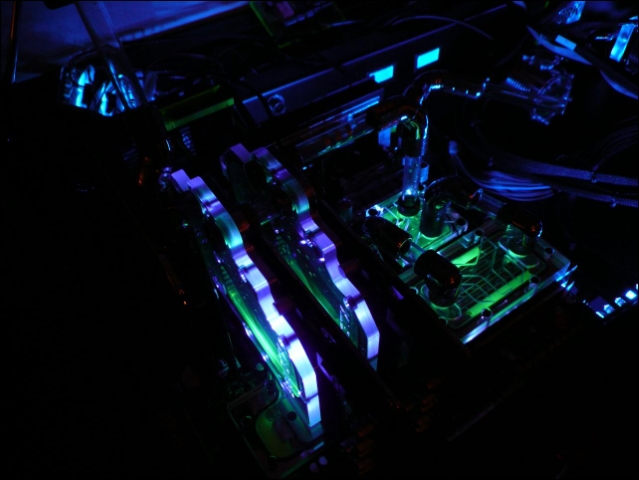
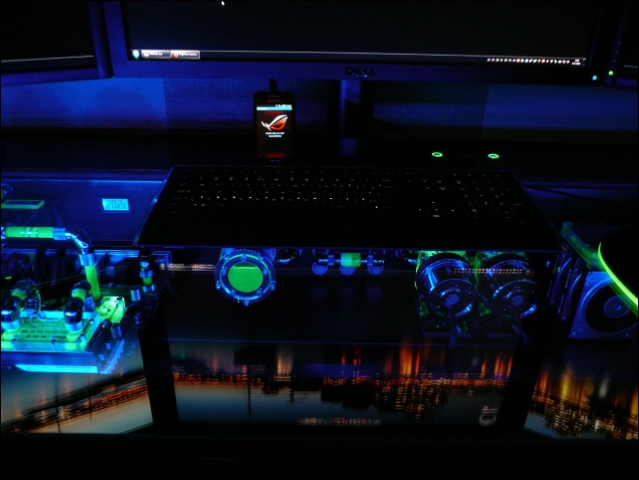
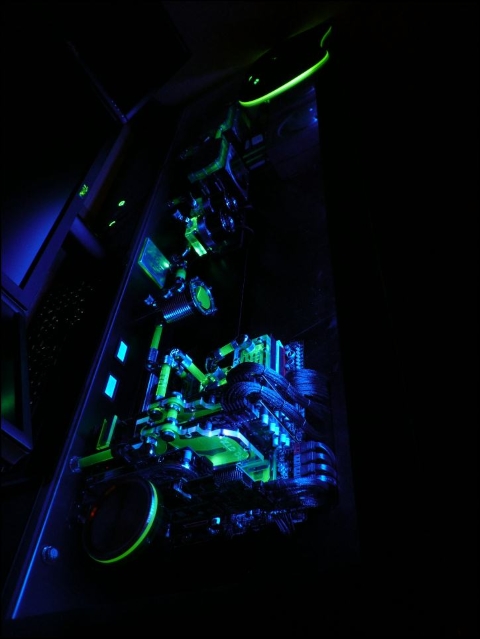
And the Ram leds in action.
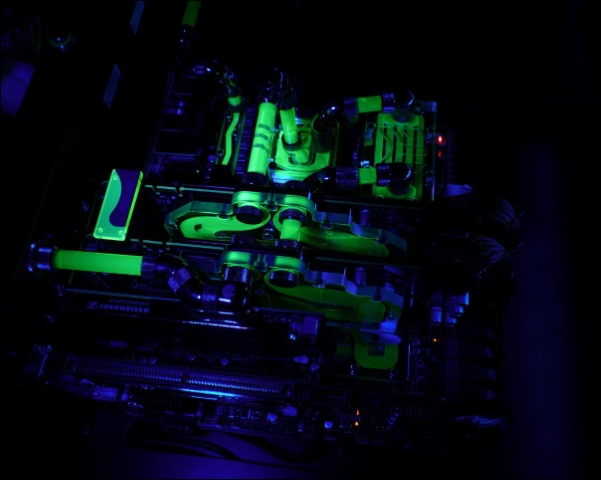
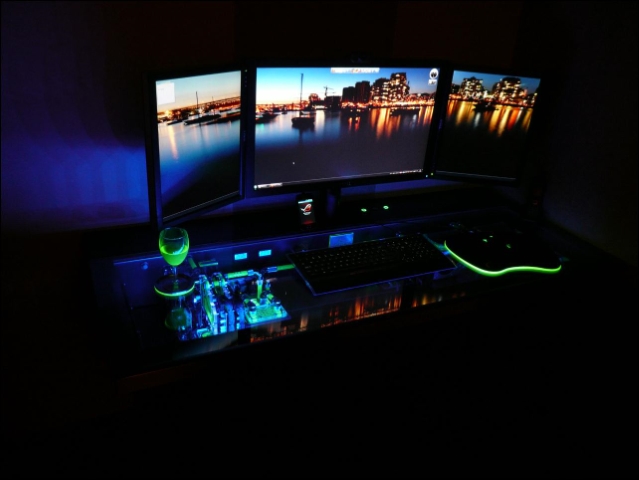
Think it'll look nice in the dark.
Also made a small movie of the leds and the mess
http://www.youtube.com/watch?v=bQMYN9EZgJ0
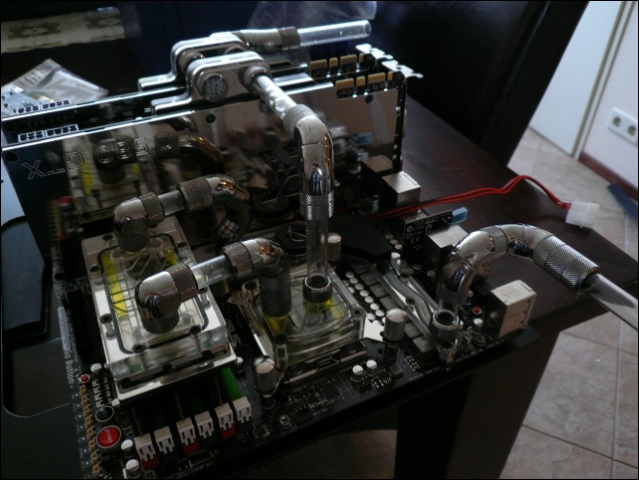
Waited for this picture for 8 months to see this result myself
Im Very happy with it !
Bottom almost ready, still need 1 radguard.
Very slowly it gets its old shape
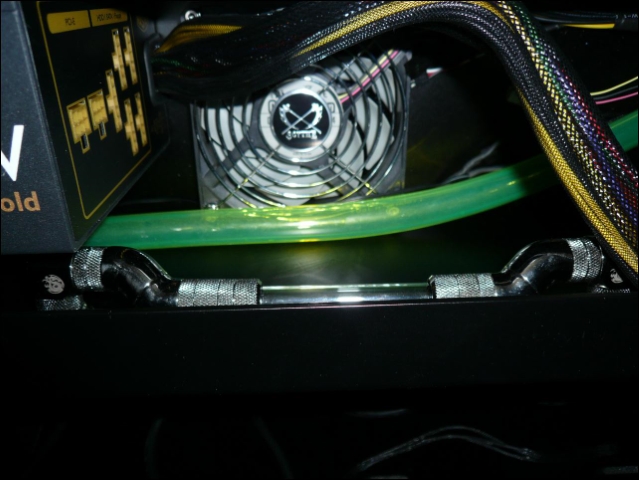
Been busy with the PSU's, needed the most efficient way for the cables and the airflow
Also the loop is ready in the backside.
This was a small solution to get as much as possible space for cables next to the psu.
On both sides of the desk a Bitspower mini X-station for fans and molex connections.
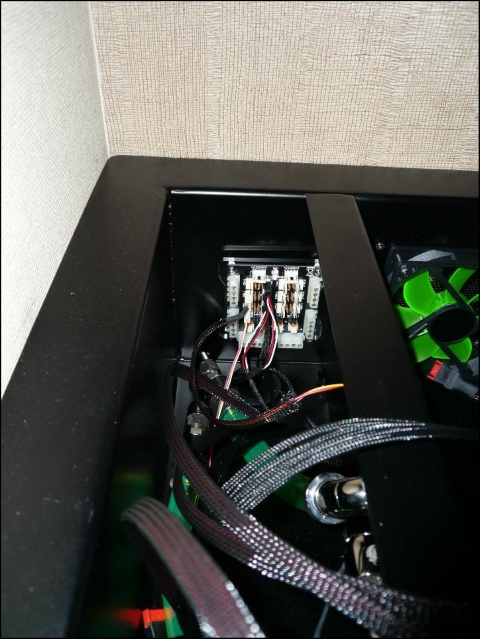
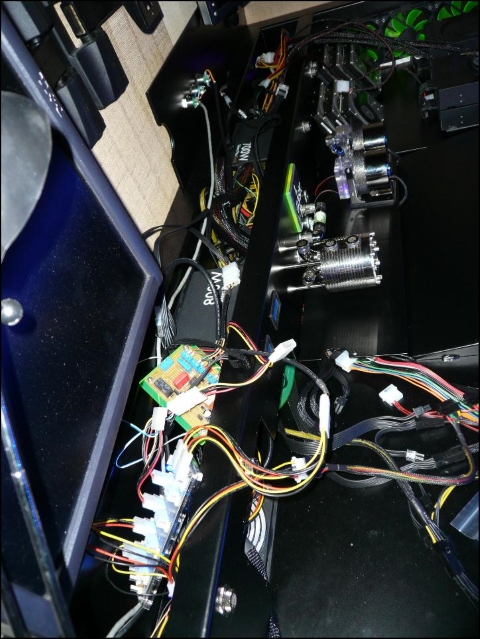
Here i had war with the cables a few times
And the main battlefield.
I knew i could get it smaller !
First leds are working.
Also some cables ready for under the mainboard tray.
Further on with the pump-tray and got the reservoir hanging again.
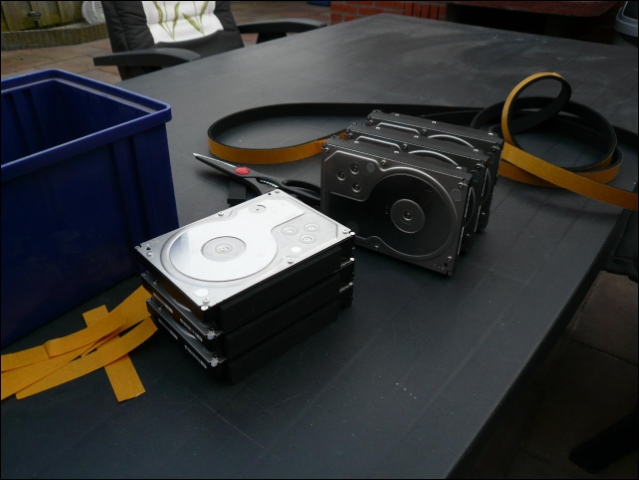
Used the same anti vibration rubber under my HDD's and tray as i use for my glass.
I really love this stuff.
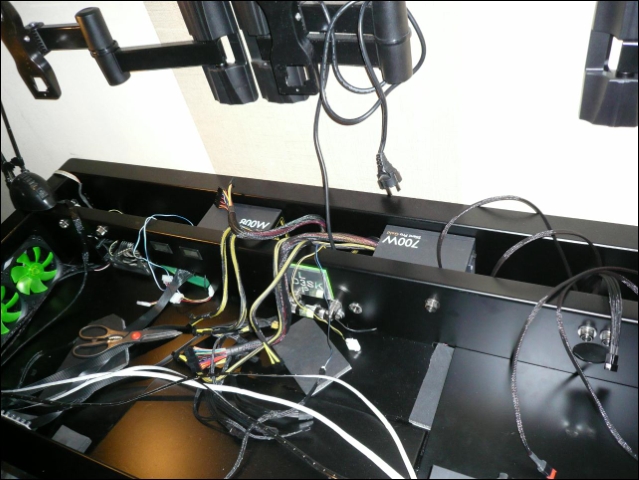
Guess cable management will come later, more and more cables every day
Also a small uv led stroke for the right side fans.
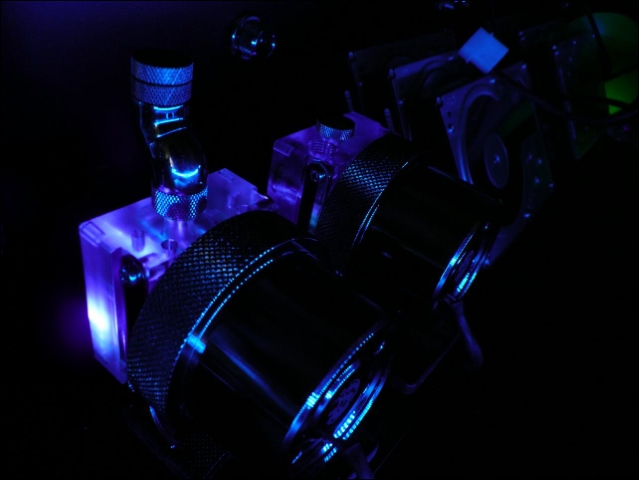
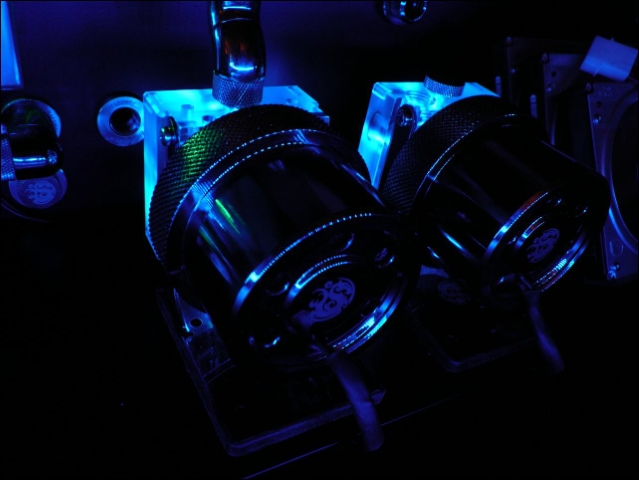
Now also leds in the pumptops.
I like it more then the regular black ones i had.
This photo is with UV leds in it, but thats WAY too purple.
But somehow i cant show it in photo's
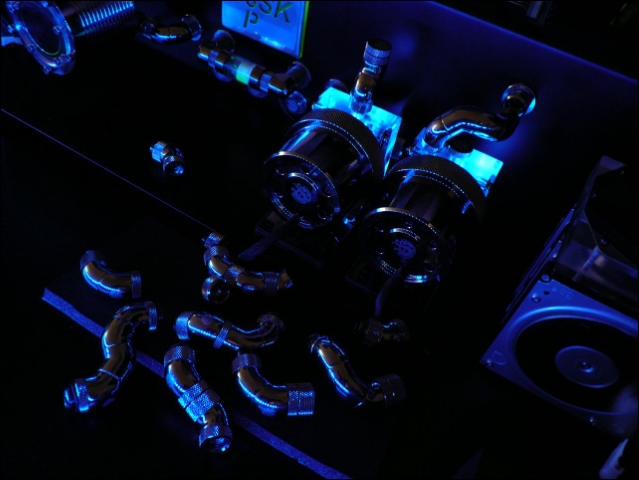
So i tried blue leds after that, and i liked it
Took me a full hour to find the combination so i can use 2 SLI pipes for the right pump
Molex plugs on the leds of the mainboard
So ill be busy the rest of the day connecting all these cables
What a long week this was
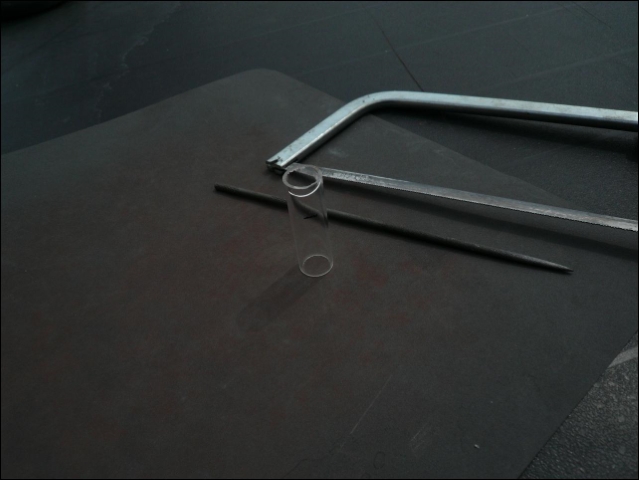
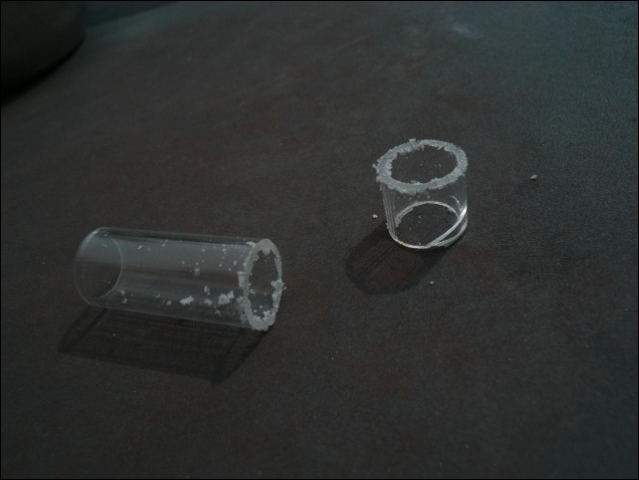
Custom length BP pipes
Bottom also finished.
Time to fill up
Just had to make some pictures.
Back to getting the system up and running
So the rubbers for the glass.
First "backplate" in it's place.
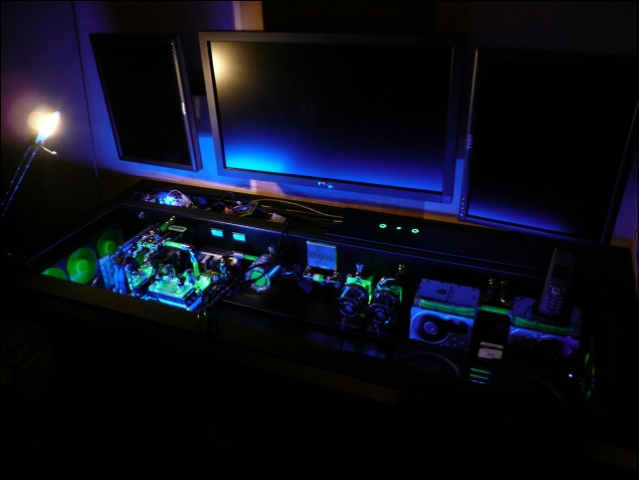
Now find a way to work away the cables for 3 screens.
Wow second boot it was up and running.
I really was happy with this.
And im so glad i was able to disable the red leds of the Killer 2100 by the software.
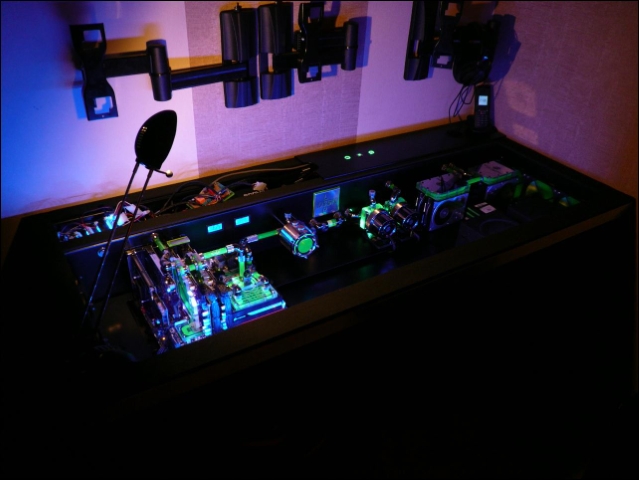
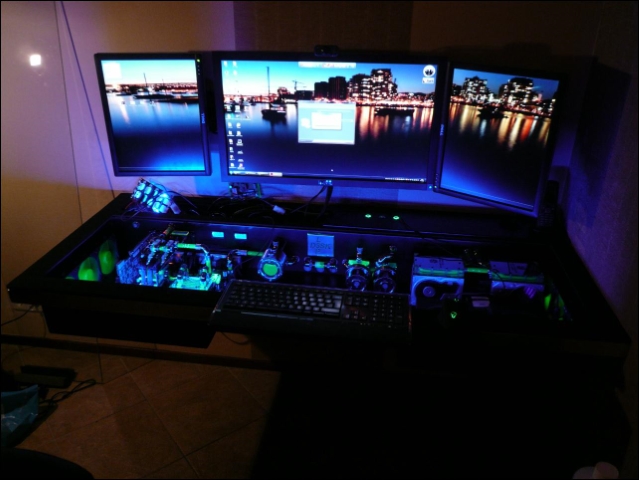
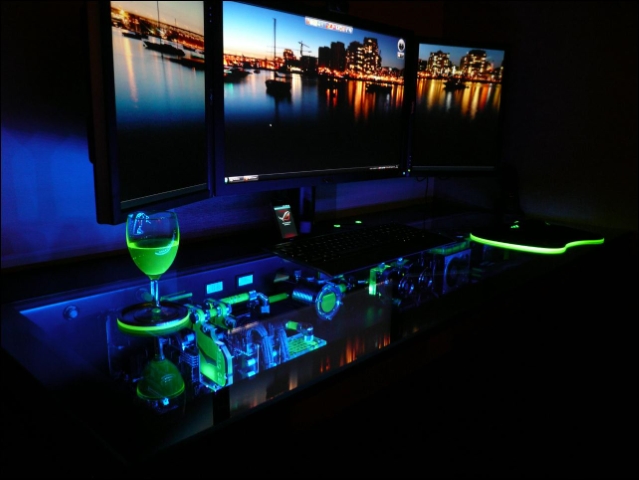
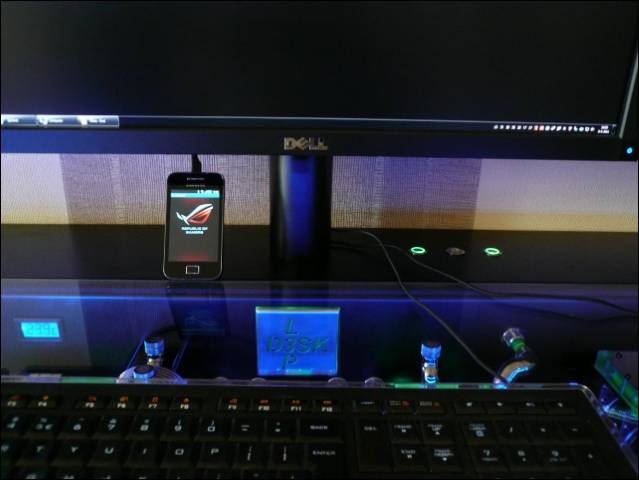
And some pictures of last night.
This morning went up early again and it was smiling to me
Also very handy those usb connections on Dells
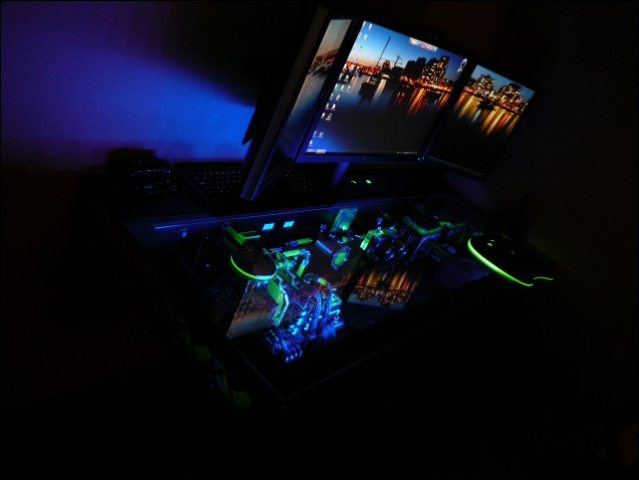
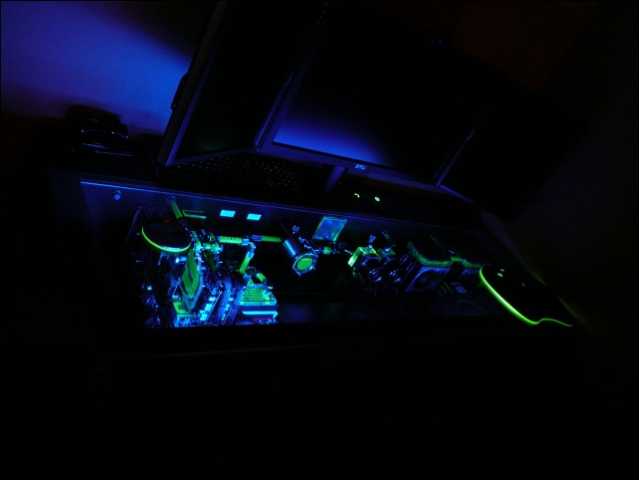
And some more night pictures.
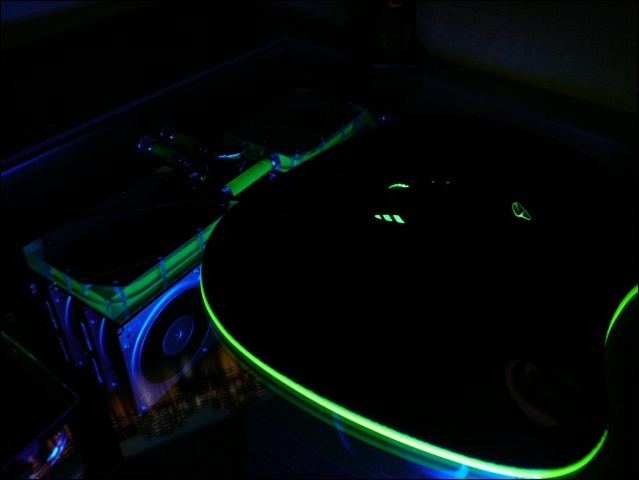
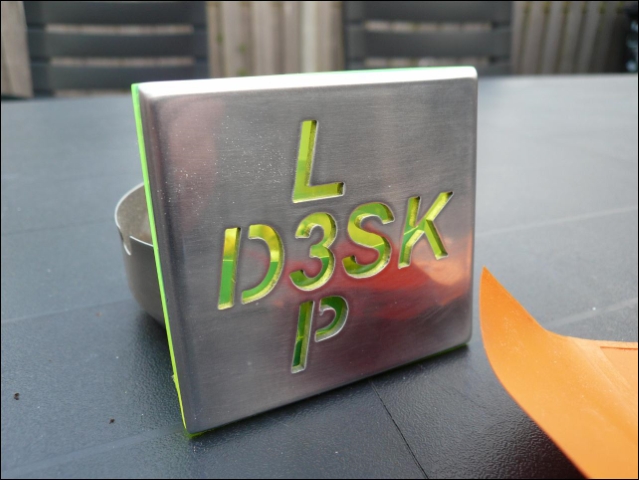
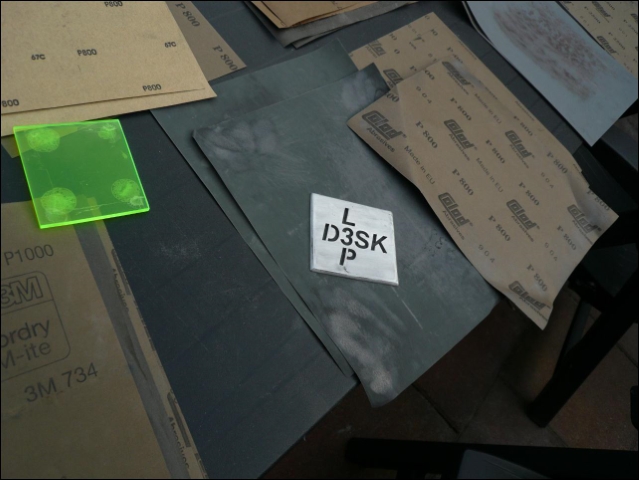
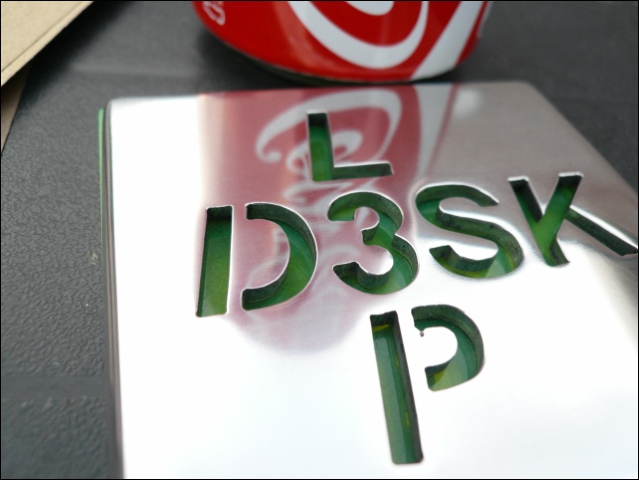
Sanded and polished the logo again.
Quite some work.
Don't wanted it to mirror to much.
Freddy from Highflow was my saviour
Sometimes you can't go on cause you miss 1 cable or connector of a few euro's
Thanks Freddy !!
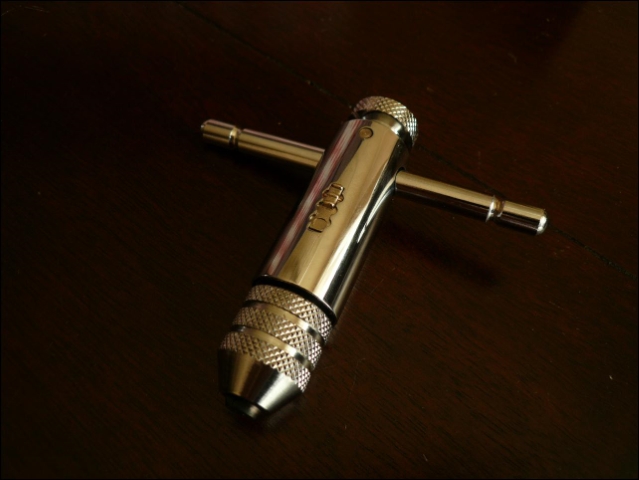
Also ordered some other stuff also for future projects.
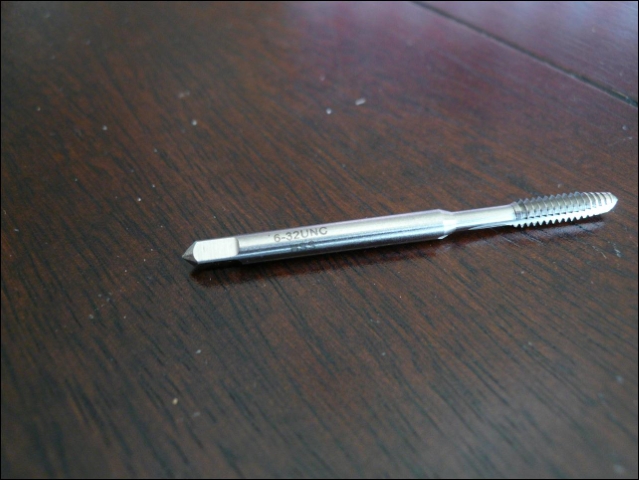
Different sizes of M4, next week i get M3 too
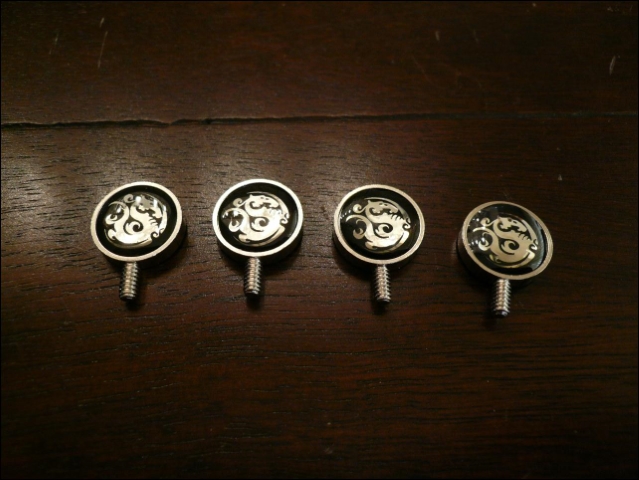
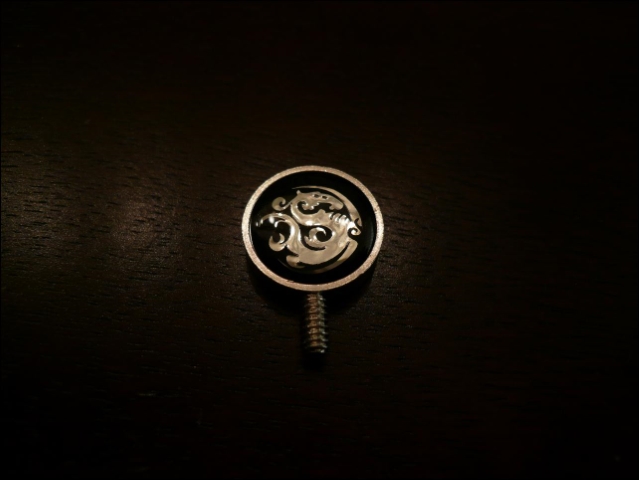
Tapped it at the last moment for the bitspower thumbscrews.
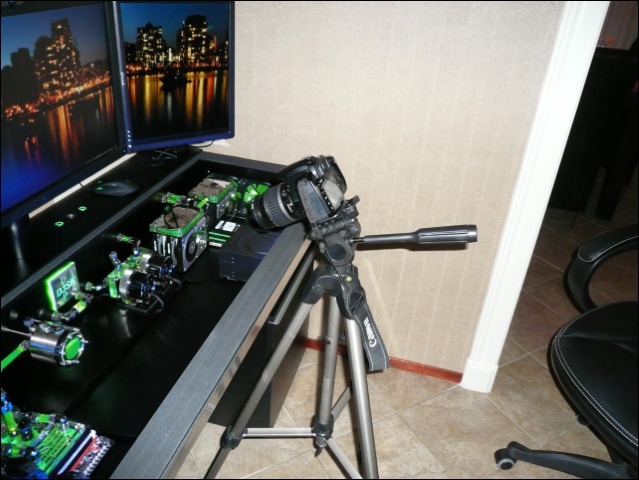
And ready to shoot some photo's.
 Posting Permissions


 Reply With Quote