-
 Re: Scratchbuilding C&Cs Mammoth Tank
Yeah, great stuff, what are you sticking the parts together with is there a special glue like for plexi (you can also melt bits of plexi in acetone and use as glue) or can you use superglue etc, I've used plasticard in builds but never had to stick pieces of it together as it's usually bolted or screwed on to something.
Of course, once you've played war games with it and blown it to bits THEN you can put a PC in it's smouldering remains "scrapyard chic" 
Plenty of 19SWG on the Bay of pigs.
-
-
Re: Scratchbuilding C&Cs Mammoth Tank
-
Overclocked


Re: Scratchbuilding C&Cs Mammoth Tank
Cheers, I checked these a few days ago but the difficulty is I have no way to accurately measure the pins I currently have (I'm using tracks donated from several King Tigers!) I know they're just a touch over 1mm thanks to eyeballing it right beside a ruler but that's not enough for me to close a deal with!
A guy on the RC tank website was kind enough to measure a Heng Long (RC manufacturer) pin for me and said it was 19 but I really want to be sure as every penny I spend on this build is money I don't have to spare...
-
Overclocked
Re: Scratchbuilding C&Cs Mammoth Tank
Ok so I was going to just post up a quick request for a service I needed (a turner, read on if you are one :p) but I realise I never posted up the track build here so prepare for that as well!
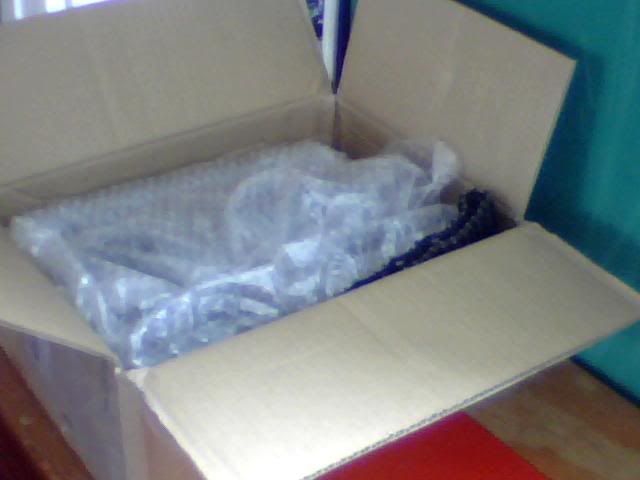
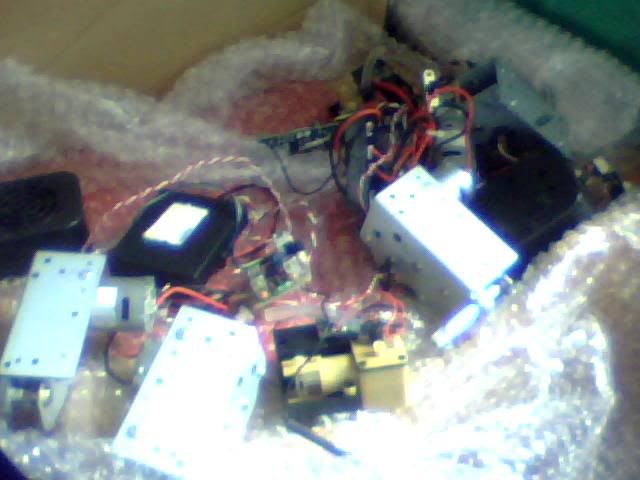
First off here's a massive box of bits I recieved a while back from Hawaii! It included everything I nneded to make and drive the tracks as well as most of the other hardware required to make it RC.
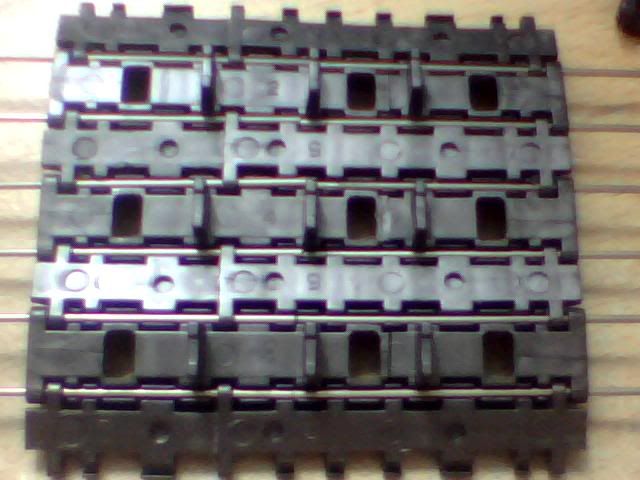
A quick comparison of normal Tiger tracks and the King Tiger tracks I got in this delivery reveals quite a difference!
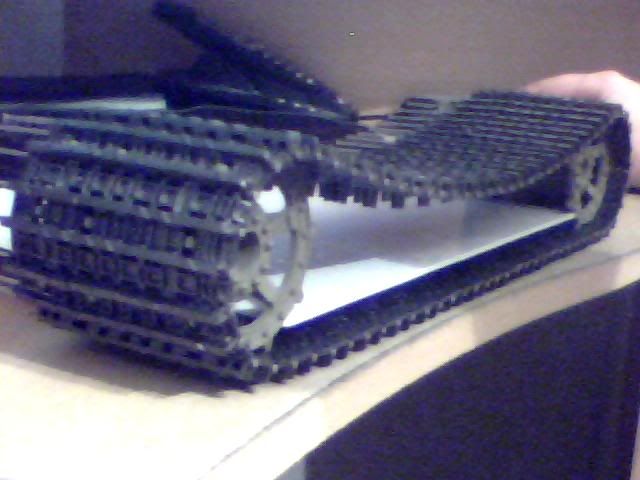
But they still aren't nearly big enough to fit the mammoth as seen here...
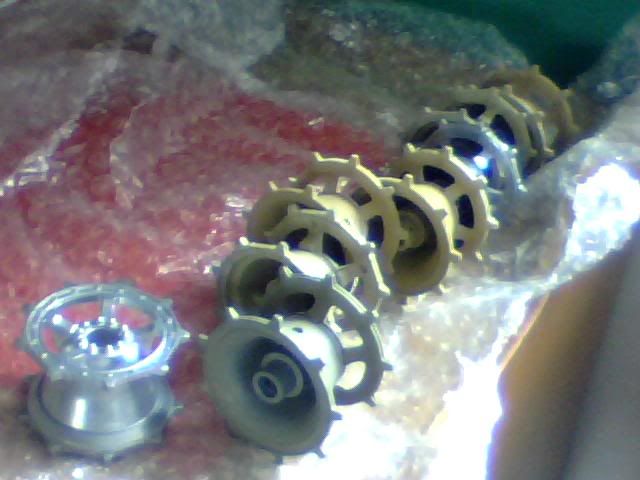
I believe the King Tiger tracks were about 60mm wide and I decided I wanted a 75mm width. That left me with a lot of pondering as to how to create a track big enough and also how to drive it... I went through many iterations and prototypes. Below is my first attempt at a simple lengthening using just one sprocket. It didn't look up to the job at all and I realised very quickly it would need more than just the single sprocket to drive it.
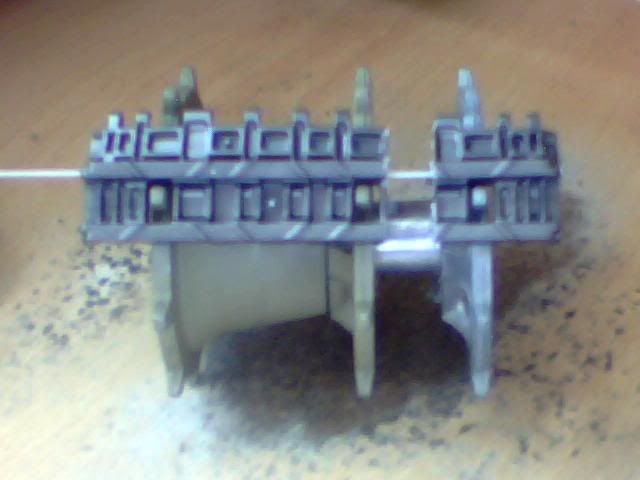
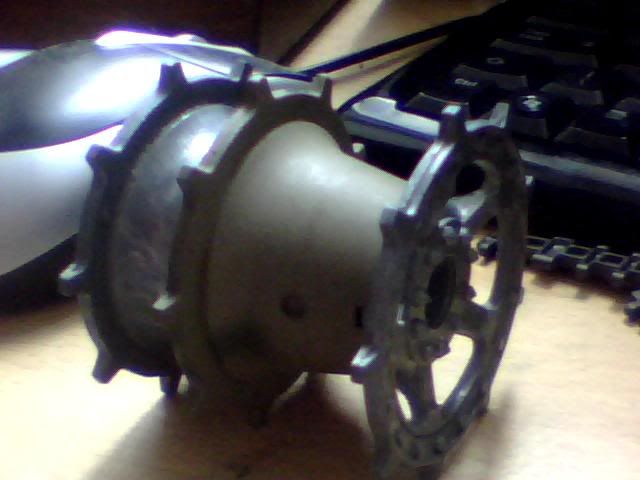
I played around with extending the sprocket and came up with this second prototype...
But it would have needed a lot of reinforcing to look right due to the skinny shaft so I kept thinking and then came up with prototype 3!
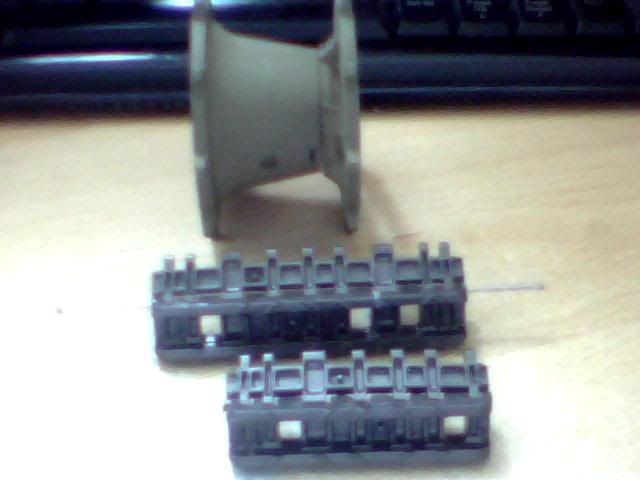
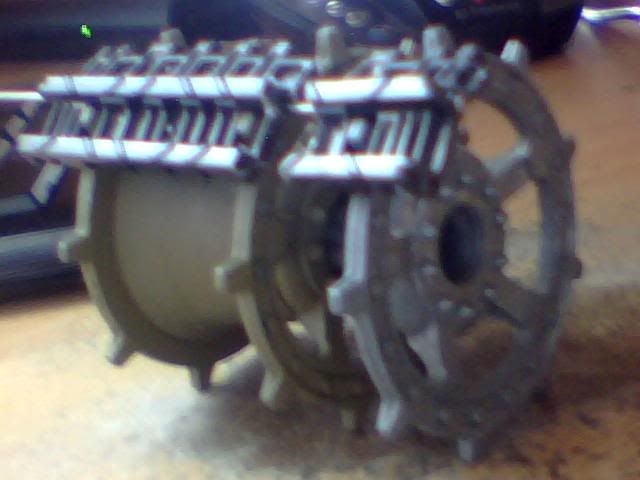
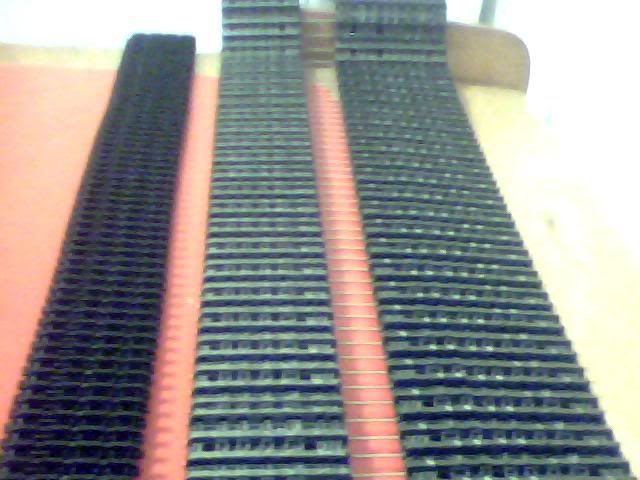
It stuck and I decided to build it using sprockets like this. It gave me a track width of about 73mm so it's pretty much bang on what I wanted and I set about extending some links!
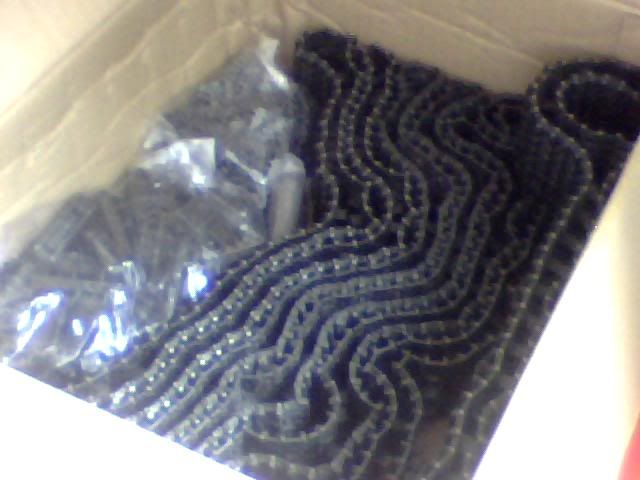
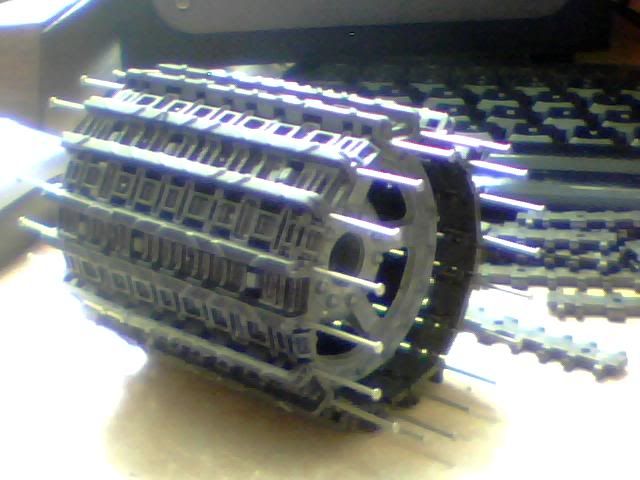
After creating that short length I decided to ramp it up and made enough to wrap the whole sprocket. Next job was to create a small system with two sprockets that had some functionality. HEre they both are.
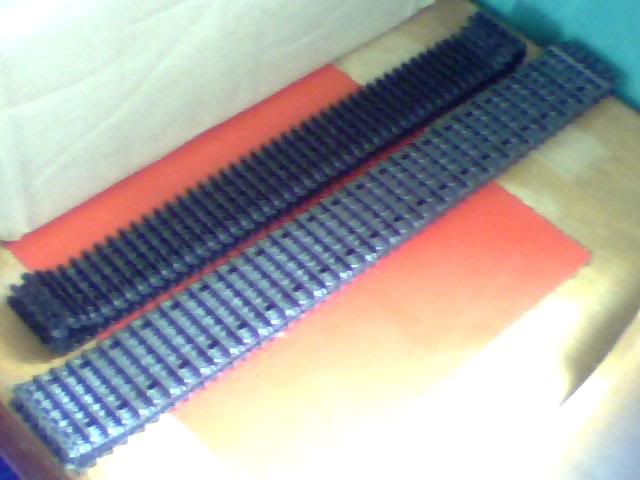
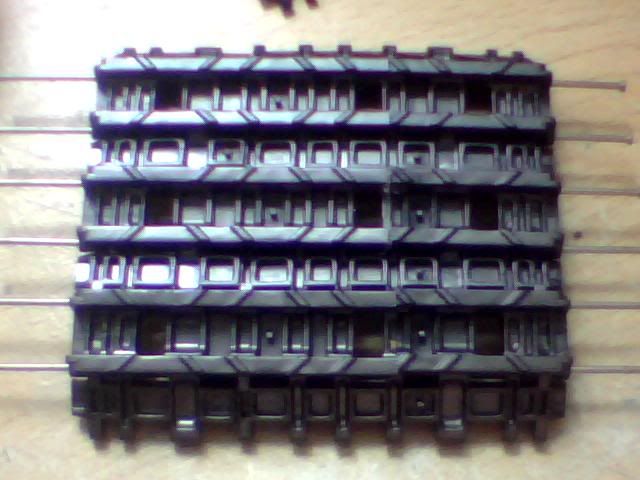
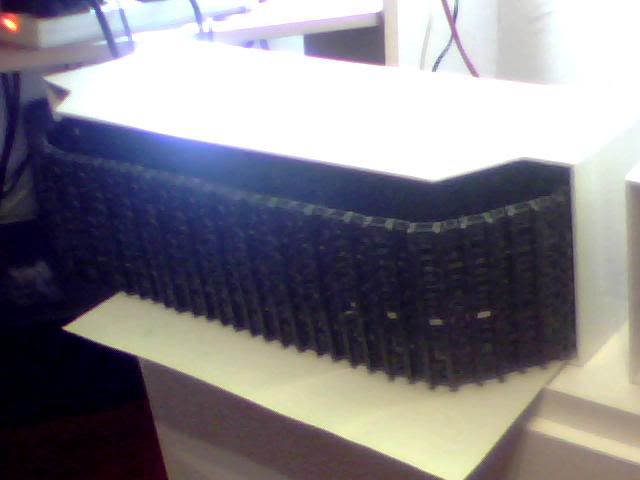
Soon enough I got a good system up and running and finished my first track of 74 links! It's a big step up from the King Tiger and a gigantic leap from the baby Tiger!
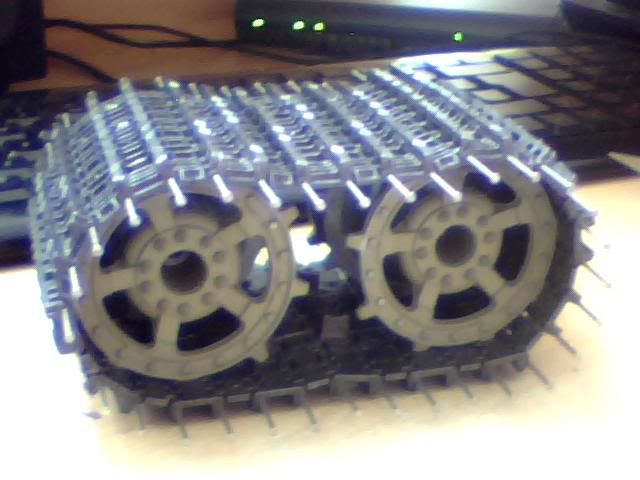
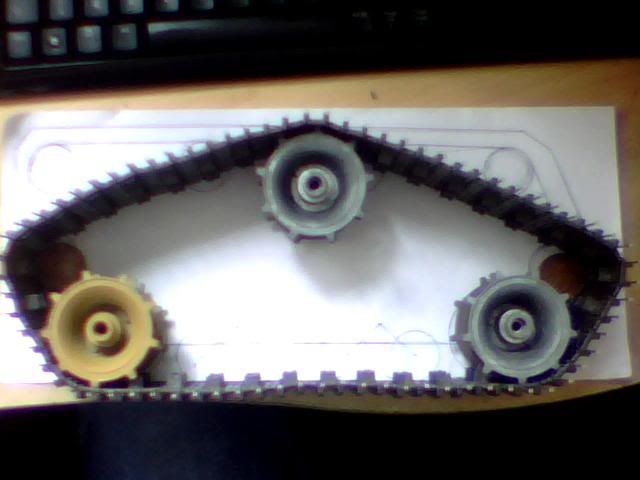
Next job was to figure out how to drive the thing... I had to use 2 sprockets on the bottom but they weren't for drive and would need to be sprung. Between them will be four bogey wheels, also sprung, and I need 2 more points of contact at the front and rear to give the track the right shape so it follows the correct lines. This was an early idea.
It's remained pretty much unchanged but I decided that drive sprocket at the top needed more contact with the track so it'll be moved to a corner rather than at the top.
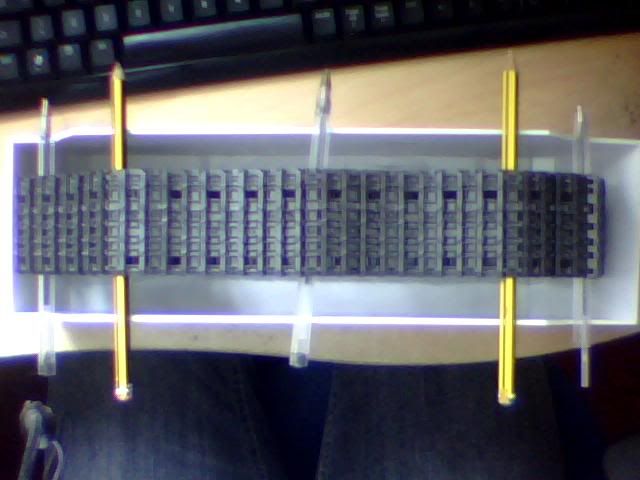
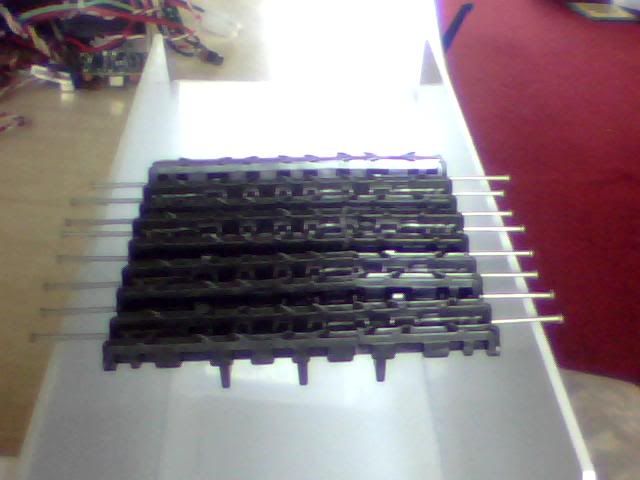
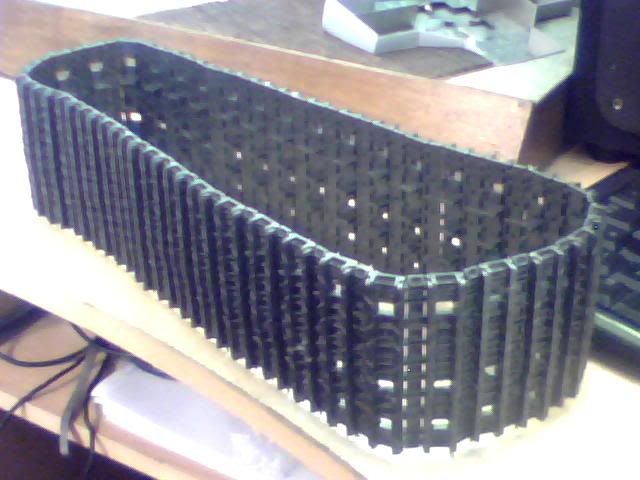
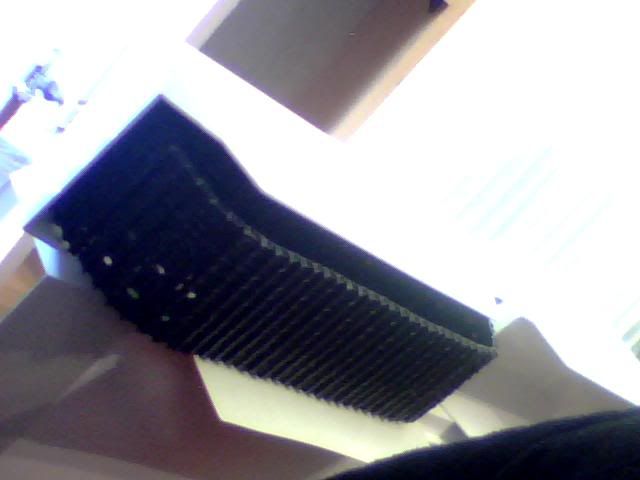
A few days ago I finally took delivery of some piano wire which has since been used to replace the original track pins I used on this track. Their introduction has really strengthened the whole thing and now it's got no overhang I can test fit it inside the armour too!
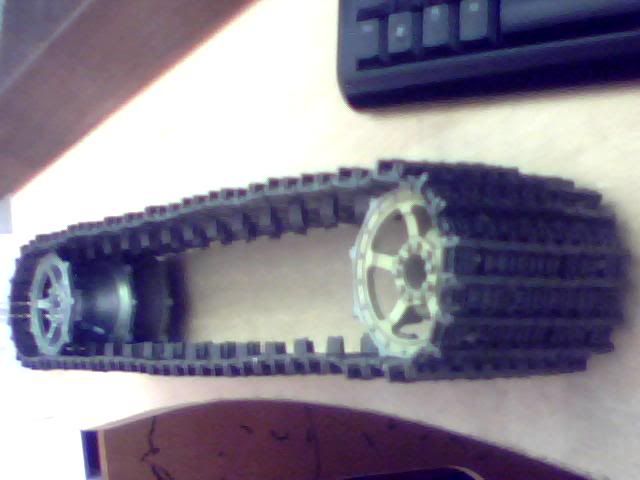
I'm now ready to fit and test drive this track, as there's no point making the other 3 till I know it'll work as desired! For that I need to fit the gearbox, attach the drive sprocket, build and fit the 2 roller assemblie to keep tension at the front and rear then finally position the 2 sprung sprockets on the bottom and the 4 bogeys wheel alongside them.
So easy really!
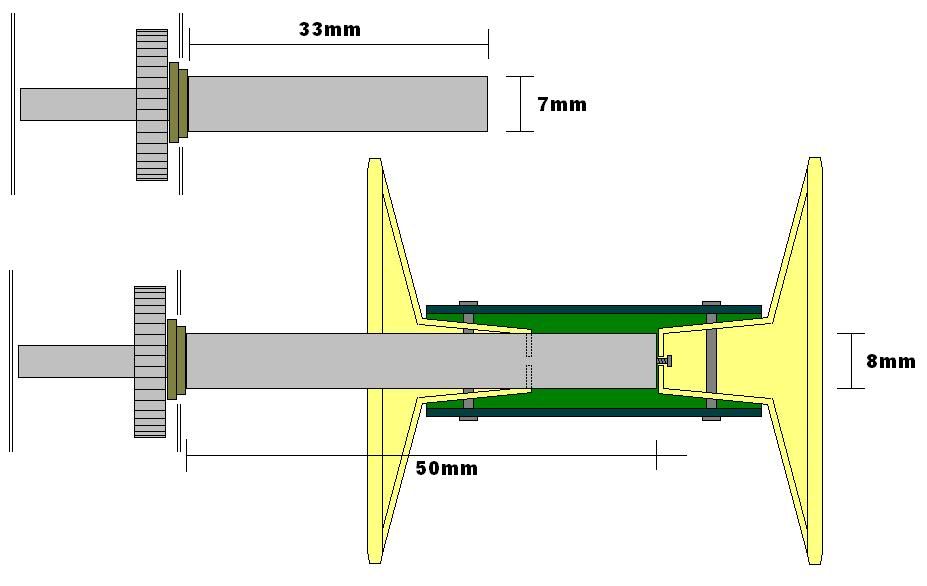
Trouble is, I can't do any of that yet because I need a custom made driveshaft to fit my gearboxes... Becasue of the double sprockets I'm using and the size and weight of track the entire system is very unique. I need to replace the current final-drive shaft on my stock gearboxes with a much longer one which will pass all the way through the drive sprocket and then anchor into the far side of the track armour to help with the weight issue.
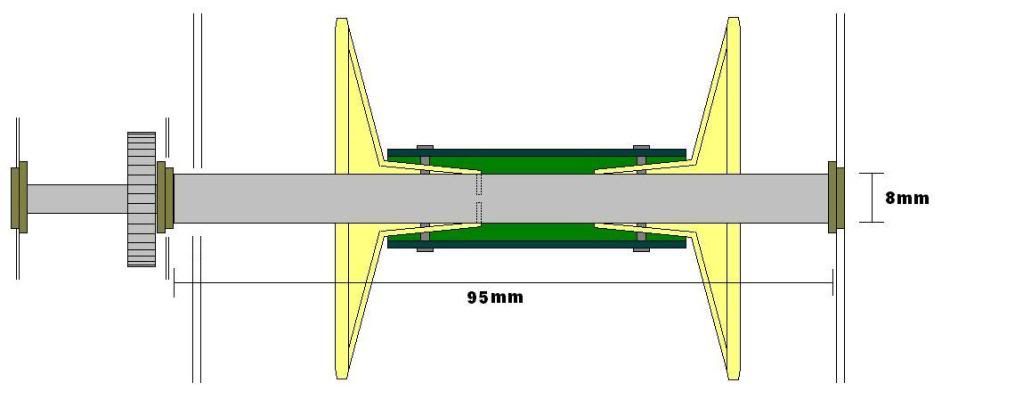
So to continue I need four of these making for me and I'd like to carry on as soon as possible so if anyone can help please let me know! Here are some images of the original shaft along with the one I need to replace it with. The second one shown was my original plan prior to deciding on an anchor in the outer armour wall.
Please let me know if you or anyone you know can make these for me, it's a very simple job if you have the tools! It's basically an 8mm wide shaft that's 120mm from end to end. The last 25mm needs to be narrower (5 or 6mm didn't measure it!) and ideally wants splines to hold the gear onto it like the original. Really simple! Please help if you can!!!
-
Re: Scratchbuilding C&Cs Mammoth Tank
man you think what with the hugeness of that tank track that motorcycle hubs would work great.
 Posting Permissions
- You may not post new threads
- You may not post replies
- You may not post attachments
- You may not edit your posts
-
Forum Rules


 Reply With Quote
 I'm going to email this guy and see if he'll send me a few inches of 19 and 18 SWG as I really want to be certain of the diameter before I go ahead and buy the whole lot... Seems like this could be good though, cross your fingers for me!