Page 3 of 3 FirstFirst 123
Results 21 to 29 of 29

Thread: Maximum Security

  1. #21
    Resident 100HP water-cannon operator SXRguyinMA's Avatar
    Join Date
    Jun 2008
    Location
    MA
    Posts
    5,865

    Default Re: Maximum Security

    HUUUUGE update today

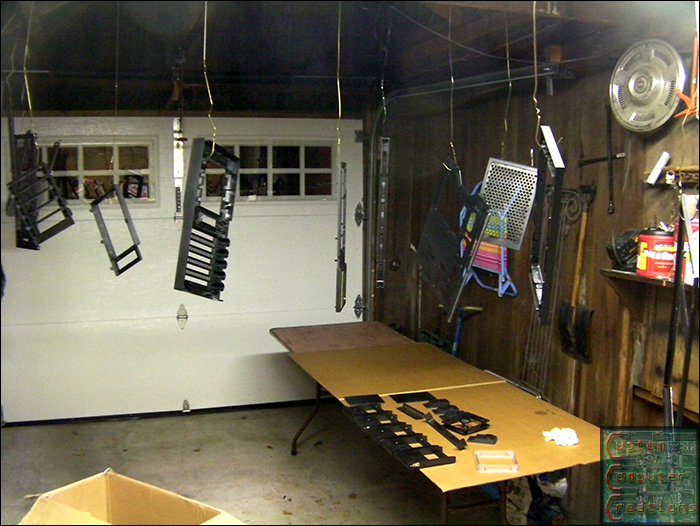
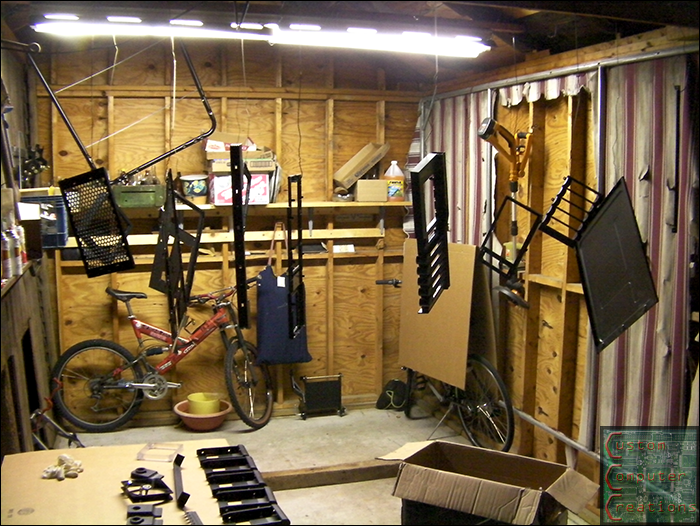
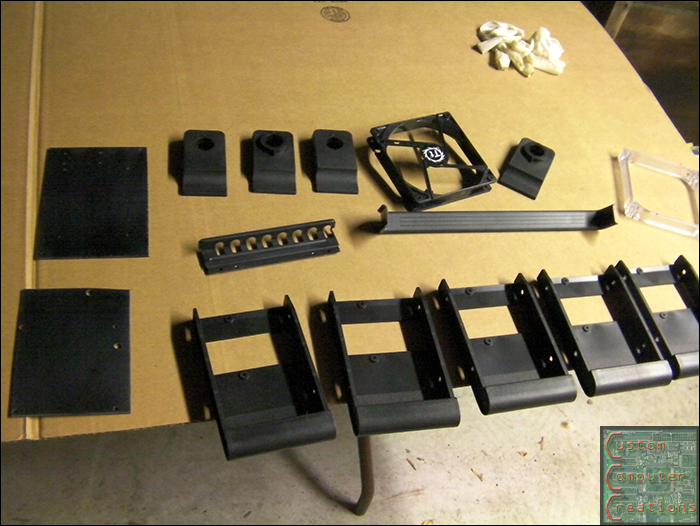
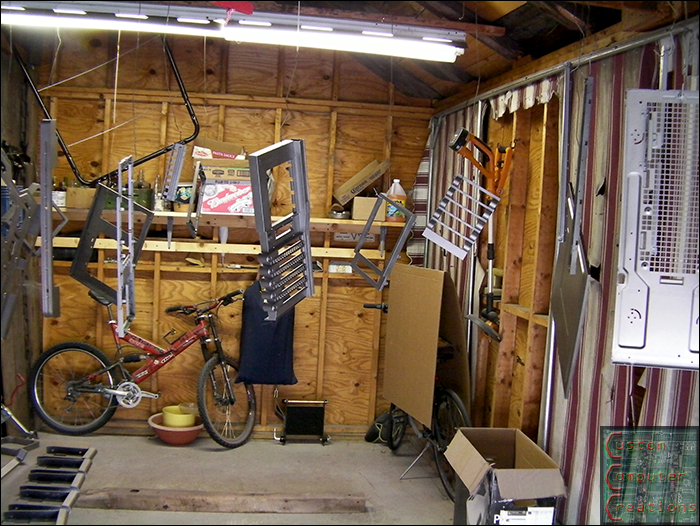
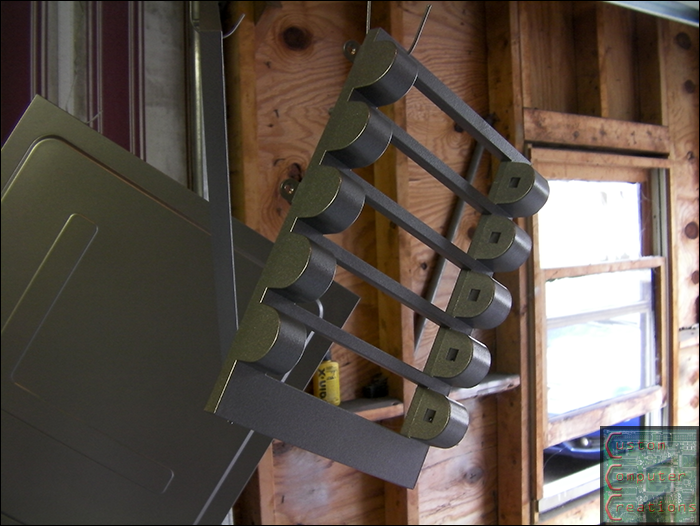
    I got all the parts hung in the garage ready for primer and paint.


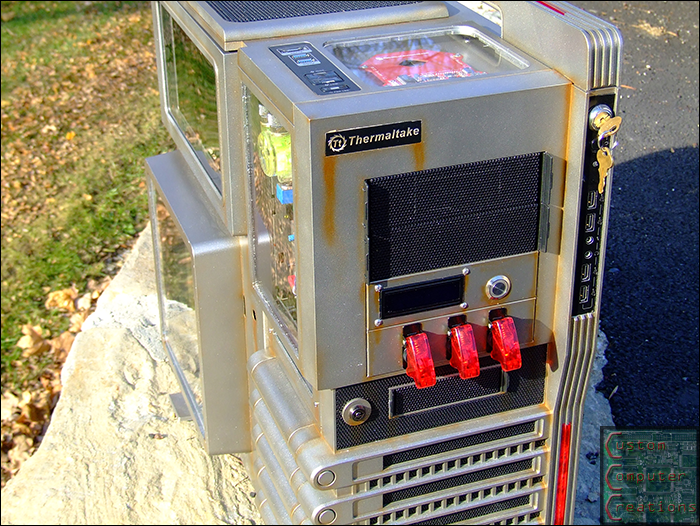
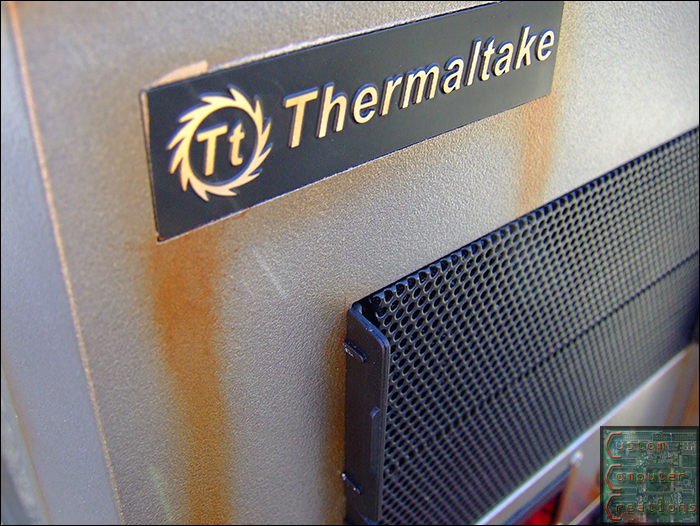
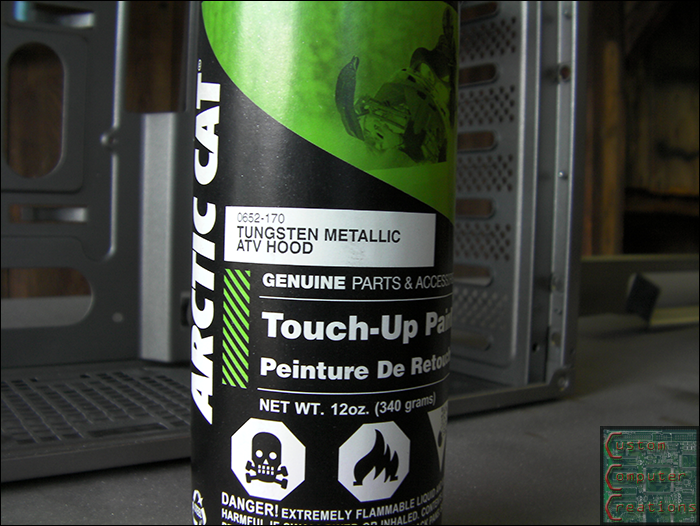
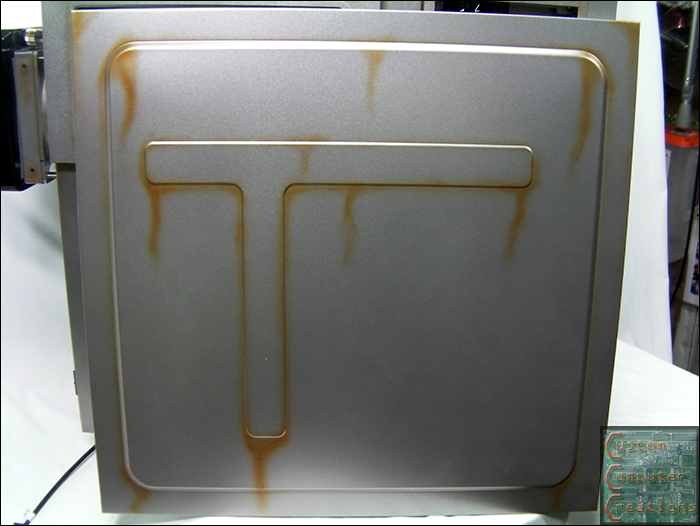
    Here is the paint I used. It's from Arctic Cat. I saw a 4-wheeler come into my dealership in this color and immediately thought it'd be perfect for this mod! 3 cans of primer and 5 cans of paint later, it's all done!


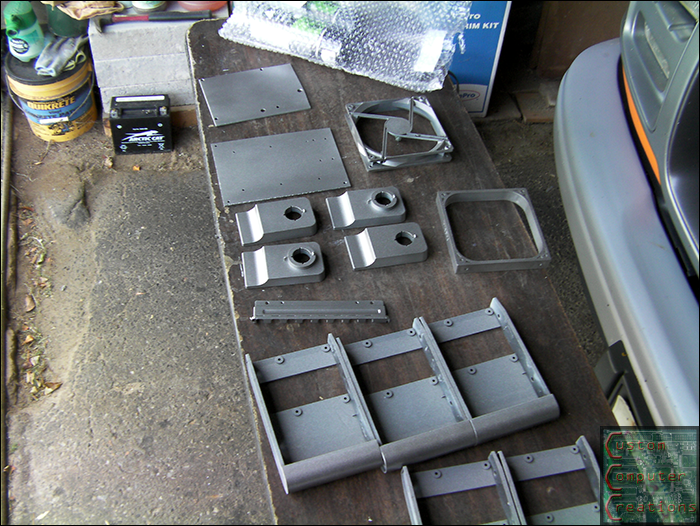
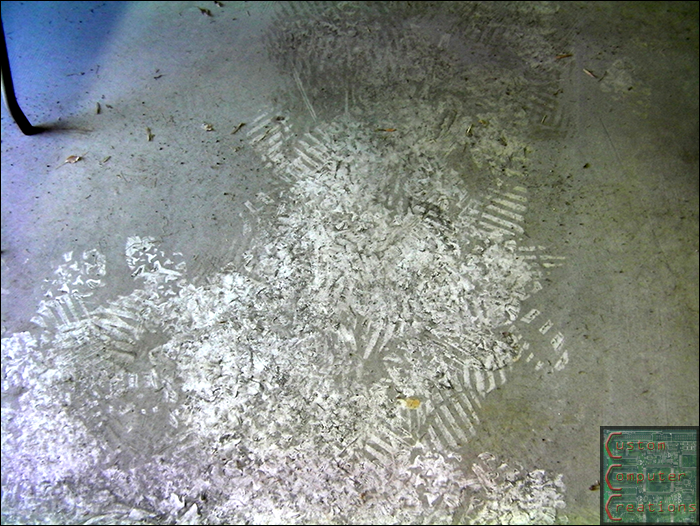
    And I was left with a whole lot of overspray dust to clean up as well.


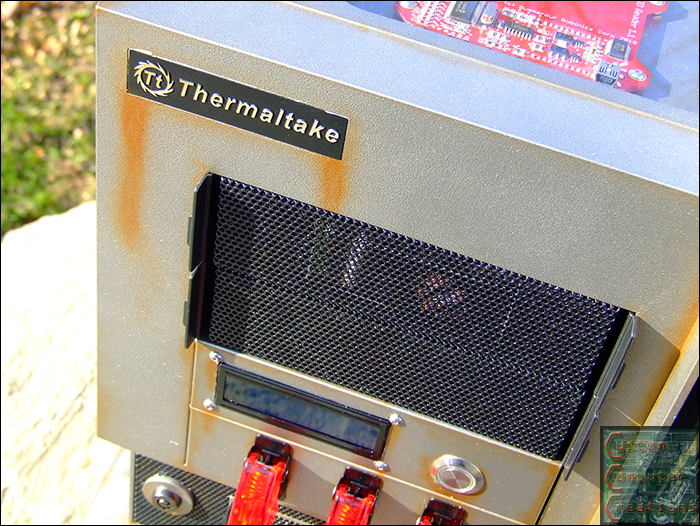
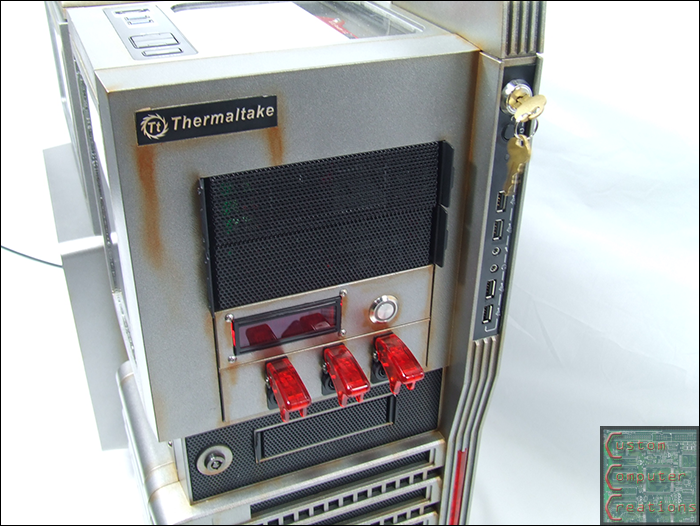
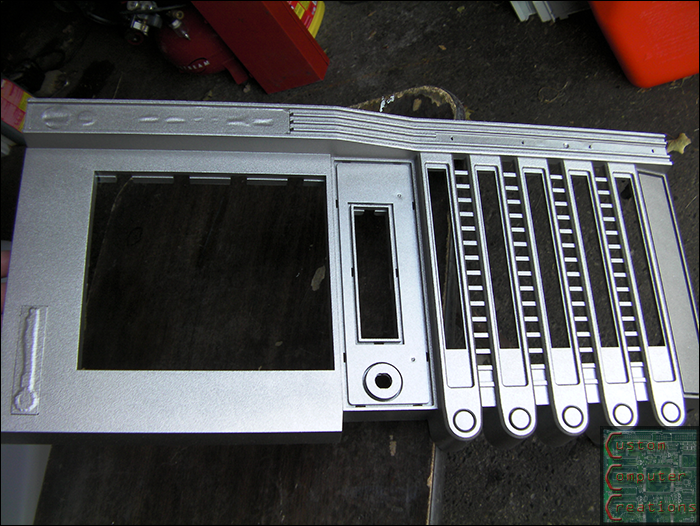
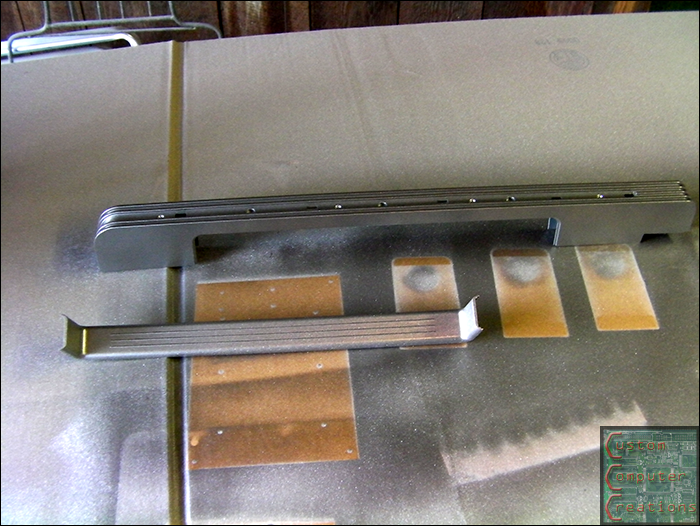
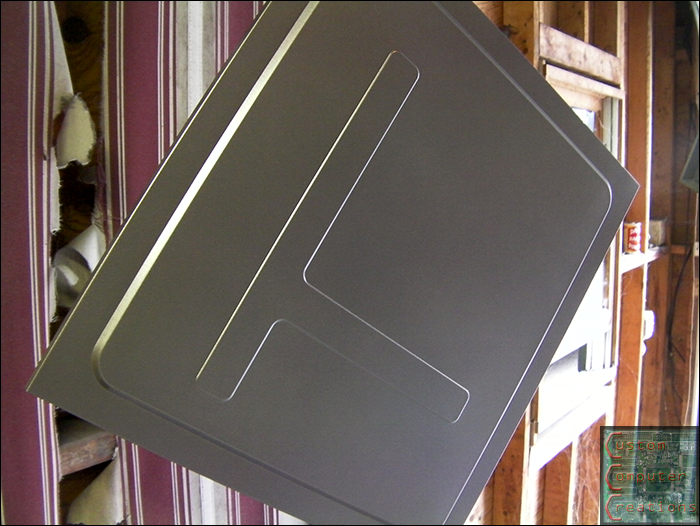
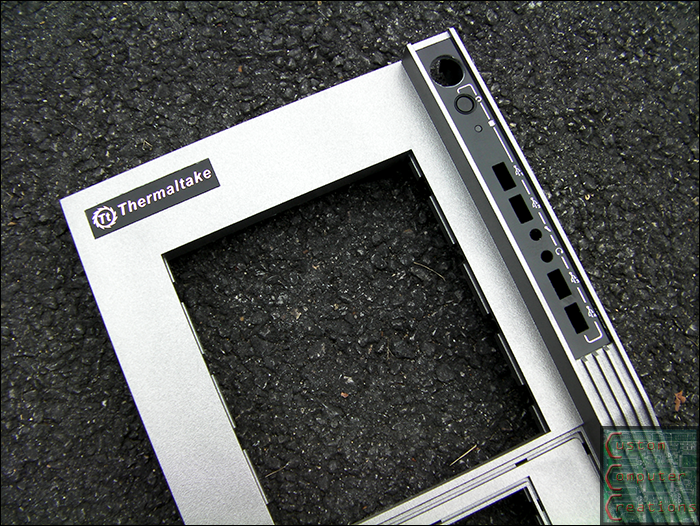
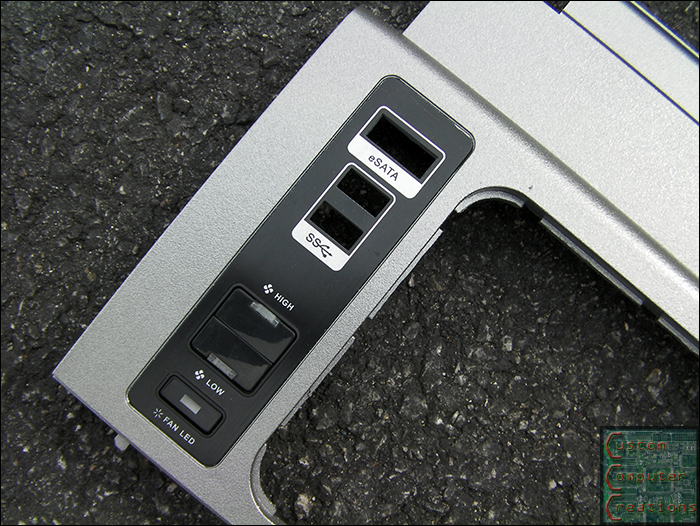
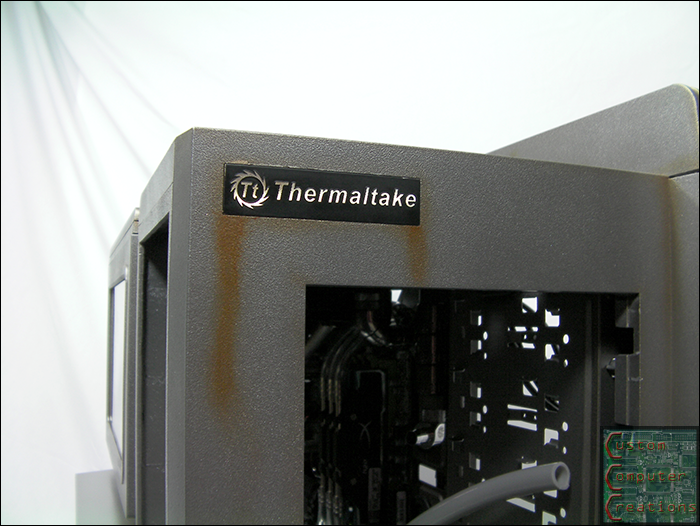
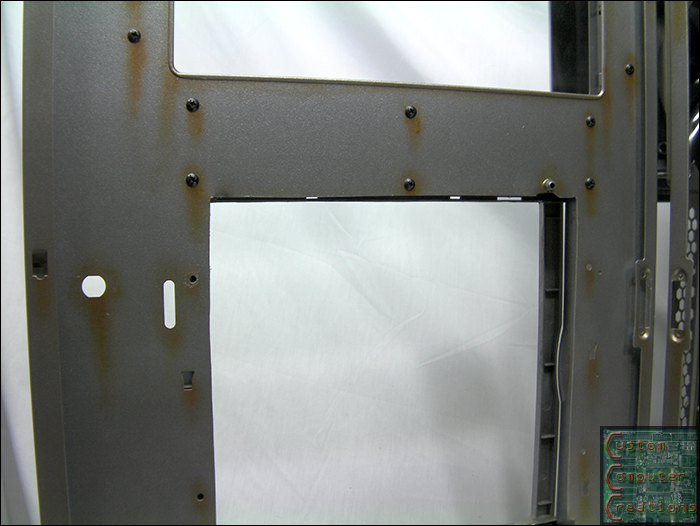
    Here are the front and top panels with the masking tape removed.


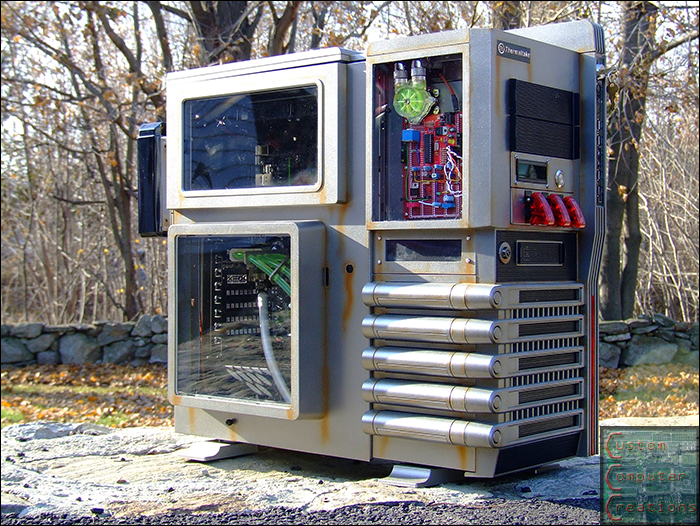
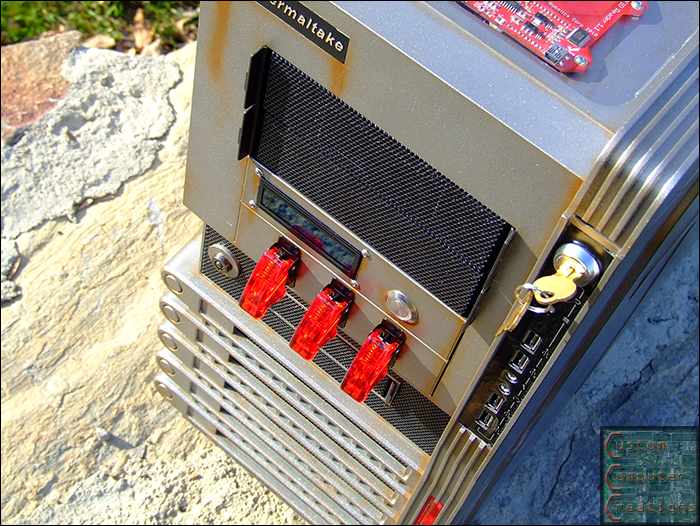
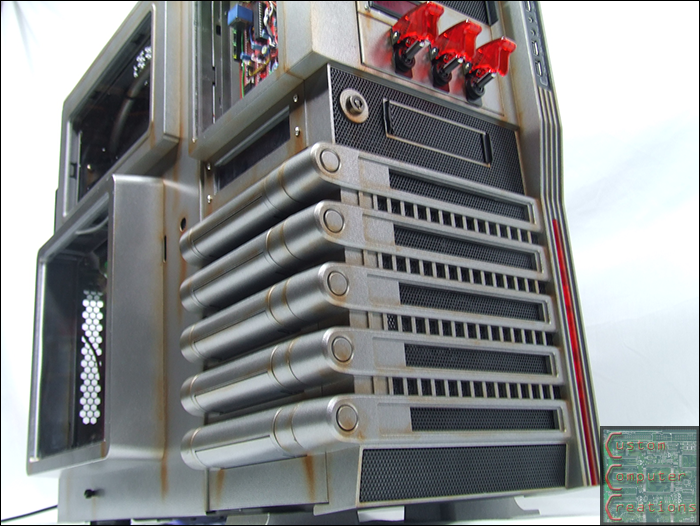
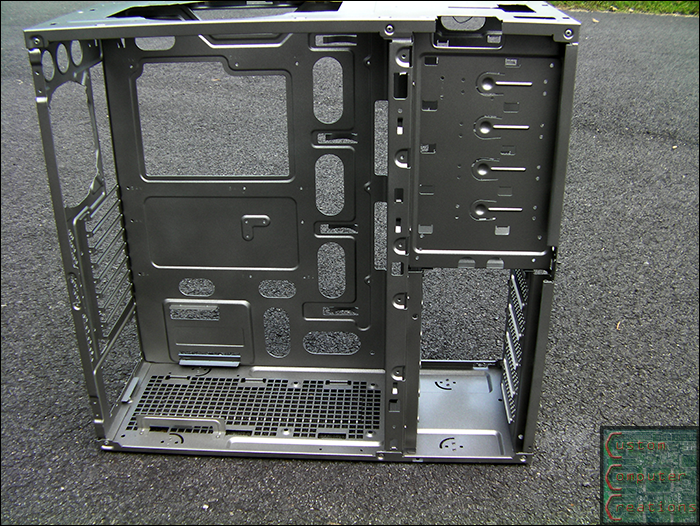
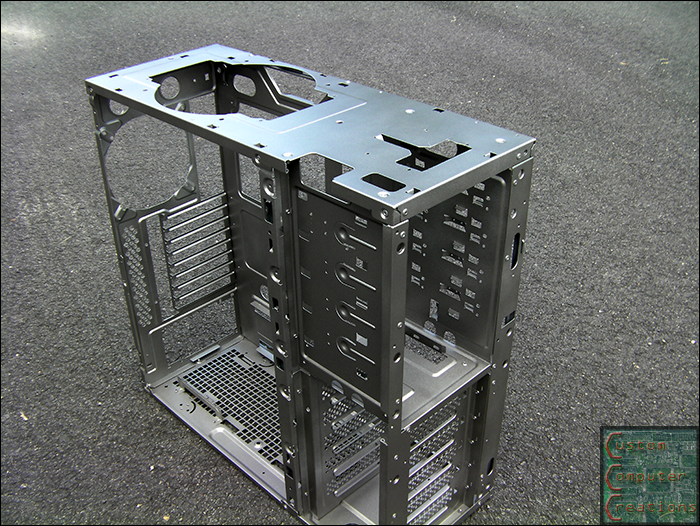
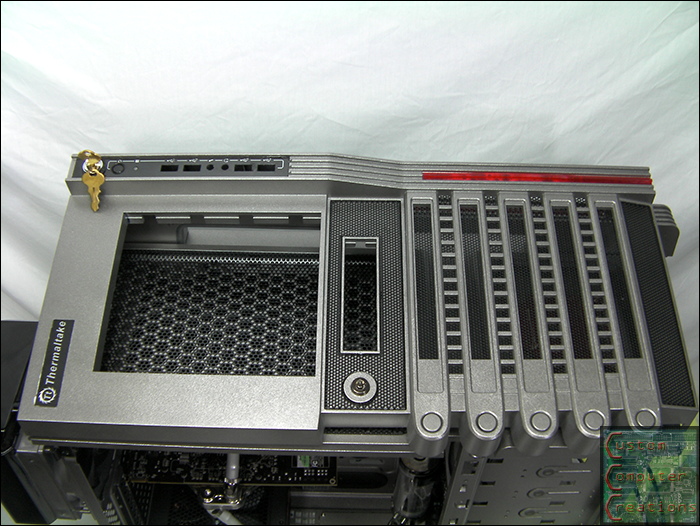
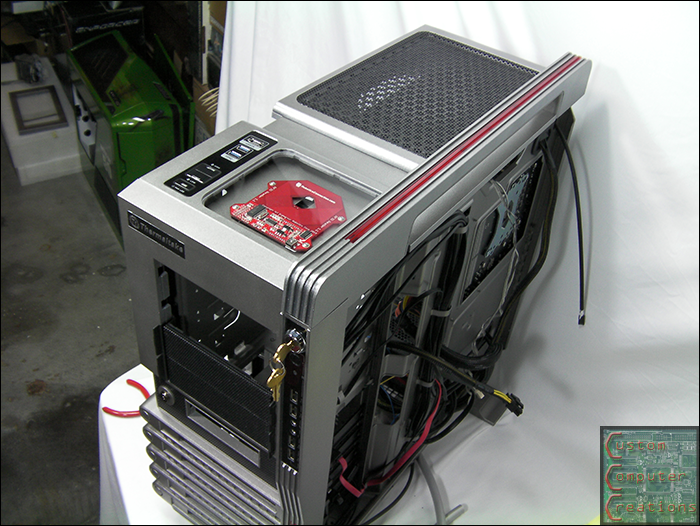
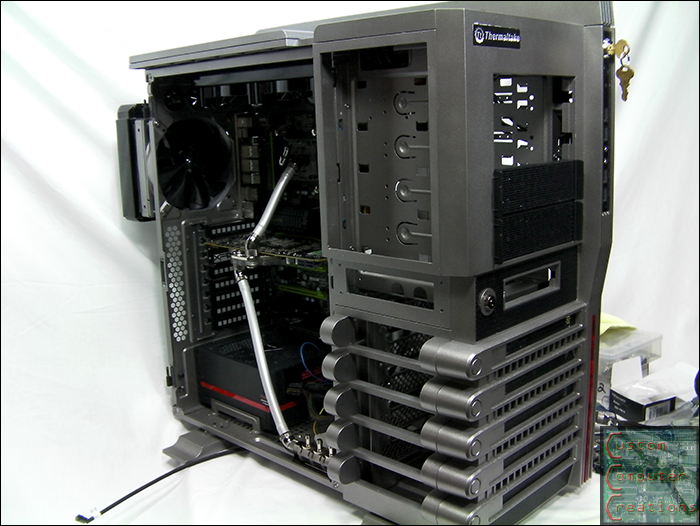
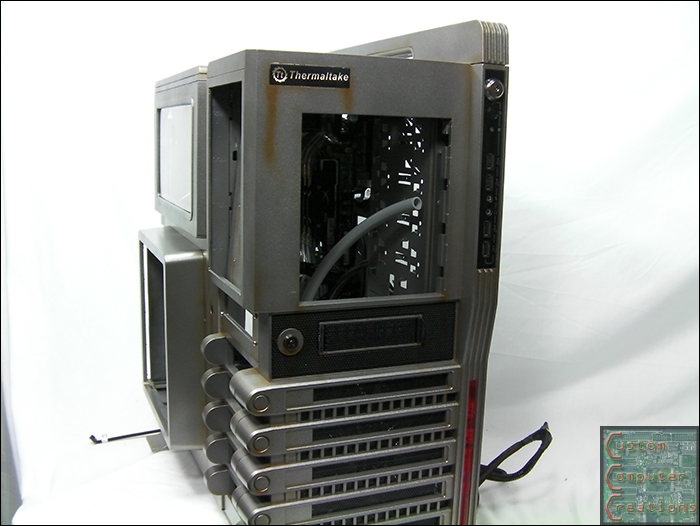
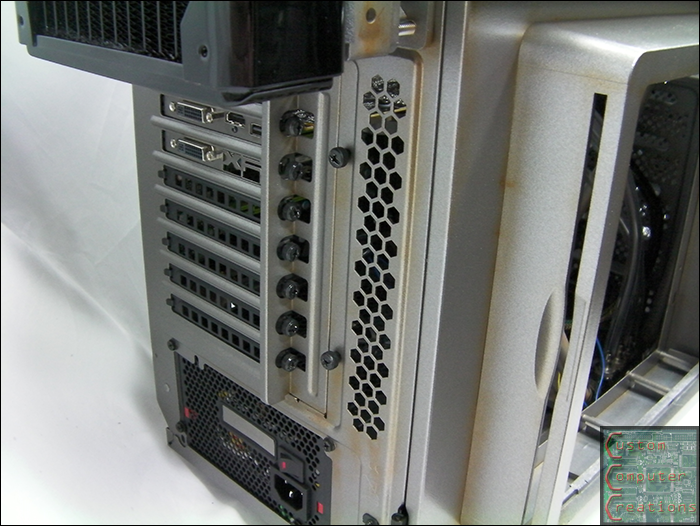
    Next it was off with a box of rivets and my rivet gun to reassemble the case. I think it looks pretty damn good, no?


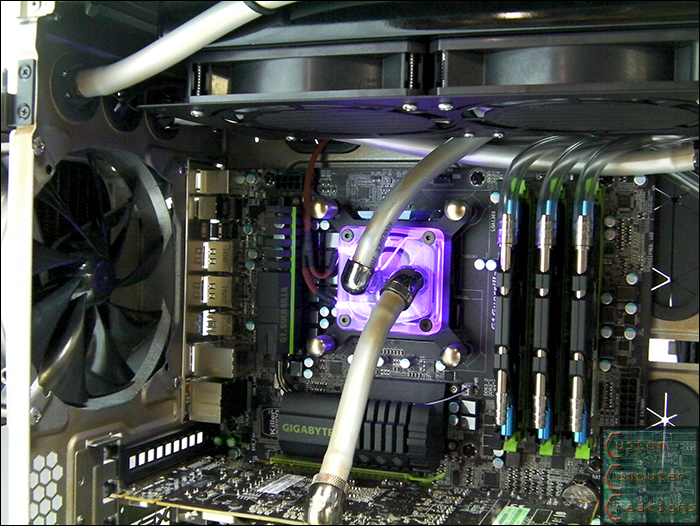
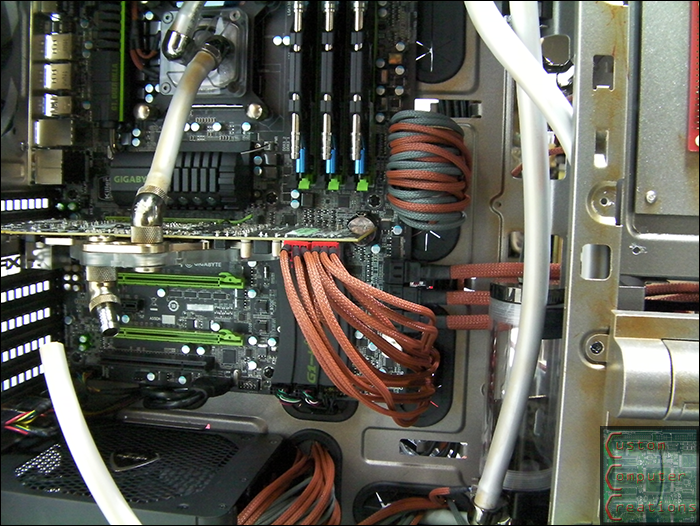
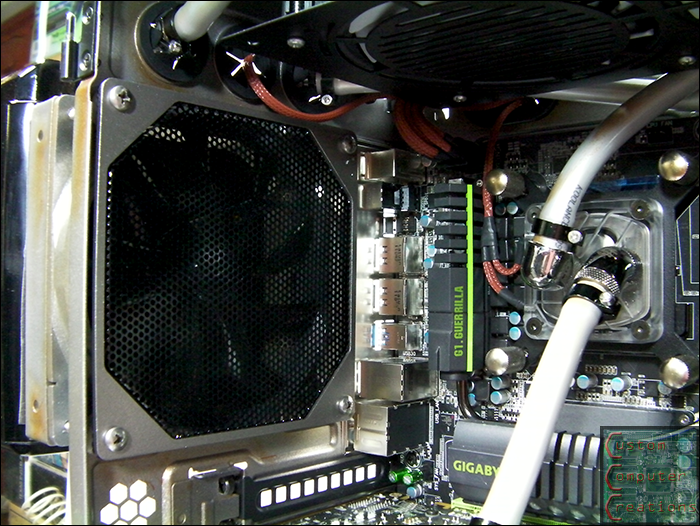
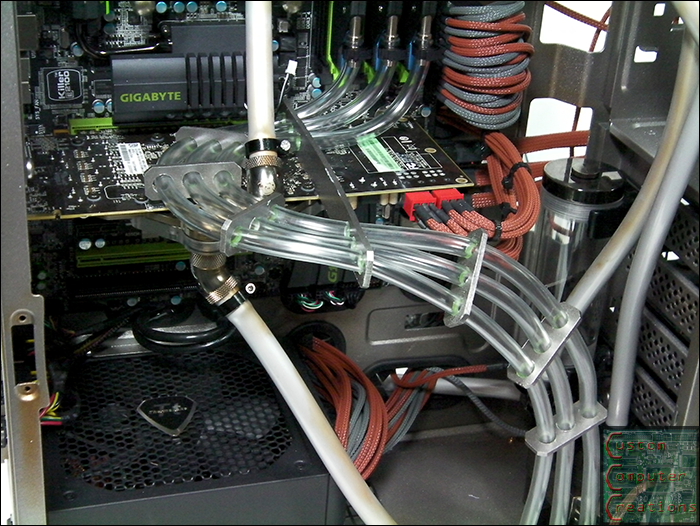
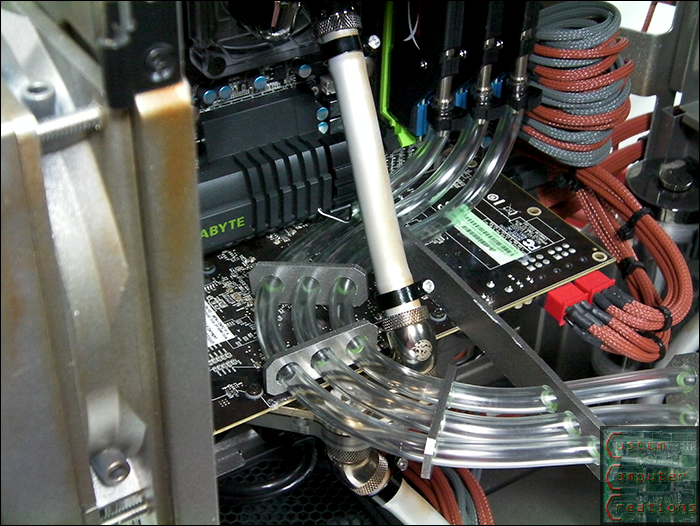
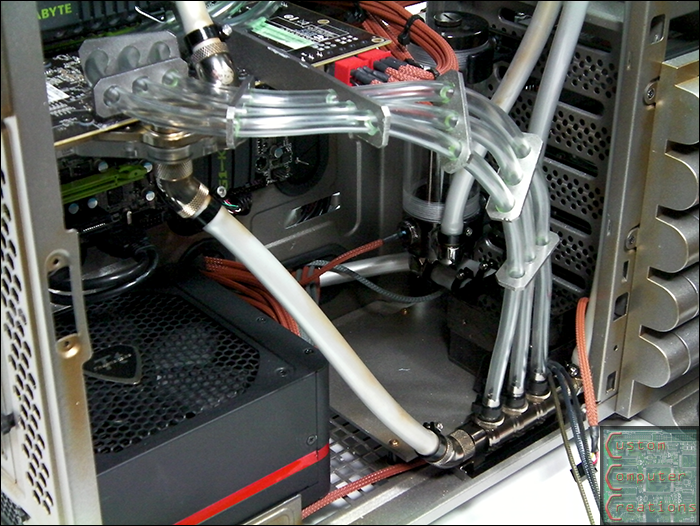
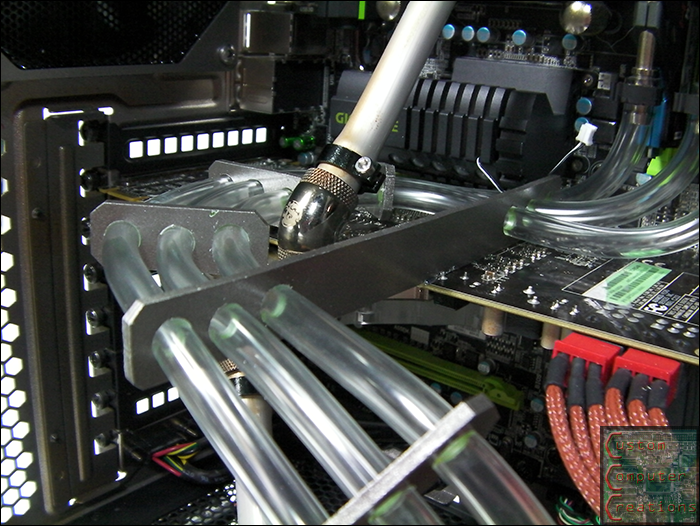
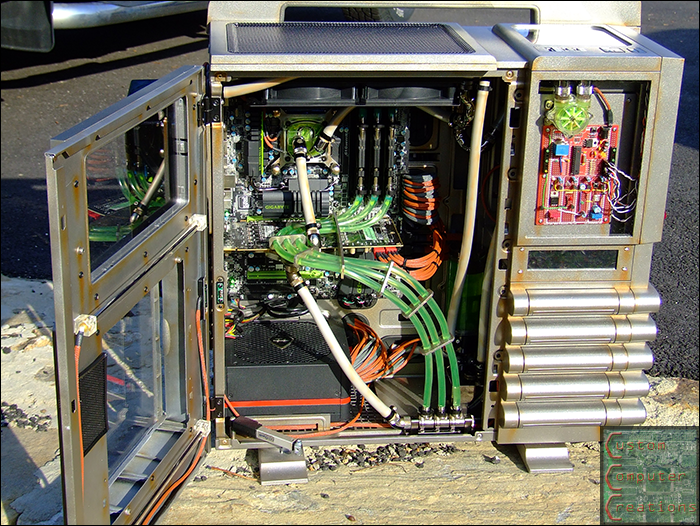
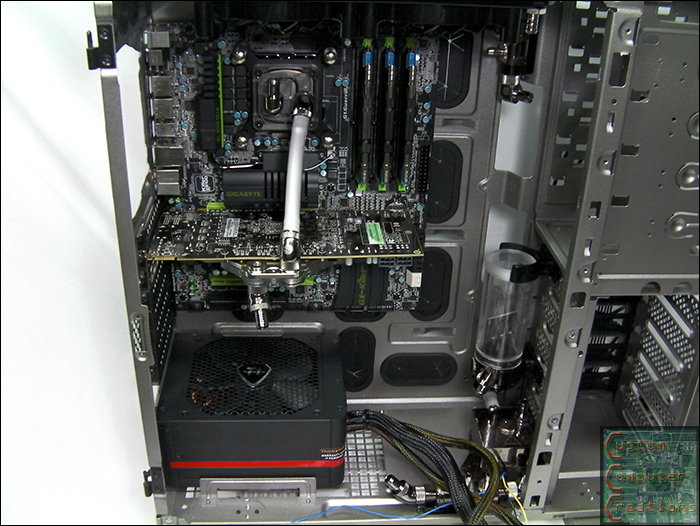
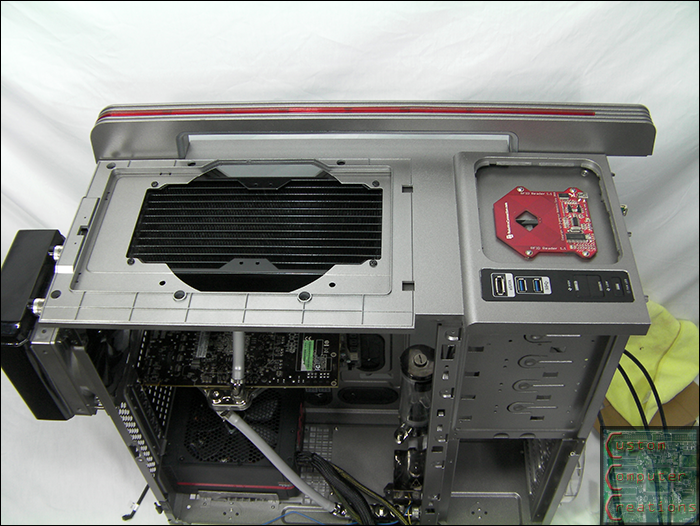
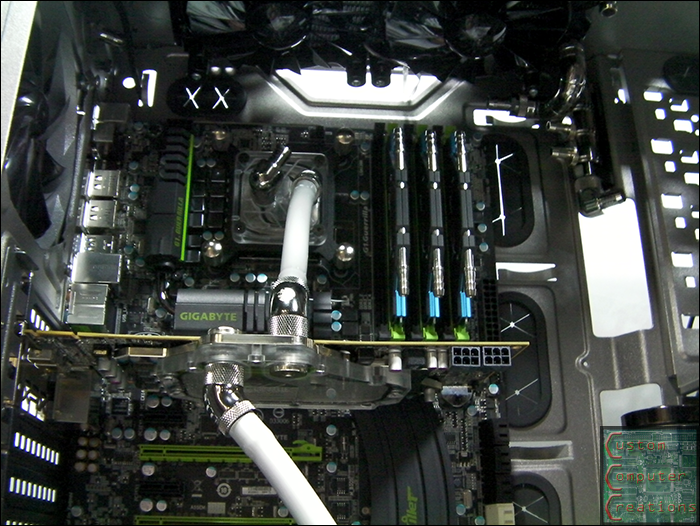
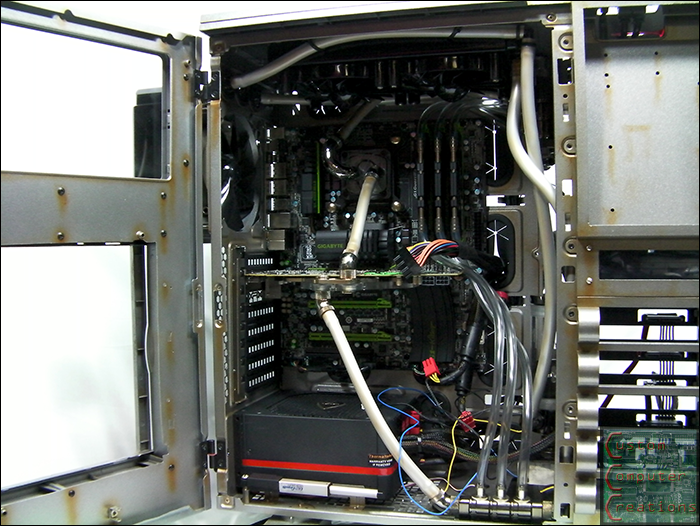
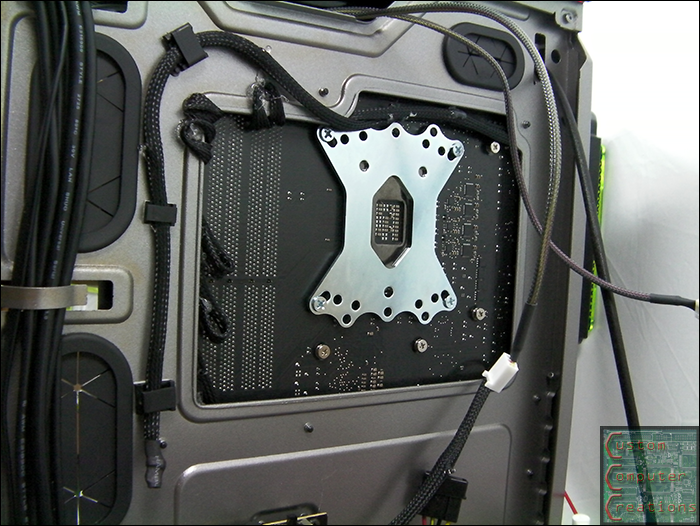
    Then there was a point in time in the basement when I was just running through putting stuff together without snapping a whole lot of pics, but I did get some taken


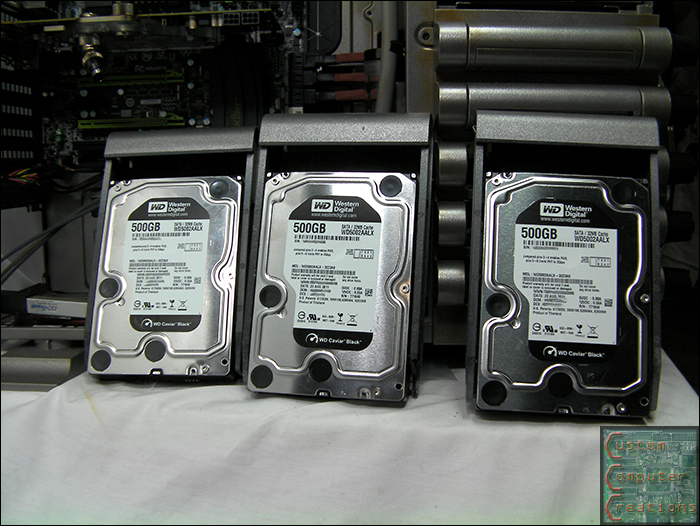
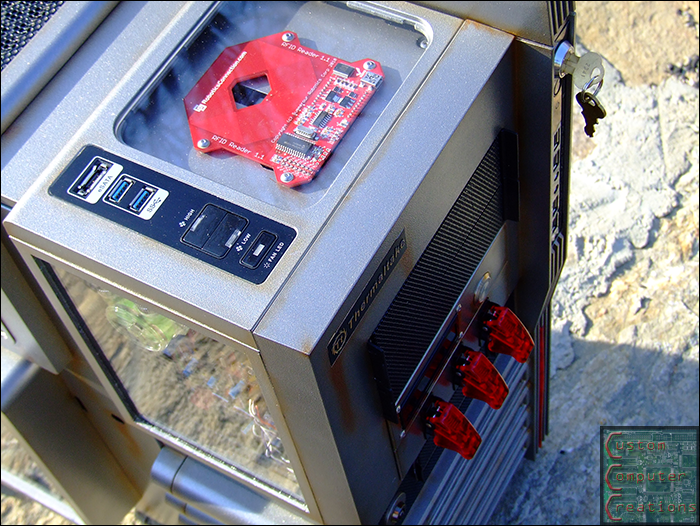
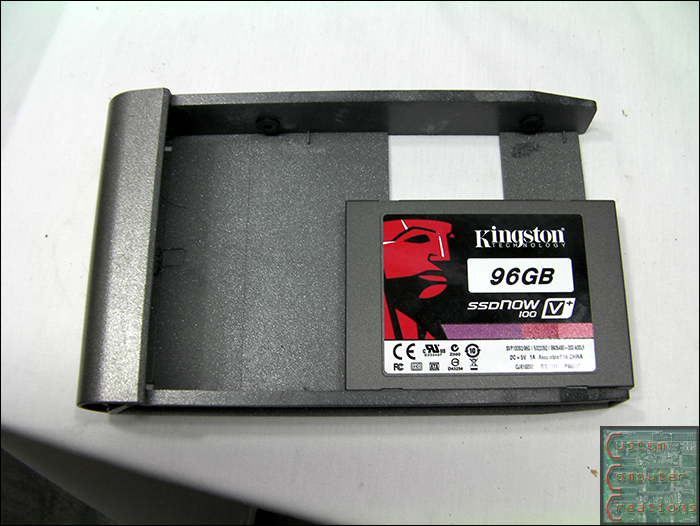
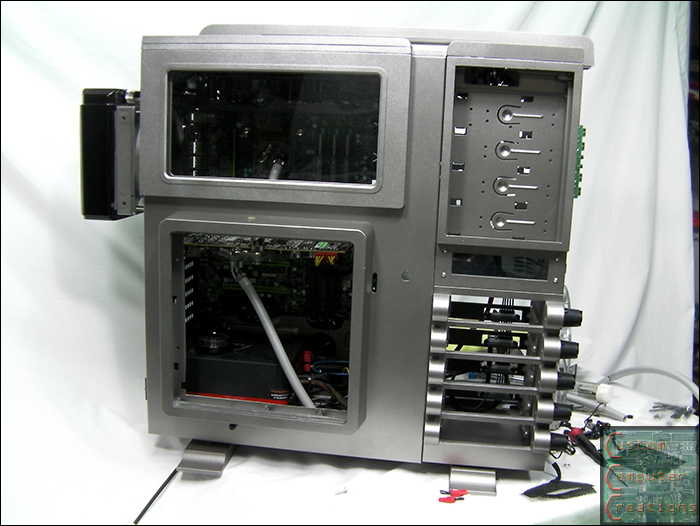
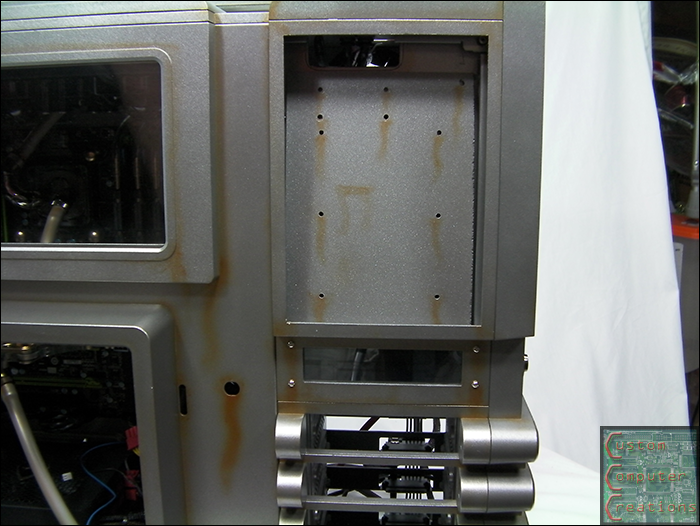
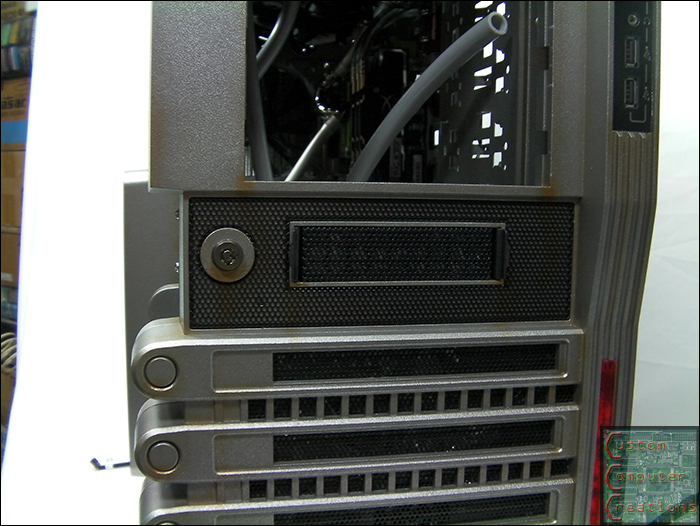
    Kingston 96GB SSD mounted to one of the hotswap trays.


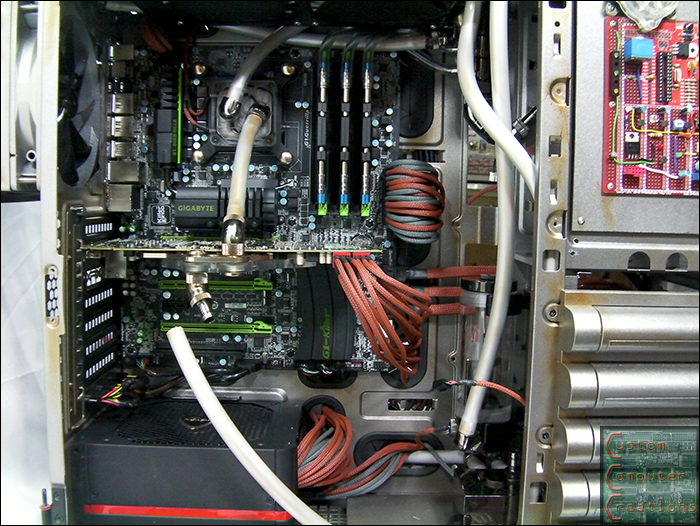
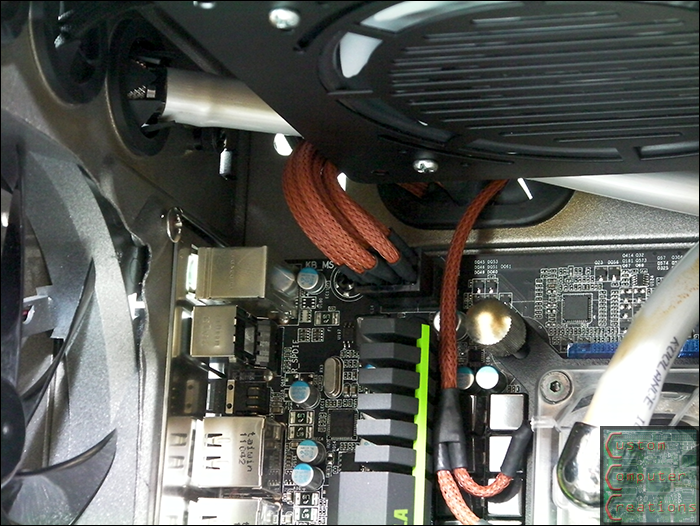
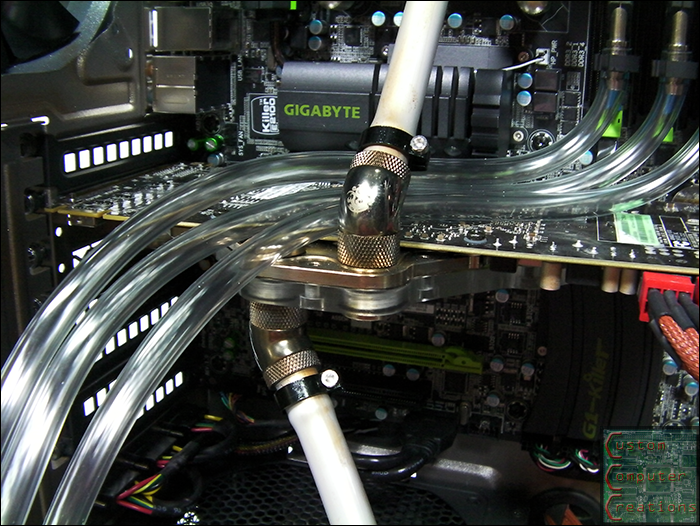
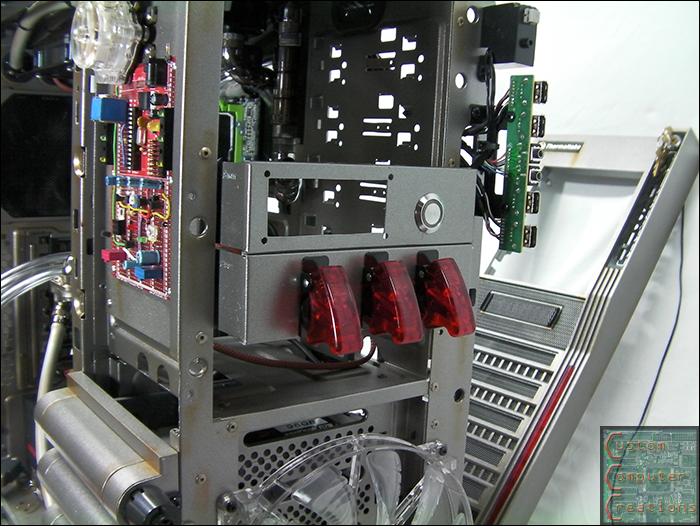
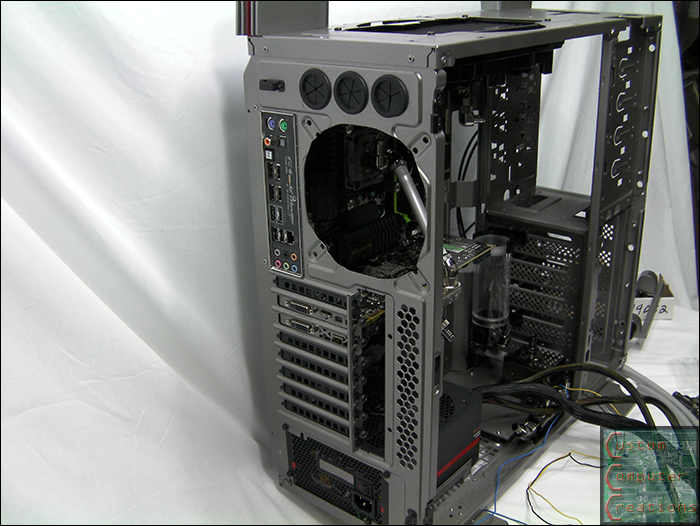
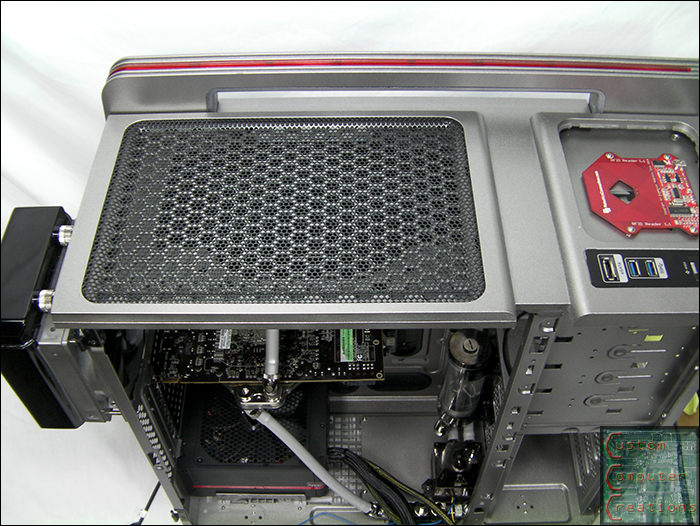
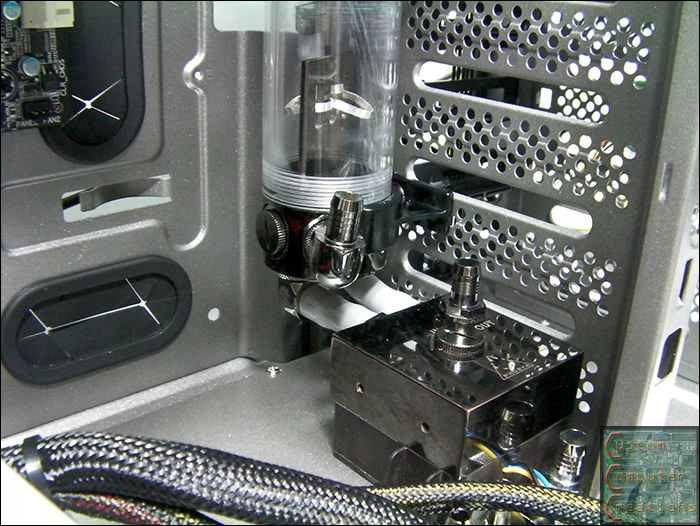
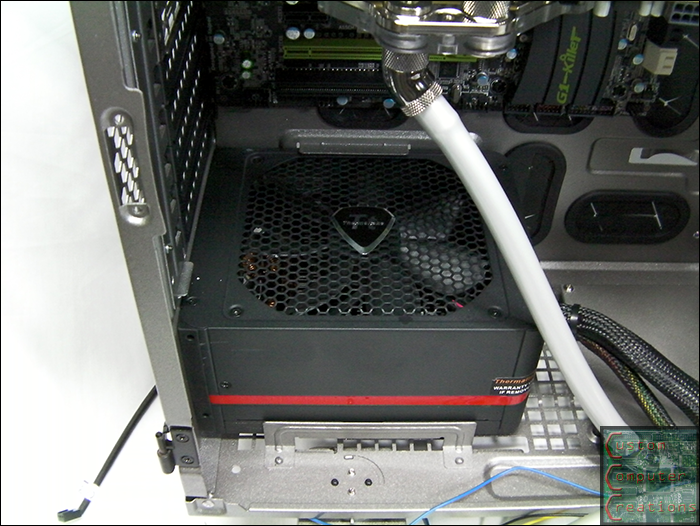
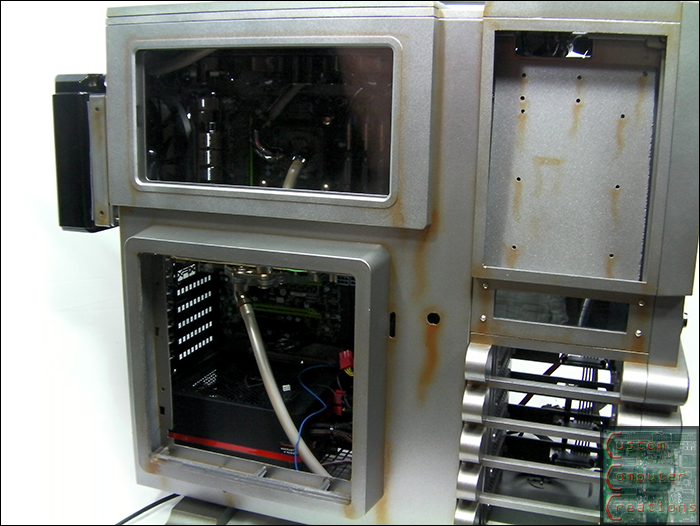
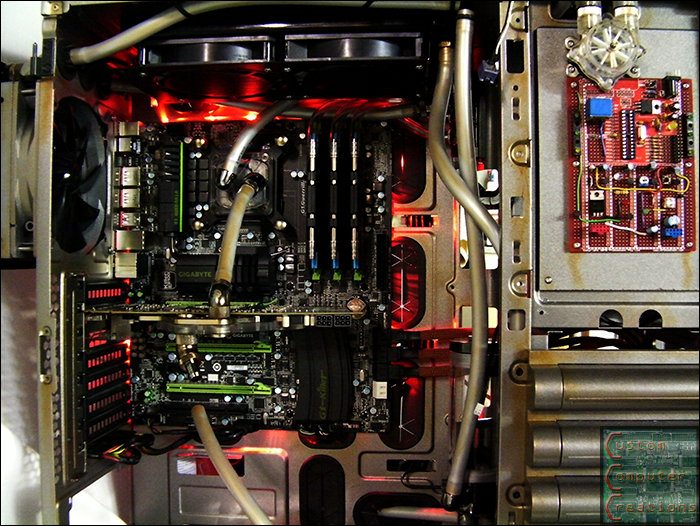
    And more assembly pics


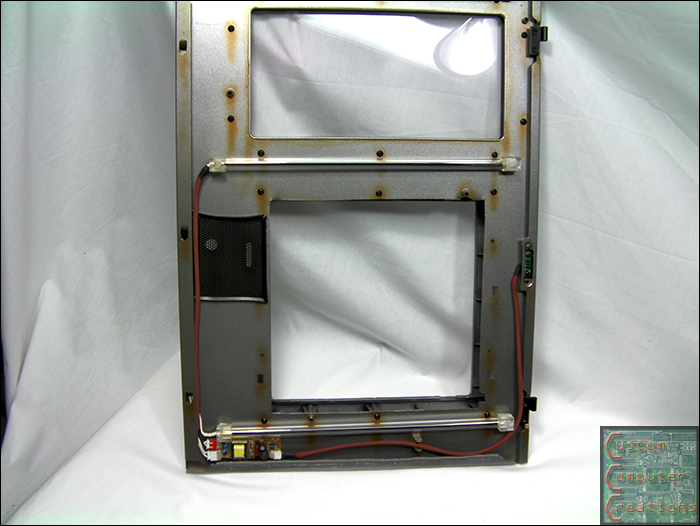
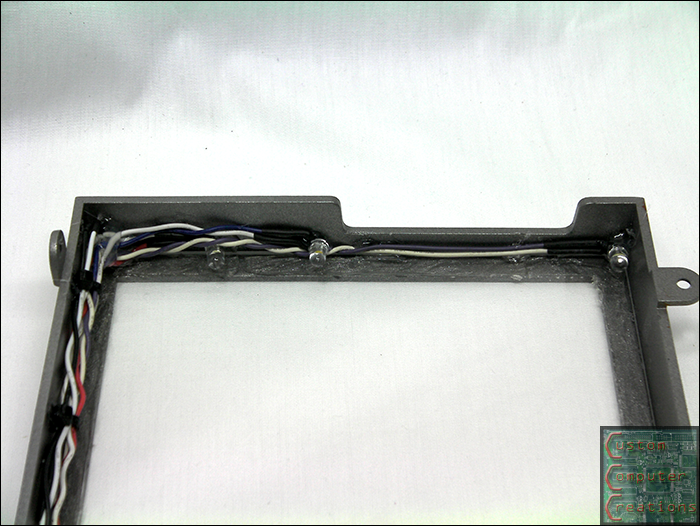
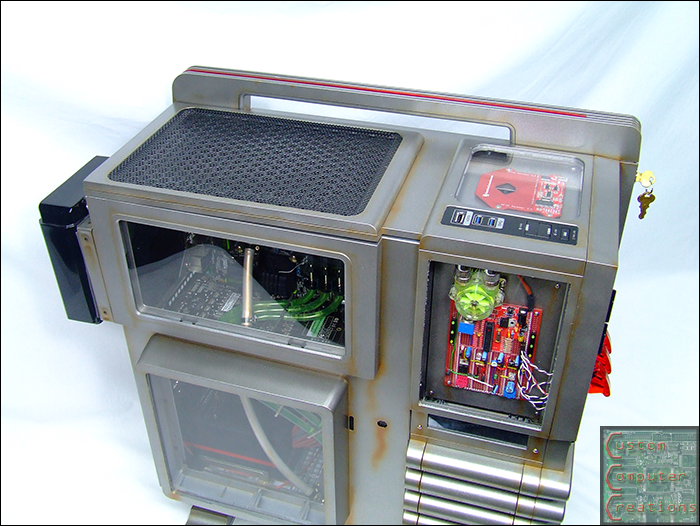
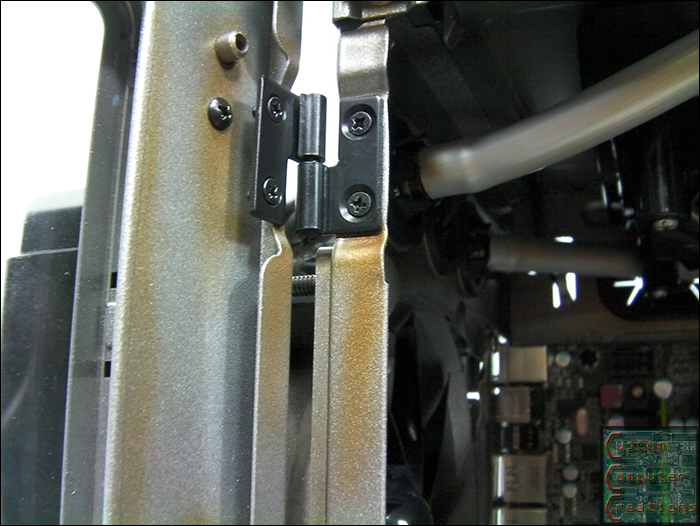
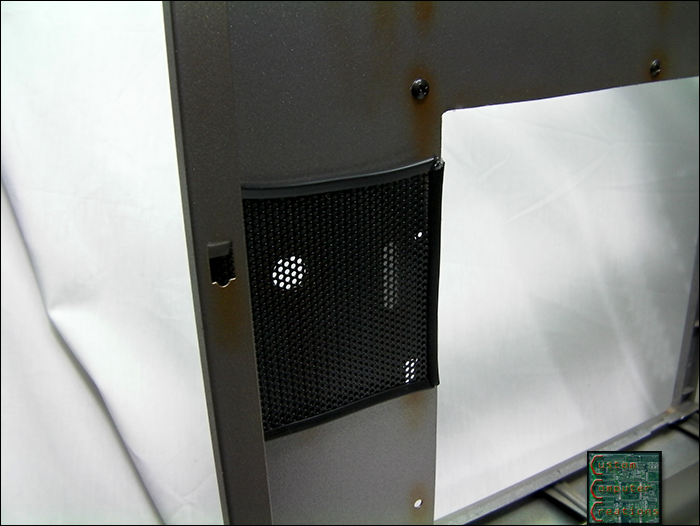
    Here you can see the side panel and it's windows and frames mounted. I also mounted the NZXT Sentry 2 fan controller into its place on the front side panel.


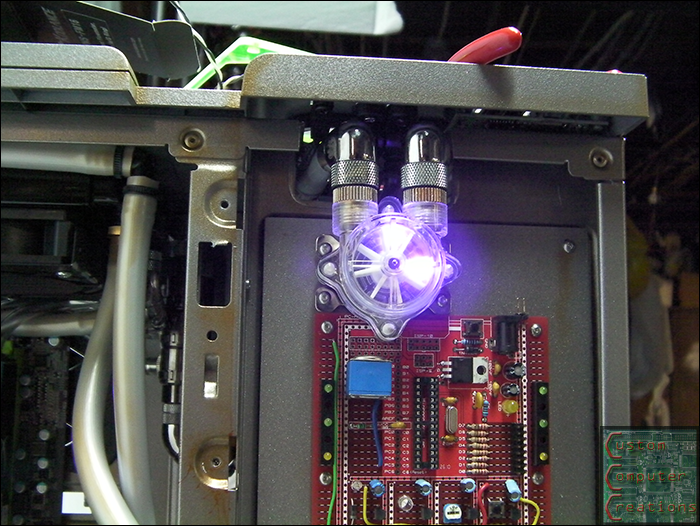
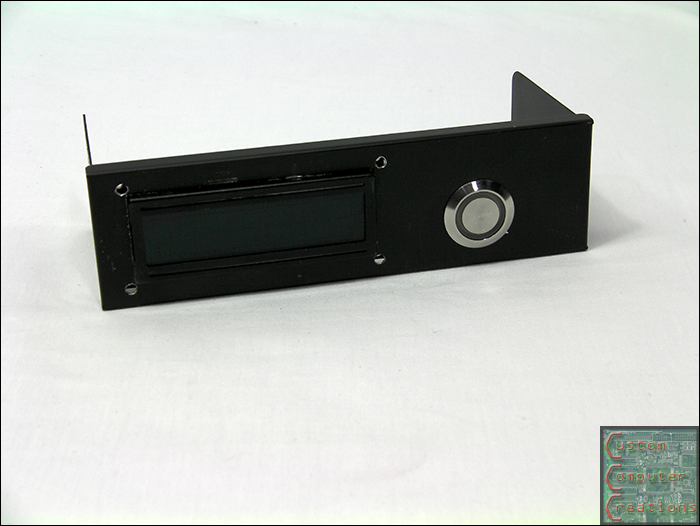
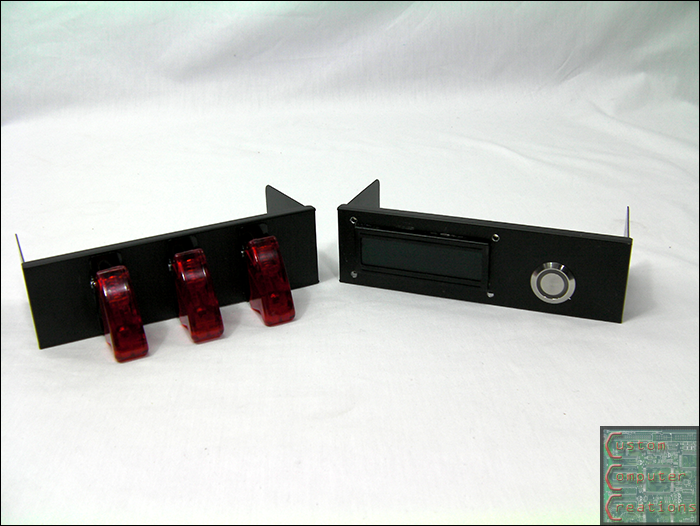
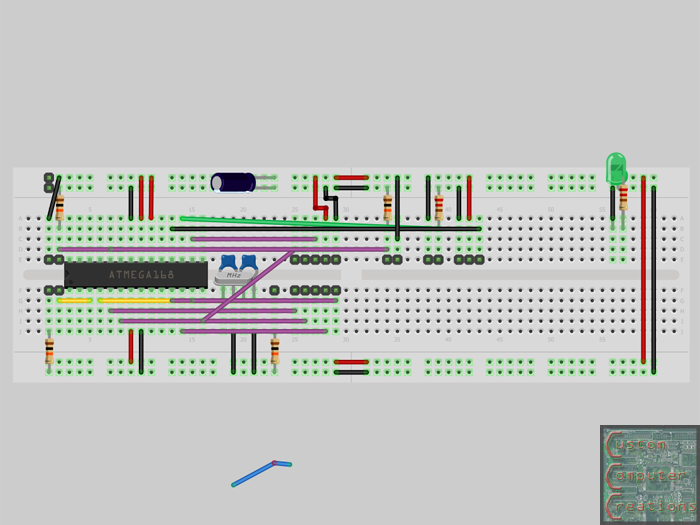
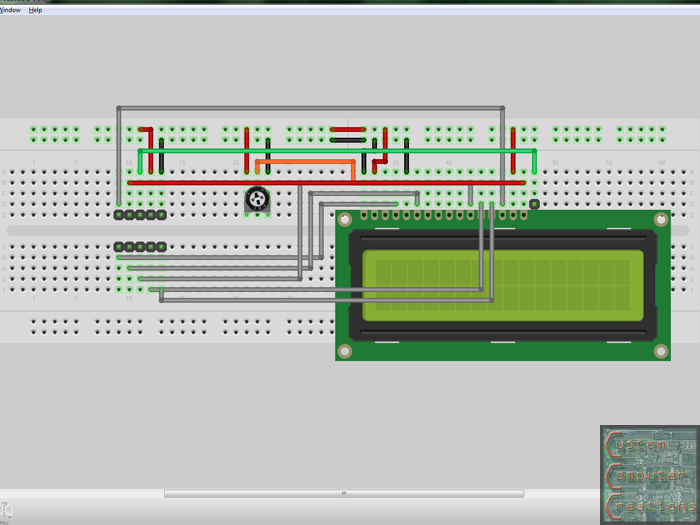
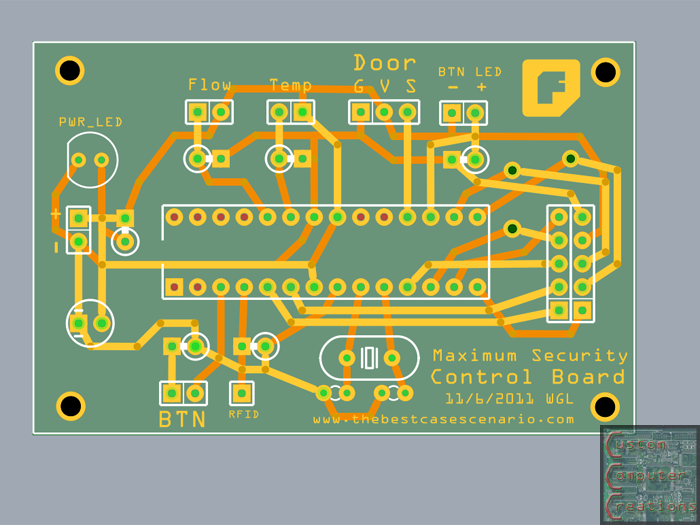
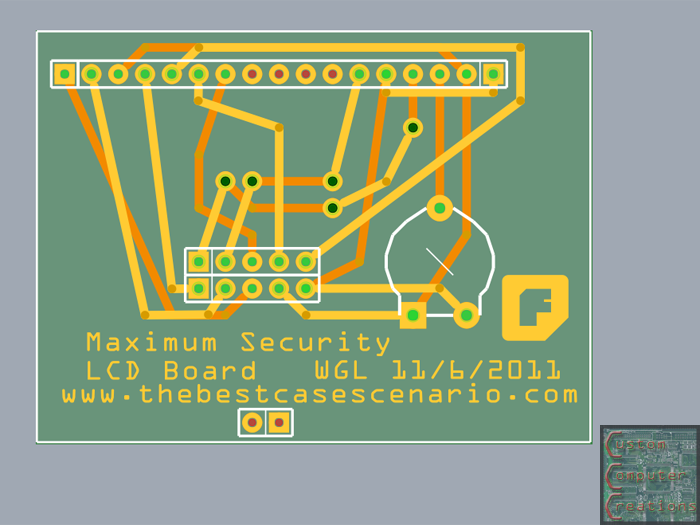
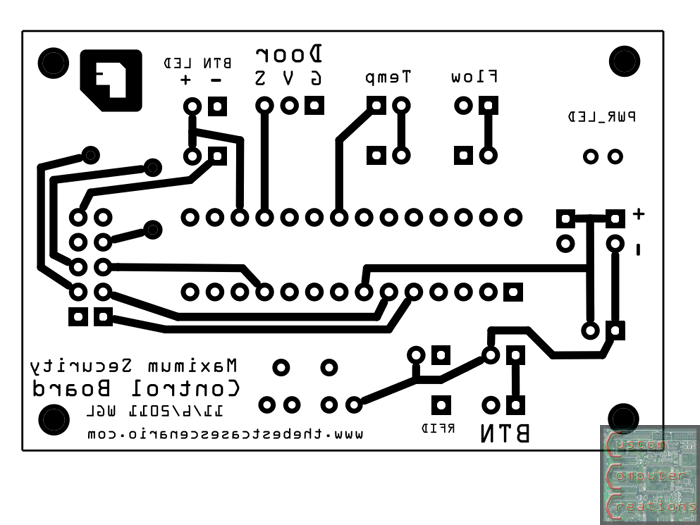
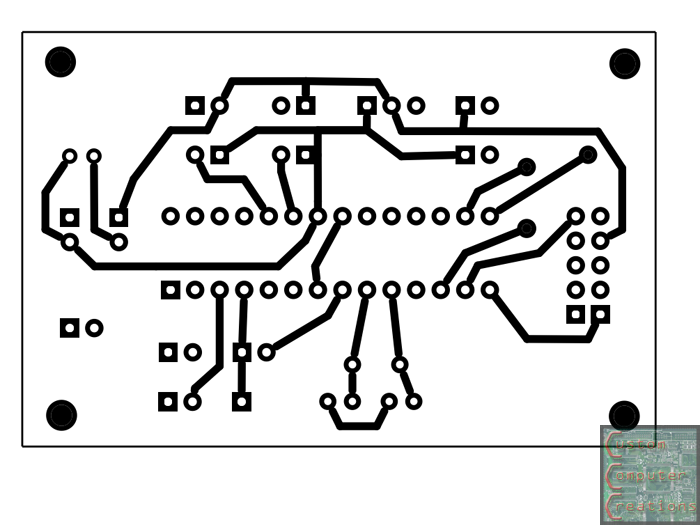
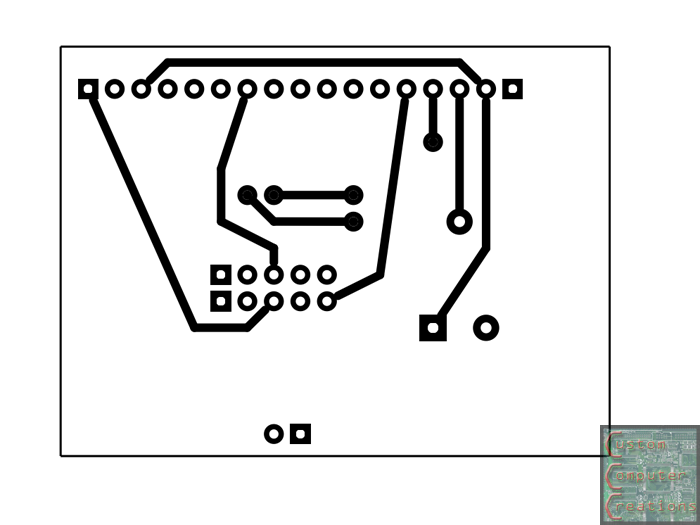
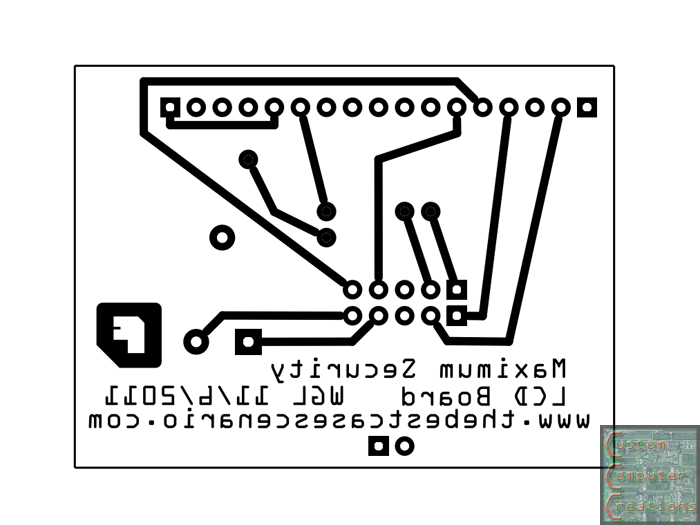
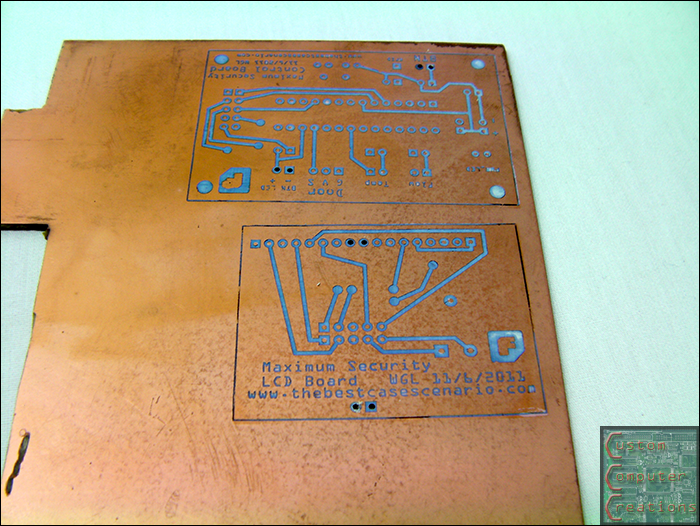
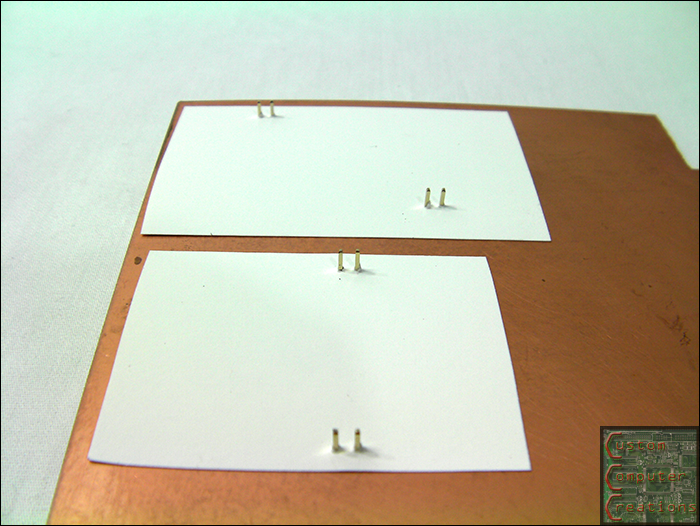
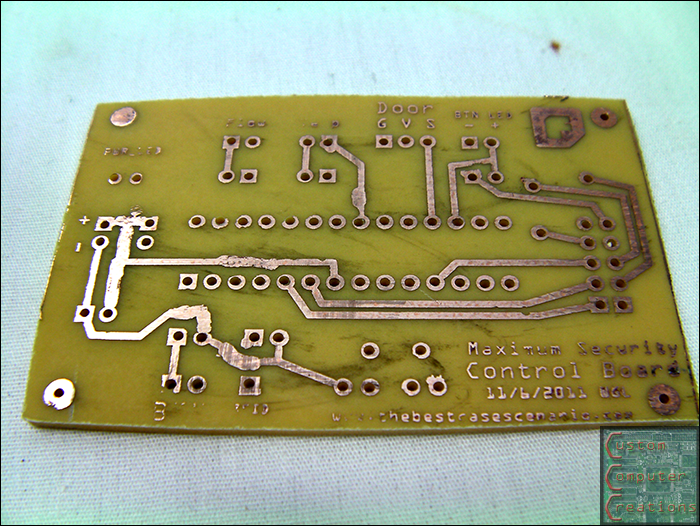
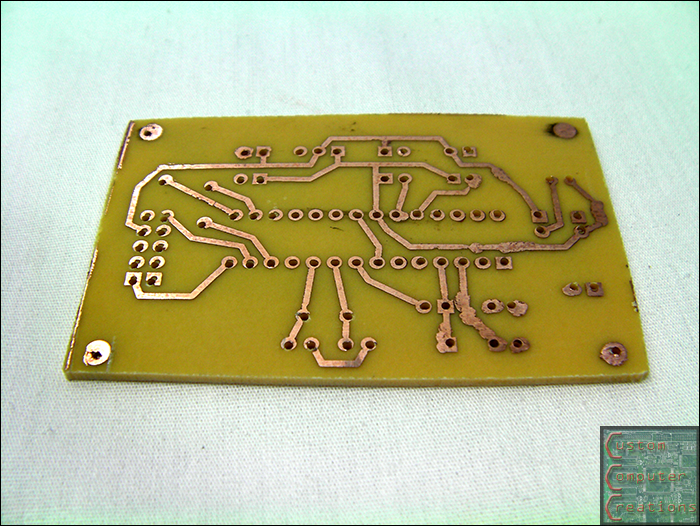
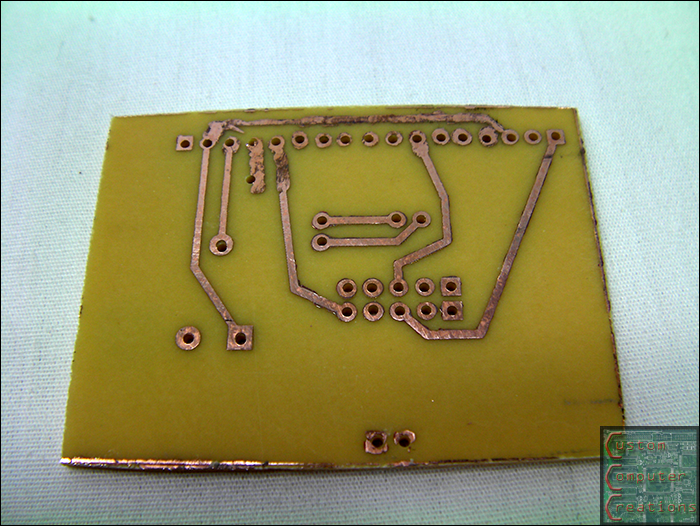
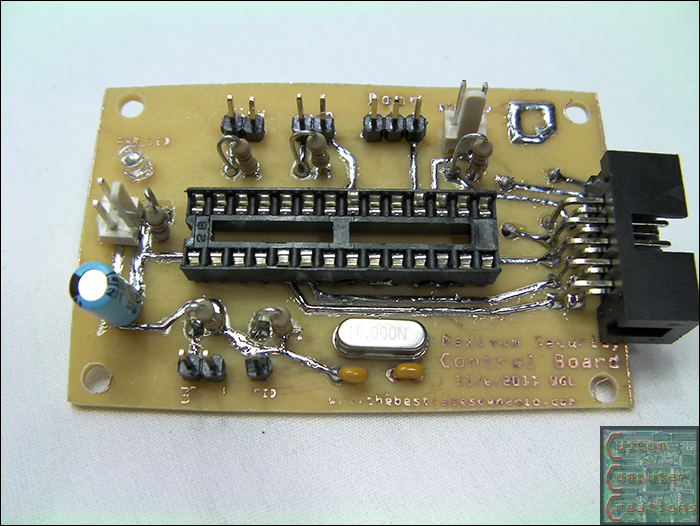
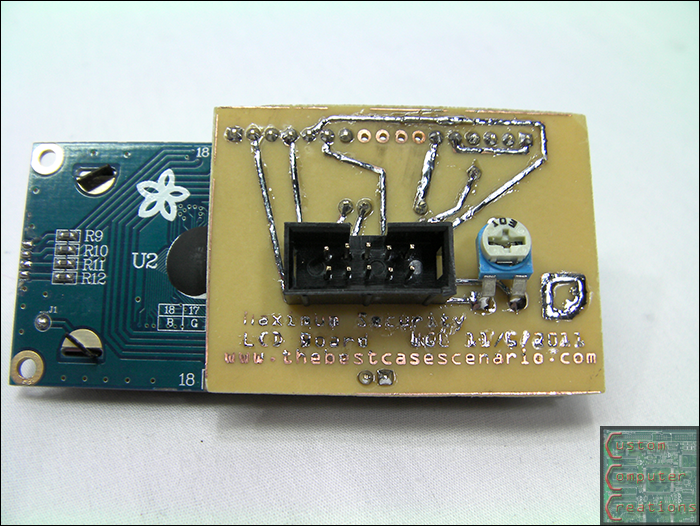
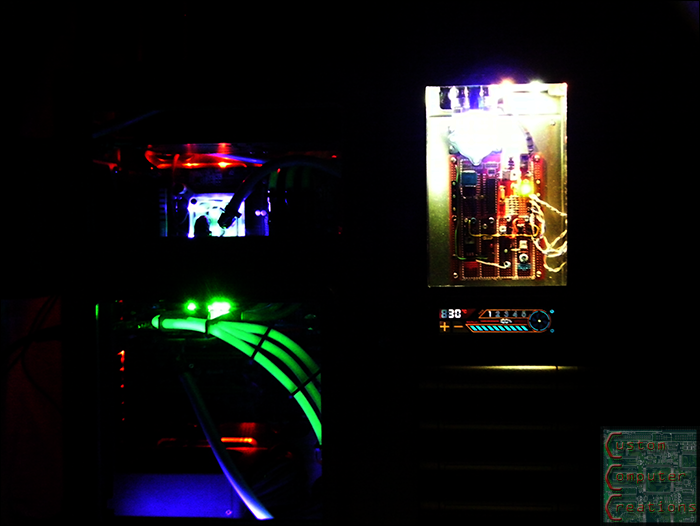
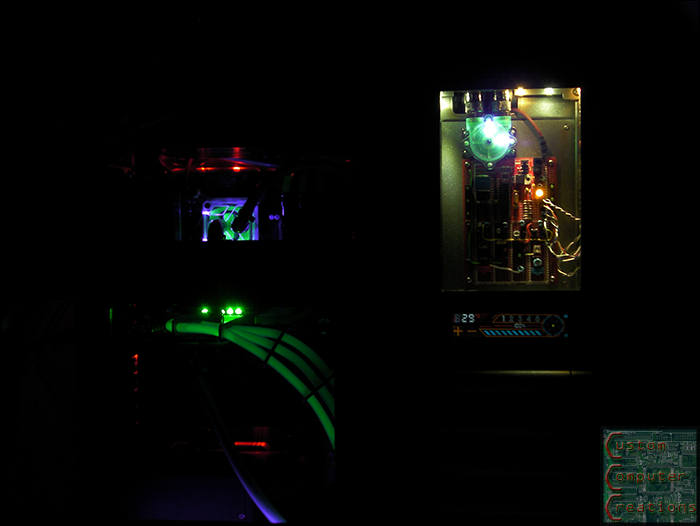
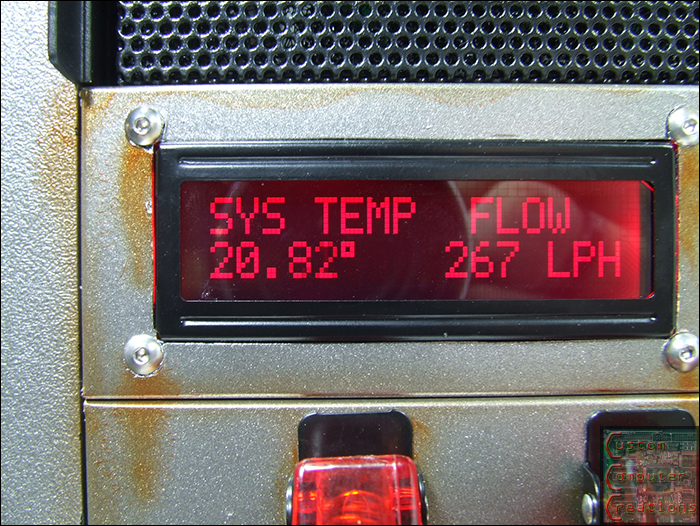
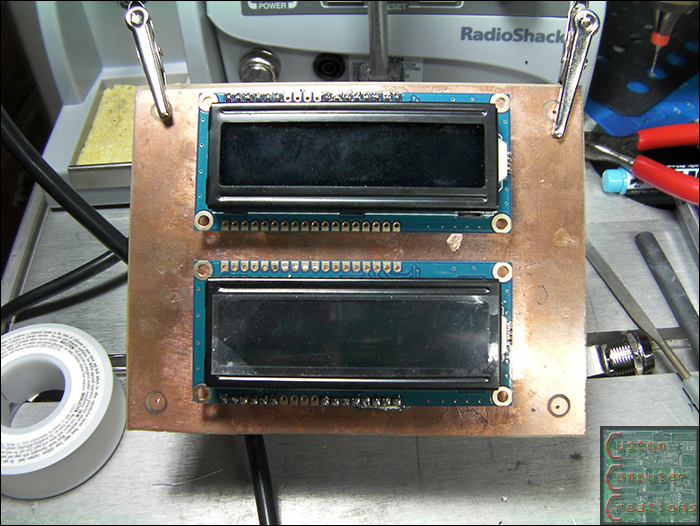
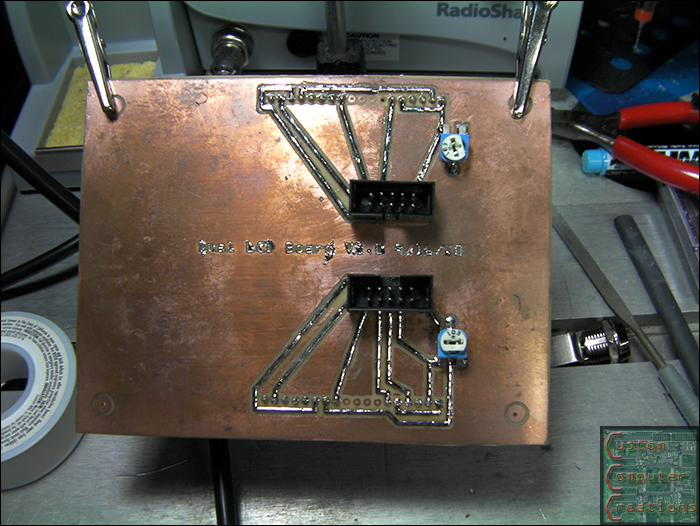
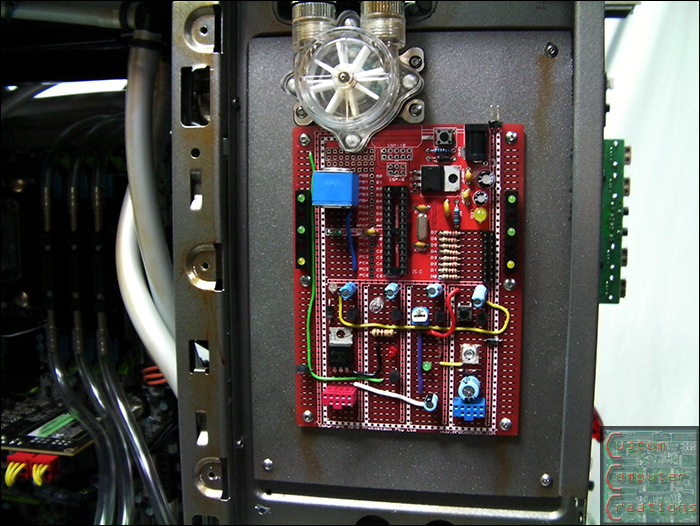
    I also designed, etched and assembled a circuit board to hold the two RGB LCDs. The spacing is perfect so they fit centered into 2 5.25" bay covers.


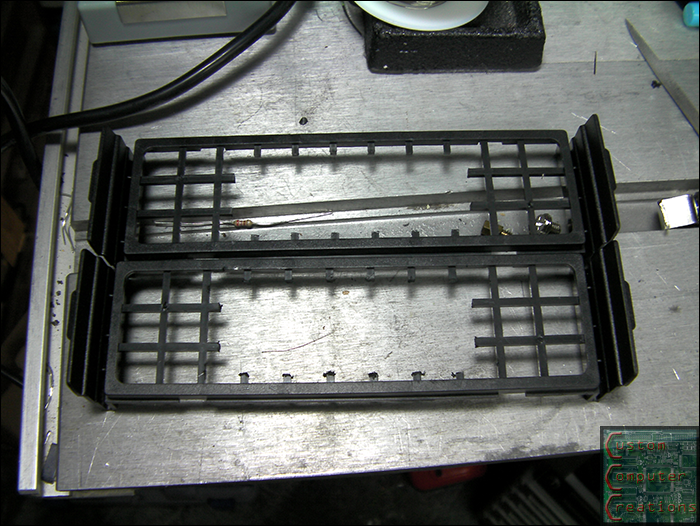
    I also got the plastic frames for the bay covers fit to the LCDs. Next I need to cut the foam filters and the outer mesh to fit the LCDs as well.


    That's it for now!

  2. #22
    Resident 100HP water-cannon operator SXRguyinMA's Avatar
    Join Date
    Jun 2008
    Location
    MA
    Posts
    5,865

    Default Re: Maximum Security

    Got some airbrushing done Thanks again to Auto Air Colors for providing the paint and to SgtM for providing the tutorial!!

    Still have more to do on the smaller bits. Enjoy


  3. #23
    Resident 100HP water-cannon operator SXRguyinMA's Avatar
    Join Date
    Jun 2008
    Location
    MA
    Posts
    5,865

    Default Re: Maximum Security

    Quote Originally Posted by Twigsoffury View Post
    man you know what would be sweet and pretty simple?


    If it had some sort of blinking status light when its off like a car alarm?

    and if you used the chassis intrusion switch ( i seen the slot for it in the case) to set off a alarm if the computer is opened while its off and something hasn't been done like a key turned, or a code entered. or a secret switch flipped.
    Not a bad idea lol. I'm going for a high-security nuclear building type of thing. Kayin is sending me some of his special UV green coolant that will just be the icing on the cake to this thing

    Quote Originally Posted by BS Mods View Post
    Looking great!

    The air brushing really tops it off.
    Thanks! I've got more to do on the interior as well still

    I've got some of this and some of this on it's way for the PSU and all it's associated cables. I swore after I uni-sleeved the PSU cables in my Red Comet mod that I'd never do it again lol. Well once I saw those colors from MDPC for the sleeving I HAD to do it. The PSU's wires are all de-connectored and stripped of their stock sleeving awaiting my shipment

  4. #24
    Resident 100HP water-cannon operator SXRguyinMA's Avatar
    Join Date
    Jun 2008
    Location
    MA
    Posts
    5,865

    Default Re: Maximum Security

    Update time!!

    I cut a piece of mesh to cover the holes left in the side panel and put some trim on it to dress it up a bit then hot-glued it into place.


    I also got a bunch of random parts soldered to the ProtoStack dev board to make it look more industrial-ish. All I need to do is wire up the LEDs that this board will be controlling.


    Thanks again to NZXT for sending me a 2M red LED strip!! I removed the module from it's PCI slot bracket and mounted it to a spare standoff hole on the backside of the motherboard.


    Then I removed the motherboard and hot-glued the LED strip to the case under it.


    Looks pretty sweet


    I also tested the fans and my fan controller and found that for some reason the Sentry 2 wouldn't even get the Turbine Master fans to even start spinning. 
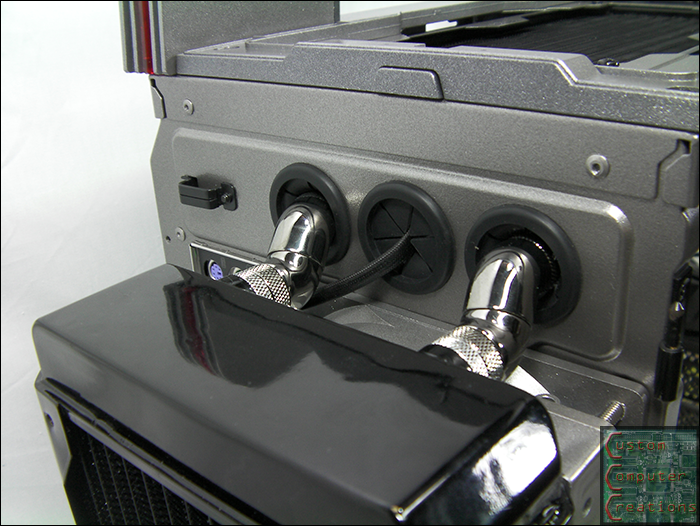
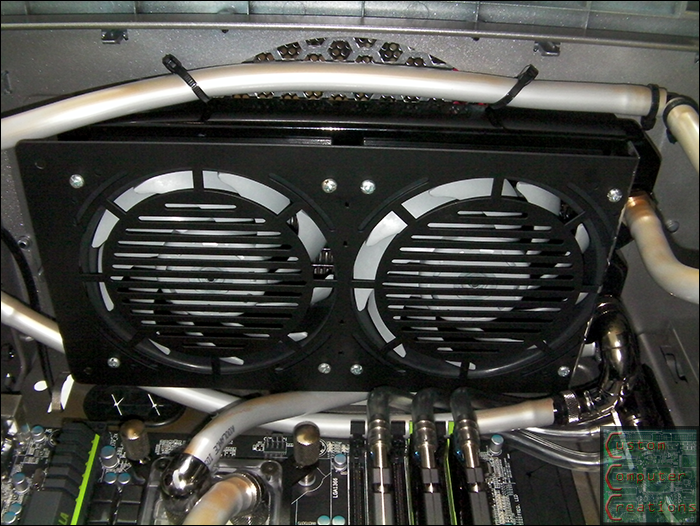
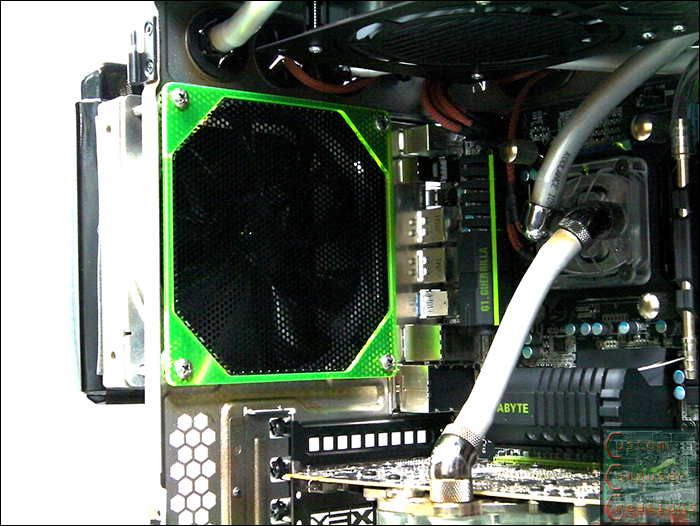
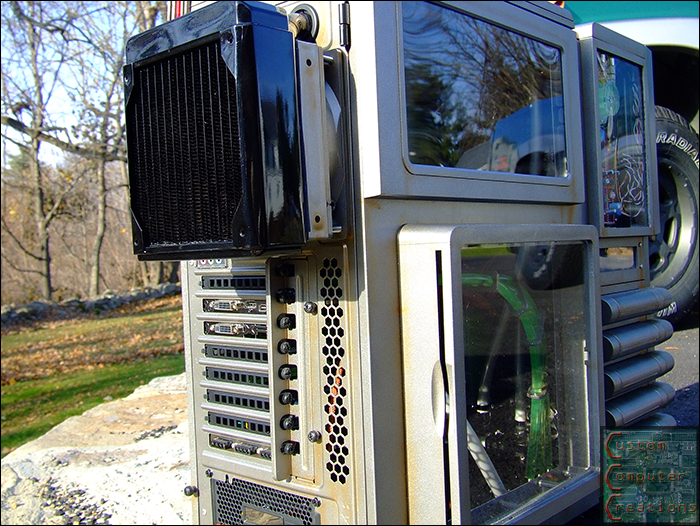
If you tapped the blades by hand they'd spin right up, but not from a dead stop. So I replaced them with a pair of Gentle Typhoons and a sweet ACRyan radgrill


    I also got my Indigo Extreme TIM installed on the CPU


    Next up I got all the UV LEDs sleeved. I started with the 2 3mm ones that go into the CPU block, then did the 5mm one in the res and also swapped out the 2 3mm blue ones in the flow meter with 2 3mm UV ones. The camera makes the UV look super bright, but with the coolant I'll be running it should look perfect.


    I also got 3 more WD Caviar Black 500GB drives to go with the one in my current rig. I plan to put the OS onto the 96GB SSD then do a RAID 1+0 with the 4 500GB drives.


    I got the SATA cables sleeved with the copper sleeving from MDPC-X. I must say, their sleeve is THE BEST! Dirt cheap and looks great!


    Speaking of sleeving, I did the PSU. I wasn't going to, but I had to. I did it with a mix of the copper brown and tungsten gray from MDPC-X. I did ALL the wires. I ended up cutting and extending the 8-pin CPU wires so they'd reach without needing the adapter that Tt included with the case. I also cut off the un-needed cables and heatshrunk the ends inside the PSU to keep things clean. Enjoy


    That's all for now!

  5. #25
    Resident 100HP water-cannon operator SXRguyinMA's Avatar
    Join Date
    Jun 2008
    Location
    MA
    Posts
    5,865

    Default Re: Maximum Security

    I put some zip ties on the PCI-e cables to clean them up a bit


    I also picked up these sweet aluminum hose clamps for all the 3/8" tubing. I wanted the same ones for the 1/4" but they were all out, so I got the standard plastic clamps


    I picked up this Bitspower radgrill for the rear fan


    But the green wasn't cutting it so I painted it to match the rest


    I also got a pair of Lian Li blank 5.25" drive covers and some military switches.


    I taped, marked, drilled and mounted everything


    The other holds a 16x2 LCD and a Bulgin button.


    I decided to go with a single LCD versus the 2 for simplicity's sake, and the fact that I only really needed one anyways. I also painted both panels to match as well.


    Now I figured I'd do something different with the 1/4" clear tubing for the RAM. I wanted them to do something rather than just be there. So I tried some different routing setups and settled on this one. I cut up some spare plexi I had laying around, sanded, drilled and painted, and here is the end result. This will look sick once the fluid is in there


    That's all for now. I've been working a lot with the coding for everything lately. All that's left to do really is finish the switch wiring, finish the airbrushing and integrate the flow meter into the coding one the system is up and running!

  6. #26
    Resident 100HP water-cannon operator SXRguyinMA's Avatar
    Join Date
    Jun 2008
    Location
    MA
    Posts
    5,865

    Default Re: Maximum Security

    Another update

    I designed, etched and assembled the 2 circuit boards I'll be needing now that I'm only using 1 LCD. One board will house the ATMega328 and all it's associated components as well as have all the I/O pins for the accessories. The second board will mount to the LCD directly and allow me to use a 2x5 ribbon cable instead of the breadboard-friendly layout as the LCDs come.

    I used Fritzing to create the layouts and the PCBs.

    I started off by laying out everything in the breadboard view.


    I used that to create the PCB layouts as seen here. From the breadboard point to the ready-to-print PCB point was about 2 hours. This consisted of moving parts around the boards to get the best possible layout.


    Next I created etchable .pdf's (done with Fritzing) so I can print out the boards. You'll notice one side is mirrored. This is because when you transfer the image it'll come out oriented correctly.


    Here the boards are printed out and cut out. They are printed with a laser printer onto inkjet photo paper. The reason for this is that the toner, which is plastic, will not adhere to the inkjet photo paper. This will allow it to be transferred to the copper clad with an iron.


    Here are the top sides all transferred.


    Here I've drilled a set of holes and inserted pins through them. I use these pins to line up the back side traces for transferring.


    Fast forward a few steps and you've got a pair of freshly-etched and drilled boards ready for assembly! The blobby-ness on the traces is from a sharpie. If you get mostly good transfer but have a few little patches where it didn't stick you simply use a sharpie to draw it in. It works as an etch resist almost as good as the toner itself.


    And here we have the pair of completed boards. I still need to test these to make sure they're working 100%


    That's all for now!

  7. #27
    Resident 100HP water-cannon operator SXRguyinMA's Avatar
    Join Date
    Jun 2008
    Location
    MA
    Posts
    5,865

    Default Re: Maximum Security

    It's aliiiiiive!!!!!


    After doing the reflow procedure for the Indigo Extreme TIM Temps are VERY nice I'm getting ~34ºC idle and topping out at ~48ºC under Hyper Pi, OCCT and Prime95.

    All that's left to do is finish the coding and the wiring! Also, my coolant will be here this week, stay tuned

  8. #28
    Resident 100HP water-cannon operator SXRguyinMA's Avatar
    Join Date
    Jun 2008
    Location
    MA
    Posts
    5,865

    Default Re: Maximum Security

    Minor update!

    I painted the CPU retention bracket to match the rest of the case


    I also got a pair of 12" UV cathodes installed the the side door. I ended up reusing the touch connector that came with the case for this. it simplifies the wiring a lot


    Next up I wired up 4 LEDs and hot-glued them into the top part of the front side window. The LEDs are all warm white colored.


    And it's now finished! But you'll have to wait until tomorrow for the good pics. In the meantime here's a few teaser shots


  9. #29
    Resident 100HP water-cannon operator SXRguyinMA's Avatar
    Join Date
    Jun 2008
    Location
    MA
    Posts
    5,865

    Default Re: Maximum Security

    Here's the final pics and video! Enjoy!


    Link to Original Worklog
    Last edited by jdbnsn; 02-22-2012 at 12:06 AM.

Posting Permissions

  • You may not post new threads
  • You may not post replies
  • You may not post attachments
  • You may not edit your posts
  •