-
 Re: Maximum Security
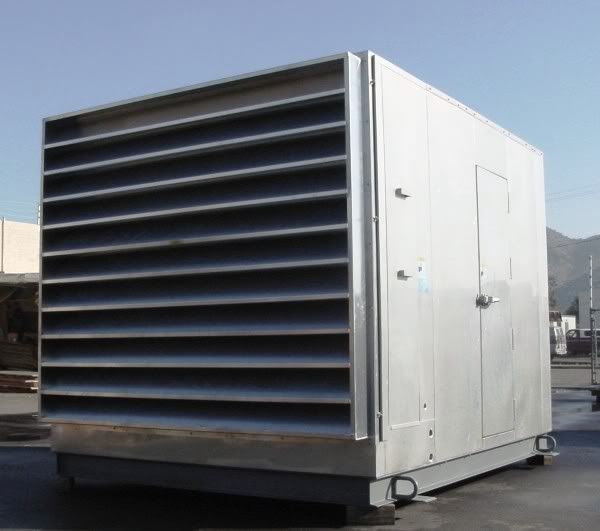
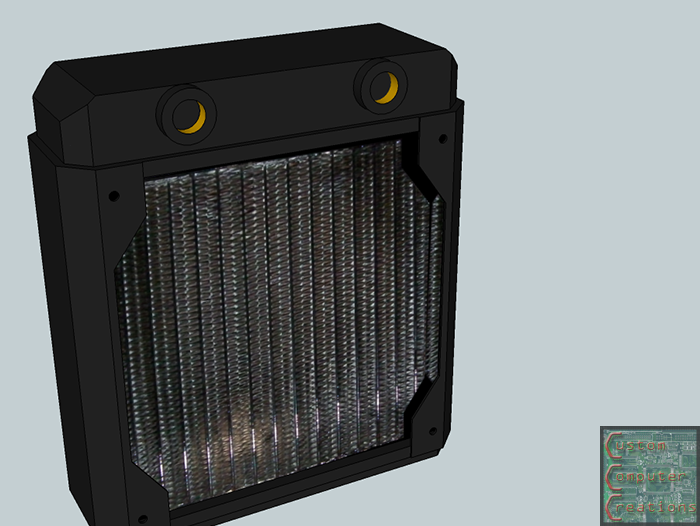
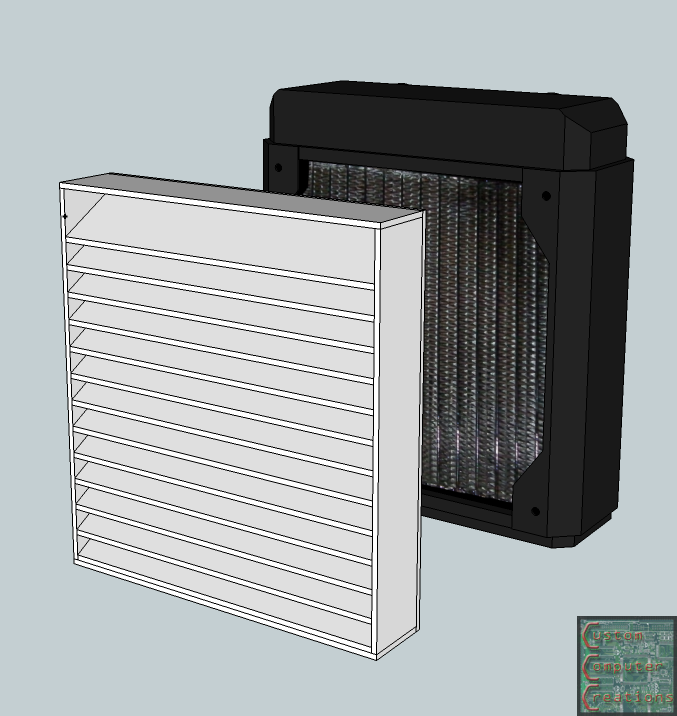
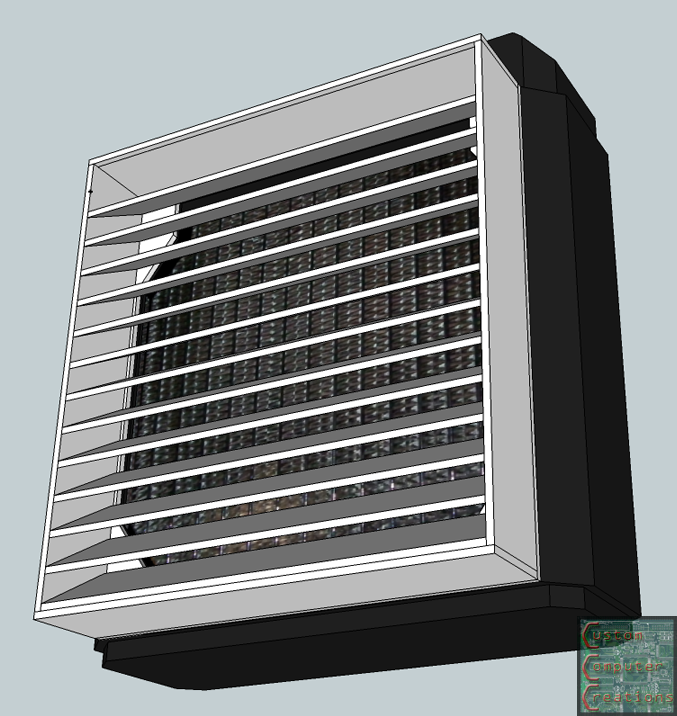
I did some work with SketchUp tonight. I want to dress up the radiator since it will now be hanging off the back of the case rather than be inside it. I used my Black Ice 140 radiator to make one in SketchUp. Then I used the following picture of an industrial rooftop A/C unit to design a shroud that will screw to the backside of the radiator and fit in with the overall theme of the project. I plan to make this shroud out of white styrene sheet just like I made the louver assembly for my Tempest SXR (http://www.thebestcasescenario.com/f...d.php?p=289709) mod a while back. Enjoy the pics 
-
-
Re: Maximum Security
Update time!
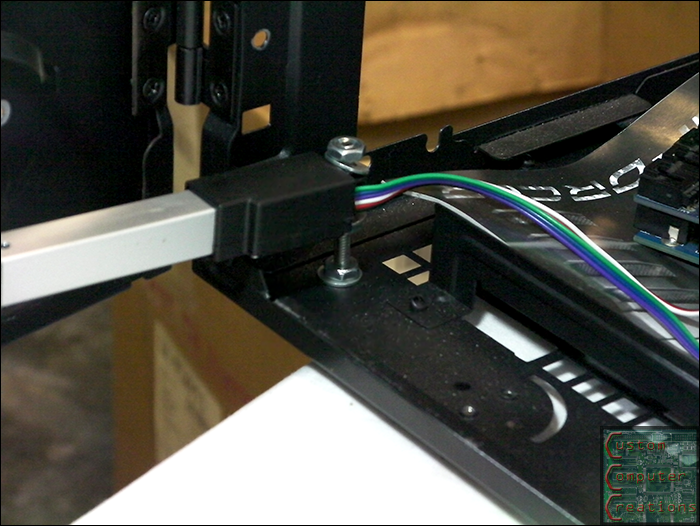
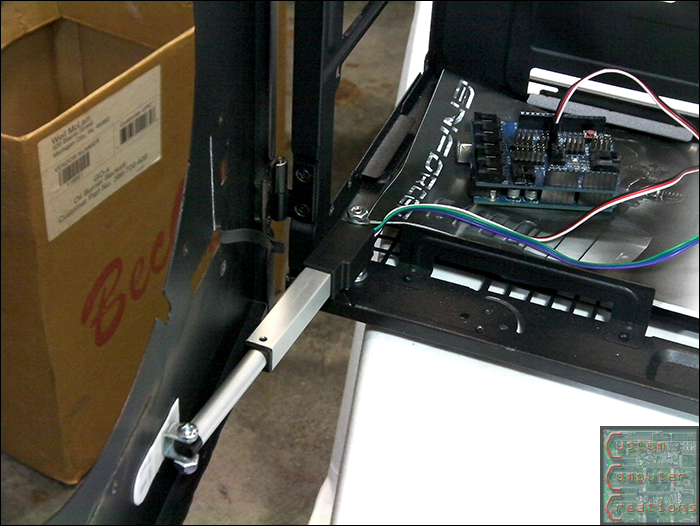
I got the actuator mounted! I used a hole that was already in the case as the rear mount, and used double-sided tape for the front to get the positioning correct. I set the actuator to full close, closed the door and stuck it on. It doesn't open 90º, but it's like 88º
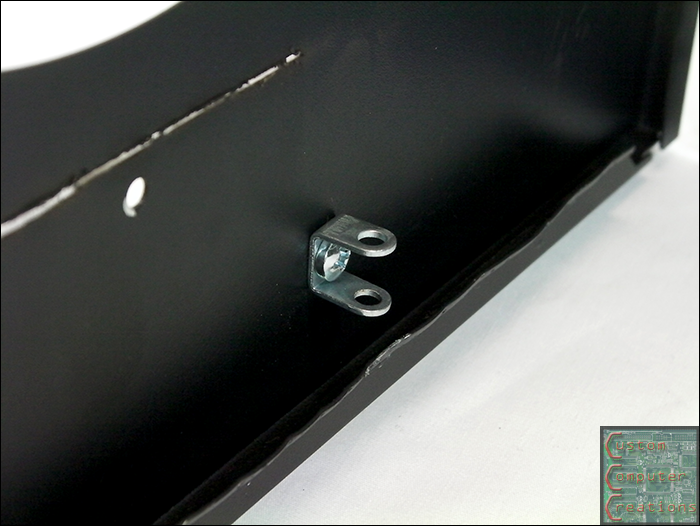
Once I got the position correct and verified, I drilled the side panel to mount the bracket for the actuator. This nut and bolt will not be the final parts, they're just there for temporary mounting.
I also used a jigsaw to finish cutting out the rest of the side panel, then filed it down nice and smooth. I still need to do some finish grinding and filing to get the edges nice and straight, but it's a start.
Then I mounted the plastic covers back to the side panel to stiffen it, and retried the actuator to make sure everything was 100%
And a video, of course I set the code to run the actuator full open, wait 9 seconds, then full close, repeat. The reason for 9 seconds is that it takes ~4 seconds for the actuator to fully extend or retract.
-
-
Re: Maximum Security
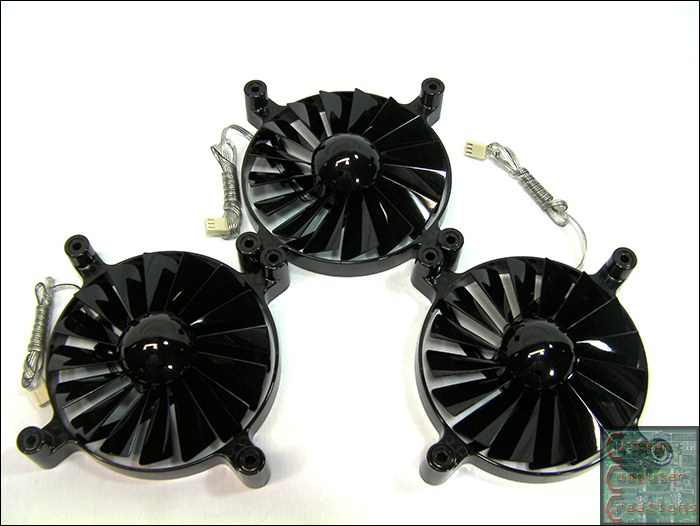
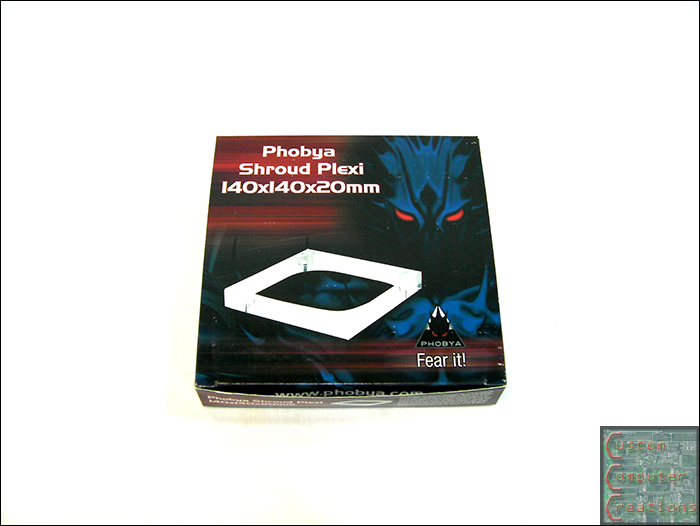
Minor update. Got some goodies in
3 120mm Cooler Master Turbine Master 1800RPM fans
A Phobya Radiator Gasket
A Phobya 20x140mm radiator spacer
Black Ice Pro II 240mm low profile radiator
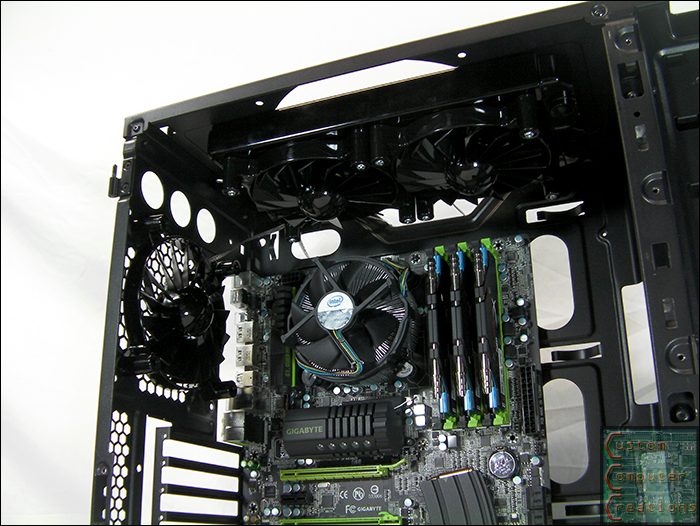
Fans mounted to top rad
And how it looks installed in the case. The rear 120mm fan will be as shown, with the rad spacer and 140mm rad behind the case. The spacer is necessary so that the fittings from the top of the rad will be able to go through the LC holes in the case.
-
Re: Maximum Security
think you could use a larger gauge bolt, with a bolt sleeve and some washers for the actuator arm?
then join the actuator arm with the bolt sleeve (maybe with epoxy), use two washers between the bolts and larger diameter washers between the mating surface of the chassis? maybe with some skateboard/bicycle bearing grease between the washers and inside the bolt sleeve.
and some bolts to extend that couple on the door would let it extend out the full 90 degrees or better.
just a idea though.
-
-
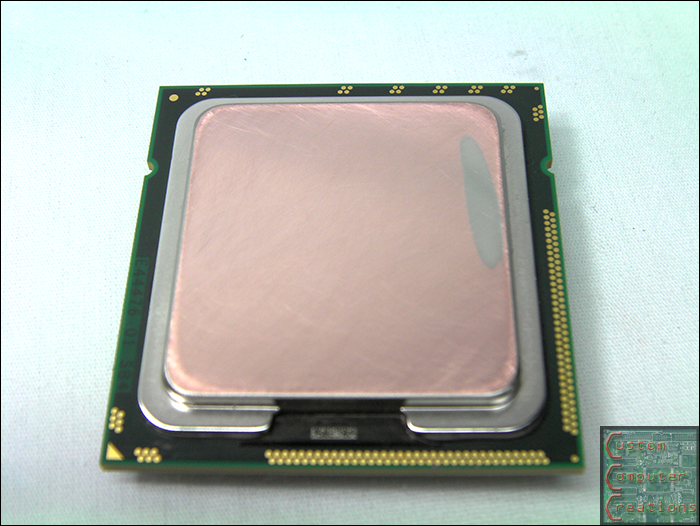
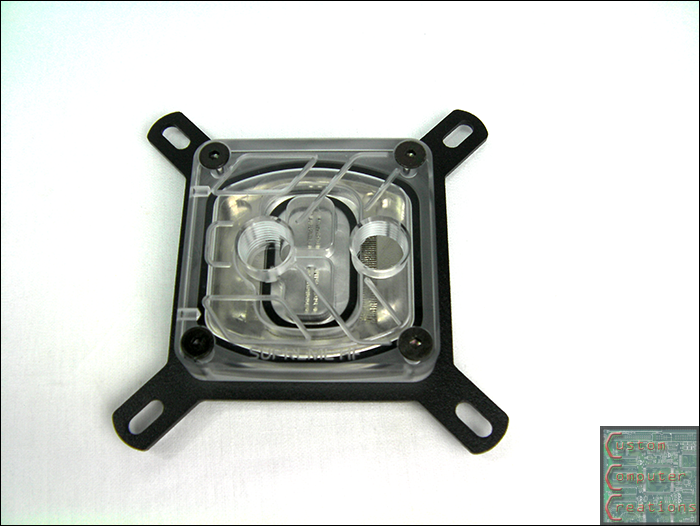
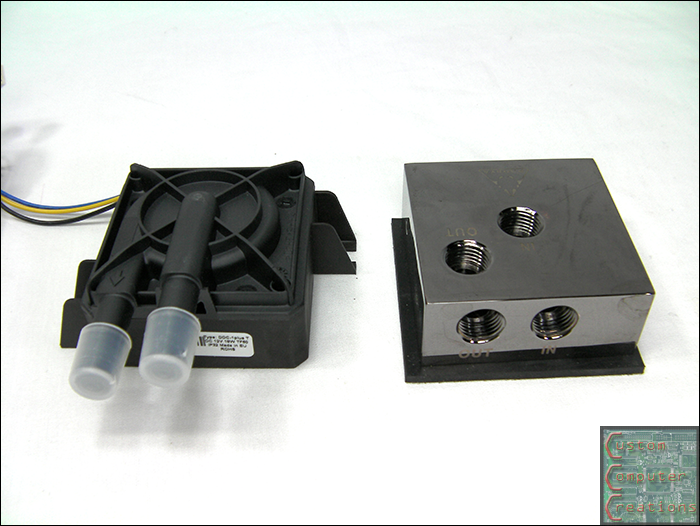
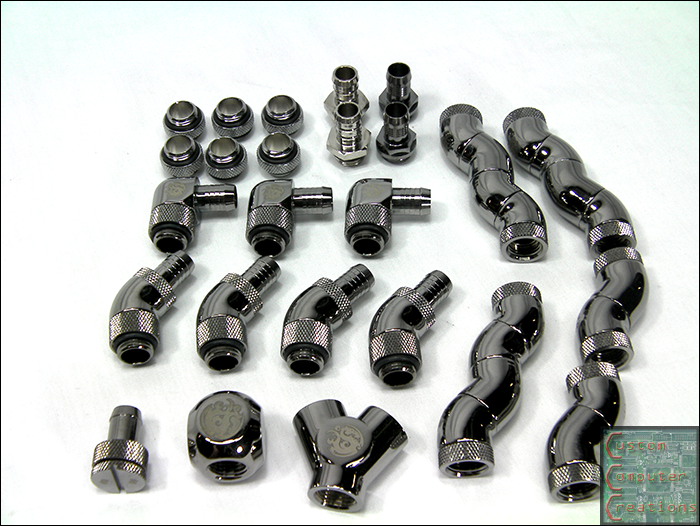
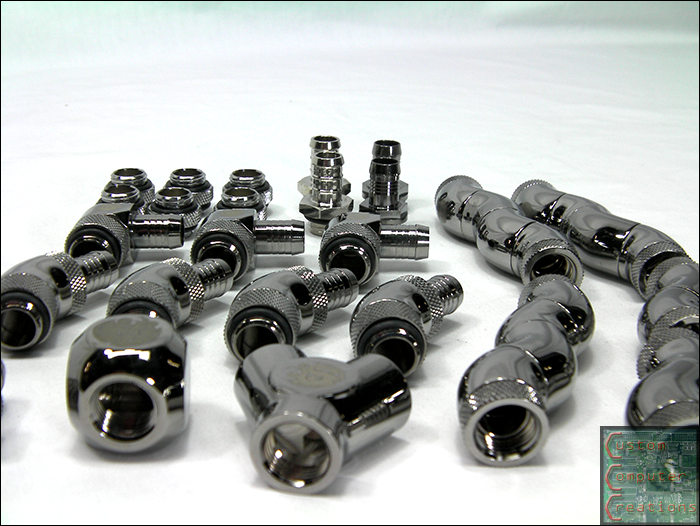
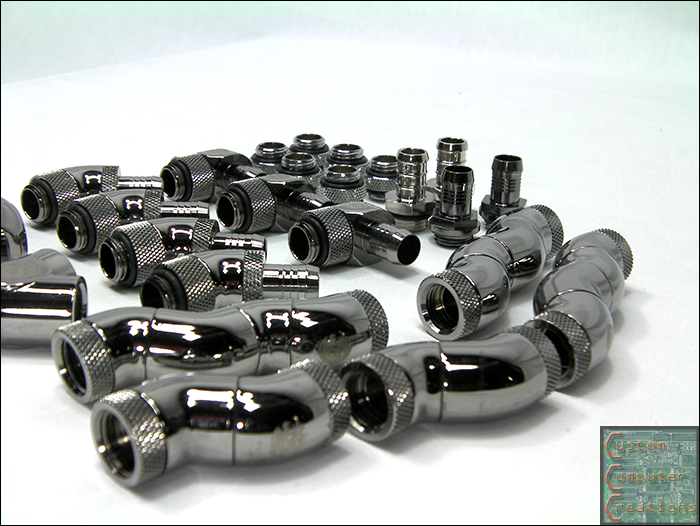
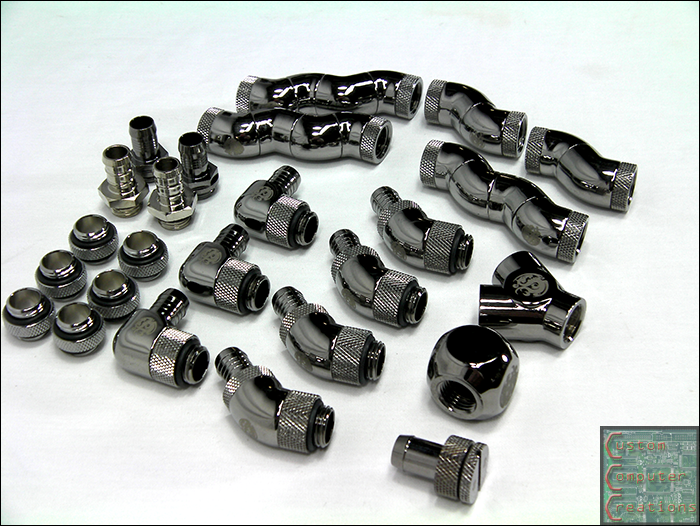
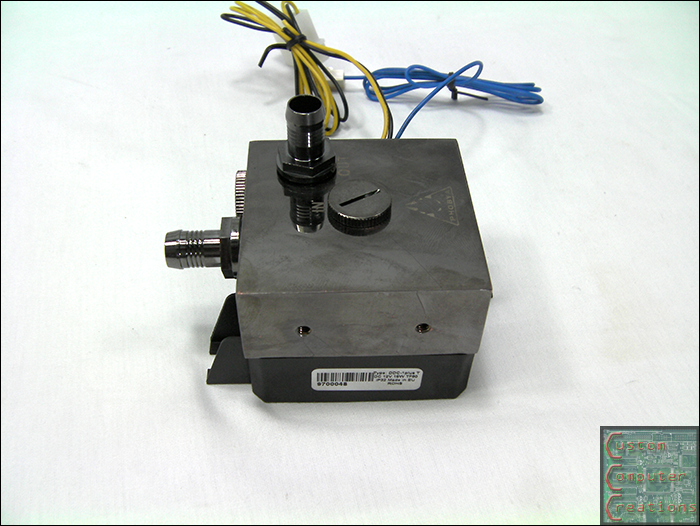
Re: Maximum Security
Parts are in. Enjoy
EK-Supreme HF CPU block
Laing DDC pump with Phobya Black Nickel pump top
Phobya Balancer 150mm Black Nickel res
And a nice pile of Bitspower Black Sparkle fittings
-
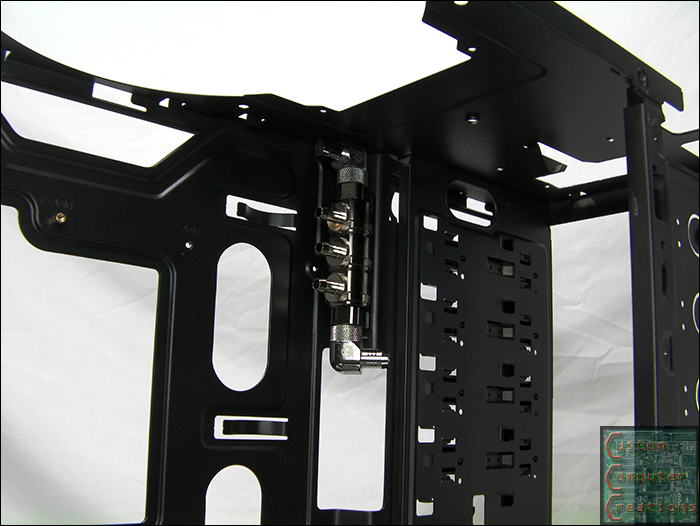
Re: Maximum Security
Big update this time, I got a lot done this weekend!
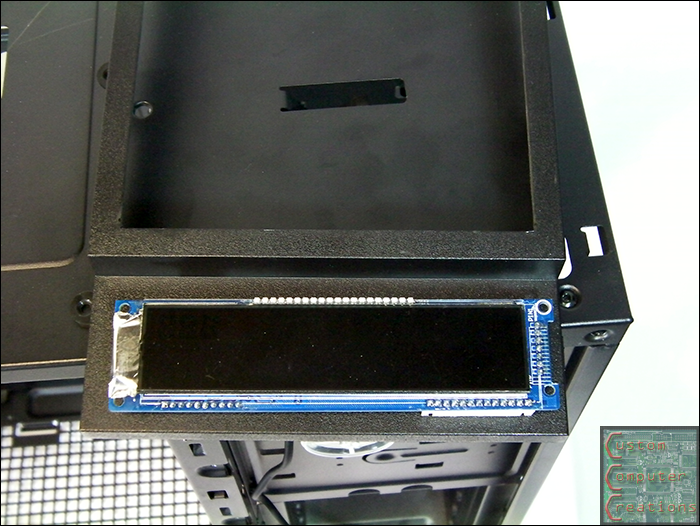
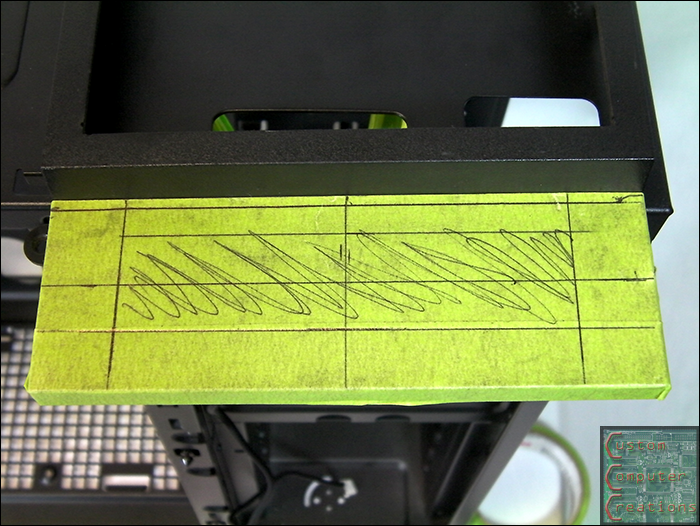
I got the top 3-way splitter's mounting holes drilled.
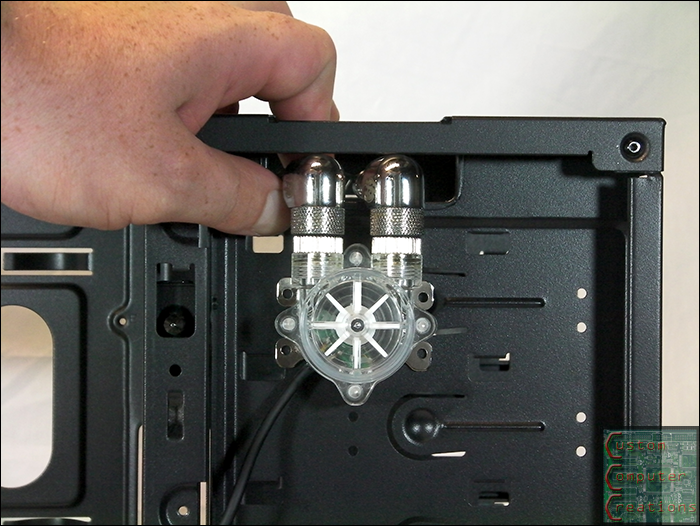
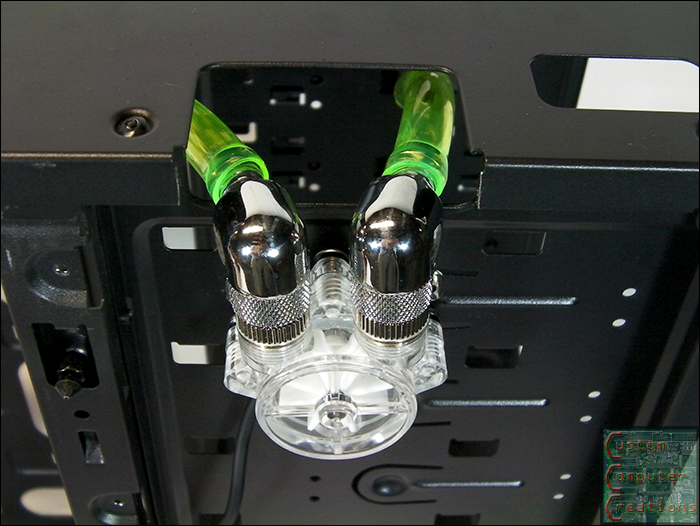
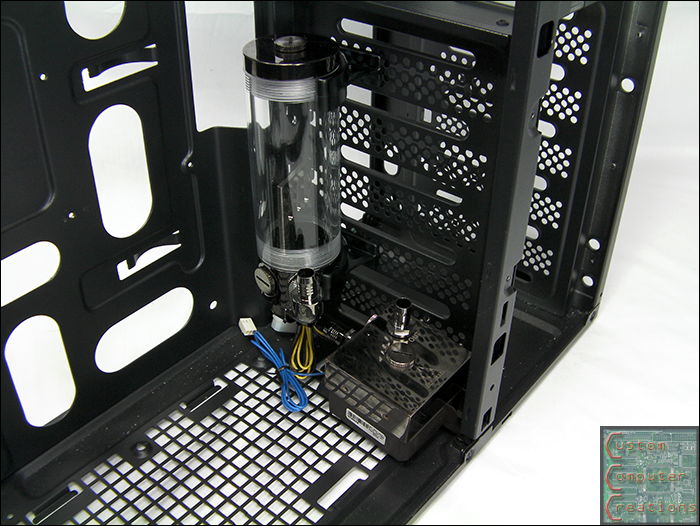
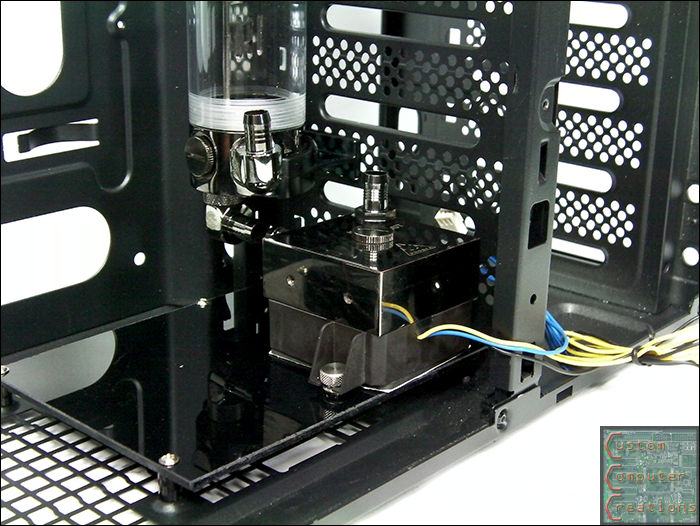
I also got the Phobya pump top mounted. Damn is that thing heavy!
Then I got the res and pump temporarily installed to check fitment.
Then I made up a pump mount plate from black acrylic. I used the 4 120mm fan mounts in the bottom of the chassis to mount it, along with 4 rubber dampers.
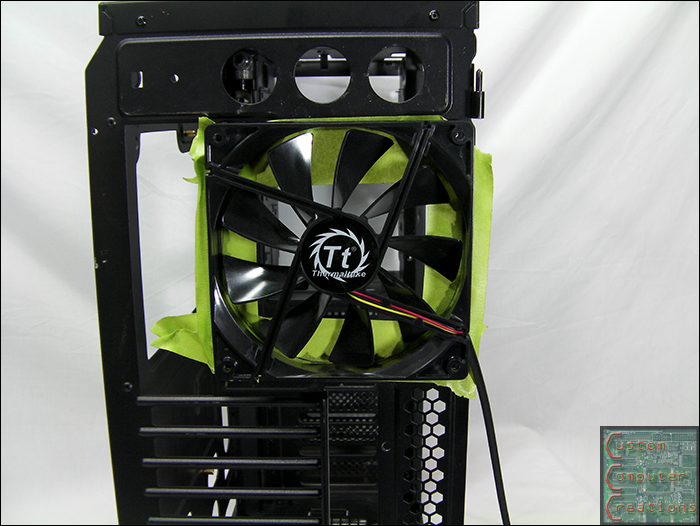
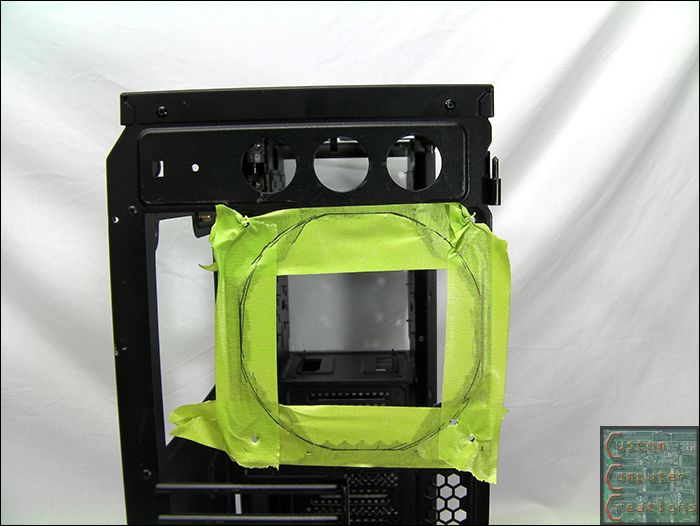
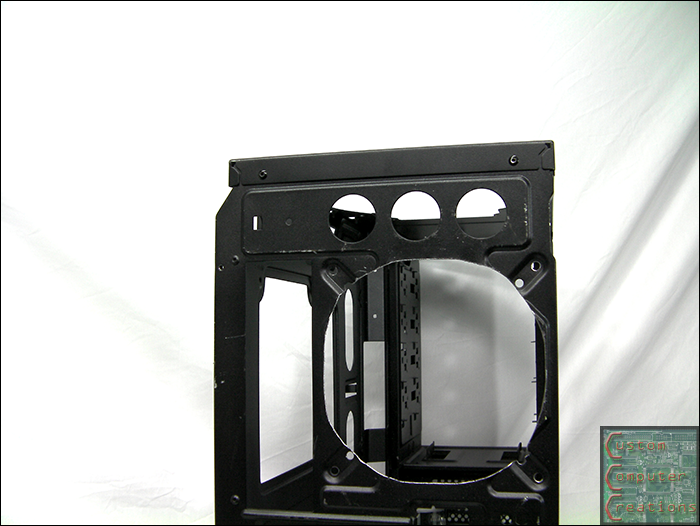
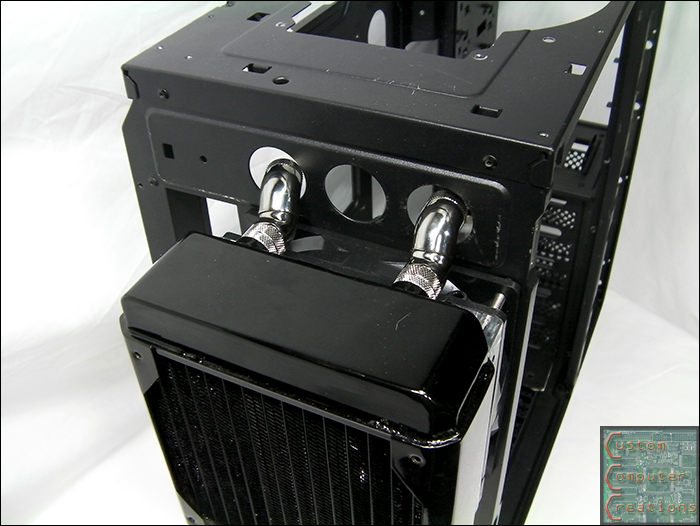
Then I ran into an issue with the rear radiator. I thought just the single Phobya rad spacer would be enough, but it wasn't The fittings still wouldn't fit in the holes. I found that if I used a 140mm fan on the outside of the case then put the rad spacer and rad on that they fit perfectly. So I decided to not use the 120mm turbine fan and use the 140mm fan that came with the case because it's still got that look I want. I decided to cut out the rear of the case so you'd be able to see the fan.
Now the fittings line up nicely! I had to run to the hardware store and get some 10-28 x 3" SS screws to hold everything together. I drilled and tapped the rad to accept the larger screws (for strength) and cut the screws down to about 2.25".
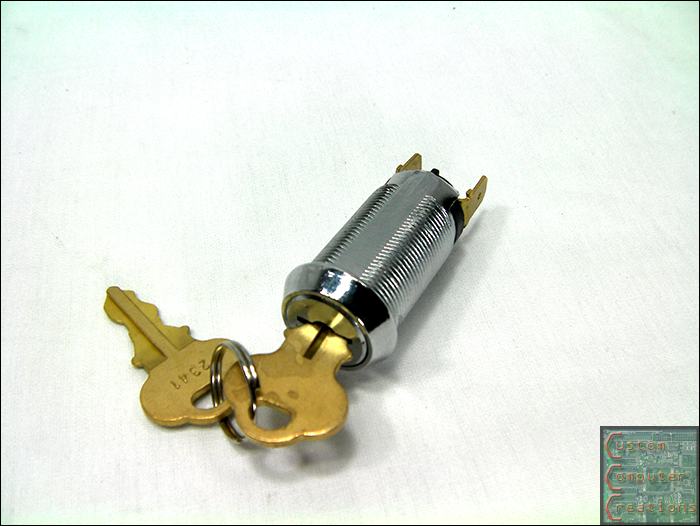
I also picked up this cheap momentary key switch off eBay for $3.
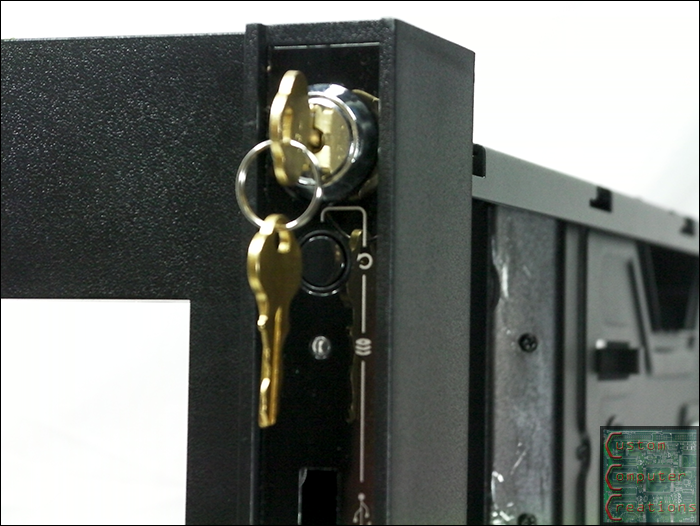
I drilled out the stock power button mount and installed the key switch. It fits in there perfectly.
I had to cut the stock button mount in half to clear the key switch. I'll still need to either modify the steel part of the case or bend the tabs on the switch to make it fit 100%
That's it for now! Once my motherboard comes back from Gigabyte I can get the bottom 3-way splitter mounts done, then it'll be time to drill out a TON of rivets and paint the case! Stay tuned
-
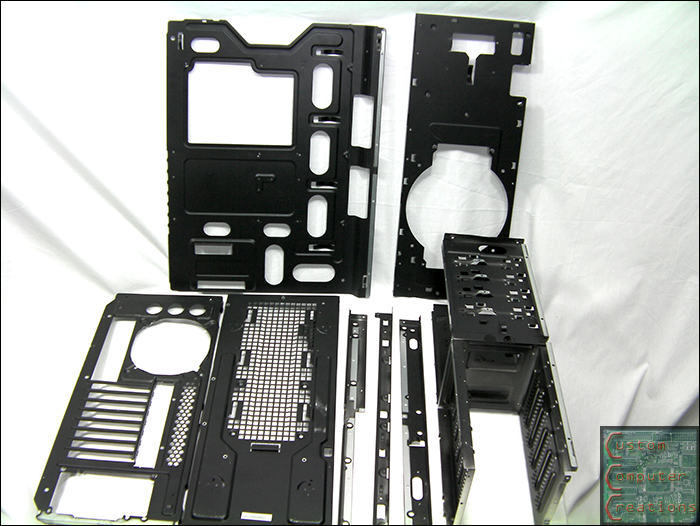
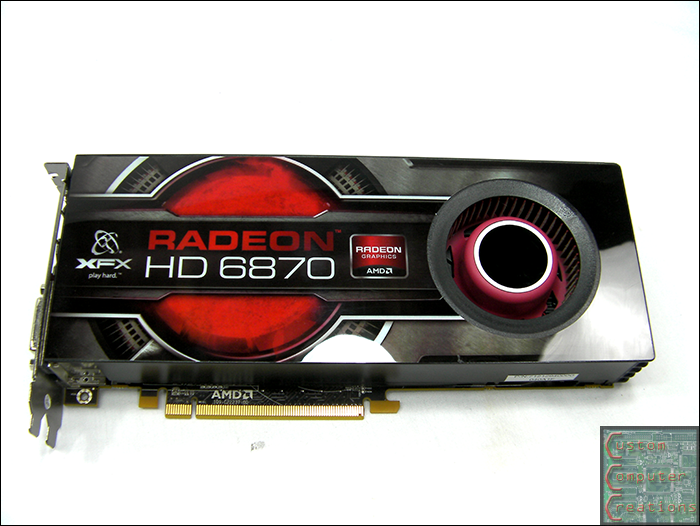
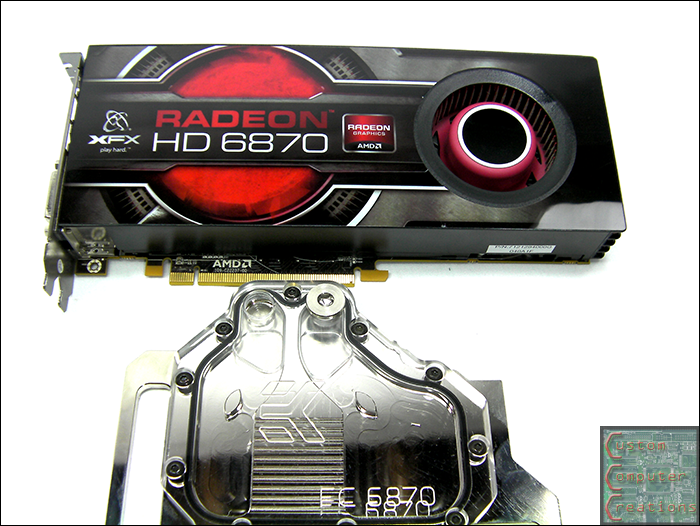
Re: Maximum Security
Minor update.
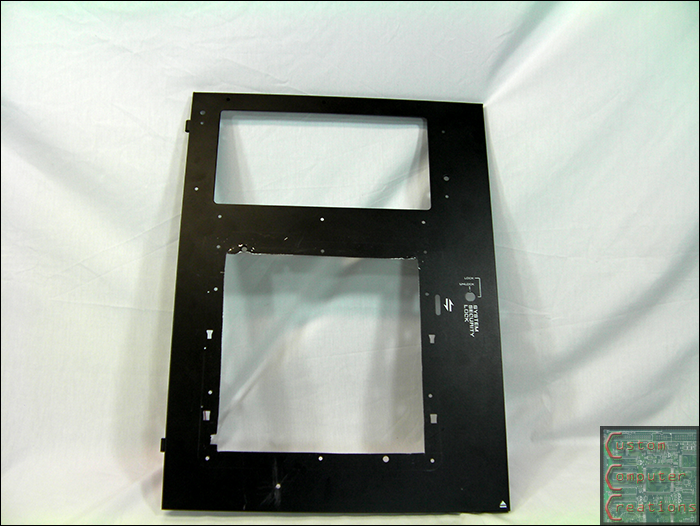
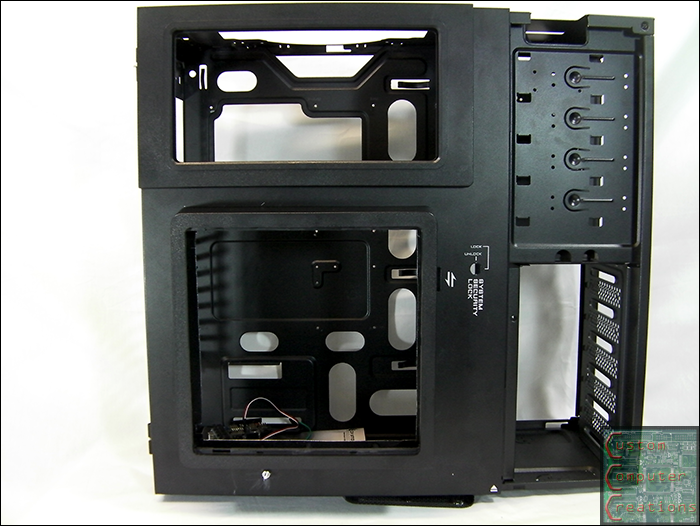
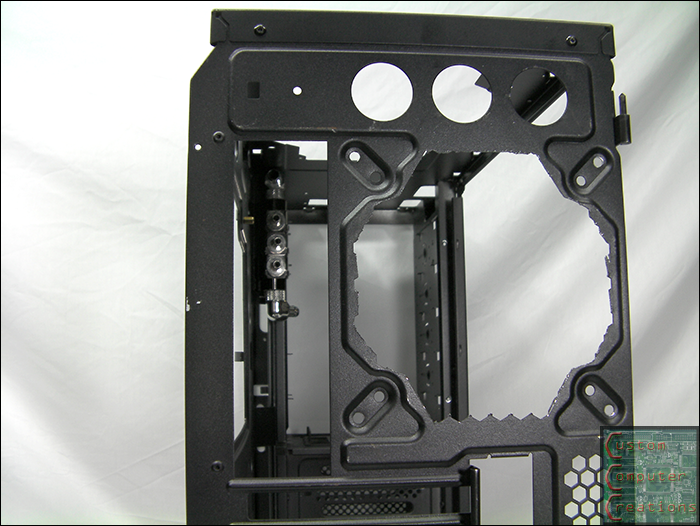
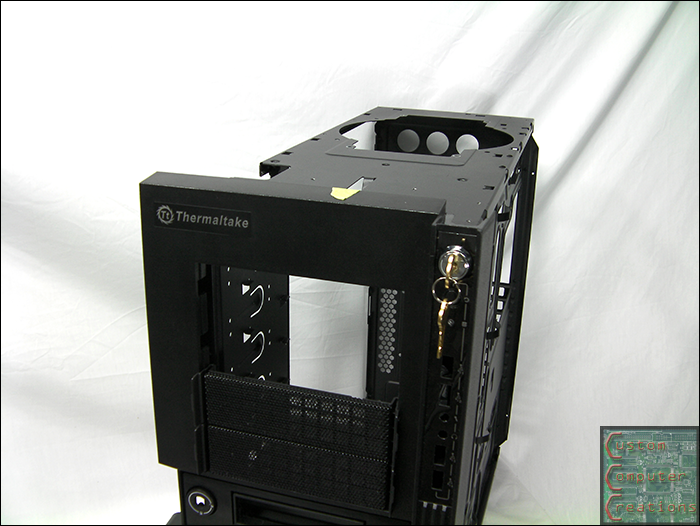
I got the case disassembled (mostly). I plan on leaving the drive bays as a single piece like they are for ease of assembly later.
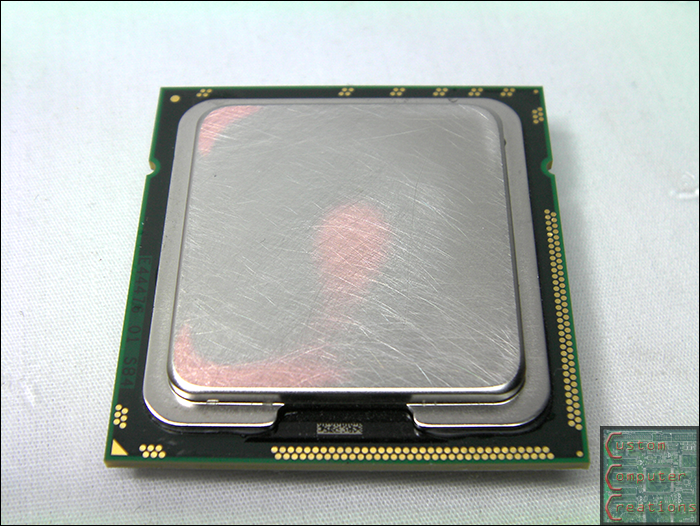
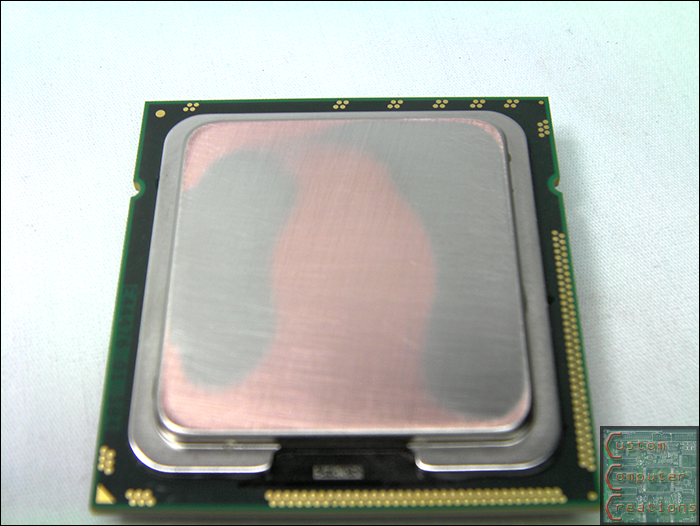
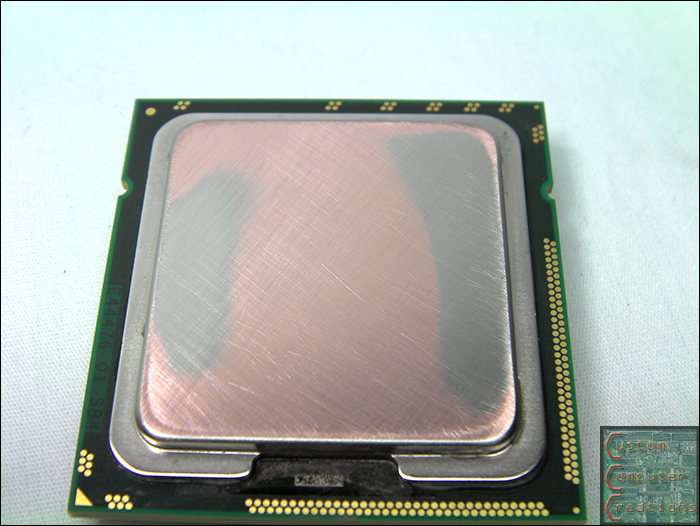
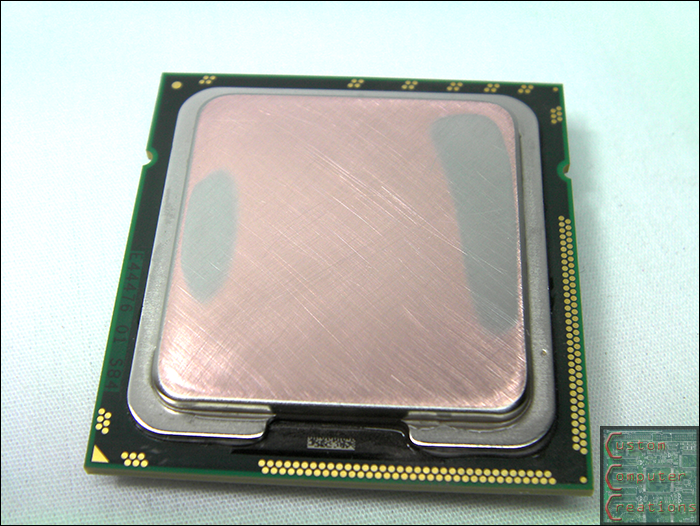
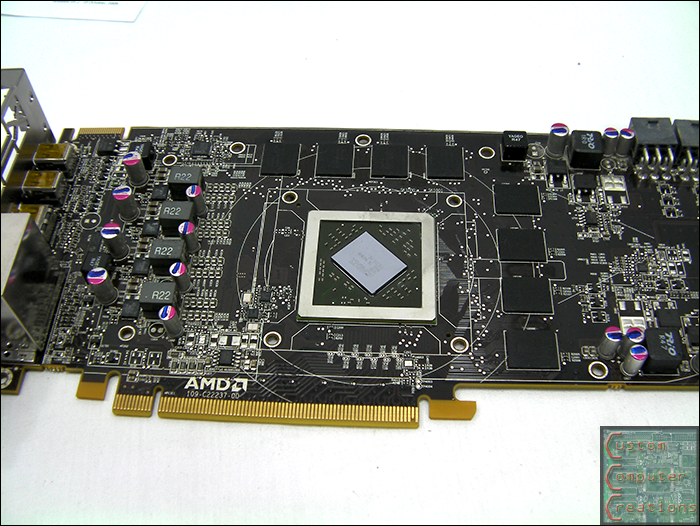
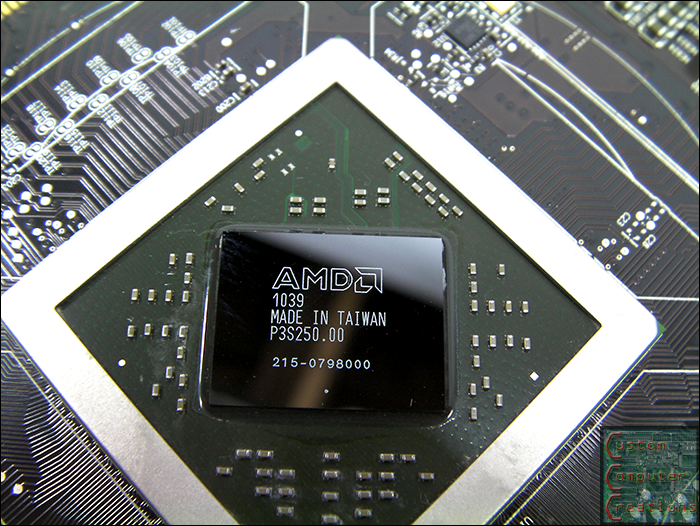
I also got the EK waterblock mounted to my 6870.
Bye bye warranty!
All cleaned up and ready to go.
MMMmmmm shiny
All ready to install!
I should have the case painted this weekend. I've got to steal the garage for a few days to paint. Scuff, primer, sand, primer, paint!
 Posting Permissions
- You may not post new threads
- You may not post replies
- You may not post attachments
- You may not edit your posts
-
Forum Rules