-
 concretronic
Hello,
I hope you still know me if no, I´m the guy with the PC in a tree trunk, the PC in shape of a sinecurve and I try to build a PC in shape of a sail with 24 carat leaf gilding.
Well unfortunately I have to intermitted the project golden sail because I was one of five persons who could take part in the be-quiet! casecon contest.
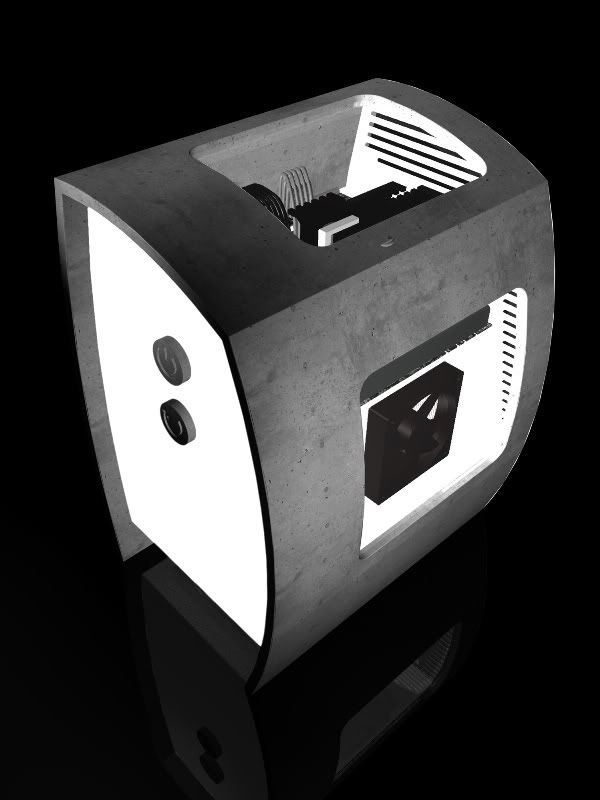
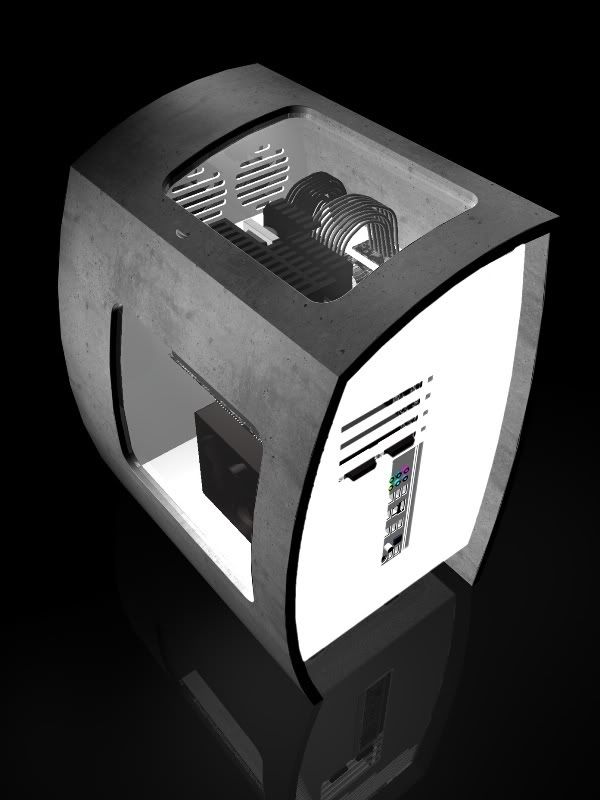
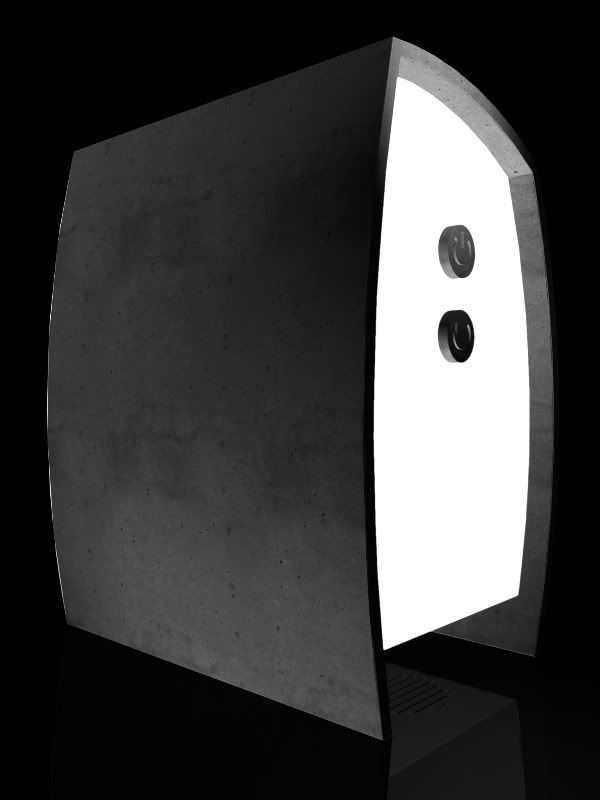
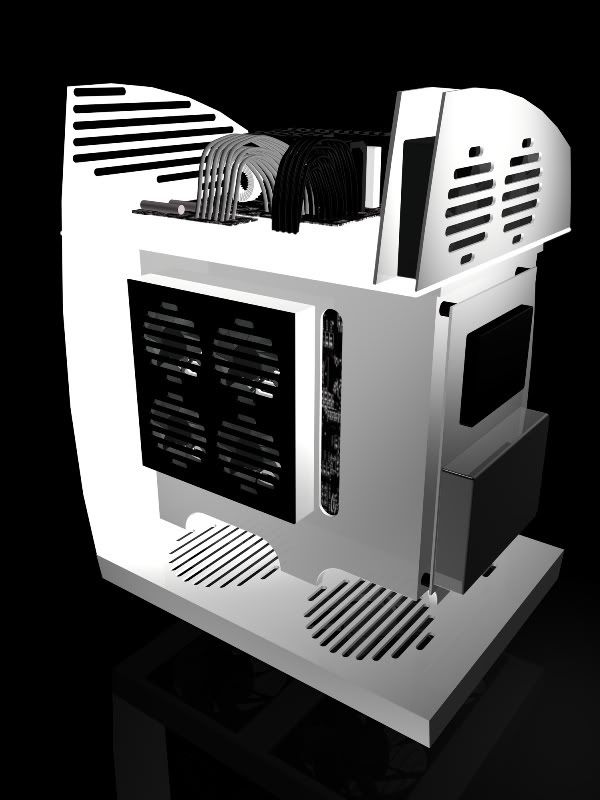
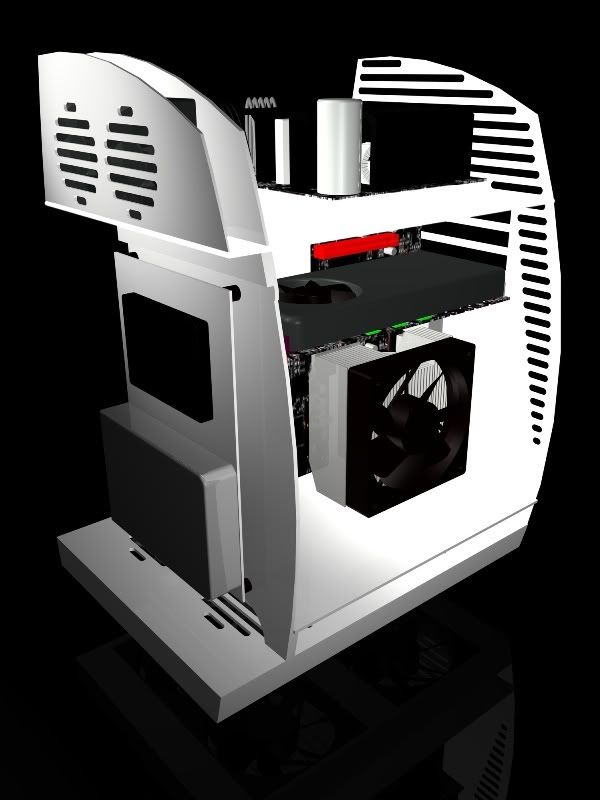
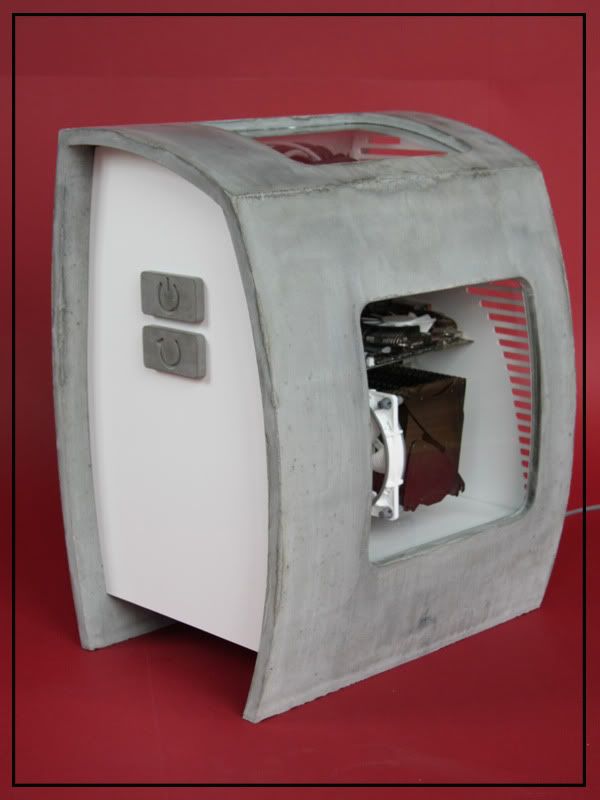
The motto of the contest was See you PSU with our eyes, as heart of your PC and at the following pictures you could see my concept for the contest.
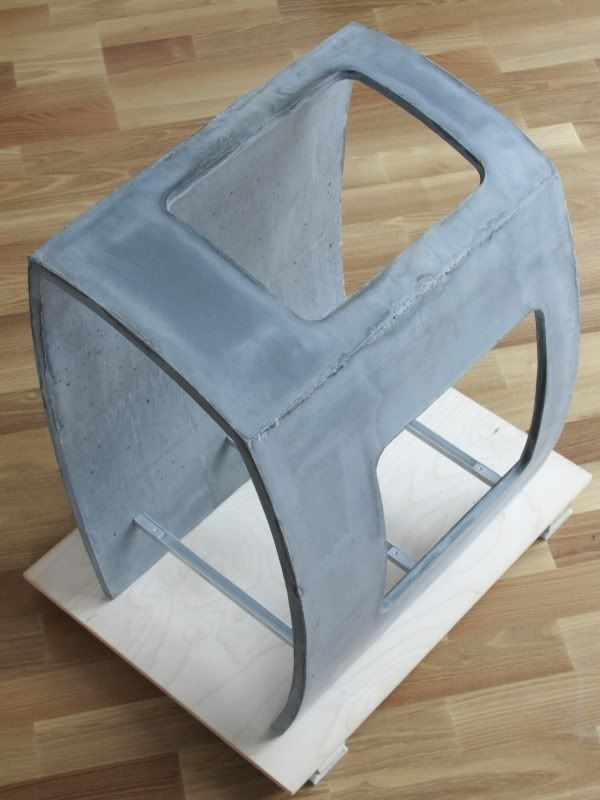
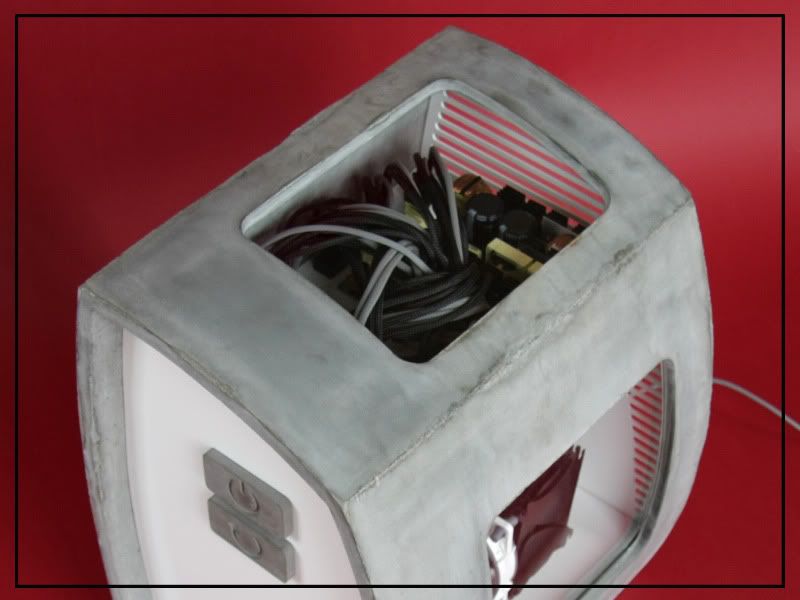
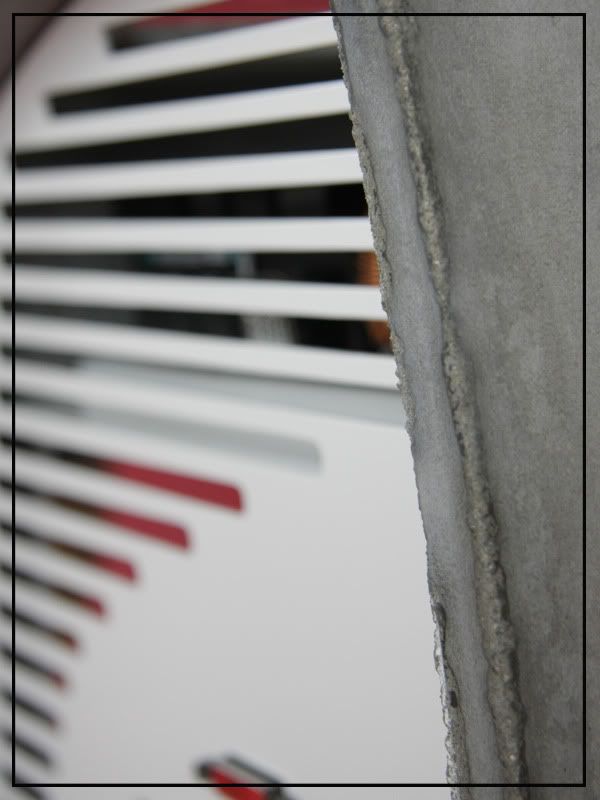
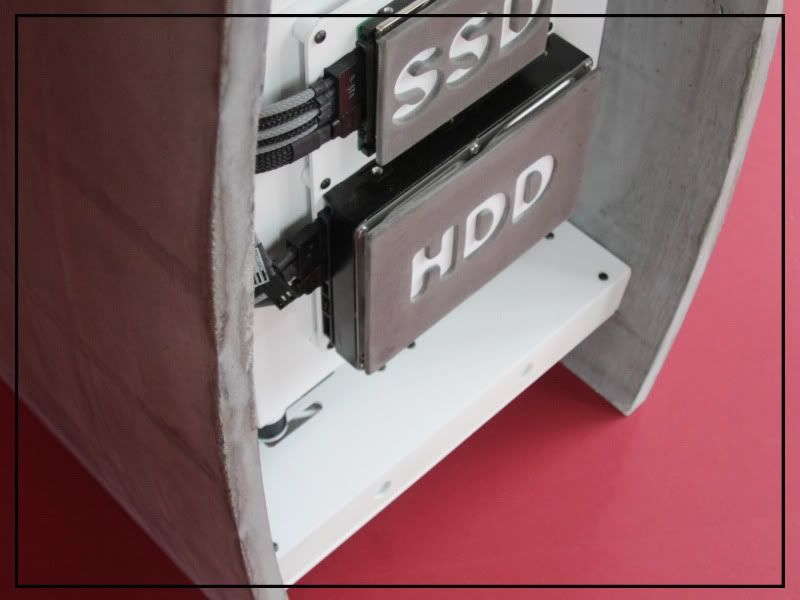
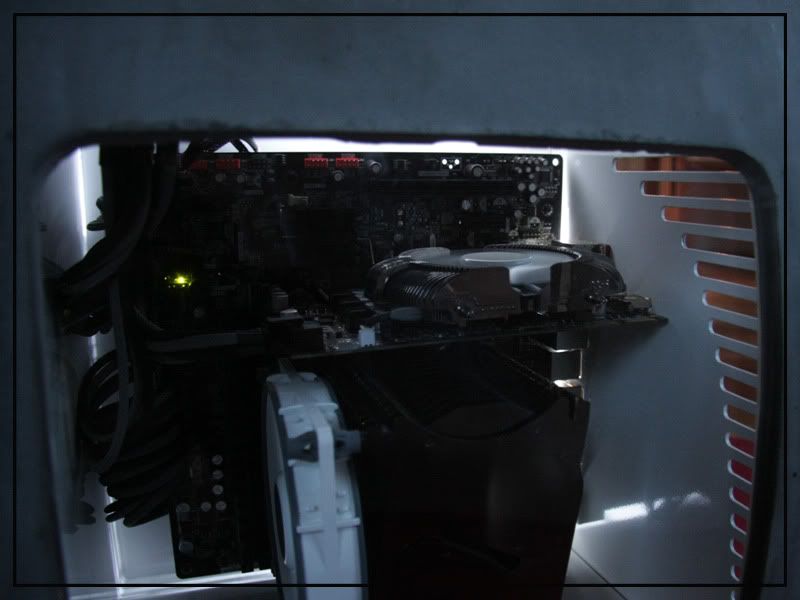
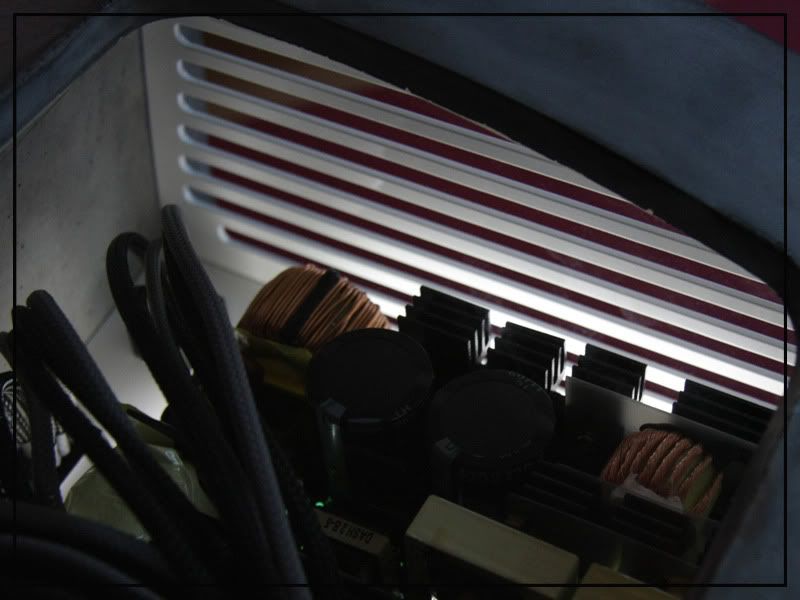
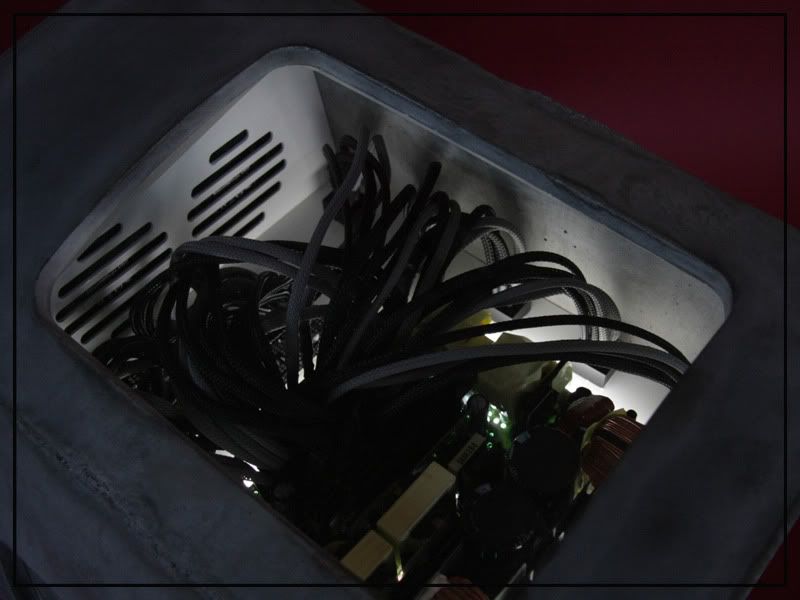
The shell of this PC should be made of real concrete and it should be flawless and seamless that means that I needed one shuttering and in the shuttering I had to integrate the windows and the fixing for the other parts of the case. To give the PSU something special was my plan to mount the PSU-board in the upper part of the case and sleeve all cables.
With this plan in my head I started with the shuttering for the concrete.
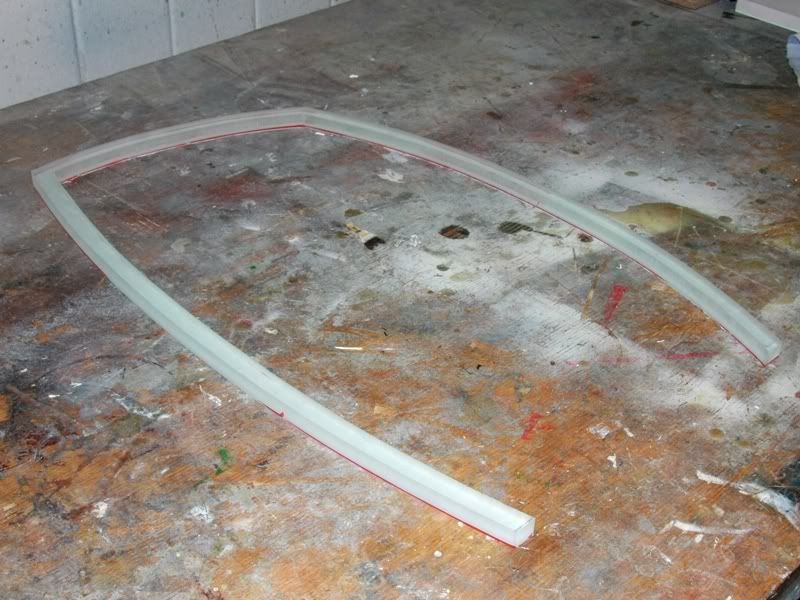
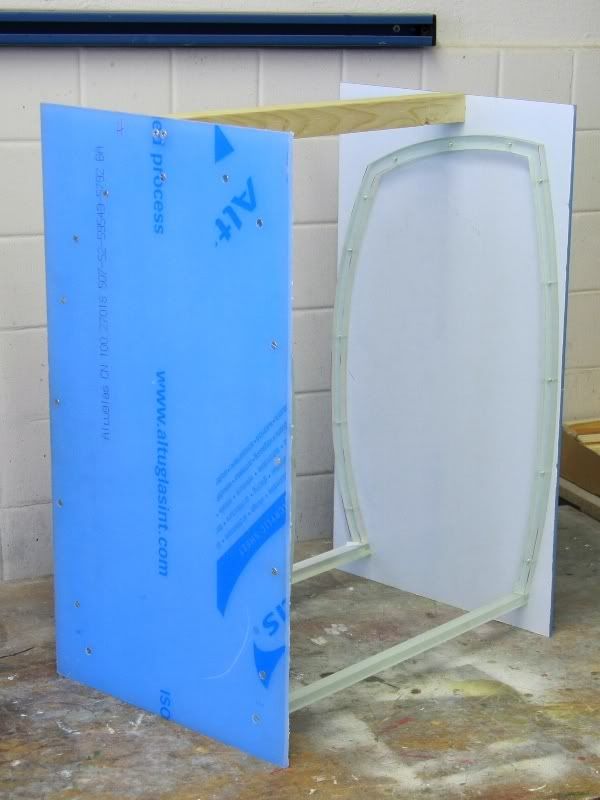
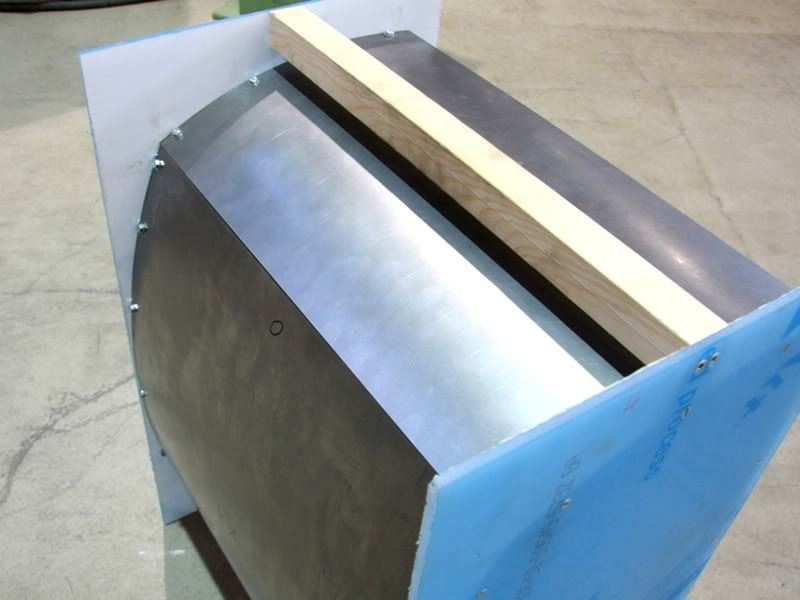
In this arc made of Plexiglas I bored later a lot of M4 threads to fix the steel sheets on it. Because only one arc isn´t so practical for fixing I made a second on, stabilized them with two Plexiglas sheets and connect the two ones.
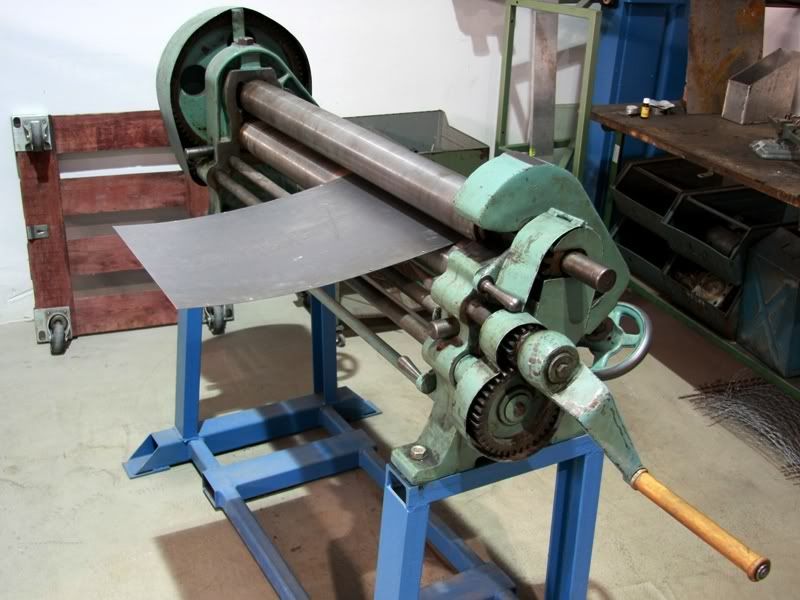
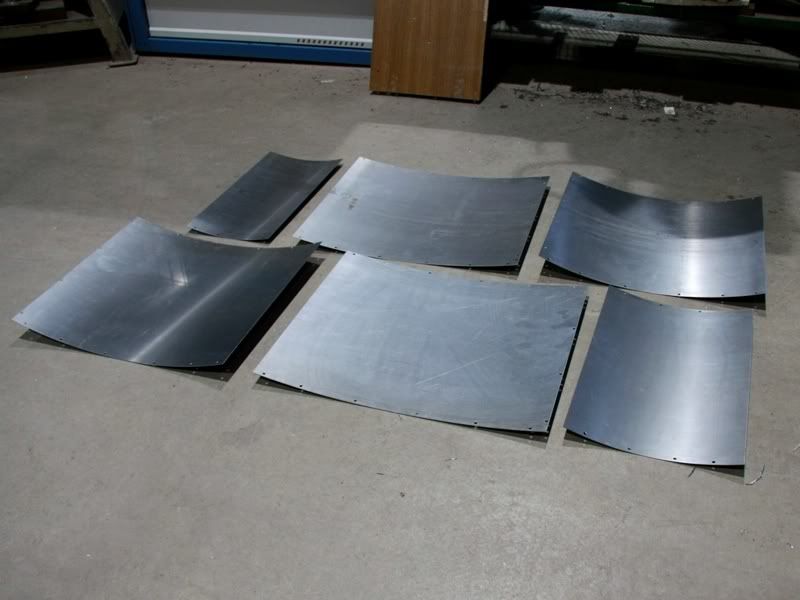
Ready with this I could start with bending the steel sheets.
I used 1,5mm steel and for the whole shuttering I needed ca. 1 square meter steel sheet.
After bending them all I drilled a lot of holes in the steel and transfer them to the Plexiglas arcs. Now I was able to drill the M4 threads in it to fix the sheets later on it.
Now I changed the material from steel to Plexiglas at the one hand 10mm thick and on the other hand 4mm thick. With this Plexiglas I made the empty space for the two windows in the concrete case.
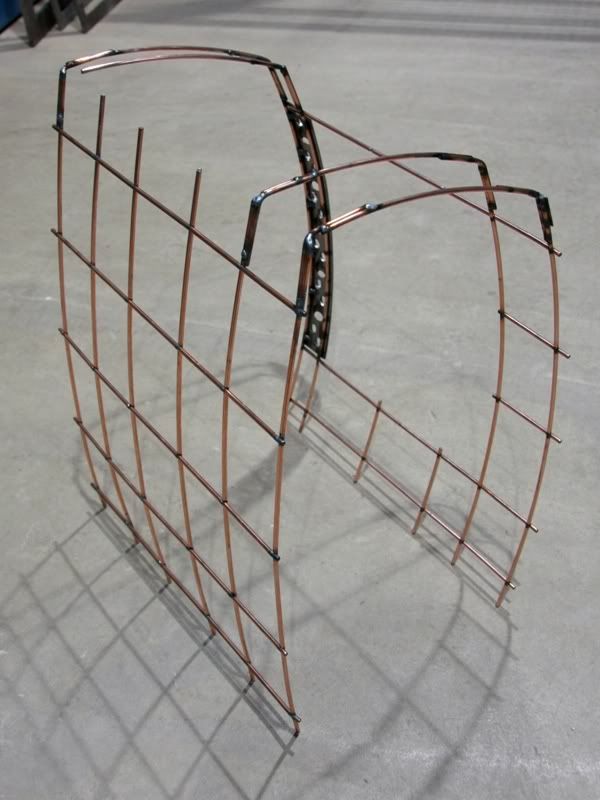
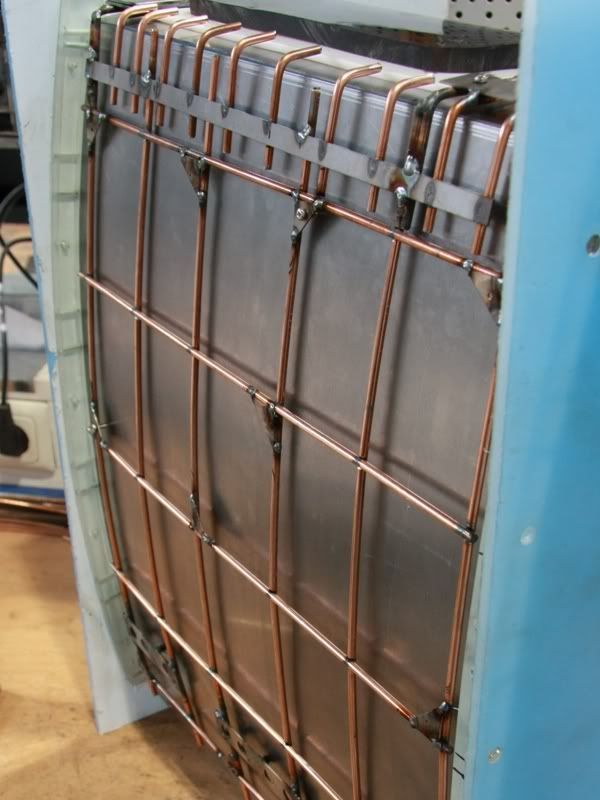
After the shuttering was build I could started with the armor for the concrete. For this I used 4mm welding rod, 1,5mm steel sheet and some screws.
To build the shuttering and the armor I needed nearly 2 months but I had to make all very exactly because of the deadline I hadn´t a second chance.
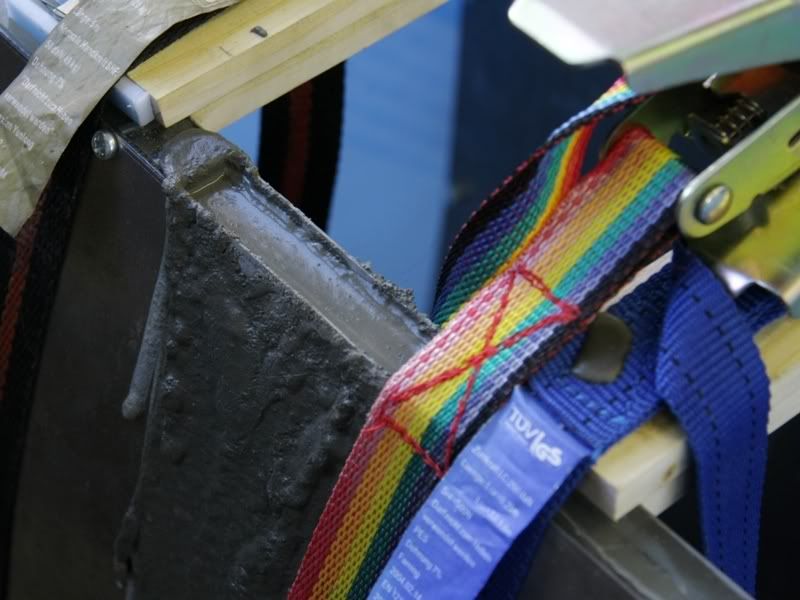
I had to walk all over the down town to bring the shuttering to the construction engineer where the concrete came into it.
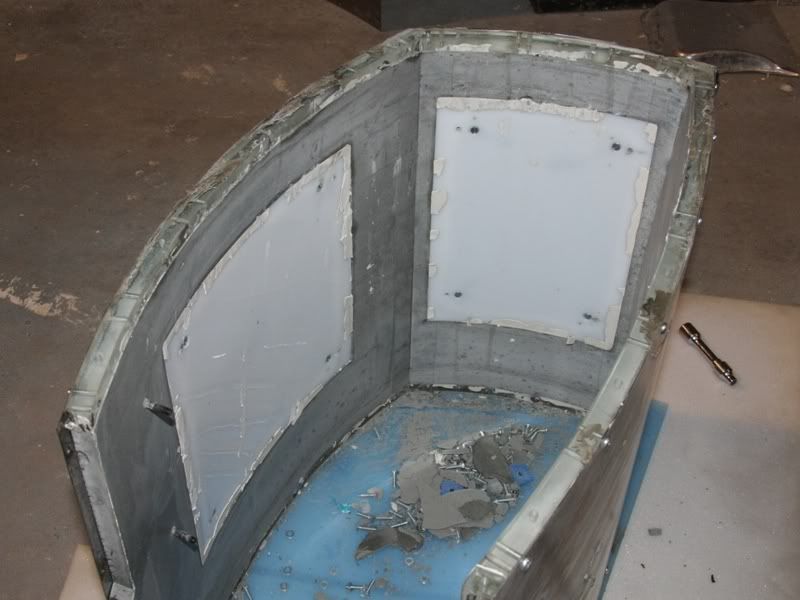
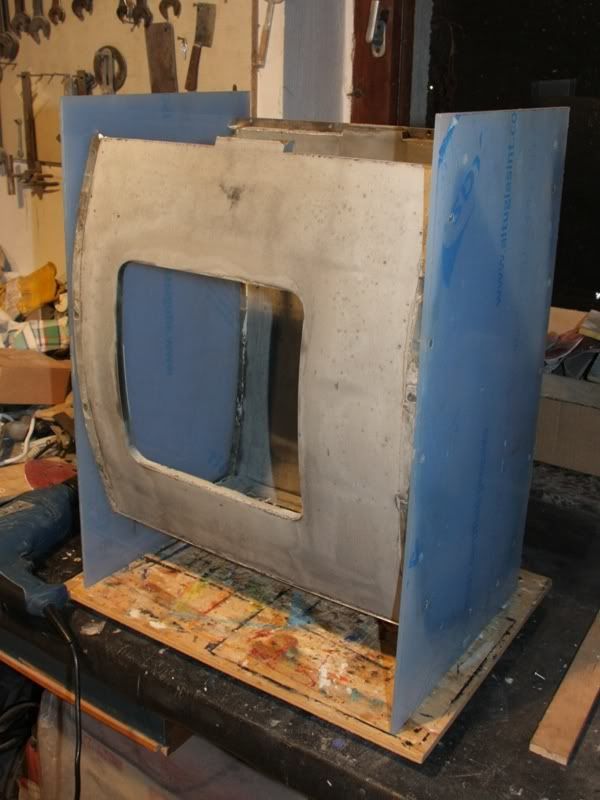
When the concrete was hard the decisive moment for this project came the taking off from the shuttering.
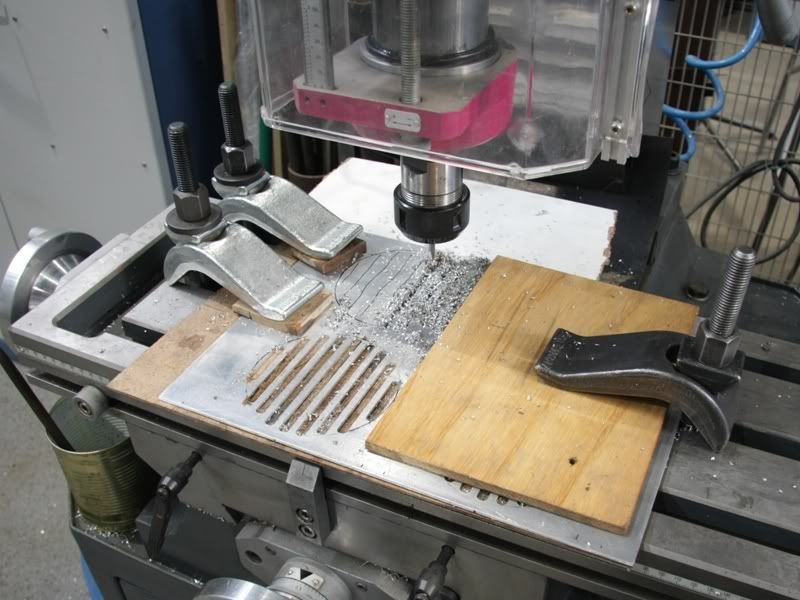
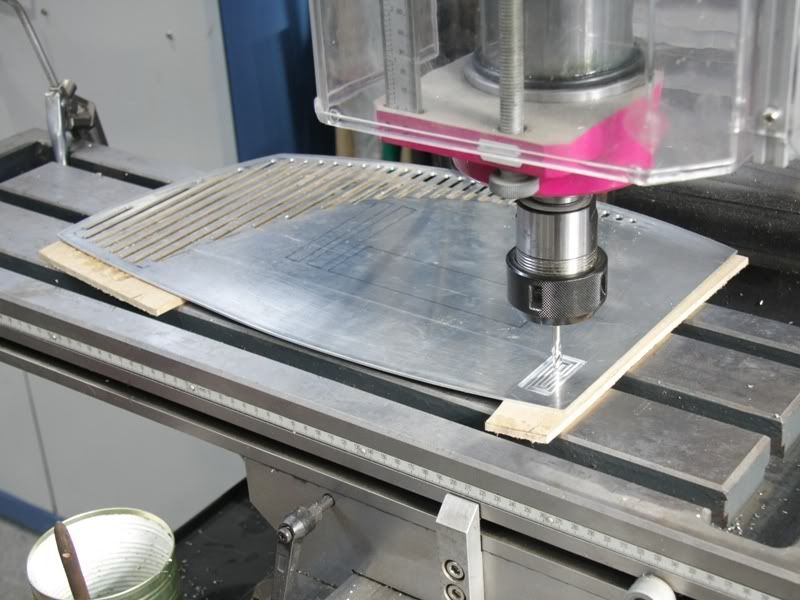
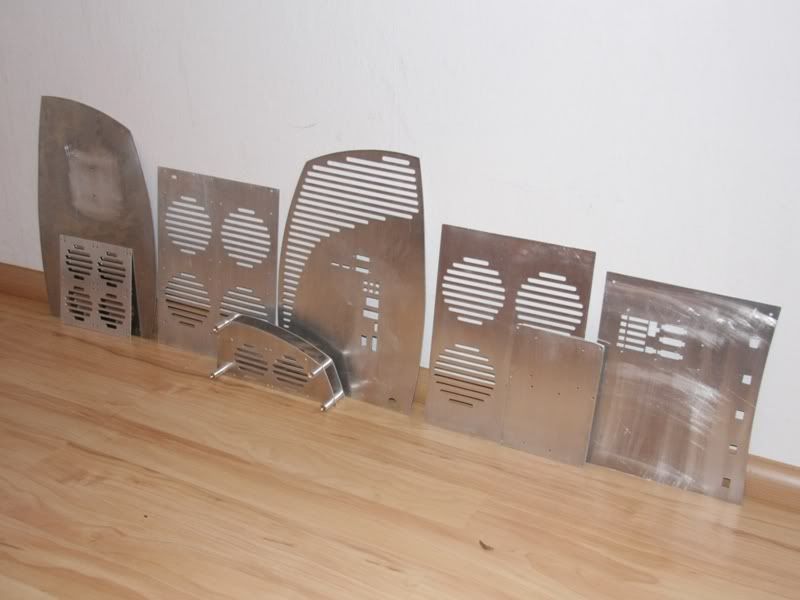
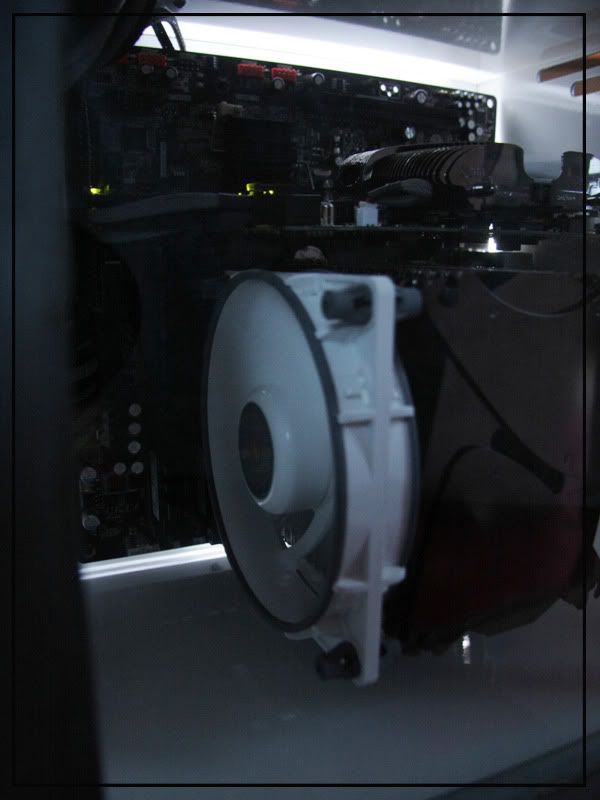
How you could see at the pictures the big time involved was worthwhile and I could started to fit all the aluminum sheets I needed for the front, the back, the bottom and the for the fan grills.
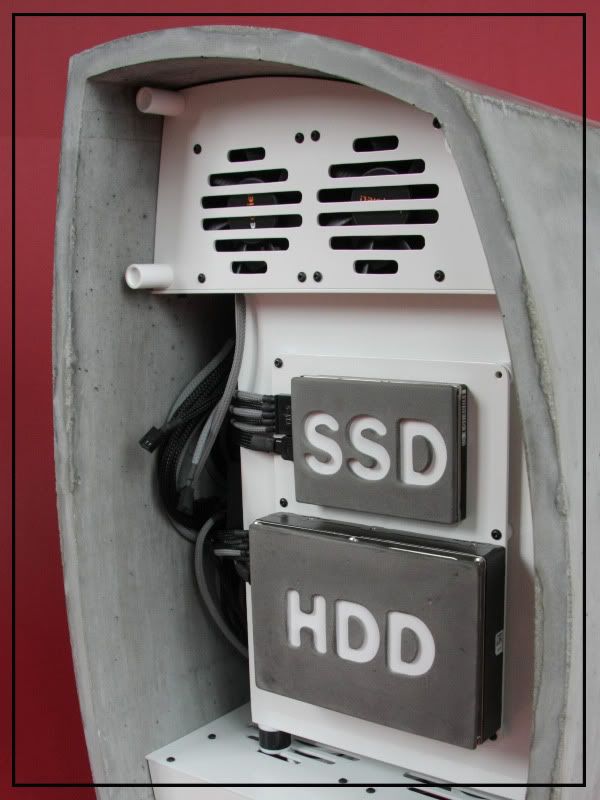
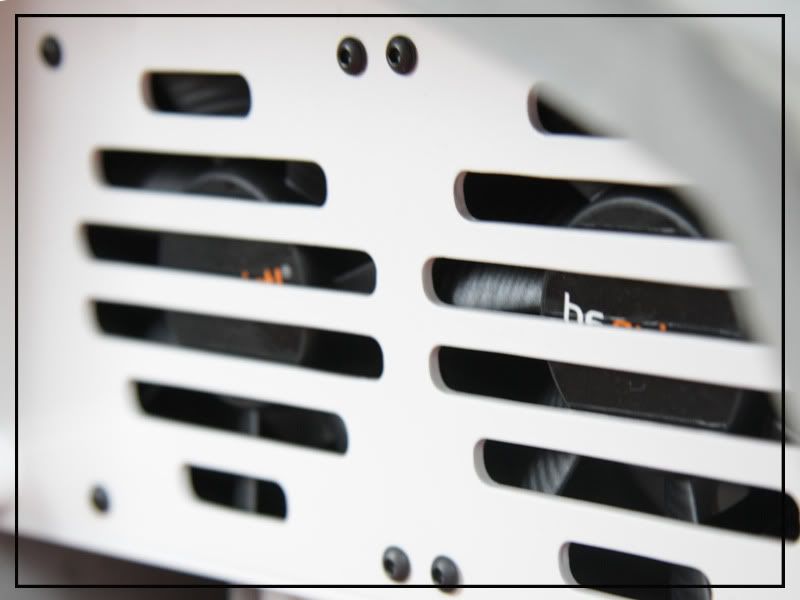
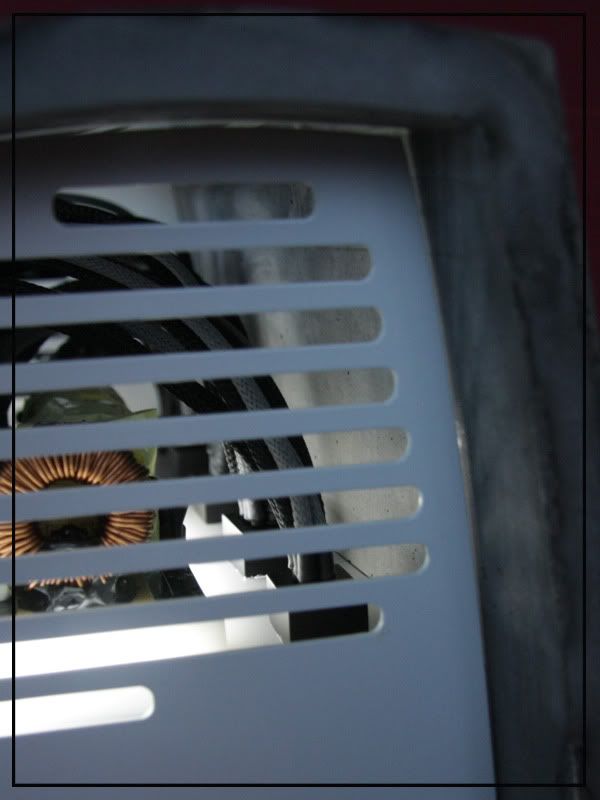
After I was ready with cutting, filing, grinding and all peaces fitted perfectly it was time to milling all ventilation slits I needed for the 11 fans.
I brought all this aluminum sheets to a to powder coater who made them white.
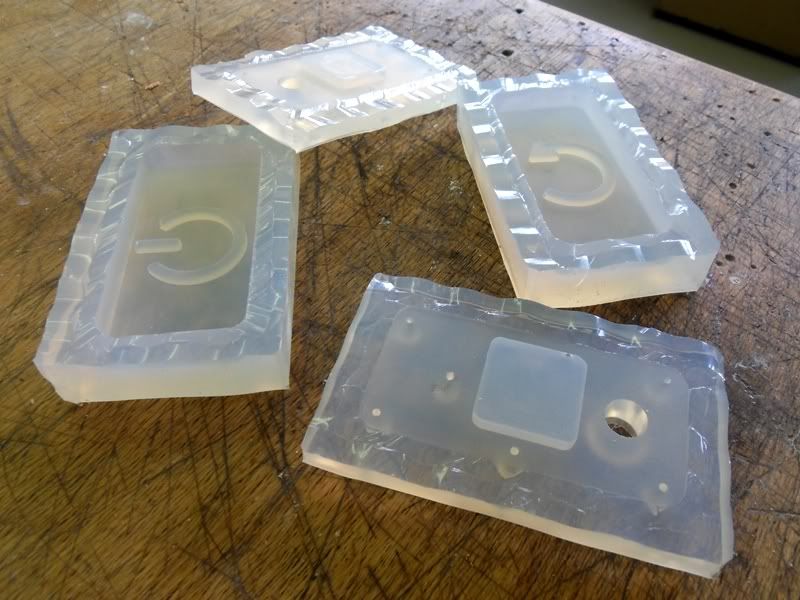
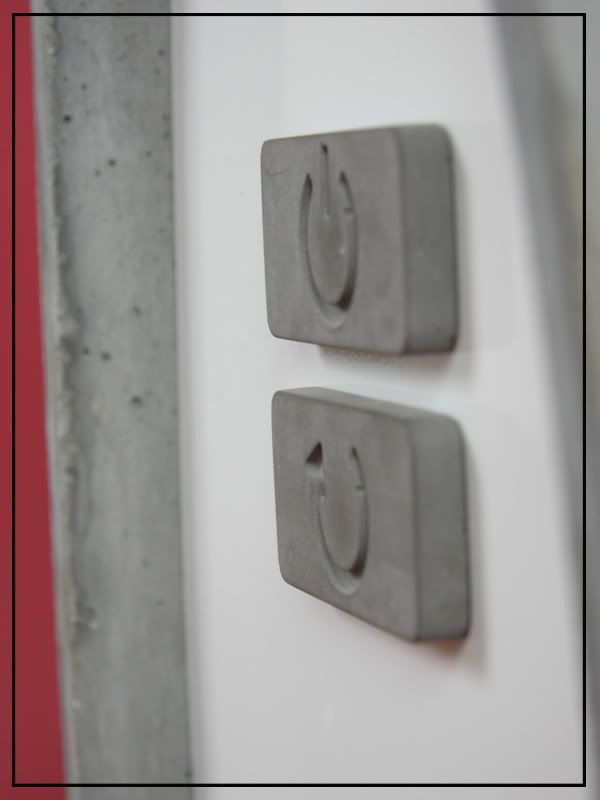
In the meantime I made to things, at the one hand I made a CAD-Model of the two sensors for the front. A 5-axes CNC milled them for me and I made a negative from it with silicon.
In that form I casted concrete to get real concrete sensors at the end.
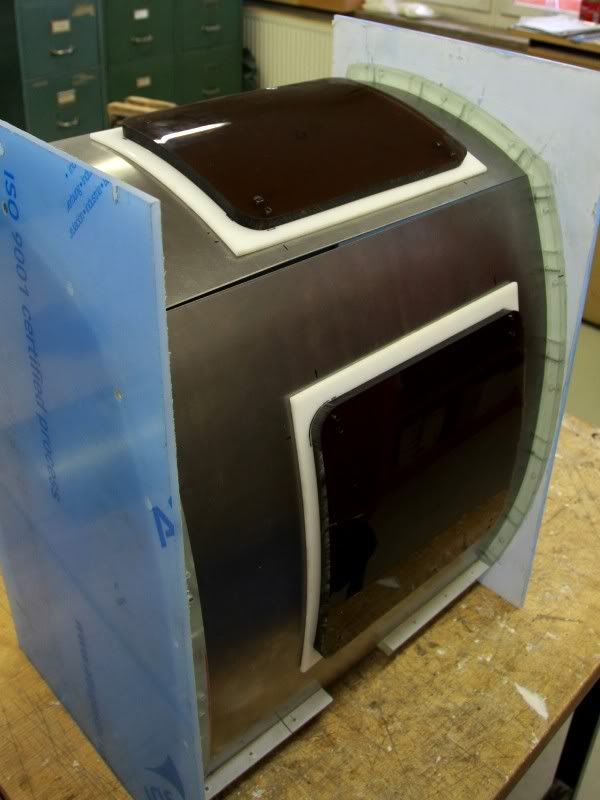
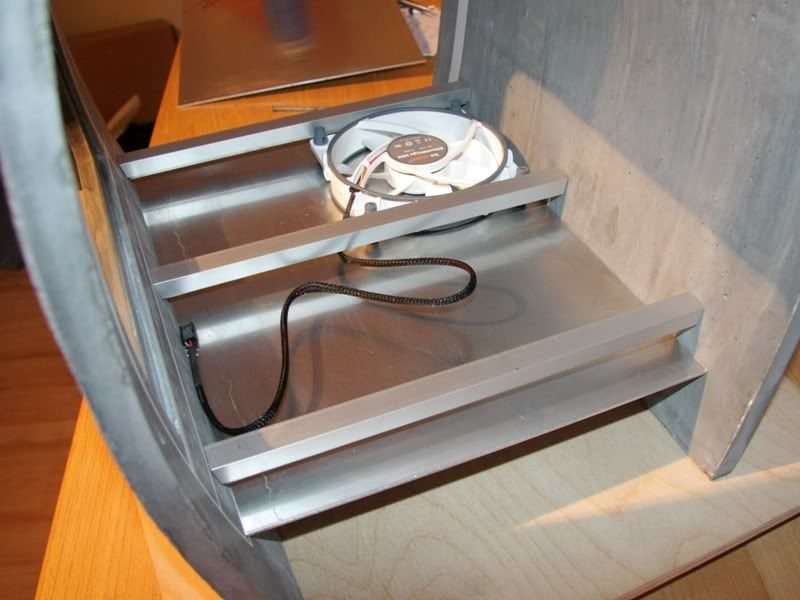
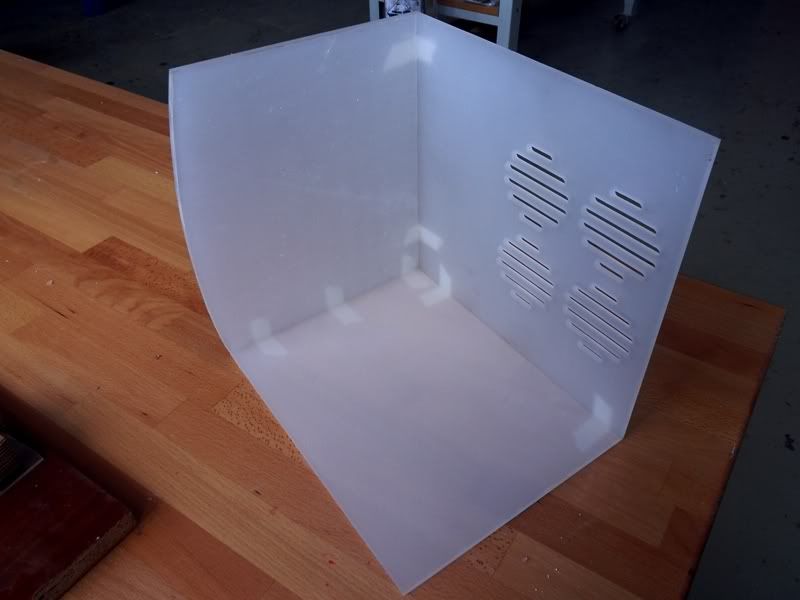
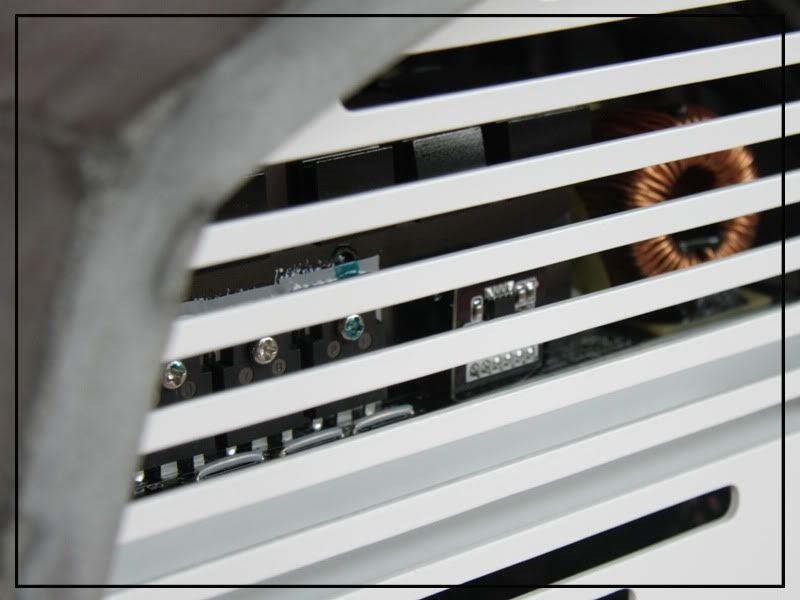
At the other hand I build the inner-space with 6mm thick Plexiglas.
I brought this thing to a paint shop for painting it white, too.
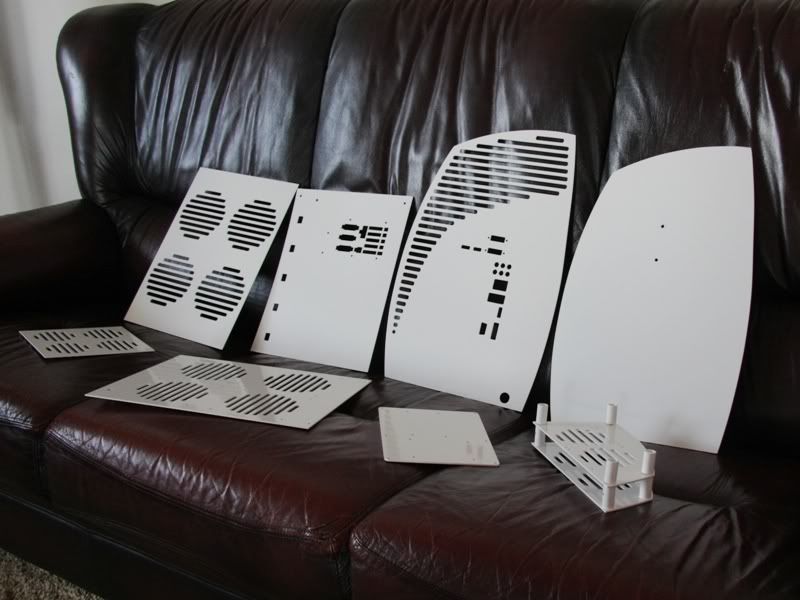
Well at the following picture you could see the powdered aluminum sheets that I needed for the case.
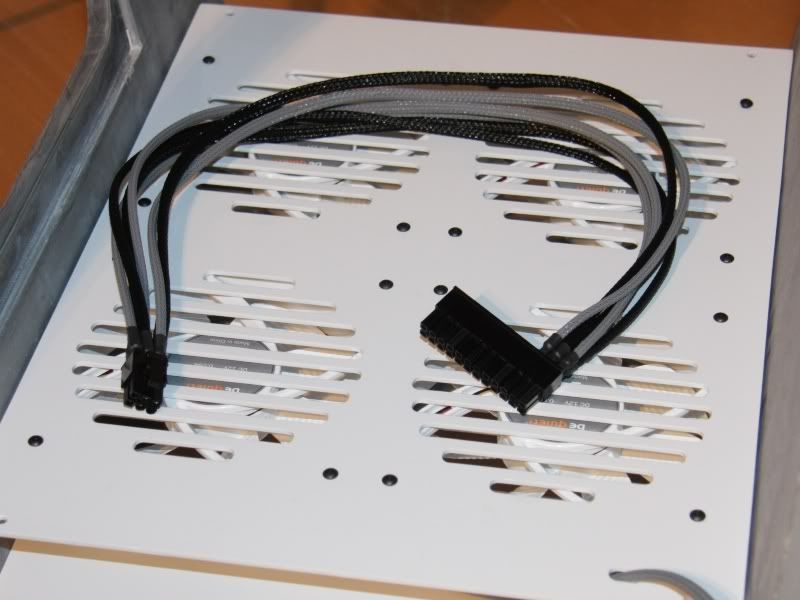
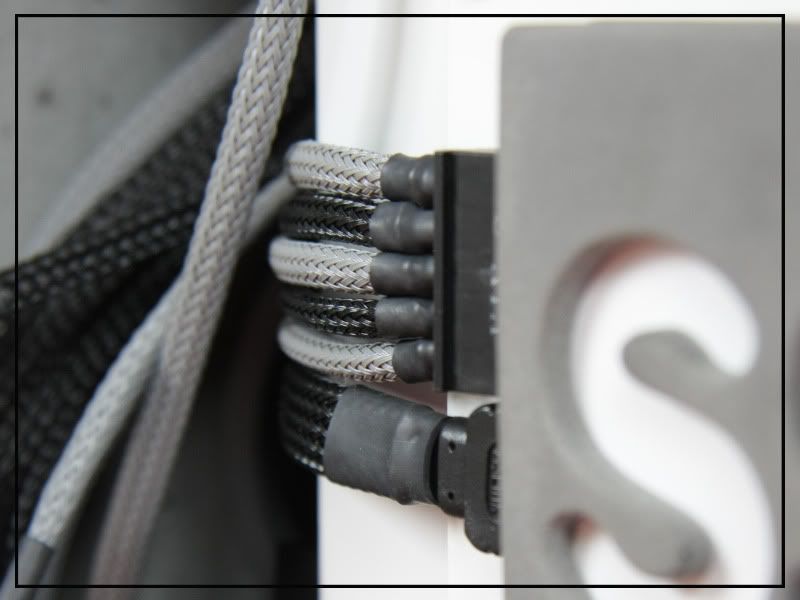
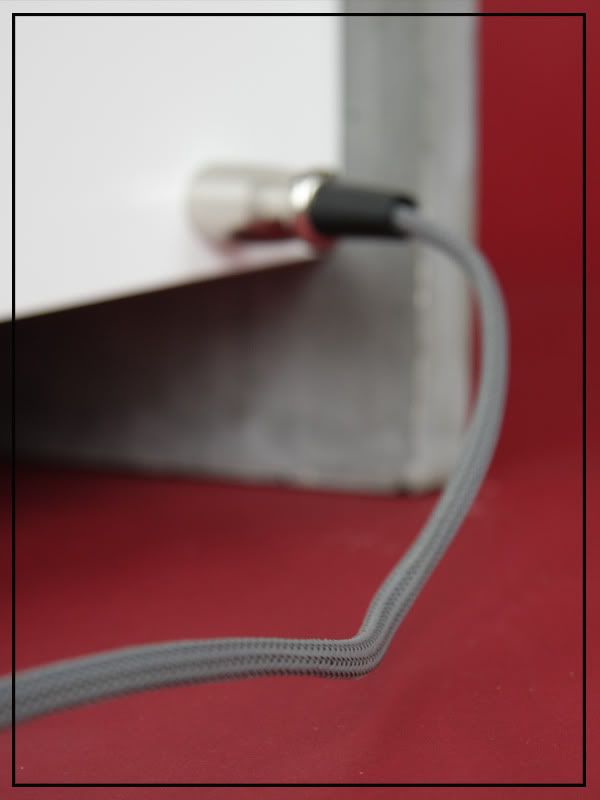
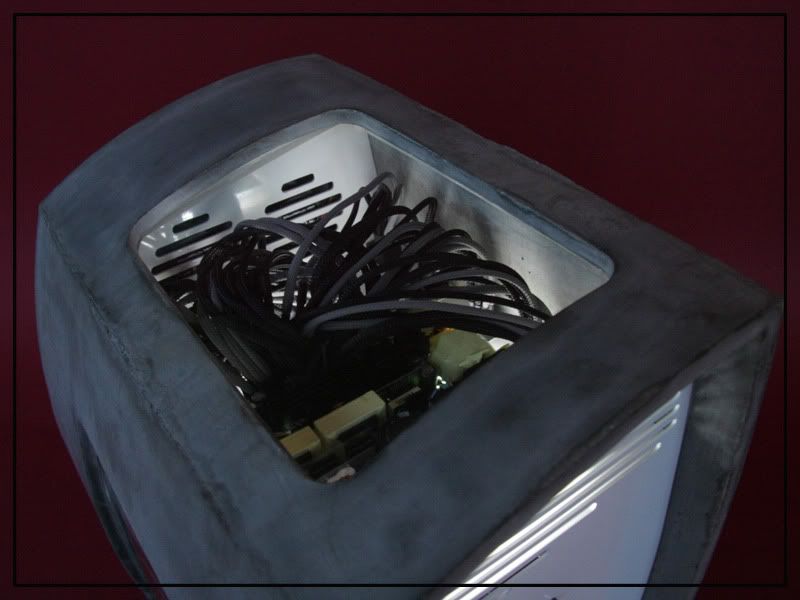
And now I could started with sleeving all the cables I used black and gray sleeve.
Unfortunately I crashed one PSU that I had totally sleeved, so I have to start new. Because of this I came into time pressure and couldn´t take so many pictures from my sleeving work. But I think real interesting are anyway the final pictures
;-)
Like I said at the beginning of this post was the case for the be-quiet casecon contest and here you could see the other three competitors and at this link you could vote for your favorite case. Under all voter´s be quiet raffled a lot of great products for example a be quiet Dark Power Pro 750W.
Happy Voting and Modding!
 Posting Permissions
- You may not post new threads
- You may not post replies
- You may not post attachments
- You may not edit your posts
-
Forum Rules