Page 6 of 6 FirstFirst 123456
Results 51 to 59 of 59

Thread: DIY Radiator Stand

  1. #51
    Its not cool till its watercooled. Fuganater's Avatar
    Join Date
    Oct 2007
    Location
    Kinshasa, DRC
    Posts
    2,843

    Default Re: DIY Radiator Stand

    Finally got in the last 2 pieces of acrylic in! My order was not fully filled 2 months ago and since I have been gone I was not able to receive the pieces.


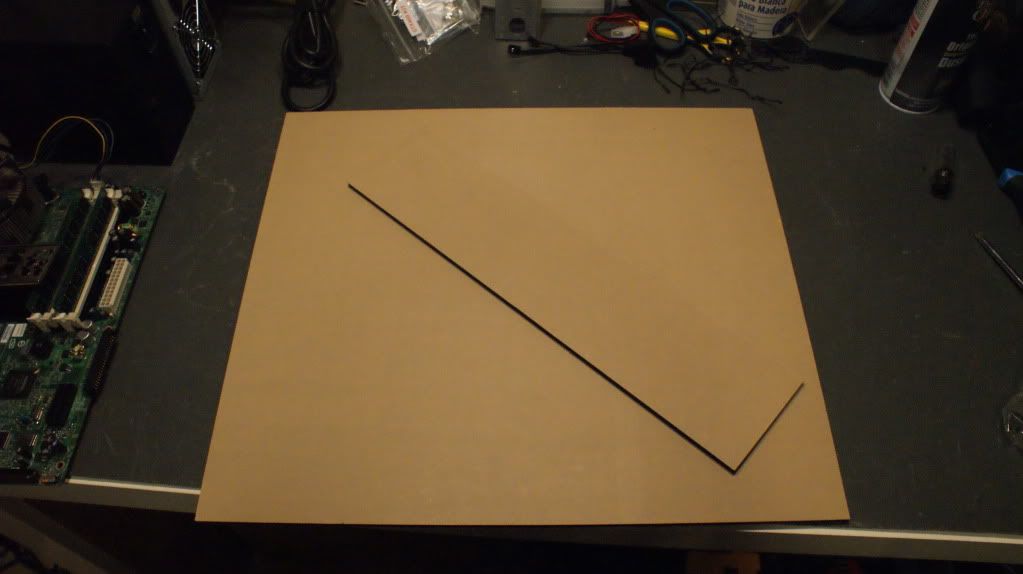
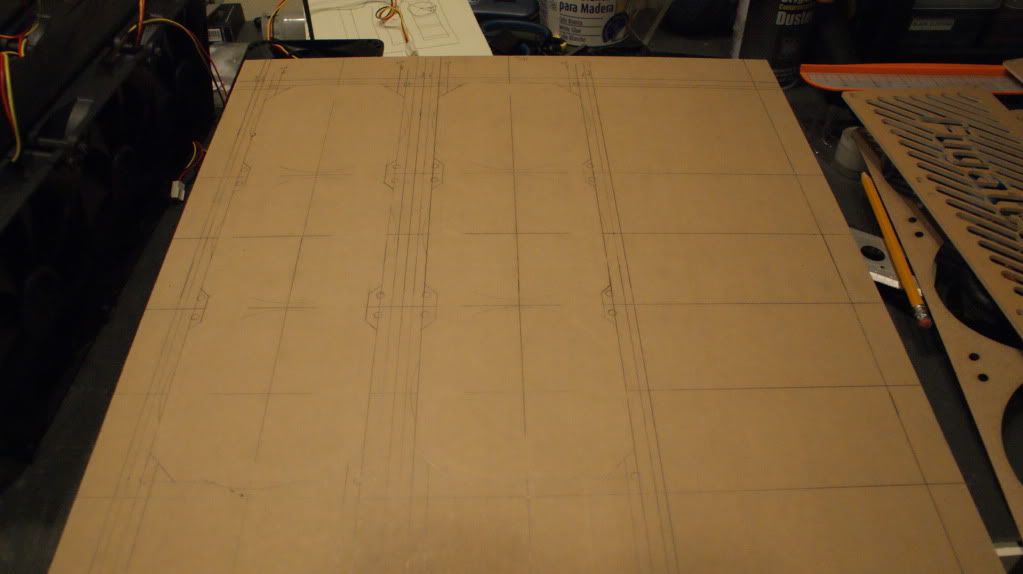
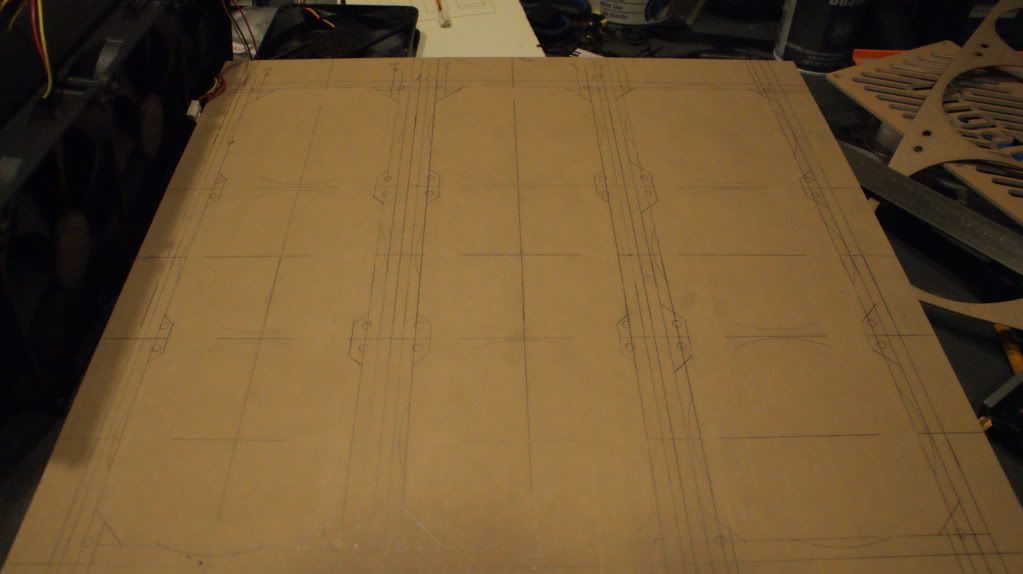
    I wasted no time and started drafting up the design on the main sheet.


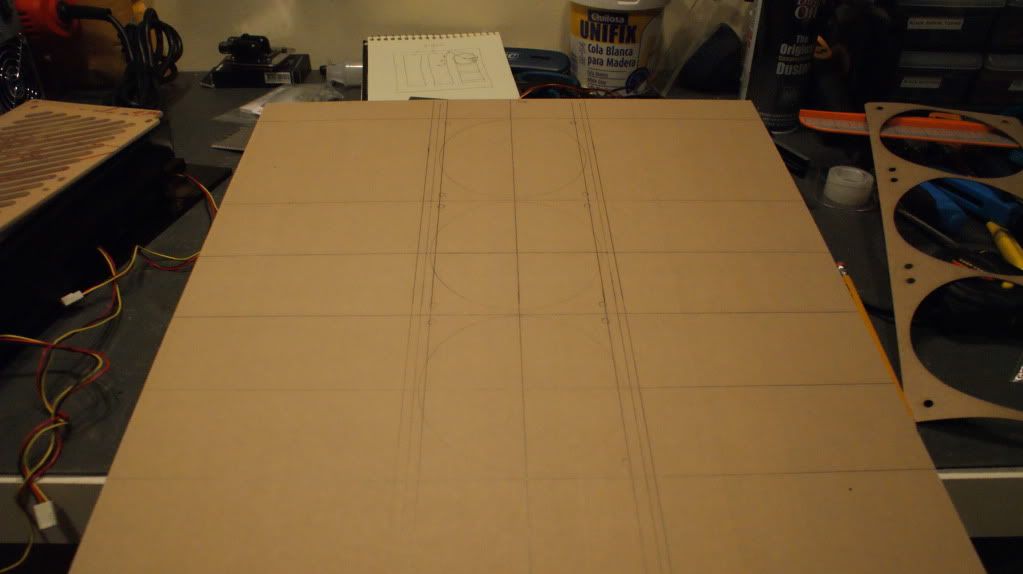
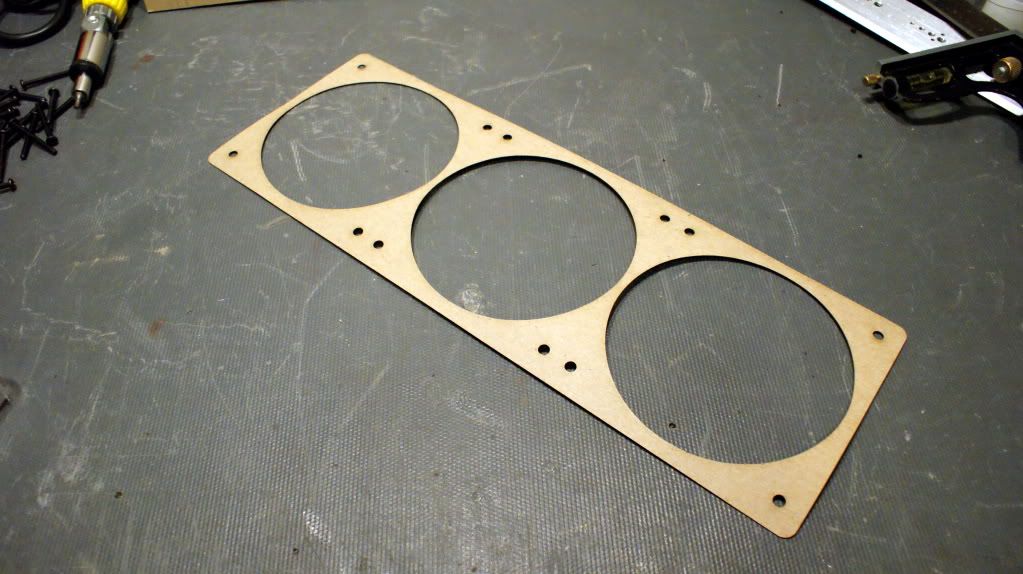
    In order to make sure I had the holes lined up perfectly, I used a 360 rad template that I bought from MNPCTECH. This proved to be an awesome investment and I recommend it to anyone that is going to be making radiator cutouts.
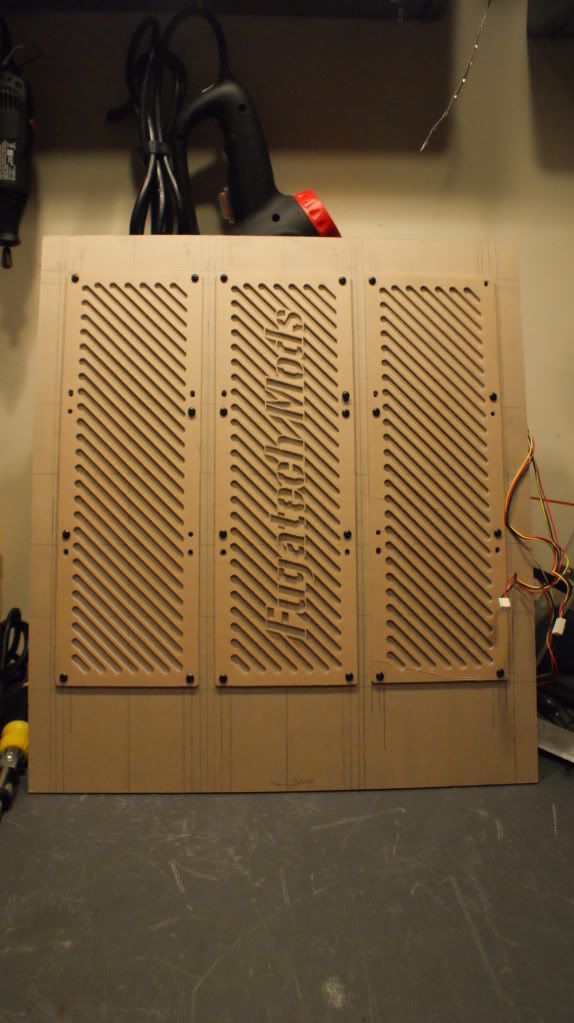

    2 down and 1 to go!


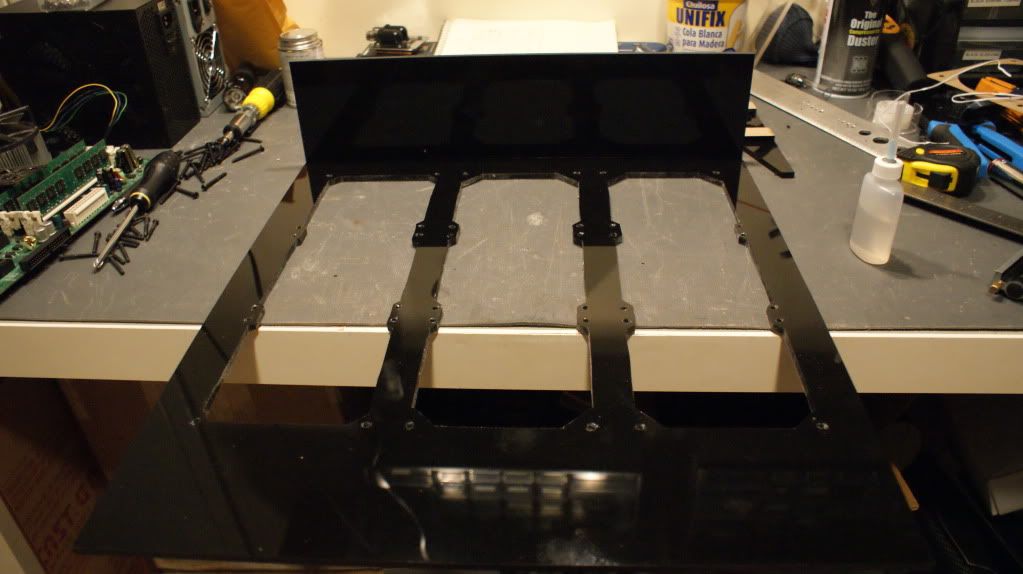
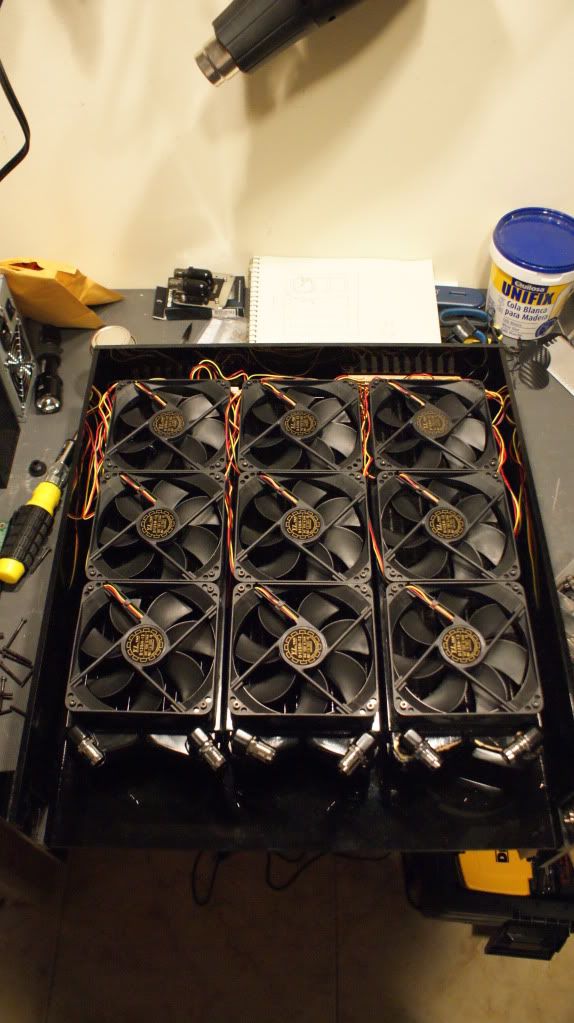
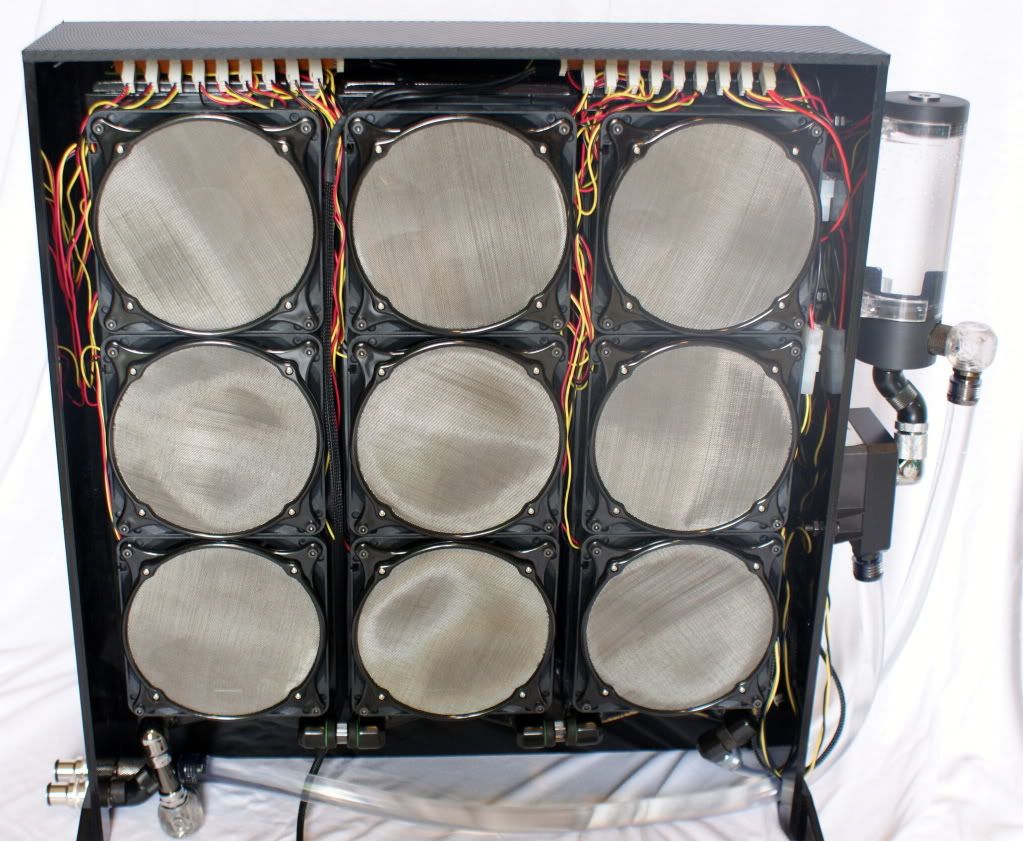
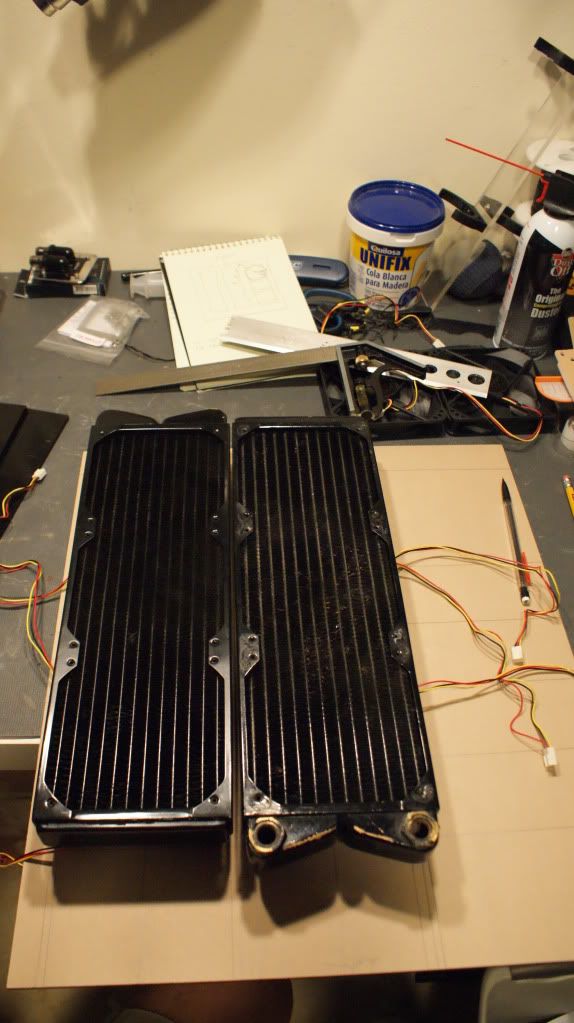
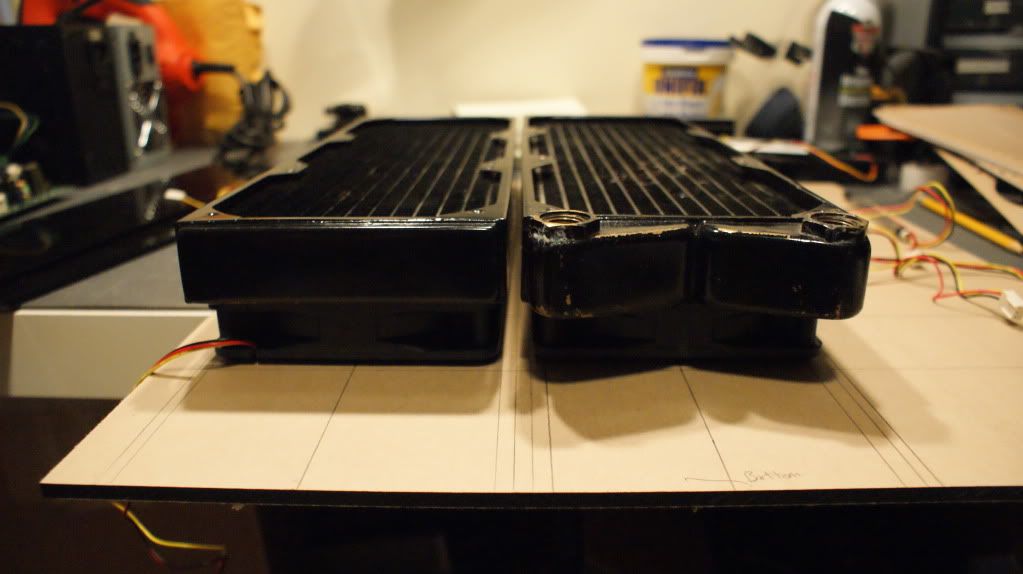
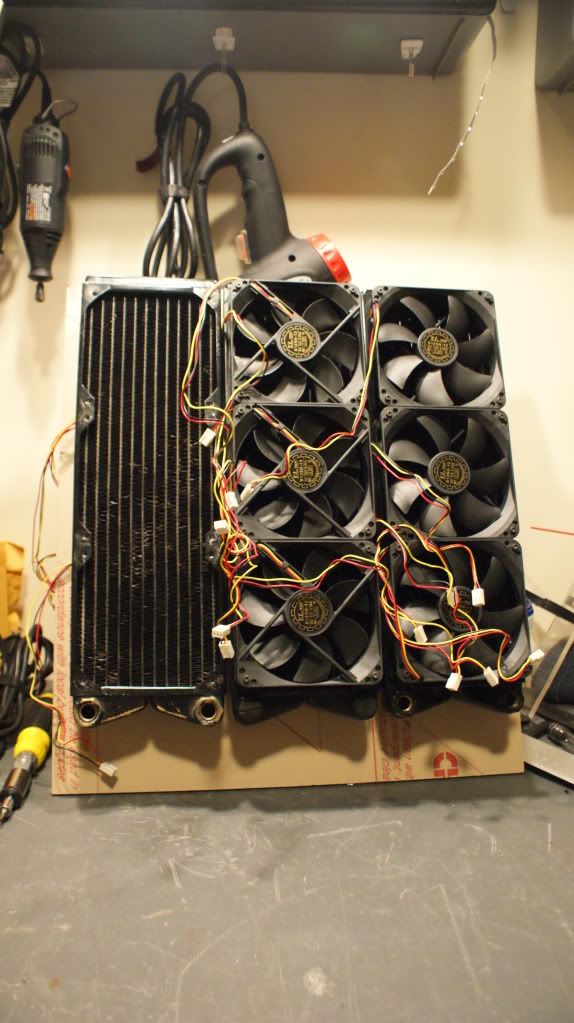
    I lined the rads up on the acrylic to make sure I had enough clearance between them and on the sides.


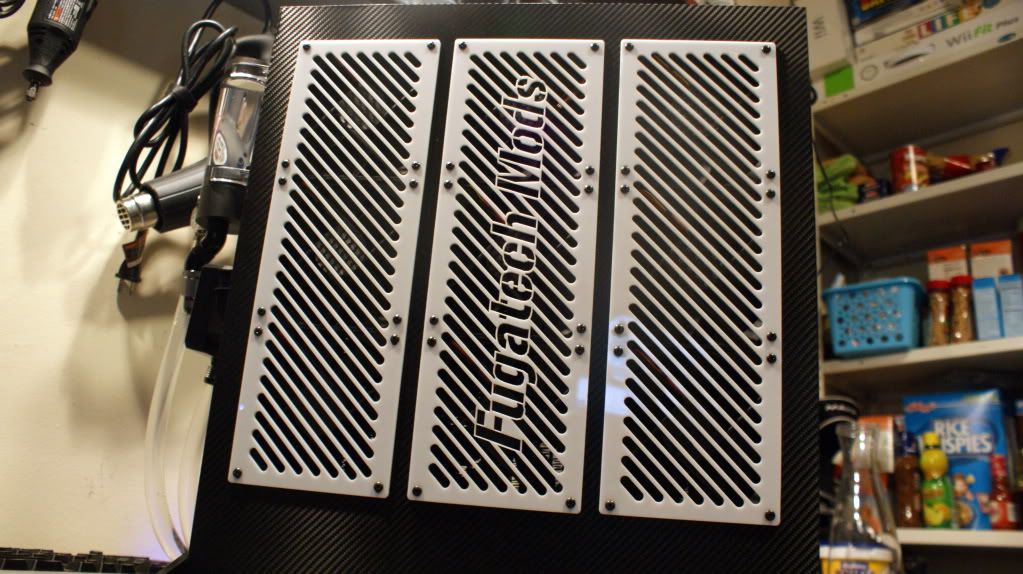
    And finally the 3rd done.


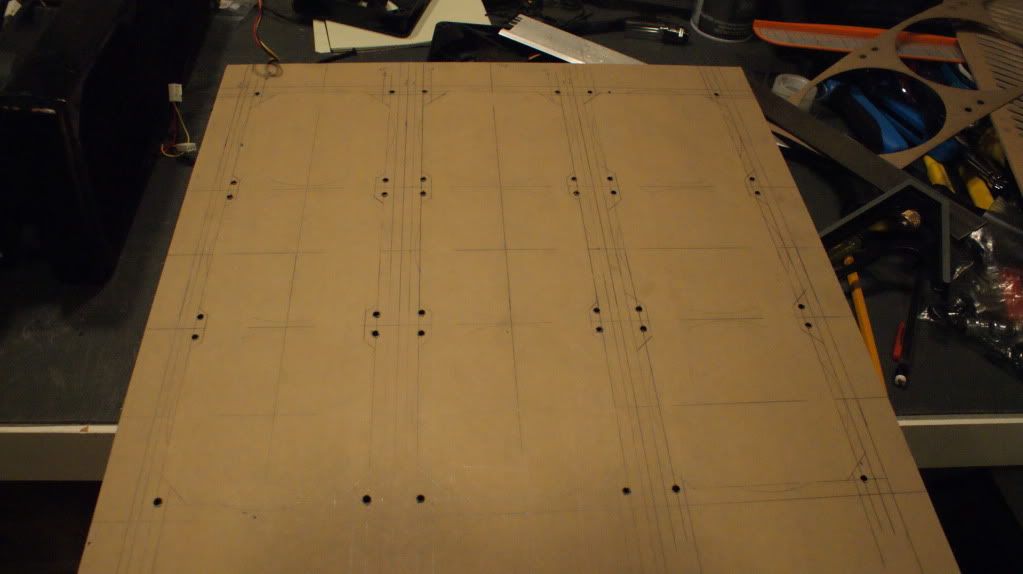
    Next I drilled the holes for the screws. I did this first because I was afraid that the acrylic would crack if I tried to drill after I made all the cuts.


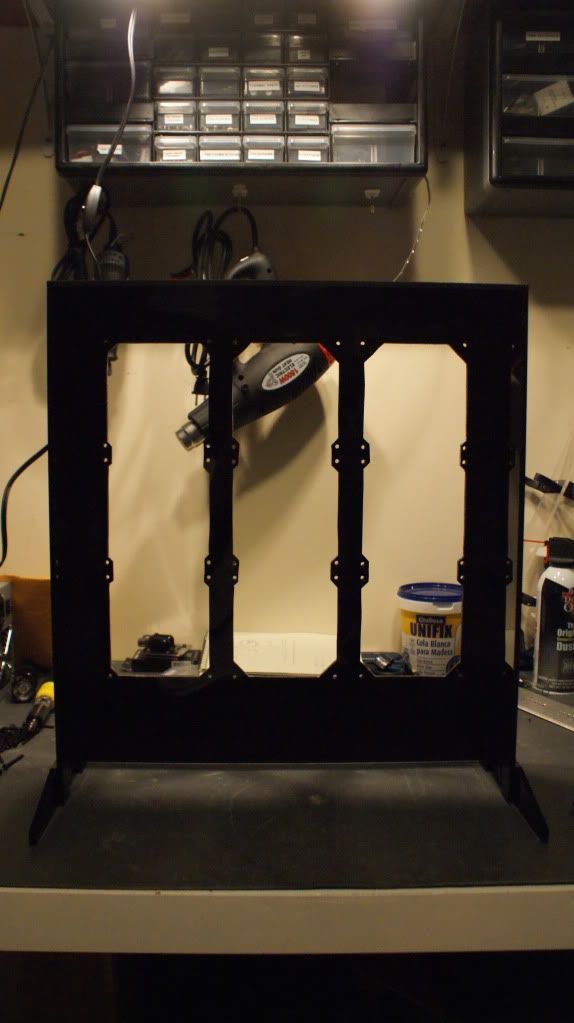
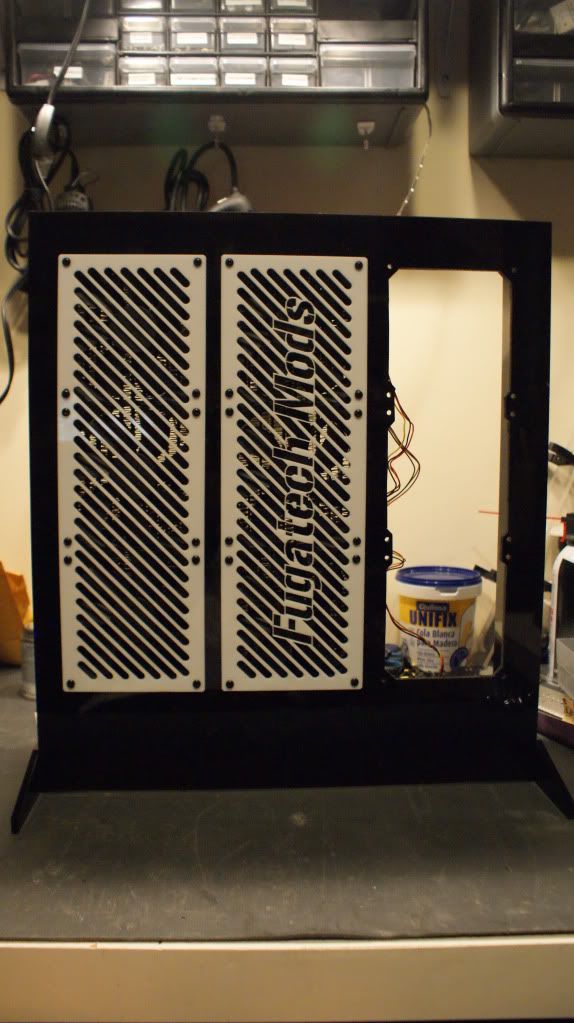
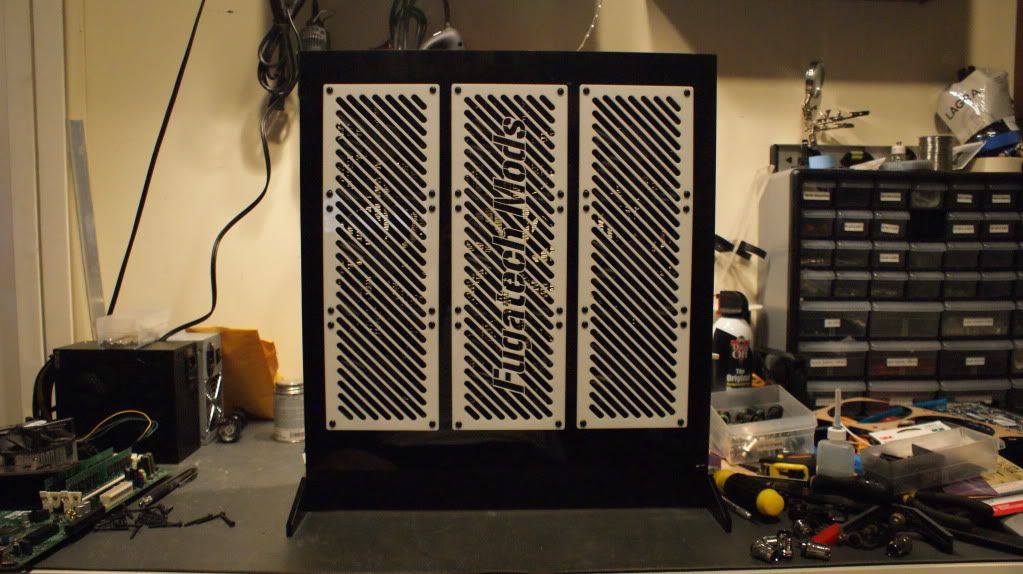
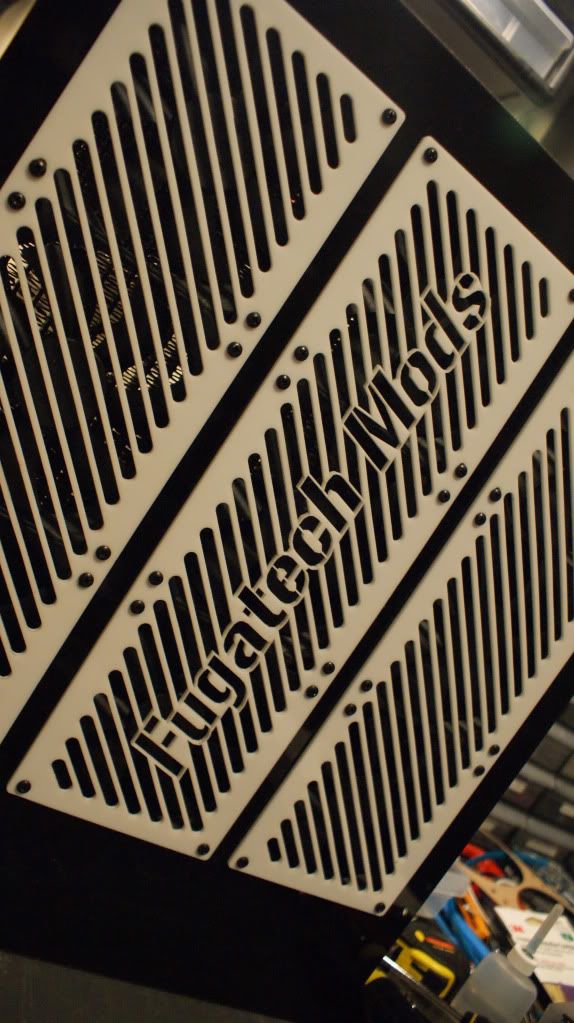
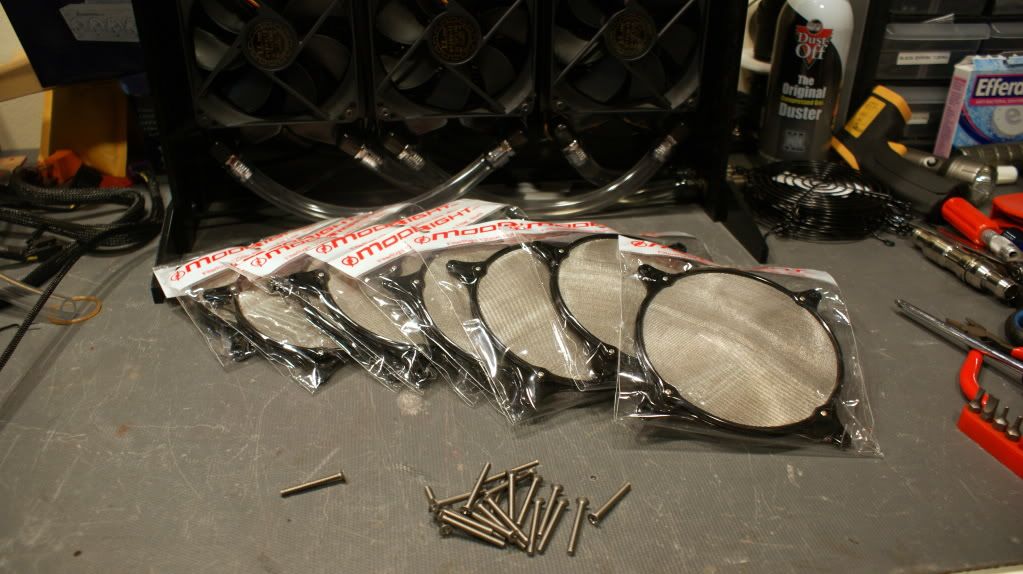
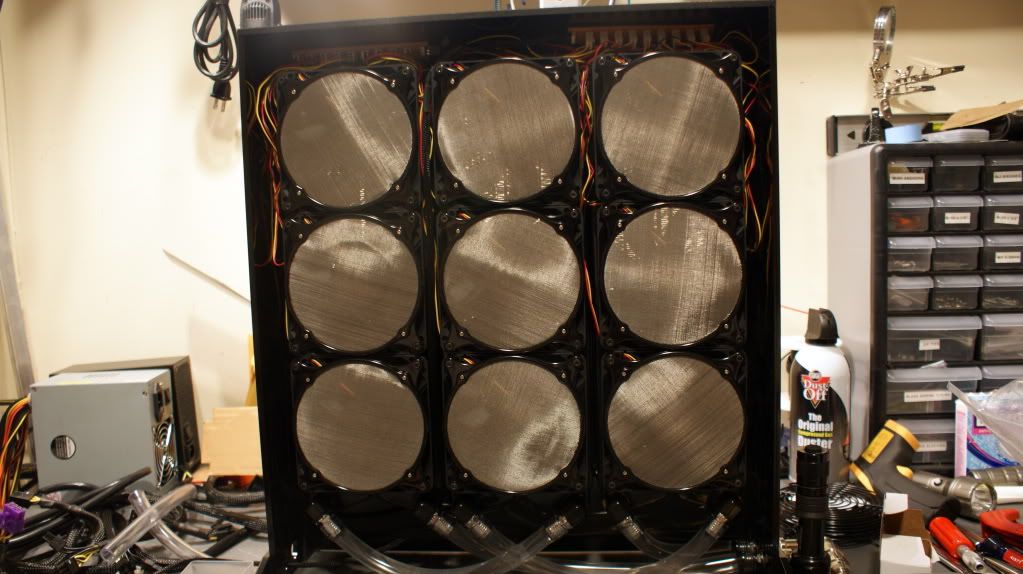
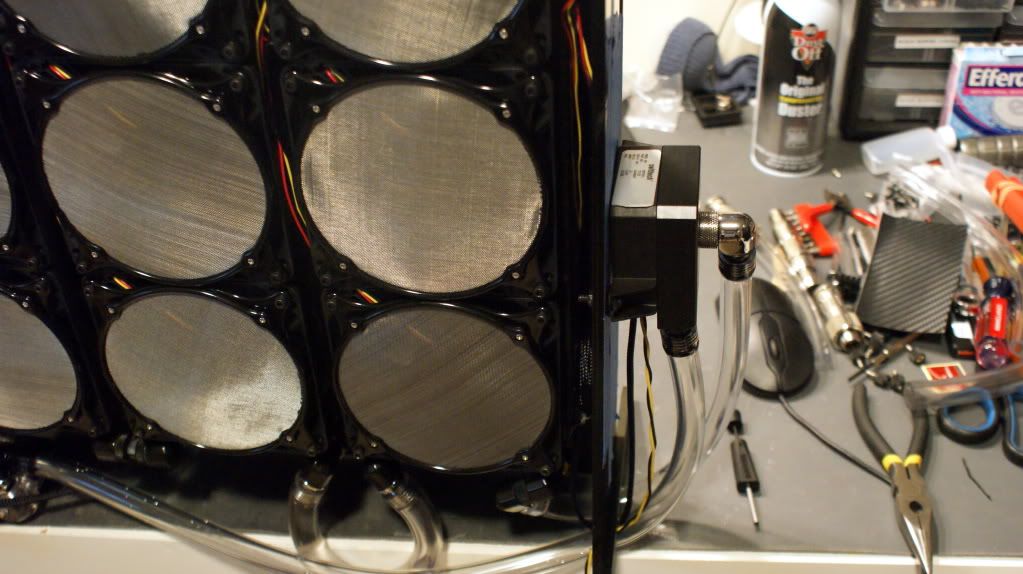
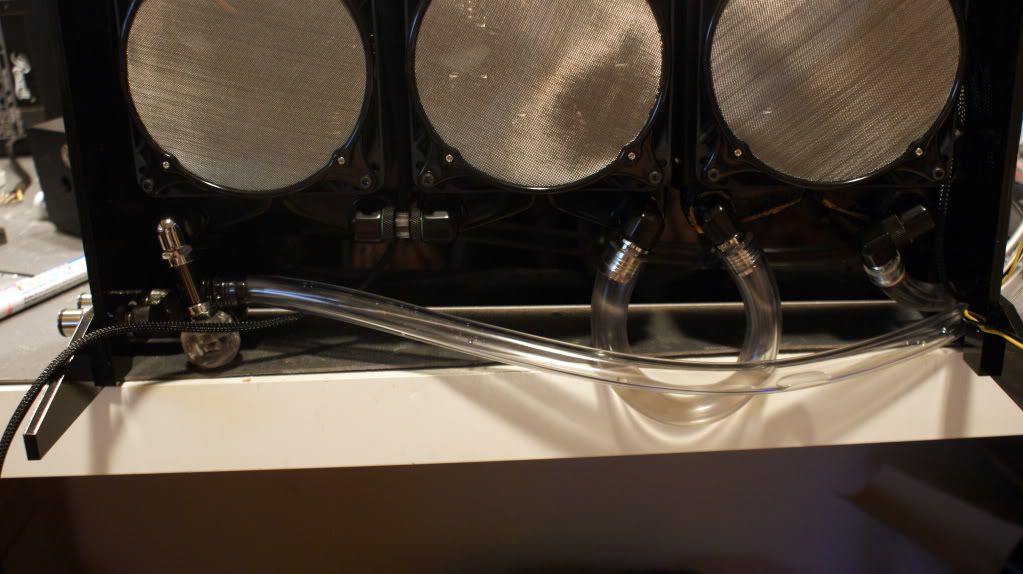
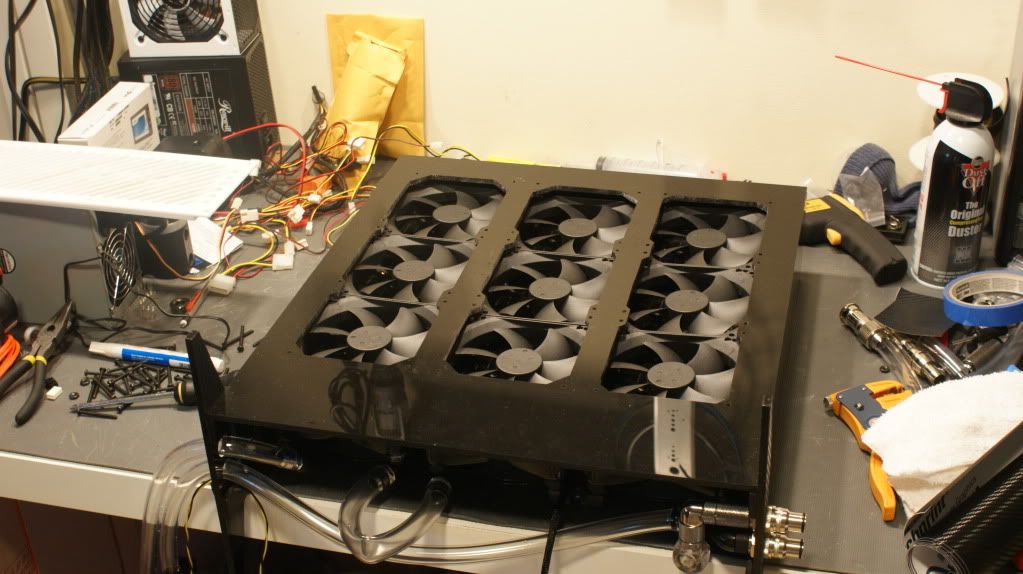
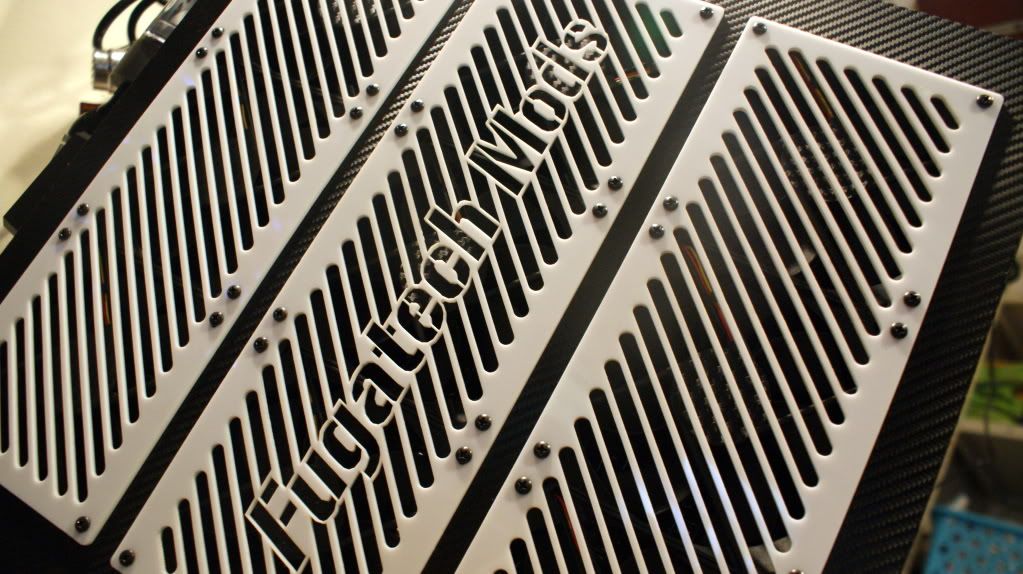
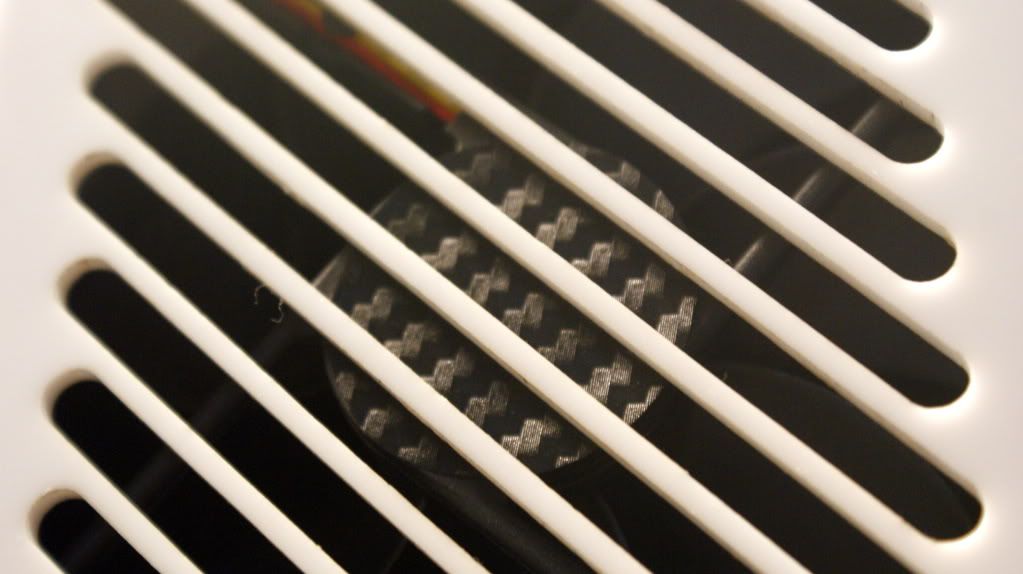
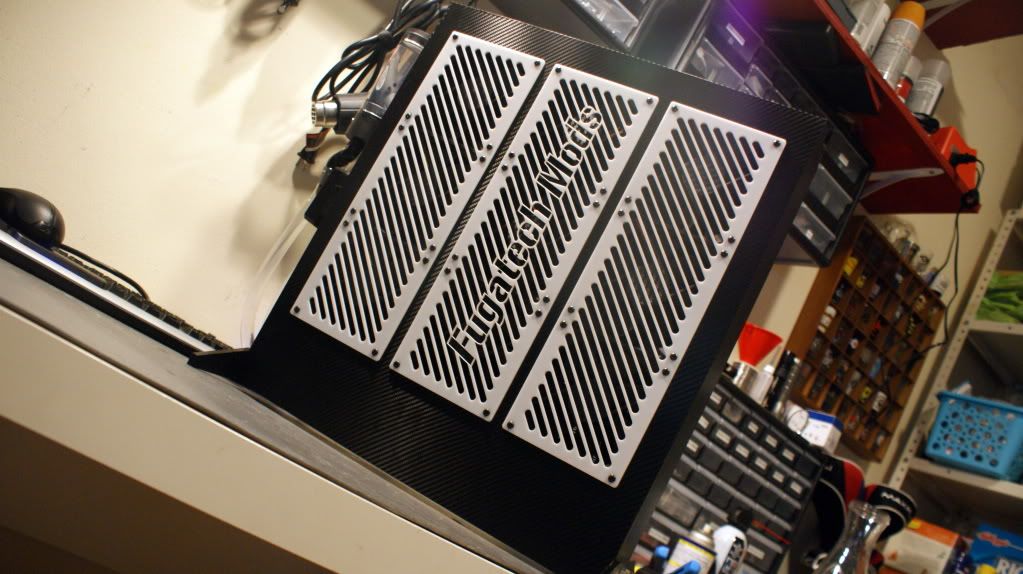
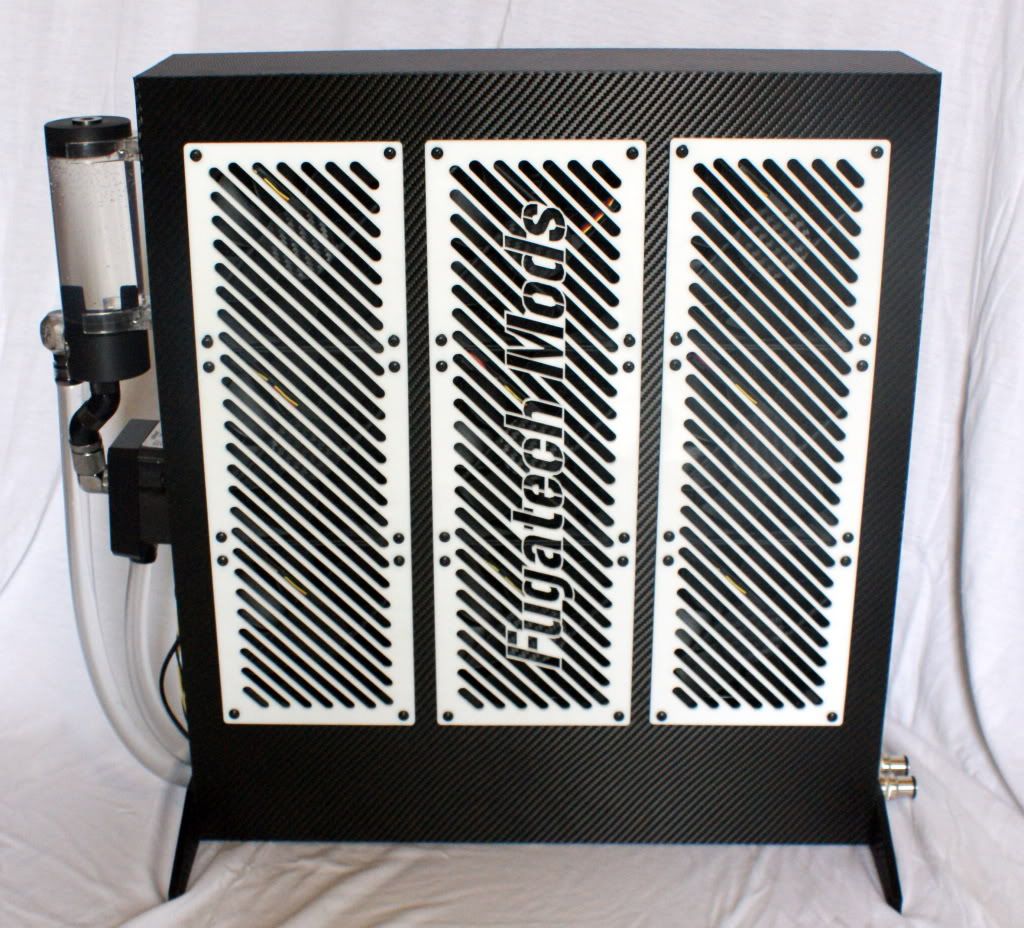
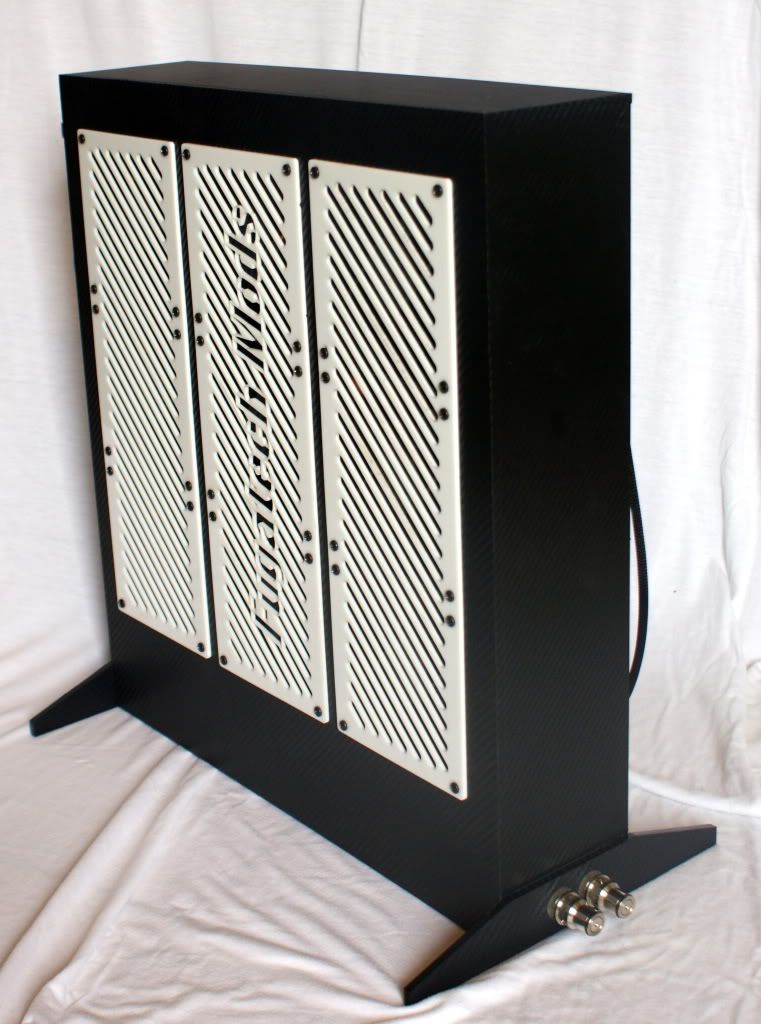
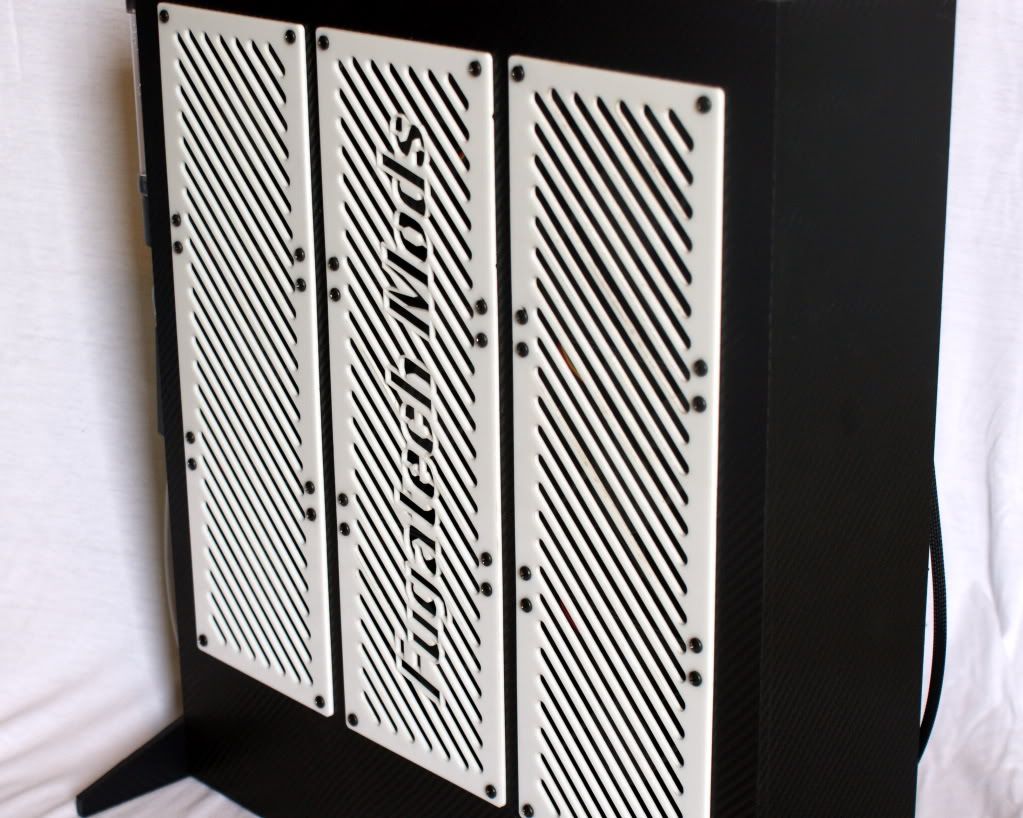
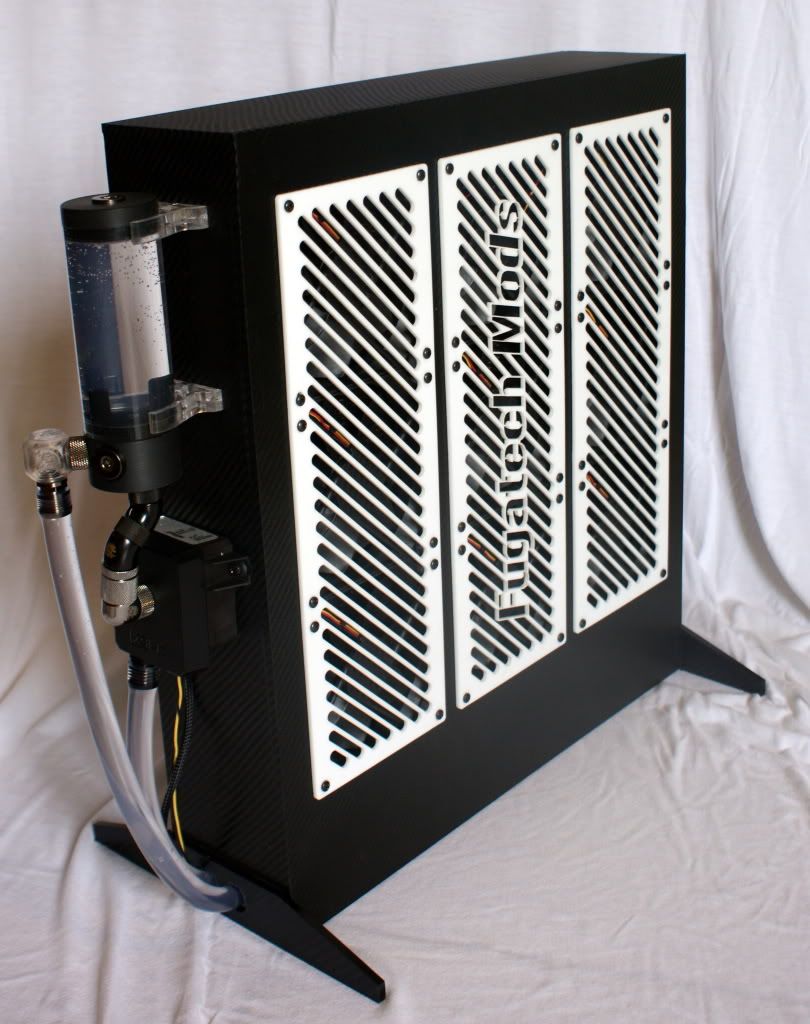
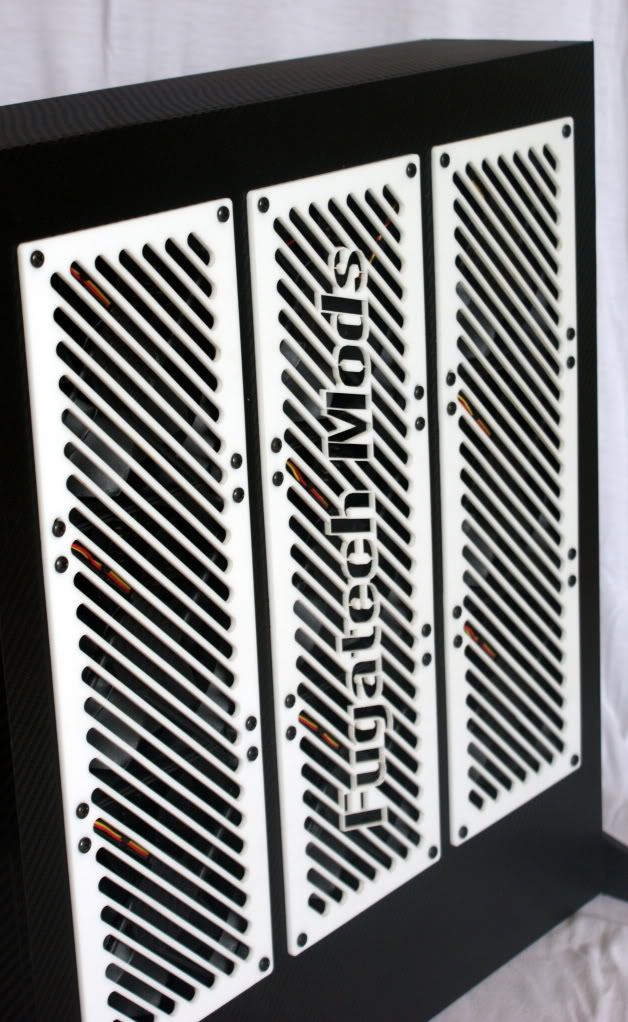
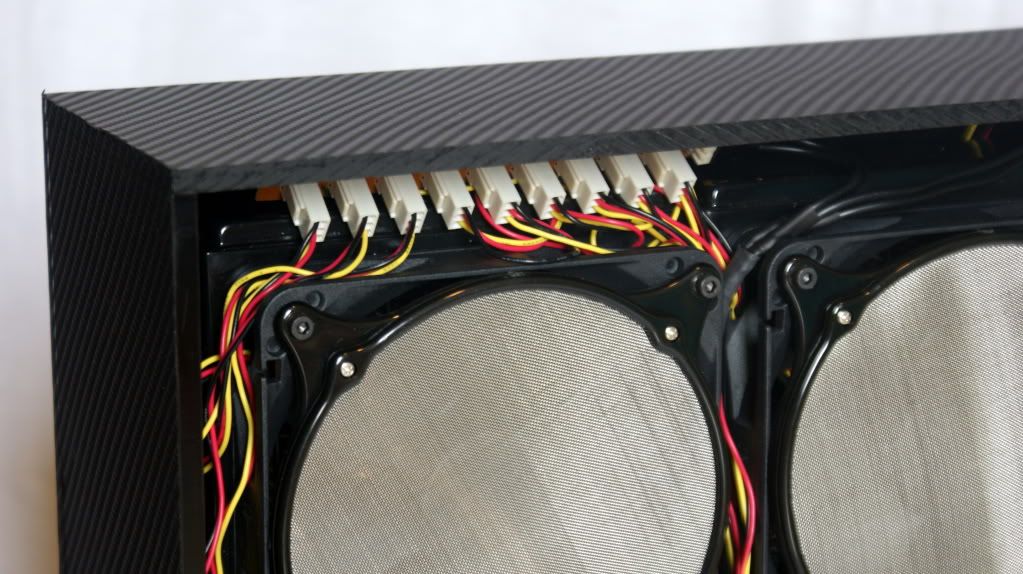
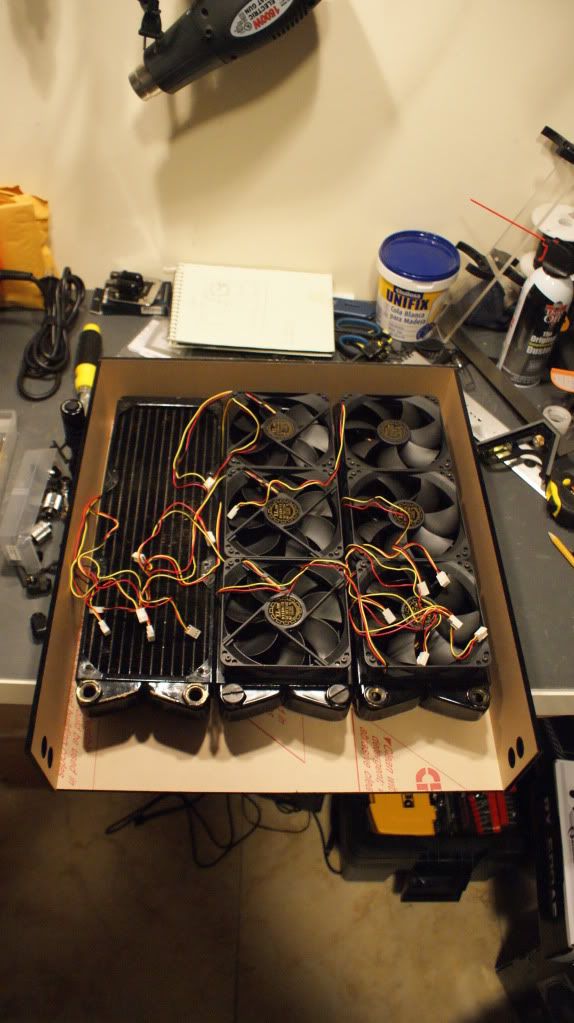
    Then I installed the fan grills, fans and rads to make sure everything lined up perfectly. And it did!


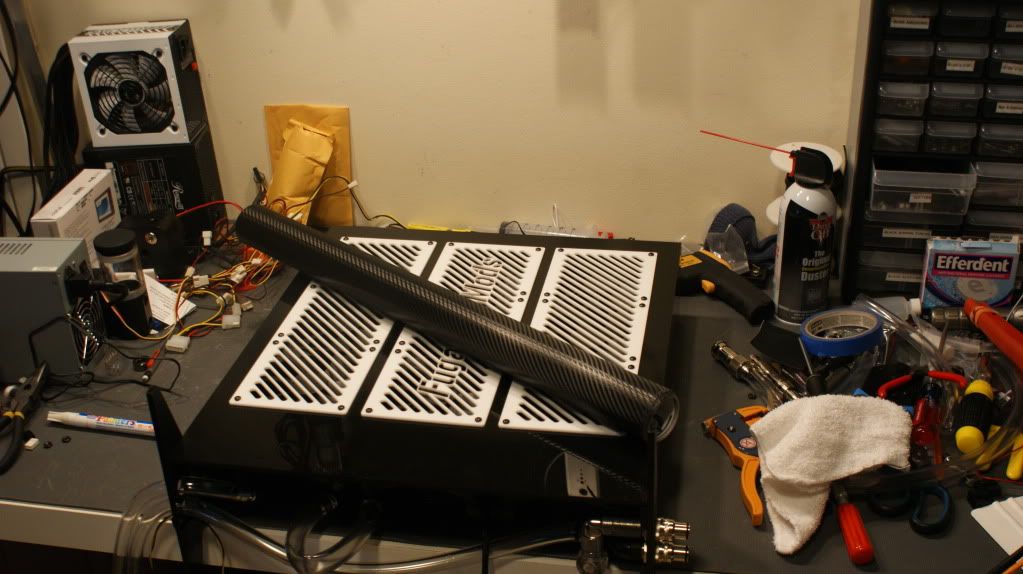
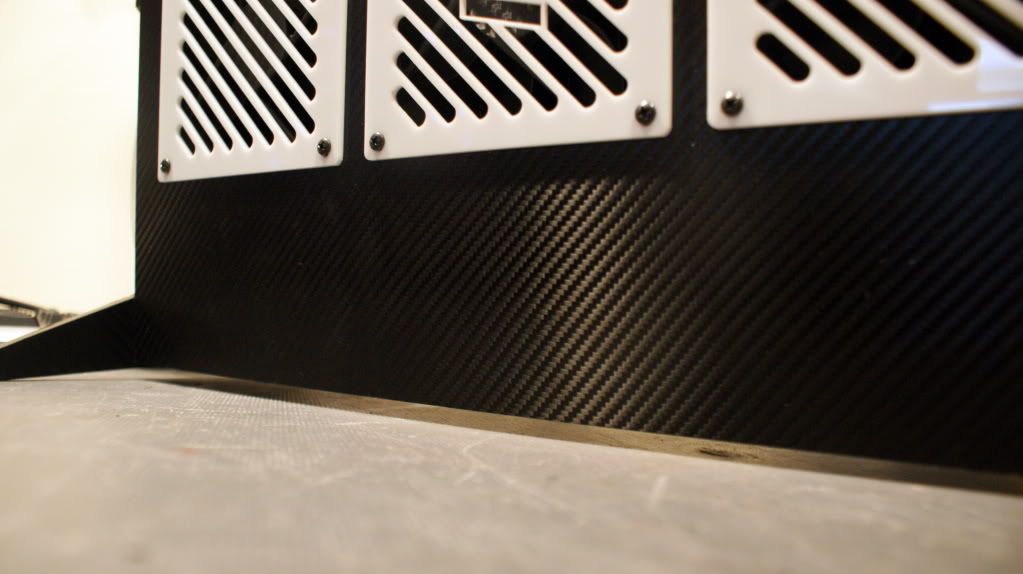
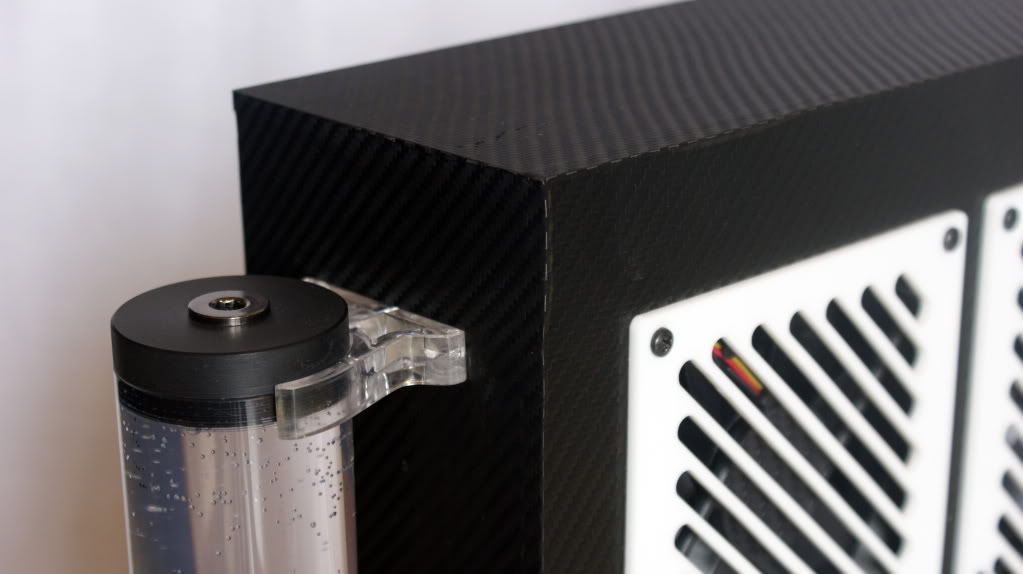
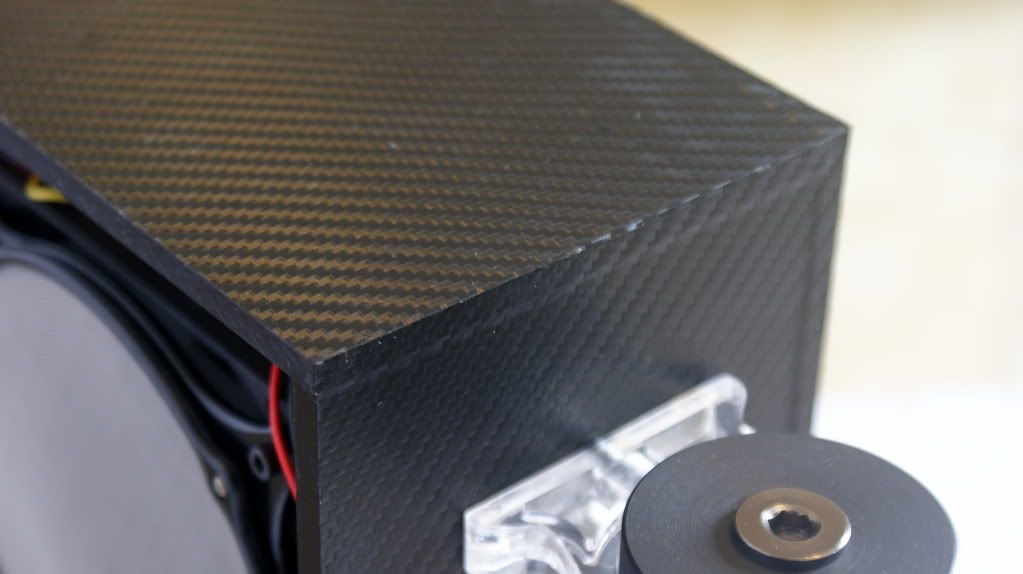
    Here is what it will look like with the sides on.


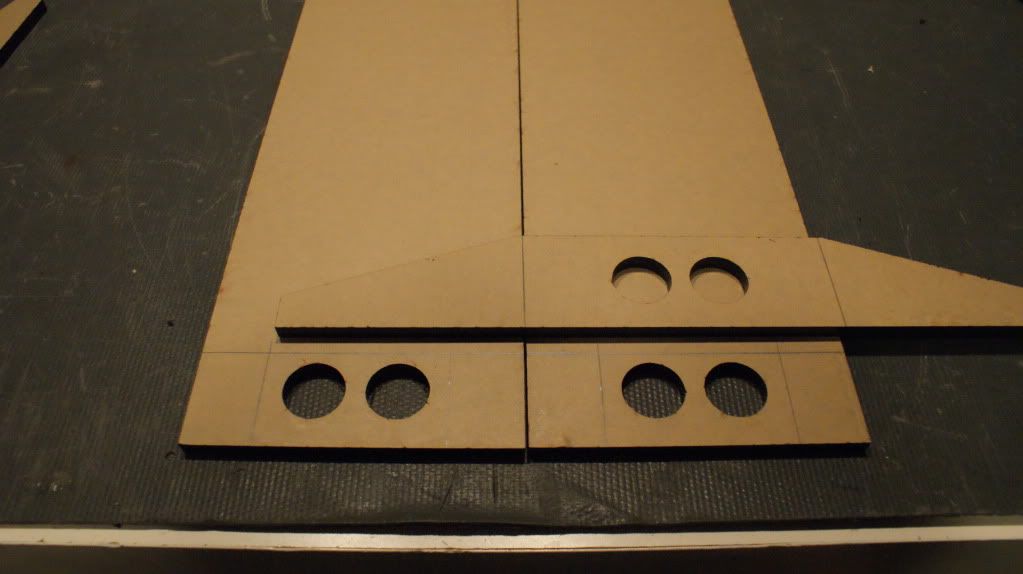
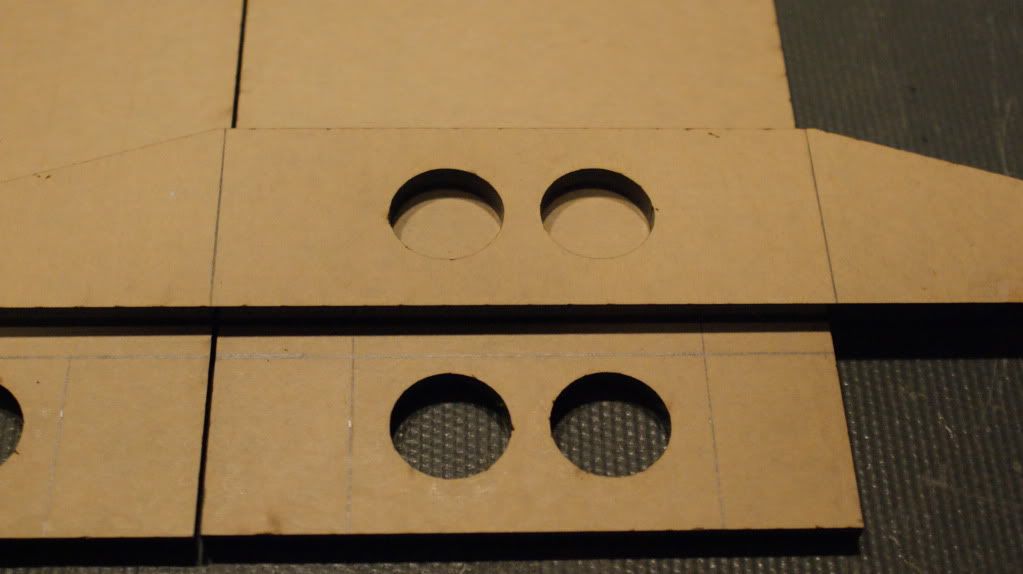
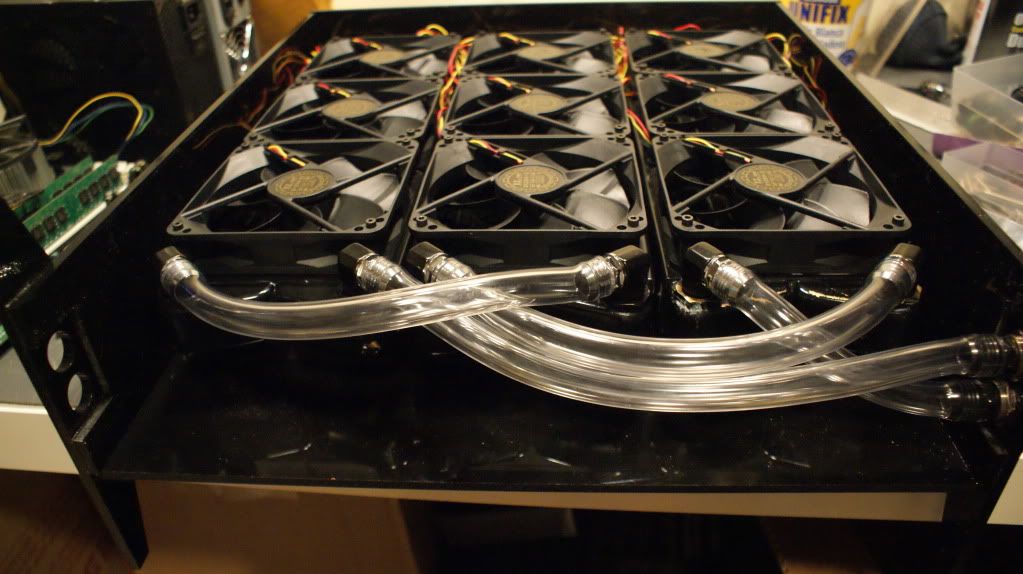
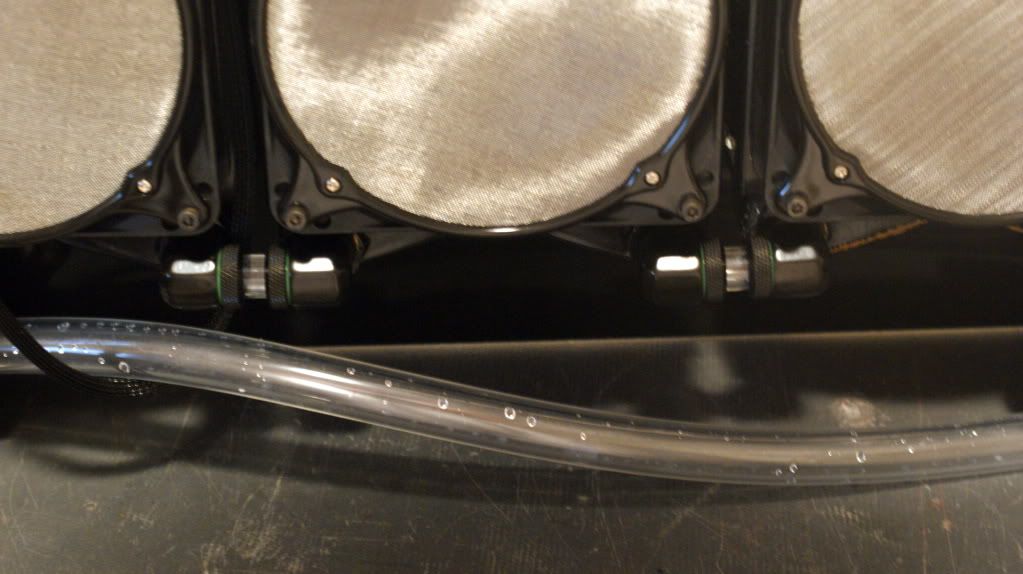
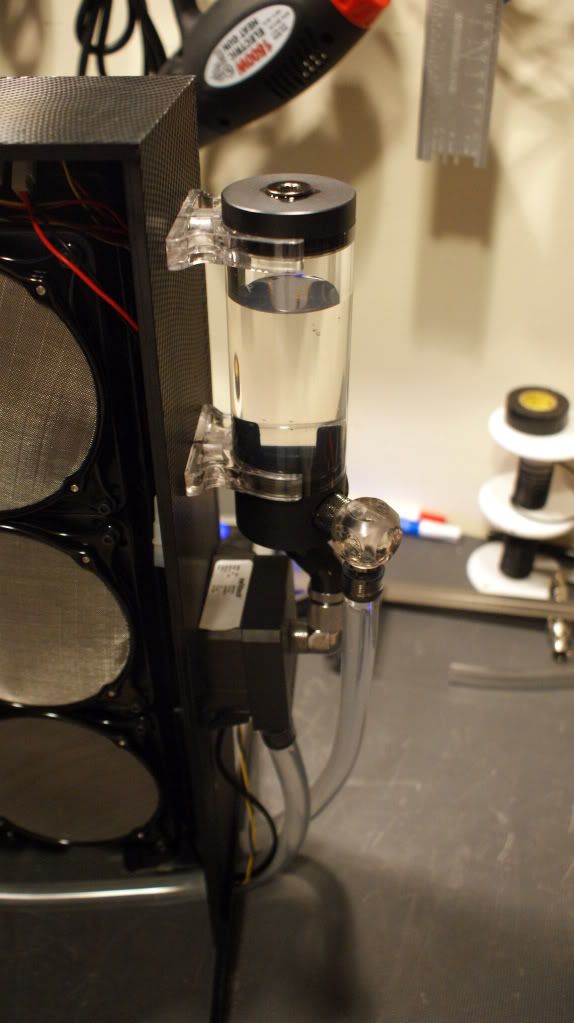
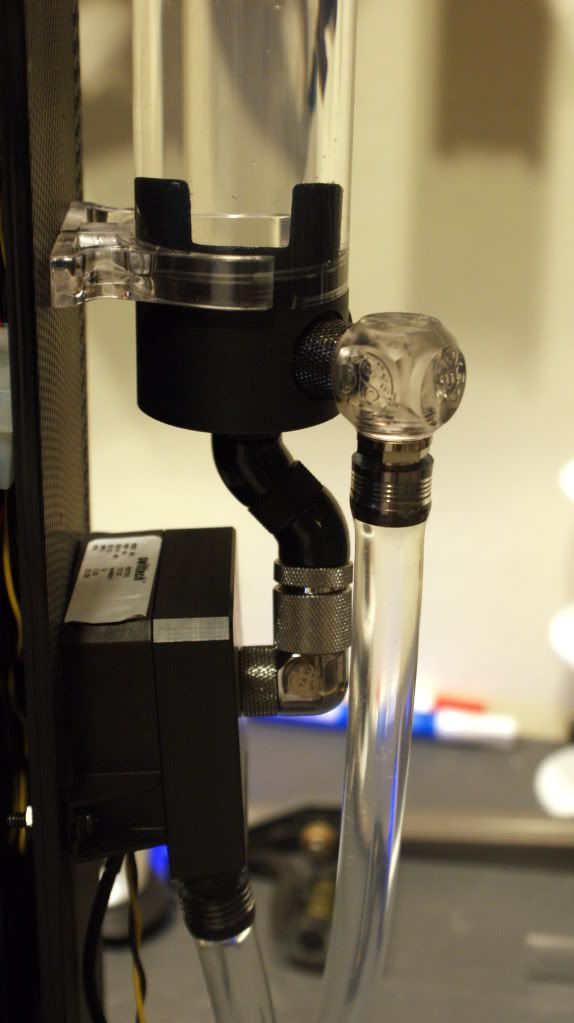
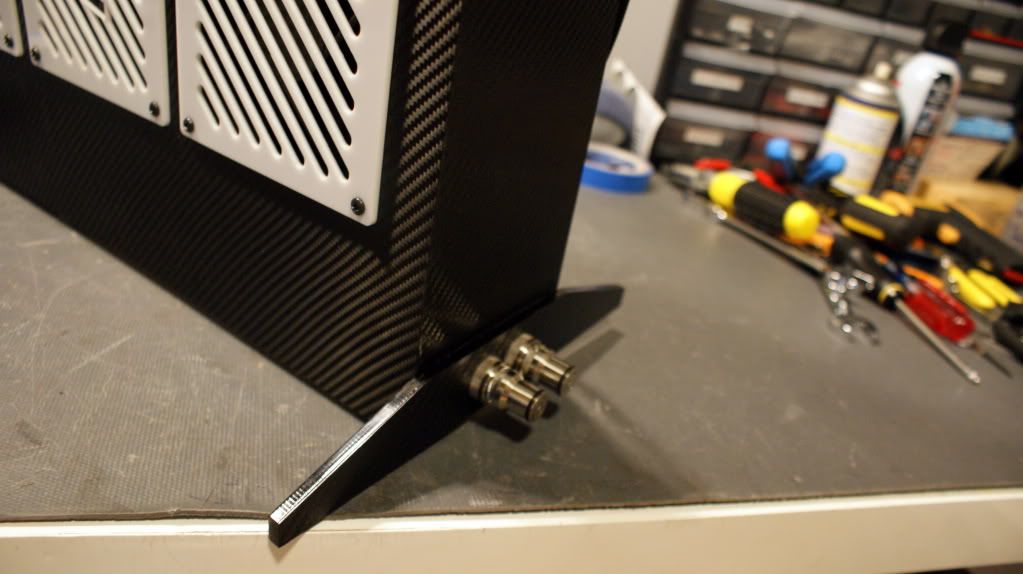
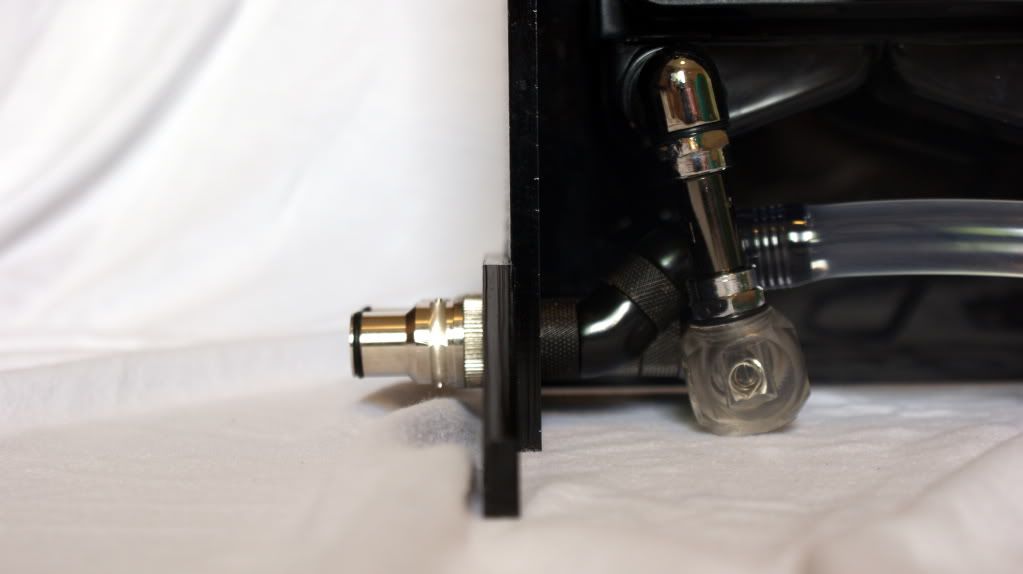
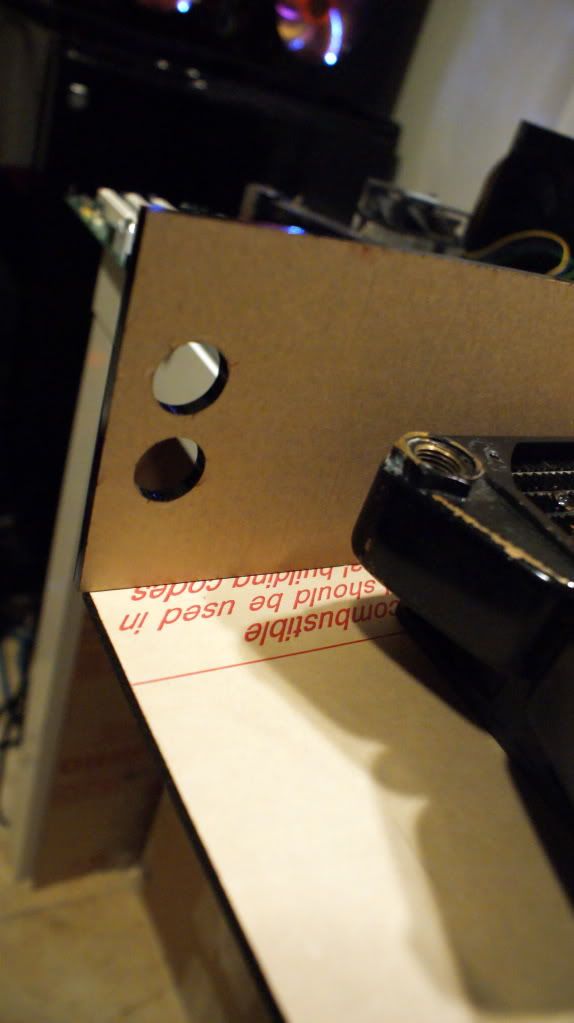
    At the bottom of the sides, you can see the 2 holes for the cables and tubing. I actually need to cut this layer out but more on that in my next update.


    Hopefully tomorrow I will be doing all the cutting and gluing. I may get this done by Sunday!!

    Cheers till next time,

    Fuga

  2. #52
    Its not cool till its watercooled. Fuganater's Avatar
    Join Date
    Oct 2007
    Location
    Kinshasa, DRC
    Posts
    2,843

    Default Re: DIY Radiator Stand

    Time to cut, but first, I had to drill a bunch of 1/4" holes in the pattern so that I could fit my jigsaw in.


    Took me about an hour to cut all 3 holes.


    Here are the markings I made on the sides. I thought the threaded quick disconnects had a larger thread but they don't. So I have to cut away some of the side so that they will fit. I did it on both sides just in case I change something up one day.


    Both sides cut.


    Now its time for glue!


    Top glued on. I let it sit for a bit before doing more.


    One side.


    2nd side.


    All done!


    Now to start attaching the rads. 2 done


    All 3 attached! Looks great


    Here are the threaded Koolance quick disconnects that I'm using.


    Next I installed all the fans to the backs of the rads.


    Then the tubing. I'm using Koolance rotary 90 degree fittings, Bitspower 1/2" barbs and 7/16" tubing.


    Next I made a ~5' long power cable for the fans. I just threw on some old cheap black sleeving to keep the wires neat.


    Lastly, I leak tested the system for a few hours. No leaks so I guess its good!


    I'm pretty sure I'm going to carbon fiber the black. Its shiny and shows dirt and fingerprints and I don't like that. I need to order some today.

    Until next time,

    Fuga

  3. #53
    Moderator TLHarrell's Avatar
    Join Date
    Jan 2012
    Location
    Morgan Hill, CA
    Posts
    1,143

    Default Re: DIY Radiator Stand

    Looks sweet. Glad to see those grilles in place.
    I have a hammer! I can put things together! I can knock things apart! I can alter my environment at will and make an incredible din all the while! -Calvin

  4. #54
    Its not cool till its watercooled. Fuganater's Avatar
    Join Date
    Oct 2007
    Location
    Kinshasa, DRC
    Posts
    2,843

    Default Re: DIY Radiator Stand

    Not a big update. Got the fan filters in and I'm still waiting on the 3M Carbon Fiber to arrive.


    Got them all installed.


    As soon as the Carbon Fiber arrives I'll be done with this.

    Cheers till then,

    Fuga

  5. #55
    Its not cool till its watercooled. Fuganater's Avatar
    Join Date
    Oct 2007
    Location
    Kinshasa, DRC
    Posts
    2,843

    Default Re: DIY Radiator Stand

    I made the [H] front page!

    http://www.hardocp.com/news/2012/07/...radiator_stand

    I did a few things.

    Installed a BP crystal Link (smallest one) between 2 of the rads to elimate the tubing.


    Then I leak tested for about 14 hours. No leaks so its a win! I ordered some more SLI fittings so I can do it between the other 2 rads.


    This is ugly and restrictive!!


    I need to find a way to hook the rads up to the inlet in an effective way. I can't really use tubing (ideal) because of the angle. So I came up with this solution.

    D-Plug, 50mm extension, 90 degree crystal fitting and a SLI fitting I had laying around. Its easy to take appart and looks way better.


    Next I installed a pump on the side to help out. I had an extra DDC3.25 and an EK top so it works way better than the stock top. I'm thinking of putting dual pumps on this with a heatkiller pump top but I have not decided yet. Need to do some testing first.


    Here is how the tubing looks right now. The loop is where the next BP SLI fitting will go.


    I'm gonna work on connecting the pump to the fan bus since its all 12V. I'll have another update tomorrow assuming I get some stuff in the mail today.


    Cheers till then,

    Fuga

  6. #56
    Its not cool till its watercooled. Fuganater's Avatar
    Join Date
    Oct 2007
    Location
    Kinshasa, DRC
    Posts
    2,843

    Default Re: DIY Radiator Stand

    Time to finish up!!

    Got my Carbon Fiber!


    I took off all the rad grills.


    All done. (No mid way progress pics because this was very time consuming.


    I also added CF to hide the fan labels.


    I got the last SLI fittings that I needed. so Now the connections look super clean.


    Then I decided to add a res to the build so that the pump would never run dry.


    For some reason this setup didn't feed the pump enough so I changed it up. Lucklly I have lots of extra fittings now a days.


    The carbon fiber looks really nice.


    I post final photos soon.

    Cheers till then,

    Fuga

  7. #57
    Its not cool till its watercooled. Fuganater's Avatar
    Join Date
    Oct 2007
    Location
    Kinshasa, DRC
    Posts
    2,843

    Default Final Pictures

    Final Specs:

    • 3x Swiftech MCR320 (360mm) Radiator
    • 18x Yate Loon High Speed Fans
    • Swiftech DDC 355
    • EK-Multioption 150 Reservoir
    • Koolance VL3N Quick Disconnects


    Final Weight with water: 20 lbs

    Final Photos:


    A special thanks goes out to Thomas Harrell of White Light Laser who came up with the design for the radiator grills and also who cut them for me. You can visit his Etsy shop here.


    I hope you all enjoyed this project. I know I did.

    Cheers till the next mod,

    Fuga

  8. #58
    Water Cooled Stonerboy779's Avatar
    Join Date
    Jan 2012
    Location
    Melbourne, Australia
    Posts
    557

    Default Re: DIY Radiator Stand

    just personally I recon the pump and pipes out of the res should be enclosed in another box, just to make the whole thing seem that much more seemless and magical.

    Good work the carbon fiber finish looks great

  9. #59
    Its not cool till its watercooled. Fuganater's Avatar
    Join Date
    Oct 2007
    Location
    Kinshasa, DRC
    Posts
    2,843

    Default Re: DIY Radiator Stand

    Quote Originally Posted by Stonerboy779 View Post
    just personally I recon the pump and pipes out of the res should be enclosed in another box, just to make the whole thing seem that much more seemless and magical.

    Good work the carbon fiber finish looks great
    Thanks. I wanted the tubing to look cleaner but oh well. I didn't want the pump hidden in the first place.

Posting Permissions

  • You may not post new threads
  • You may not post replies
  • You may not post attachments
  • You may not edit your posts
  •