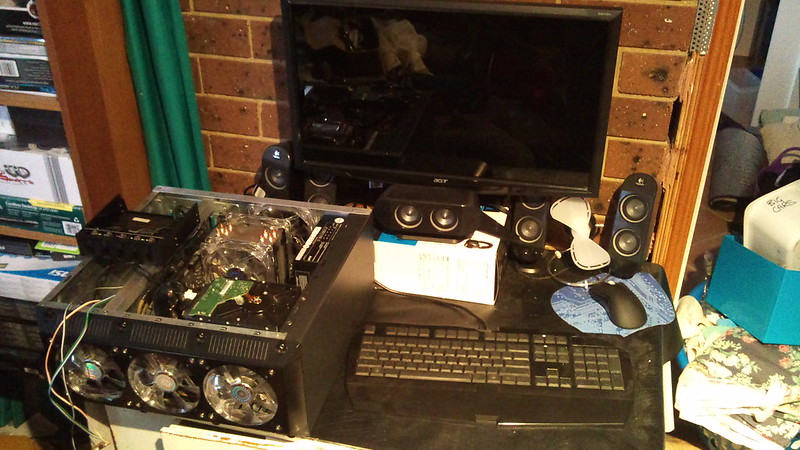
Page 1 of 2 12 LastLast
Results 1 to 10 of 20

Thread: Stonerboy's m-ATX build

  1. #1
    Water Cooled Stonerboy779's Avatar
    Join Date
    Jan 2012
    Location
    Melbourne, Australia
    Posts
    557

    Default Stonerboy's m-ATX build (Arcade Cab Edn)

    Hardware

    - Core i3-540 (it is still a decent little CPU - comparison to 2500k)
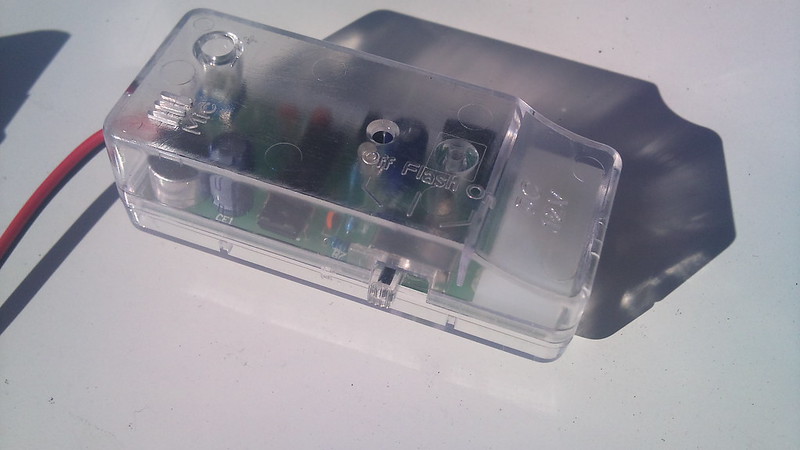
    - MSI H55M-E21 (the m-ATX mobo, bit old with the origal military class and non b3 rev)
    - CoolerMaster 212+ CPU Cooler (it definitely goes alright)
    - Kingston DDR3 1333 cas9 2x2GB
    - Asus GTX 560 TOP (absolutely love this card the other one is in the 2500k rig atm)
    - 120GB Patriot Pyro SE SSD (for the boot drive and main programs)
    - 1TB WD Caviar Green HDD (for the music storage and game data)
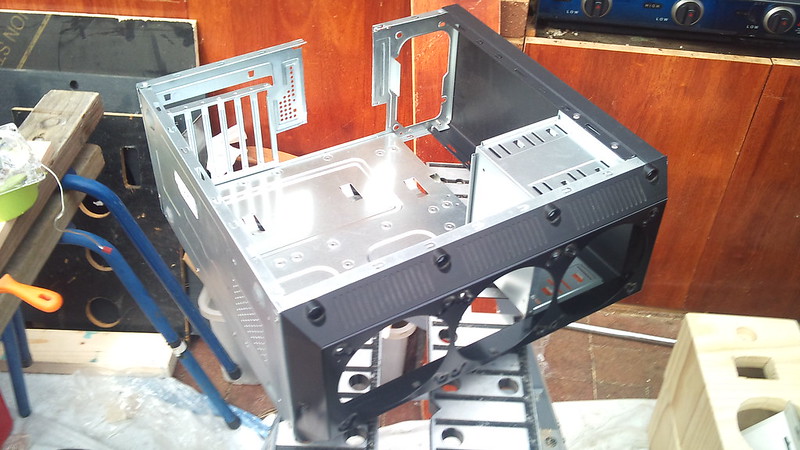
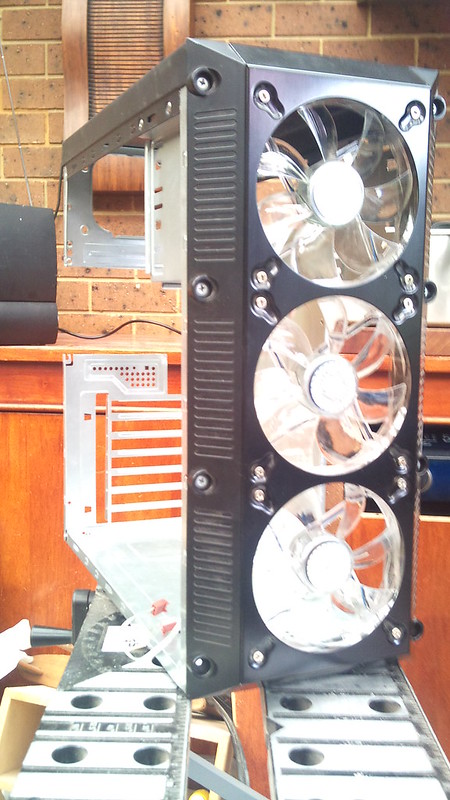
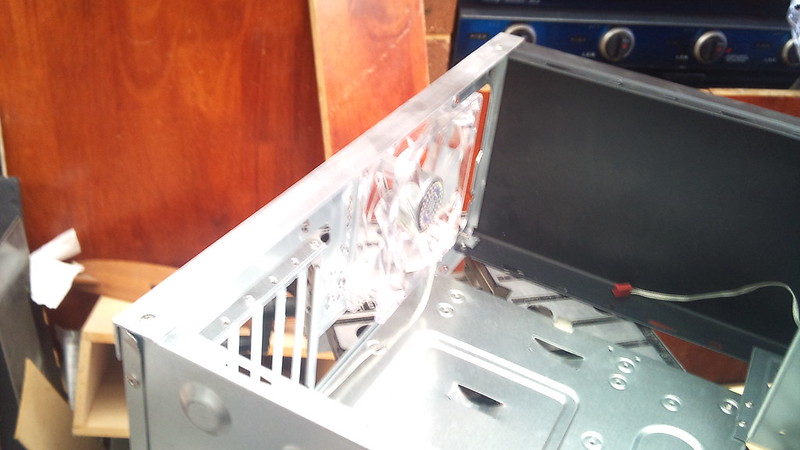
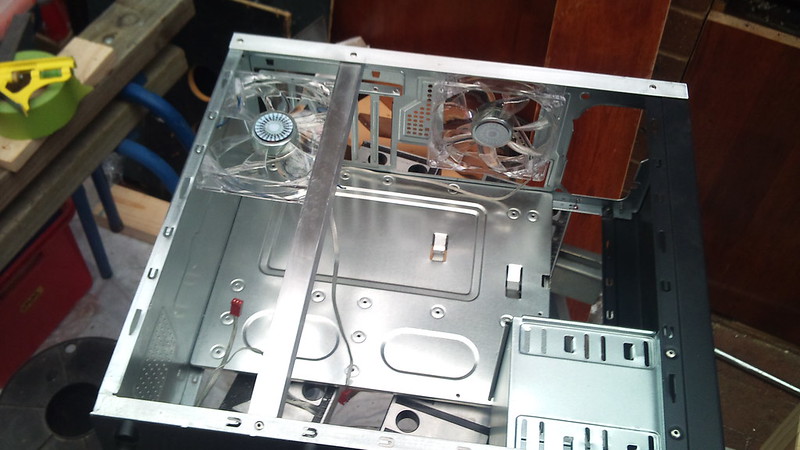
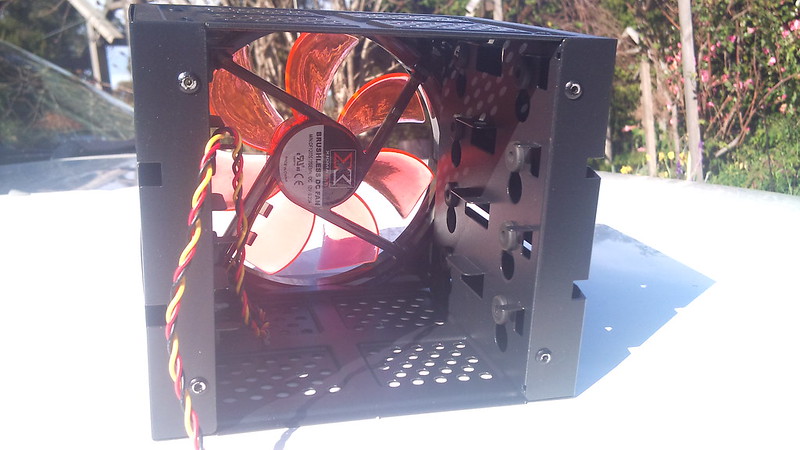
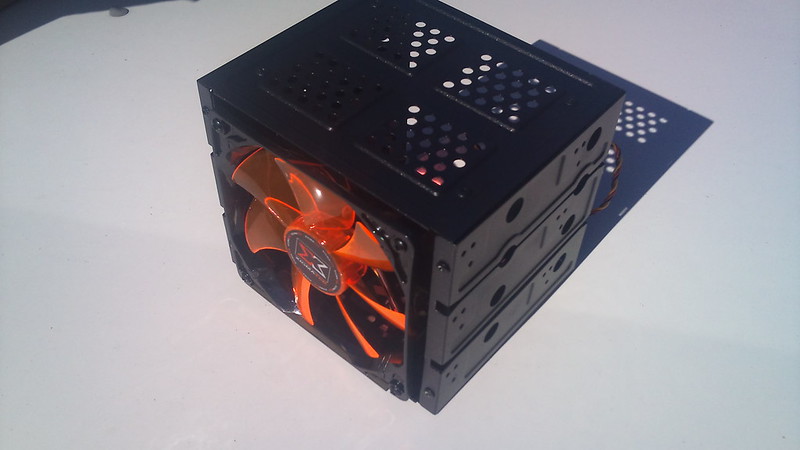
    - Very generic case (with only 3 80mm fan holes stock, it has been modded a little tho)

    Goal

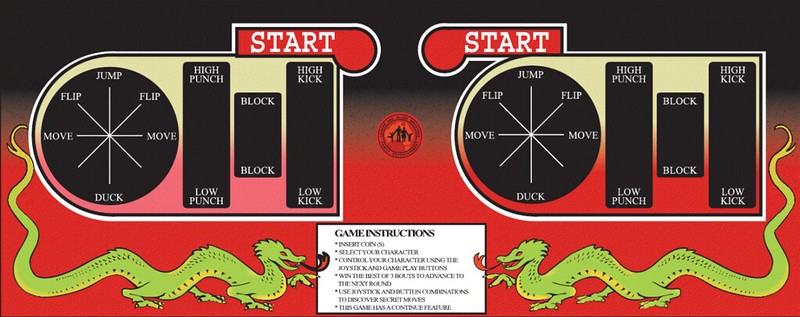
    I aim to make a solid rig that starts up quick and can handle a decent bit of work. It is to be both visually pleasing and very practical. It shall be spending its life running Hyperspin possibly a touch jukebox in the future and Spotify. Wont perform any other tasks and it will be sitting in the bottom of my arcade machine. It will be visible through a high airflow mesh that fills the gaps of a mortal kombat dragon cutout on the front and another similar cutout on the back.
    I will post progress of the arcade machine here too but it may take a while.
    Pics of the mildly modded case will come soon and if i can find a before shot (which i forgot to take) I will post it also.

  2. #2
    Water Cooled Stonerboy779's Avatar
    Join Date
    Jan 2012
    Location
    Melbourne, Australia
    Posts
    557

    Default Re: Stonerboy's m-ATX build

    The Case

    The original case


    There is a single 80mm fan at the front for the intake and it draws air from a small slit down the bottom behind the silver face.
    On the side of the case there is a single 80mm intake for the GPU/s and then one 80/92mm exhaust on the rear.

    After lots of cutting and scrapping off the HDD cage I am left with this


    Also yes that is a koolance 360 rad shroud now on the front after cutting away 90% of the metal for heaps of airflow. Turns out that rad shroud was spot on for the case dimensions thtrough some happy chance haha. At the back you can see I cut out the old exhaust section entirely.


    Some fans in the front and no this build will be laying down otherwise it doesnt clear the monitor in the arcade machine.


    The rear fan and it is brased out with some aluminum angle and before anyone asks I will not be painting anything it will stay the mix of silver and black it is because it matches the silver casing on the back of the monitor.


    Another bit of angle and I think you can guess its purpose.


    So now I have gone from 3 80mm fan holes to a possible 7 120mm fans plus another two on the 212+ cooler. All fans will be CoolerMaster Silent Blue led fans and all will be undervolted to 7v.

  3. #3
    Water Cooled Stonerboy779's Avatar
    Join Date
    Jan 2012
    Location
    Melbourne, Australia
    Posts
    557

    Default Re: Stonerboy's m-ATX build

    Back Definately neeeds a sand and some larger holes cut out that are even (previous owner was a butcher when it came to woodwork and electronics)


    Front the door need replacing and it will have a large plexiglass window into the inside showing the computer in all its glory as well as a neet black and blue wiring when wires are to be seen at all


    Inside


    CRT FTW!! haha


    Working Coin Mechs (Modified for $1 coins) Getting entirely replaced now tho.


    Plexiglass to cover backlight sign at top


    Draft of button layout (I hate this one it needs reviewing (Buttons will all be replaced with light up blue ones and the sticks will have a blue ball top)


  4. #4
    Water Cooled Stonerboy779's Avatar
    Join Date
    Jan 2012
    Location
    Melbourne, Australia
    Posts
    557

    Default Re: Stonerboy's m-ATX build

    Finished ripping bits of the arcade machine. Things like this idea of cooling.....


    Or someone who had fun with liquid nails.....


    And my favourite this many stables on only 30 cm


    Finished sanding up before painting a first layer


    All these are from old posts way back some newer pics will come soon once i have done some more

  5. #5
    Water Cooled Stonerboy779's Avatar
    Join Date
    Jan 2012
    Location
    Melbourne, Australia
    Posts
    557

    Default Re: Stonerboy's m-ATX build

    Going to git this printed on signwriting vinyl will also make another interchangeable top as this mk one is really only useful in fighting games.


    Also two more massive 1600x500mm prints to wrap the sides of the arcade machine with but these are big expenses for another day.


  6. #6
    Moderator TLHarrell's Avatar
    Join Date
    Jan 2012
    Location
    Morgan Hill, CA
    Posts
    1,143

    Default Re: Stonerboy's m-ATX build

    Sweet. Subbed.
    I have a hammer! I can put things together! I can knock things apart! I can alter my environment at will and make an incredible din all the while! -Calvin

  7. #7
    Water Cooled Stonerboy779's Avatar
    Join Date
    Jan 2012
    Location
    Melbourne, Australia
    Posts
    557

    Default Re: Stonerboy's m-ATX build

    Quote Originally Posted by TLHarrell View Post
    Sweet. Subbed.
    Haha thanks


    Well was just testing hardware and was going to do a fresh install on the SSD but it looks like it has been sitting dead on my shelf these last few months.
    Now hopefully I can get it replaced without an issue as today was the first day I opened and took it out of its packaging which kinda sucks.

    Still need to get

    - lots and lots and lots of led strips
    - sound activated light controller
    - illuminated power and reset switches
    - new buttons and sticks for the arcade machine
    - new coin slots machines too
    - a massive sheet of perf steel powdercoat black
    - some car speakers 6 1/2" splits and a shallow 8" sub
    - the viynl prints but they will be last

    some pics with lights on and off to give a general idea of the case with some hardware in

    lights off


    lights on

  8. #8
    Its not cool till its watercooled. Fuganater's Avatar
    Join Date
    Oct 2007
    Location
    Kinshasa, DRC
    Posts
    2,843

    Default Re: Stonerboy's m-ATX build

    So you have a 360 shroud and your not going to watercool...


  9. #9
    Water Cooled Stonerboy779's Avatar
    Join Date
    Jan 2012
    Location
    Melbourne, Australia
    Posts
    557

    Default Re: Stonerboy's m-ATX build

    Quote Originally Posted by Fuganater View Post
    So you have a 360 shroud and your not going to watercool...


    Yes

    The shroud really neatens up the front and provides perfect mounting for the fans. Its not a power build and it already runs cold and silent. CPU runs on average 5C above ambient while the GPU sits at 40C stock curve but I plan to lower it with two fans mounted to my cross bar forcing more air into the GPU.

  10. #10
    Water Cooled Stonerboy779's Avatar
    Join Date
    Jan 2012
    Location
    Melbourne, Australia
    Posts
    557

    Default Re: Stonerboy's m-ATX build

    Got some goodies today


    Momentary switch (one will be power and will be attached to power led and the other will be reset and be attached to hdd led)


    Sound activated lights whoo


    Switch on the side to flip between off, flash and on


    4x 1.2m off led lights (all blue on a black strip coated in a clear flexible resin with 3m backing tape)


    CCFL kit dual 30cm blue lights to light up the marquee on the arcade machine


    Xigamatech 3x 5 1/2" to 4 HDD bat converter


    more pics to come shortly

Posting Permissions

  • You may not post new threads
  • You may not post replies
  • You may not post attachments
  • You may not edit your posts
  •