Page 6 of 6 FirstFirst 123456
Results 51 to 57 of 57

Thread: Bombproof Builders Desk....Build

  1. #51

    Default Re: Bombproof Builders Desk....Build

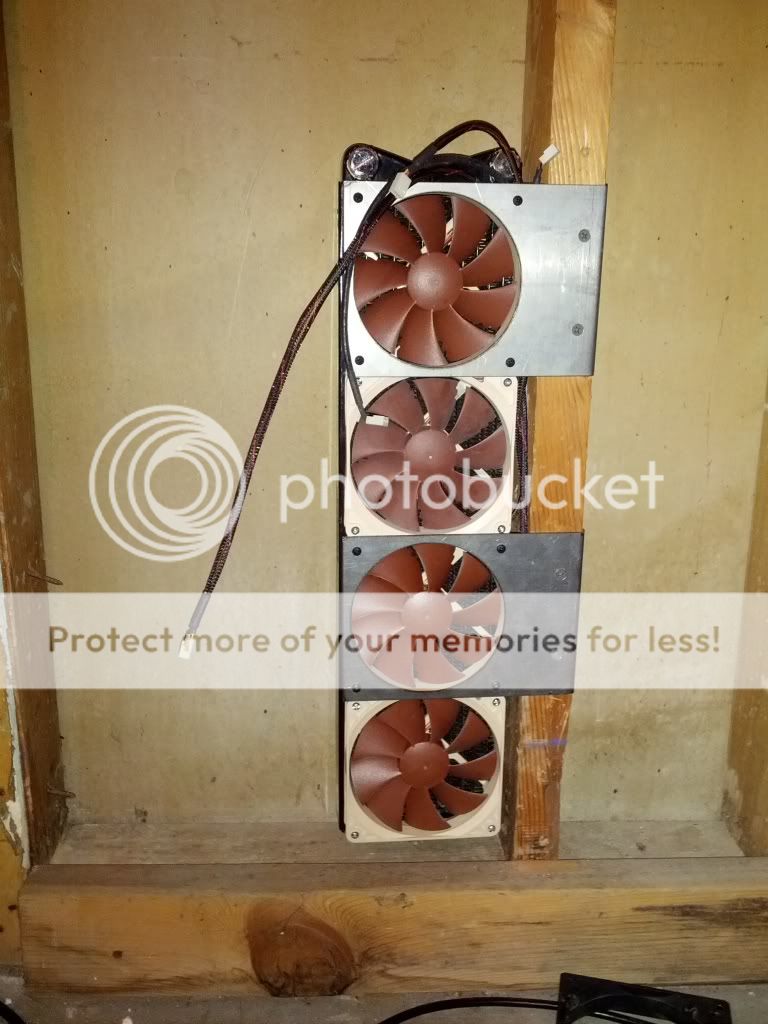
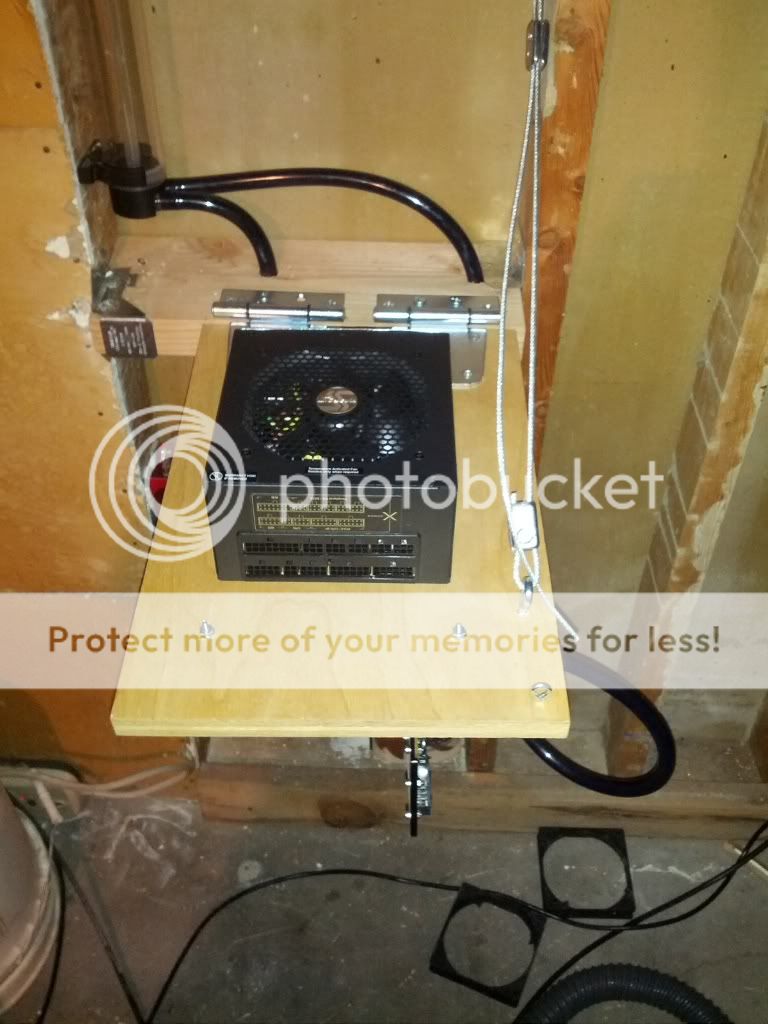
    hey guys, sorry for the break in updates. However my finger is pretty much healed up and over the last 2 days pretty much all of the parts for the wall build have showed up in the mail. I am only waiting on the screws to mount the radiator.


    I am having a hard time deciding which res to use for this build thoughts?

    Also over the new year I managed to score a 1080P Viewsonic Projector for really cheap and with 0% financing for 18 months


    I also upgraded to a Motorized 100 inch screen which means I can run everything from my desk, double

    As soon as the screws come in I will start fitting everything and moving forward however I am in need of some 45 and 90 degree adapters for my compression fittings and I am pretty much out of budget until next month so I will have to source some through trade or whatever. Anywho thanks for reading as always, my next update will be a video of me explaining the full wall PC setup.

  2. #52

    Default Re: Bombproof Builders Desk....Build

    Ok guys, time for a fairly large update. I was going to make a video of me explaingin how the wall pc was going to work and the purpose of it but I came home from work today feeling angry for no good reason so I decided to take it out on some modding. So here are the fruits of my labor for the afternoon.

    First off I cut the Screws i had ordered from frozen CPU to leagnth so I could mount the rad.


    Next up I needed to remove a bit of pipe from the area I would be working in as it was no longer in use.


    Then vacuum and mount the rad


    Next up is the pump


    Then the Res.


    After that i needed to get the 2x6 I would be using to mount the hinges to level and secure.


    After that it was time to make the plank I would be using to mount all of my hardware. There are 4 holes in the lian li trade that make good mounting points.


    And just my luck the Seasonic PSU fits perfectly between the nuts


    next up was mounting the hinges and testing out the concept.


    Woo Hoo, all looks well. Time to start running some tubing. Unfortunately the danger den res. I am using will not allow me to us compression fittings, so I am going to have to use barbs on the res (eww )


    CPU heatsink installed


    and the video card next.


    And here is a mockup, the tubes are too long atm but I wanted them that way till I am finished so I have some play room. Now I just need to get a bracket for the PSU and a couple other things and this thing is ready to rock! As always thanks for reading.


  3. #53
    Water Cooled Stonerboy779's Avatar
    Join Date
    Jan 2012
    Location
    Melbourne, Australia
    Posts
    557

    Default Re: Bombproof Builders Desk....Build

    With such great distances in bight you're really going to make that poor pump work hard.

  4. #54
    Undead Pirate d_stilgar's Avatar
    Join Date
    Mar 2005
    Location
    Philadelphia, PA
    Posts
    2,987

    Default Re: Bombproof Builders Desk....Build

    Quote Originally Posted by Stonerboy779 View Post
    With such great distances in bight you're really going to make that poor pump work hard.
    I'm not sure how I missed this. I have the bigger version of that mobo tray. It's awesome.

    Stonerboy is right. You need to check the head pressure on that pump to make sure it can pump up those feet.

    Still, can't wait to see more.

  5. #55

    Default Re: Bombproof Builders Desk....Build

    Ok a slightly smaller update today. I am still waiting on some parts to arrive (A huge thanks to deadlift1 you are truly [H]ard!) He offered me some free extensions so I can use compression fittings on my reservoir. However I did swing back by Bryans shop to have a PSU Bracket mad up yesterday and I got the rest of the mounting hardware for the tray installed.

    First off is the Latch to hold it in the upright position, nothing fancy but it works like a charm.


    Then we have a tensioning cable to reduce stress on the wood the hinges are mounted to and prevent sag. I mounted a adjustable hook on one end so I can adjust sould the cable stetch out or I need to alter the position.


    Then off to the plasma cutter again.


    And viola a PSU bracket.


    Mounted.


    And we now have a place to slap in the Seasonic 750w PSU


    You can see here the PSU has plenty of room to breathe and there is only a slight gap between the wood which I will address when I do cable management.


    Hopefully another update and maybe a video by the weekend. As always thanks for reading!

  6. #56

    Default Re: Bombproof Builders Desk....Build

    Ok guys, I am getting close to being done, last night though I decided I needed to re work a bunch of stuff to get the Wall PC right, so I ended up working until 3am on it then spent the next 3 hours after that ordering more parts. So much for this being a ultra cheap build ( Facepalm) Anywho on with the update.


    First off is wiring up the power and restart buttons, I am using a run of cat5 wire so that if I decide to get LED buttons later on I can use the extra 2 pairs for the LED's, Green is Power, Orange is Reset.


    Side note I found a great new way to use the little LED flashlight in my mini leatherman


    Now that gets passed through the wall and that brings us to the wall side wiring.

    First off the Fans, I am using a Phobya fan splitter.


    Now Cables you see here from left to right, Pump Cables,Power Switch Cat5 Cable then the Fan Power cable.


    Here is what its shaping up like on top, please ignore the terrible wire sleeving as I realized the stuff I have it just terrible and I have just ordered Paracord this morning. I also will be sleeving all of the Seasonic PSU cables as well, which will be a first for me.


    Now I also decided to replace of of the tubing with Tygon tubing as the Flexability will come in handy plus I get to use Mayhems Deep red Dye for a better color scheme


    Next up is test fitting my hard drive mounting solution, a Syba Dual Slot 2.5 caddy.


    Its quite light and should suite my needs quite nicely, I have a 1tb Spinner and a Intel 160gb SSD in the mail. I also have the wall pass through and a USB slim housing for a disk drive as well as a couple other things on their way. As always thanks for reading!

  7. #57

    Default Re: Bombproof Builders Desk....Build

    Ok guys, another big update.

    I had a bunch of stuff show up today including my paracord


    I will be using the 3 colors on the left.

    My 160gb Intel SSD and Samsung 1 Tb Spinner for storage.


    I also got more heat shrink, ordered a Crimp setup from MDPC. I also got deadlift1's Extensions for the DD res in.


    Thanks again man they did the trick perfectly!

    So with those, I had everything I needed to get this setup wet. I was super stoked so I started wiring up and sleeving the power and reset switches.


    Then disaster, as I was measuring out a wire length and I bumped the latch holding the tray up and slamming it down. The heavy water blocked video card ripped the PCIE 16x Slot right from the motherboard


    Now while this is frustrating, it is also entirely my fault, I had considered a better more secure latch but opted for the simpler setup. I am sad to see this mobo die before it even had a chance, I rather liked how basic the bios was and I also liked the built in buttons and display, however I picked this board cause it was on sale and I got it for a good price. I am undeterred however because I really do want to see the effects of cooling a CPU upside down and you can't try something that hasn't been done before without some risk 
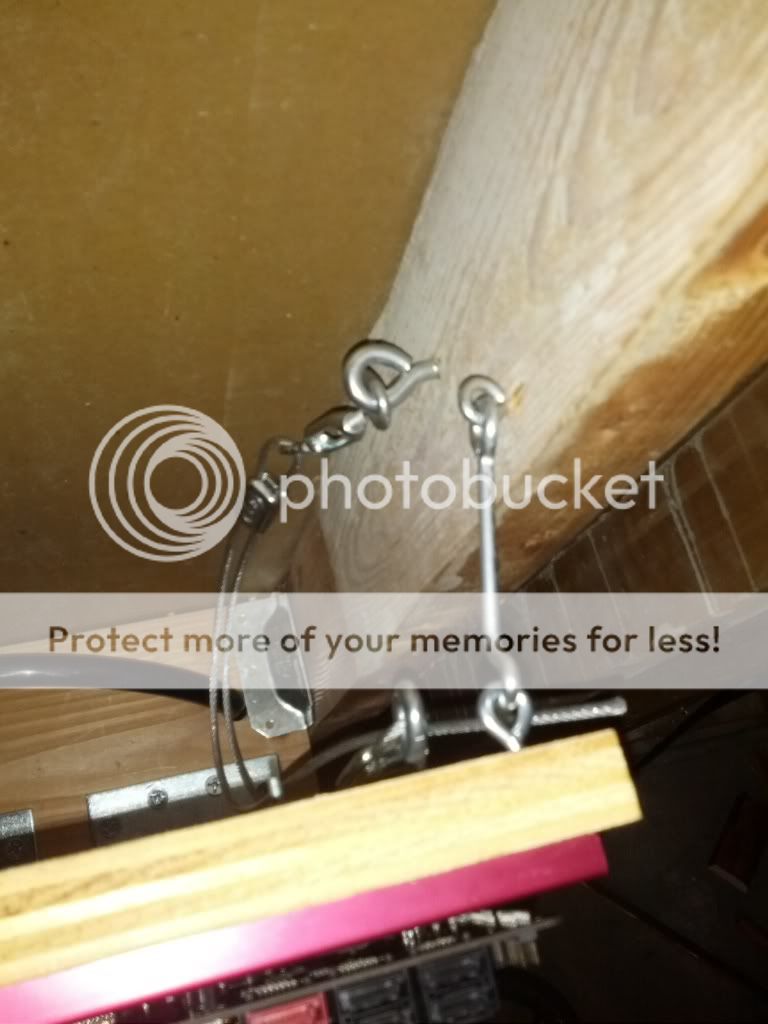
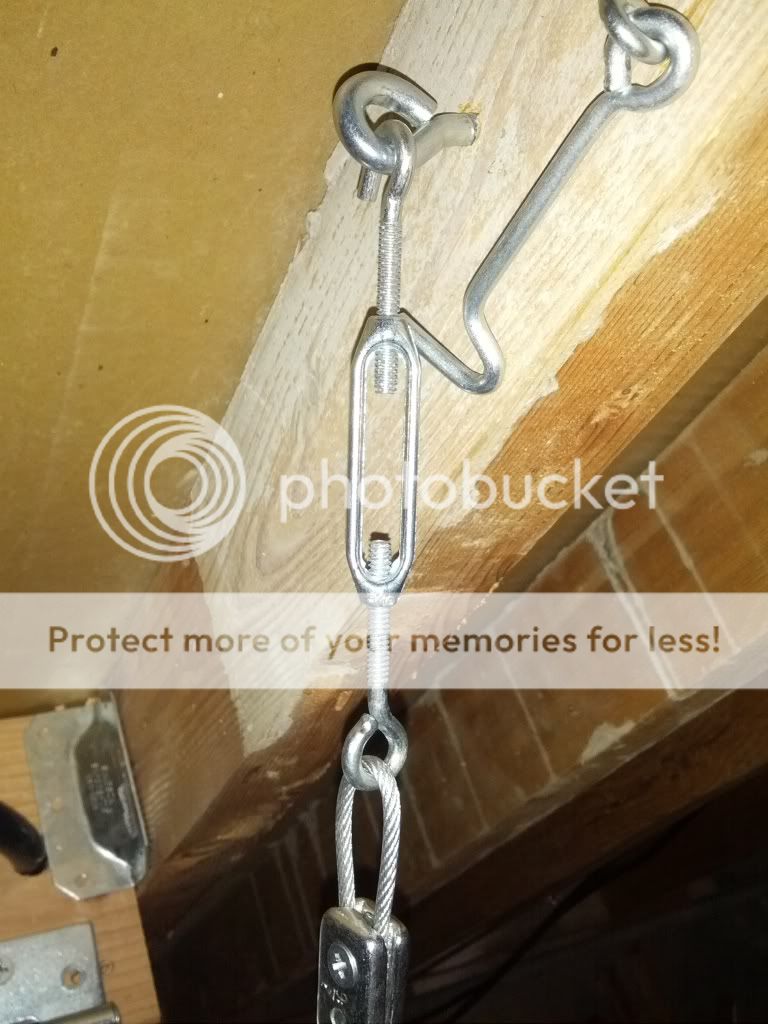
. First priority obviously is a MUCH better latch and then a new motherboard, any suggestions that will go with black, red and grey and are fairly affordable please let me know.


    Well instead of posting a video of getting my system topped off with water and leak checked I leave you with pictures of a ruined motherboard but thats modding, some times it all goes terribly wrong and thats what makes it exciting . Now if you will excuse me I am gonna go to the gym and take my pent up rage at myself and take it out on some weights then have several pints spiked with whiskey.

Posting Permissions

  • You may not post new threads
  • You may not post replies
  • You may not post attachments
  • You may not edit your posts
  •