Great mod!


Great mod!


Nice work! I've never heard of that stuff!
Arctic Cat * Maximum Security * Cribbage Board * Rockin Case * Armor Redux
Tempest SXR * Power House * Red Comet * ICHIWZ * Acrylic Headphone Hook
Continuing sponsorship support from PCBoard.ca


The chroming process shouldn't have any issue. The major part of that is making sure the whole thing is absolutely smooth because it will magnify every flaw. They'll usually electroplate with copper, then nickel, then chrome. The difference in metals will disappear during the process.
Really nice looking "welds". Extremely decent for your first time.
I have a hammer! I can put things together! I can knock things apart! I can alter my environment at will and make an incredible din all the while! -Calvin

What kind of camera do you use?
WH1T3 0U7
*******************************
Modified Thermaltake View 37
Intel 9900K, MSI Z390A, 128GB (32GB x4) GSkill Royal 3200MHz, RTX 3080 Vision, EVGA Nu Audio, 1TB Silicon Power SSD, EVGA 1300G2, ID cooling 360mm AiO, LG 3440 x 1440

I have a Canon Rebel XTi with just the standard lens. Nothing special.Originally Posted by TheGreatSatan

Honey Roasted Peanuts Ingredients: Salt; Artificial honey roasting agents; Pressed peanut sweepings.
Didn't get as much work done this weekend as I had originally planned. On Saturday, I was at my kids' school helping clean up and get ready for the new school year. Then on Sunday it was just too danged hot, and I tend to get quite lethargic when temps get into triple digits lol.
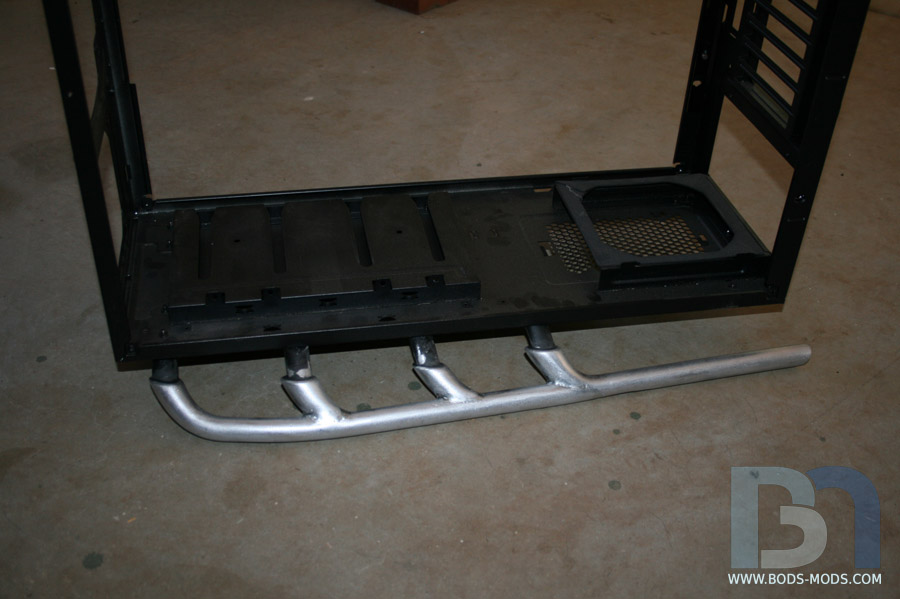
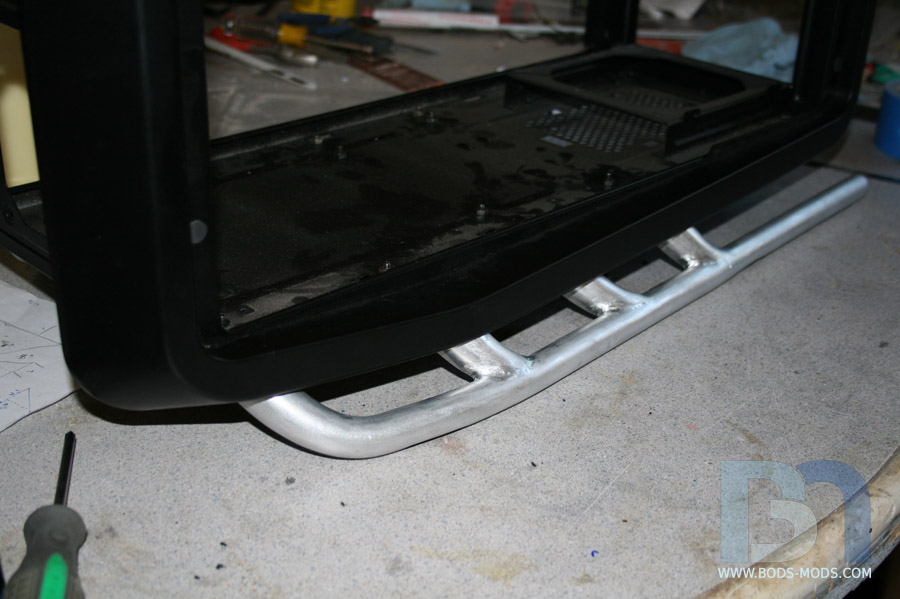
Anyway, getting to what little progress I did make... I didn't feel like filing or sanding in this heat, so I decided to just mount the headers to the case.
The first lug mounts in its factory location, then all the others had to be drilled.
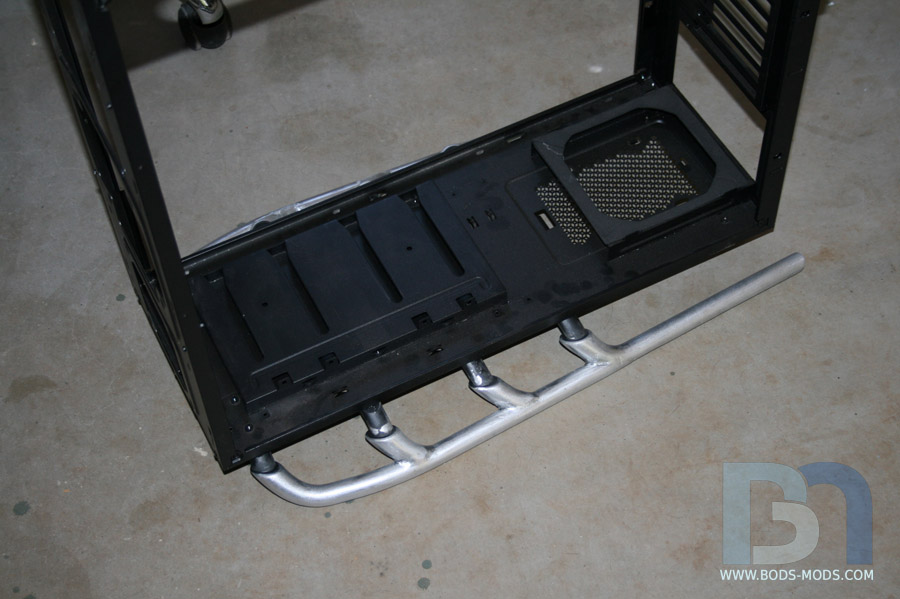
A view from the back. I had a little bit of play to work with, and was able to get them looking symmetrical.
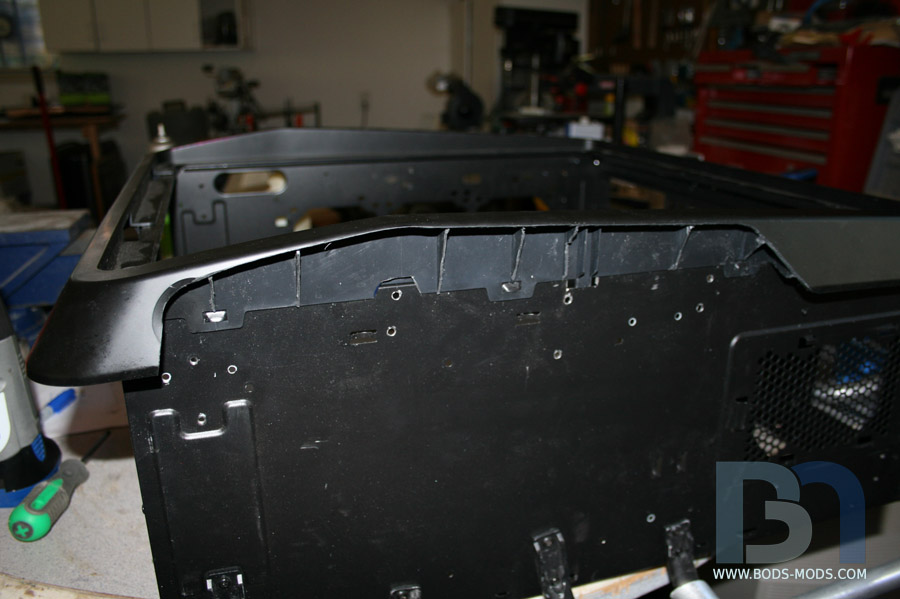
I then proceeded to mark and cut the bottom of the side trim away. I thought about cutting separate holes for each lug, but that would have made it very difficult to feed the header lugs through since they are all different orientations. So I just cut the entire area out.
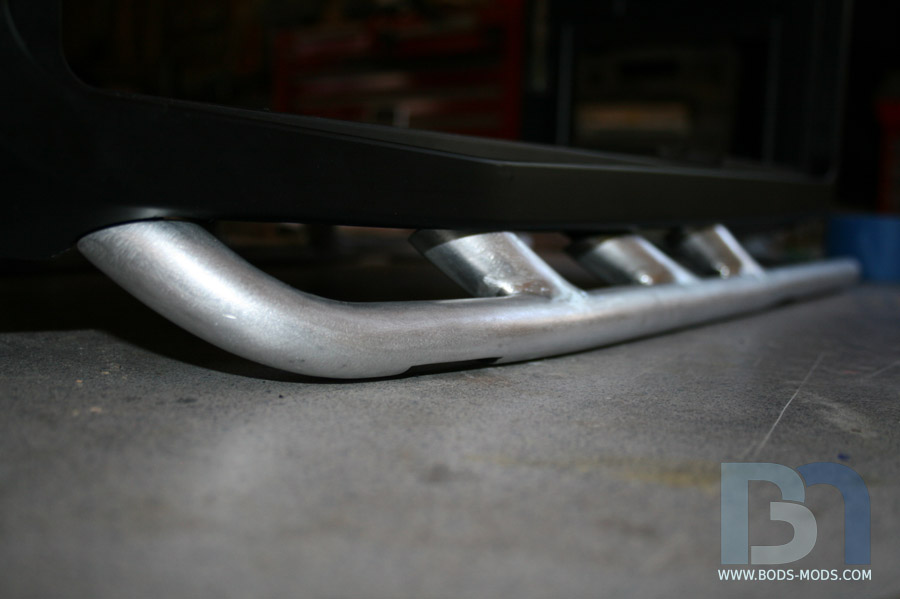
From the side you can't tell where the cut is.
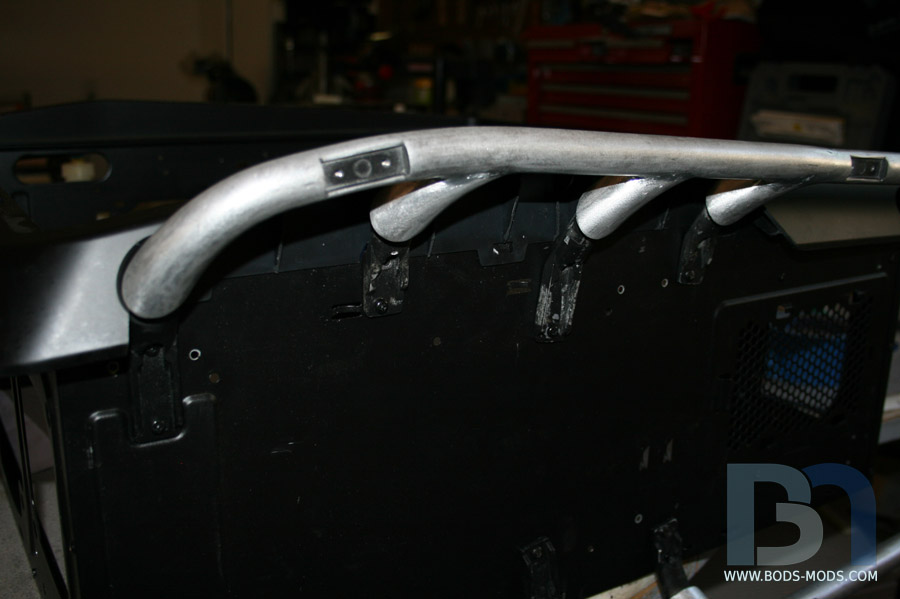
Even when you get down to the header level, it's hard to see the cut line.
And finally a view from the back.
Now that I have one side cut, I can transfer the cut area over to the other side. Any adjustments I need to make should be minor if any.
Honey Roasted Peanuts Ingredients: Salt; Artificial honey roasting agents; Pressed peanut sweepings.
looking good!
Arctic Cat * Maximum Security * Cribbage Board * Rockin Case * Armor Redux
Tempest SXR * Power House * Red Comet * ICHIWZ * Acrylic Headphone Hook
Continuing sponsorship support from PCBoard.ca
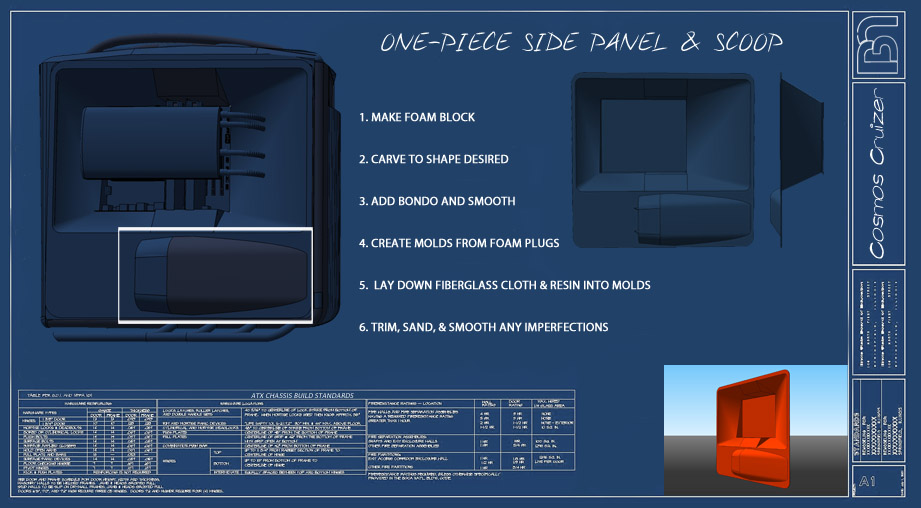
The left side panel is one of the more challenging parts of this build, if not the most challenging. It completely does away with the factory door panel, and after the modifications it becomes a major part of the support structure. Almost all hardware will be mounted to it, both front and back, and it will be seen from both sides. So not only does it have to be strong, but it also has to look good as well. And to top it all off, this will be the first time I'll be using fiberglass. So yeah, pretty tall order for this piece!
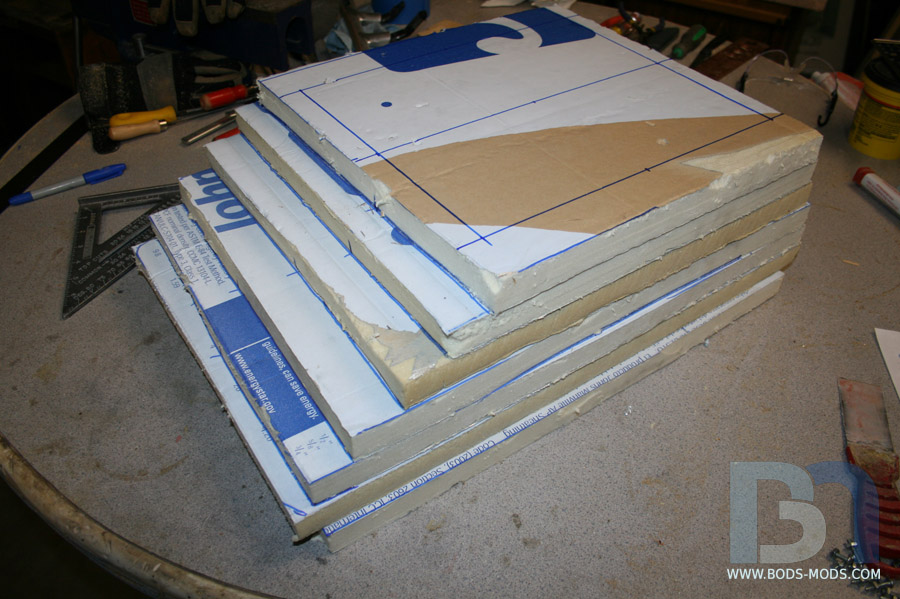
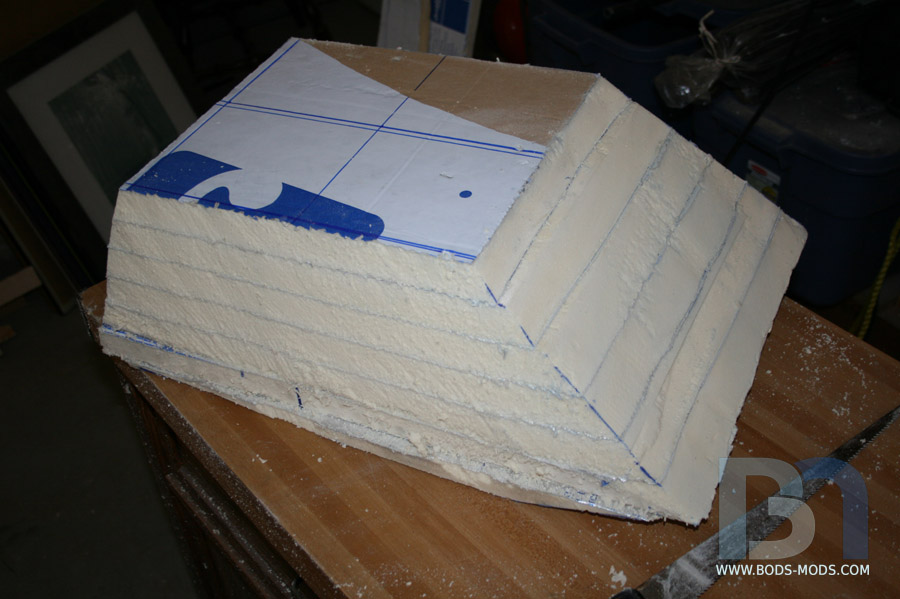
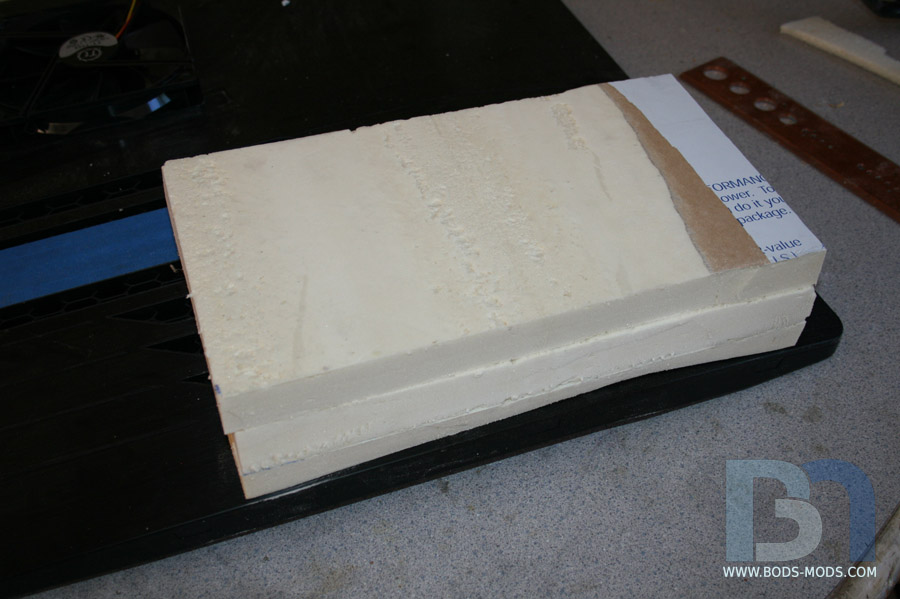
After spending hours in Sketchup designing it out, checking and double checking my measurements, I finally got to a point where I could start the fabrication process. The first step is creating the form, so a block of foam was glued up. This shape represents the reverse of the concaved area of the side panel where the components will go.
After marking it up with centerlines and borders, the carving began.
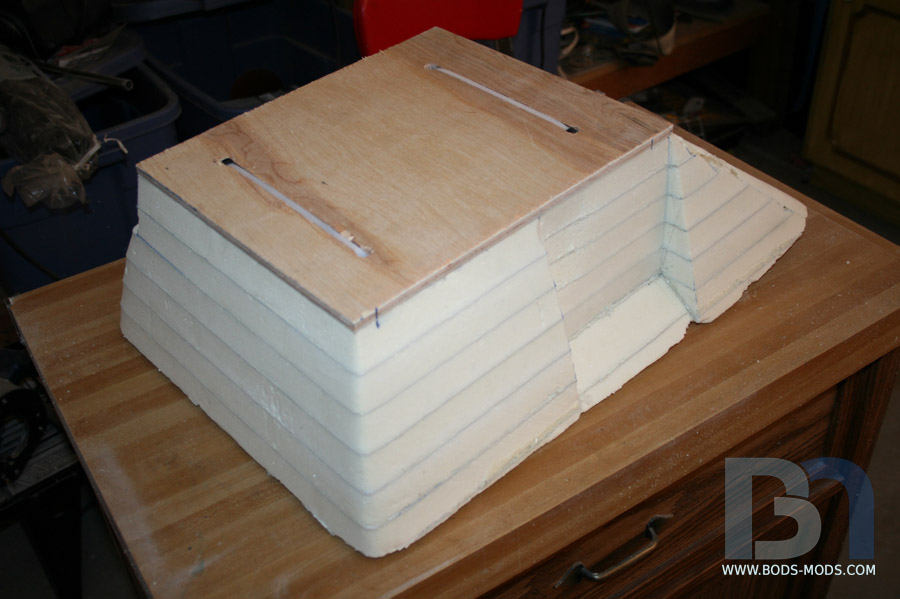
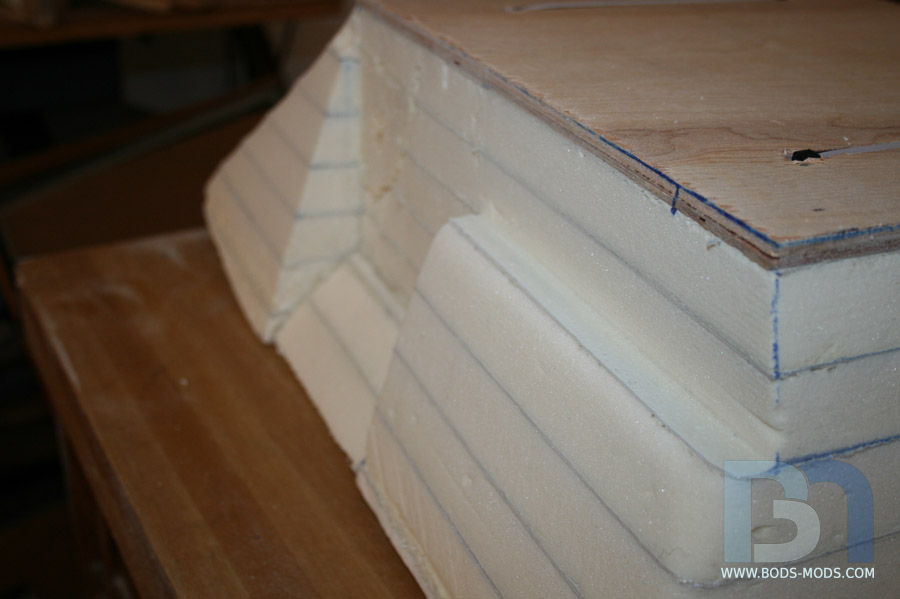
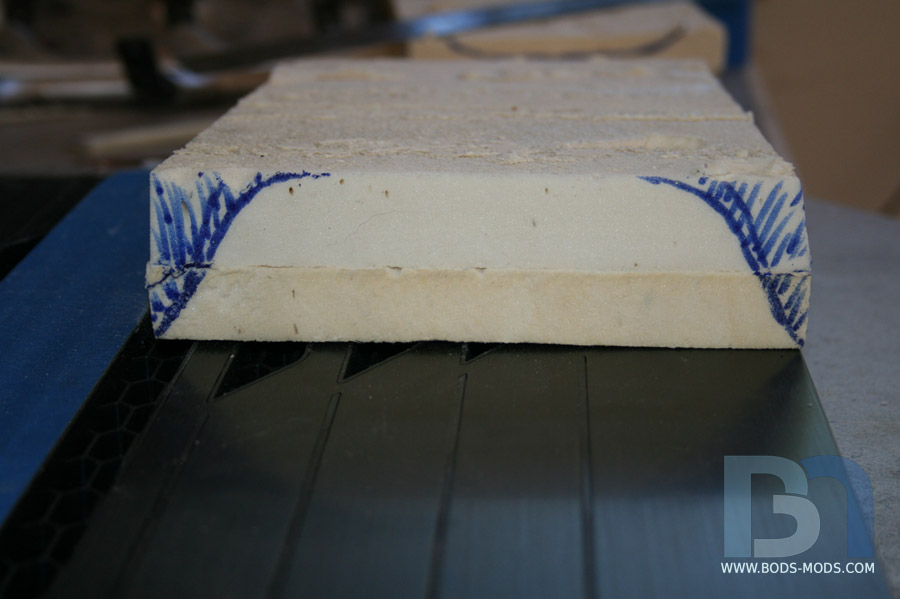
Work continued, carving and smoothing the foam to the desired shape (tools used: retractable knife, hacksaw blade, drywall sanding block). Then I added cutouts for the "shock towers" that will later become part of the IO panel on the bottom, and cable access on the top. I also added a piece of plywood on top for strength, and used zip ties running through all layers of foam to make sure it all holds together.
Here's a closer shot of the IO area.
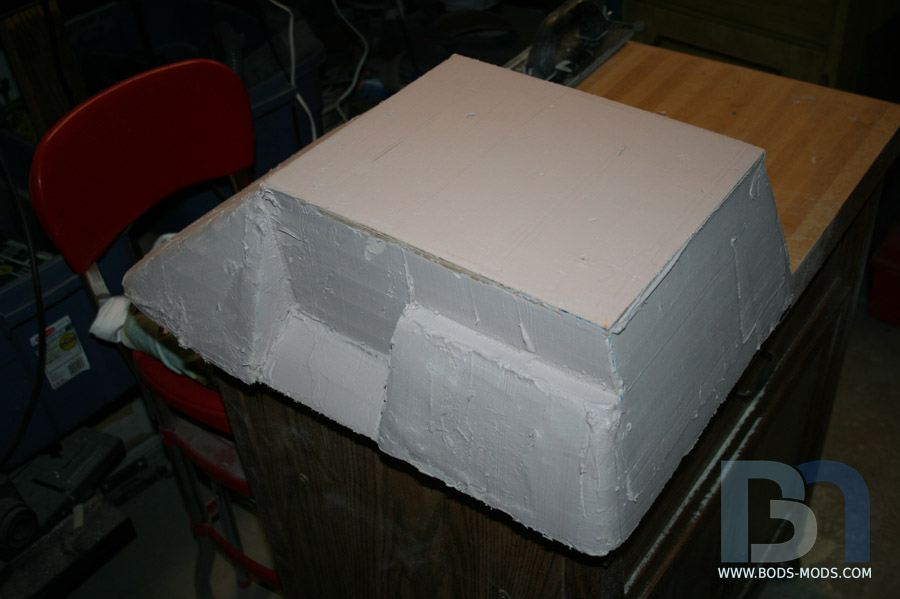
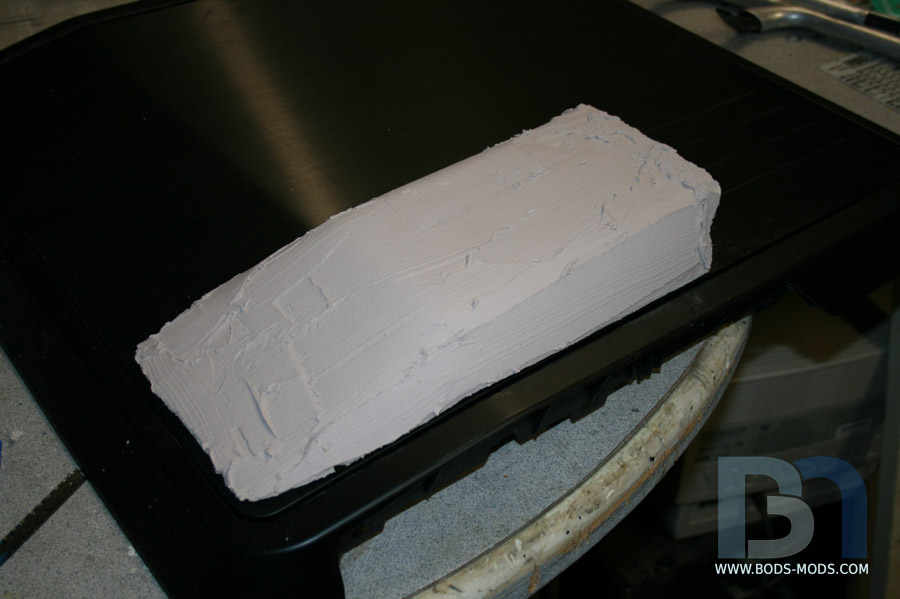
To smooth out the imperfections and fill the voids, I slopped on the bondo.
While that was setting up, I moved on to the custom side scoop that will cover the lower radiator fan intake holes. Again, I stacked up three pieces of foam and glued them together with spray adhesive.
I already carved the door's contour into the bottom piece so it sits flush.
After taking a step back, I decided that 3" was too high. I removed one piece of foam, and started marking out the scoop shape. I added another small piece to the end so it tapers all the way to the edge.
Showing the preliminary front shape.
This piece was small enough to use my retractable knife. These knives are perfect for cutting foam because you can extend the blade out as long as you need it to be.
Once I got one side roughed out and matching the body lines, I needed to do the other side the same way. I'll be making two of these scoops, one for each side of the case, so it has to be symmetrical.
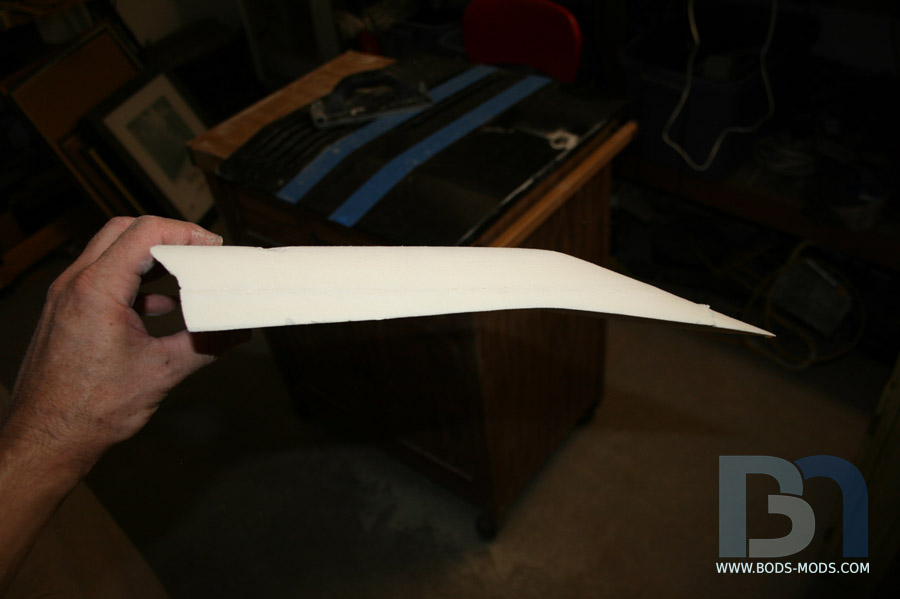
Profile shot. I like it!
Smoothed out and ready for filler.
Body filler added. More sanding required!
Work continues...
Honey Roasted Peanuts Ingredients: Salt; Artificial honey roasting agents; Pressed peanut sweepings.
lookin good
Arctic Cat * Maximum Security * Cribbage Board * Rockin Case * Armor Redux
Tempest SXR * Power House * Red Comet * ICHIWZ * Acrylic Headphone Hook
Continuing sponsorship support from PCBoard.ca
Hey guys, I'm back on this project! Got my other obligations out of the way for now, so I can continue on with the Cruizer.
Unfortunately, I don't really have much new progress to show. I'm still working on the form for the side panel and scoops, adding bondo and sanding. So nothing new there. I did get some patching done tho, so I can at least show that...
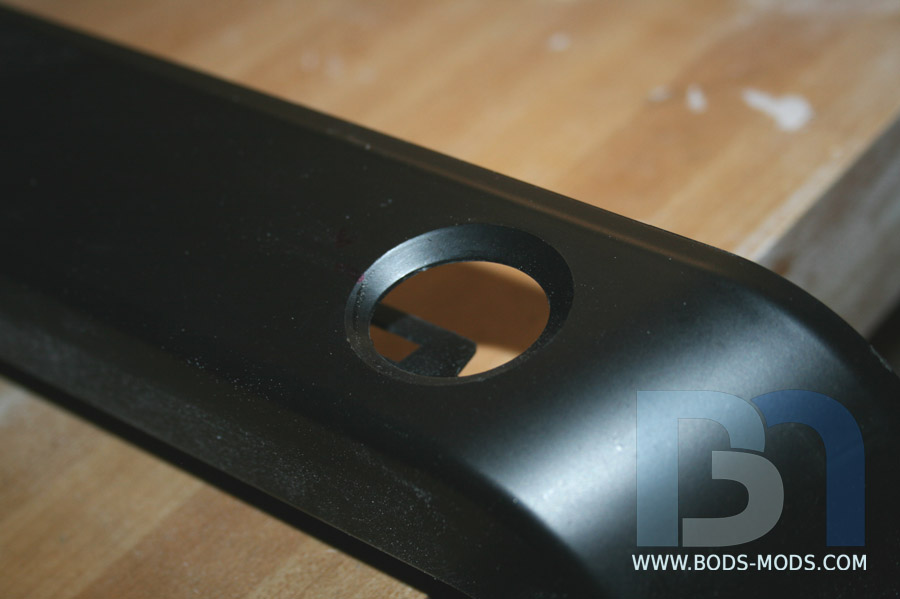
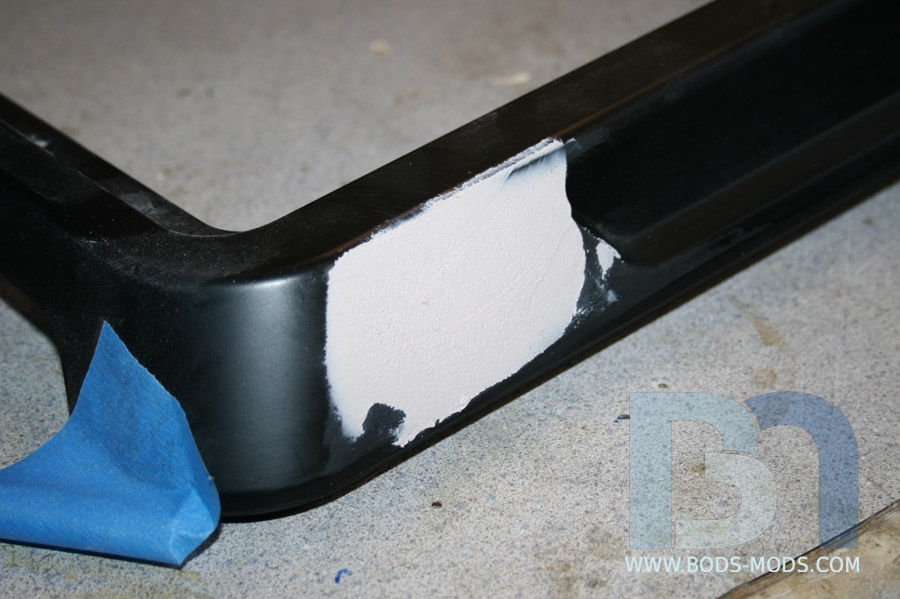
Due to the bottom rails being transformed into hot-rod style exhaust headers, I only need one of the holes in the trim piece at the bottom. And since I'm relocating the top rails to the center, I won't need either hole up there. So I need to plug them up.
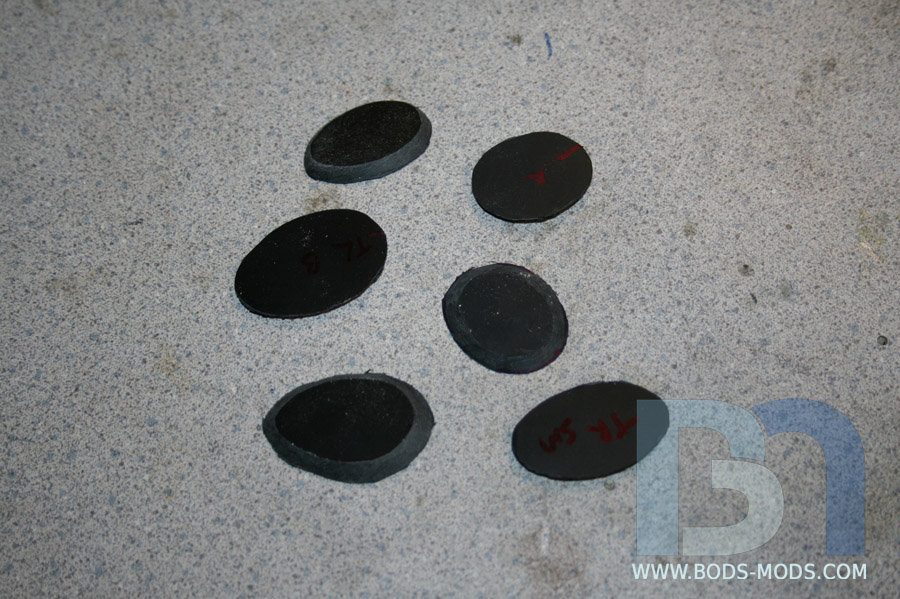
I cut out six oval shaped discs and beveled the edges so they fit into the holes.
Here's one of the holes...
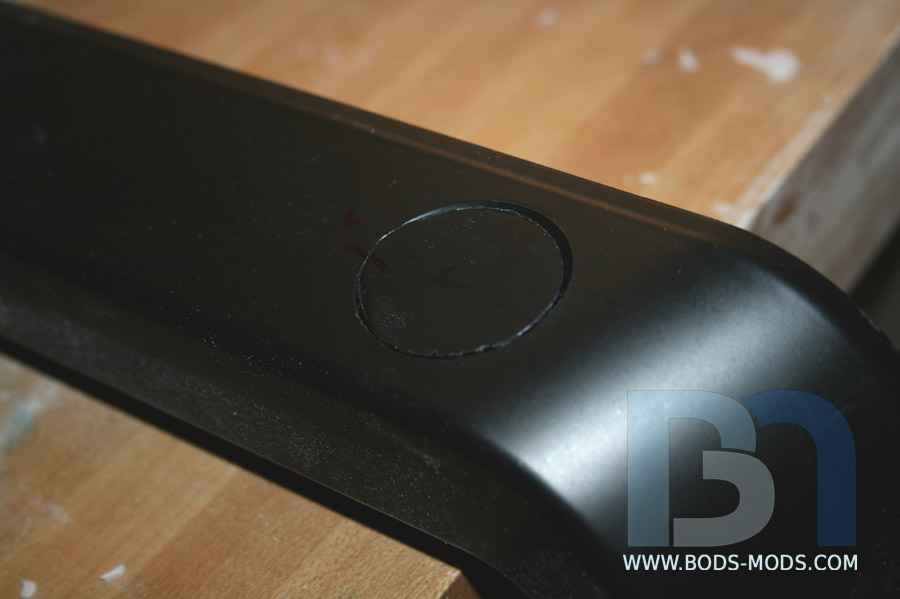
And here it is with the disc.
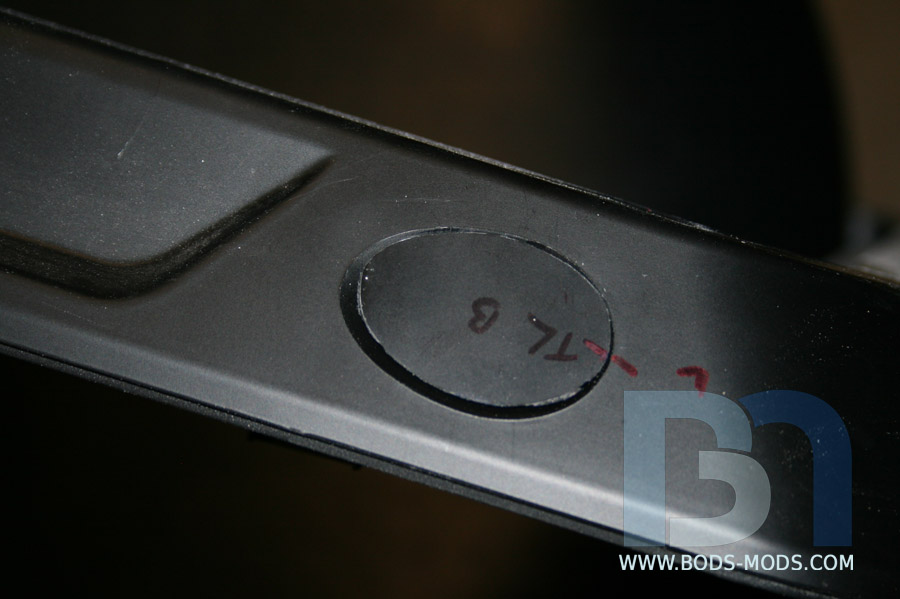
I marked each one so I knew which hole they went into, since they are all different.
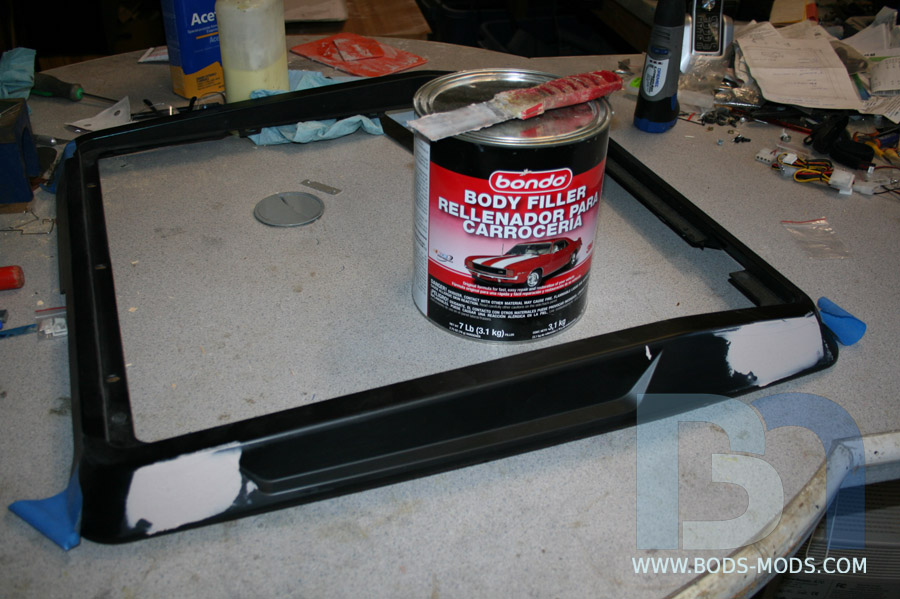
After using plastic epoxy to glue them in, I got out the body filler.
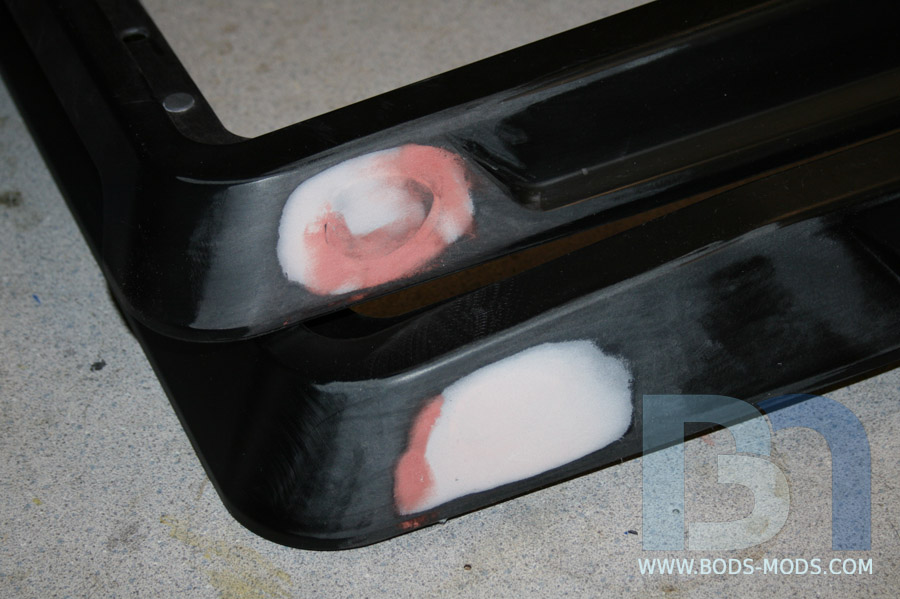
Sanded it down smooth. I started with 80 grit on my orbital sander, then went to 220 grit. I used some glazing putty to fill in any small imperfections.
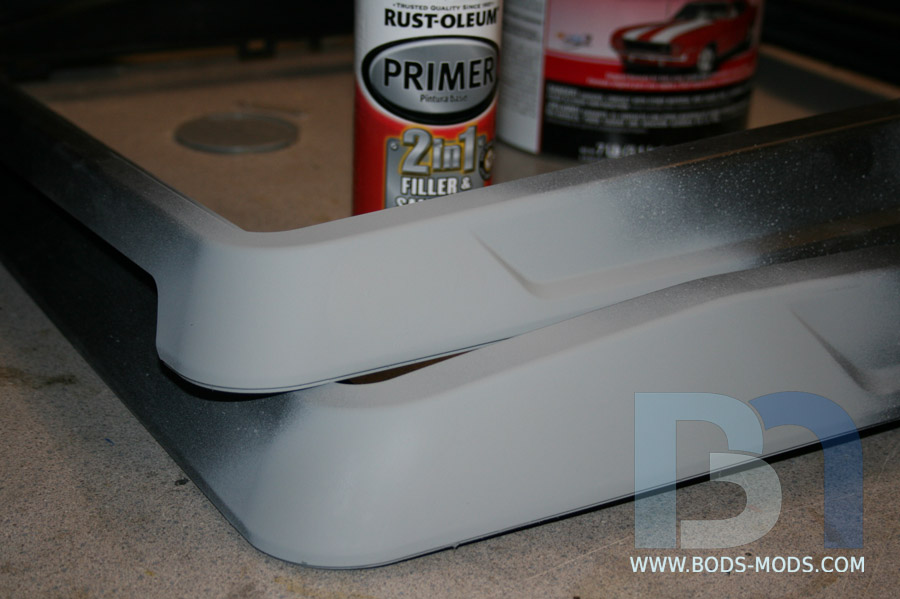
After a final light sanding, I shot it with primer.
I'll sand this down with 400 grit, then scuff the entire trim piece and shoot one more coat of primer once I get all the other modifications done on it.
Feels good to be back on this, and I'll be posting more regularly now as work continues.
Last edited by Boddaker; 10-08-2012 at 03:23 PM. Reason: fixed broken links
Honey Roasted Peanuts Ingredients: Salt; Artificial honey roasting agents; Pressed peanut sweepings.
 Posting Permissions

 Reply With Quote