August 11
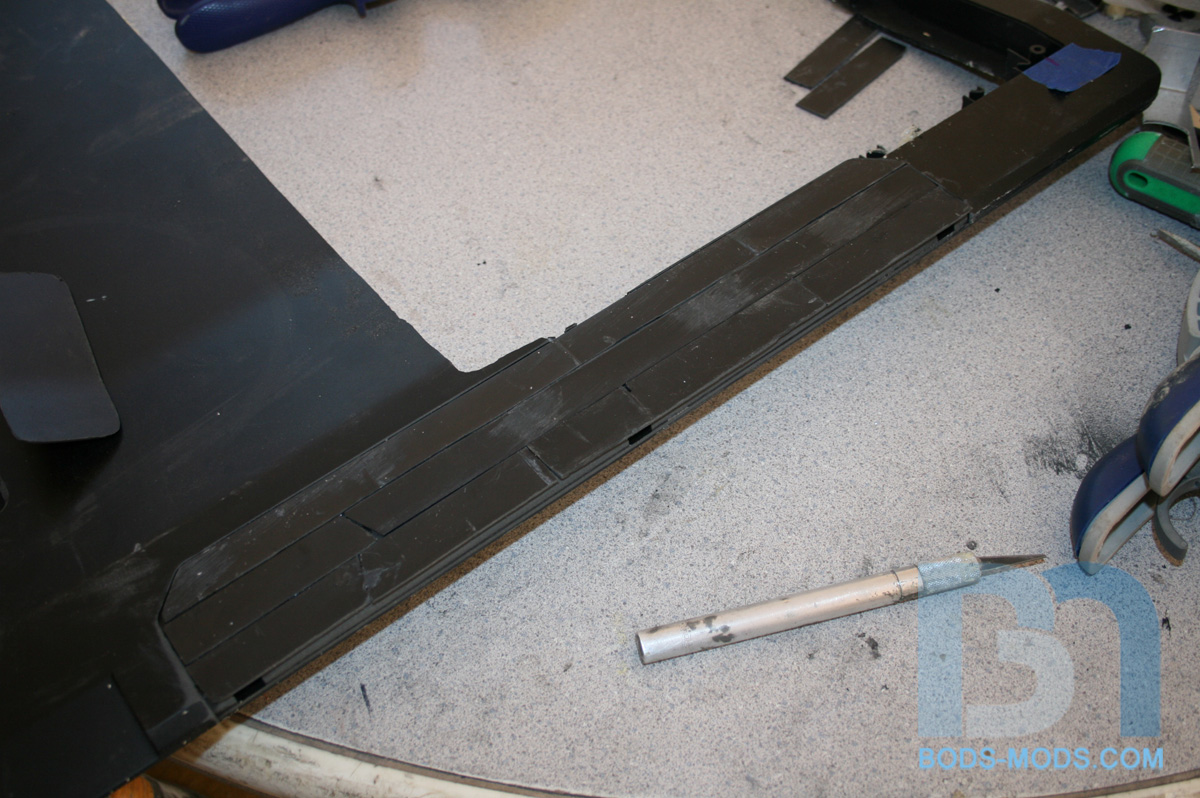
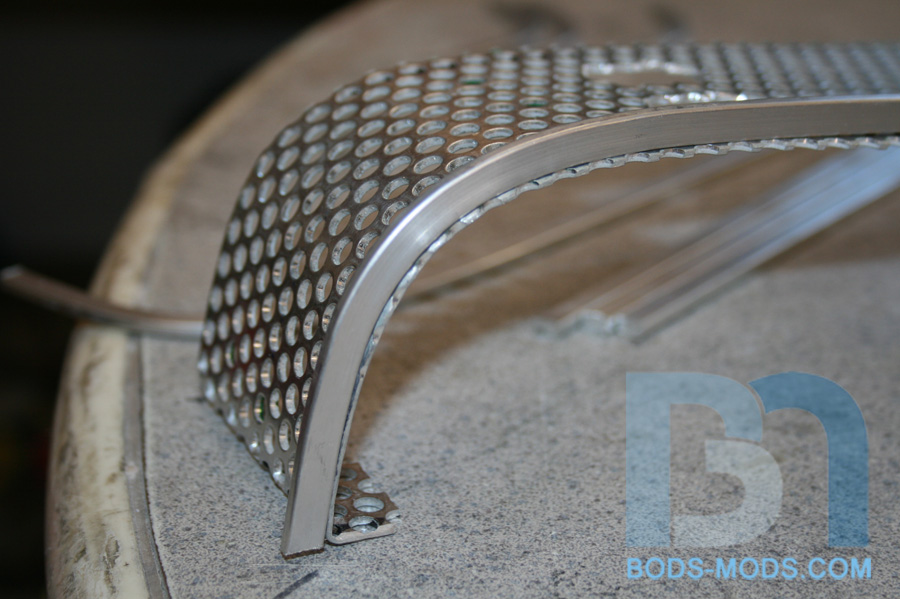
Making more headway on the top panel and its mesh. I wanted to continue the lines from the front grill across the top, so I added some 1/8" aluminum bar to the top of the mesh piece.
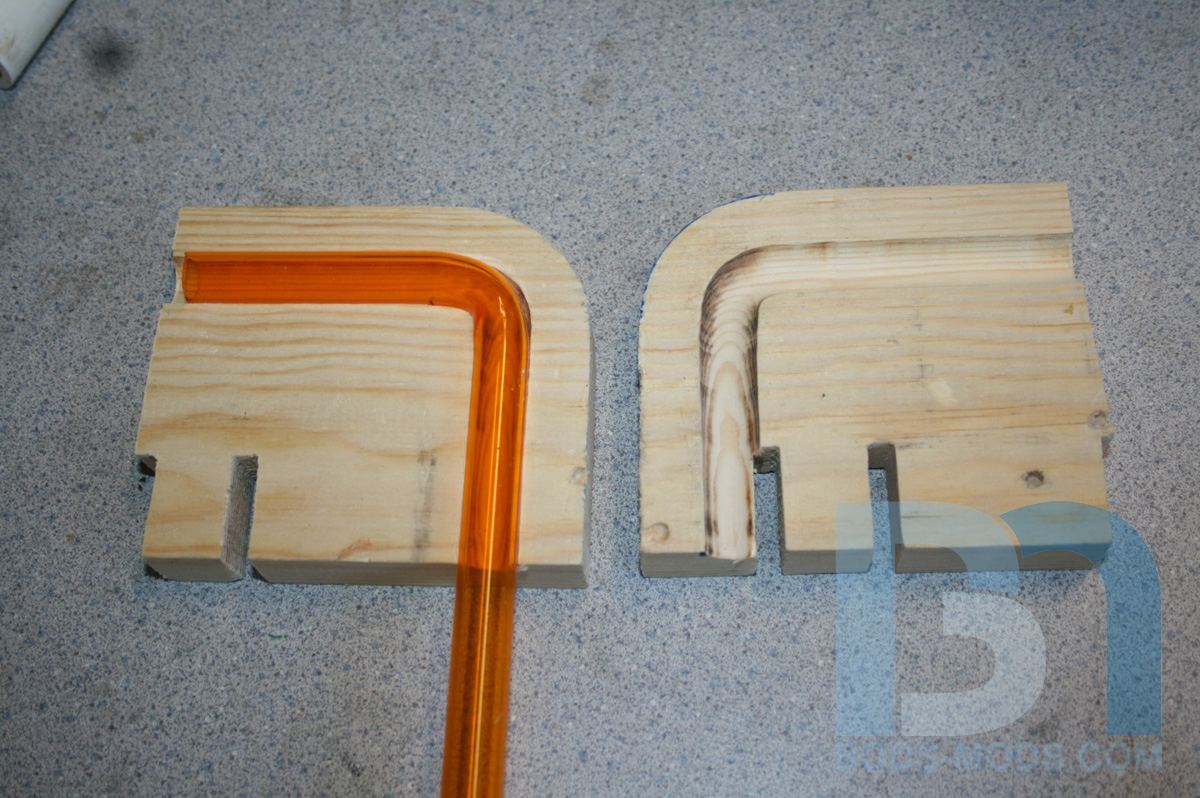
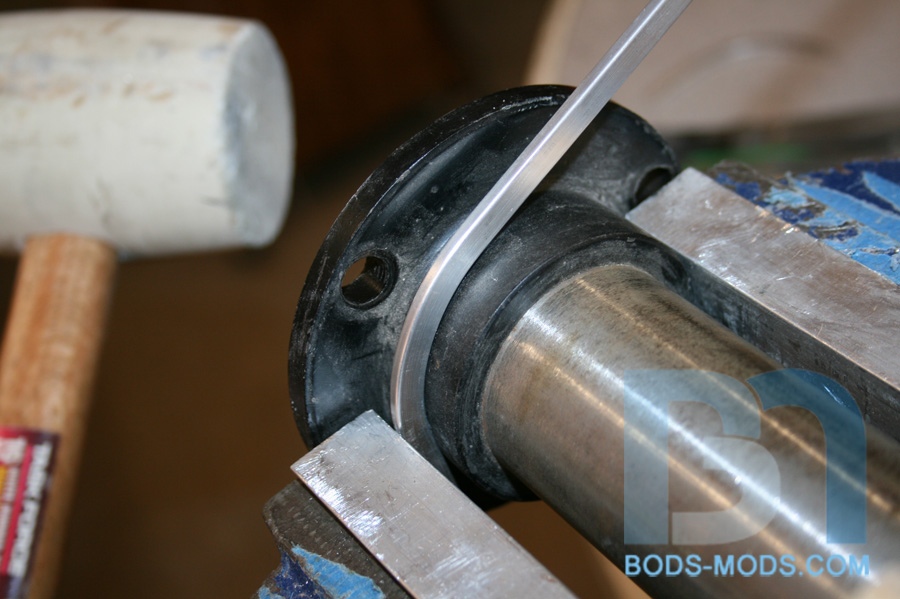
After cutting the bars to length, I proceeded to bend them to match the back curve of the mesh. Looking around the garage, I found a suitable pipe to bend the bar around.
The bend in the mesh is not a perfect circular curve, so I just tweaked the bends until they matched up perfectly. Here's the first bar.
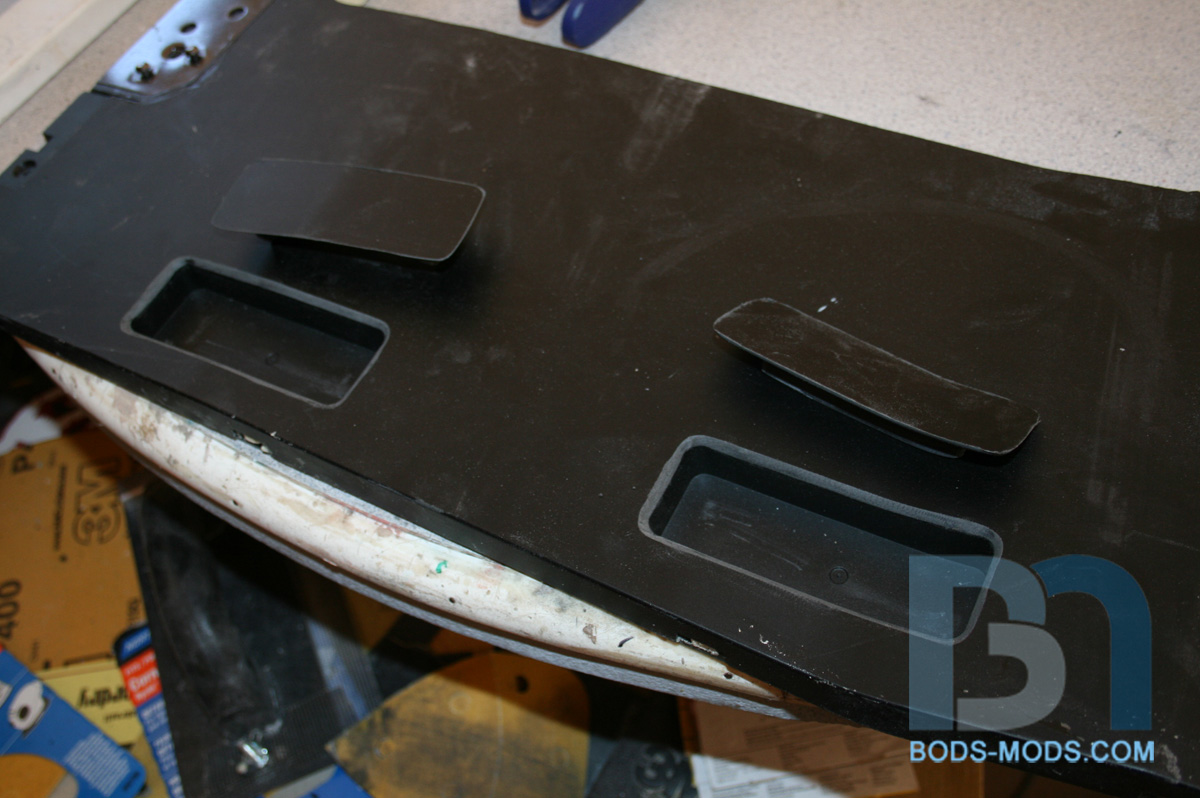
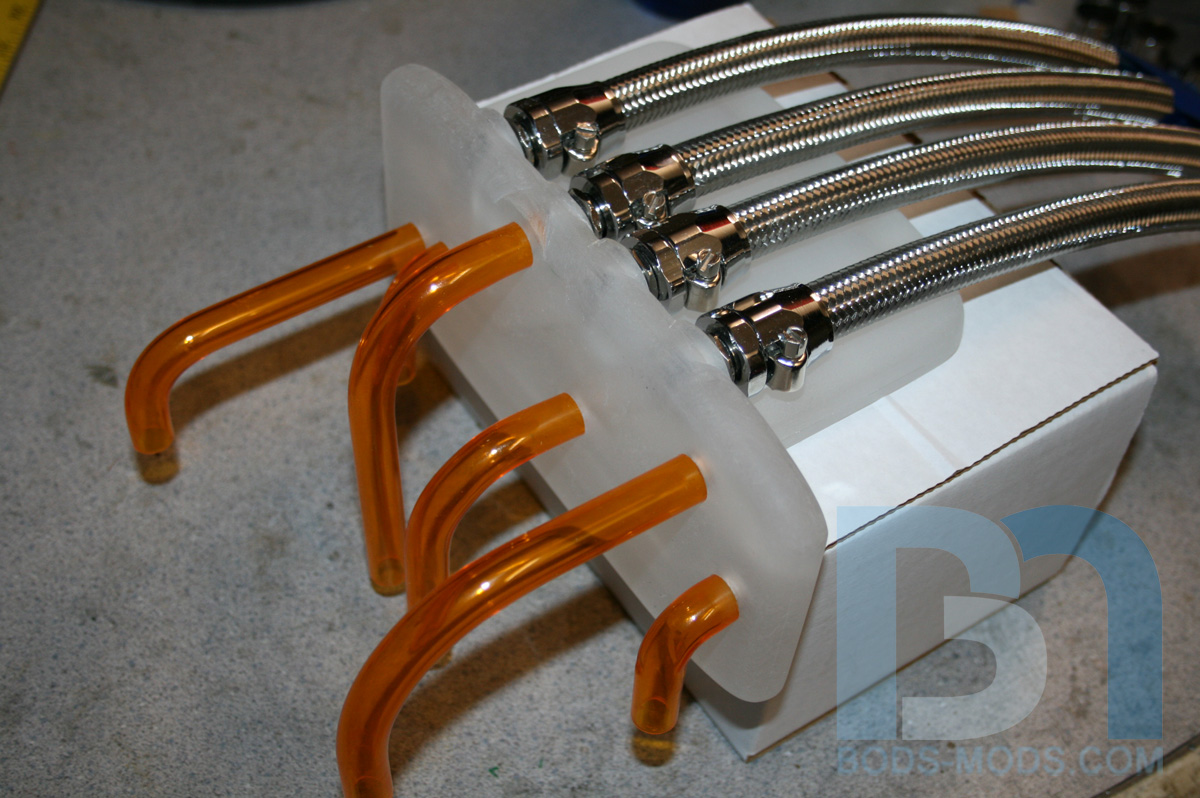
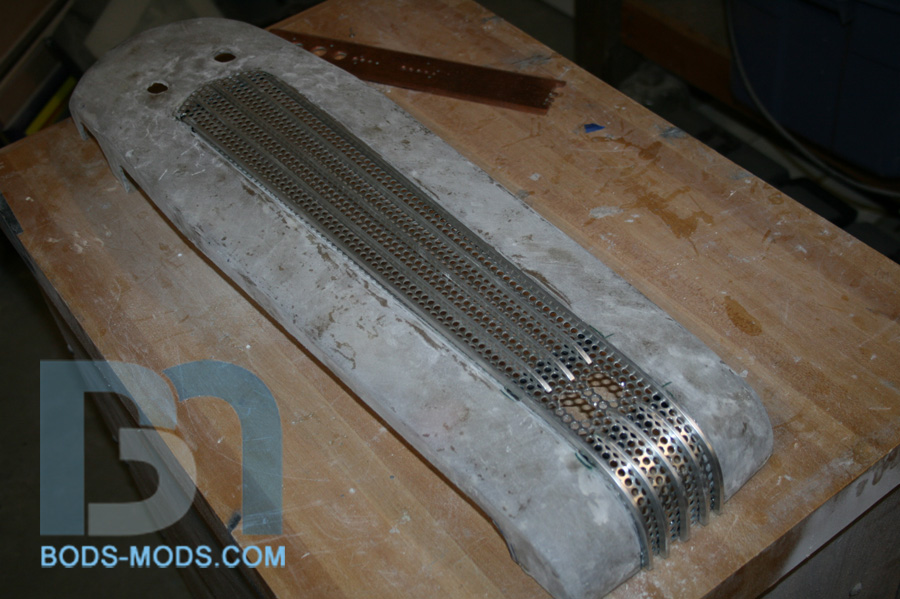
And here are the rest of the pieces for the back, propped up on the mesh for a quick pic.
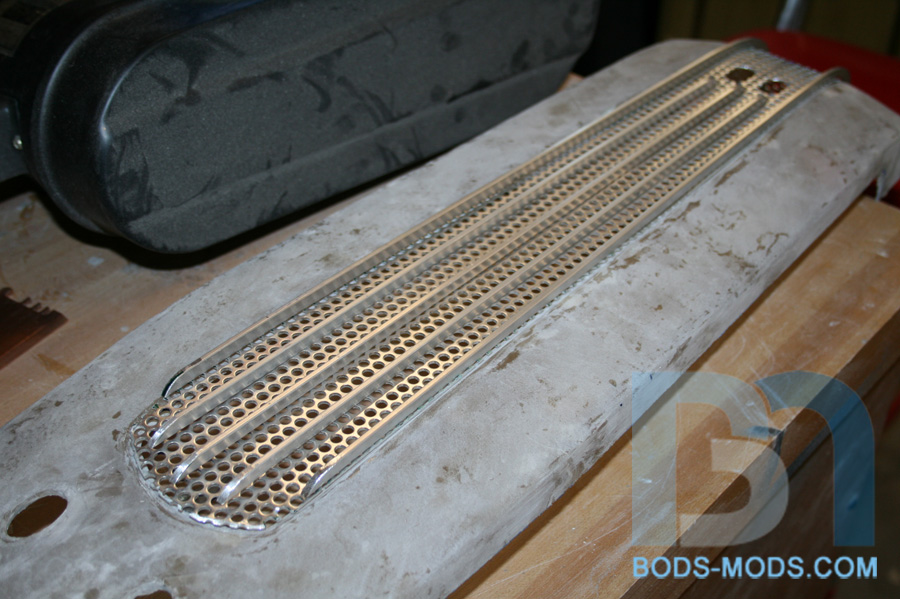
Just had three more easy straight pieces to make for the center.
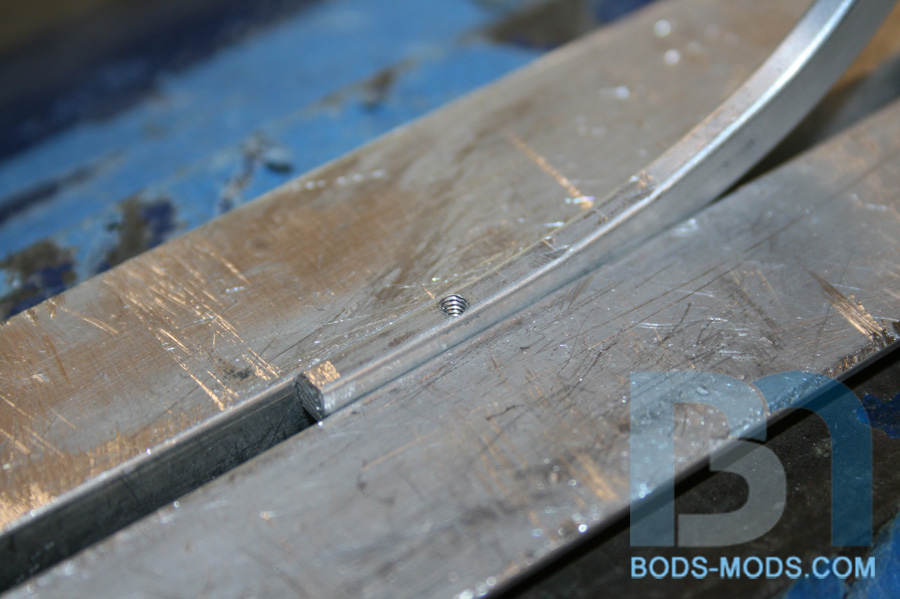
Once all the pieces were made and the ends rounded, it was time to mount them to the mesh. These bars being only 1/8" thick, I had to use very small 2/56 size screws to fasten them down. So out came the 2/56 tap! A small piece of tape on the tap served as my depth gauge so I wouldn't go too far and bottom out. These taps are quite brittle and can break easily.
And the resulting tapped hole...
I'm using these tiny screws that have a large head and 1/8" shank, which allow me to use a piece of black acrylic behind the mesh as a backing.
Got all the bars tapped and fastened to the mesh.
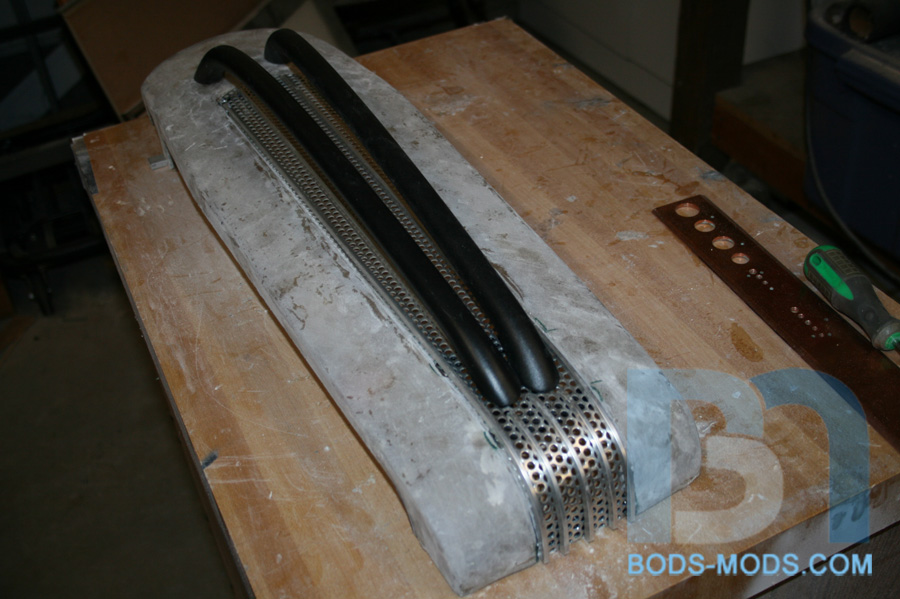
Looks like the back pieces need a little adjustment.
Threw the top main bars on to see how it looks.
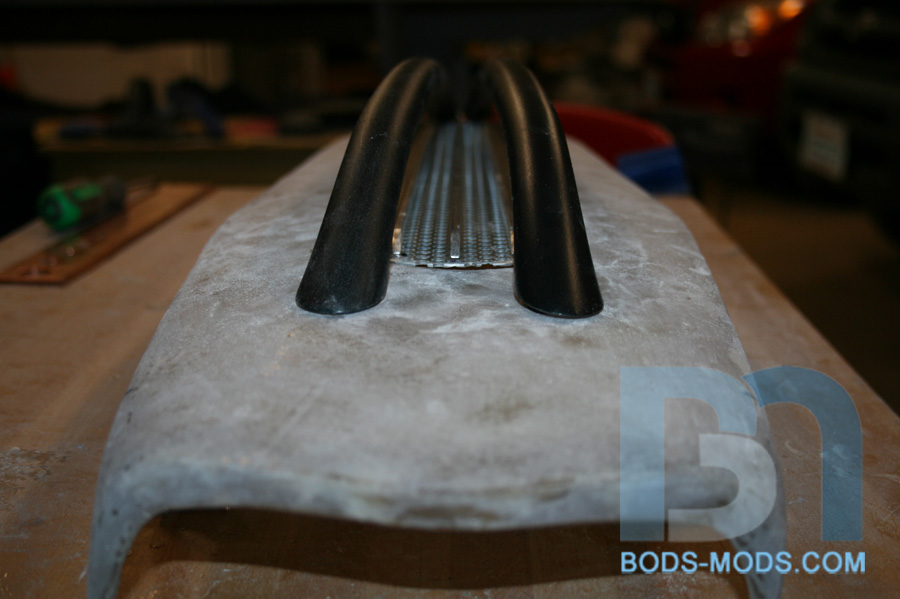
And a shot from the front. I'll need to secure the front part of the mesh down onto the panel so it doesn't stick up like this. The back part will be secured by the main bars themselves since the ends go through the mesh.
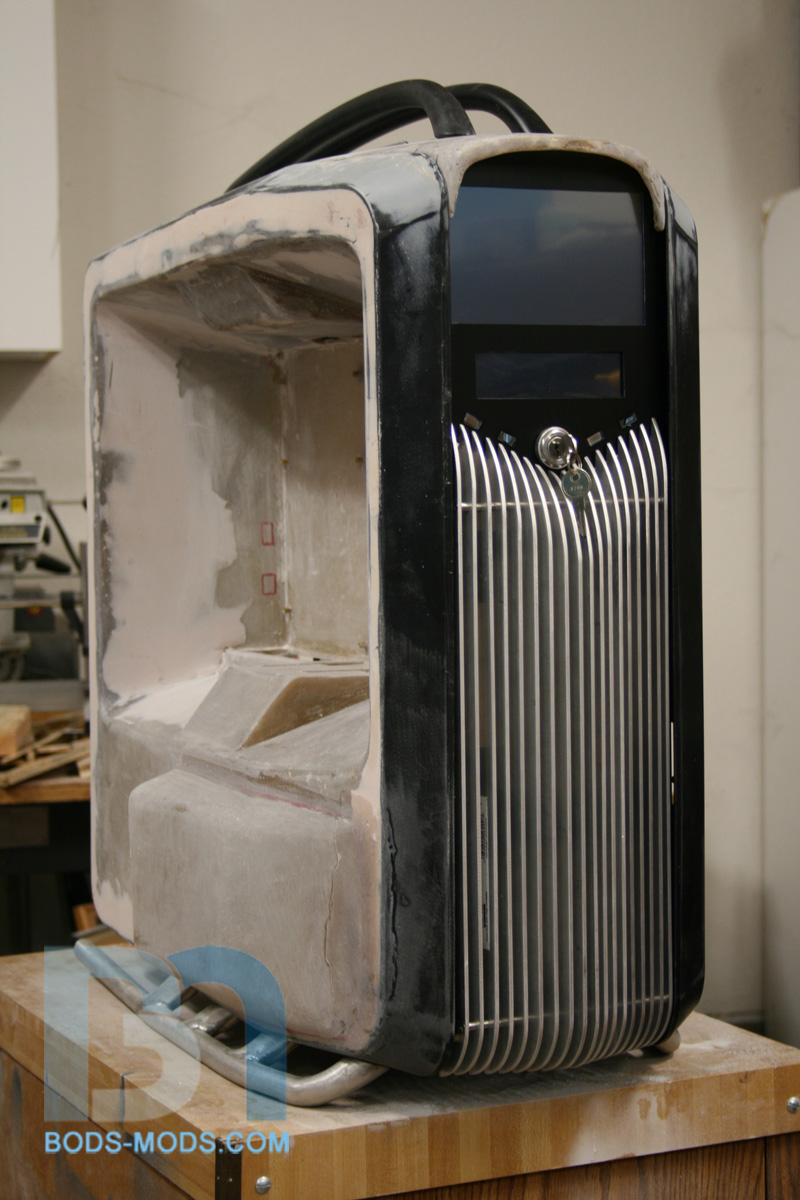
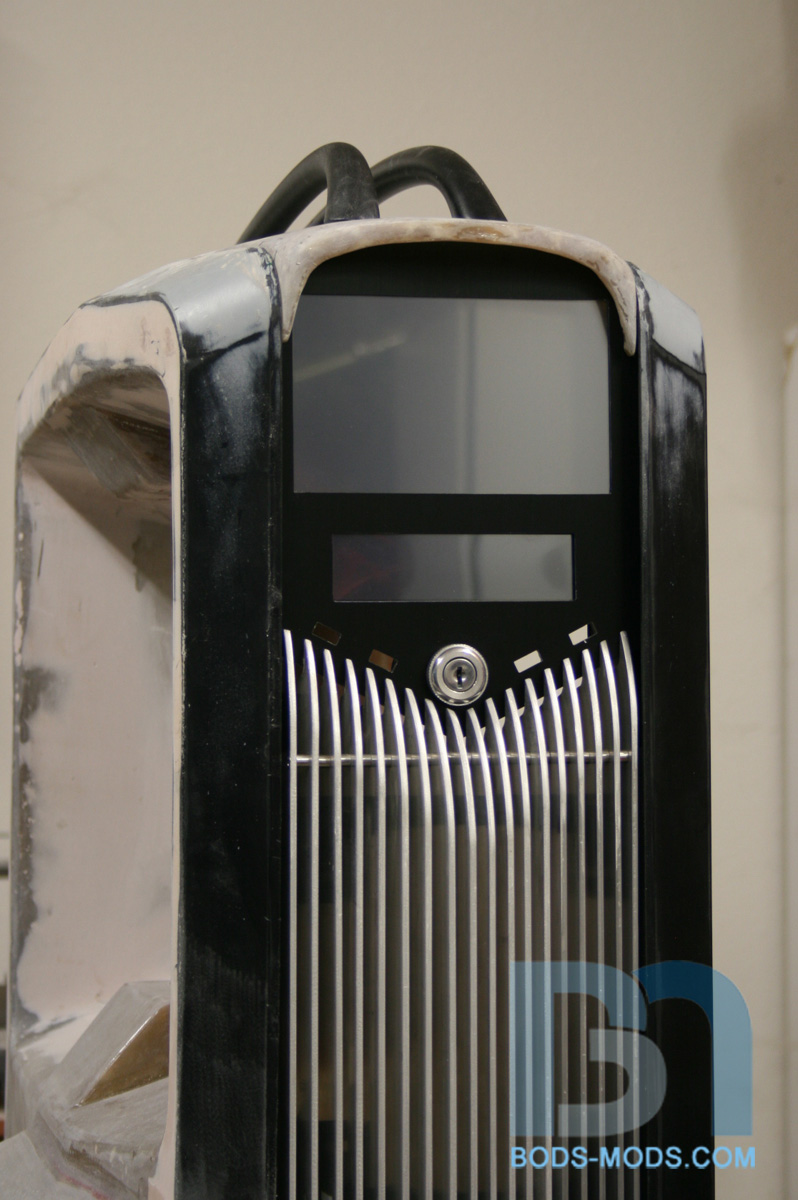
Keep in mind this will look quite different when it's done. The 1/8" aluminum bars will be chromed and the mesh itself will be black, to mimic the look of the front. I'm debating whether to chrome the larger main bars as well, or paint them the same color as the rest of the case. Might make the smaller bars stand out more that way.


 Reply With Quote