Page 7 of 17 FirstFirst ... 23456789101112 ... LastLast
Results 61 to 70 of 168

Thread: Cosmos Cruizer

  1. #61
    Modding the World, One Case at a Time Boddaker's Avatar
    Join Date
    Jun 2005
    Location
    Northern CA
    Posts
    818

    Default Re: Cosmos Cruizer

    August 11

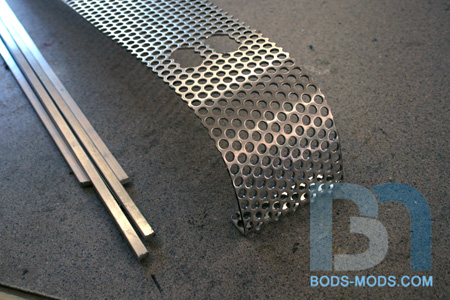
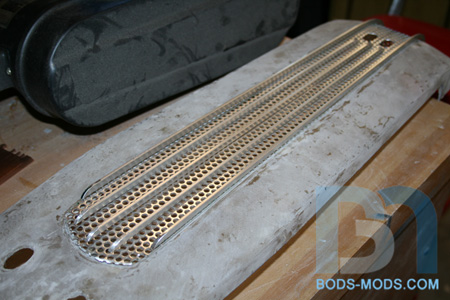
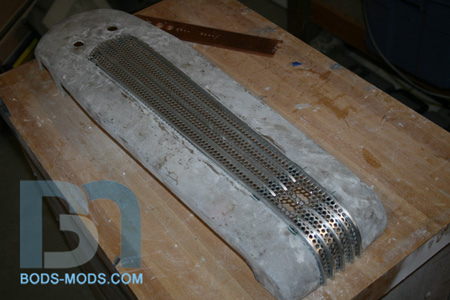
    Making more headway on the top panel and its mesh. I wanted to continue the lines from the front grill across the top, so I added some 1/8" aluminum bar to the top of the mesh piece.


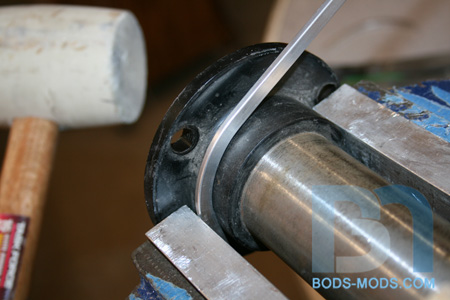
    After cutting the bars to length, I proceeded to bend them to match the back curve of the mesh. Looking around the garage, I found a suitable pipe to bend the bar around.


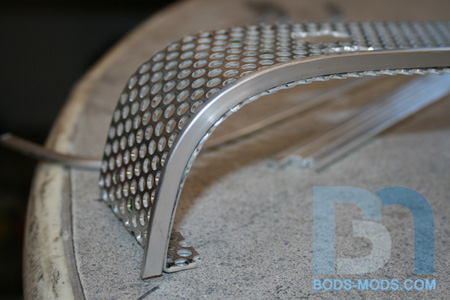
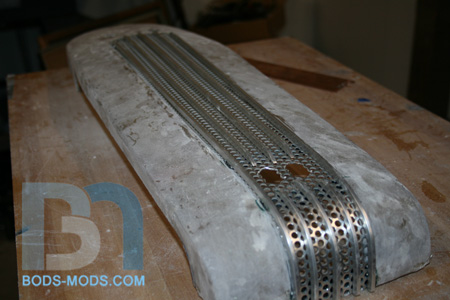
    The bend in the mesh is not a perfect circular curve, so I just tweaked the bends until they matched up perfectly. Here's the first bar.


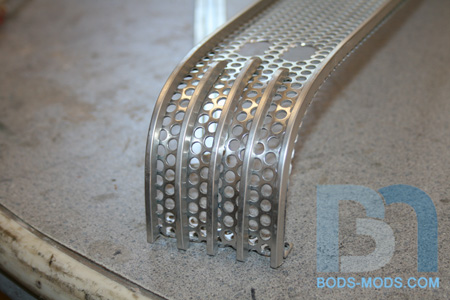
    And here are the rest of the pieces for the back, propped up on the mesh for a quick pic.


    Just had three more easy straight pieces to make for the center.


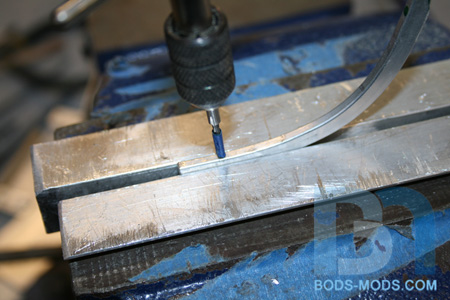
    Once all the pieces were made and the ends rounded, it was time to mount them to the mesh. These bars being only 1/8" thick, I had to use very small 2/56 size screws to fasten them down. So out came the 2/56 tap! A small piece of tape on the tap served as my depth gauge so I wouldn't go too far and bottom out. These taps are quite brittle and can break easily.


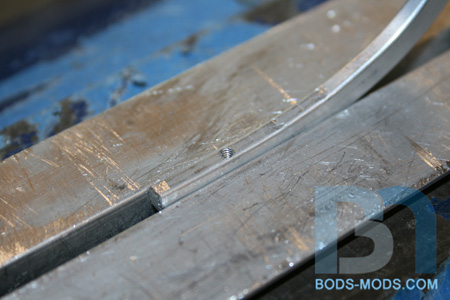
    And the resulting tapped hole...


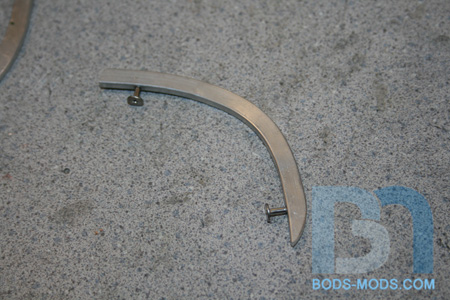
    I'm using these tiny screws that have a large head and 1/8" shank, which allow me to use a piece of black acrylic behind the mesh as a backing.


    Got all the bars tapped and fastened to the mesh.


    Looks like the back pieces need a little adjustment.


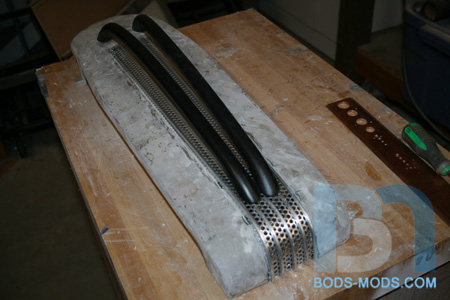
    Threw the top main bars on to see how it looks.


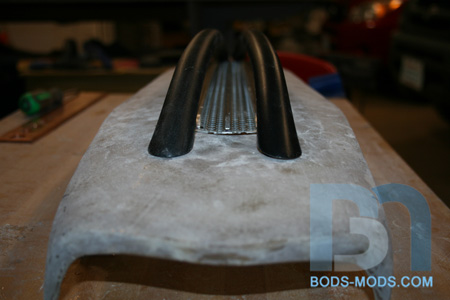
    And a shot from the front. I'll need to secure the front part of the mesh down onto the panel so it doesn't stick up like this. The back part will be secured by the main bars themselves since the ends go through the mesh.


    Keep in mind this will look quite different when it's done. The 1/8" aluminum bars will be chromed and the mesh itself will be black, to mimic the look of the front. I'm debating whether to chrome the larger main bars as well, or paint them the same color as the rest of the case. Might make the smaller bars stand out more that way.
    Honey Roasted Peanuts Ingredients: Salt; Artificial honey roasting agents; Pressed peanut sweepings.

  2. #62
    Modding the World, One Case at a Time Boddaker's Avatar
    Join Date
    Jun 2005
    Location
    Northern CA
    Posts
    818

    Default Re: Cosmos Cruizer

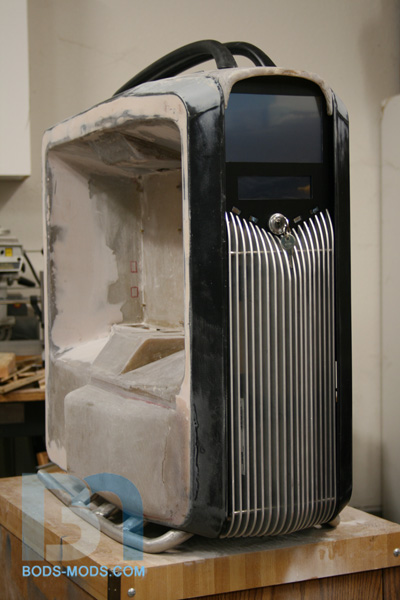
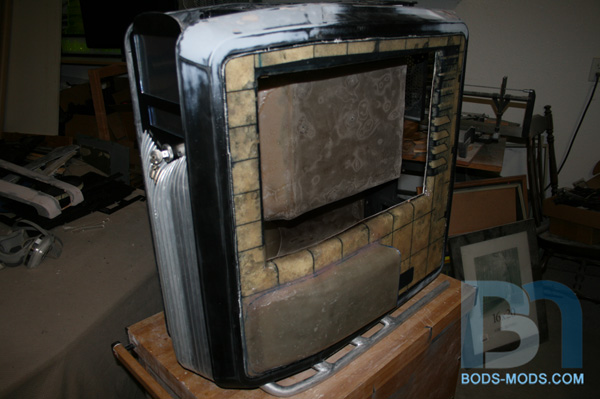
    Well, I didn't get to the primer stage, but I did get the top panel and front bezel to play nice together. So I was able to assemble the entire case and get a shot to see how it looks so far.


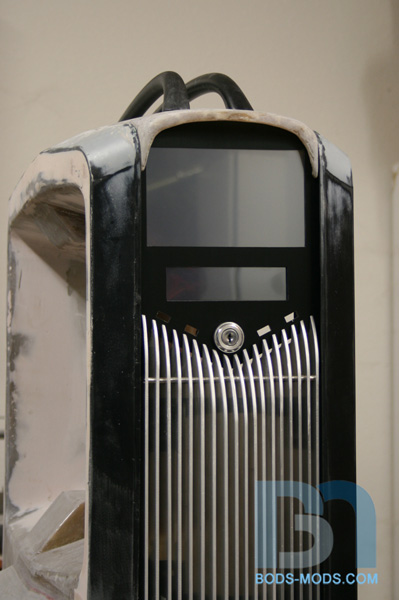
    A closer up shot of the front bezel featuring the 7" touch screen LCD, Lamptron Touch fan controller, and ignition key switch.


    So I guess this week will consist of mainly bodywork and smoothing out the top panel. I may get some time in on the right side door as well.
    Honey Roasted Peanuts Ingredients: Salt; Artificial honey roasting agents; Pressed peanut sweepings.

  3. #63
    Modding the World, One Case at a Time Boddaker's Avatar
    Join Date
    Jun 2005
    Location
    Northern CA
    Posts
    818

    Default Re: Cosmos Cruizer

    August 26

    It's time for Bods-Mods Monday Morning Update... The only proven cure to the case of the Mondays!

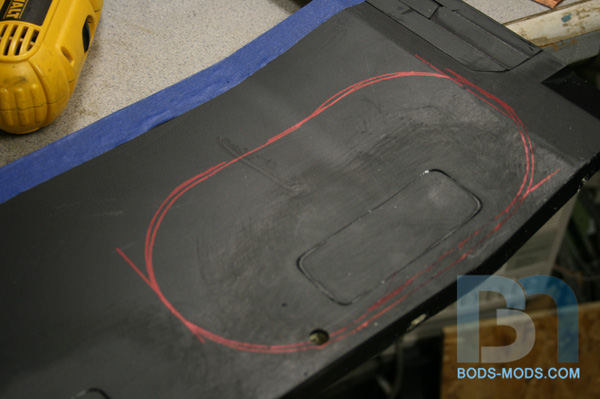
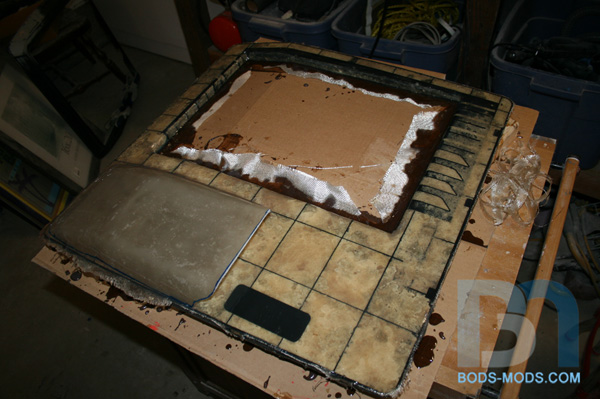
    I was able to get the windowed side panel skinned with fiberglass over the weekend, and the other side scoop attached as well. Before laying down the fiberglass though, I needed to get the window opening dialed in. But before doing that, I had to add pieces to fill in all the open areas on the back side.

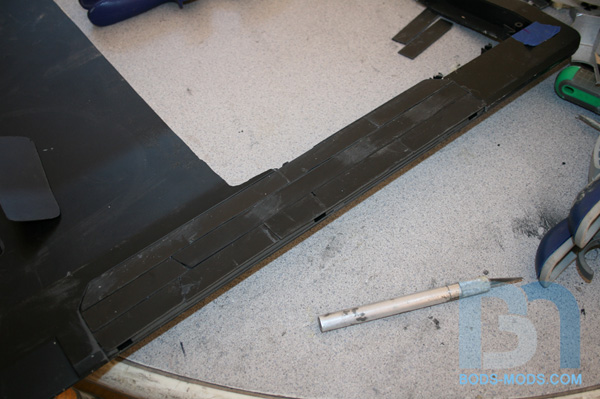
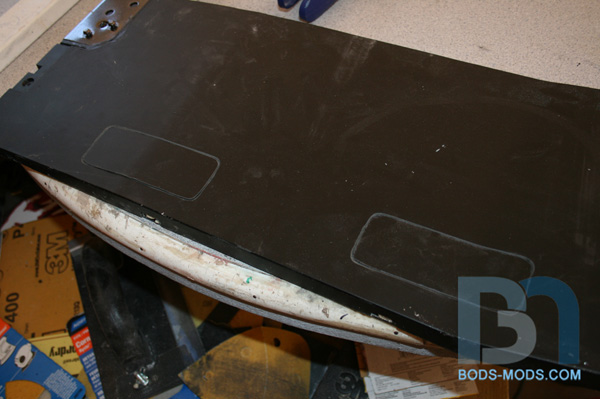
    I want the inside to be totally smooth, so I began adding thin pieces of ABS scavenged from the other door's webbing. These pieces were the perfect thickness to fill in the depression where the door hinge used to be.


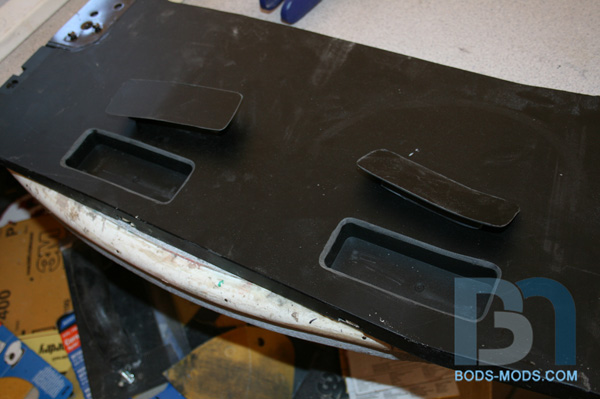
    I also cut out a couple pieces to fill in the door handle cavities. Since they are on the bottom now, there is no reason to keep them.


    I cut the pieces from the other door, just above the holes, so they had the same bends. I beveled the edges so they sat right in.


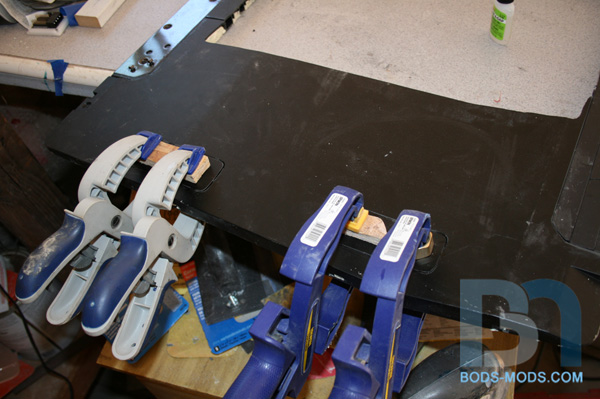
    ...and glued them down.


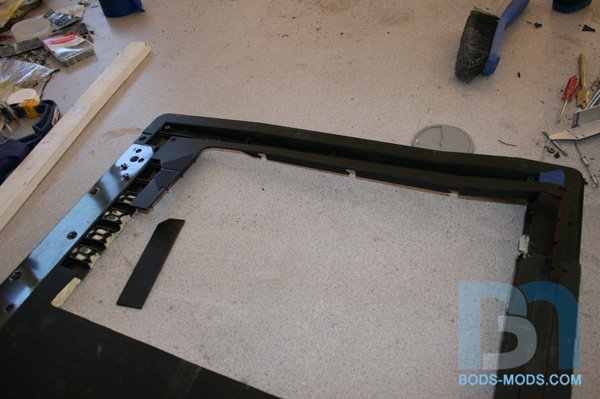
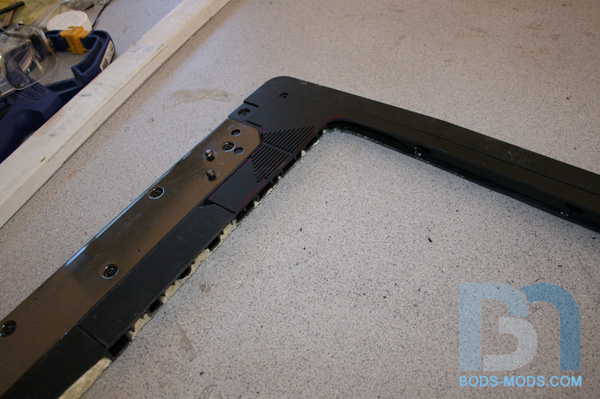
    Another section around the window had to be filled in as well.


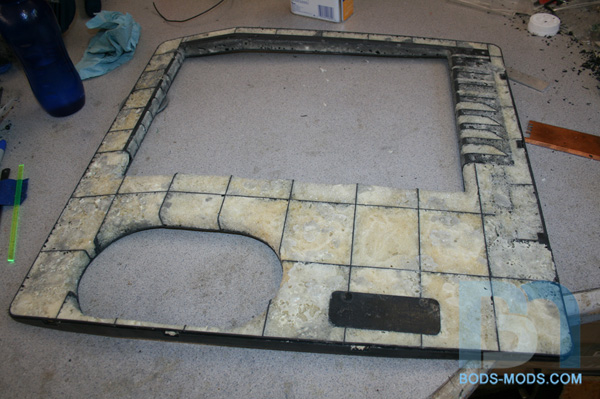
    Once these pieces were glued in place, I could fill in the in-between areas with more foam.


    Once I started thinking about the side scoop positioning and where the hole would be, I realized I didn't really need to cover up one of the handle cavities, as it would be cut away. Oh well.


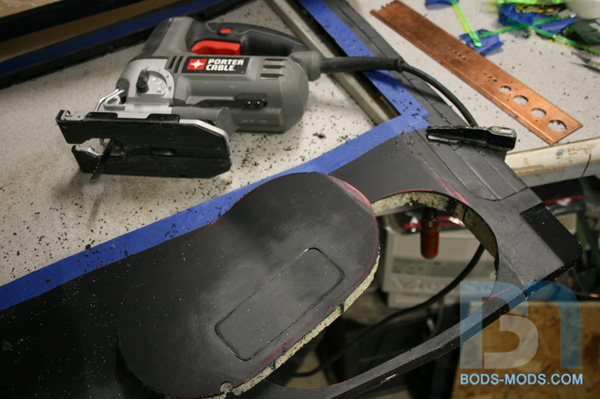
    Cut out the hole with my trusty jig saw.


    The front side, after filling in all the remaining voids with more foam. I also rounded the window edges with my router, using a 3/8" round-over bit.


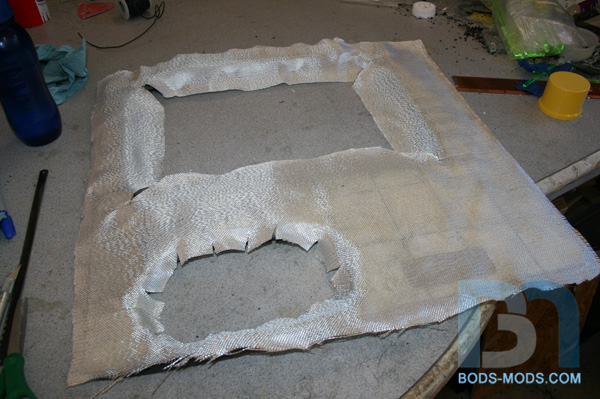
    I then cut out a piece of fiberglass cloth to fit.


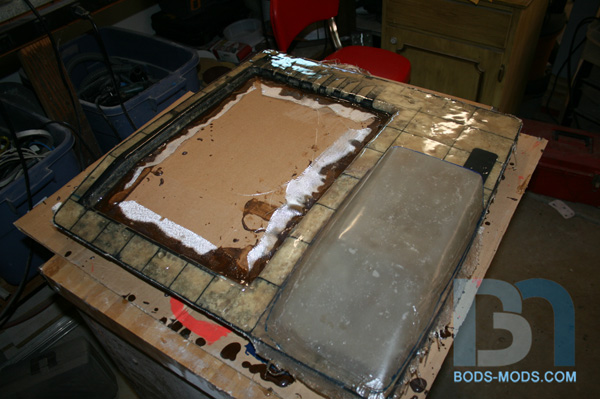
    Couldn't pause to get any pics during the lay-up process, so here is the result. I mixed up a batch of resin and used a thickener so it wouldn't run down into the foam too much (spray foam isn't very dense and leaves some bubbles). I taped a piece of cardboard in the window area to give myself an edge to later place the clear window up against.


    After laying down the cloth, I used the remaining thickened resin to saturate all areas, then Mixed up a smaller batch of resin with a curing agent as a top coat. Once that was on, I set the scoop in place, added more thickener to the remaining resin and used it to reinforce the joint.


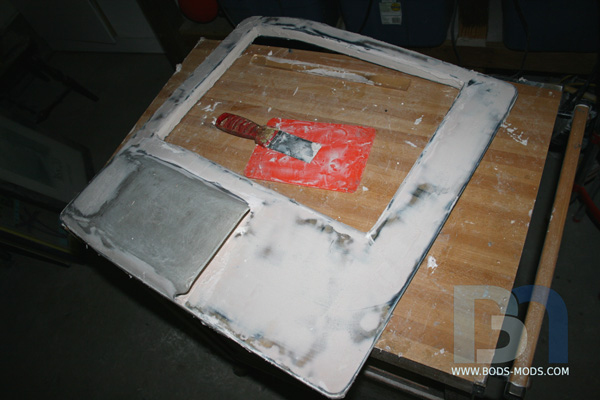
    After about an hour, I came back to the door and shaved off all the excess around the edges with a utility knife. The resin hadn't cured fully, so it was relatively easy to trim at this point.


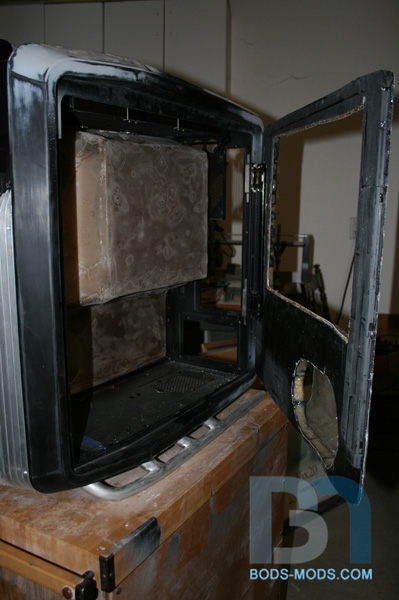
    I hung the door on the case to see how it looked. It's hard to tell in pics since the resin is transparent, but it's pretty flat, There are a couple ripples here and there, but that will be taken care of with sanding and adding a bit of filler to flatten it all out.


    And with that, I think that is the last bit of fiberglassing I will have to do on this case. I still have one more panel to fabricate, but I will be using aluminum sheet for that (the back panel). Getting closer to starting work on the internals. Can't wait!
    Honey Roasted Peanuts Ingredients: Salt; Artificial honey roasting agents; Pressed peanut sweepings.

  4. #64
    Modding the World, One Case at a Time Boddaker's Avatar
    Join Date
    Jun 2005
    Location
    Northern CA
    Posts
    818

    Default Re: Cosmos Cruizer

    And this brings the log up to date...

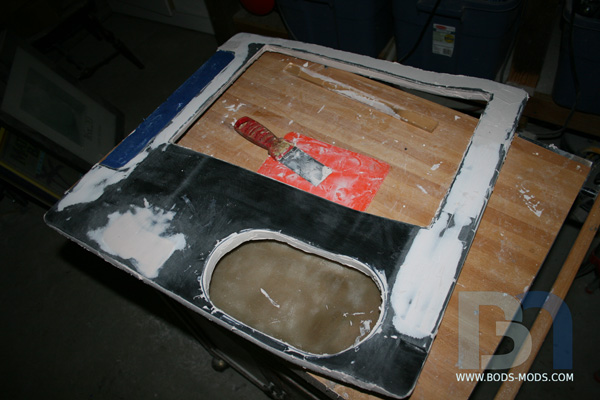
    Smallish update, just doing a lil bodywork on the suicide door panel...


    Smoothing it all out on the inside as well..
    Honey Roasted Peanuts Ingredients: Salt; Artificial honey roasting agents; Pressed peanut sweepings.

  5. #65
    Resident 100HP water-cannon operator SXRguyinMA's Avatar
    Join Date
    Jun 2008
    Location
    MA
    Posts
    5,865

    Default Re: Cosmos Cruizer

    this is coming out beyond awesome!

  6. #66
    Modding the World, One Case at a Time Boddaker's Avatar
    Join Date
    Jun 2005
    Location
    Northern CA
    Posts
    818

    Default Re: Cosmos Cruizer

    Dang, another two months have just flown by again. Can't seem to stay consistent on this project, as other things keep taking precedence. Just gotta continue pluggin away at it as time allows, and it will get done eventually.

    Anyway, I finally accumulated enough pics to warrant an update. I've been working on this wc manifold since like February, and it's gone through numerous re-designs to get to it's current state. What started out as a simple laminated piece is now a multi-section, multi-directional part incorporating rigid acrylic tubing and stainless steel braided lines!

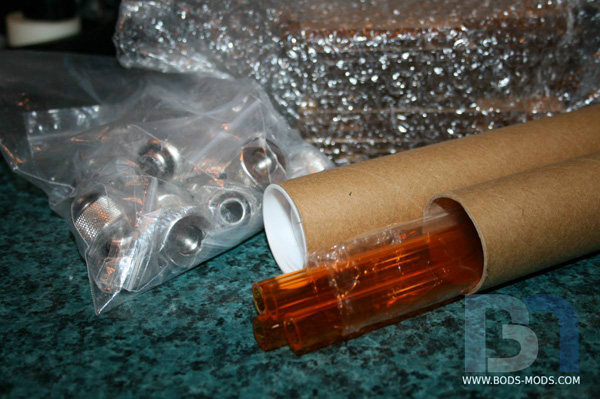
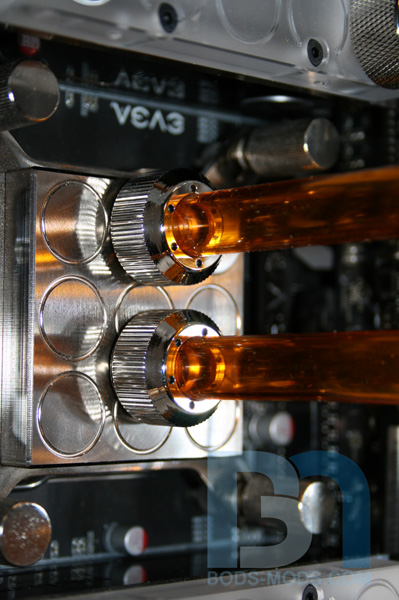
    But let's start with the rigid tubing. Primochill recently came out with a whole line of rigid acrylic tubing, and I just had to work it into this build somehow. So I got some of the amber tubes with the special 1/2" rigid fittings.


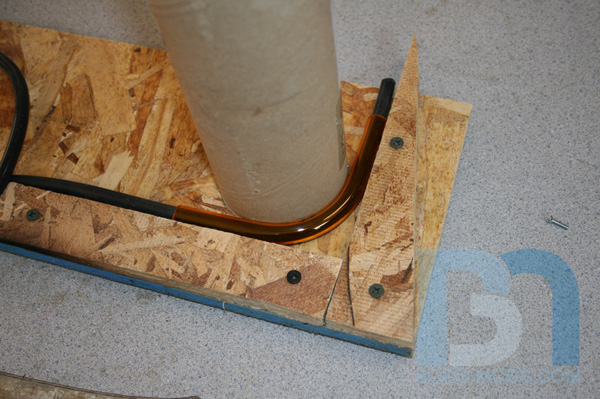
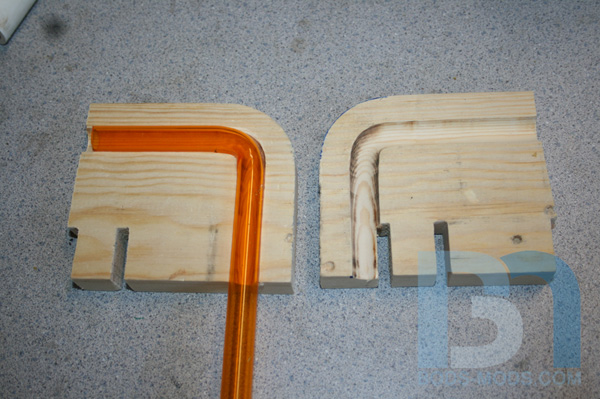
    They also included a piece of the silicone rubber hose that fits into the tube to aid in the heat bending process. I made a quick and dirty bending jig that enabled me to get any 90° radius I need, using whatever pipe or cylinder I may have on hand.


    For the tighter bends, I made a helper mold to keep the tube from flattening out.


    About a week after getting the regular fittings, Primochill announced their new badass Revolver style fittings, so I had to grab them..


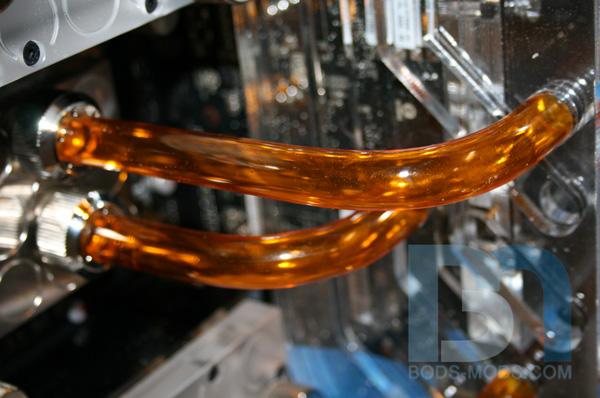
    Getting the hang of heat-bending.


    After a few bends, it became apparent that I would have to finish gluing the manifold together so I could get more accurate measurements between it and the motherboard blocks. So I turned my attention onto that.


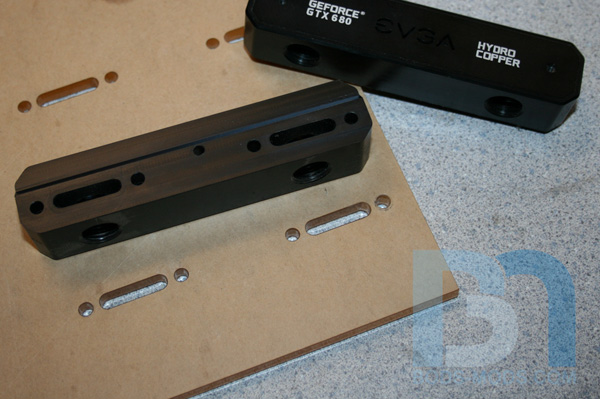
    The manifold accommodates two separate loops.. One for the motherboard blocks, and one for the video cards. The manifold will replace the SLI adapters from EVGA's Hydro Copper blocks, so I took measurements from them and transferred the holes.


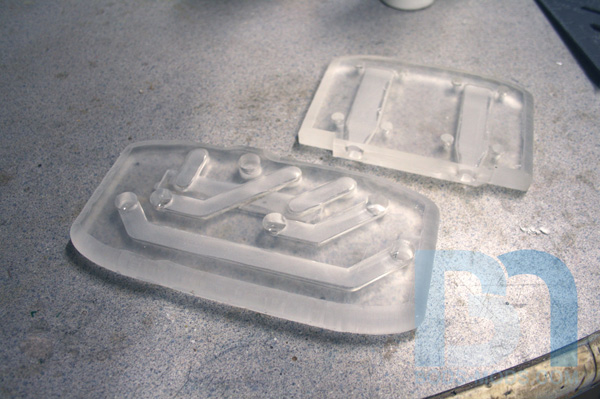
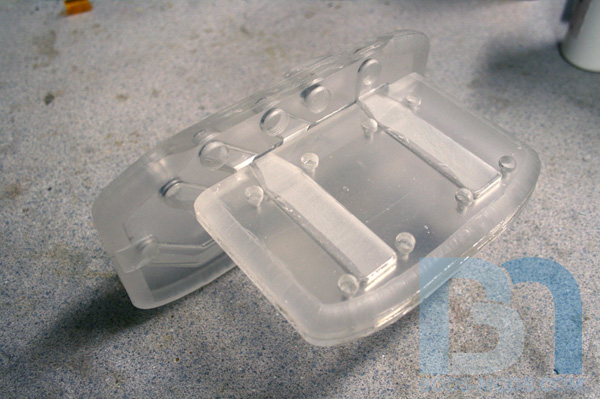
    Here are the two pieces, after much alterations and revisions. The smaller section on top will mount directly to the hydro copper blocks and will fit into a notch in the larger part, which will be mounted vertically next to the first video card.


    They fit together like so...


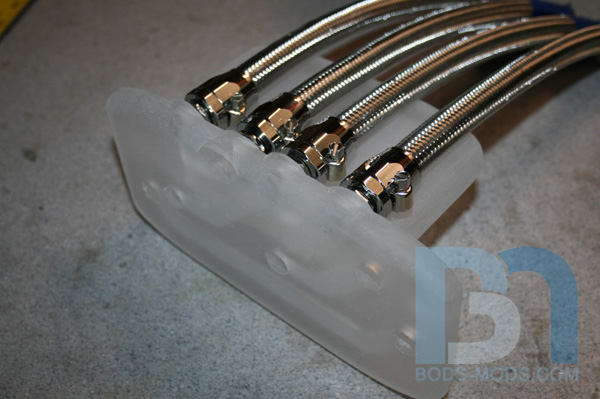
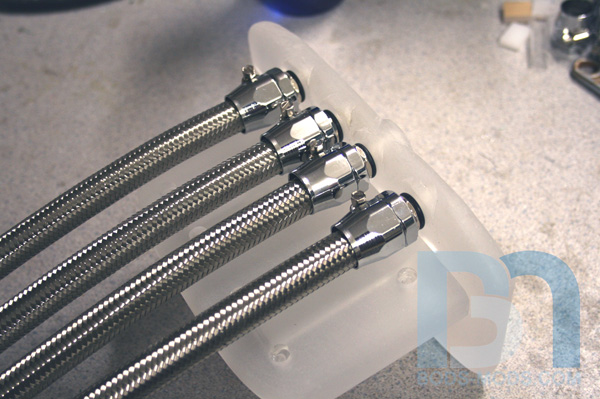
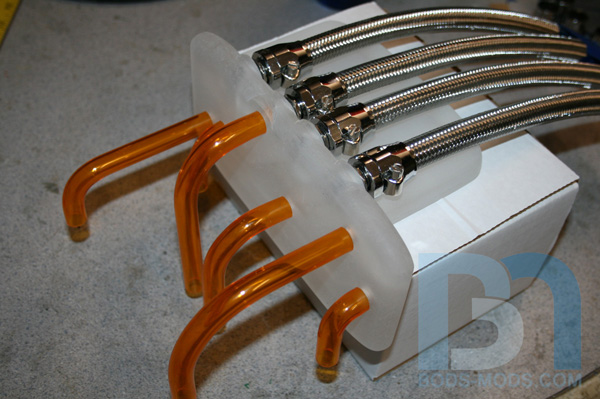
    The steel braided lines are the main feeds to and from the pump, rads, etc... via quick disconnects that will pass through the fiberglass panel.


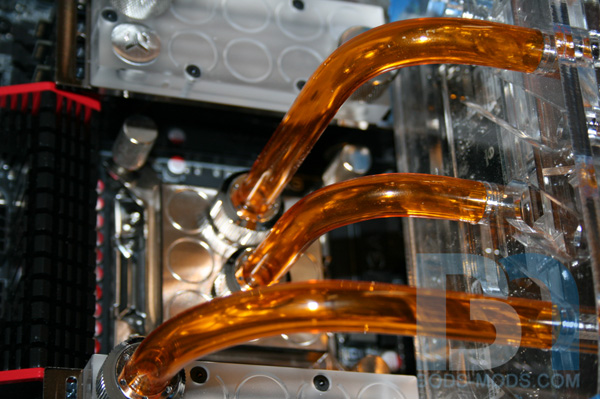
    As a final shot, I fitted the rigid tubing into the manifold.


    Once I finalize the rigid tubing and everything fits perfectly, I will mount the quick disconnects into the fiberglass panel. Then I can cut the steel braid to length and finish them off with the same chrome hose ends. Hoping to tackle that this week, and then I can start plumbing out the back side.
    Honey Roasted Peanuts Ingredients: Salt; Artificial honey roasting agents; Pressed peanut sweepings.

  7. #67
    100% Recycled Pixels. Twigsoffury's Avatar
    Join Date
    Jan 2006
    Location
    Oklahoma city
    Posts
    2,017

    Default Re: Cosmos Cruizer

    looking sick man!

    i remember bods-mods =)

  8. #68
    Undead Pirate d_stilgar's Avatar
    Join Date
    Mar 2005
    Location
    Philadelphia, PA
    Posts
    2,987

    Default Re: Cosmos Cruizer

    Wow. This looks awesome.

  9. #69
    Water Cooled Stonerboy779's Avatar
    Join Date
    Jan 2012
    Location
    Melbourne, Australia
    Posts
    557

    Default Re: Cosmos Cruizer

    So many purity tubes

  10. #70
    Why must hard drives fail together? TheMainMan's Avatar
    Join Date
    May 2008
    Location
    Canada
    Posts
    804

    Default Re: Cosmos Cruizer

    Quote Originally Posted by Stonerboy779 View Post
    So many purity tubes
    I'm guessing this was a typo on "purty"? Otherwise you might need to enlighten me as to your meaning: http://www.thefreedictionary.com/purity.
    TheMainMan

Posting Permissions

  • You may not post new threads
  • You may not post replies
  • You may not post attachments
  • You may not edit your posts
  •