HI guys-
I've been very busy with all these mods lately so I am just now starting a thread about these. I am about finished with paint now so I figured I would take a break and catch up on work logs. I have 5 different builds being displayed at CES this year. Enermax will have 3 and ADATA will have 2.
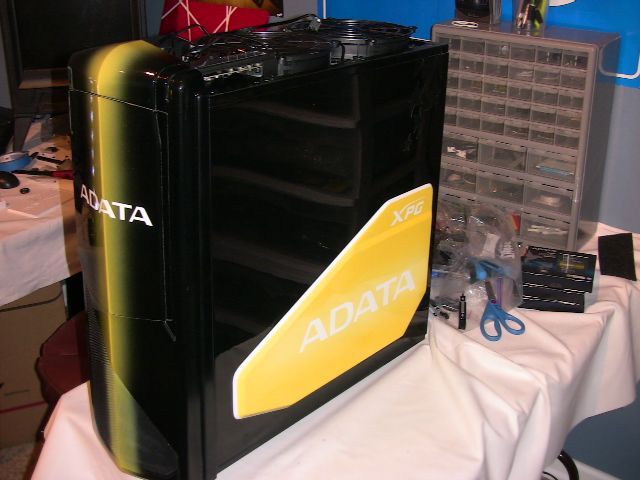
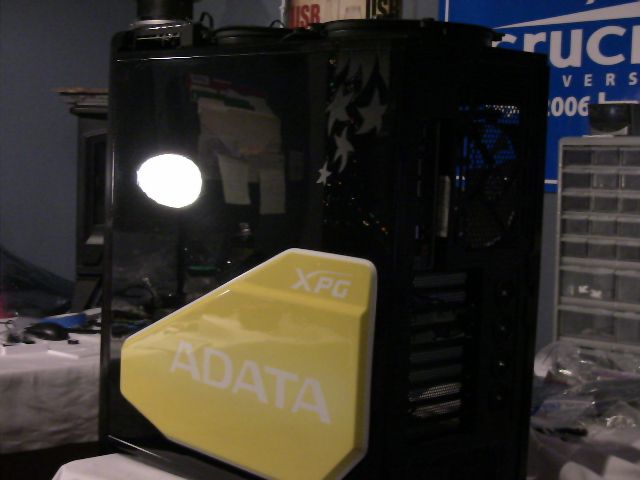
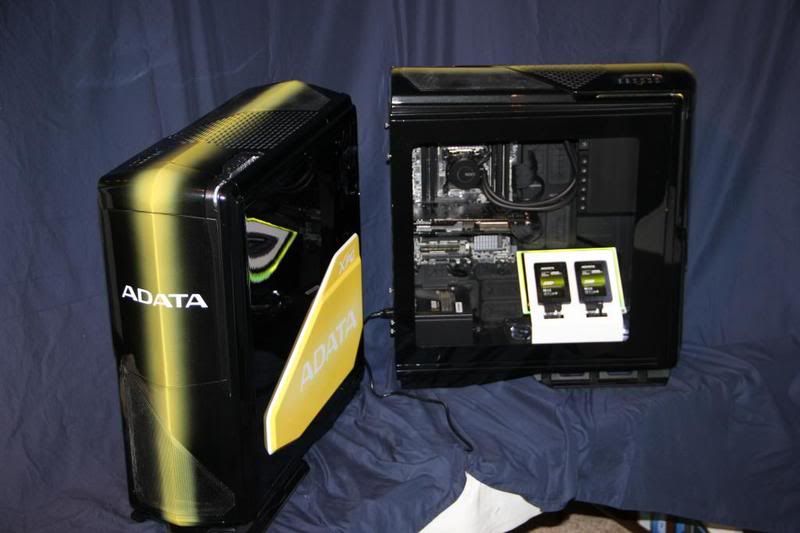
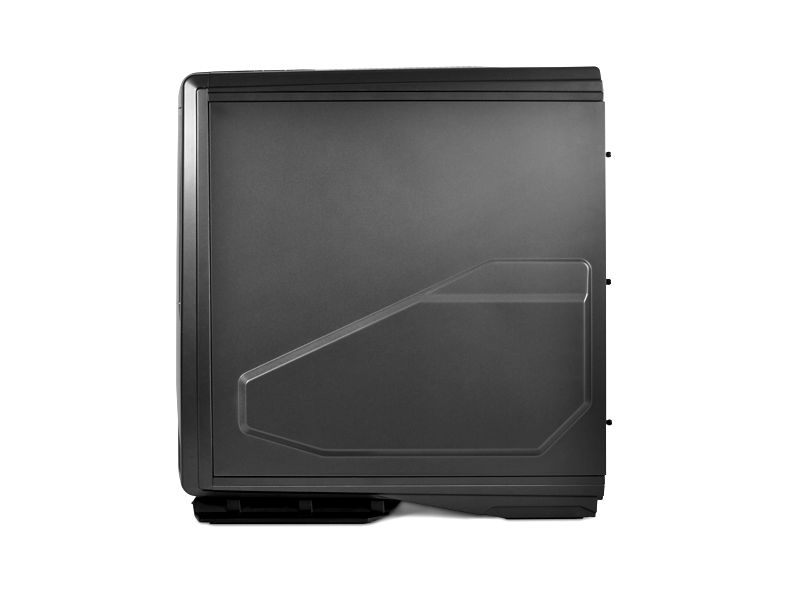
These 2 Phantom 820's will be built identical so that after the show they can have one at each of their HQ's on the west and east coast.
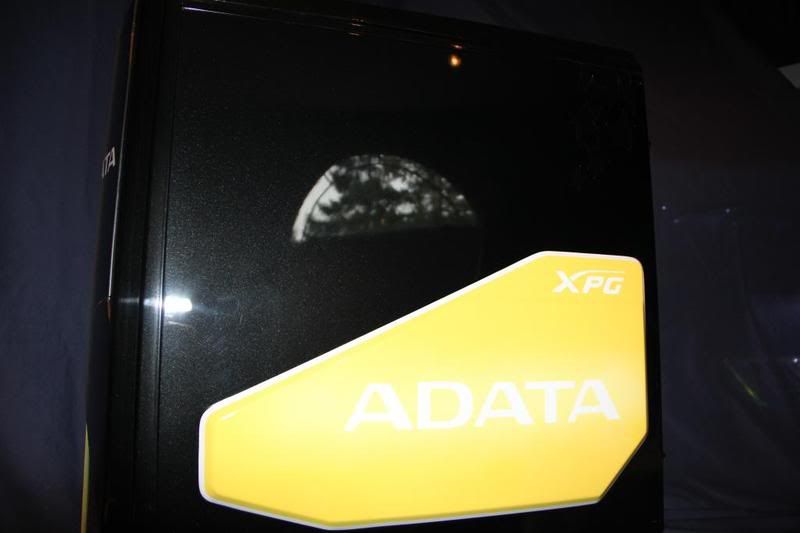
I came up with a paint design that would incorporate all of their colors/logo's. They pretty much left it up to me so I hope they like it.
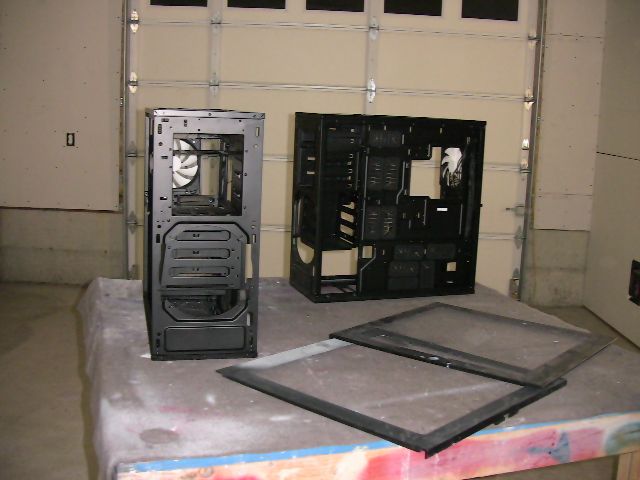
So here are the victims -
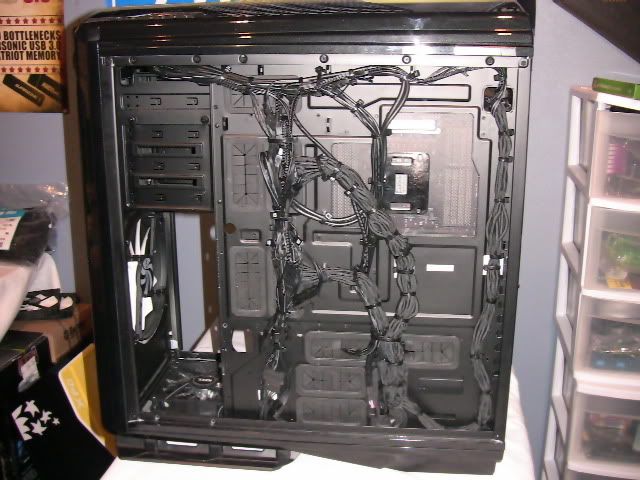
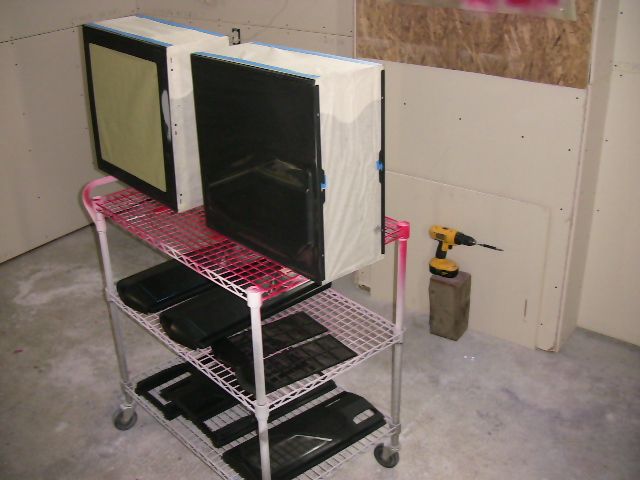
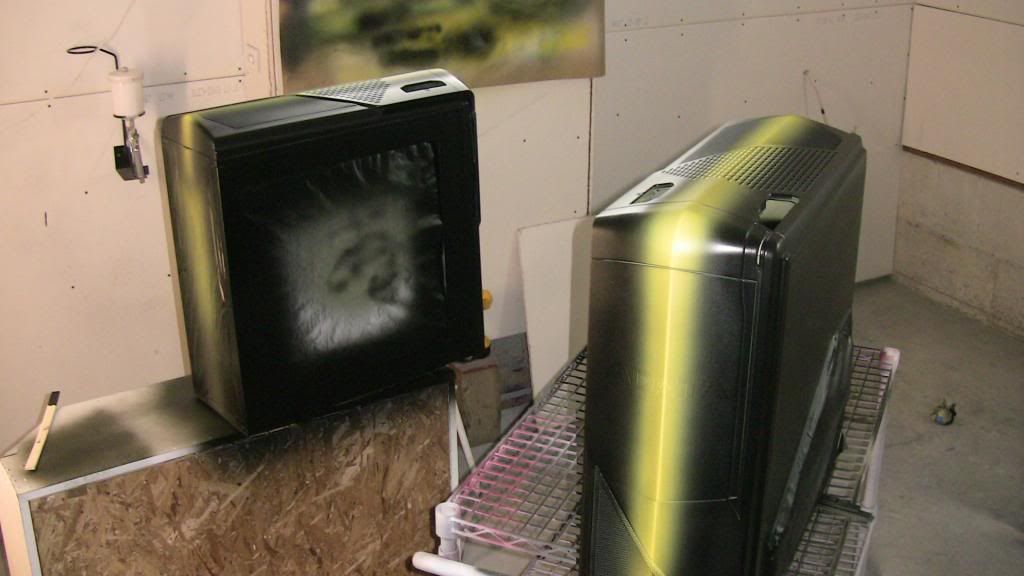
These are stripped down to the frame and you can see I cut big windows into the side panels.
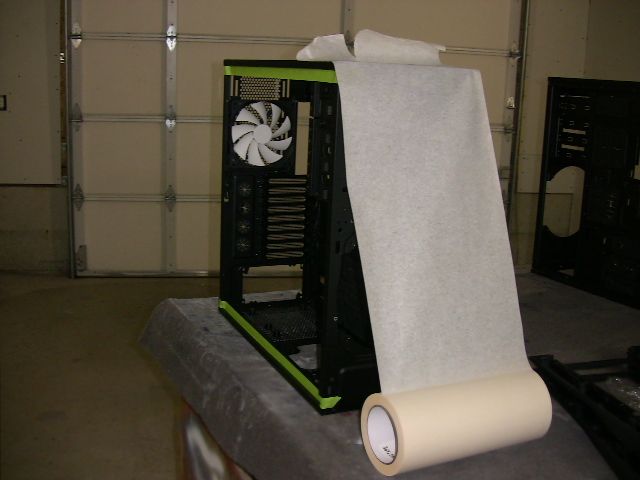
I'm only spraying the outside so I needed to mask off the interior. I used this special masking that is used for doing auto paint stencil work. It's super wide and I can just wrap it right around the center and be done.
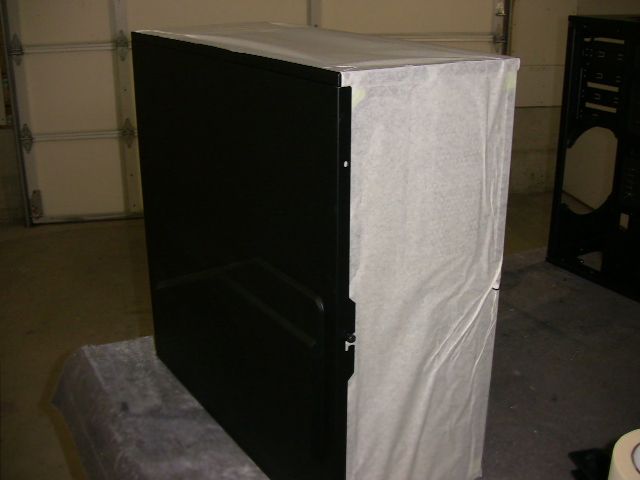
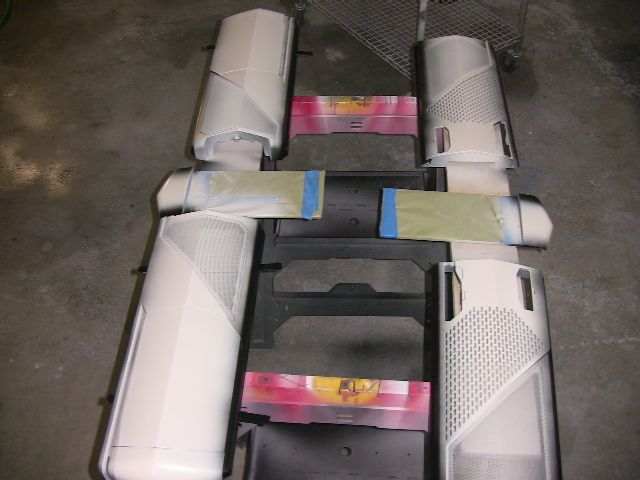
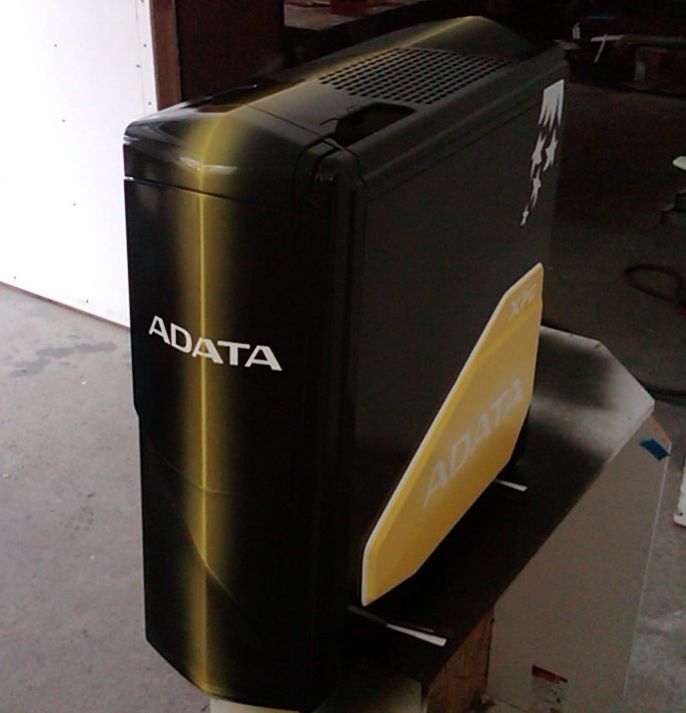
Stick the panels back on and I'm ready to go!
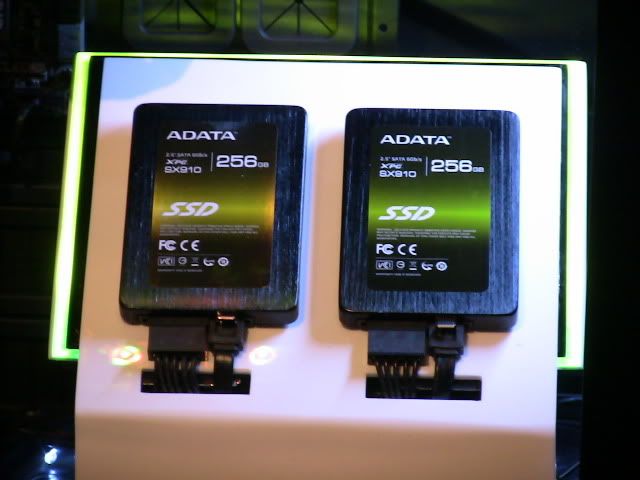
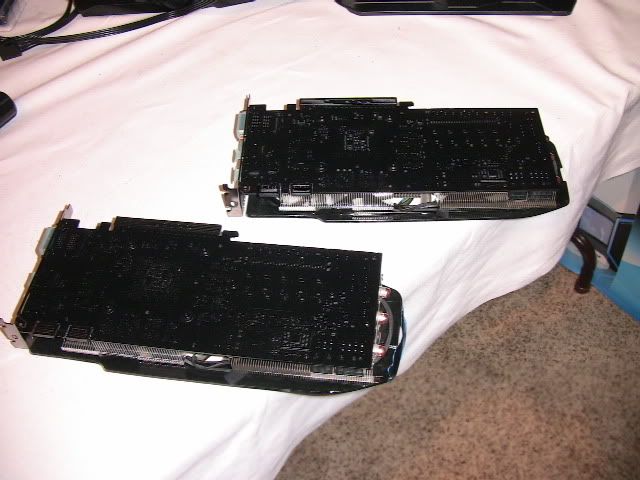
Double the parts - double the fun.....
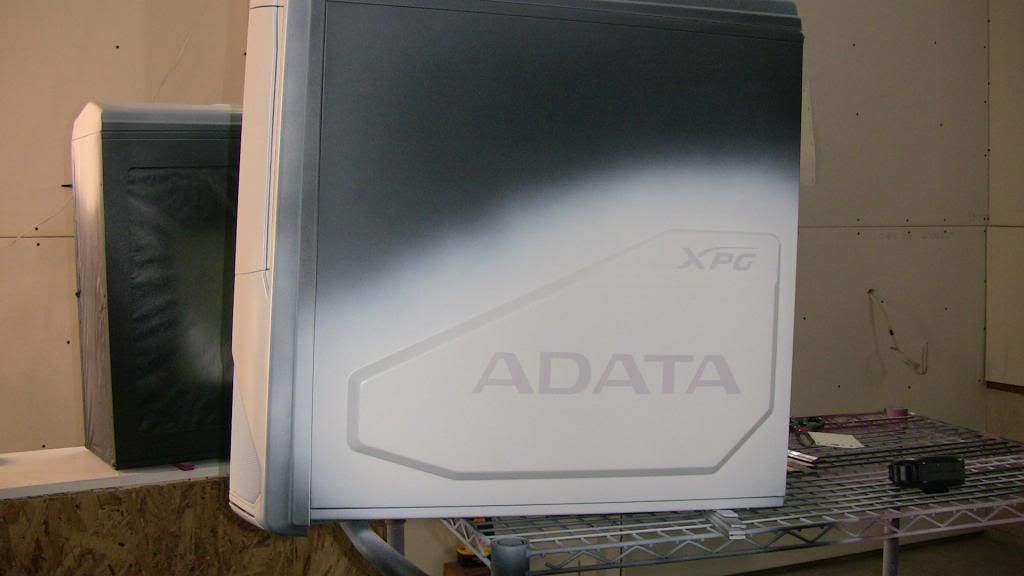
I sprayed a white epoxy up the middle and black epoxy on the sides. On the side panel with the funny shape bulge I sprayed it white too.
The reason for the 2 colors of epoxy is that I am spraying multiple colors and I don't want to spray a white paint over a black primer. It would take a lot of paint to hide the black underneath. THis picture shows the area painted in white now and I applied some stencils of their logo's.
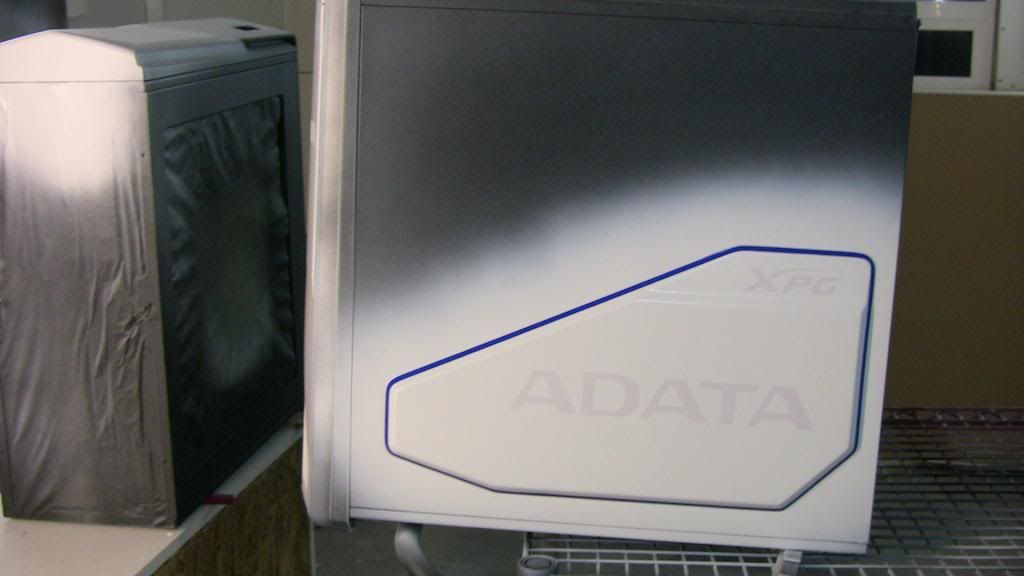
I also wanted to give this raised area some depth so I added a fine line tape all around the perimeter so that it will leave a nice white line once I spray the next color over the top.
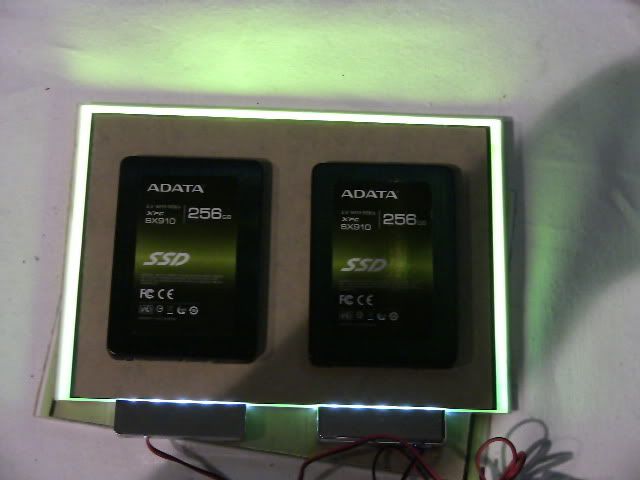
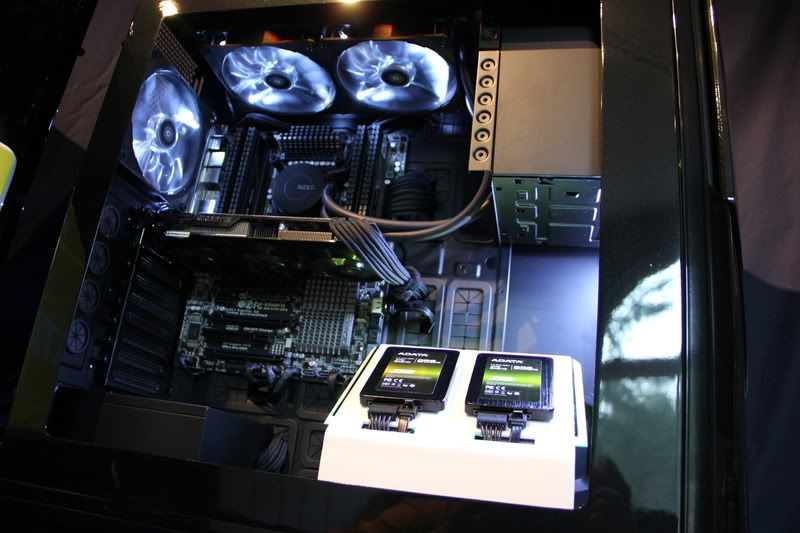
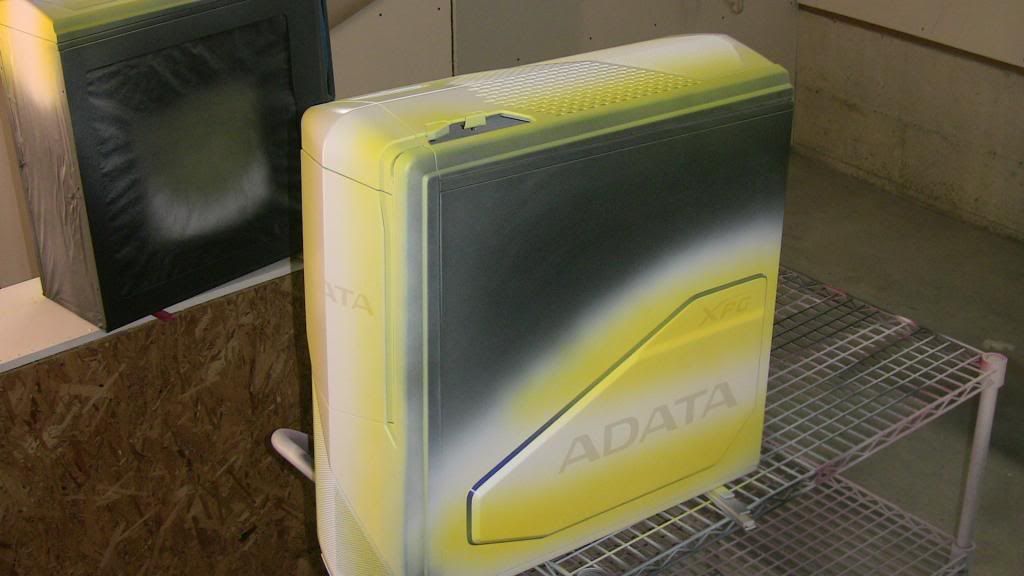
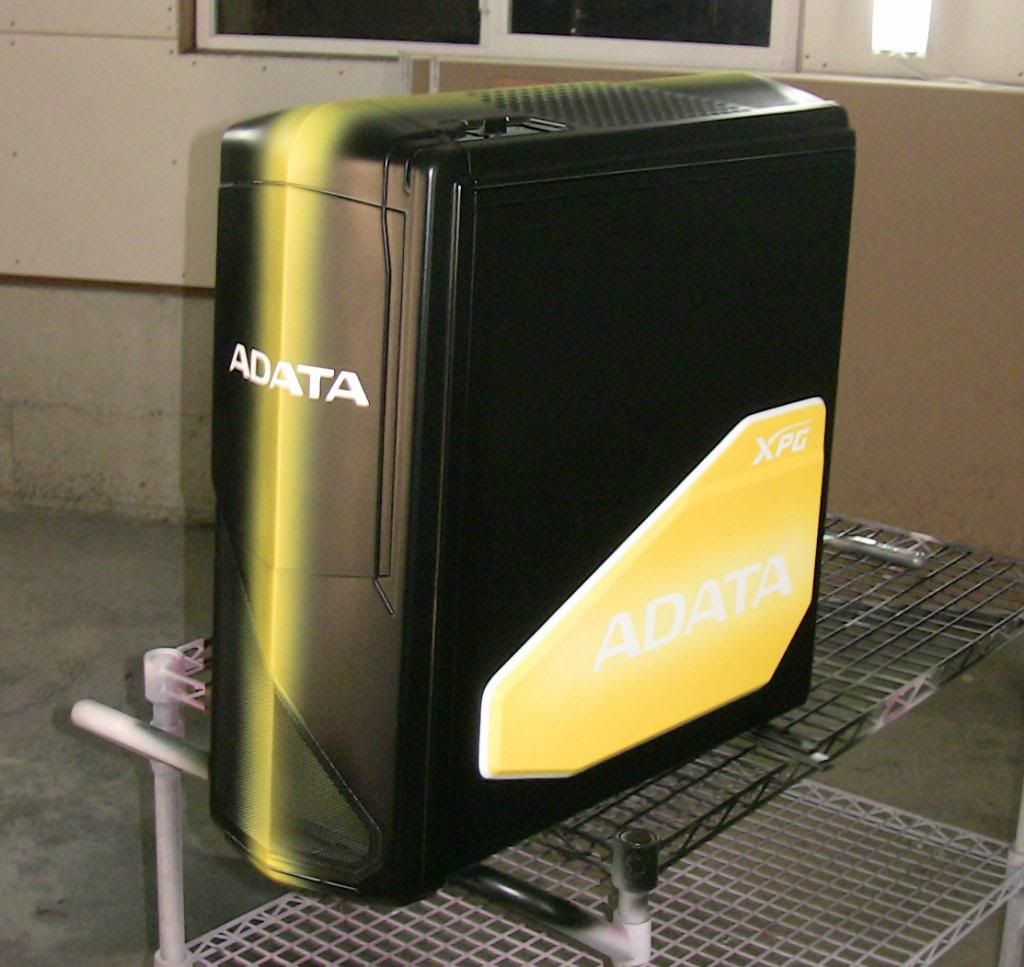
I matched their yellow as close as possible and I will be using it over the white areas. But, I will be doing some blending also. The raised panel area is going to be a lot of yellow and I will fade some white in around the ADATA name. Up the middle will be a fade that matches the SSD. It will fade out to black.
I spray teh white down first then follow up with yellow but I let the white bleed through so it makes the yellow pop even more. I also want to leave a faint white line in the dead center that looks like the SSD.
Now I start to fade the black into the yellow and white..
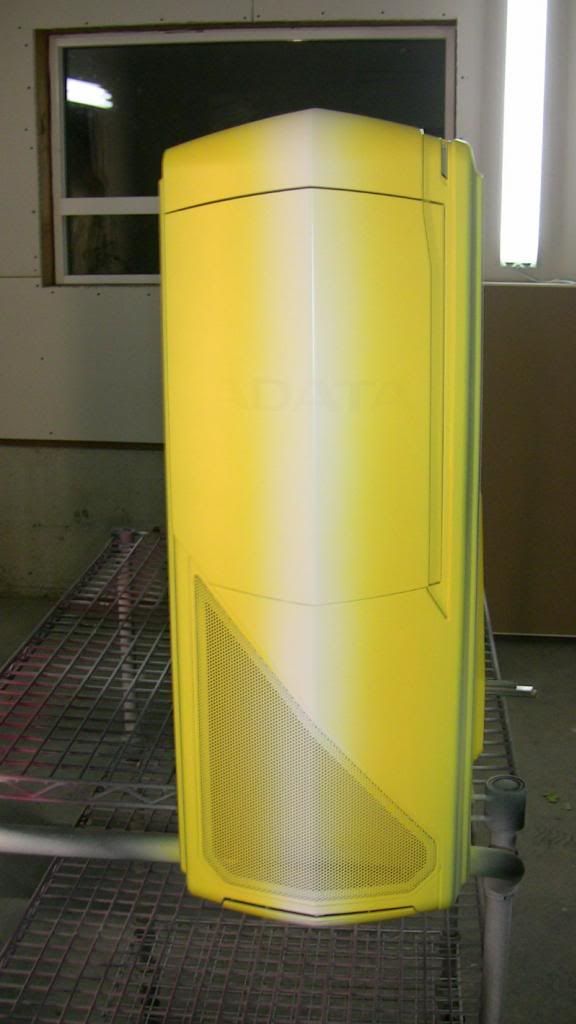
Base coats are done....
I pull the tape and stencils off so I can start laying down the clear..
Now you can see why I sprayed white in some areas too.
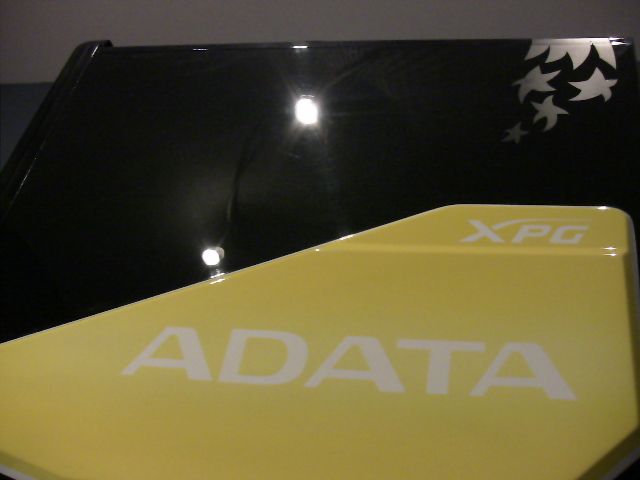
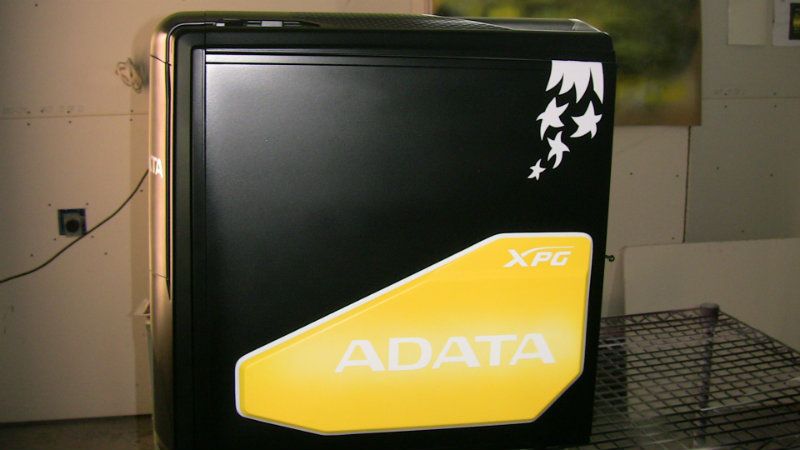
I also want the hummingbird tail and star looking things to have a flat black look so I am adding the stencils over the top of the base coat so that clear coat won't get on it. That will make it look flat. It looks flat until you hit it with clear and then the color jumps out. This black is a fine metallic. It's called Magnetic Black.
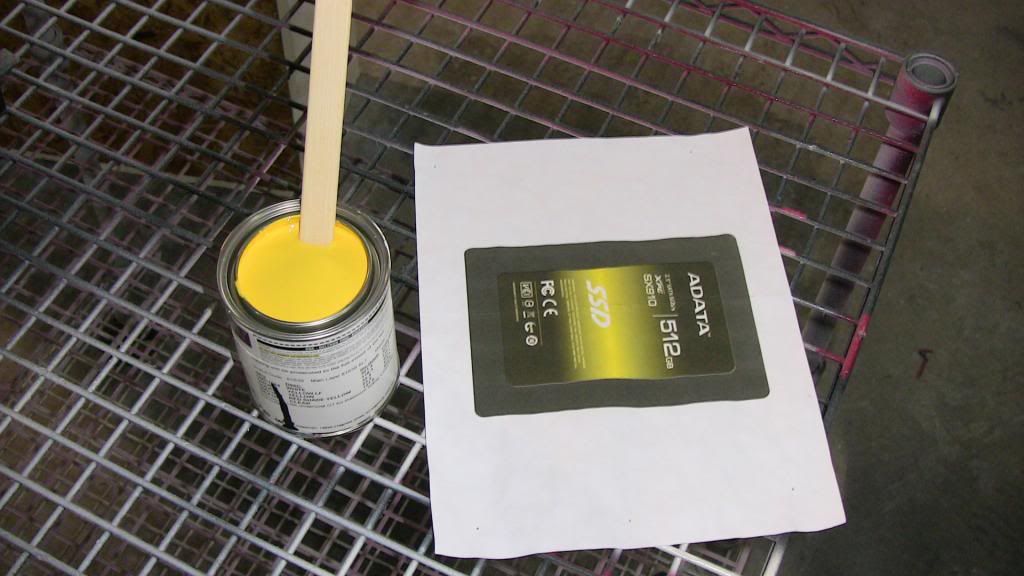
THis is what I was using for the idea.
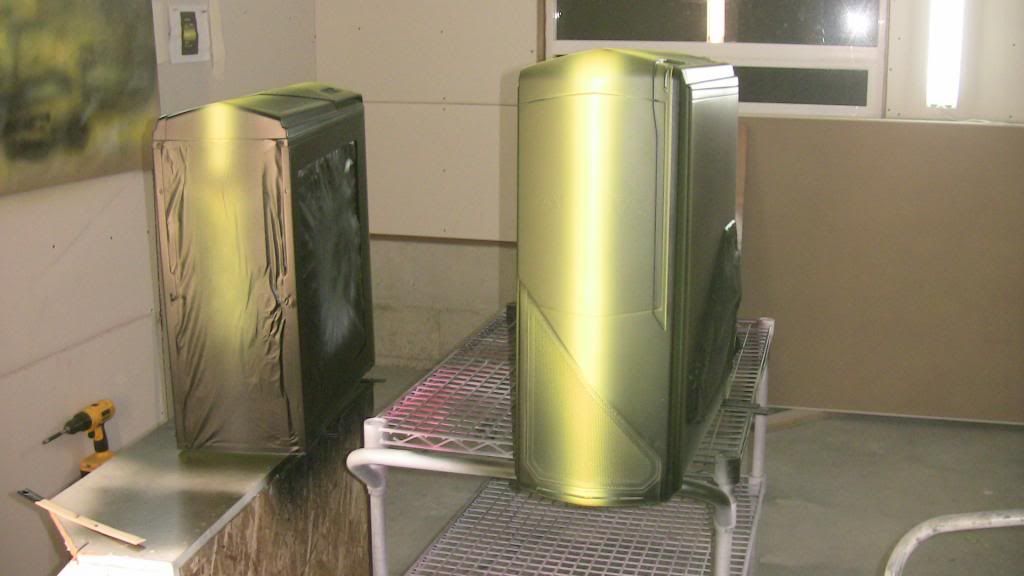
Here is the first coat of clear....
That's all you get for now. Once I hit it with the buffer, I'll come back and show you the shine.


 Reply With Quote