Hi Everyone,
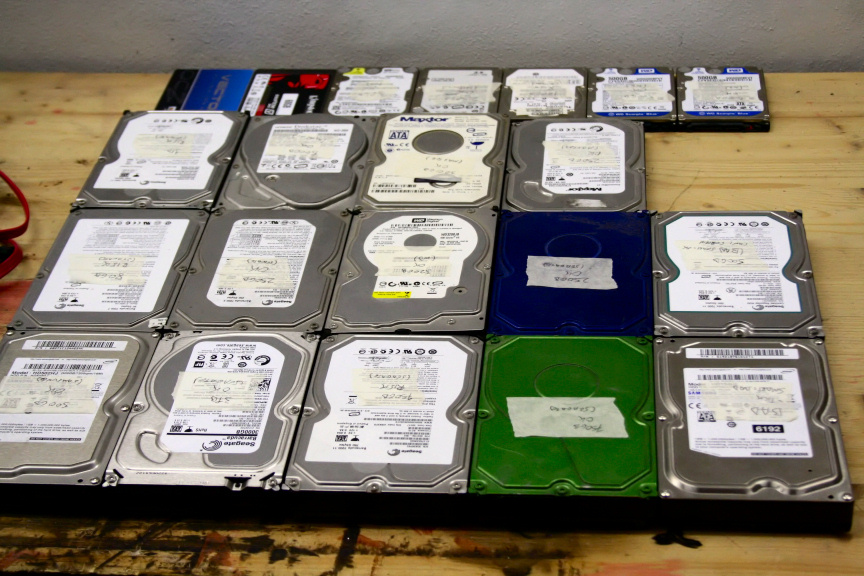
Today´s update is a bit late, this is because today´s update is all about hard drives. I (finally) took the server apart (finally finished copying all its files from its hard drives in to 2x 3Tb drives). I knew a couple of its drives where on their way out and I knew for a fact one was dead (just never got round to taking them out as it wasn´t straight forward, I made the mistake when I first put it togueter to not label which drive was what and tagging the cables for easy id. I also went through my workshop and put togueter all the drives I could find (if they where still there it was because when I left them there they where working, but at least a couple of them had been sitting in storage for years. So all in all it was a VERY good idea to just sit down and test every single HDD. In total it was 21 of them. There´s another 3tb and another (not including one of the 2 3tb drives I used for backing up the server) 750Gb drive, these 2 I use in my day to day PC, the 750 for documents, photos, music, etc and the 3tb for essentially steam, origin, desura and non-platform dependant games. So, in total 21 drives which are avaliable for the server. Out of these 21 I had to choose 11+1 Optical media (6 through mobo ports, 2 through PCI-E card, and 4 [2sata+2ide through another PCI card]) and then another extra drive for the secondary ITX board.
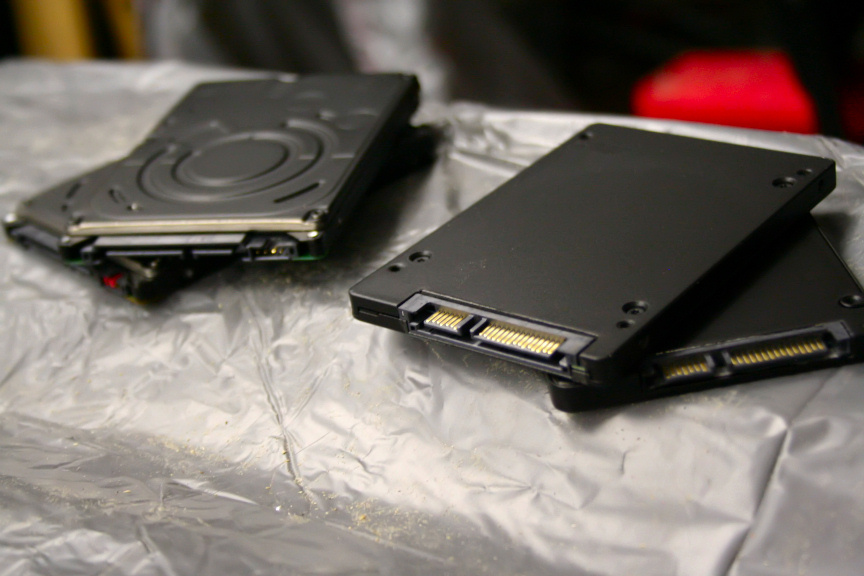
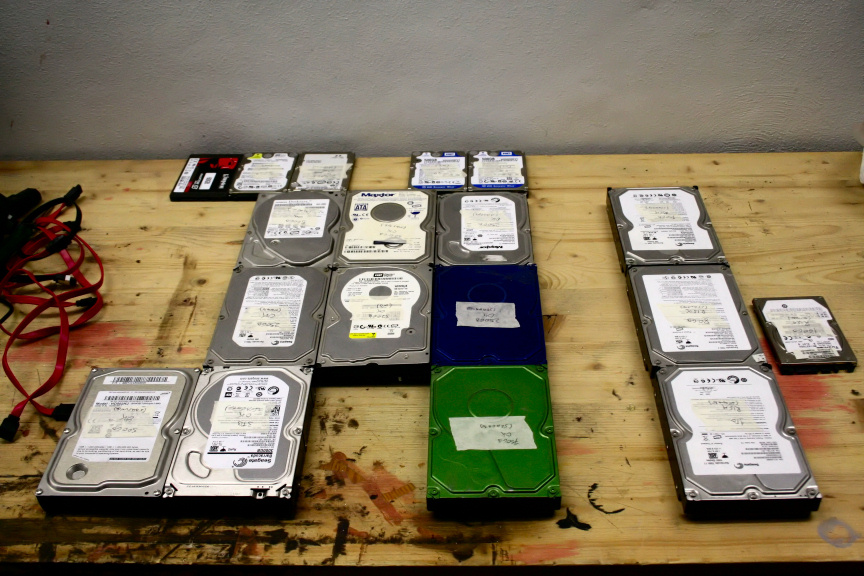
First I used Speedfan (SMART tab) for basic SMART status, straight up, 2 failed (badly). One was actually "OK" according to SMART but, part of the test I was doing to all drives was deleting their partitions (if any) and giving them one sole partition per drive (taking all space avaliable on each drive). 1 of these 2 drives simply would not format. To make sure I tried through diskpart and then again through Ubuntu (as opposed to Windows 7), nothing. The second of those two had the dreaded nasty clicking sound and mobo simply would not even recognise it. So that´s 19 drives left that, according to SMART are "OK" after giving each and everyone of them an "extended test" through Speedfan. I also removed the OCZ 120Gb SSD from the list, because I´m still not sure I want to use that for the ITX OS, though while I write this, I´ve decided I will, no point buying another 60Gb SSD simply so I don´t need to use that 120Gb which I´m not using for anything else aniway.
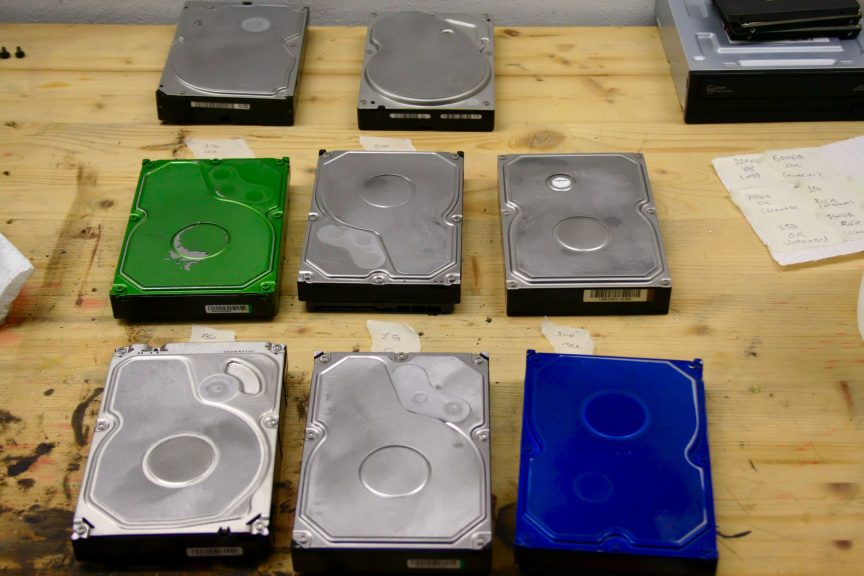
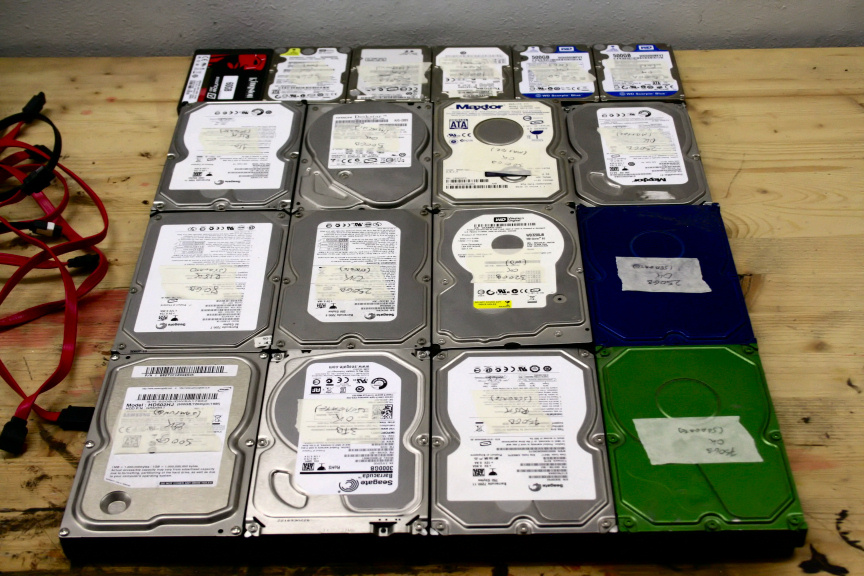
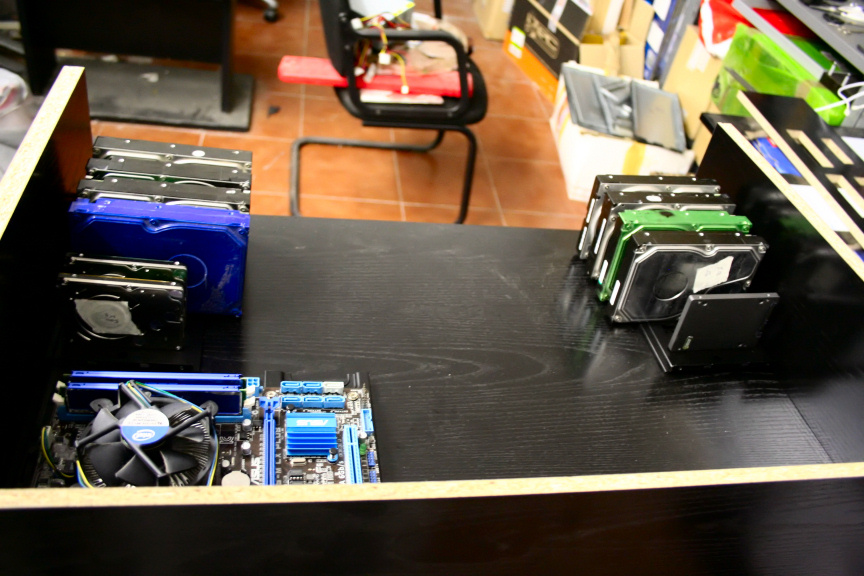
Secondly, and after stressing all those drives, I tested them through Crystal Mark (Crystaldisk). Out of 19, 4 displayed in yellow (RISK), all 4 had the same reason, max allowed number of unallocated sectors (100+), but in terms of fitness they where OK, but for the sake of elimination, I´m putting them aside (the 4 on the right).
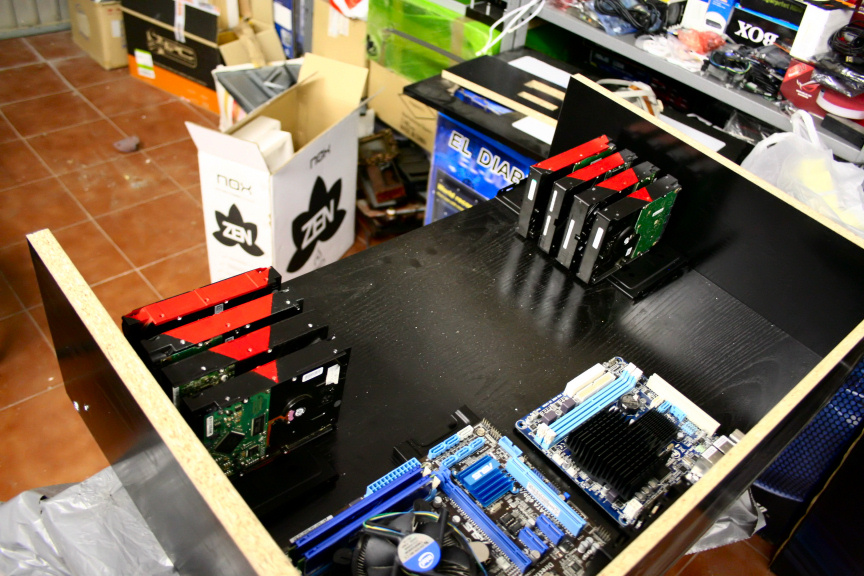
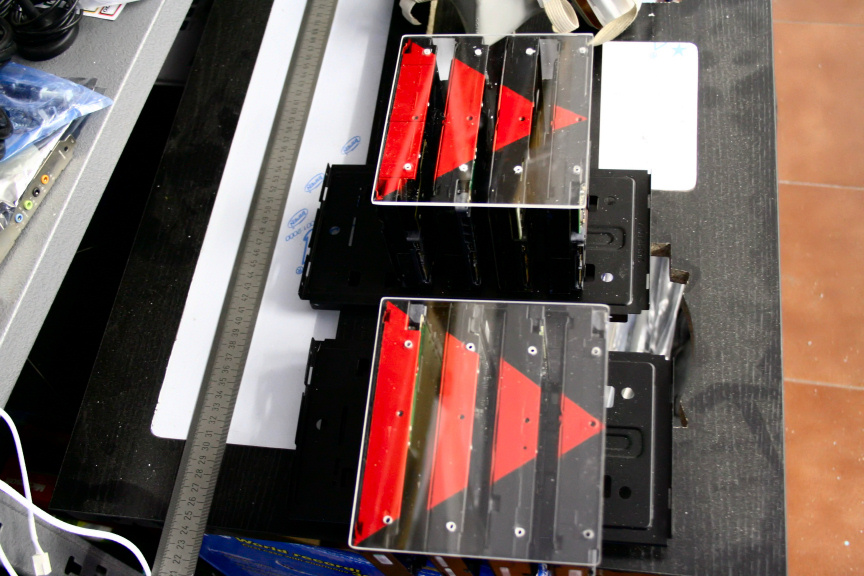
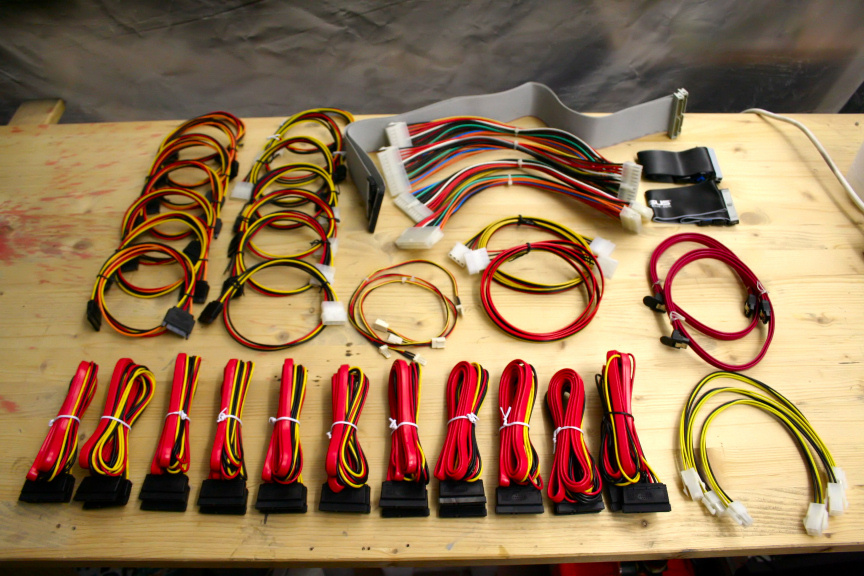
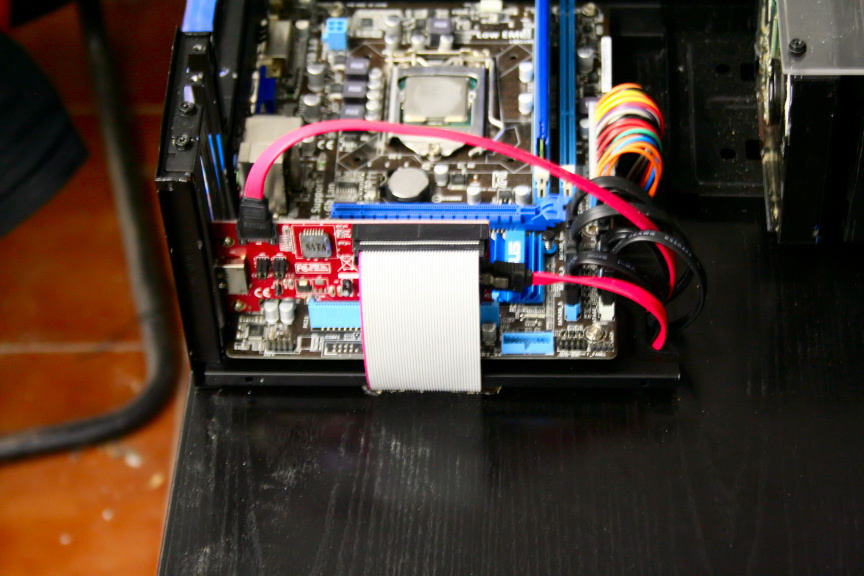
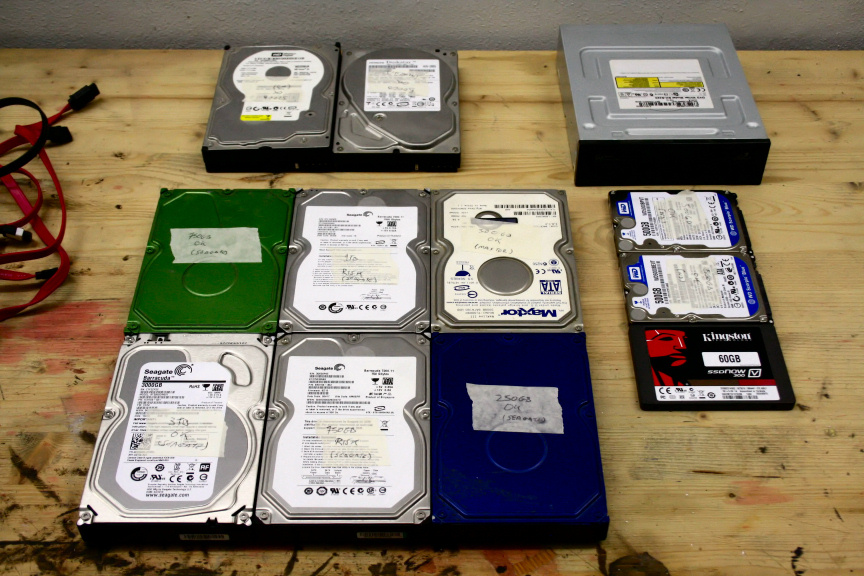
The remaining 15 passed with flying colors (if you´re curious about the green and blue drives, They where used in previous projects, which is the why of their color. Out of those 15 I chose 10 HDDs, 1 SSD and 1 CD/DVD RW drive, making a total of 10 sata devices and 2 IDE devices. Why they IDE you may ask? Simple, I have 2 500Gb IDE drives that seemed like a waste not to use and found a cheap PCI card that included one IDE port (so, 2 devices with a dual-connector IDE cable) and 2 SATA1 connectors (which while very speed limited, it´s not a big deal, I´ll be using those drives for cold storage). for 13€ (18USD give or take), so here is the final selection.
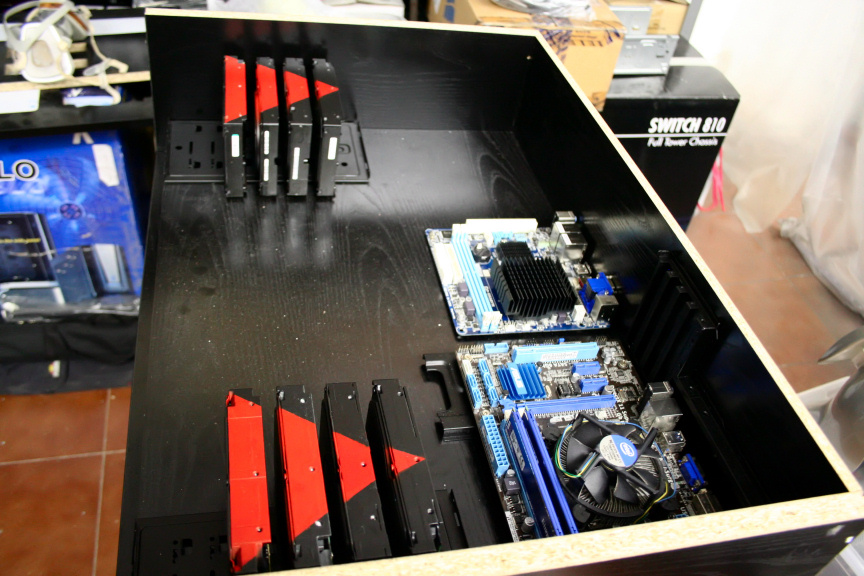
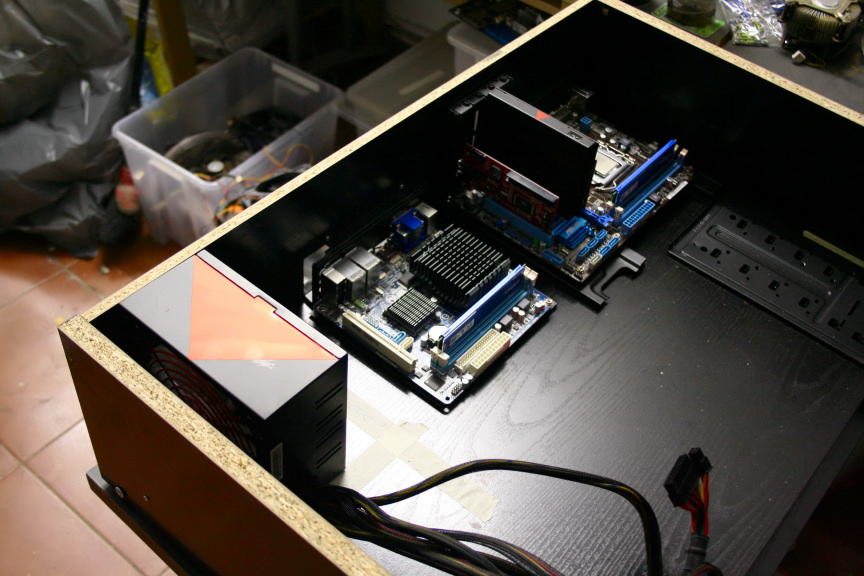
Have in mind all these will be going on the M-ATX mobo, the extra SSD for the ITX mobo is missing from these pictures. As to why only one drive for the ITX? Simple, the ITX mobo is low power consumption (quite low actually) and is the one I´ll be using for overnight downloading, so all it needs is the one drive, files can then be moved through network to the M-ATX storage.
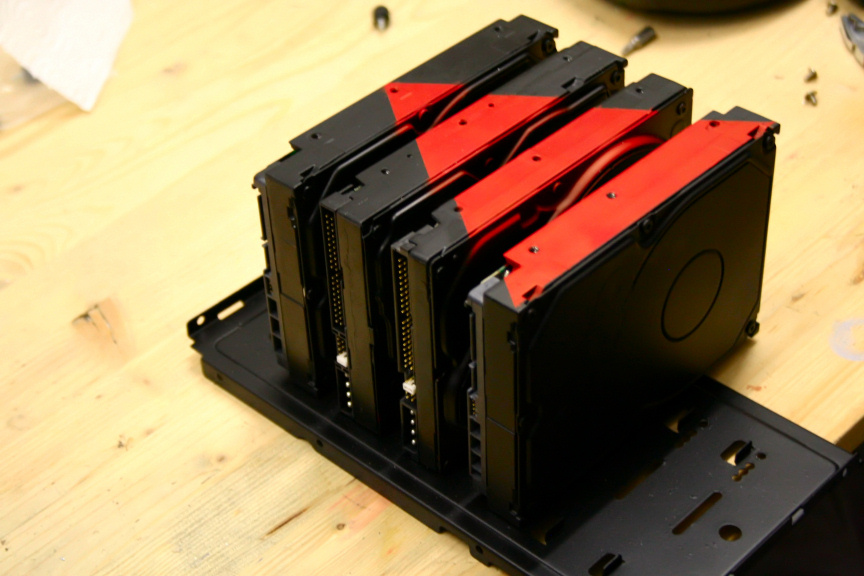
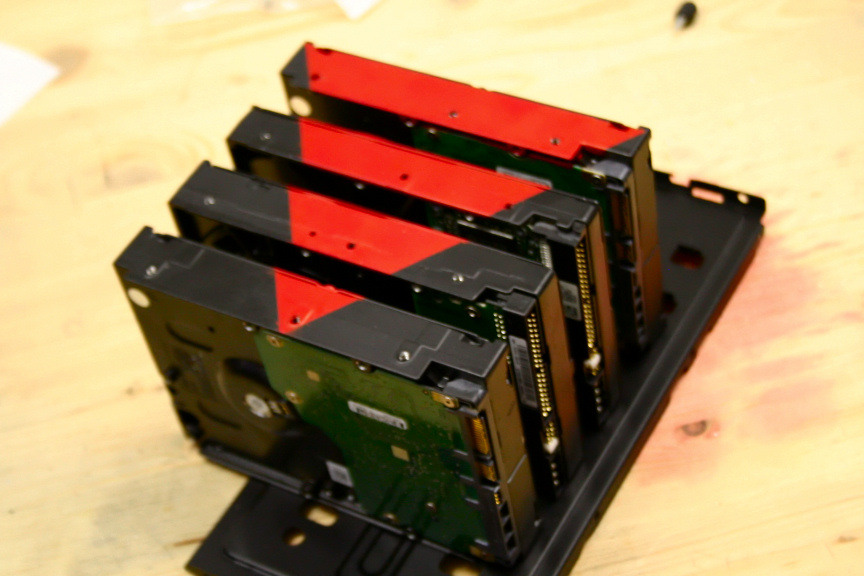
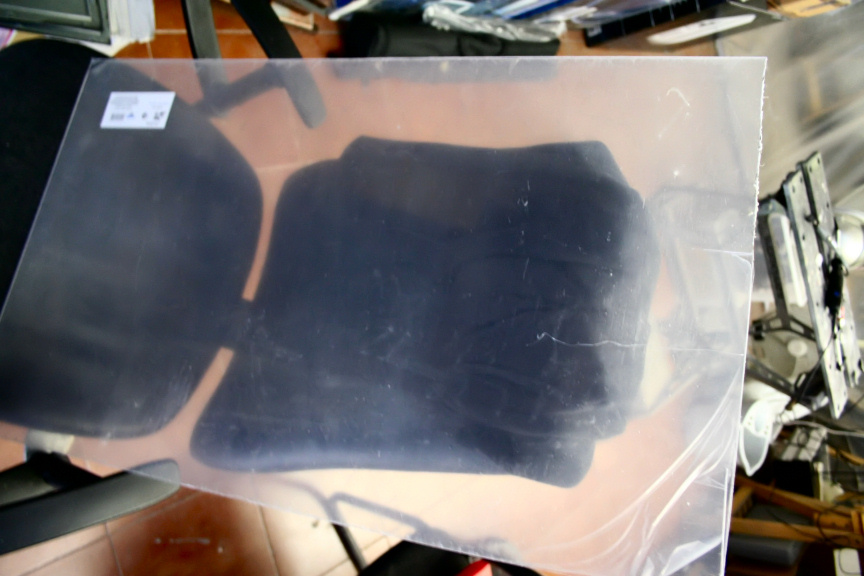
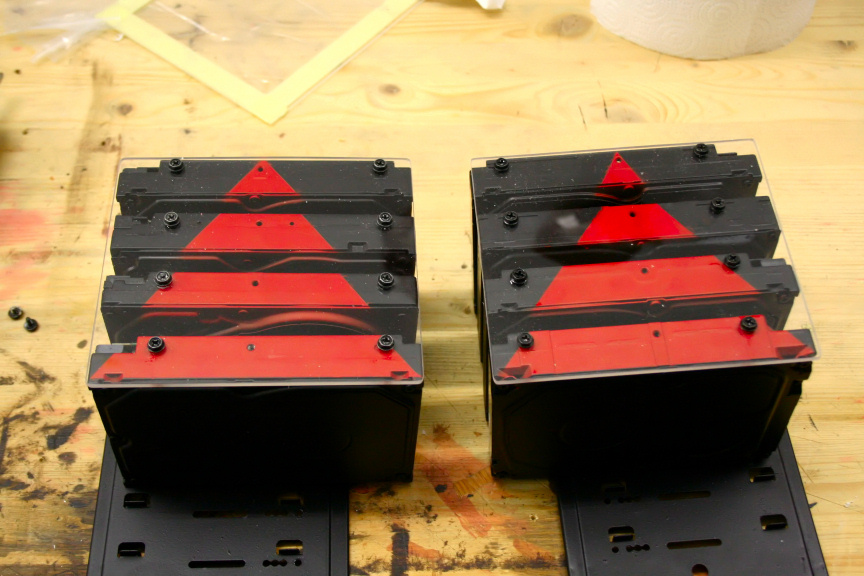
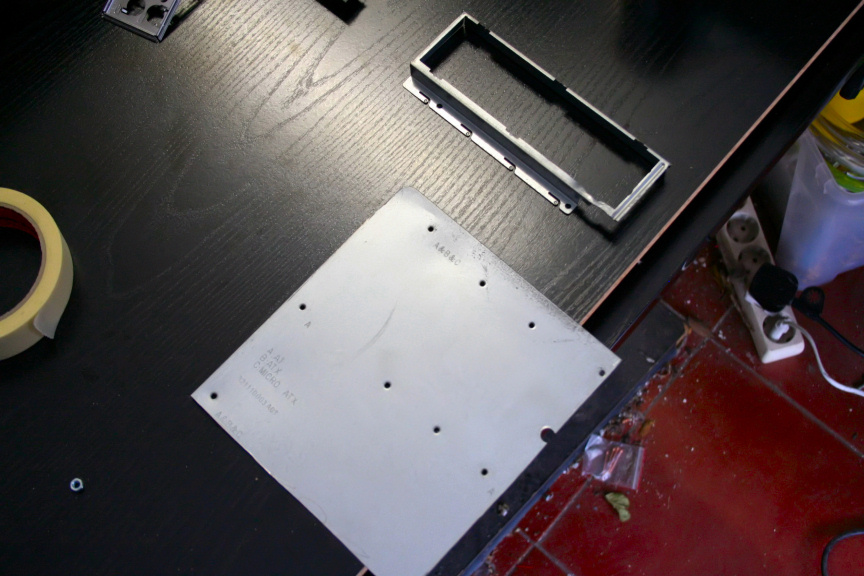
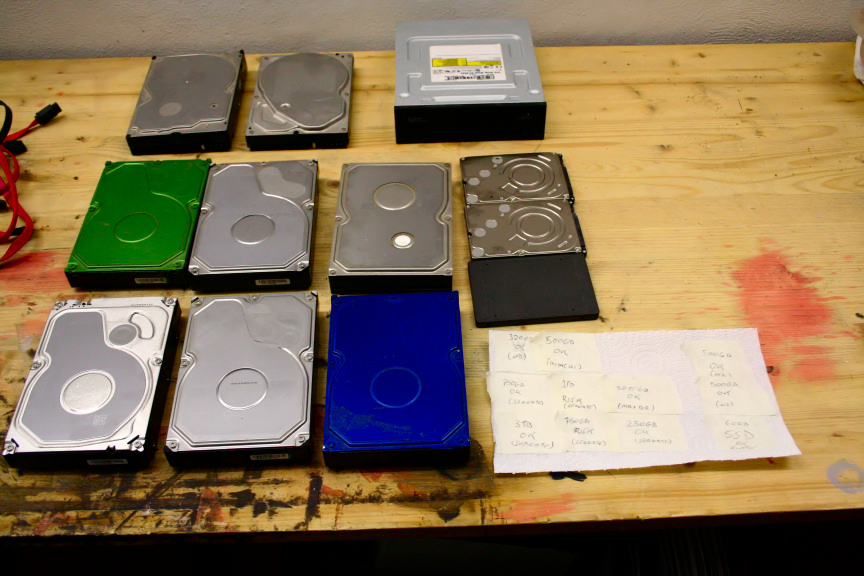
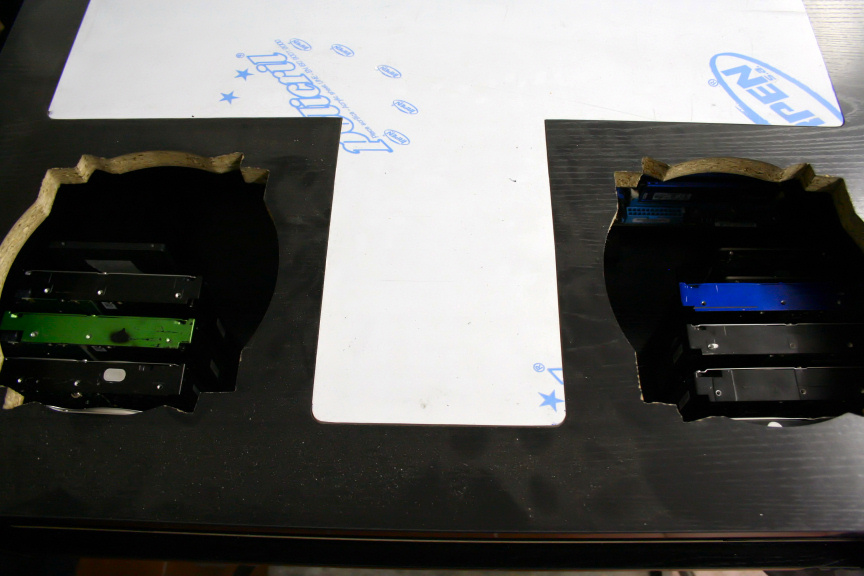
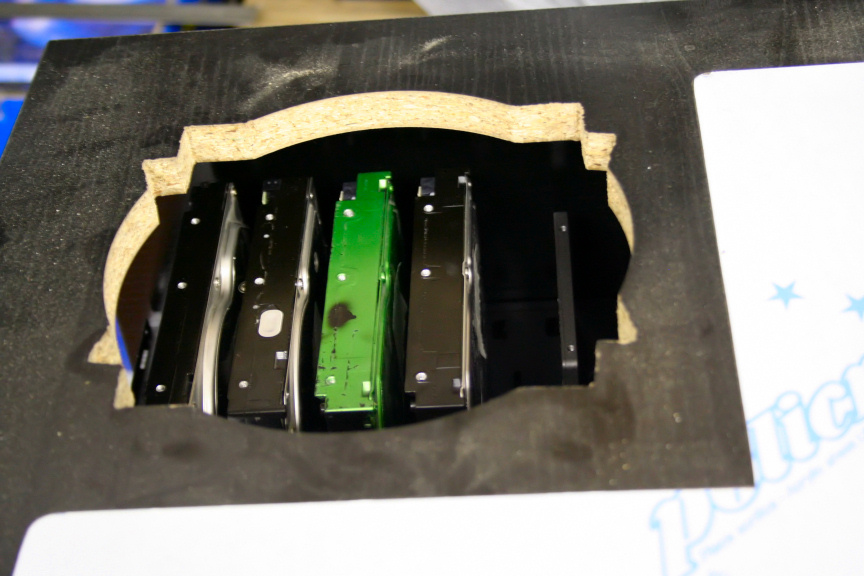
The next step is to prep them for customizing, so, stickers off! (Notice the note on the right letting me know which drive is which by mantaining the order).
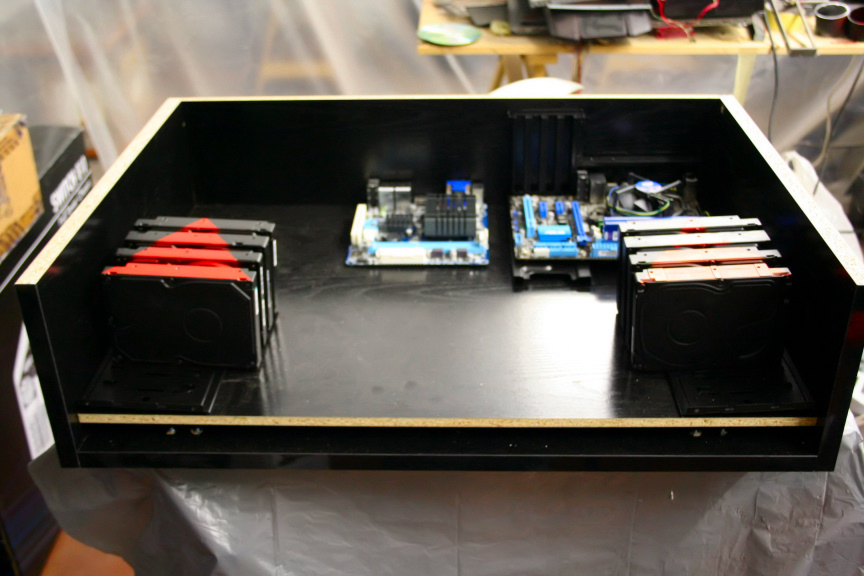
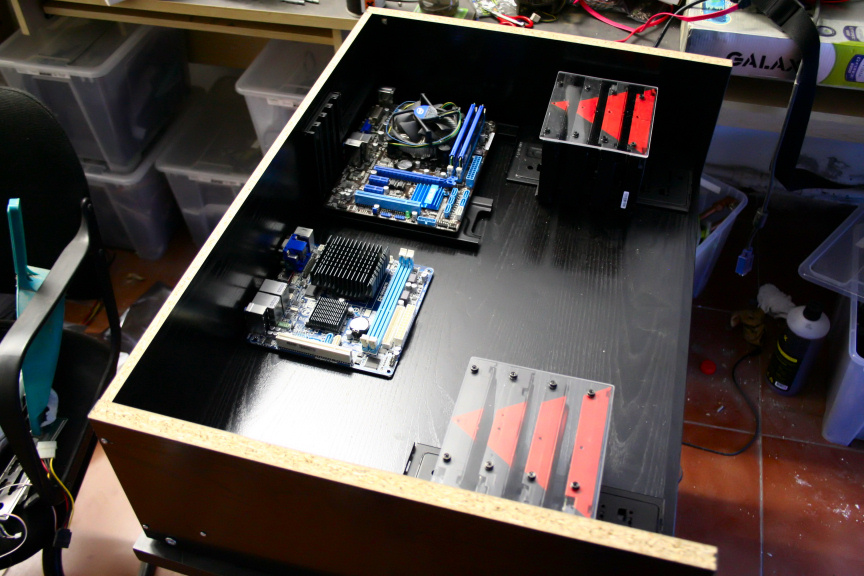
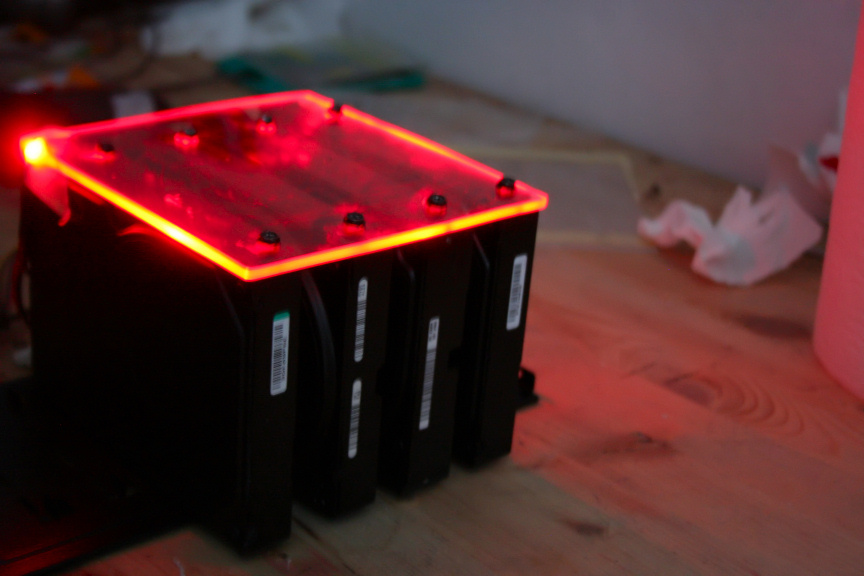
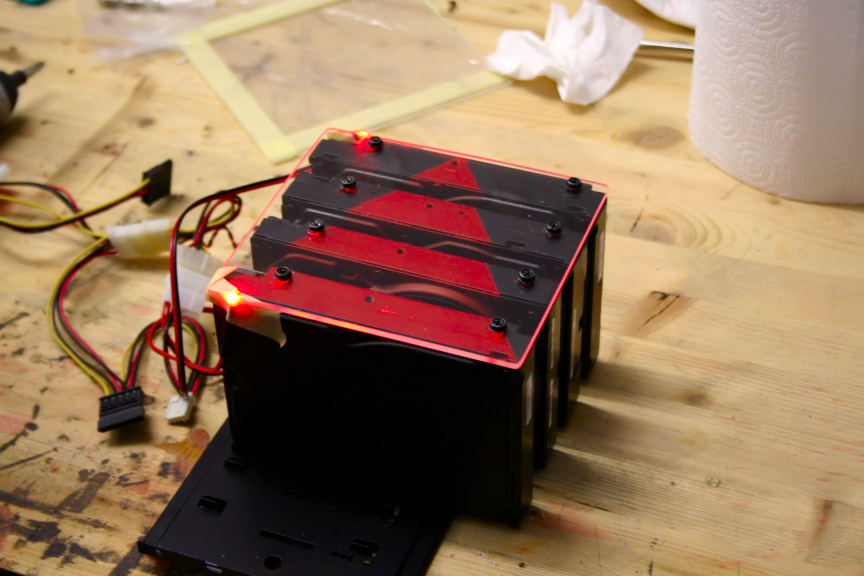
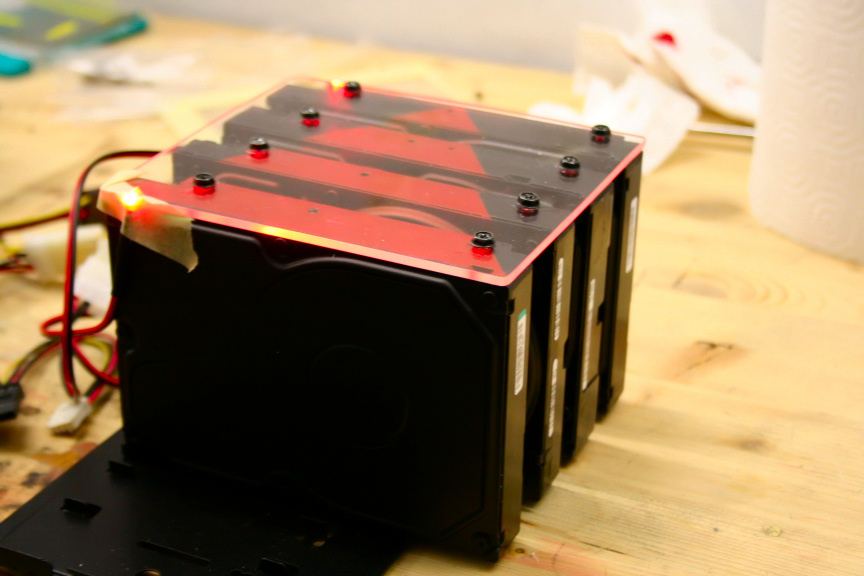
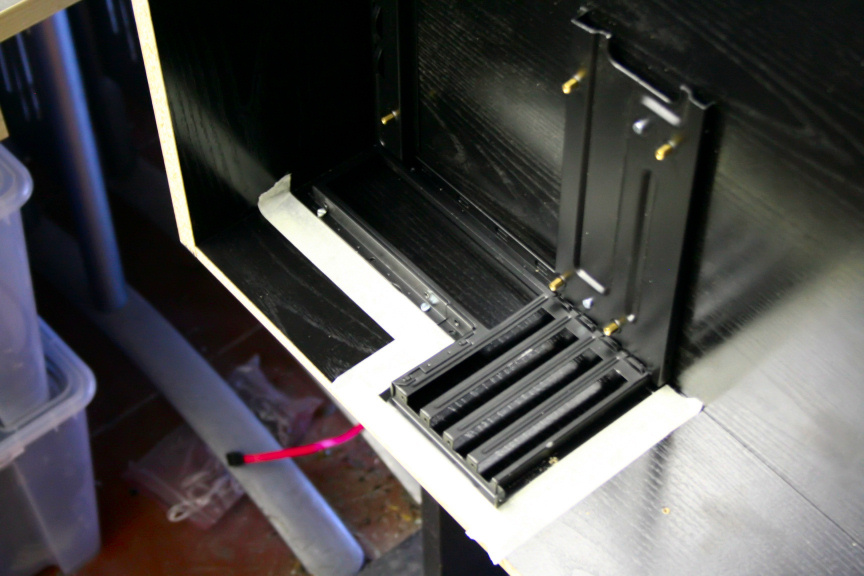
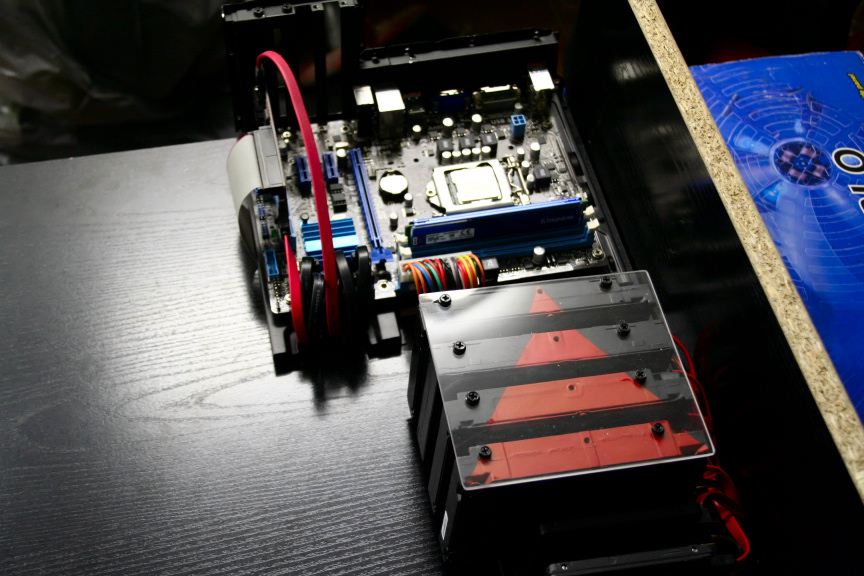
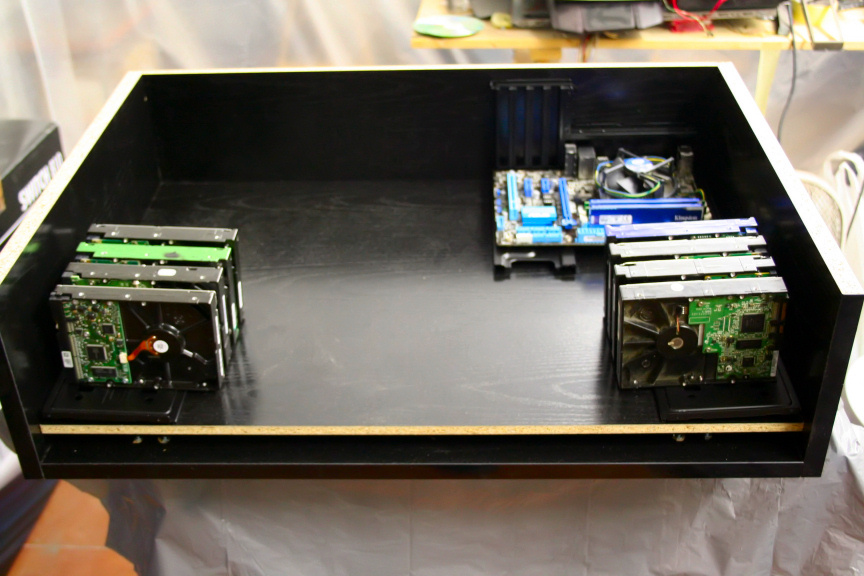
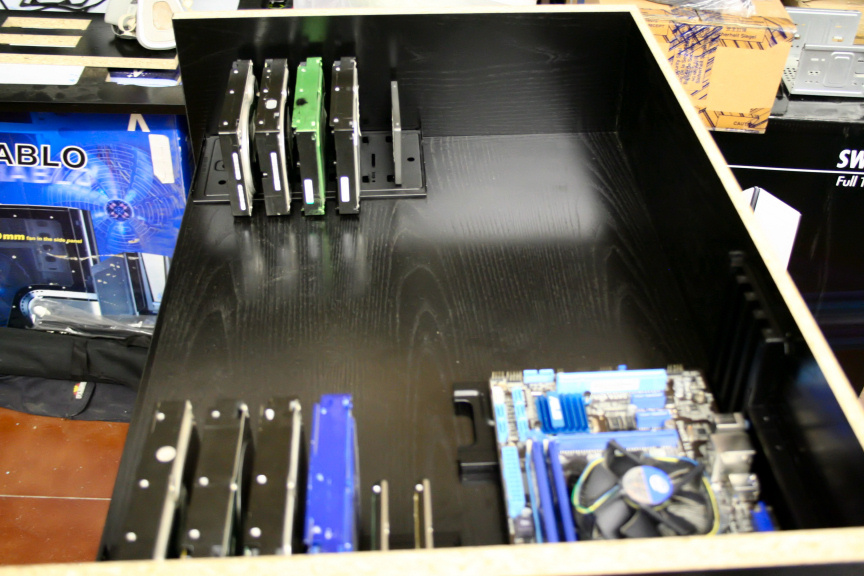
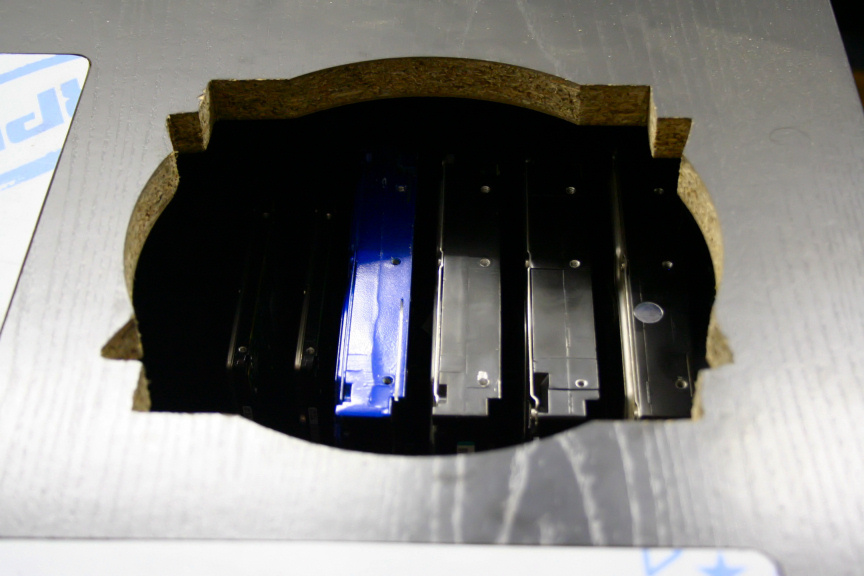
These drives need some serious cleaning before anything can be done but at this point is was very late (or early depends on how you see AM hours) and did not feel like doing that then. I could however not resist mounting them to see how it will look in place so I added a little note to each drive so I don´t loose the order (to knoe which drive is what) and mounted them. So here goes (note that the extra SSD for the ITX will be located in that empty slot in the rack on the left).
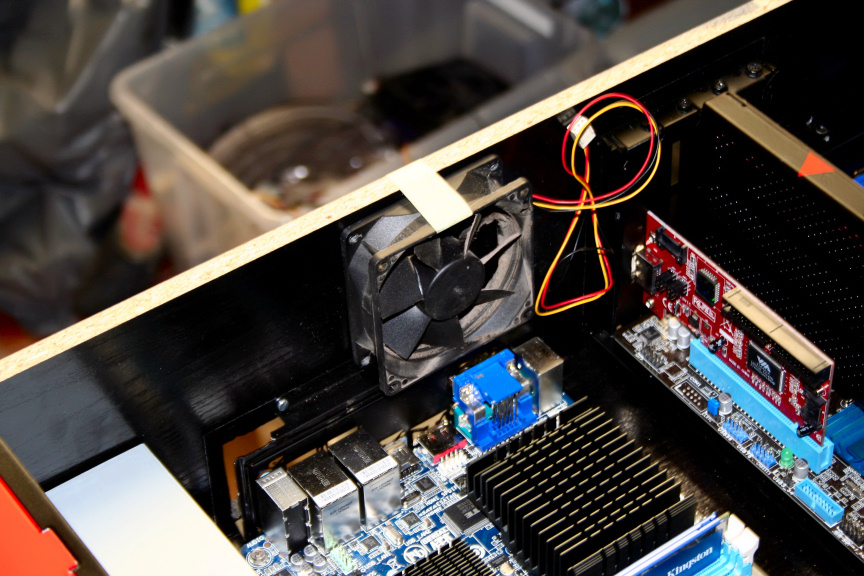
As planned, they are located just underneath the extraction 200mm fans.
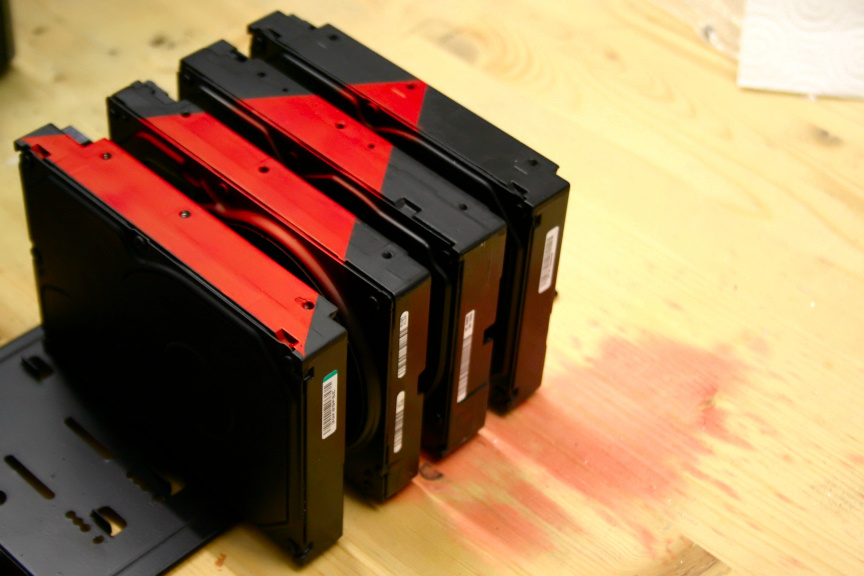
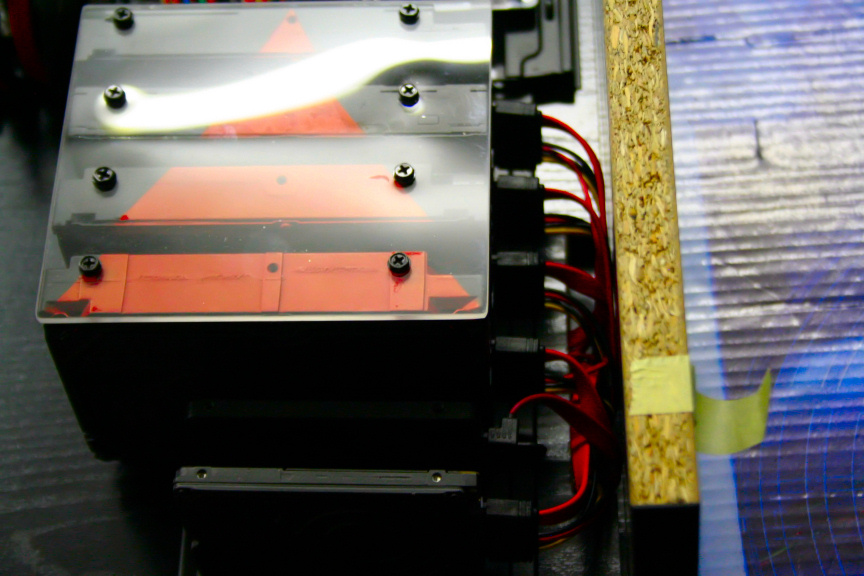
As a last note, I was planning on shaving the mounts off so they´d sit straight on the base, but I kind of really like that little inclination, what do you think?
Also, remember I was worried about only attaching the drives on one side (2 screws per drive) due to vibration? Well as it turns out, when the screws are fully on, the drives don´t move/jiggle at all so I´m thinking it´ll be ok. Worst comes to worse, I think instead of adding another mount on top I could simple add 2 metal stripes per mount on top to add further rigidness to the drives without sacrificing aesthetics (I may do that regardless, I´m liking the concept in my head).
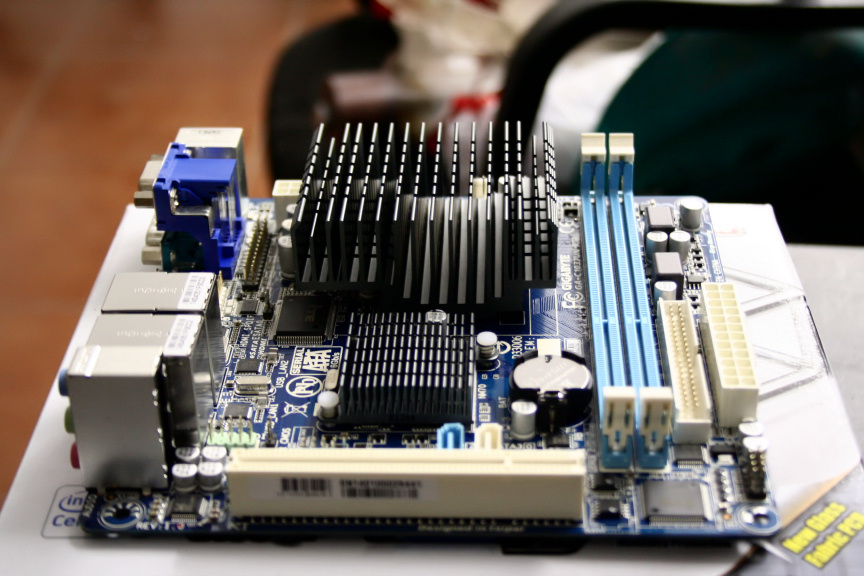
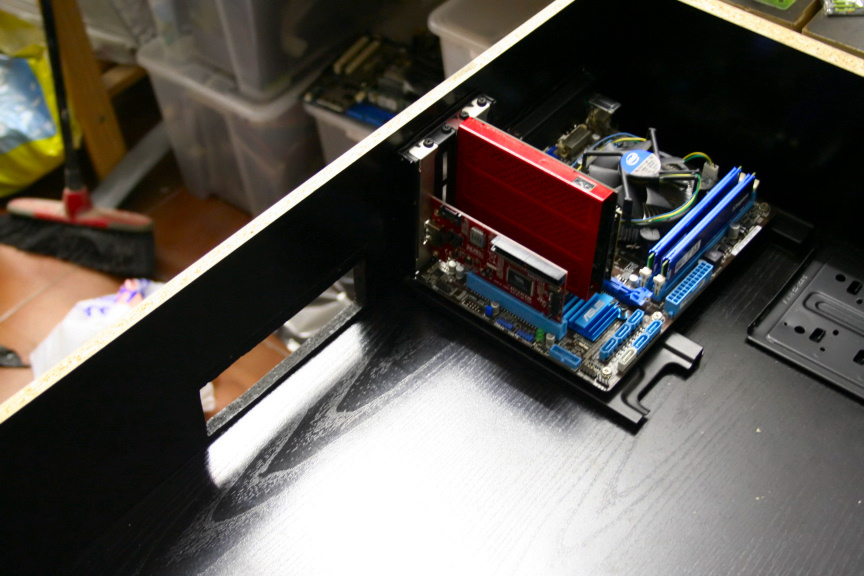
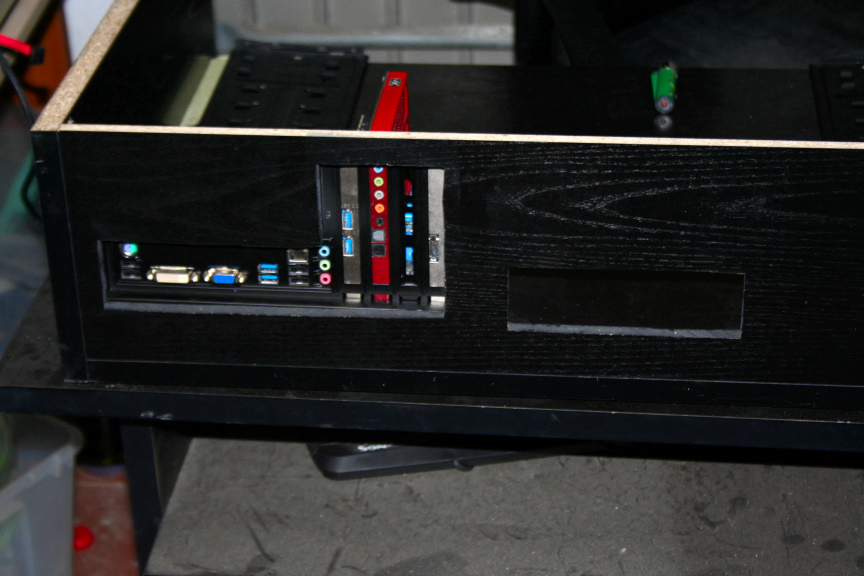
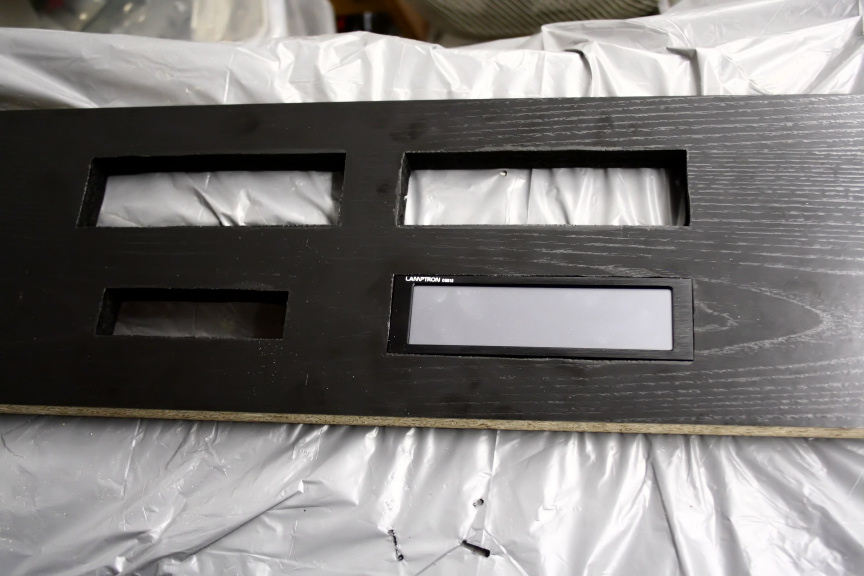
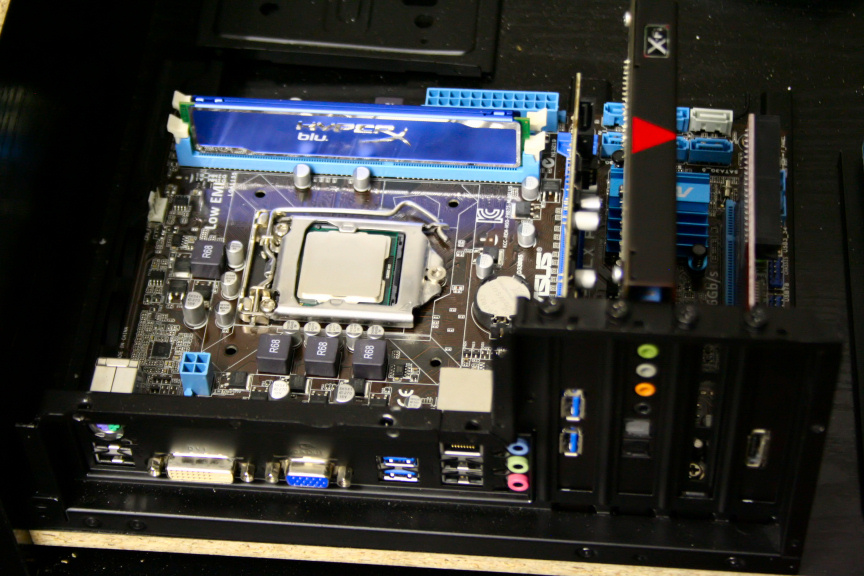
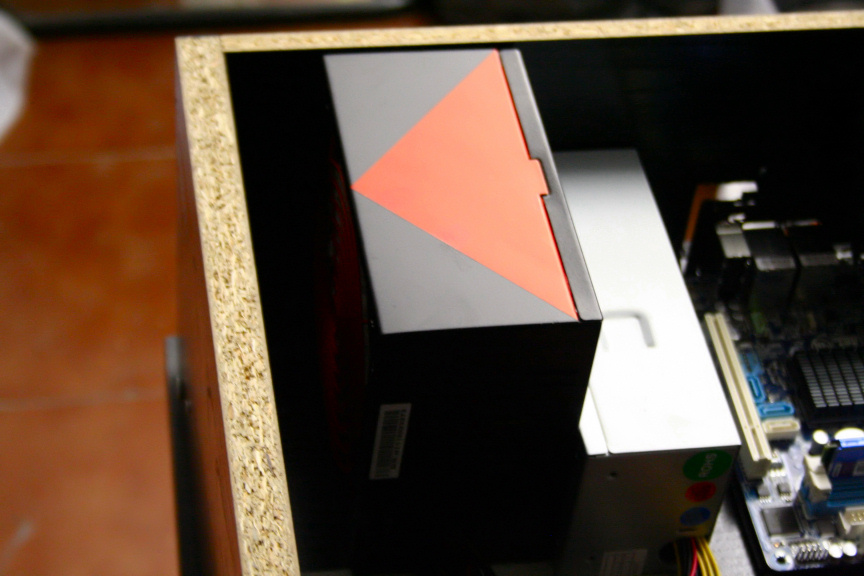
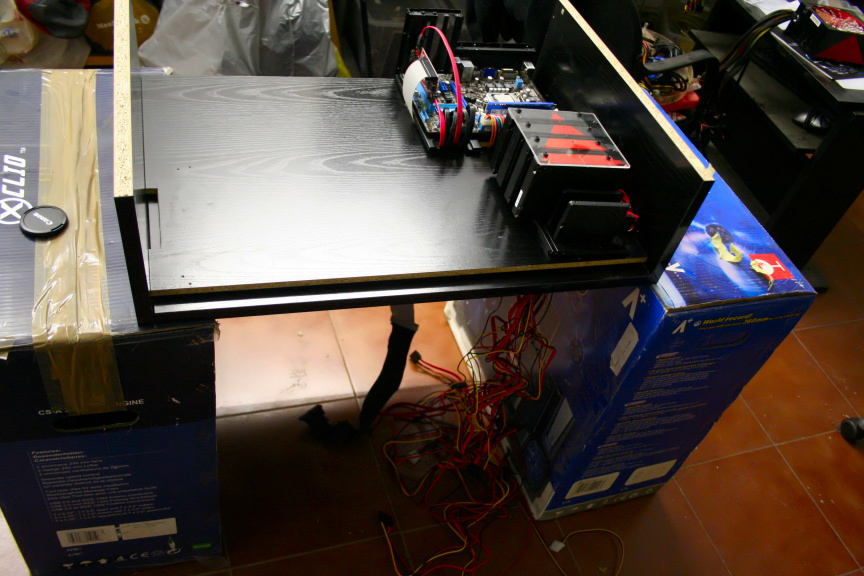
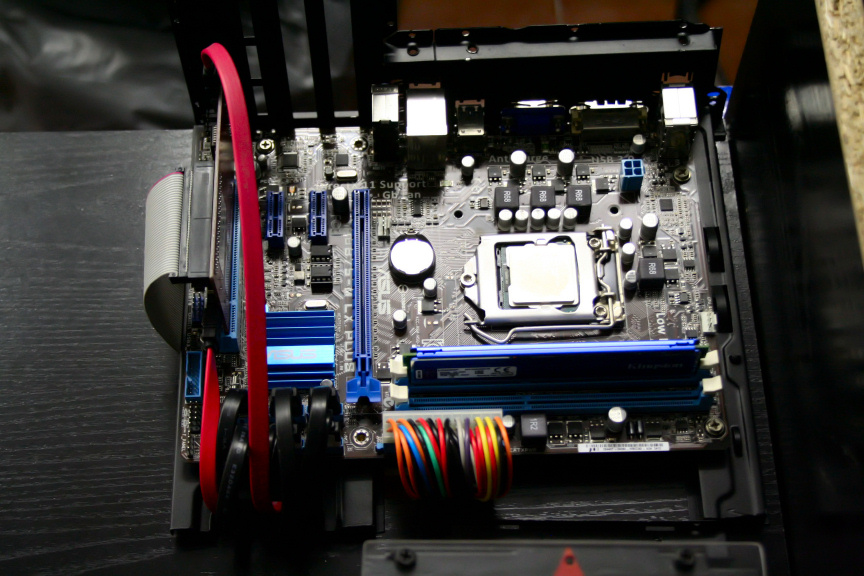
Well, that´s it for today. I know today´s update was just about hard drives and not much visually done (at all) to the actual inside (did you notice the M-ATX mobo is in!? And no, that´s not the heatsink that will be used, it was simply what was on it) but it´s just one of those things that takes a long time if you want to make sure you put in the right drives out of what you have. Anyhow, as always...
...thanks for reading!


 Reply With Quote