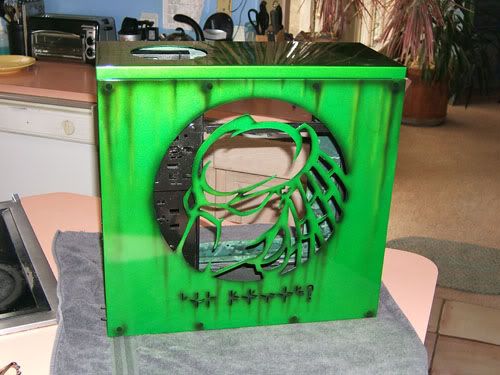
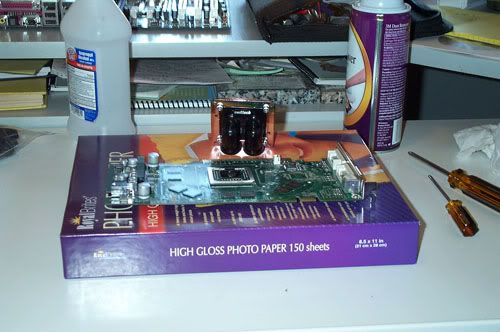
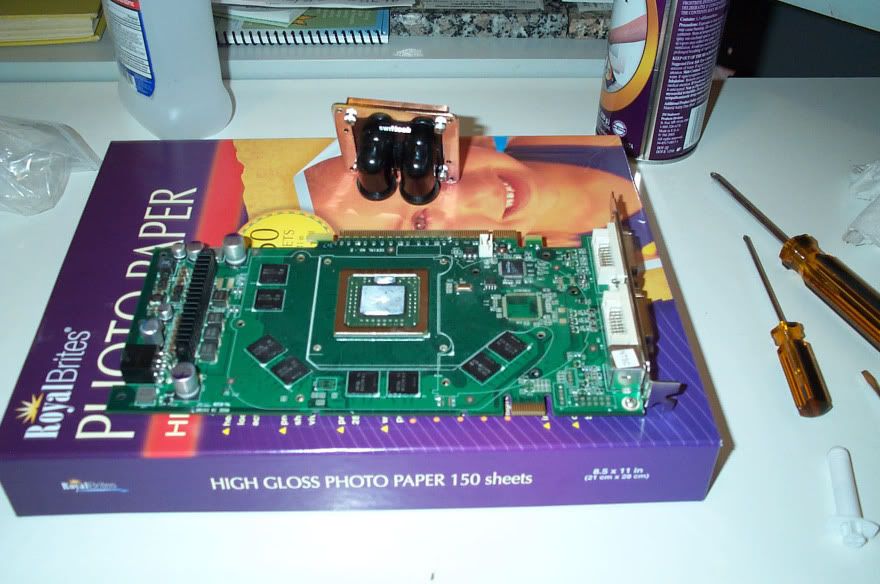
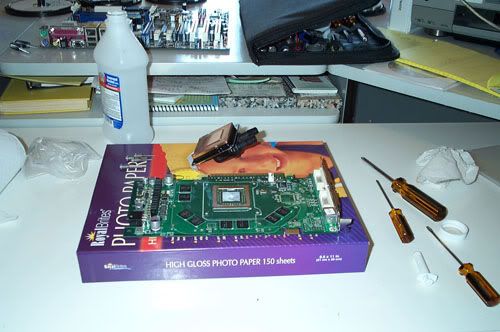
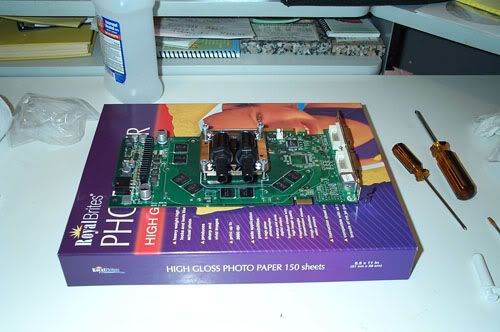
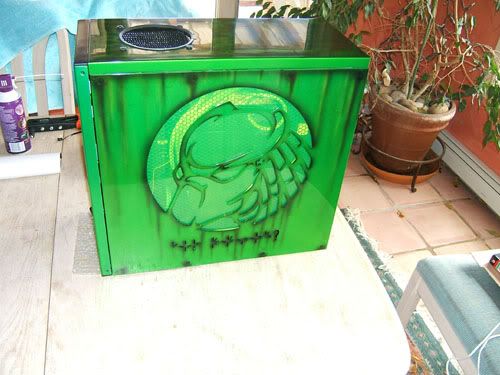
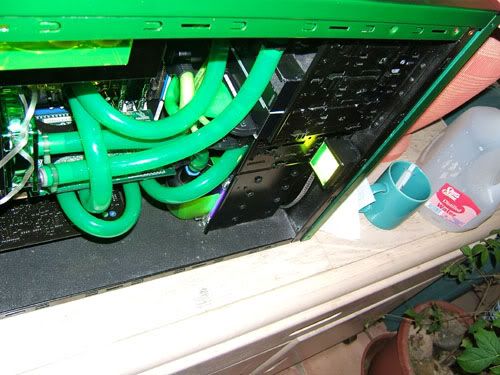
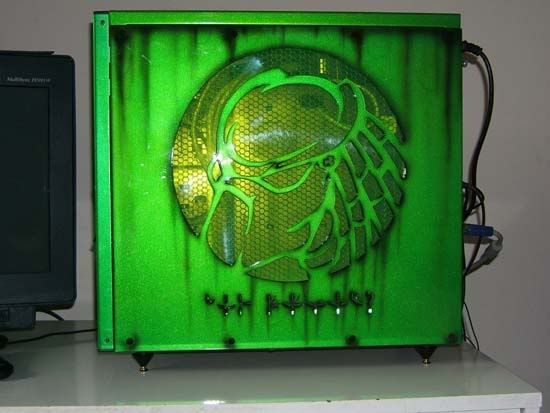
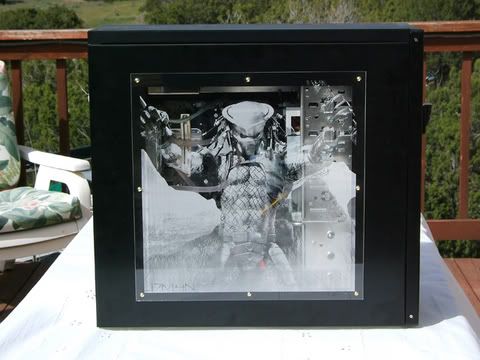
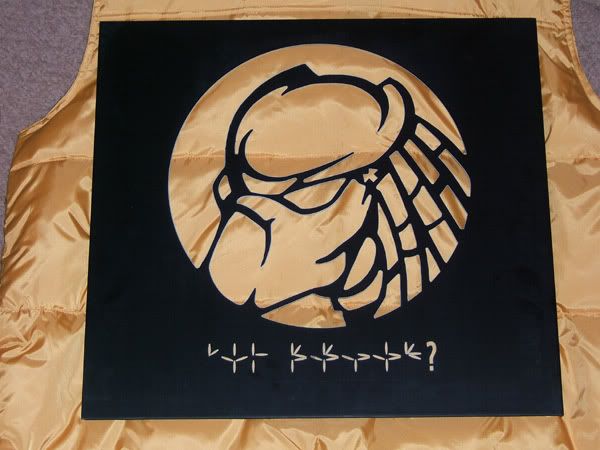
Well some of you might remember the old predator style i had going but this is a complete re-vamp of it. Here are some pics. Hope you enjoy.
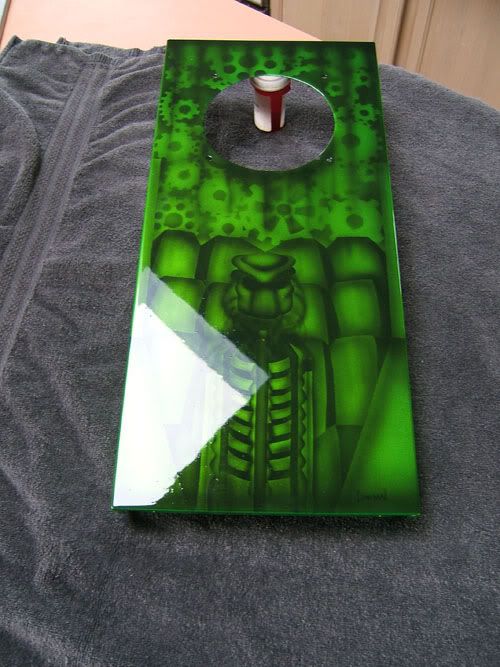
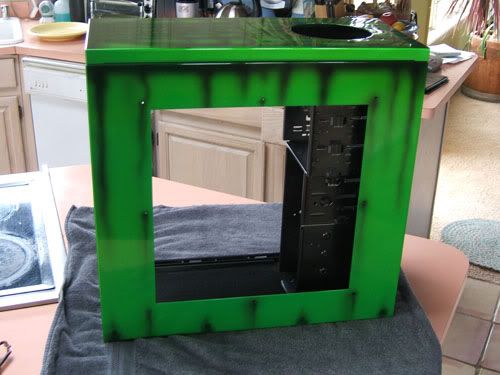
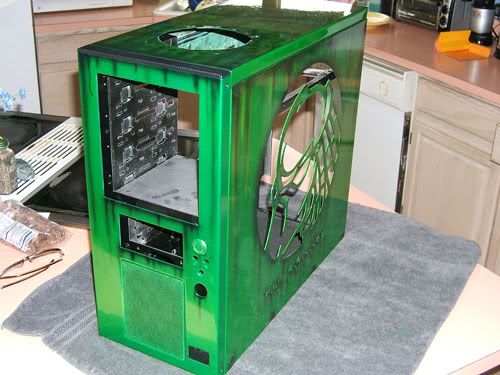
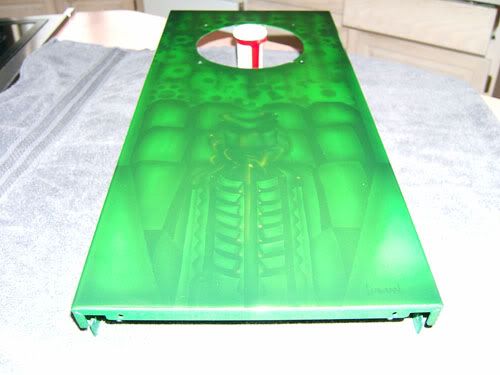
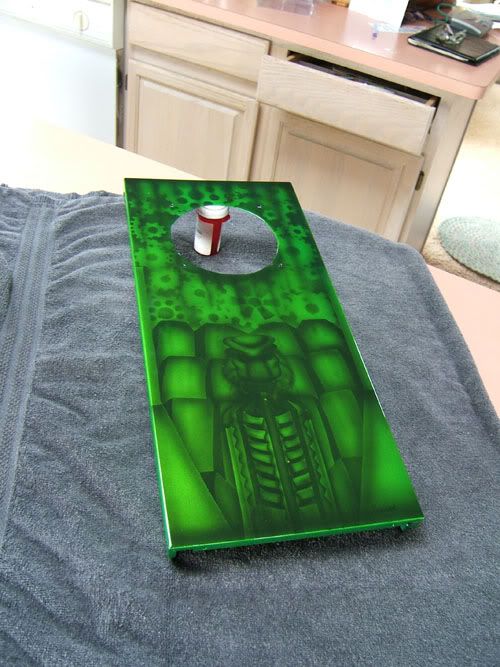
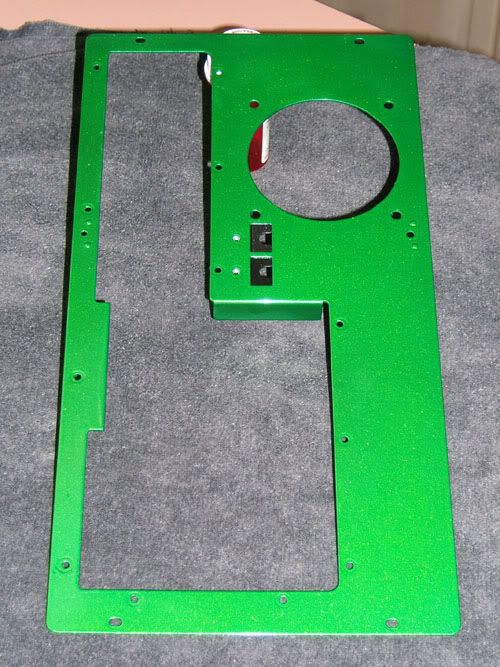
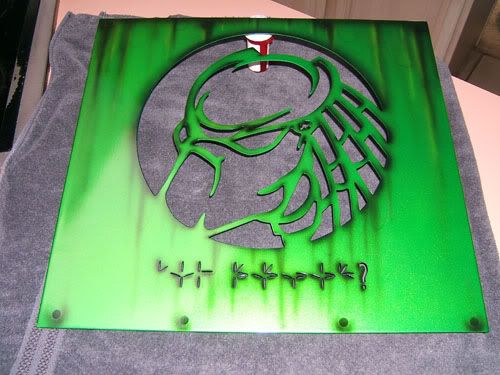
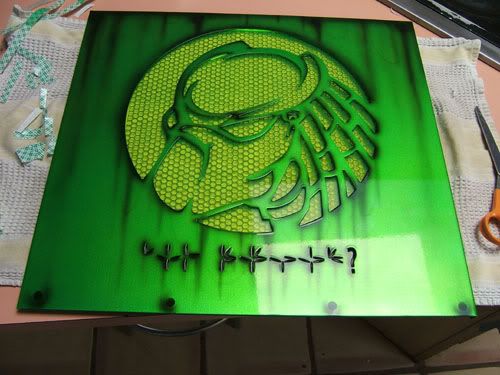
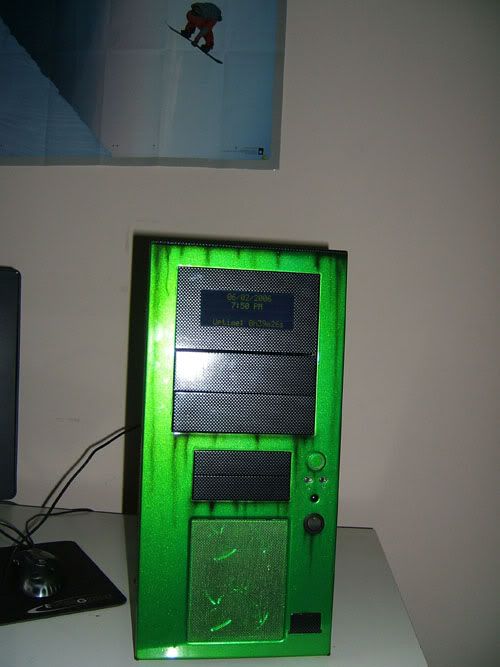
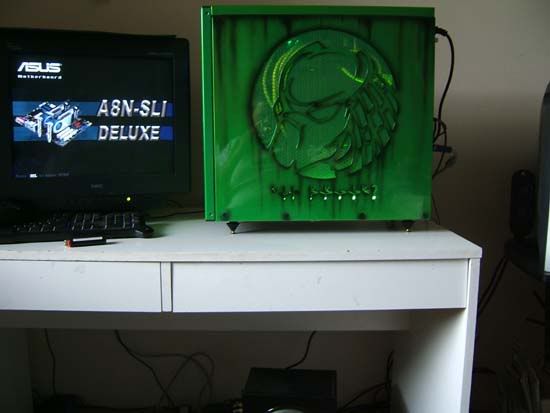
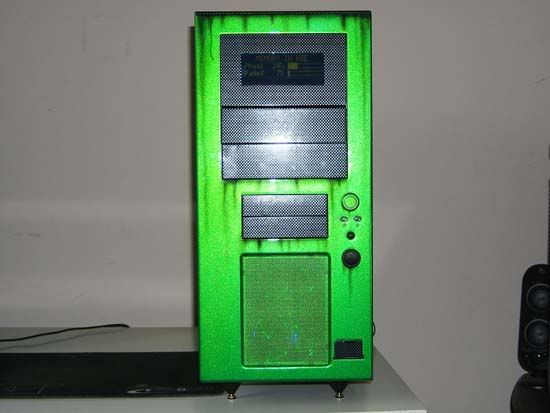
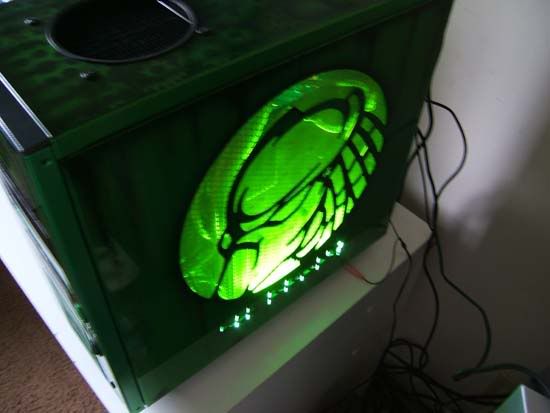
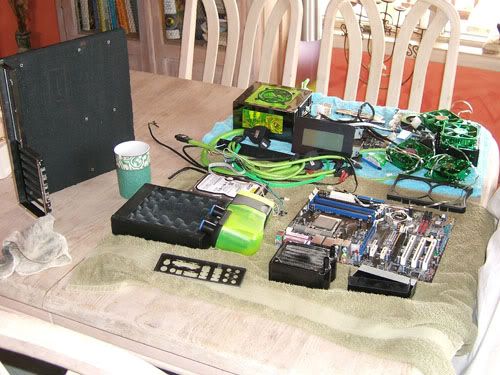
Well here is an update. I stripped the case down totally. Rivets included, and painted the cage once again. My friend Joey hit it with a sweet paint job that i dig and dig the more i see it. I need to wait two weeks for it to cure i believe, before i can hit it with the buffer. Its already a mirror finish and hasn't even been buffed. Here is an update of what is going on. Be sure to stay tuned for an awesome conclusion. I havent snapped any photos with the carbon fiber drive stealthing just yet because i dont want to give the entire look away until it is done. Anyways hope these keep you in suspense
Argh haha
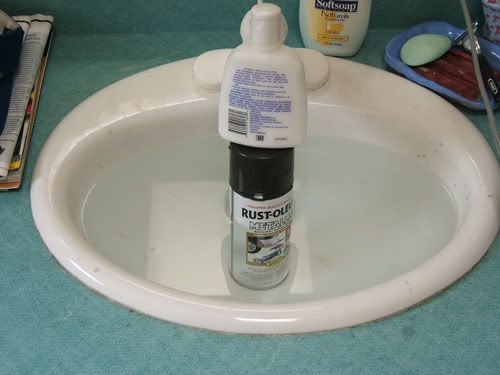
Paint warming up
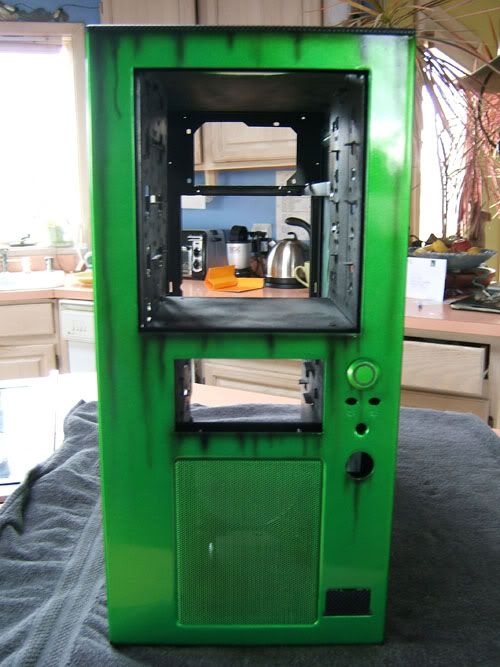
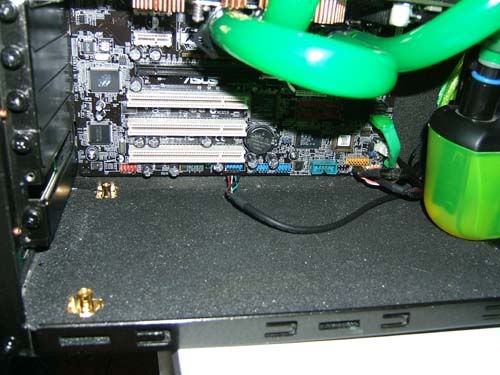
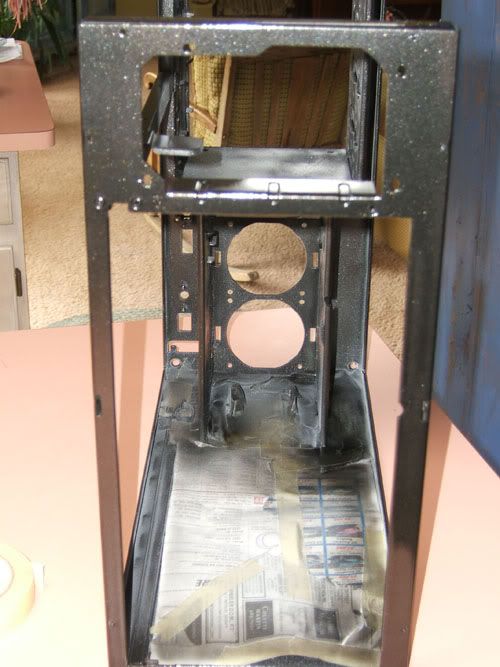
Masked and news standed to keep paint of sound retention foam.
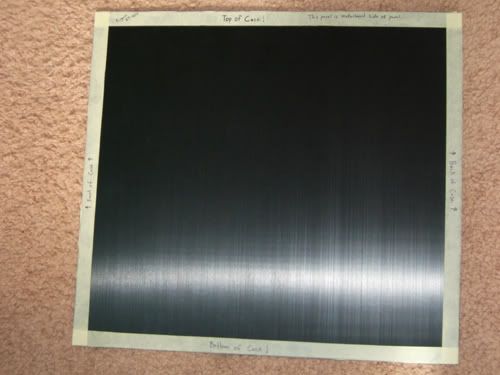
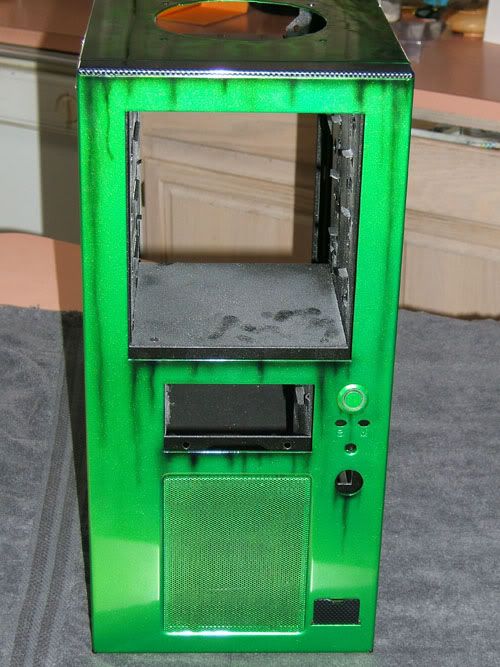
About four coats on the cage of black metallic paint.(5 coats of clear followed)
With newspaper after painting
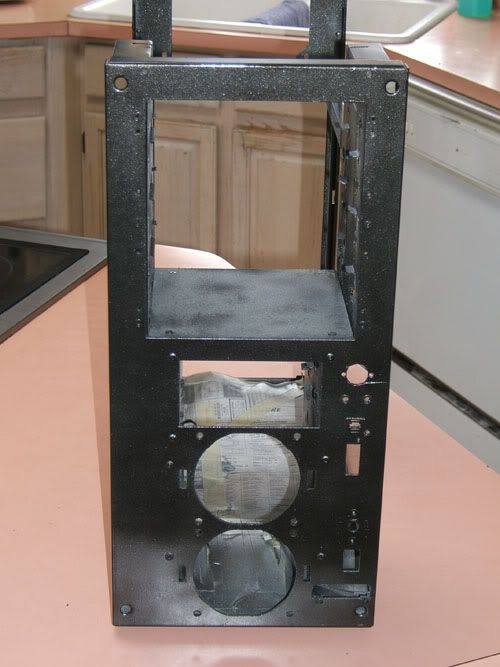
with newpaper aswell
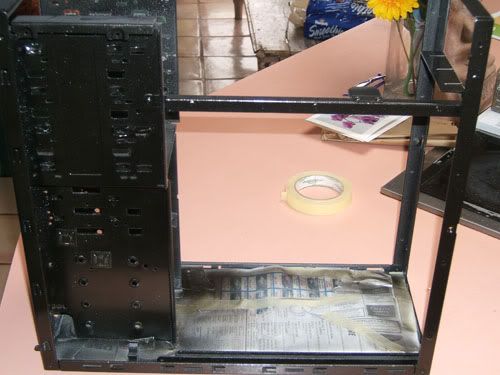
With newspaper again haha
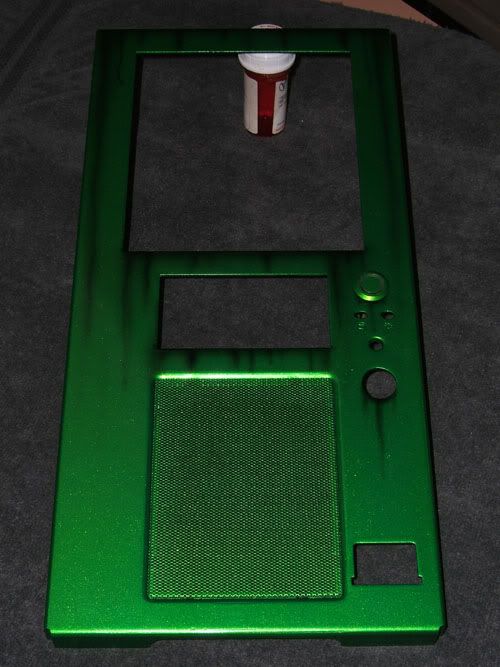
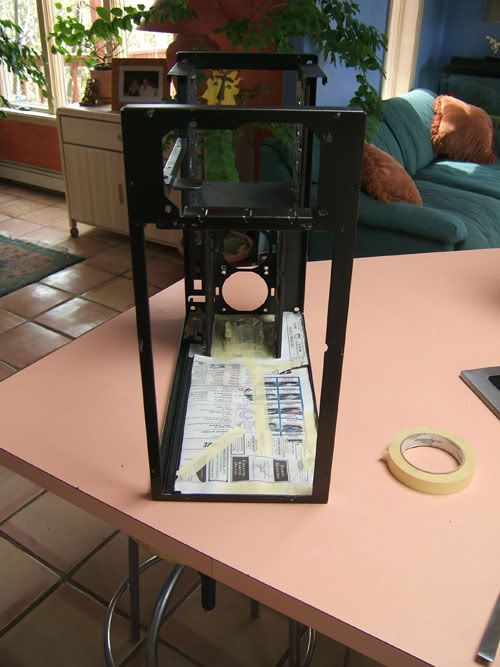
Pre-Paint


 Reply With Quote