Hello everyone, its' been awhile since I've posted here, but now I'm back with a new project! I'm already about six weeks into it, so I'll be adding several posts initially to get caught up. So here we go...
February 27th
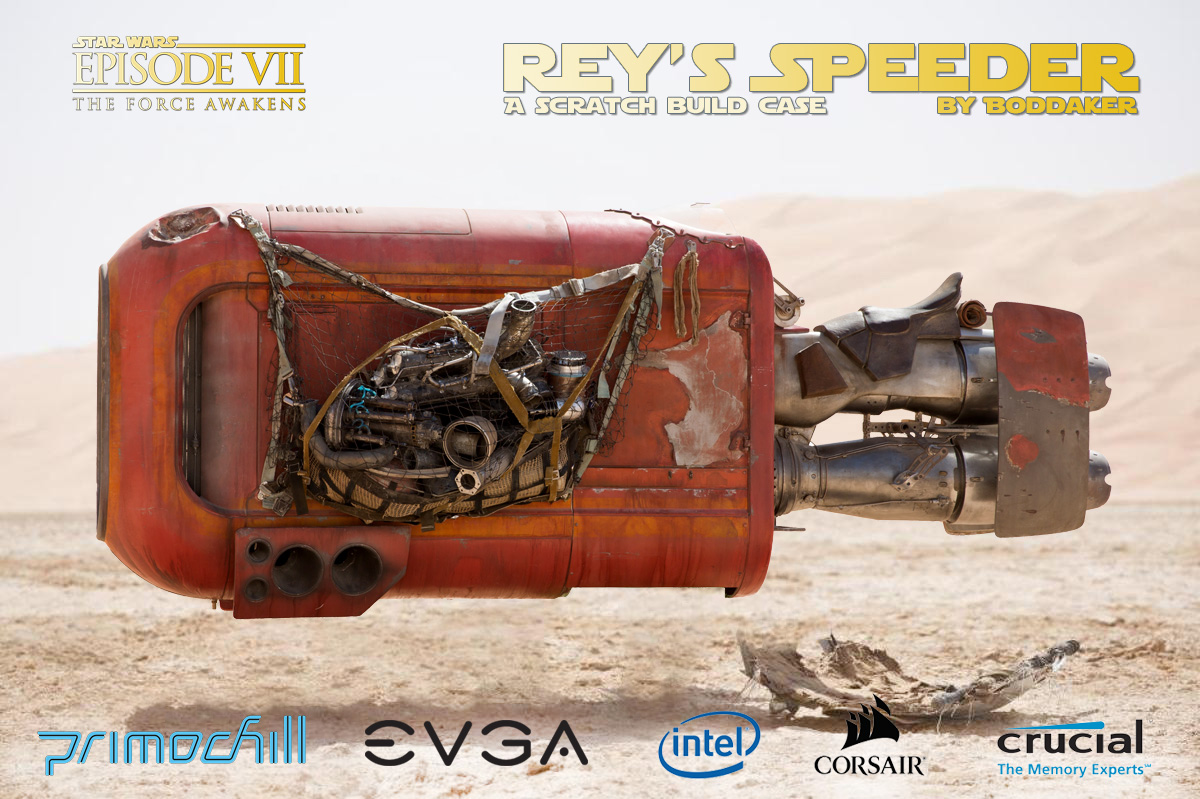
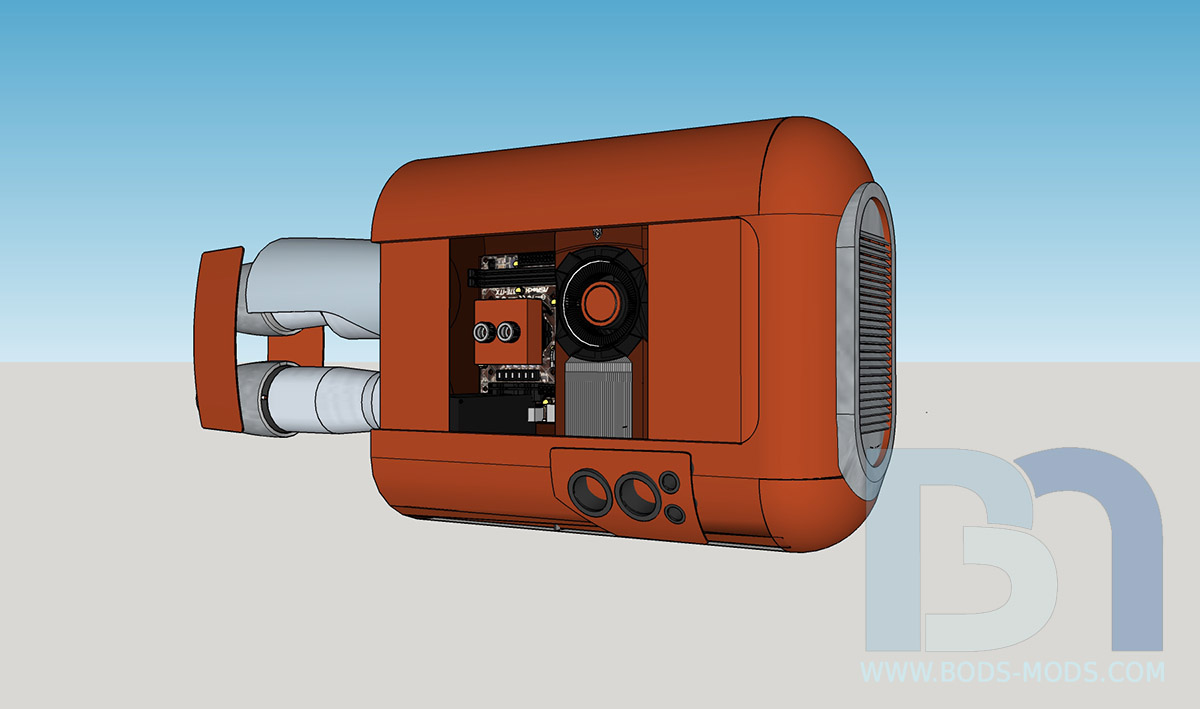
I'm bringing you a new scratch build project that I've been wanting to do for awhile now. I'll be making Rey's Speeder Bike from Star Wars: The Force Awakens. And as luck would have it, Cooler Master's case mod contest was just announced, so I thought I'd enter! So without further ado, let's get started!
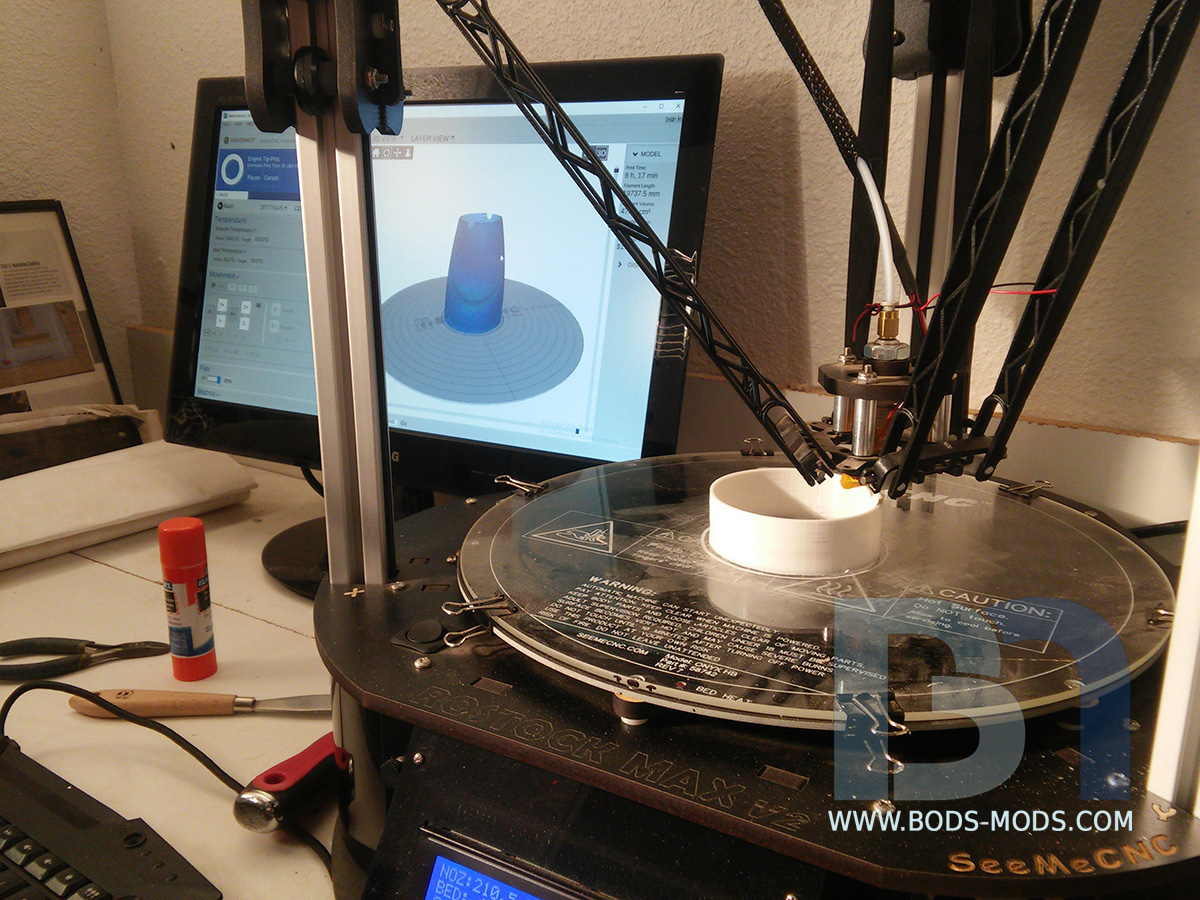
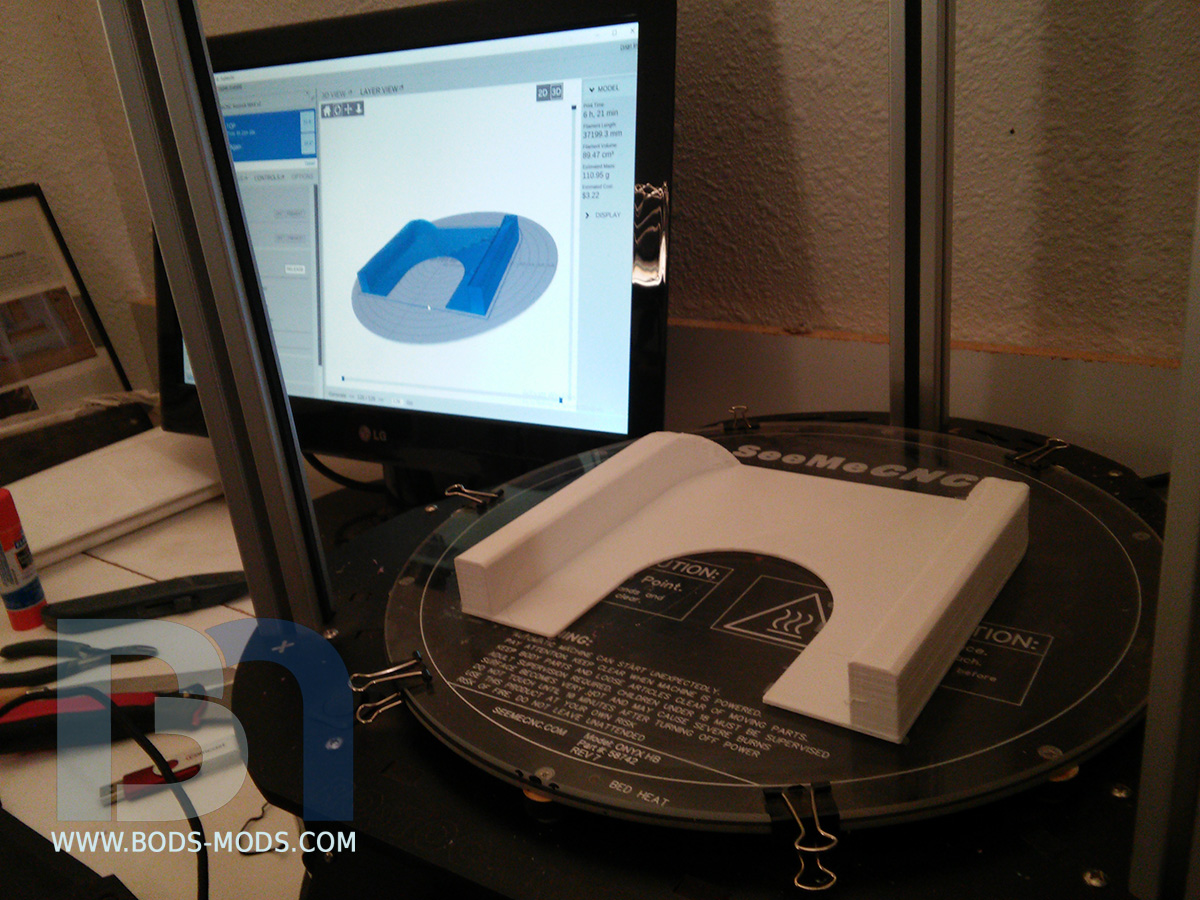
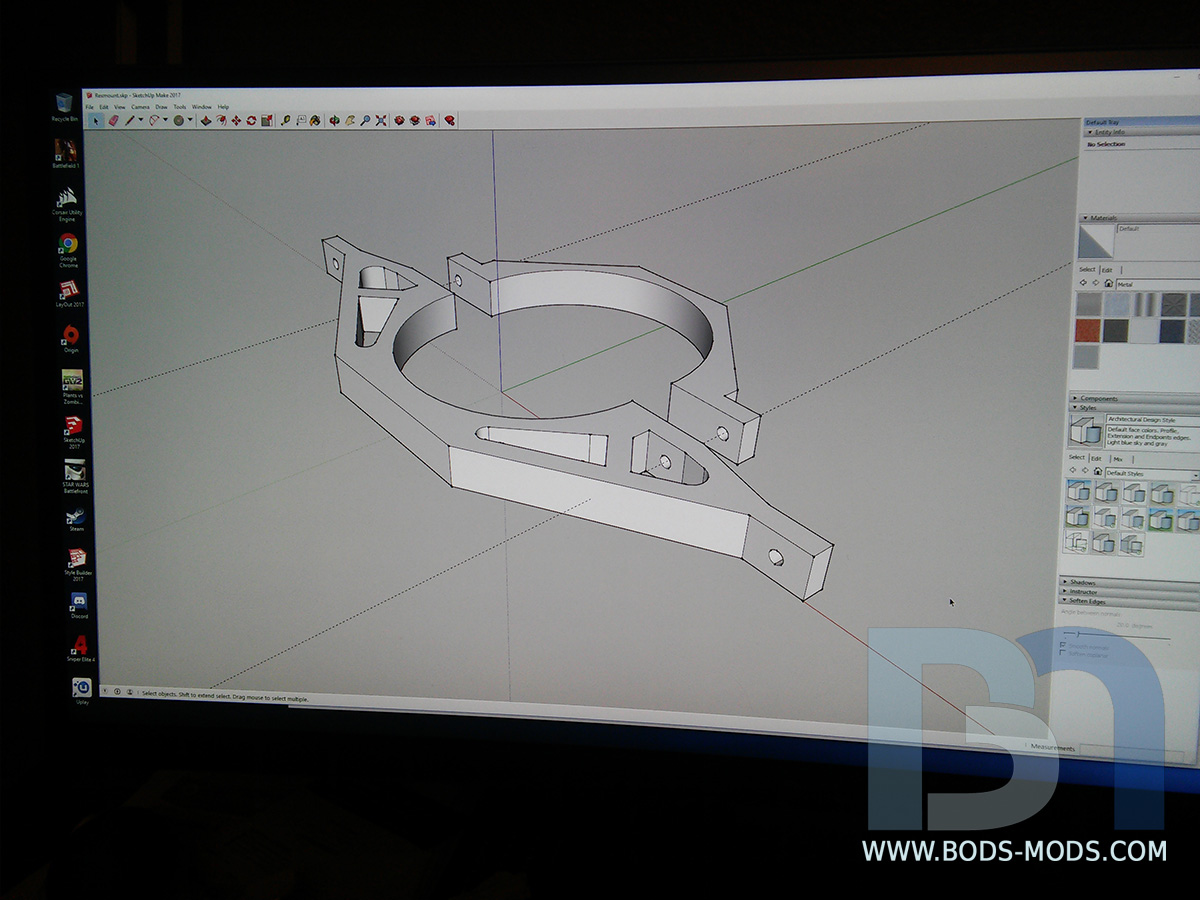
About a year ago, my family and I went to Disneyland, and they had lots of Star Wars props on display, including a life-size speeder that Rey used. As soon as I saw it, I knew it would make a great themed case. I took a bunch of reference pics while I was there, and I also scoured the web for more. Using those pics for scale, I whipped up a quick model in Sketchup to figure out component placement and get an overall sense of size.
-----------------------------------------------------------------
Hardware List:
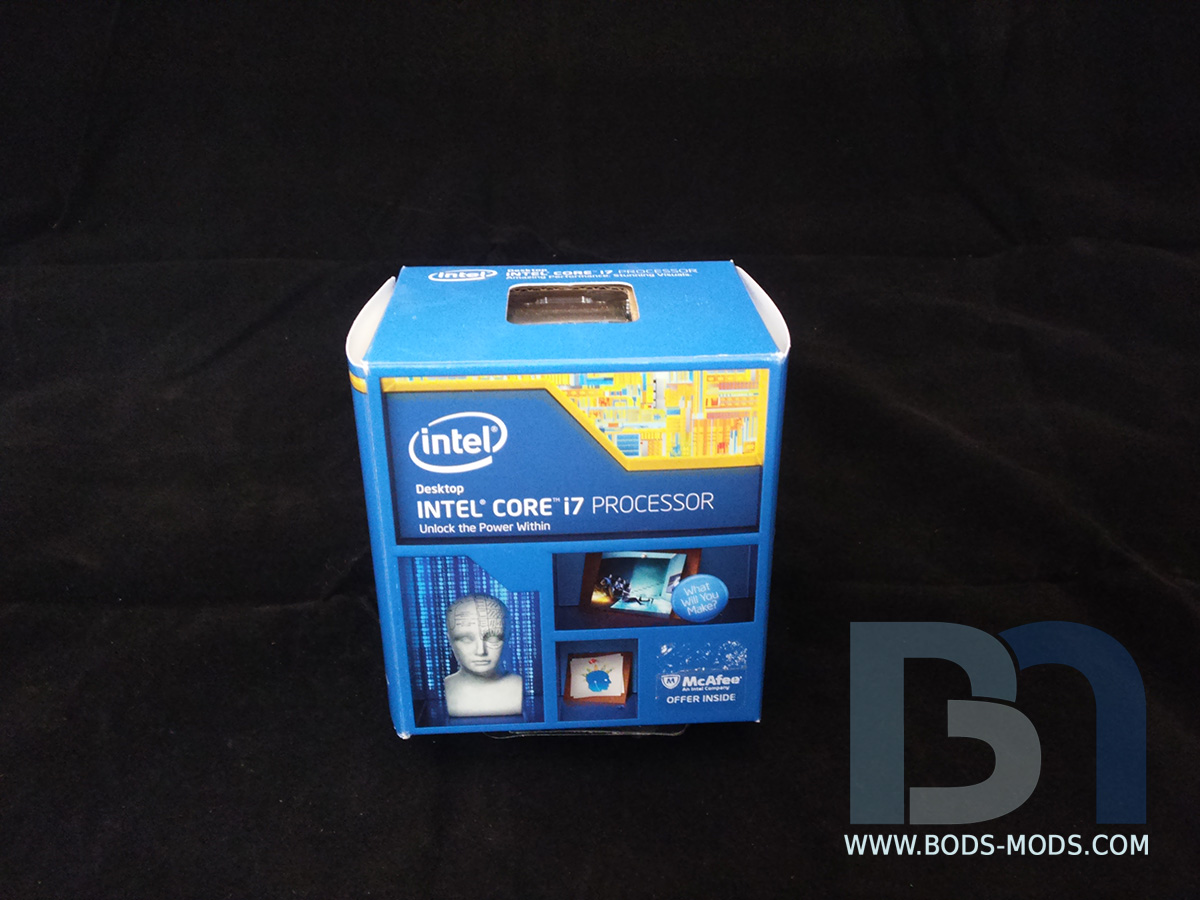
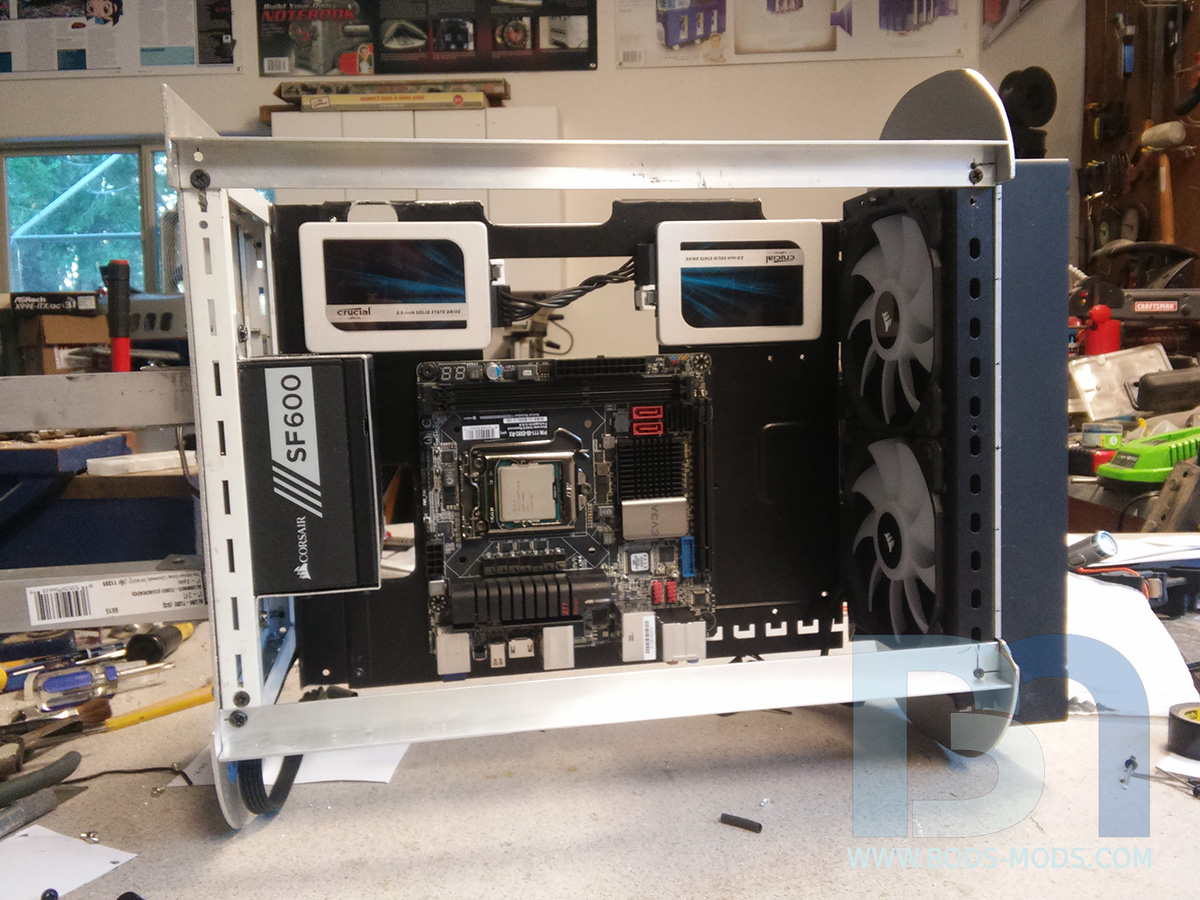
Processor - Intel i7 7700K
Motherboard - EVGA Z270 Stinger mITX
Memory - Crucial Ballistix Elite DDR4 16Gb kit
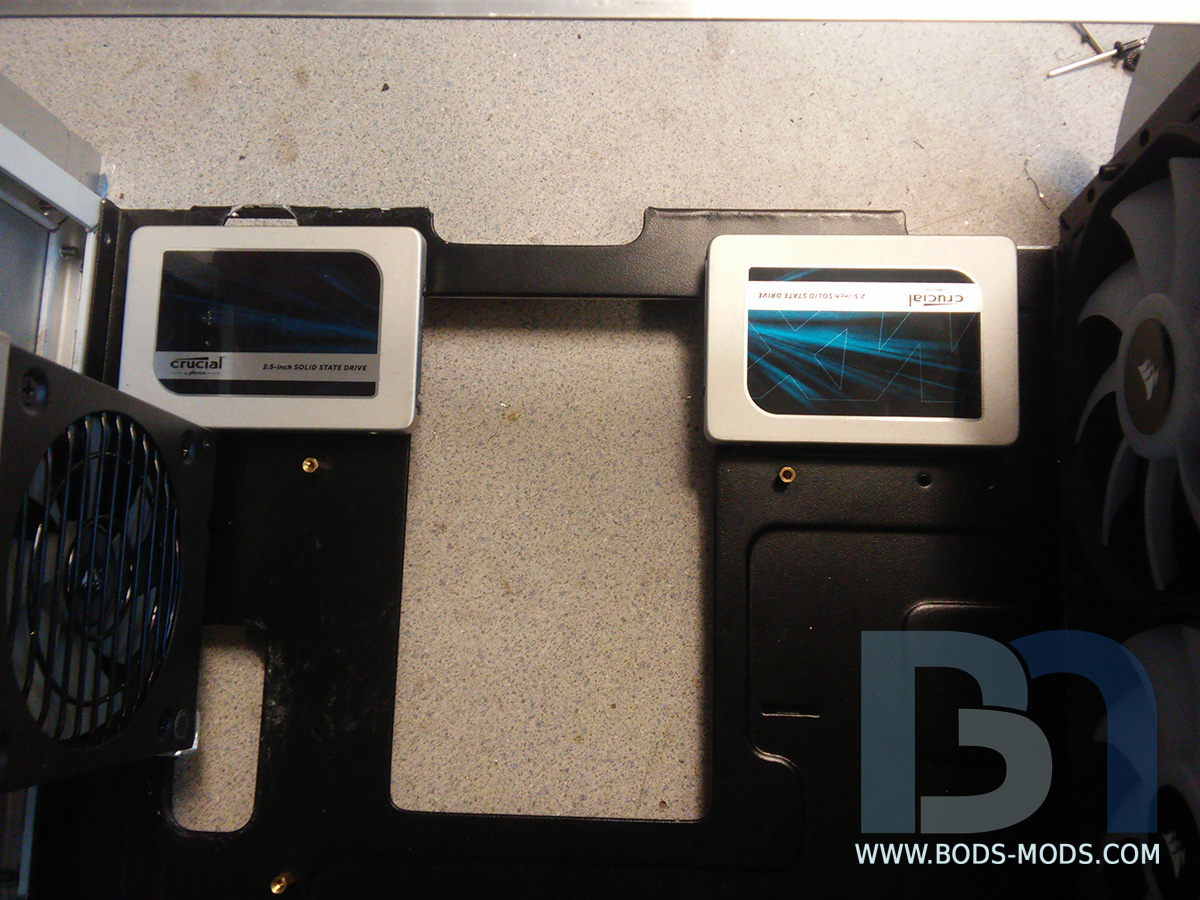
Storage - Crucial MX300 SSD 525Gb x2
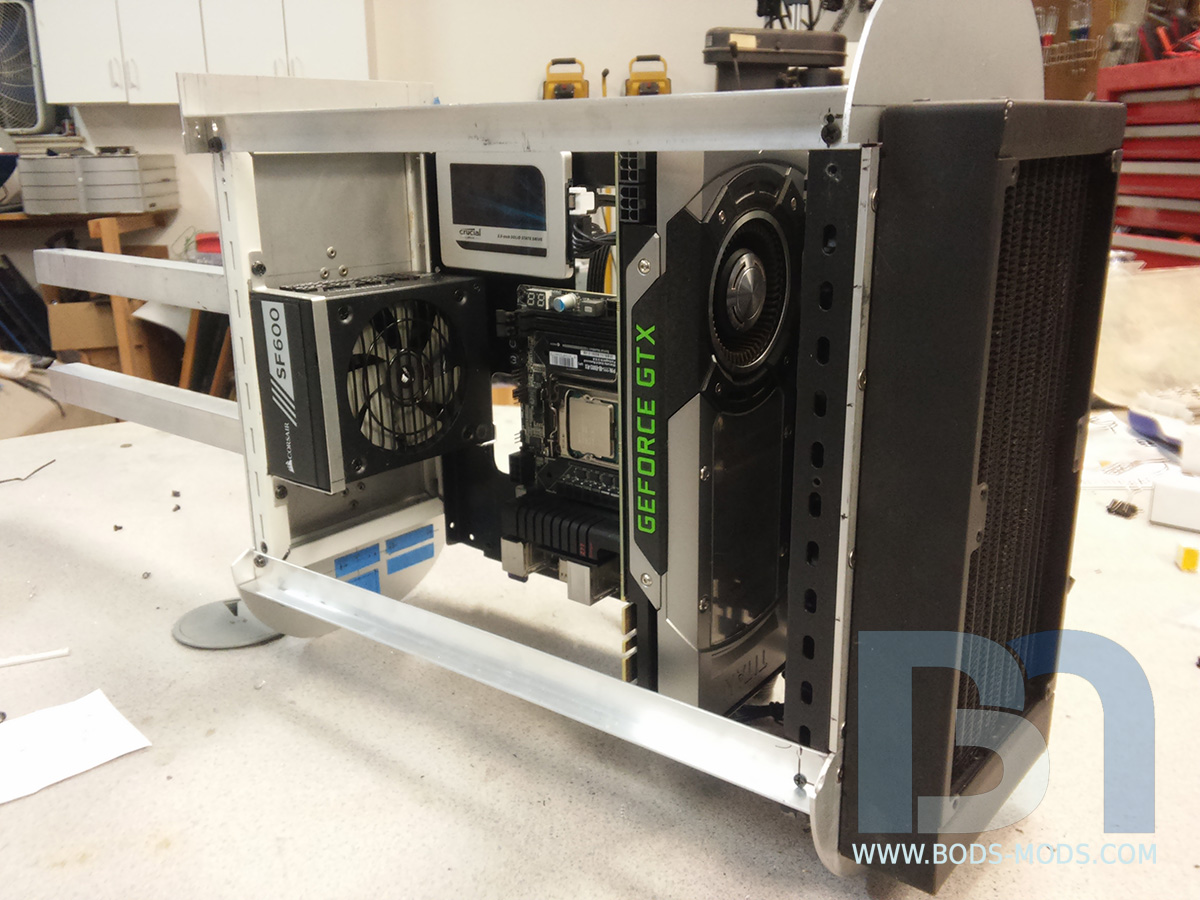
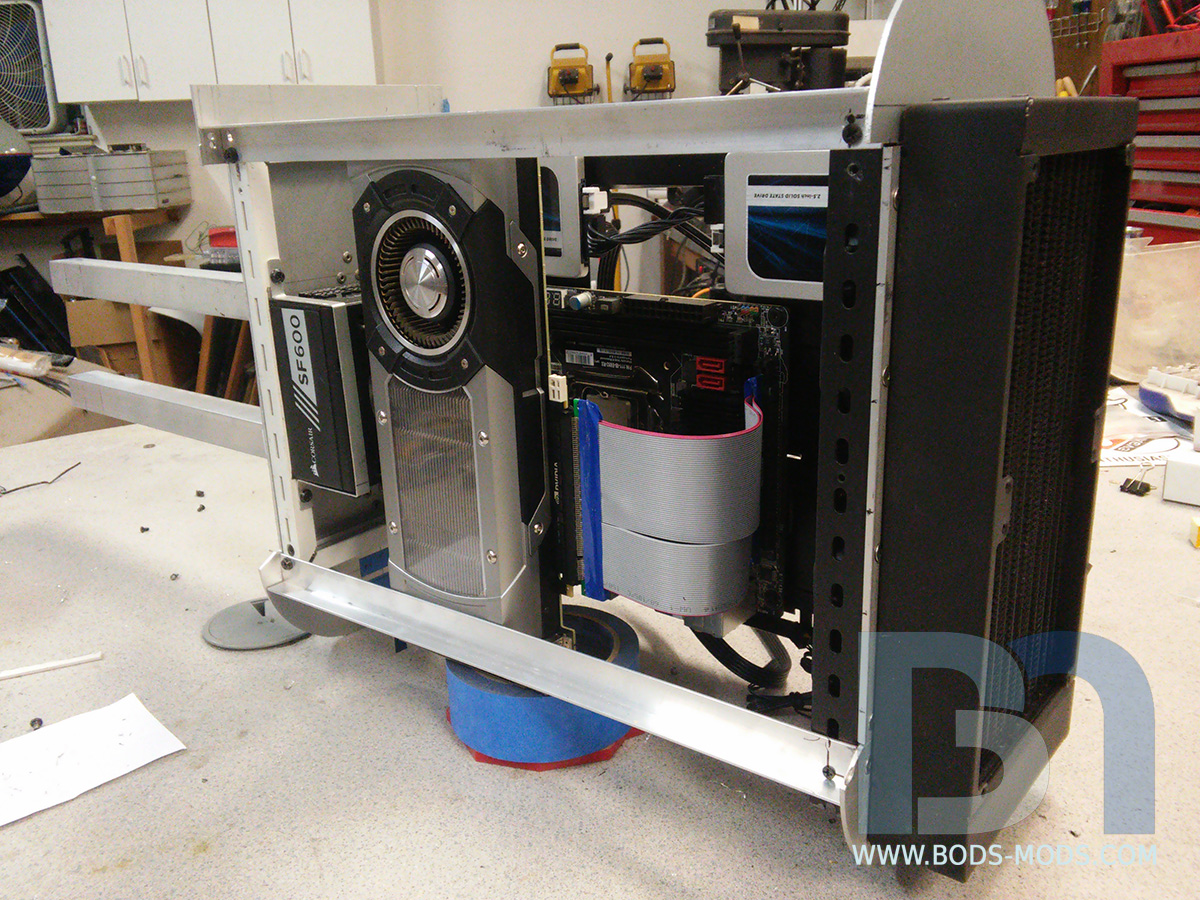
Graphics - NVIDIA GTX1080ti
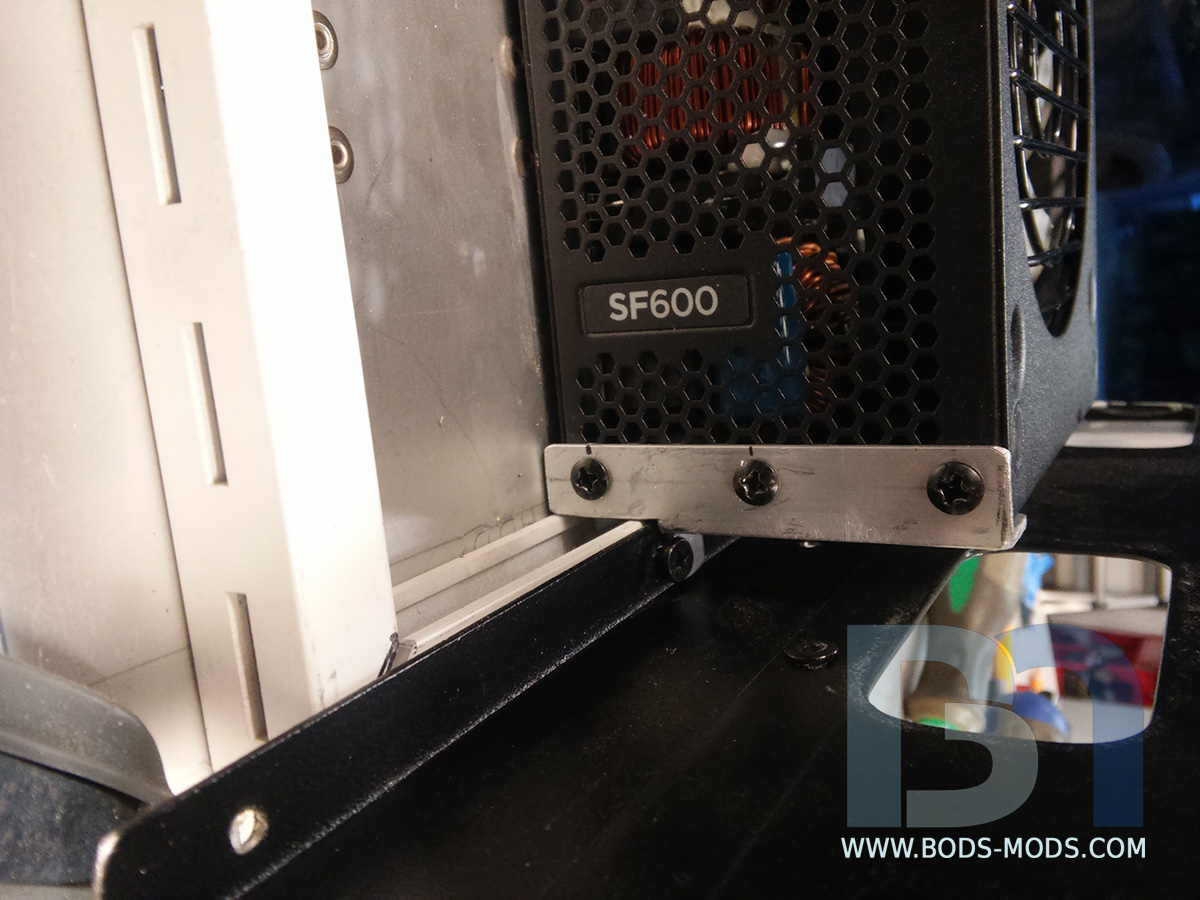
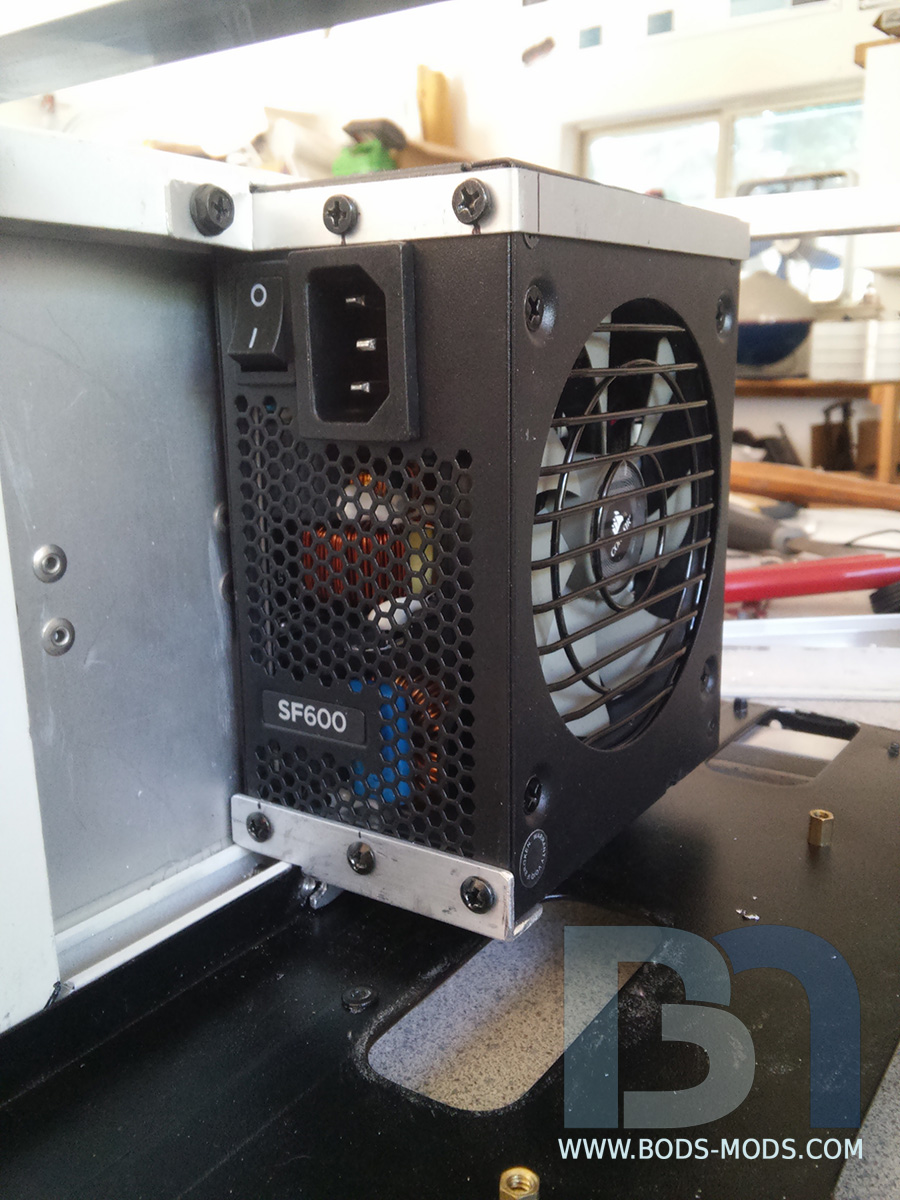
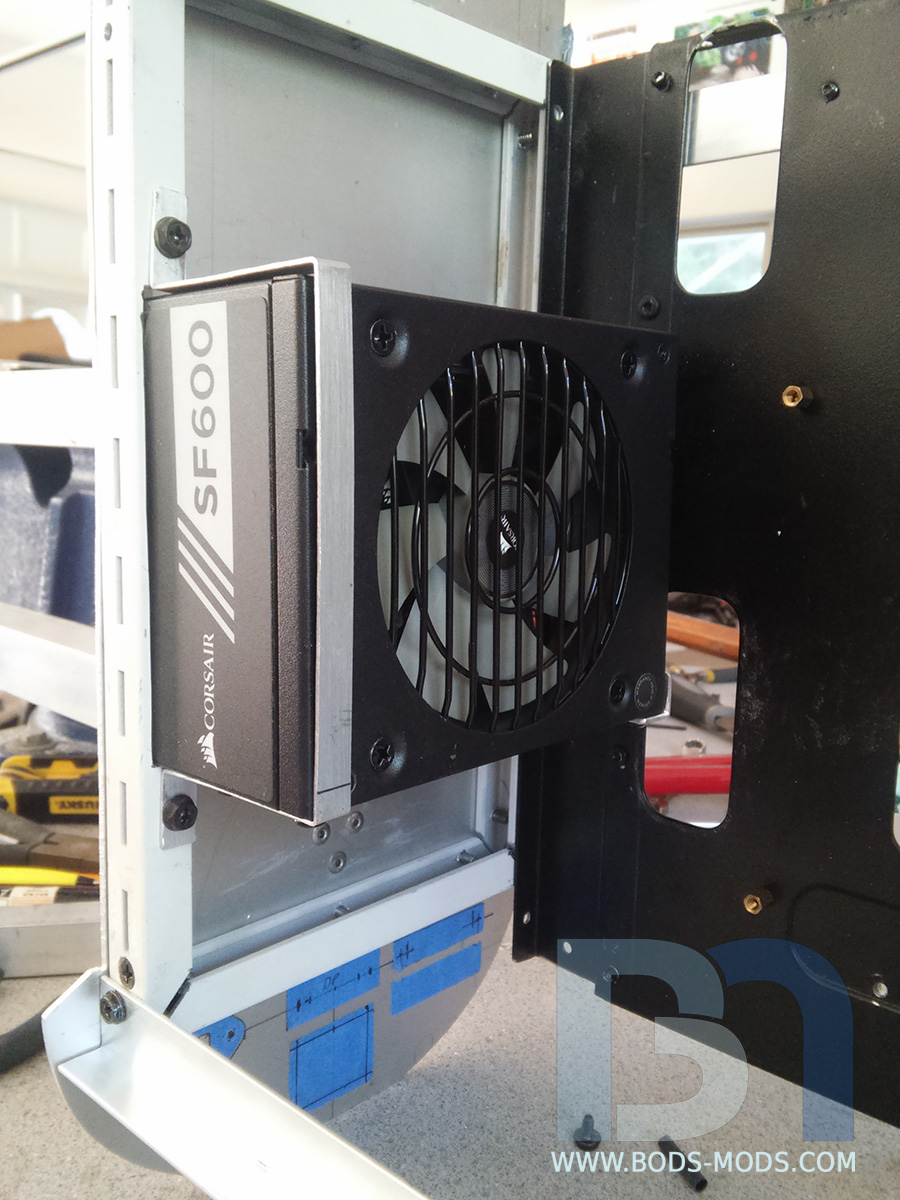
PSU - Corsair SFX 600w
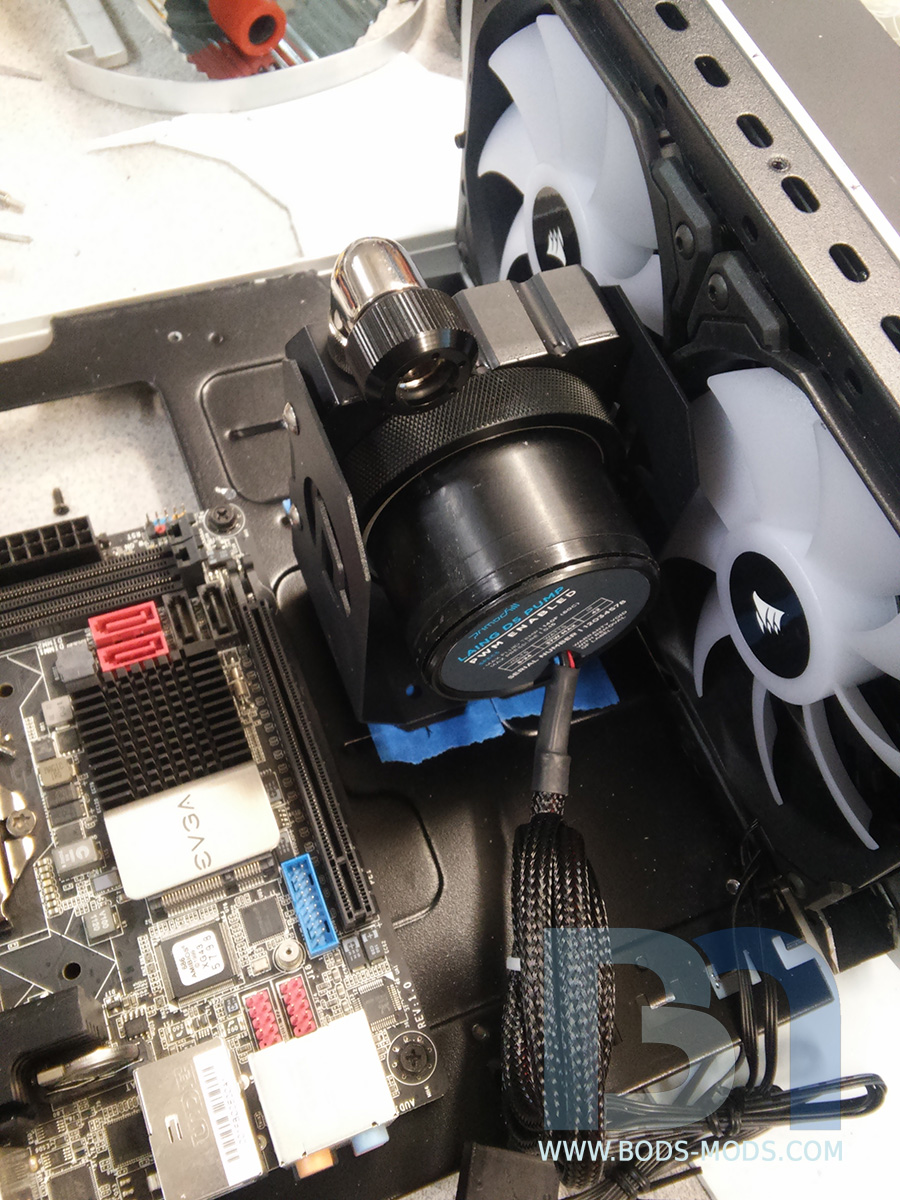
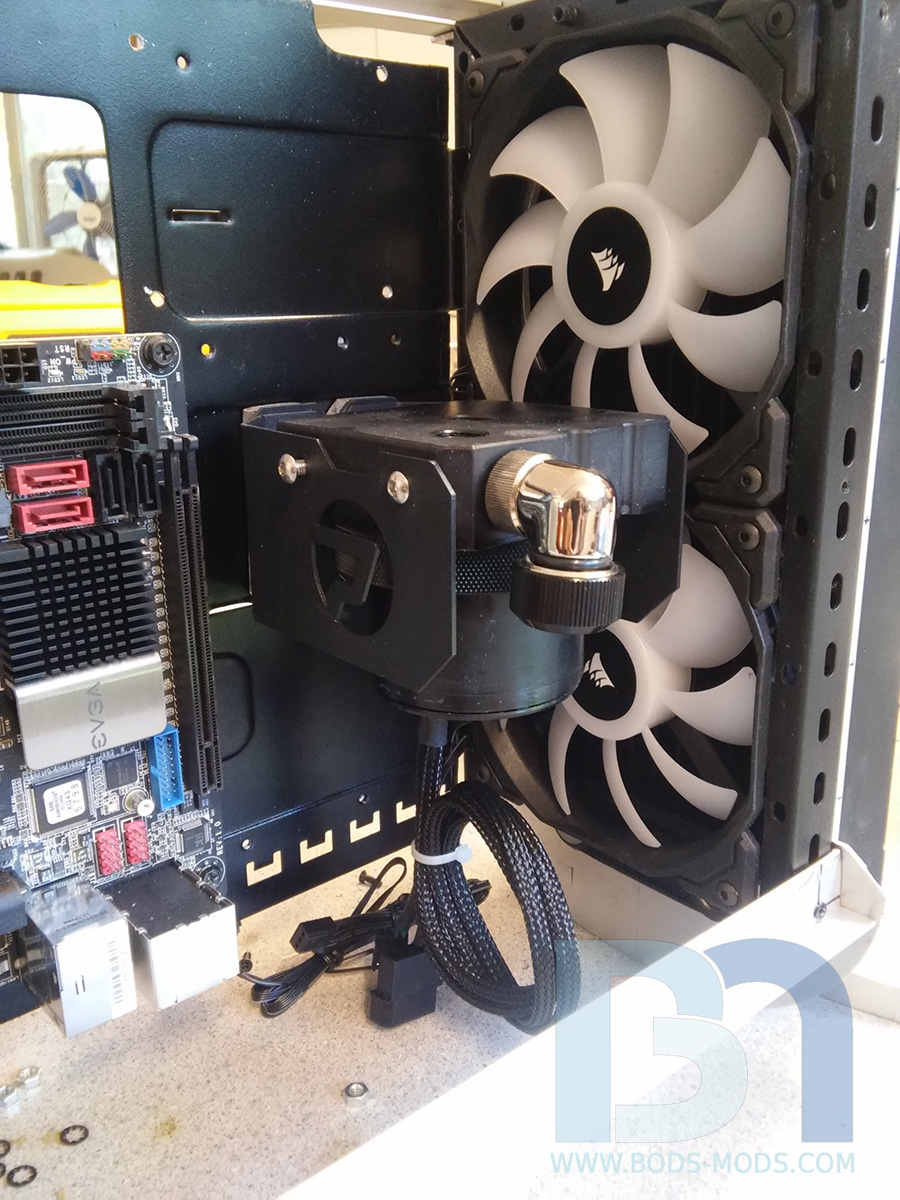
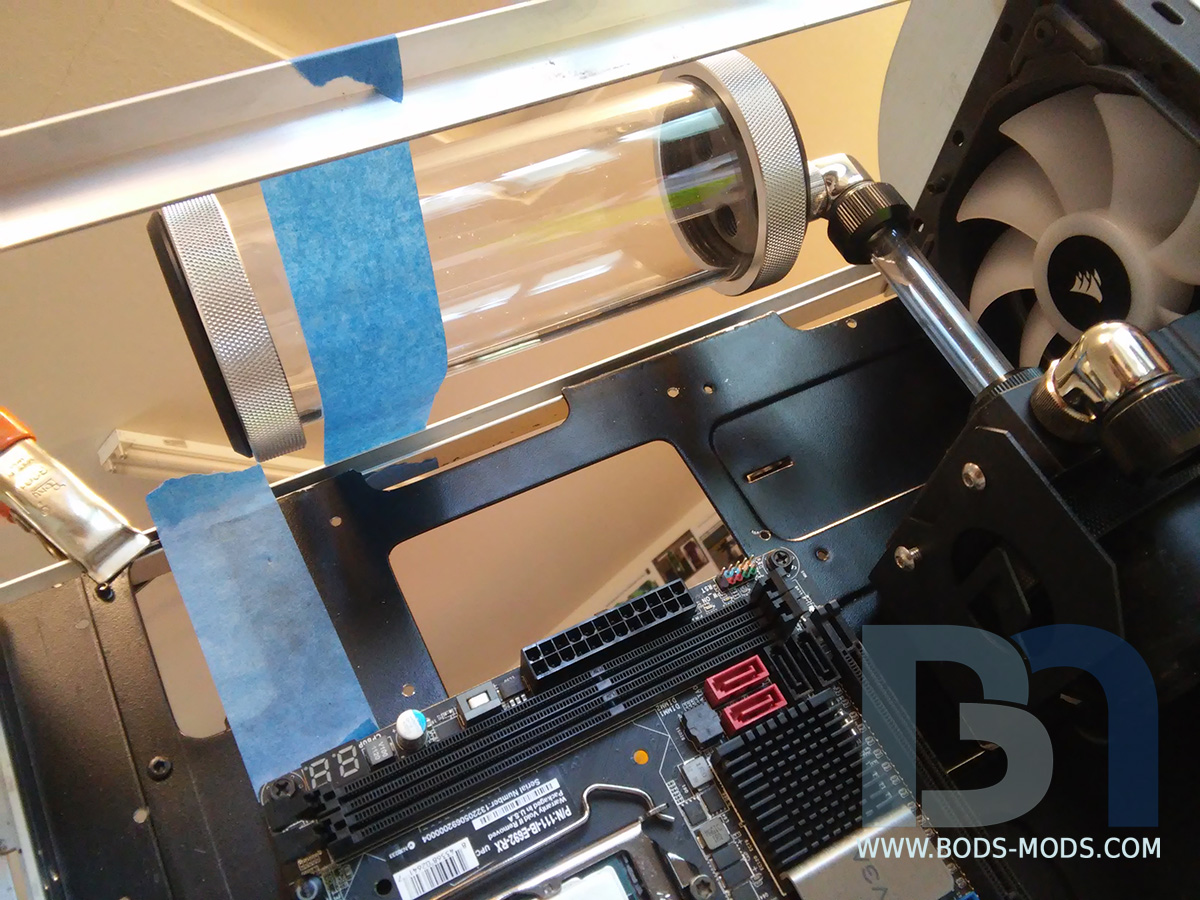
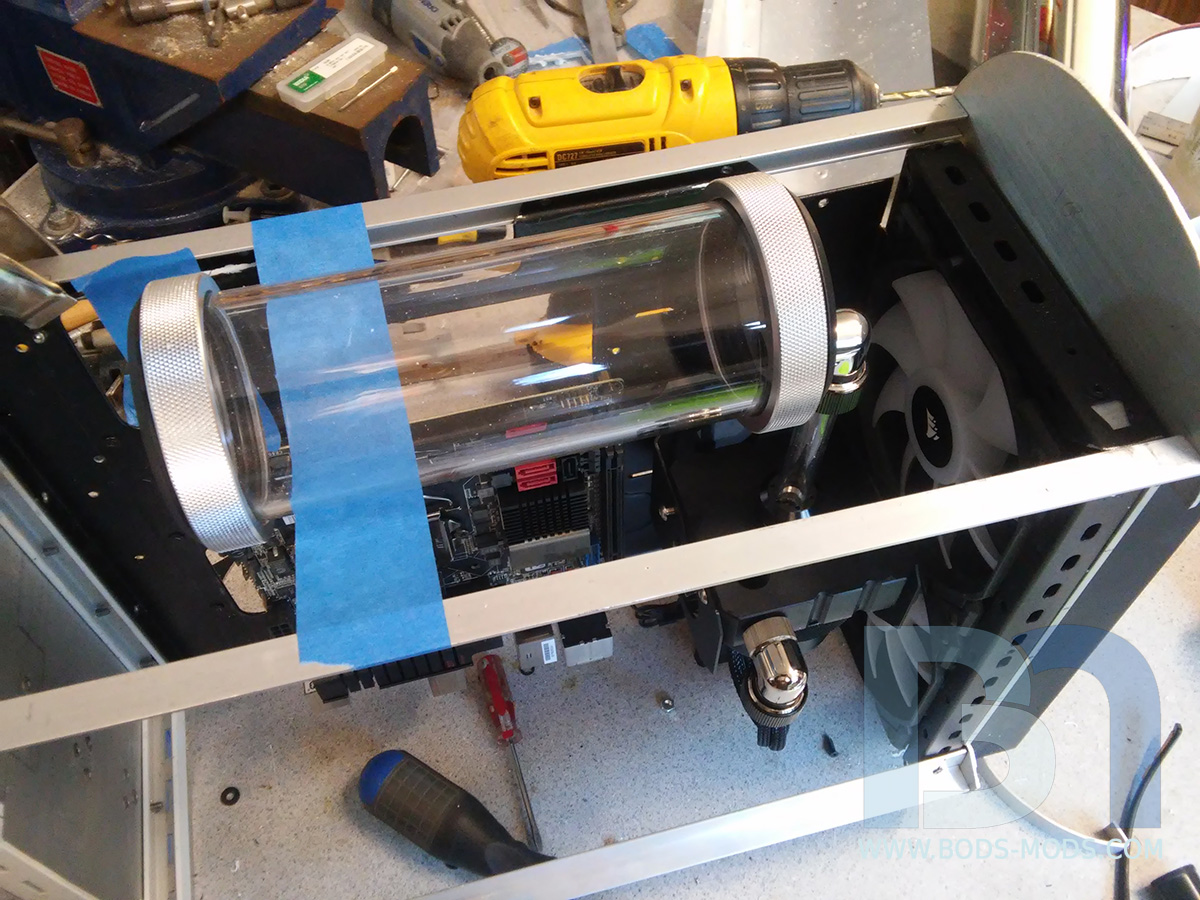
WC - Primochill tube, fittings, pump-res, cpu block
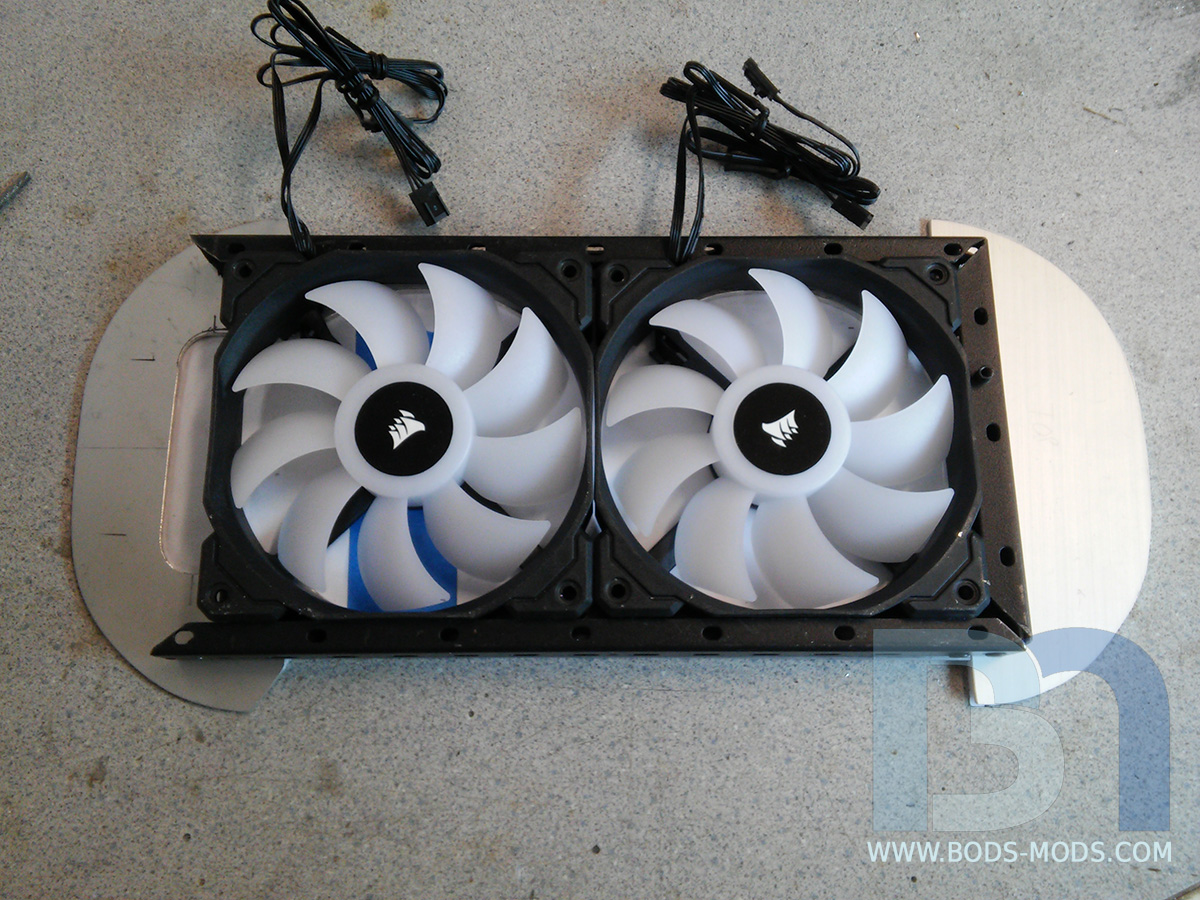
Peripherals - Corsair RGB Strafe keyboard, M65 Pro mouse, RGB fans, RGB Node Lighting kit
Qualifying product - Cooler Master XtraFlo 120mm fan
-----------------------------------------------------------------
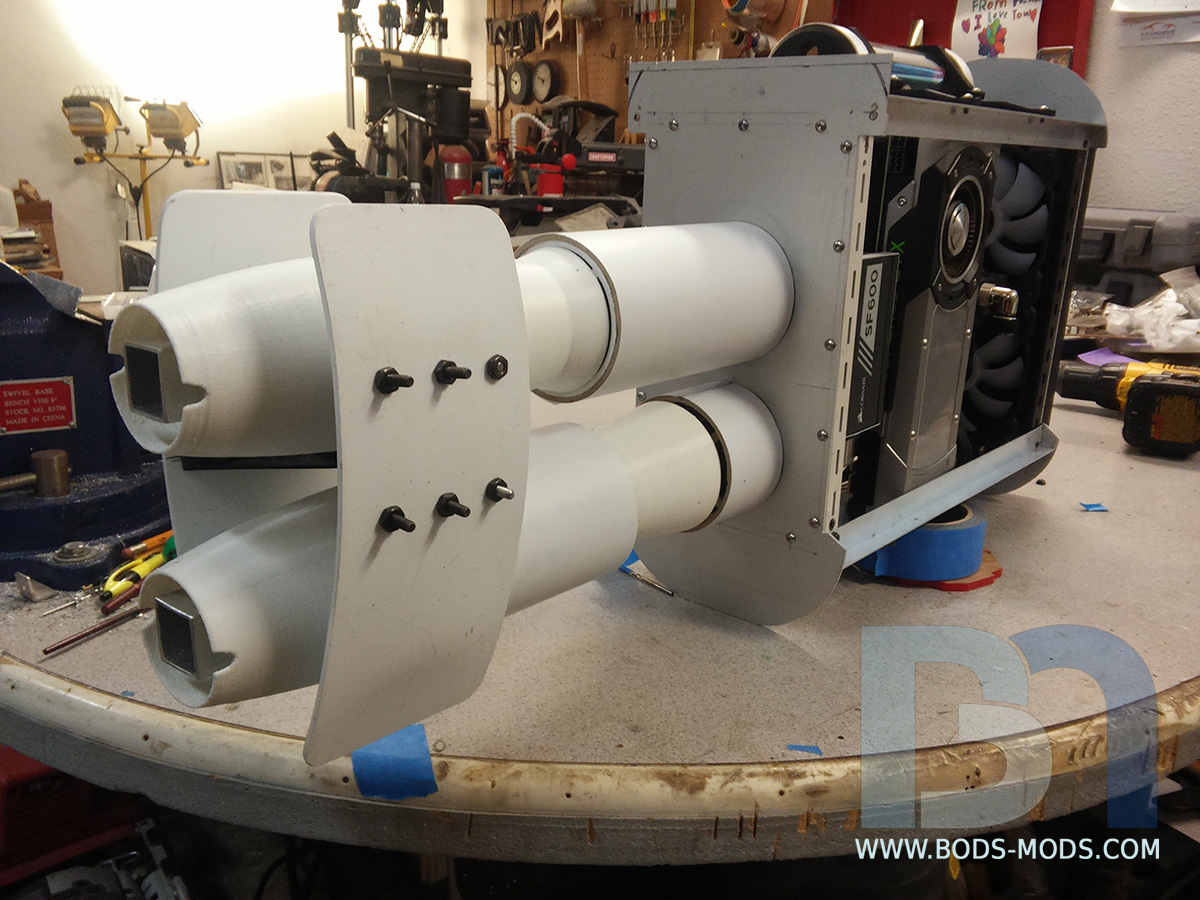
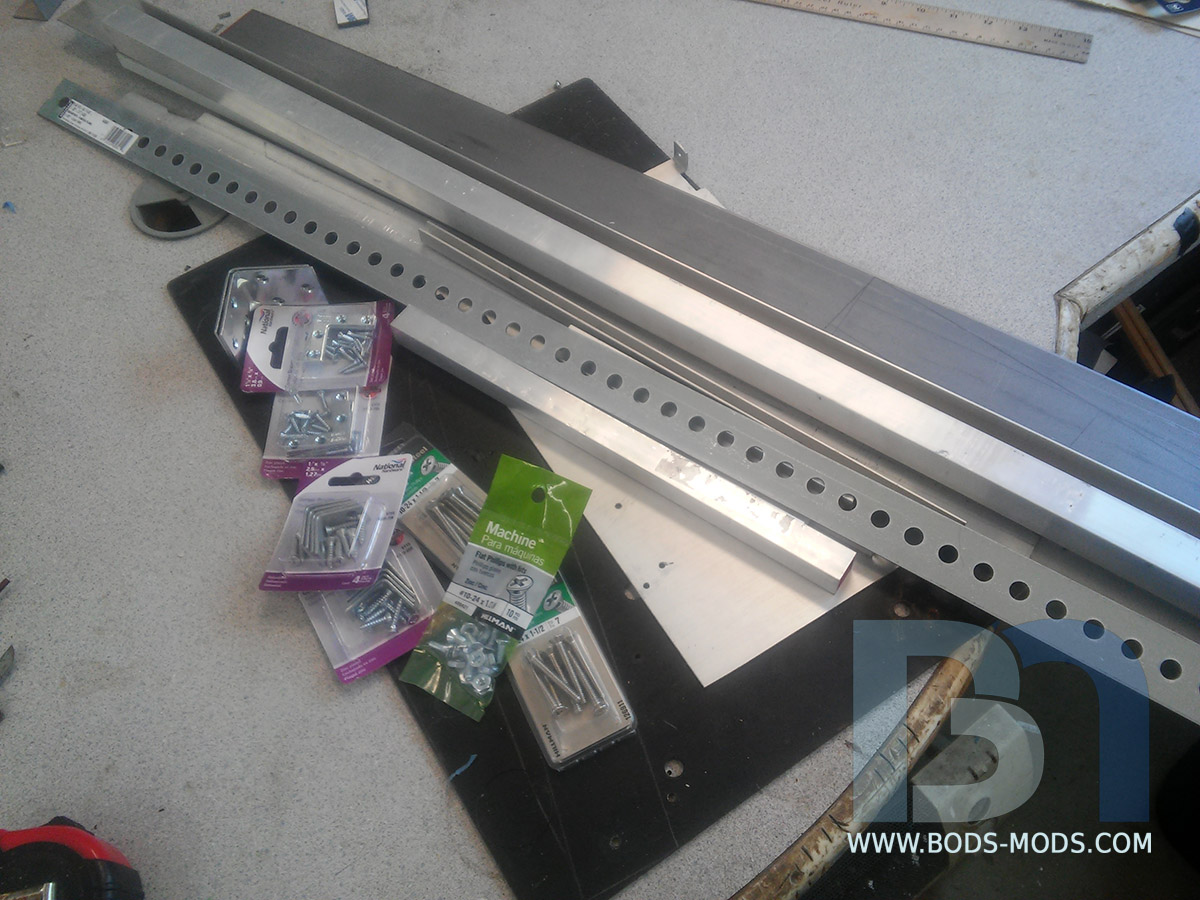
I'll be going with an ITX format, so the case will be fairly small and lightweight. For materials, I'll be scavenging pieces from my scrap pile as much as possible, much in the same way Rey constructed her speeder from scavenged starship parts.
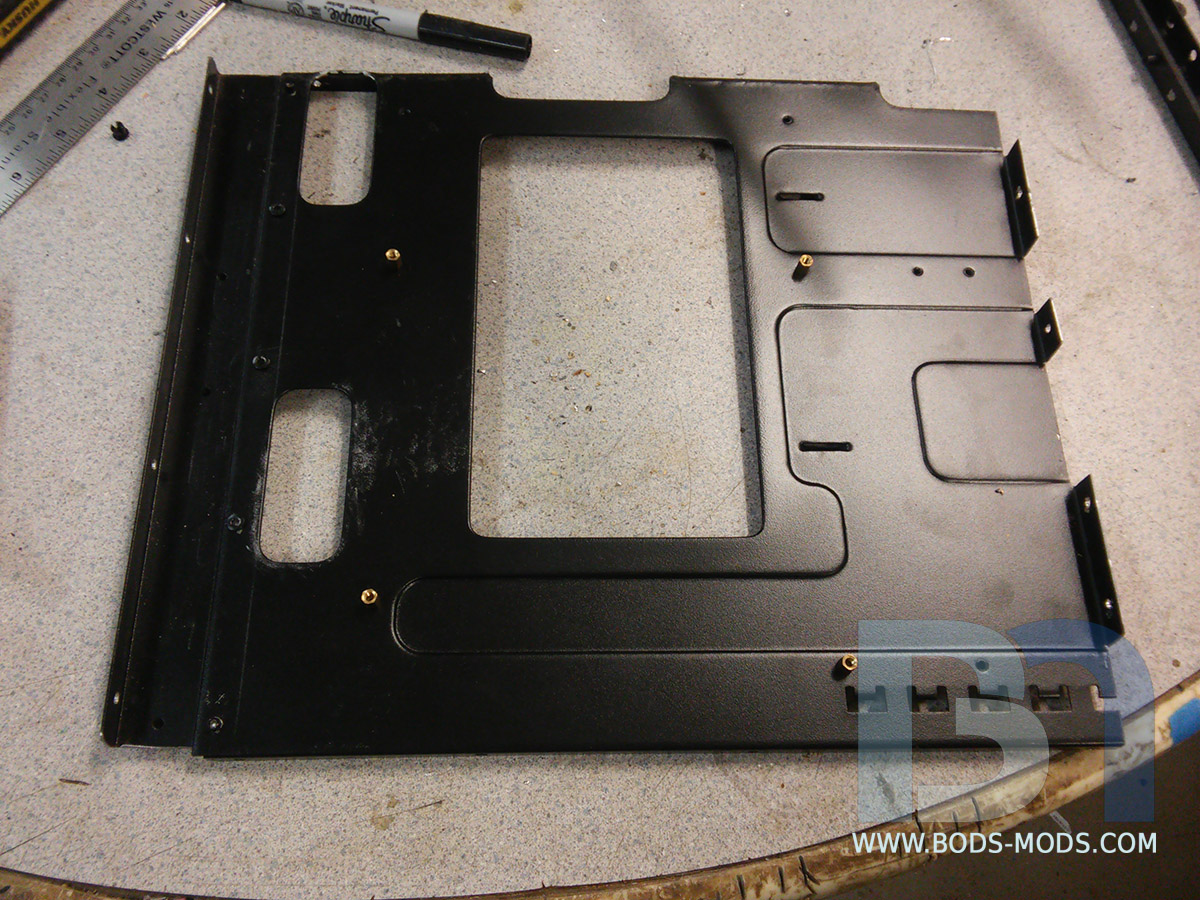
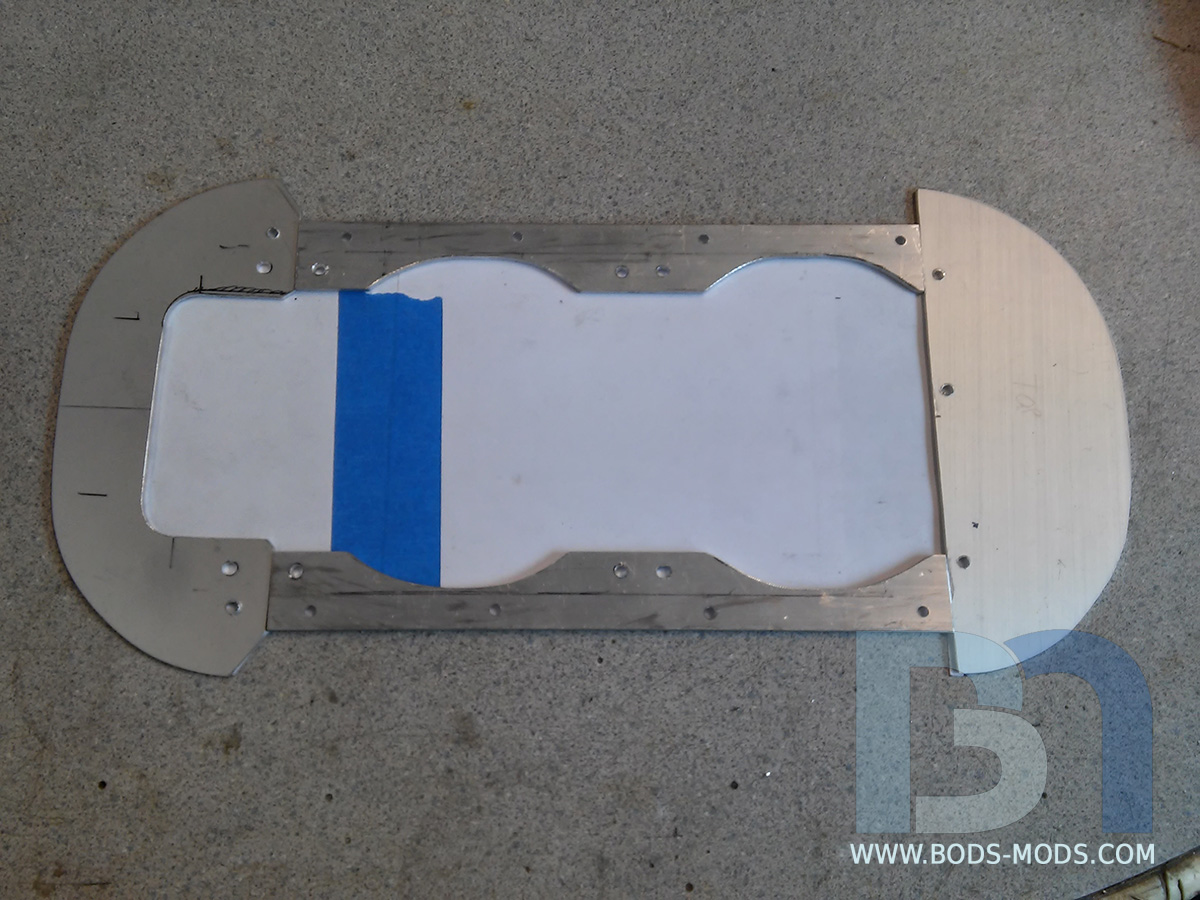
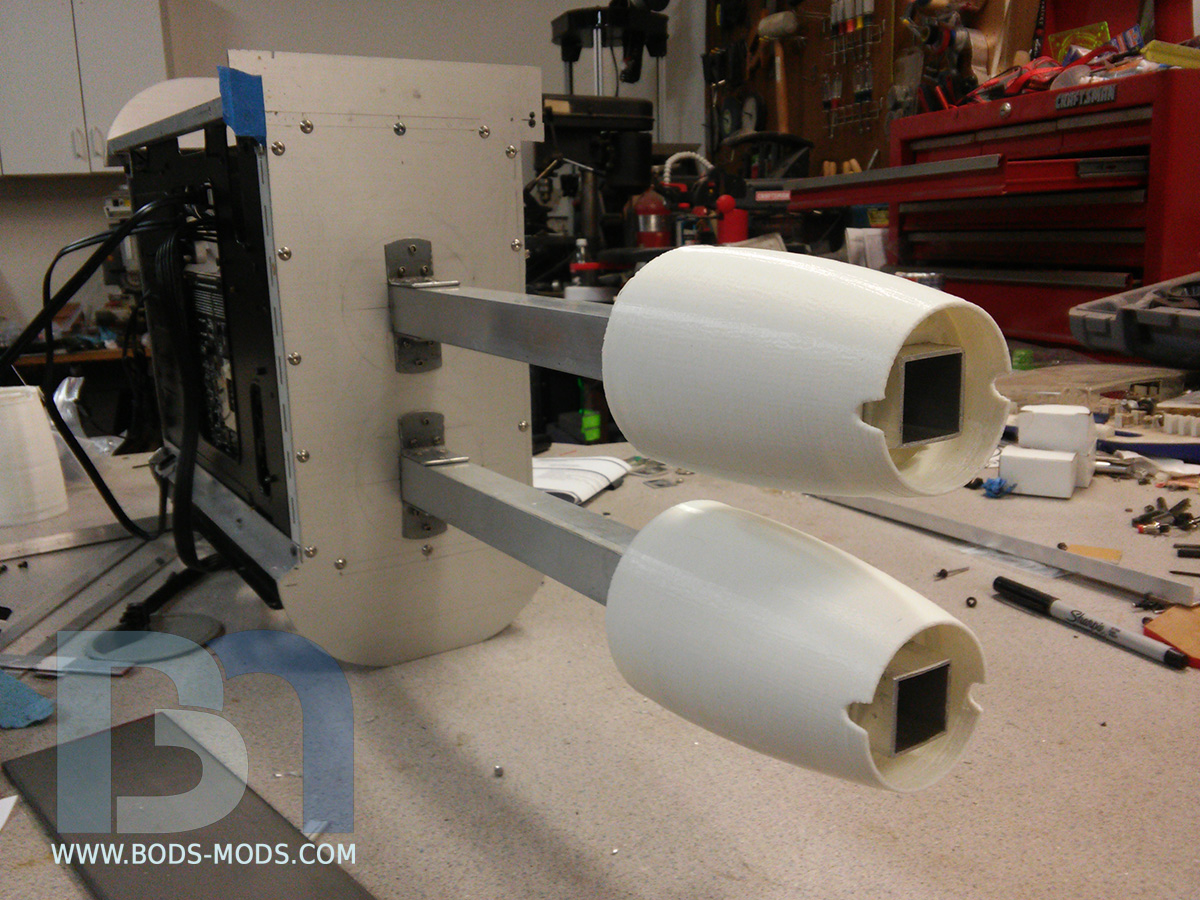
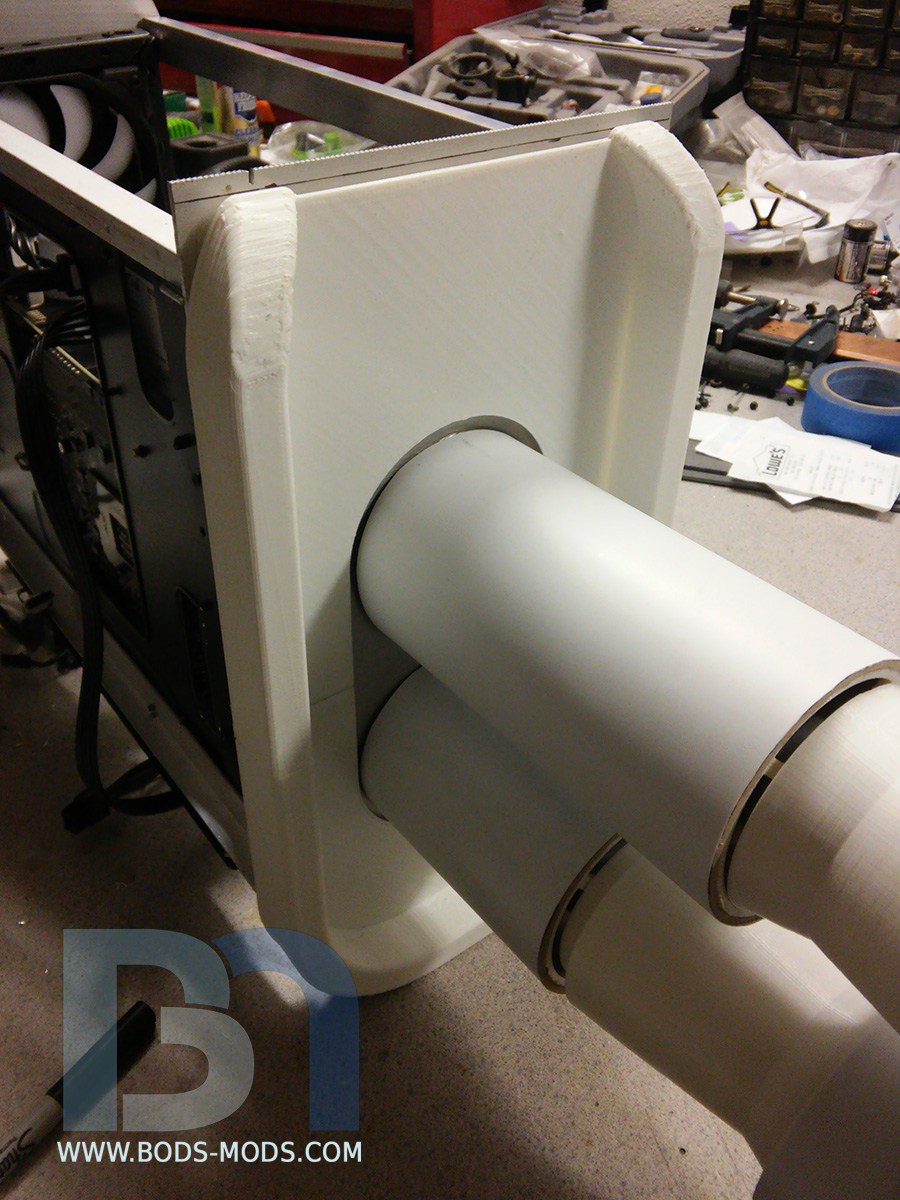
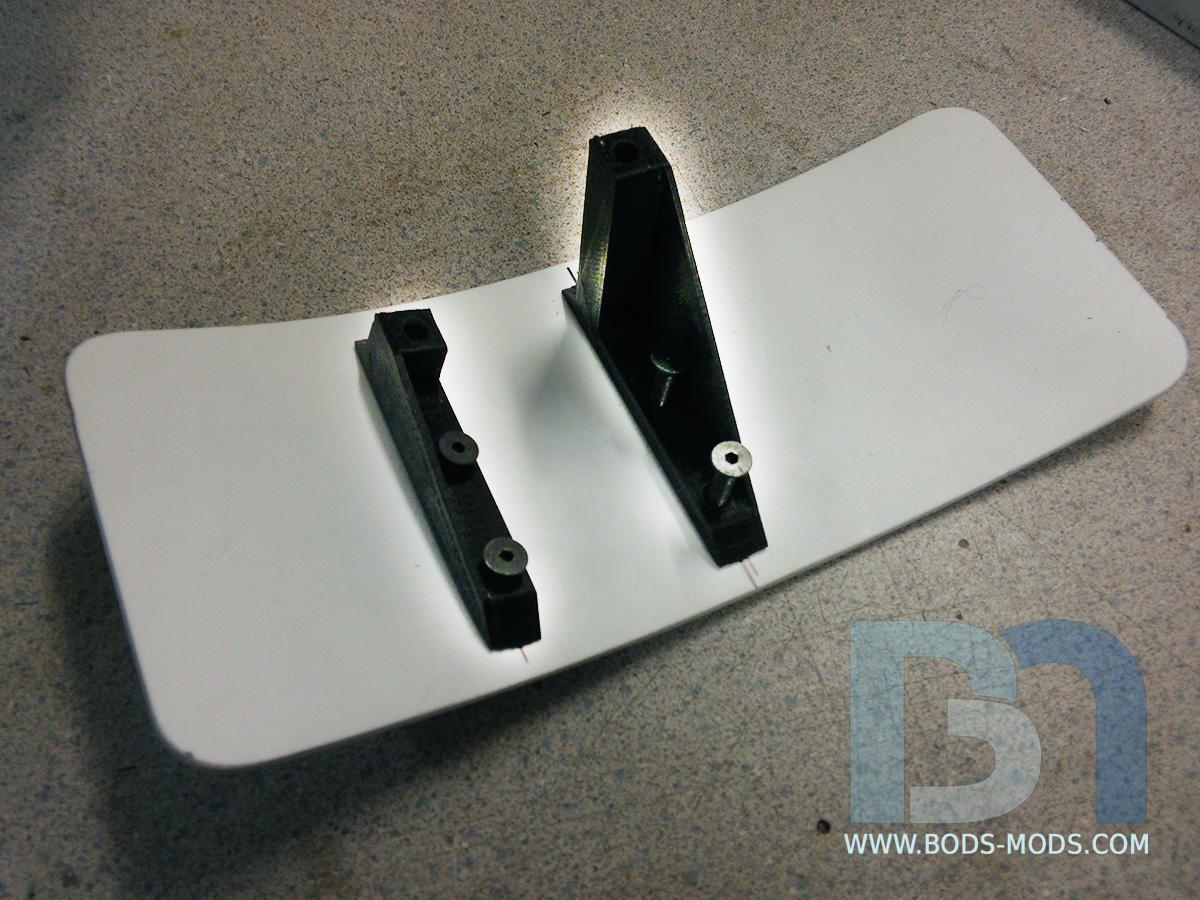
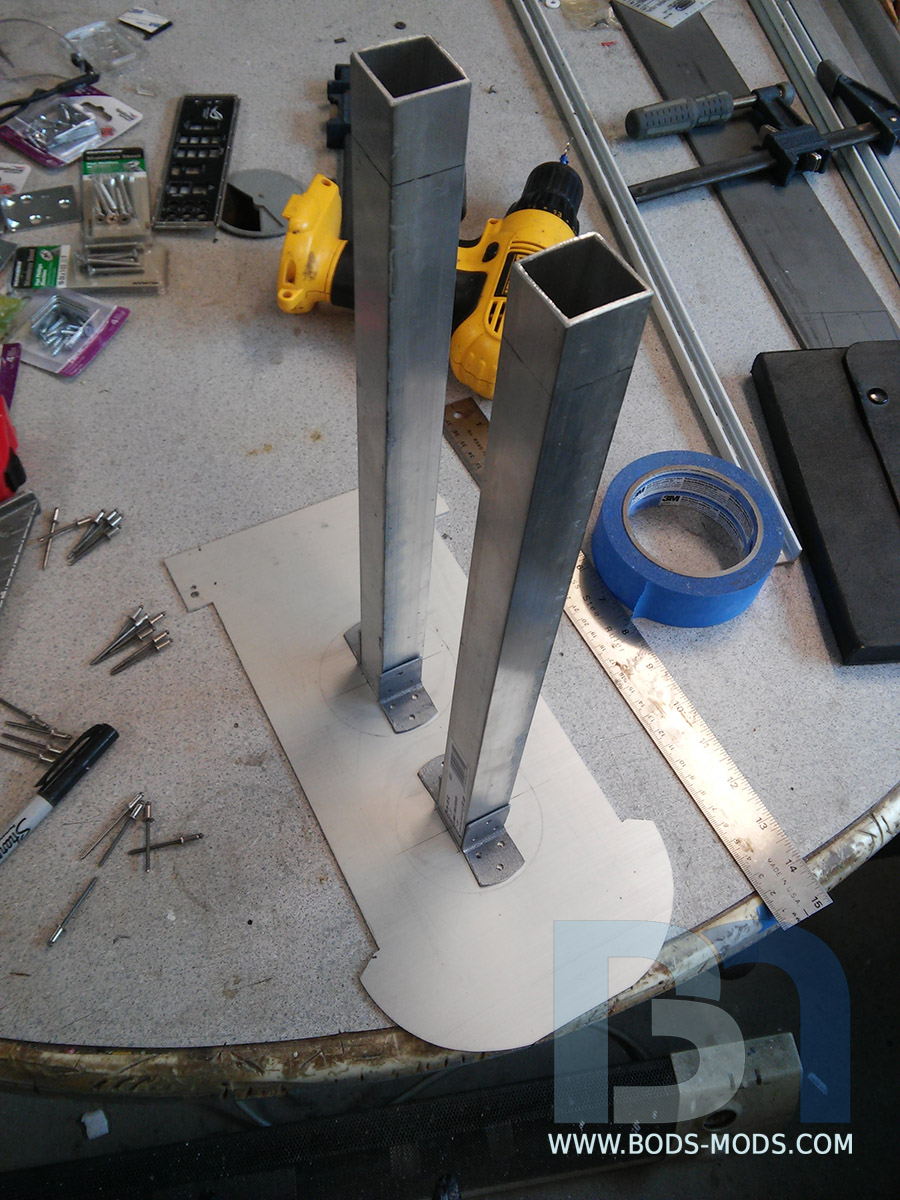
Once I got the sizing down, I could finally start construction, starting with the basic frame. I cut the rear bulkhead from an old Lian Li V2000 case panel ;-)
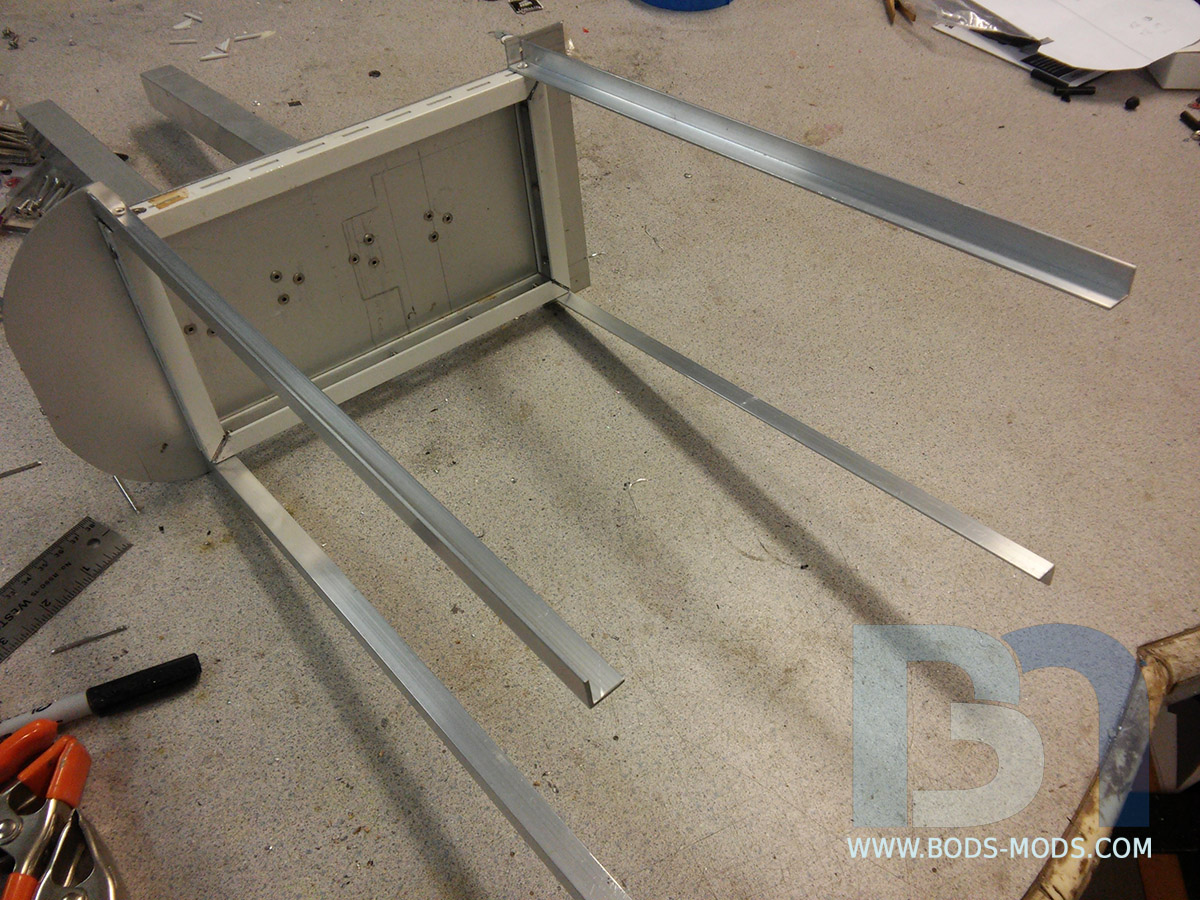
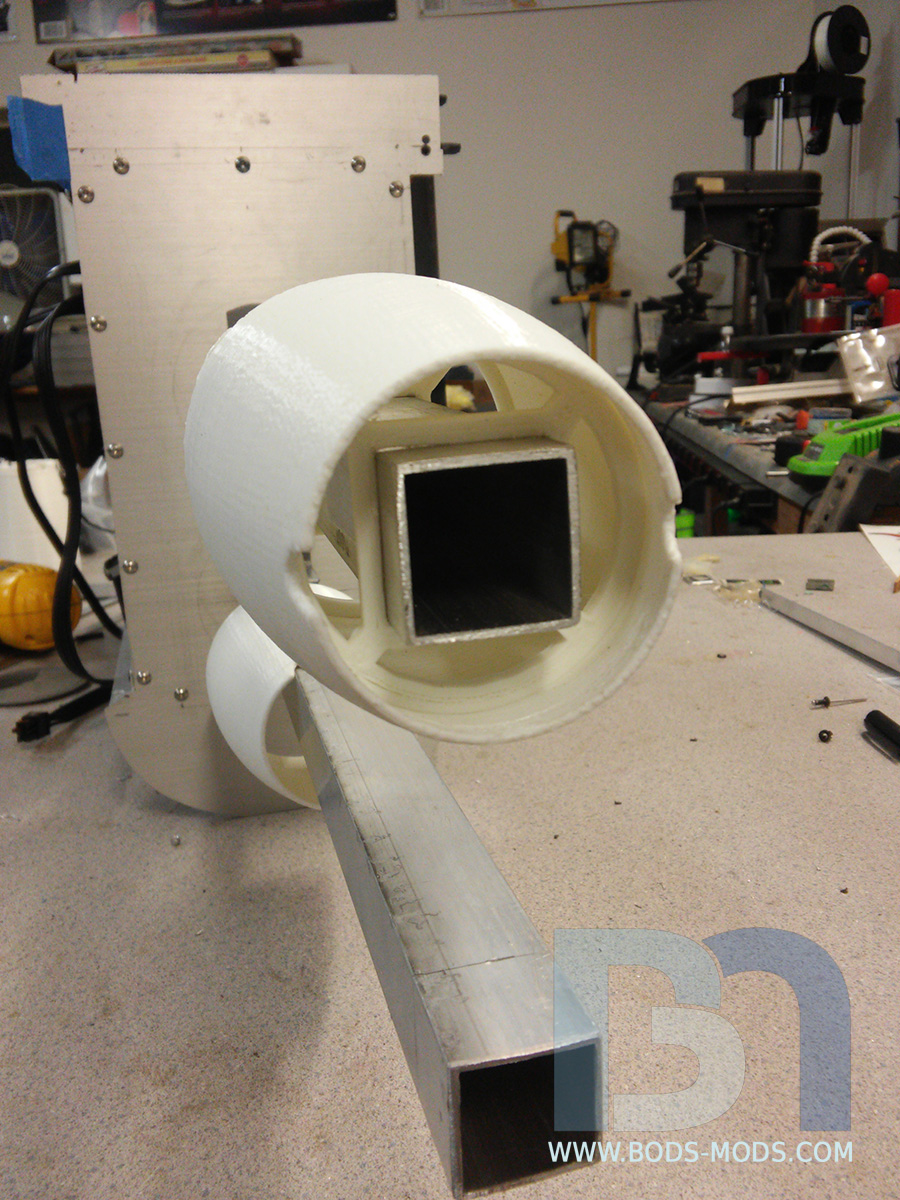
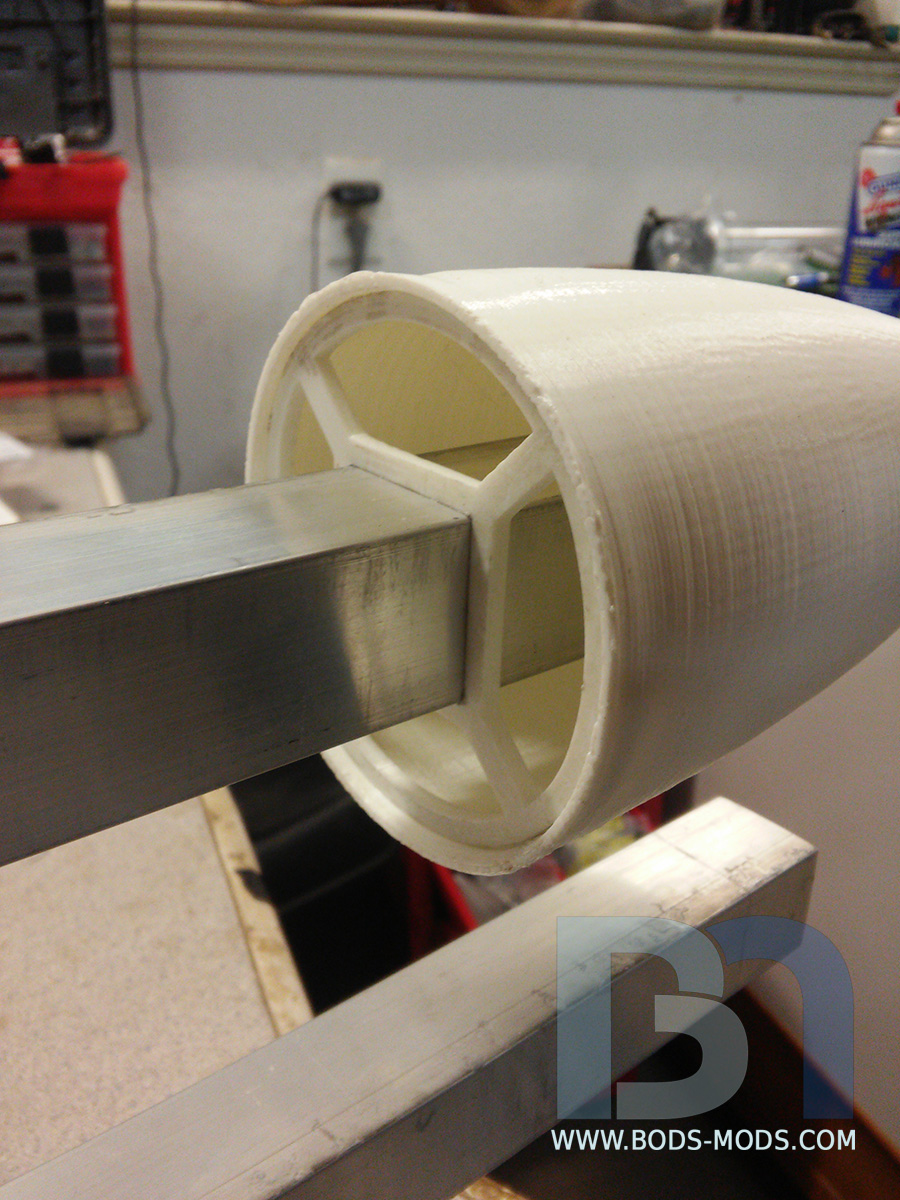
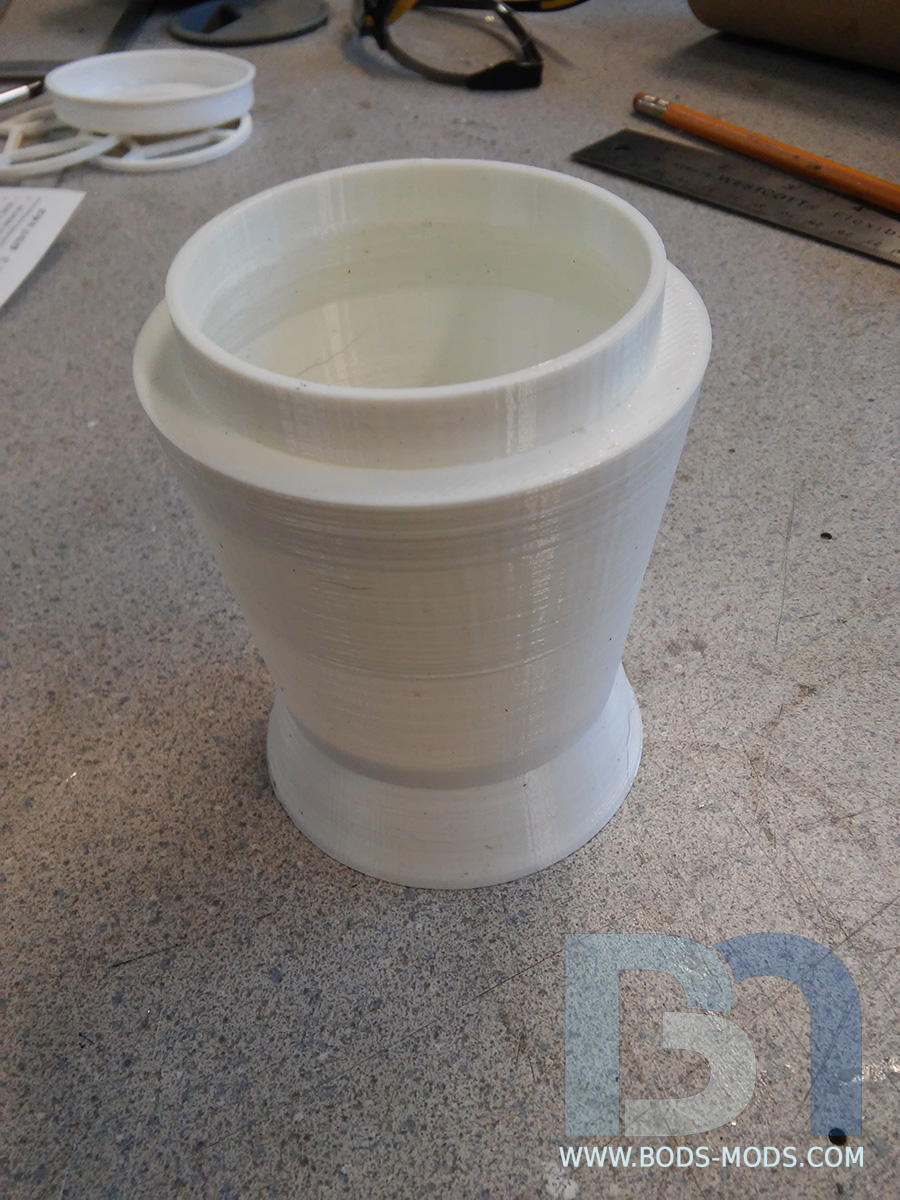
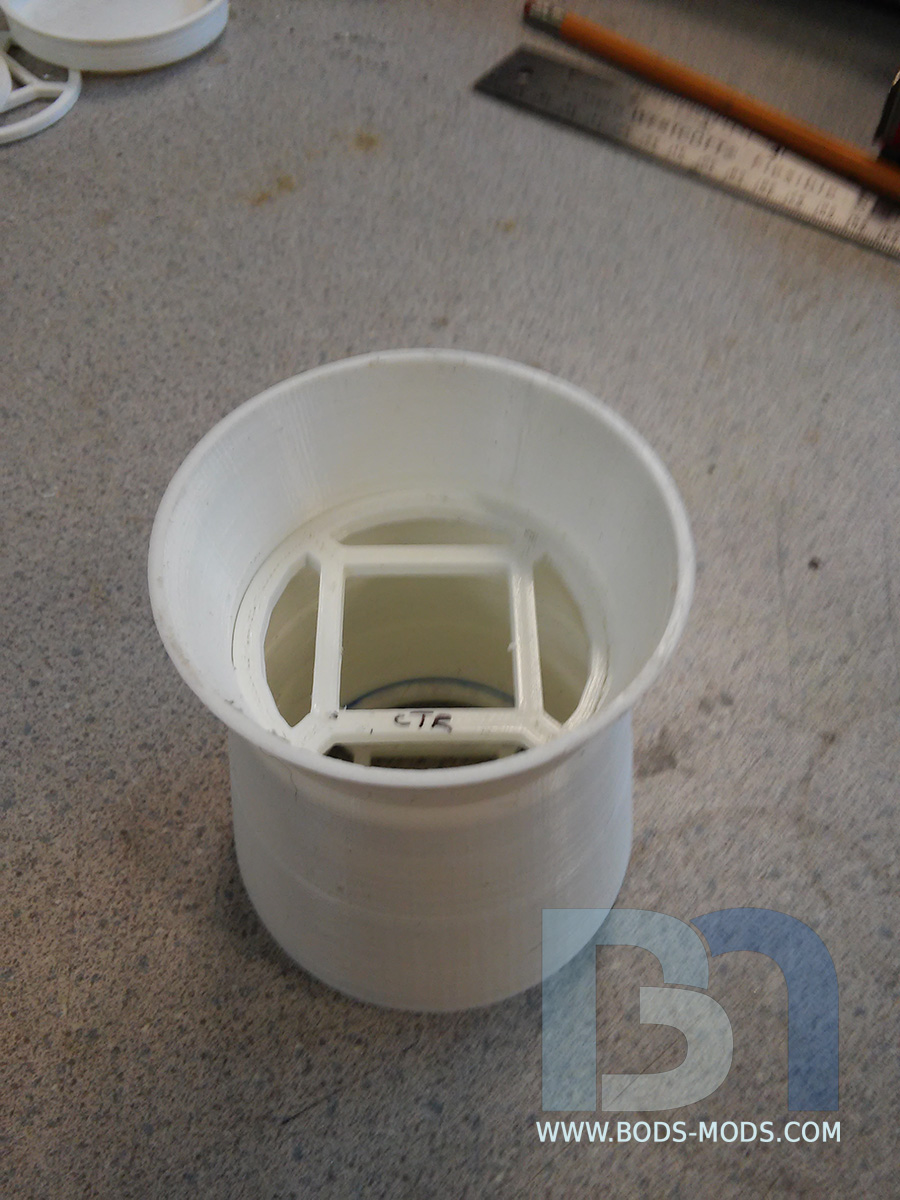
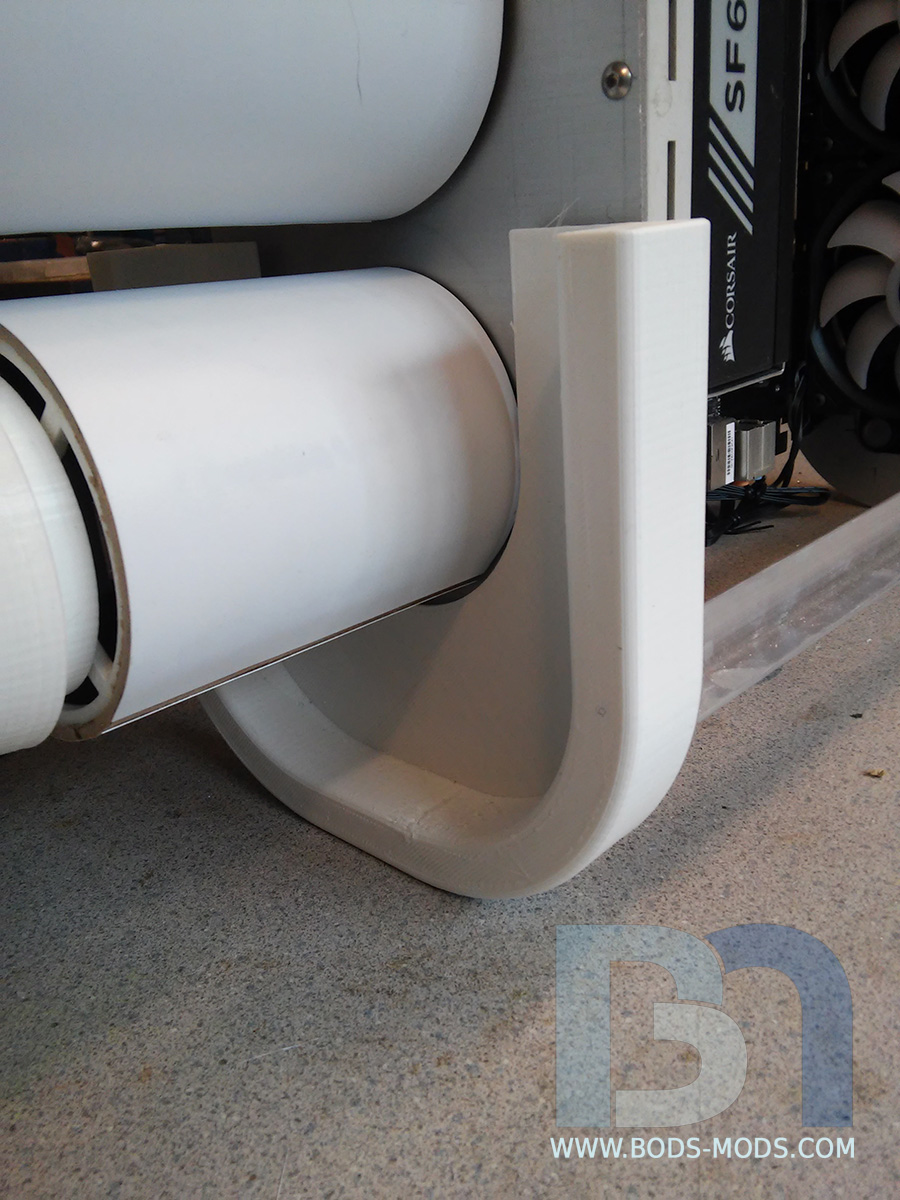
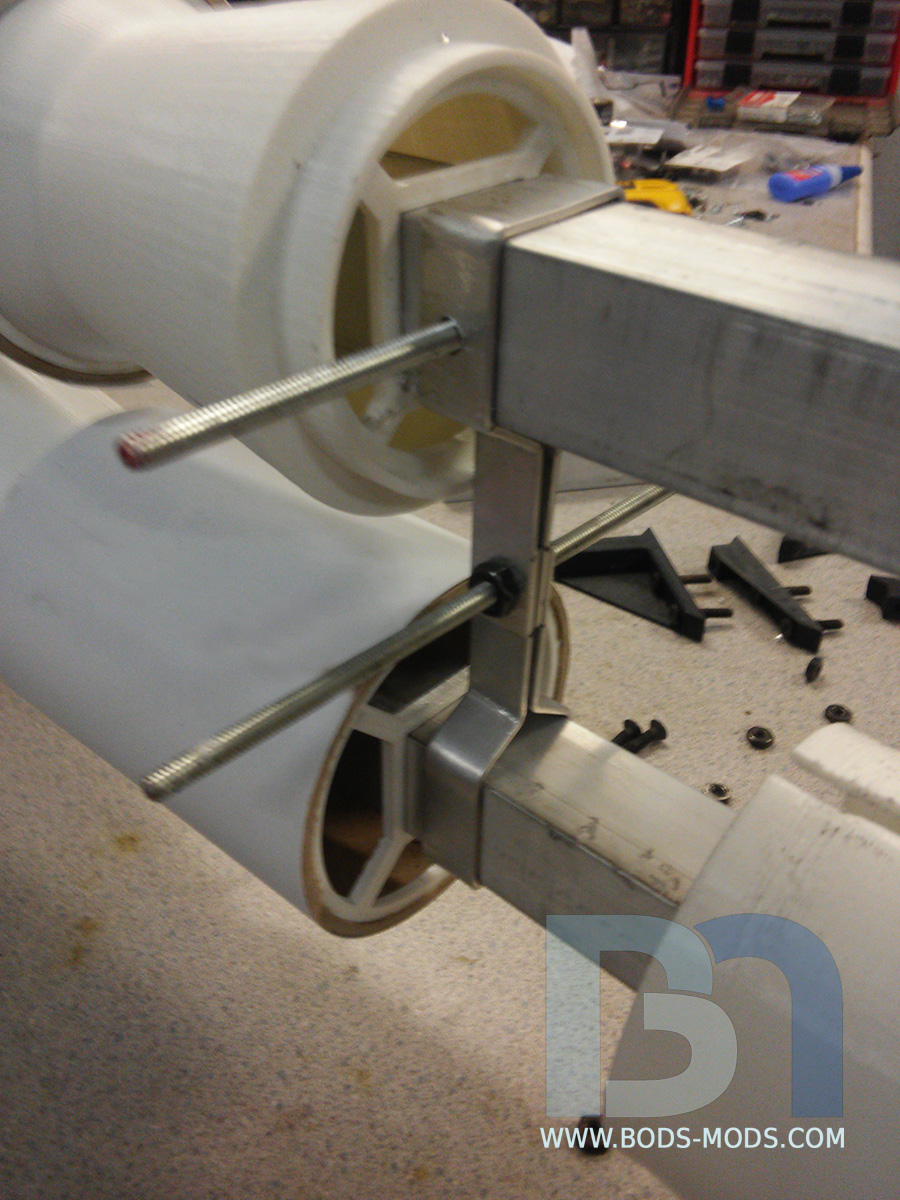
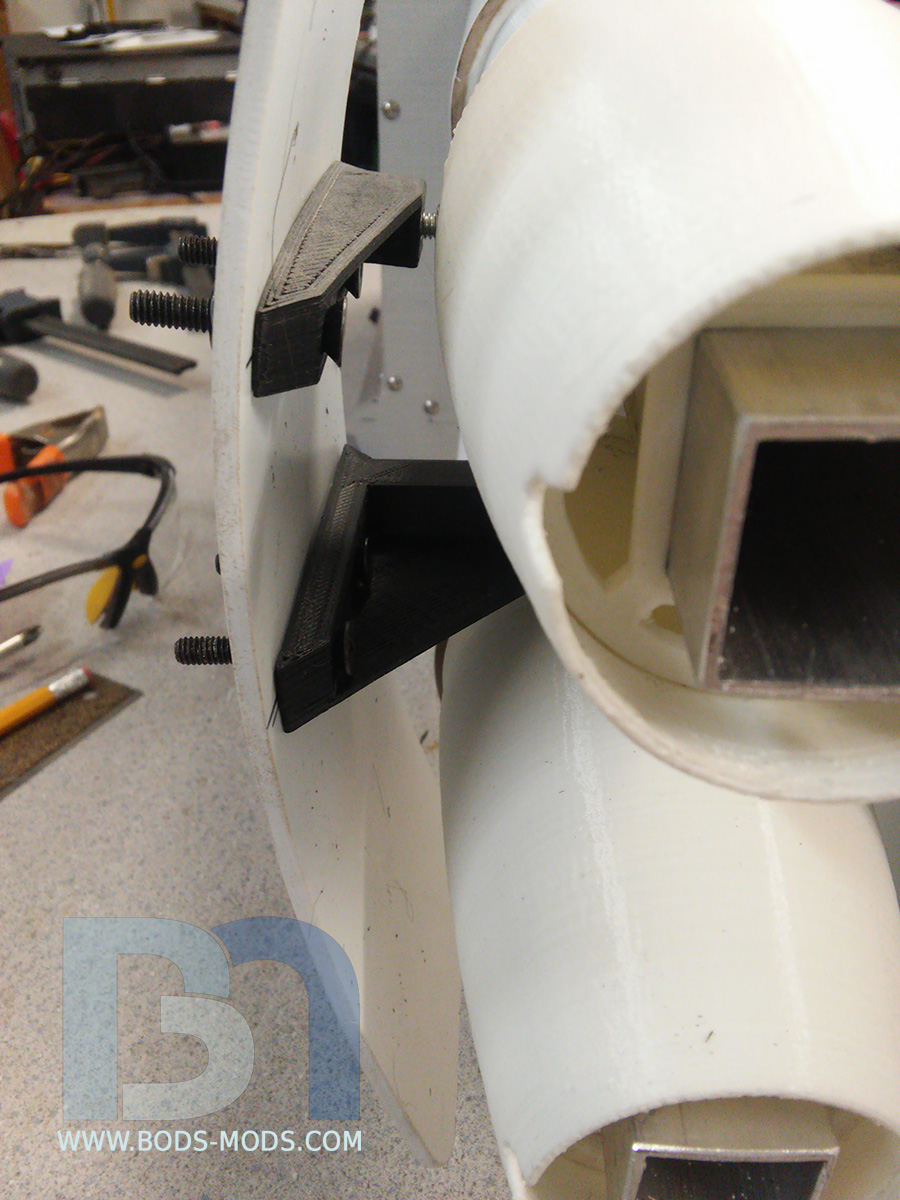
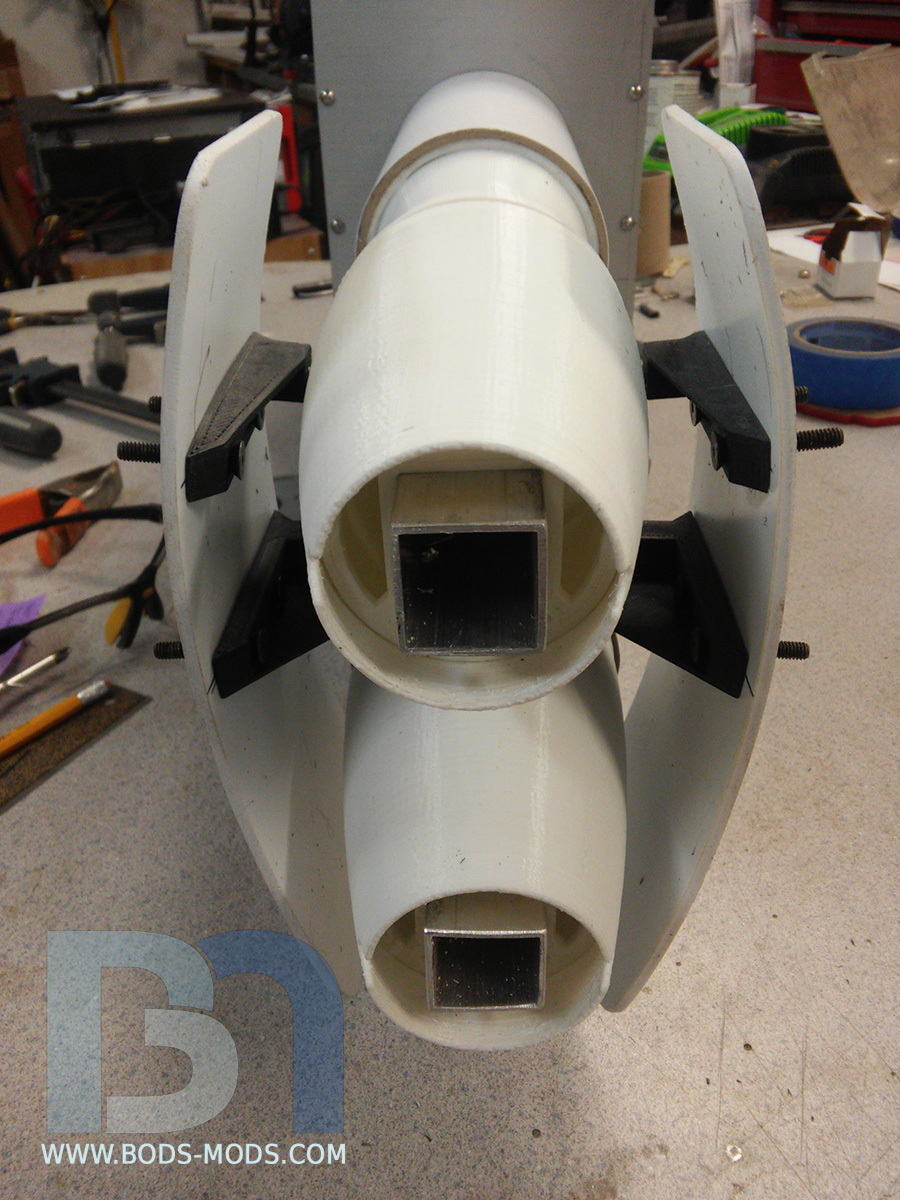
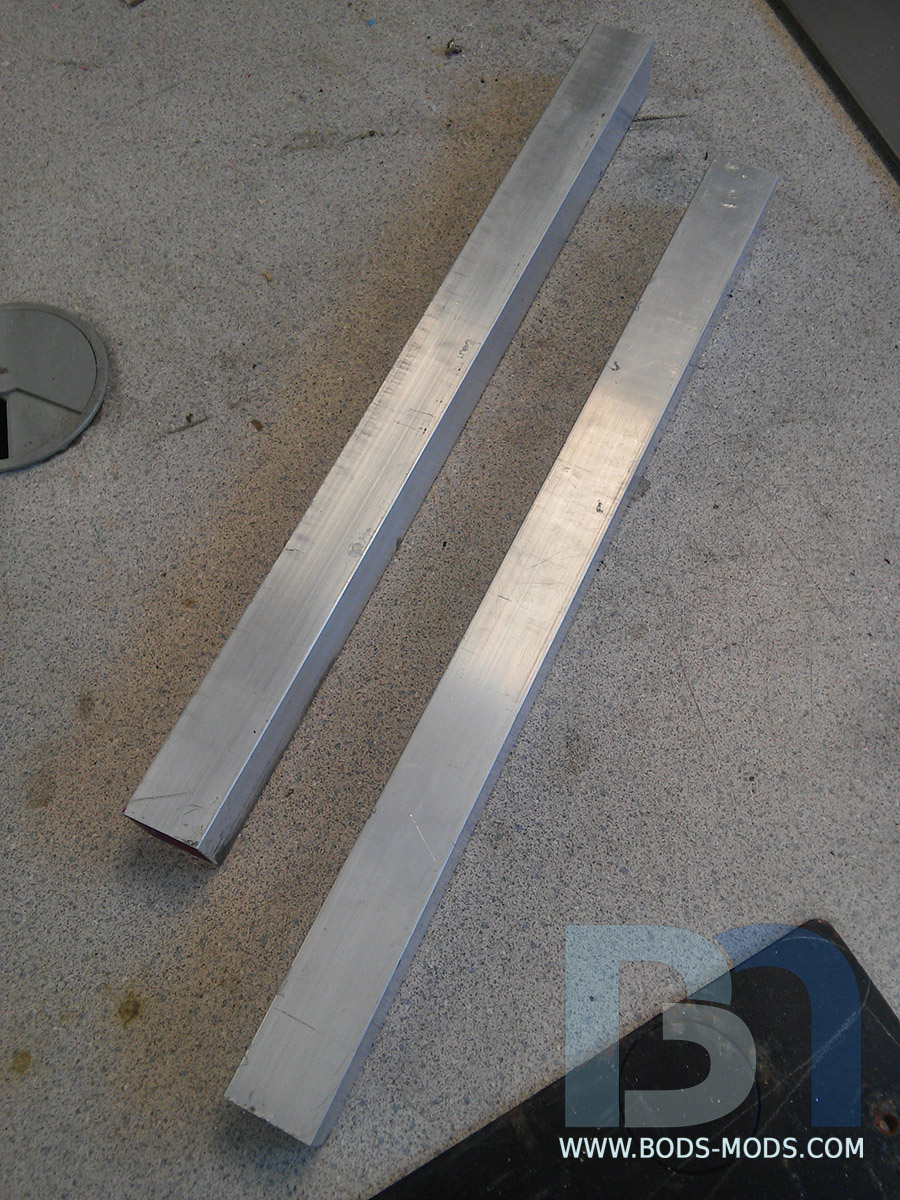
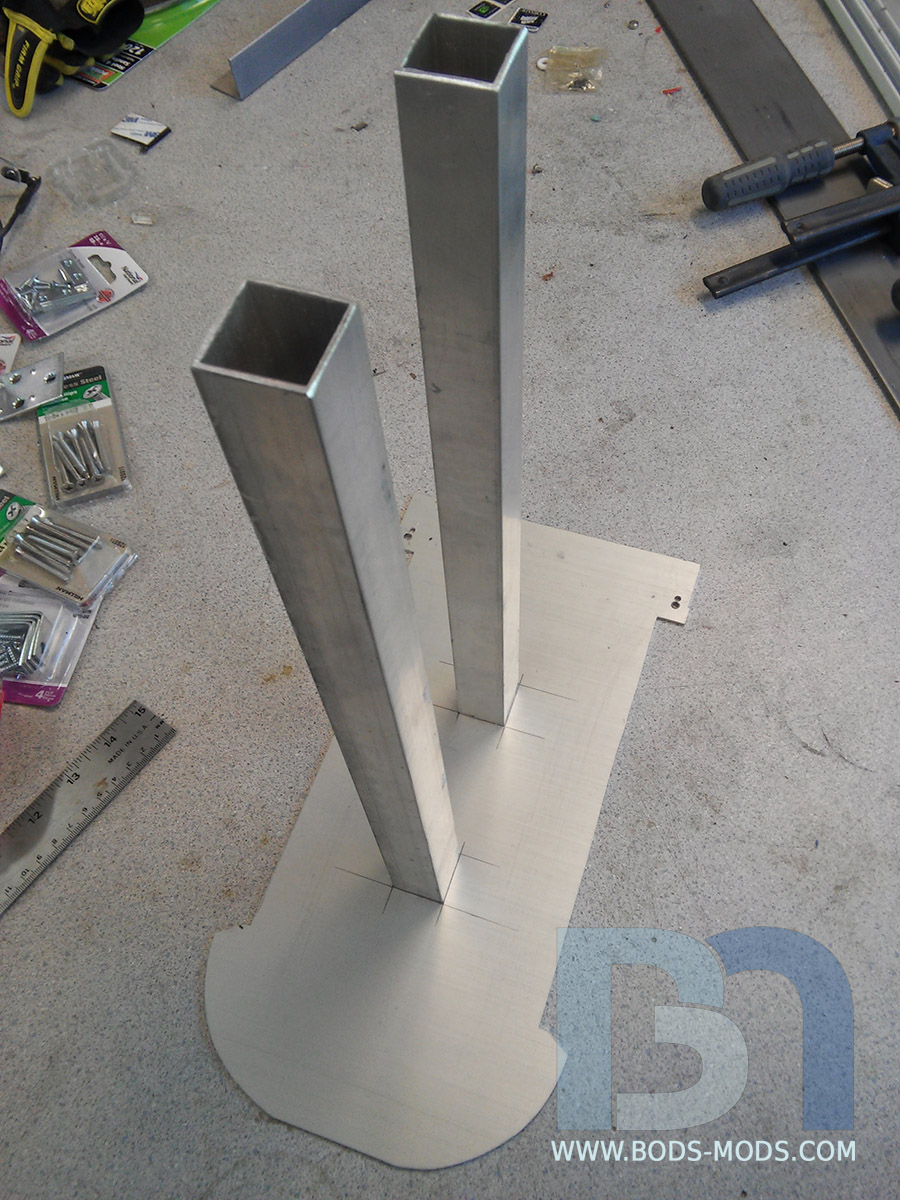
These square tubes will serve as internal support pieces for the rear engines.
I'll be attaching the ends to the bulkhead with steel angle brackets.
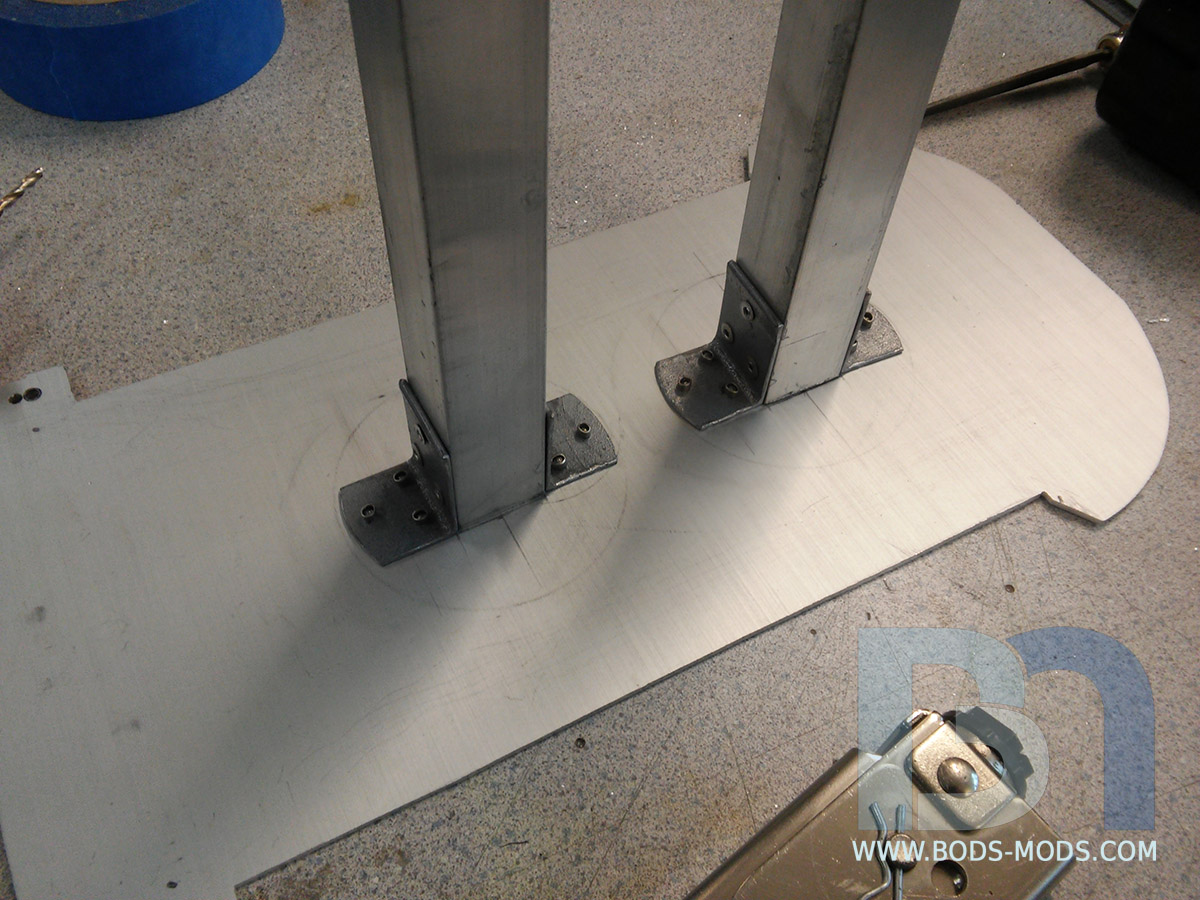
Brackets pop-riveted into place.
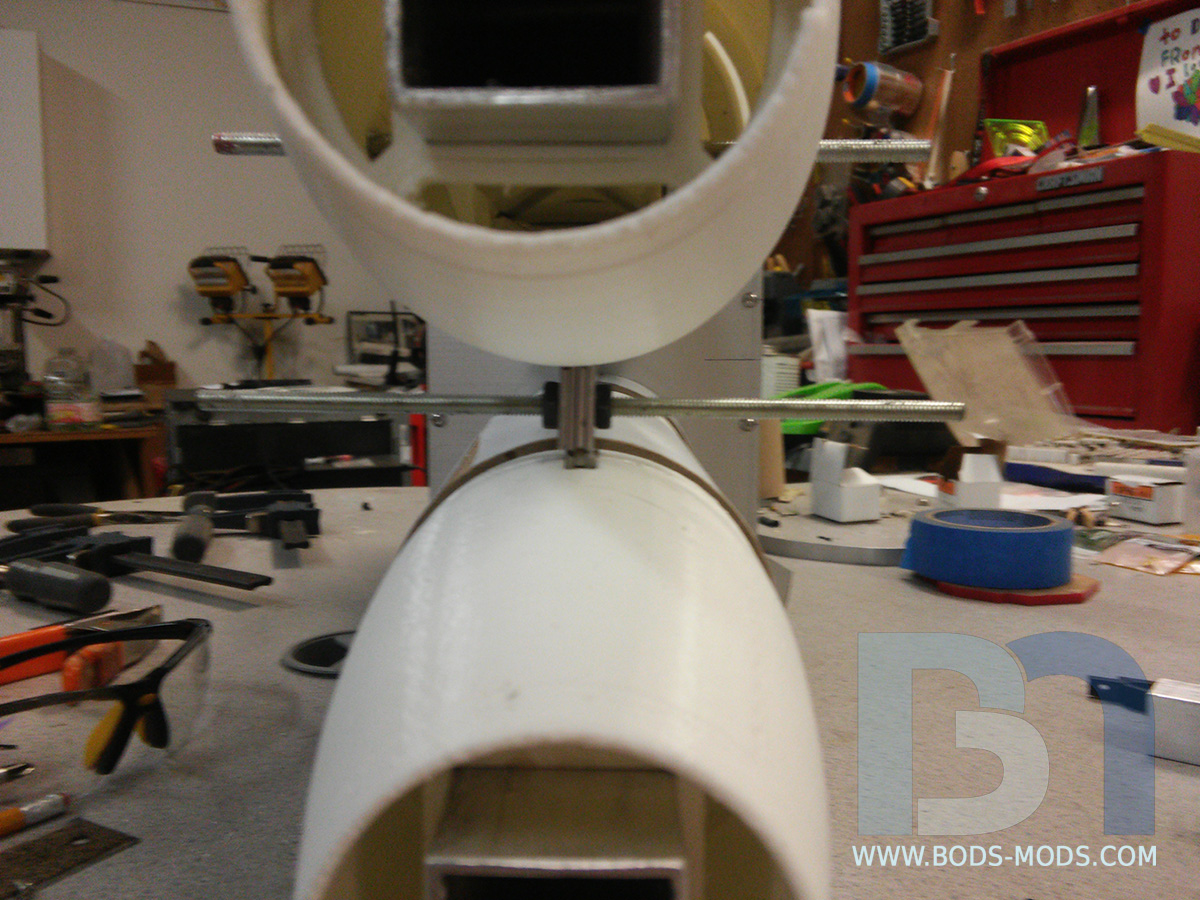
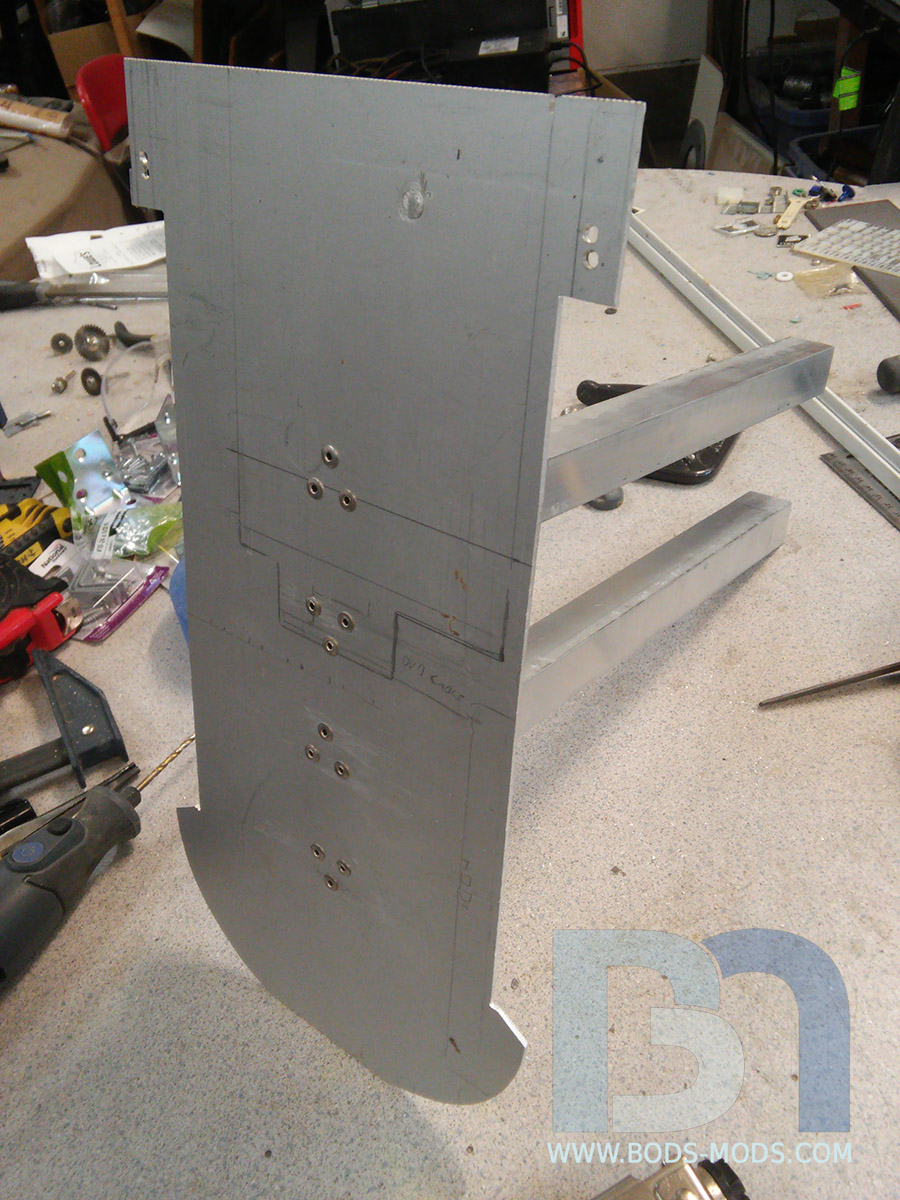
Here's the front side of the bulkhead after fastening the tubes.
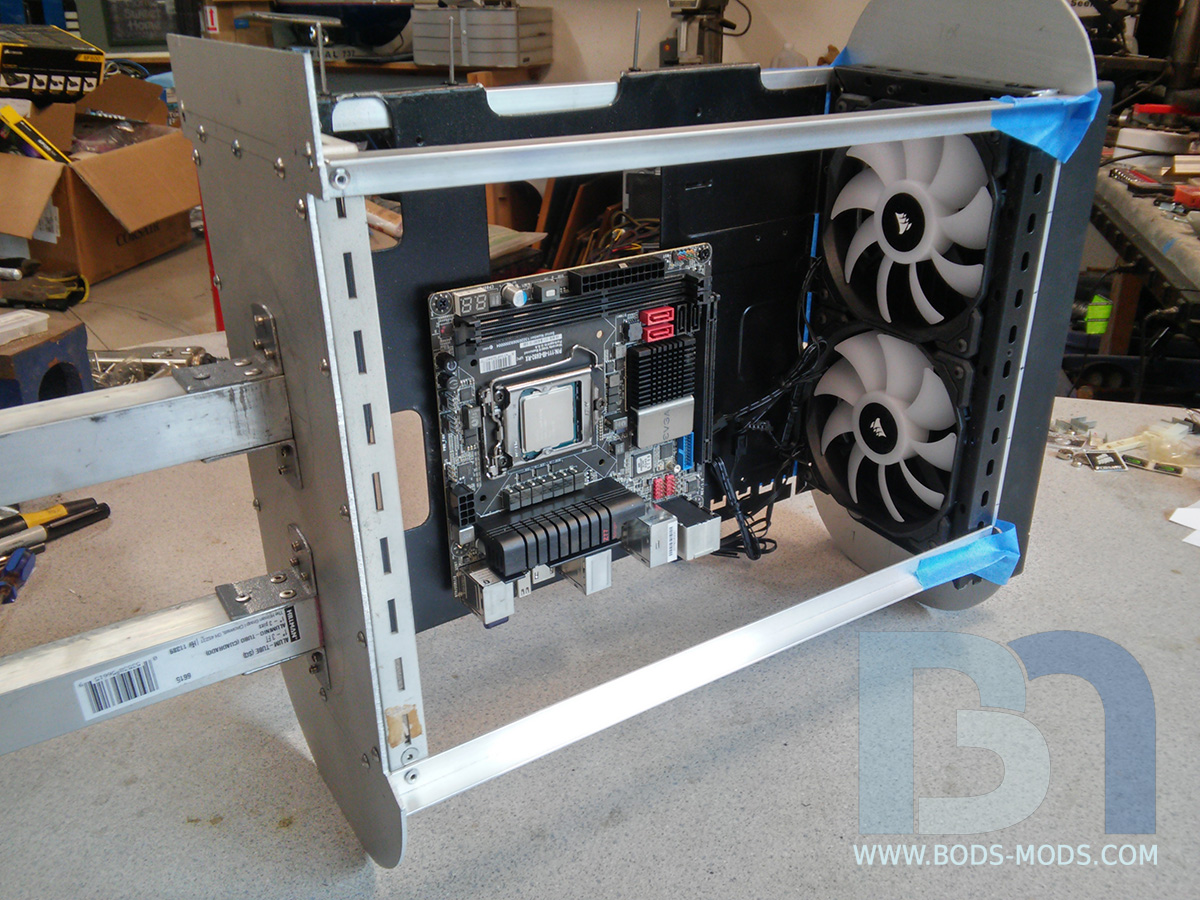
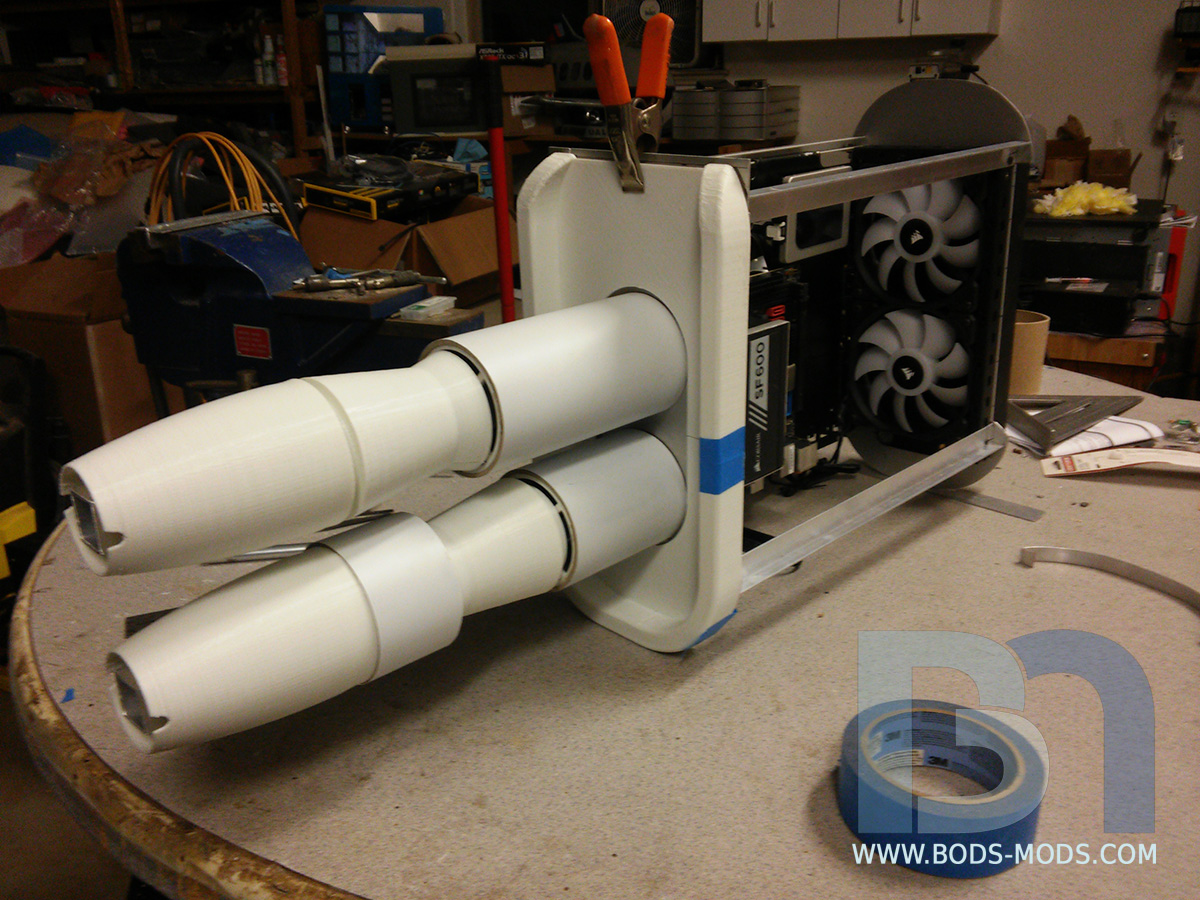
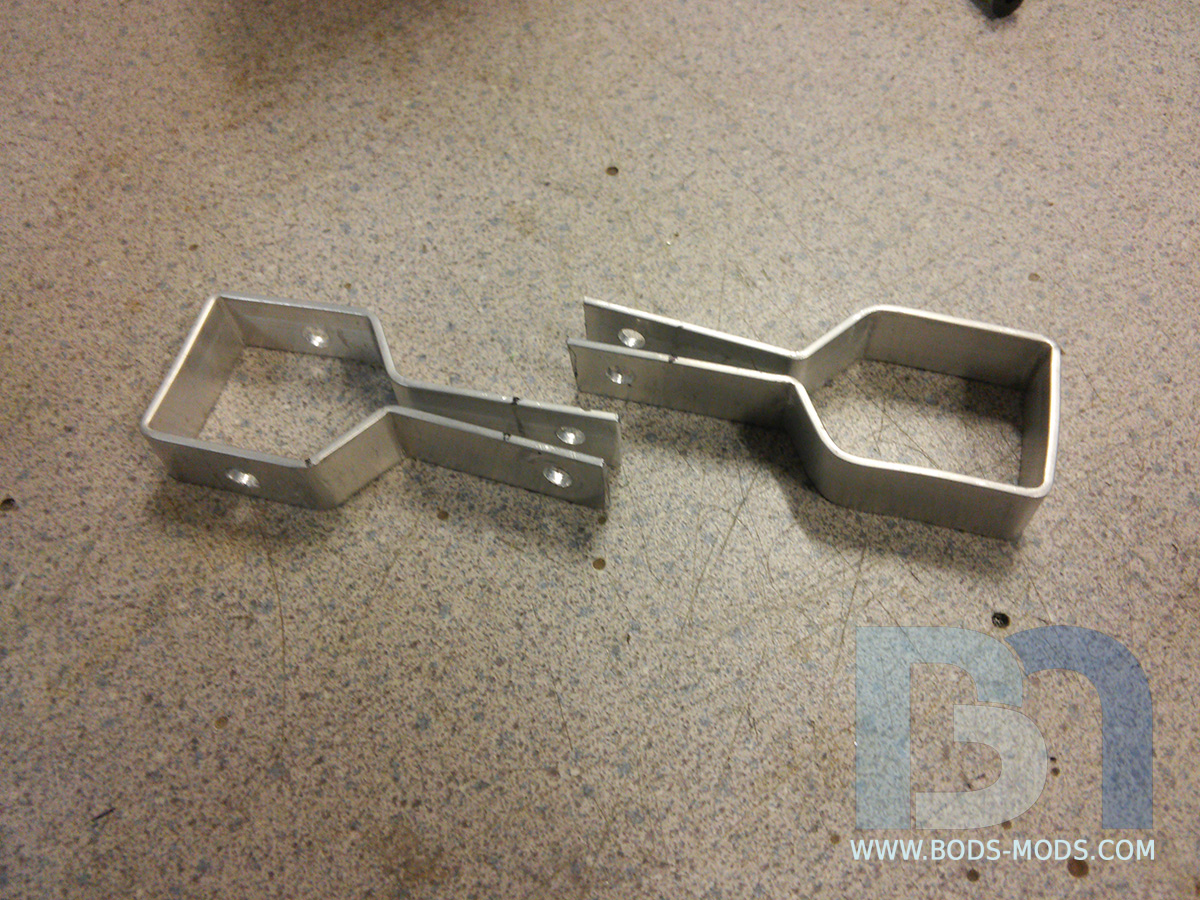
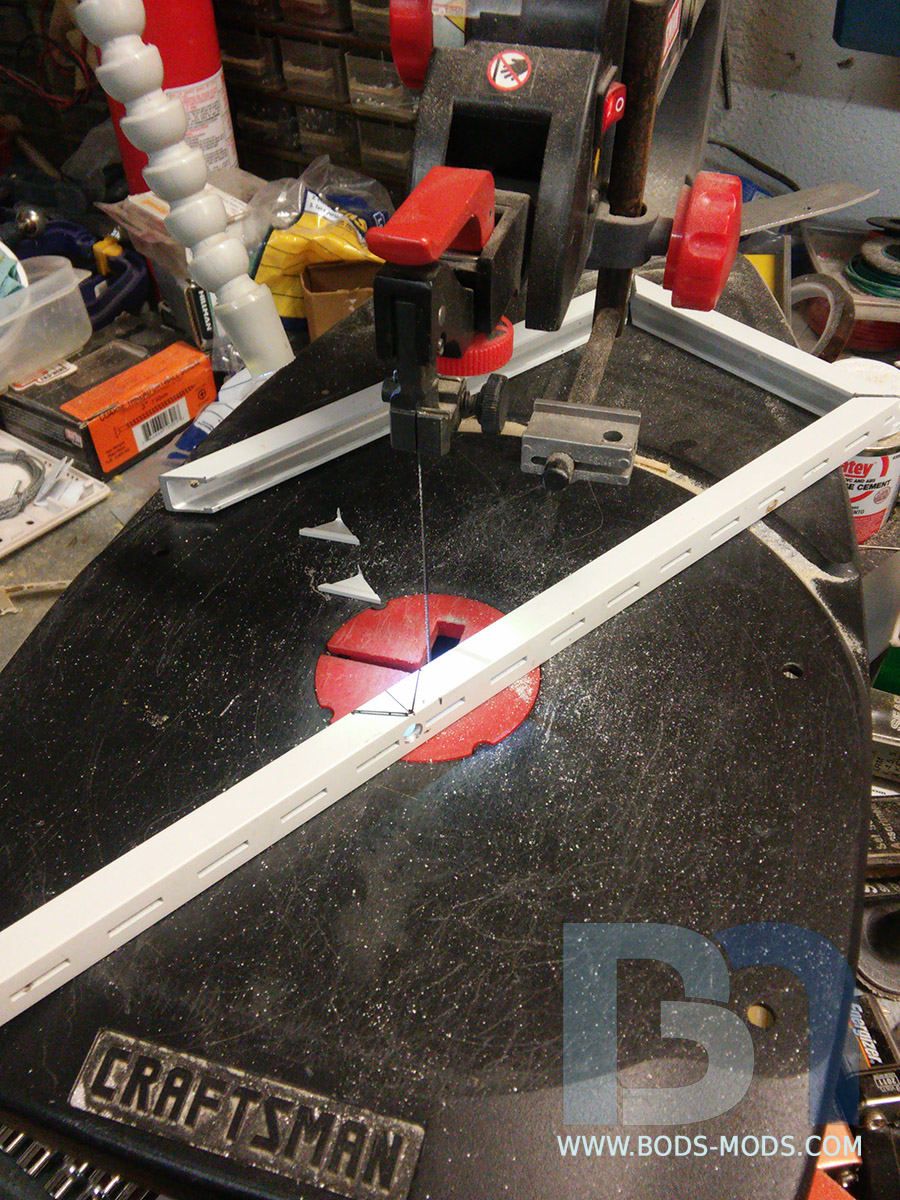
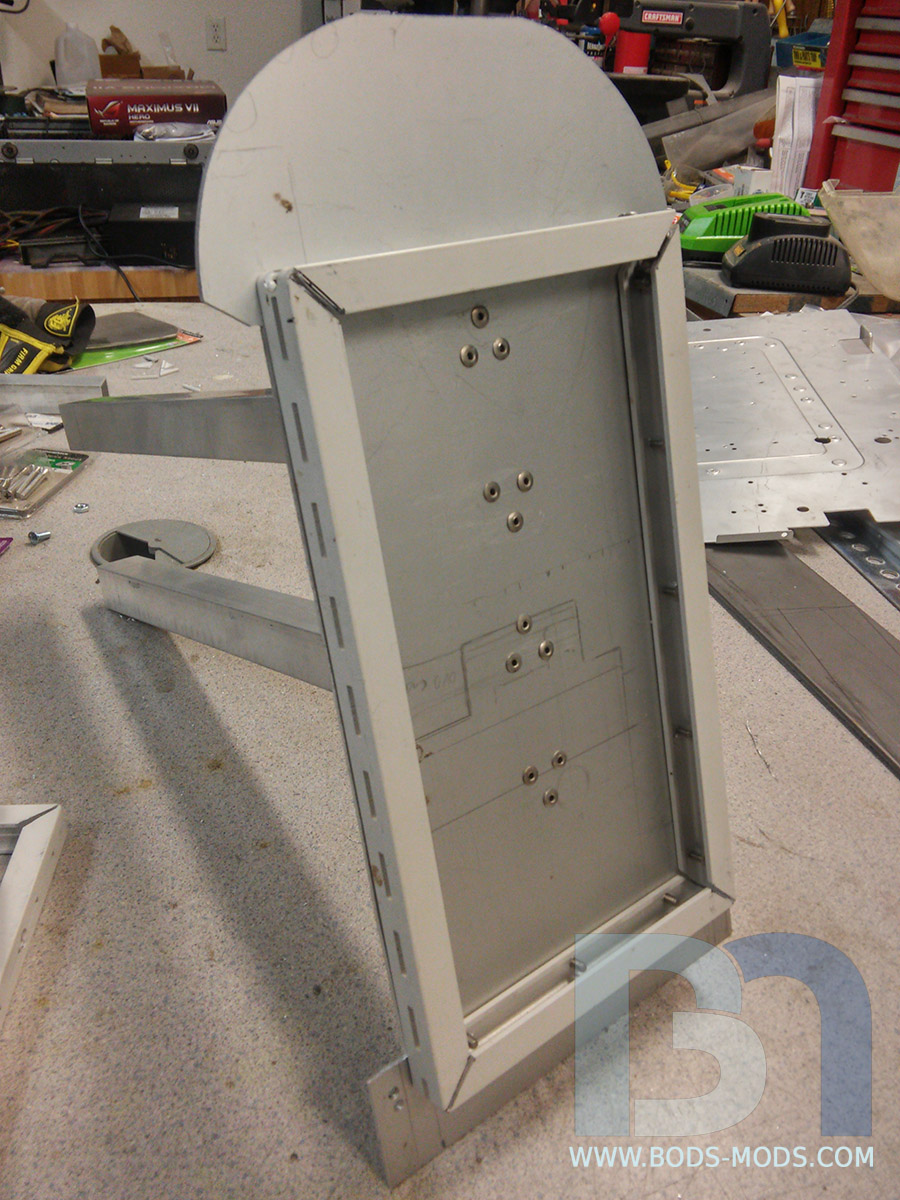
Next is the main frame construction.. I'm repurposing these aluminum shelving supports. Cutting V notches allows me to simply bend it into a rectangle.
All notches cut and piece bent!
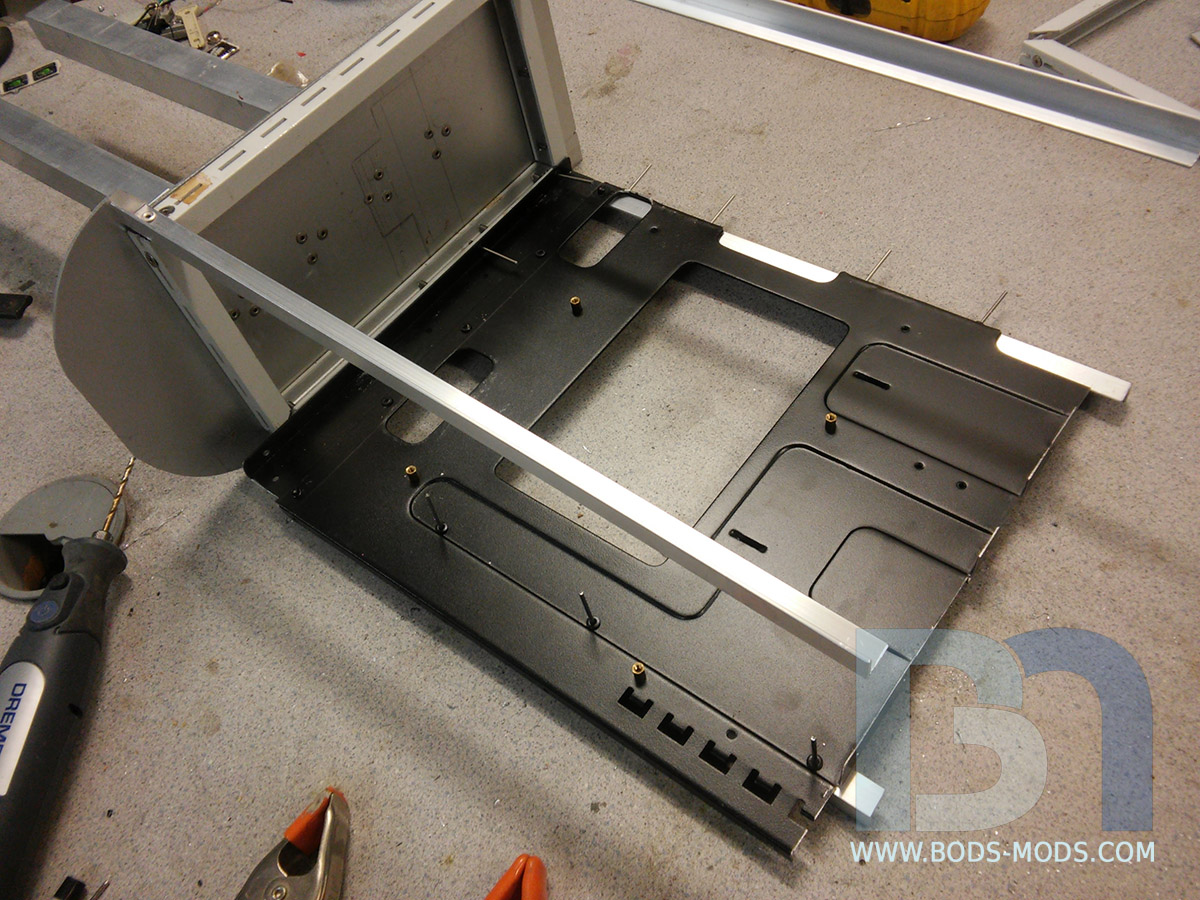
Placed on the bulkhead..
Dont mind the pencil markings, that was from an old mod made a long long time ago, in a garage far far away.
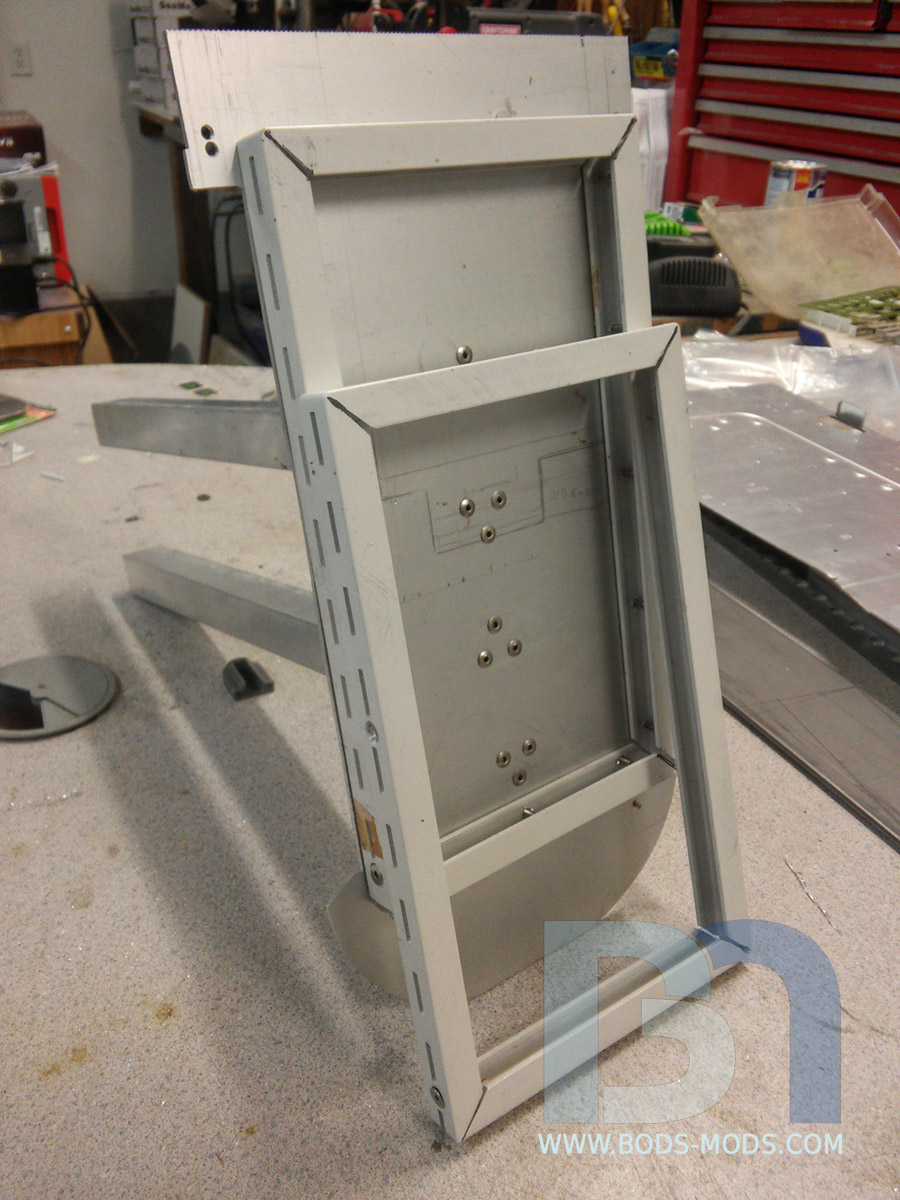
2nd one done..
Next up will be connecting both frame ends together with cross beams to complete the main part of the frame. Hopefully, I'll be able to tackle that tonight!


 Reply With Quote