wait!
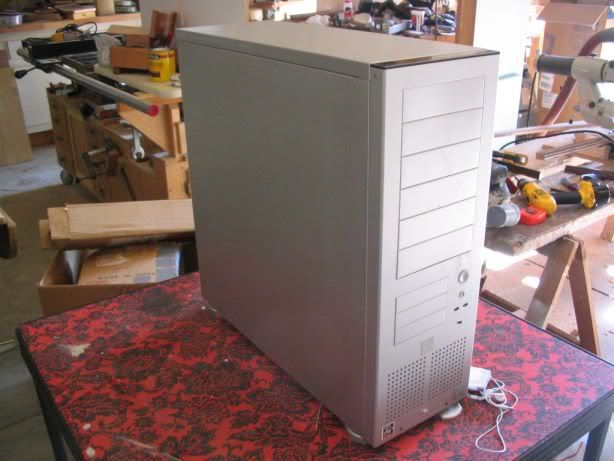
1.) the case was anodized, so that's why the primer won't stick to it.. i'm sorry, but i have to give you the bad news.. if u want to paint it this way, you have to sand the anodized layer off.. otherwise, it might look good..but.. who knows when the paint will peel off..
2.) @simon: PSU's draw air in to them and exhaust it out of the case, conforming to the ATX specification.. because there are obstructions(radiators, caps..) inside the psu's case, u can feel some air beeing bounced back.. u can by all means make the psu work flipped, but then it will get cool air and the upper part of the mobo, without additional fans, wont get any airflow.. that's worse than having a warm PSU..
an inverted atx design, or a psu located somewhere else still follow the same principle.. in the case of inverted lian-li's,with lower positioned psu, its drawing air over the hdds helps them stay cooler..
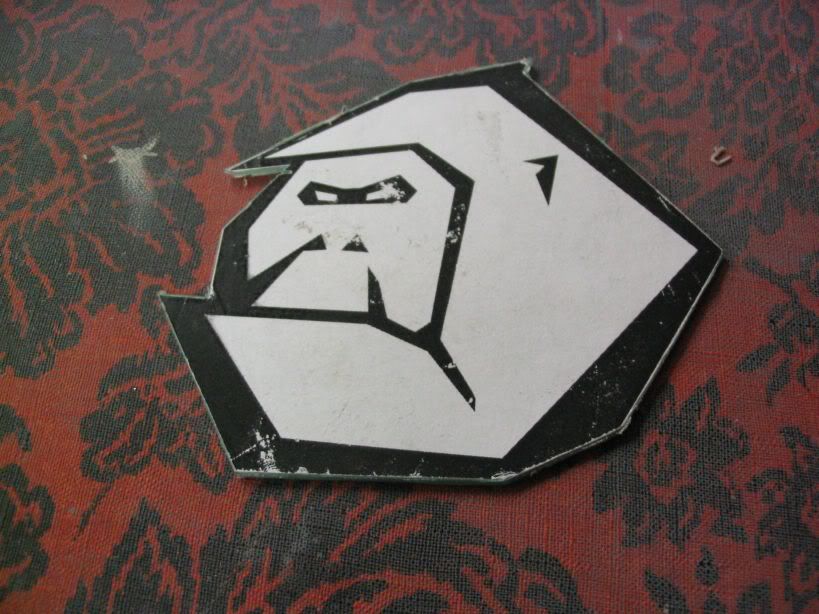
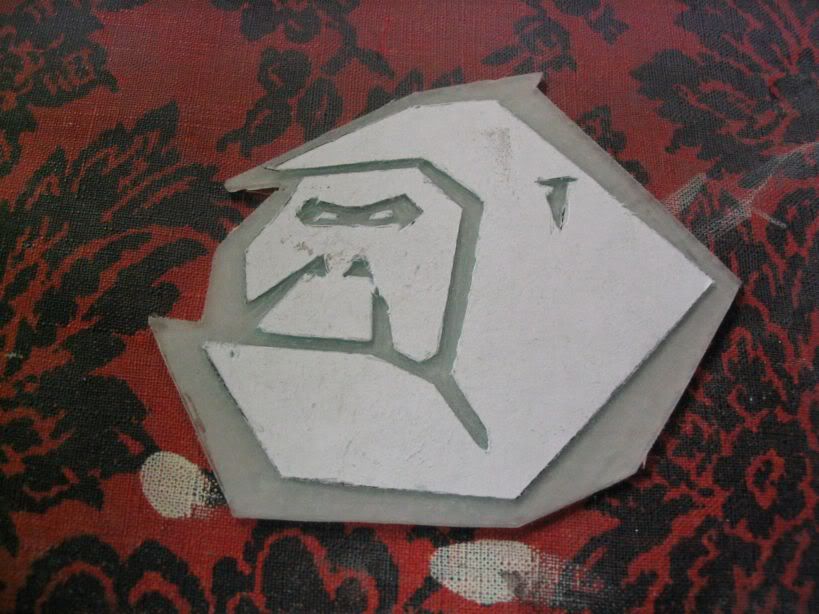
edit: oh, very good idea with the watery logo

really slick


 Reply With Quote