Boddaker, your doing some excellent work here. I love the 3d lazer cut logo!!!
+rep edit: gotta spread it around first


Boddaker, your doing some excellent work here. I love the 3d lazer cut logo!!!
+rep edit: gotta spread it around first

Ok update time! Work on the insignia and optical drive continues...
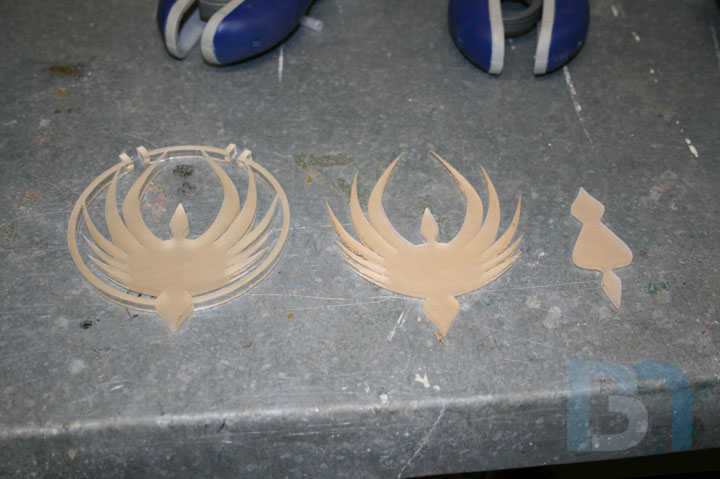
I managed to round the corners of all the little edge pieces and get them glued down to the etched ring.
The center consists of three pieces to be layered for that 3 dimensional look.
Here they are stacked up.
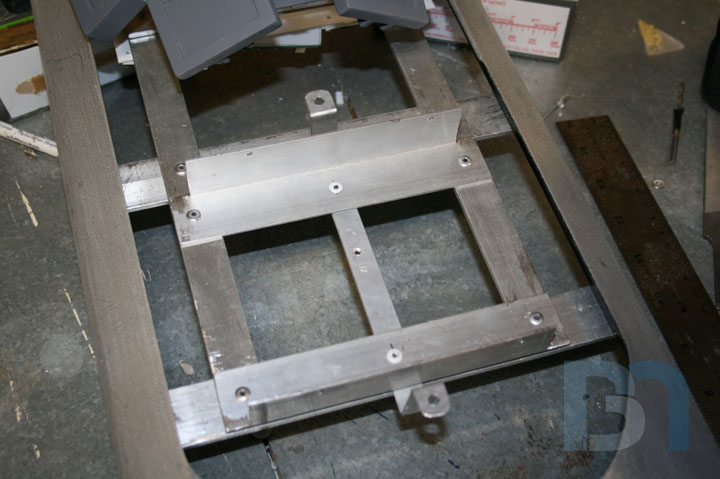
I added a secondary bracket that will hold the insignia in place over the optical drive.
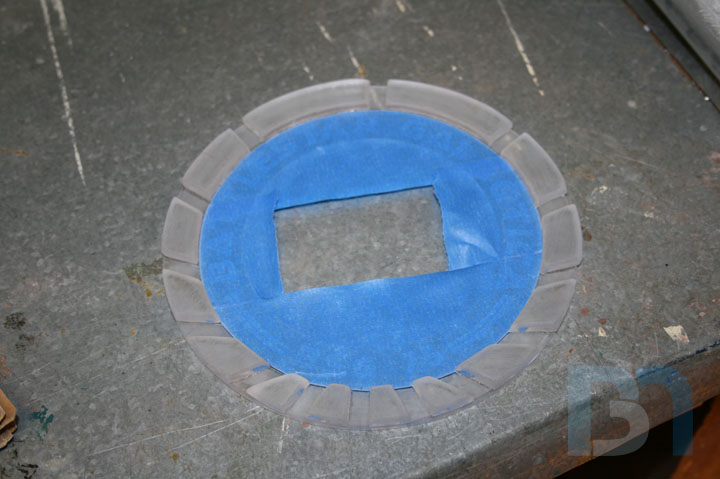
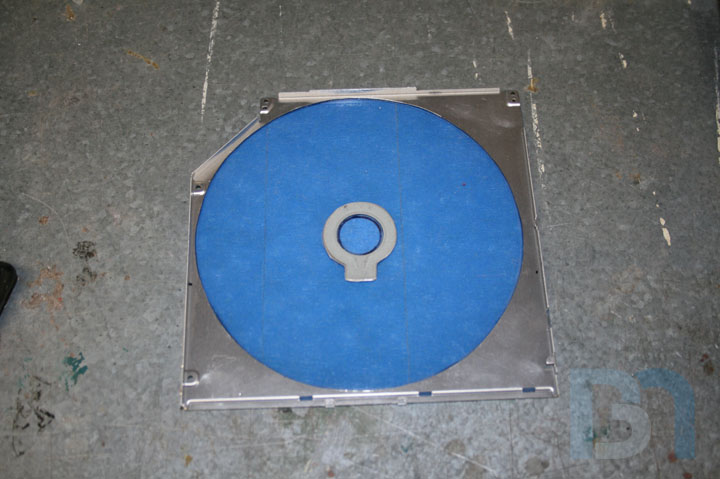
Here's a shot of the inside of the assembled cover with the clear plexi (blue masking tape is on the other side of the plexi).
And here is the assembled drive mounted with the tape removed.
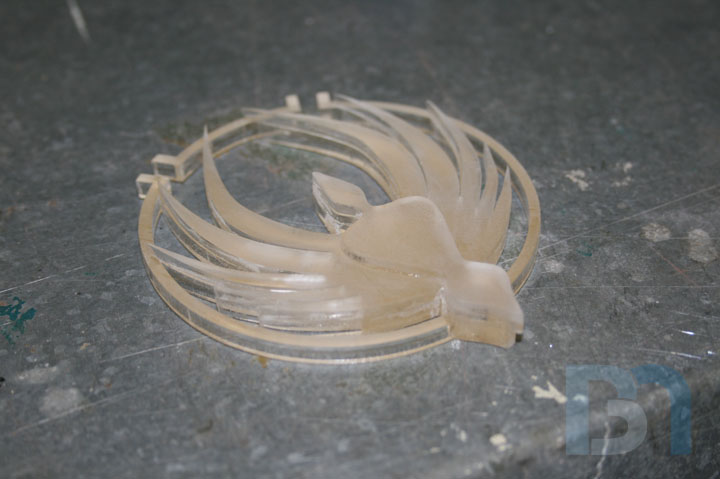
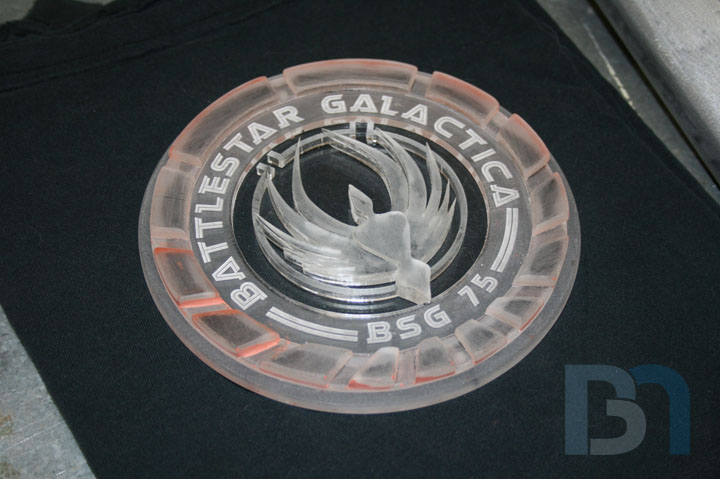
The whole insignia together. Center piece is not glued on yet.
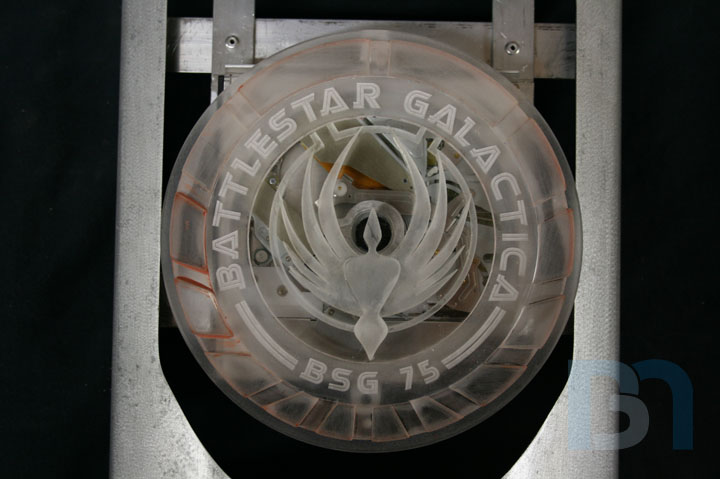
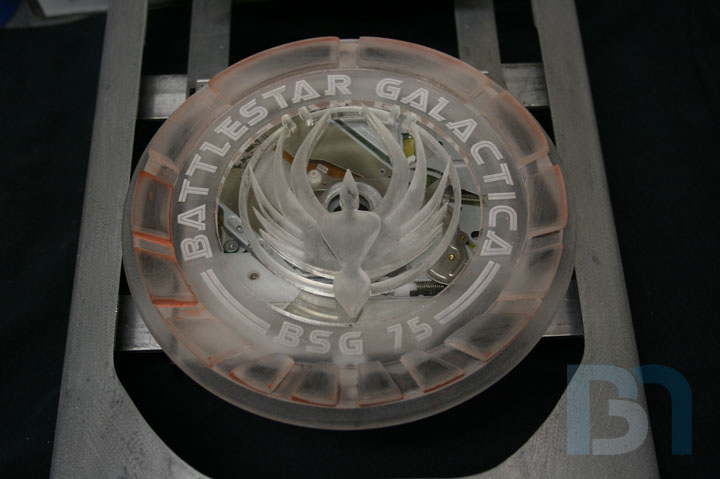
Insignia on top of the windowed optical drive.
The insignia won't stay totally clear. I will be painting everything but the background in the center.
The leds that will light up the drive will be inset behind the center piece hidden from sight. Should
light up the drive internals quite well, and give a nice back-lit effect as well. I just gotta figure out
how to run the wires and integrate a small switch to activate them when the disc is inserted.

Honey Roasted Peanuts Ingredients: Salt; Artificial honey roasting agents; Pressed peanut sweepings.

That looks FANTASTIC!! Will you be lighting it? Top notch work mate. +rep
Project: Elegant-Li *NEW*
Project: Alpha FINISHED
Project: LEXA Revival FINISHED
Project: LEXA FINISHED Bit-Tech MOTM Nominee October 08

Hot Damn
"You're so wise. You're like a miniature Buddha, covered in hair. " - Ron Burgundy
Read the last paragraph.Originally Posted by The boy 4rm oz


Honey Roasted Peanuts Ingredients: Salt; Artificial honey roasting agents; Pressed peanut sweepings.
Haha sorry mate, must have over read that part. Can't wait to see what it looks like.
Project: Elegant-Li *NEW*
Project: Alpha FINISHED
Project: LEXA Revival FINISHED
Project: LEXA FINISHED Bit-Tech MOTM Nominee October 08
Got a bunch of work done over the weekend!
Worked on the I/O panel and pwr/reset buttons. I basically re-used the Stacker's pwr/reset button housing,
and the I/O panel right below it. I'm pretty much putting them in the same location as they were stock,
just formed to the case and landing bay.
Here's the pwr/reset panel mocked up with the landing bay.
And here's the rough position of the lower IO panel.
Taking a sheet of plexi, I drew out my cut lines using the actual pieces.
I cut just on the other side of the lines...
...And trim to fit.
Once it was glued in place, I scuffed the whole thing with my orbital.
Then threw on the bondo.
Sanded it down and sprayed a coat of primer to see where I was at. Almost there!
I bondo'ed the bottom side as well, then added the IO panel.
Trimmed the plexi to fit, and added a touch of filler.
Another coat of primer, and it's looking pretty good.
Here it is on the case with the landing bay.
That's where I'm at. The whole assembly will be removable along with the landing bay. The lower IO panel
covers up the screws that secure the front lcd/optical assembly on. I dont want to paint myself into a corner,
so I gotta keep in mind how this case will come apart.
I'll probably secure both the landing bay and the floor/IO panel/pwr-reset panel to the top of the case with
four bolts, one at each corner. That's what I'll be doing next (tonight if I can get back in the garage!).
Honey Roasted Peanuts Ingredients: Salt; Artificial honey roasting agents; Pressed peanut sweepings.

Looks awesome. You have been working on this a long time and you are doing and outstanding job.
-dan
Thanks Dan! I am hoping it will start going a bit faster here real soon. I am almost done with the major fabrication work. Just a few more pieces to go.
Honey Roasted Peanuts Ingredients: Salt; Artificial honey roasting agents; Pressed peanut sweepings.

That thing is looking awesome! You're doing a great job on this.
My goal in life is to earn enough money to enjoy the lifestyle that my wife and kids do.
 Posting Permissions


 Reply With Quote