One hell of a impressive video. +Rep
It is Immaculate!


One hell of a impressive video. +Rep
It is Immaculate!
Last edited by Eclecticos; 07-18-2008 at 11:22 PM.

well i never thought about using a tape cable thing like that before man i now have a use for the millions i have thanks +rep
Originally Posted by Drum Thumper


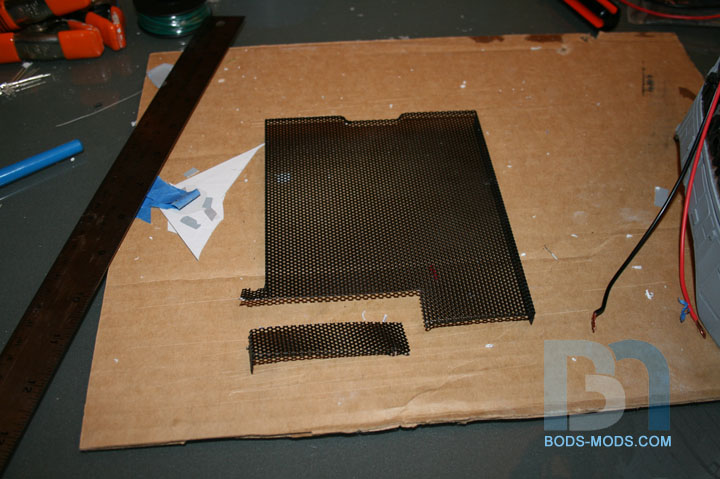
Well, I'm trying to button up the whole front panel this week, so I test fitted the small 2.5" lcd's into their pocket frames. I needed to figure out what to do with the top to cover the opening. The screens give off some heat, and they have small flat cables coming out of the top, connecting them to their control boards, so I couldn't just make a lid and cover it all up.
So I decided to make some vent covers out of one of the stock mesh grills that came with the stacker case.
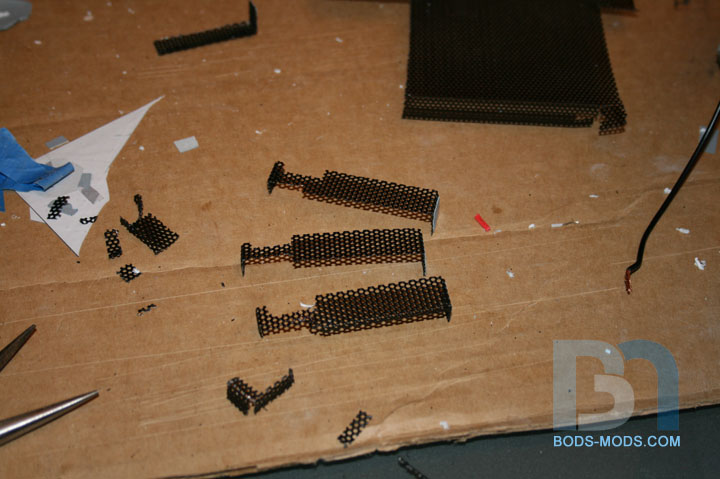
Here are all three cut, with areas cut away for cable clearance.
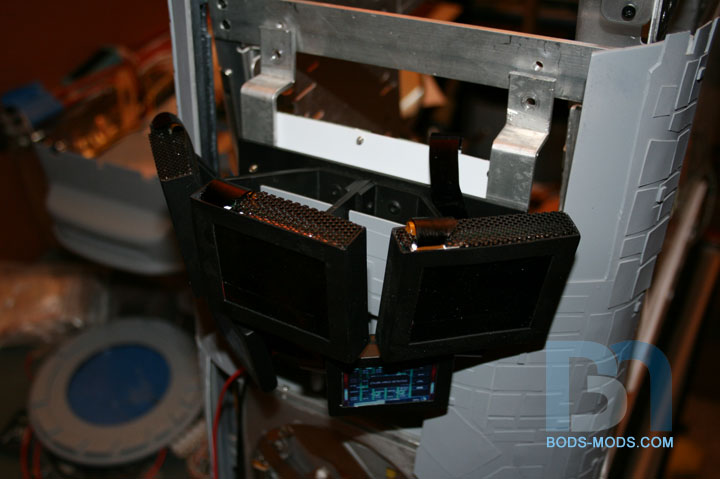
Installed.
A close up of one.
Also, the cables were an ugly orange color, so I colored them all black with a sharpie.
Honey Roasted Peanuts Ingredients: Salt; Artificial honey roasting agents; Pressed peanut sweepings.

Bod you are a legend mate. Excellent work.
Project: Elegant-Li *NEW*
Project: Alpha FINISHED
Project: LEXA Revival FINISHED
Project: LEXA FINISHED Bit-Tech MOTM Nominee October 08
cool this is getting beter and better and better and better (so on)

Back in the day this was looking like a proper mega mod.
And it just gets better.
More rep for you methinks.
Thanks again for the comments!
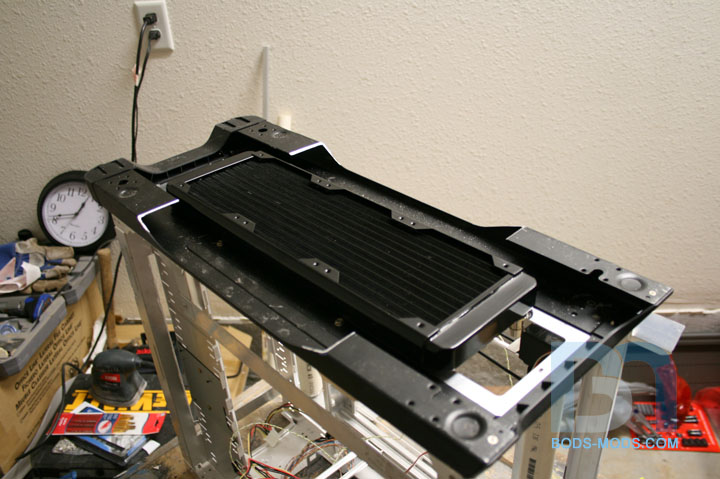
Ok, time for an update! I got some goodies in last week, including my Black Ice X-Flow 360 radiator, so I
could do the last bit of hacking on the case (hopefully). I will be mounting the rad under the floor in the base.
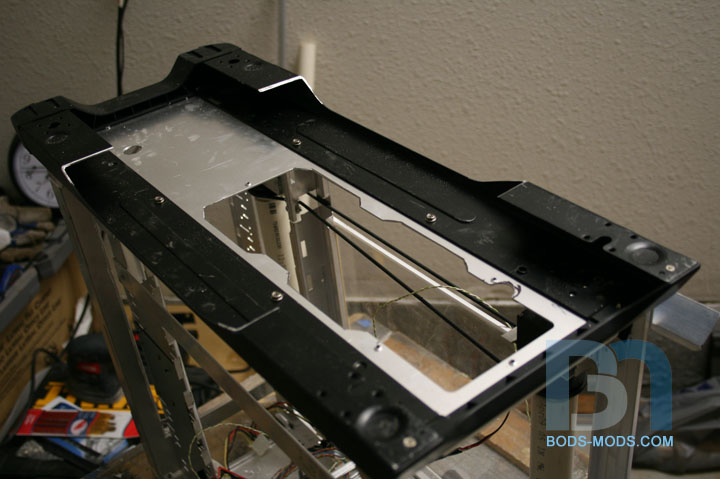
Here is the case upside down, showing how I expanded the existing cutout to match the radiator.
Here's the rad in place.
Now I know what your thinking, that I am mounting a 360 rad where a 240 should go due to the shorter opening.
Well, I have my reasons!I will explain a bit later, and all will be clear as mud.
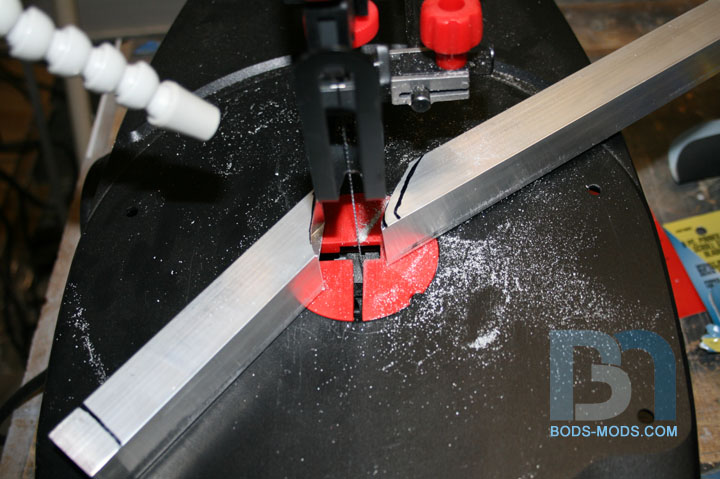
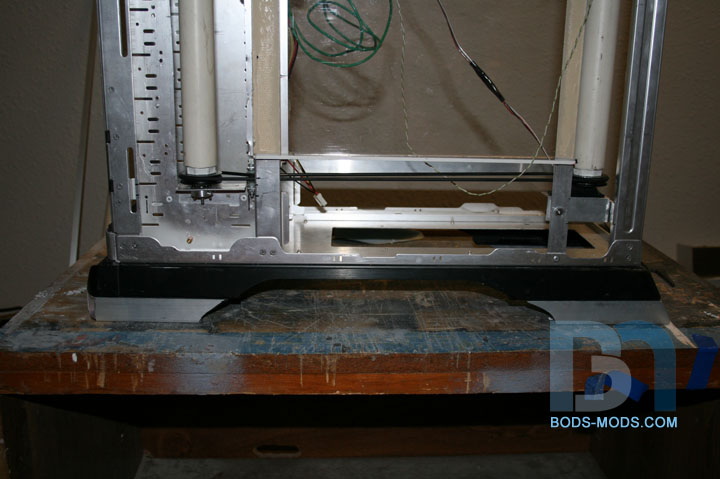
So, if any of you eagle eyes noticed, the rad is about as thick as the base is tall. And since putting wheels on this thing
(or any style of case feet for that matter) is pretty much out of the question, I need to extend the base somehow
to give the rad ample airflow underneath. So I got some 1" aluminum box tubing and threw it into the scroll saw.
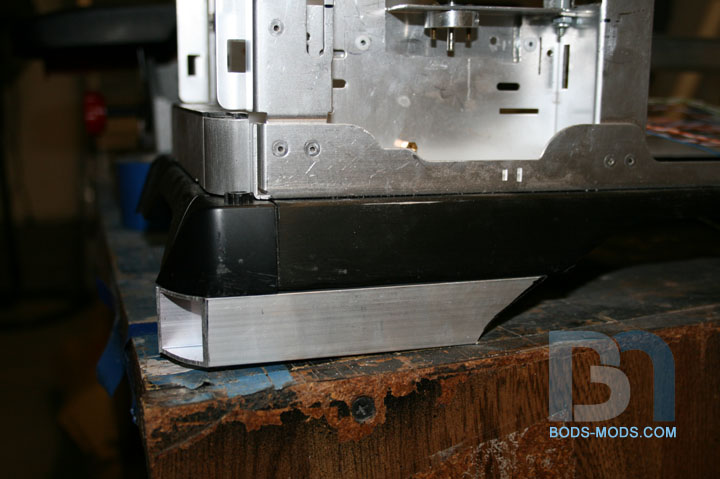
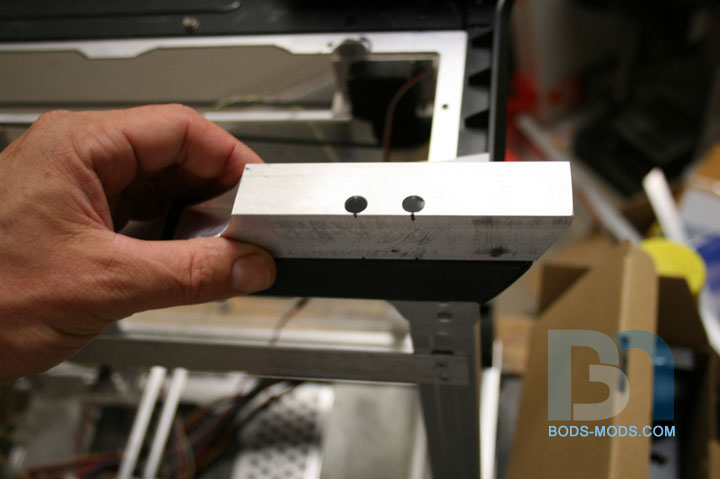
The resulting piece. I'm matching the base's curves for a nice clean extension. This is the front...
And this is the rear, with lines drawn where to cut.
Here are both front and rear in place for a test fit.
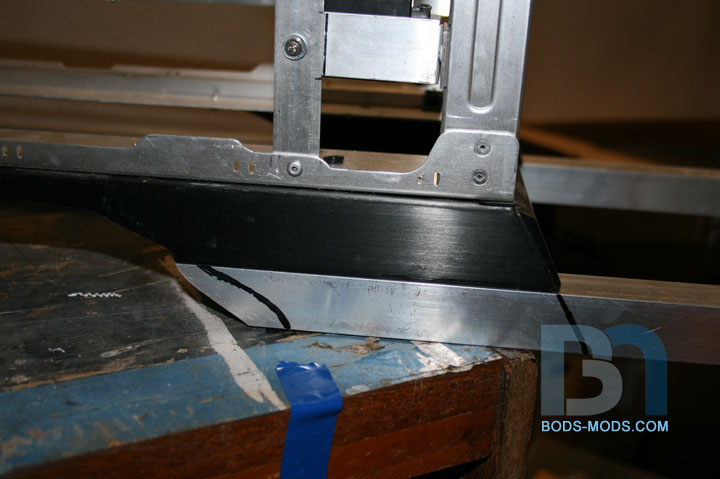
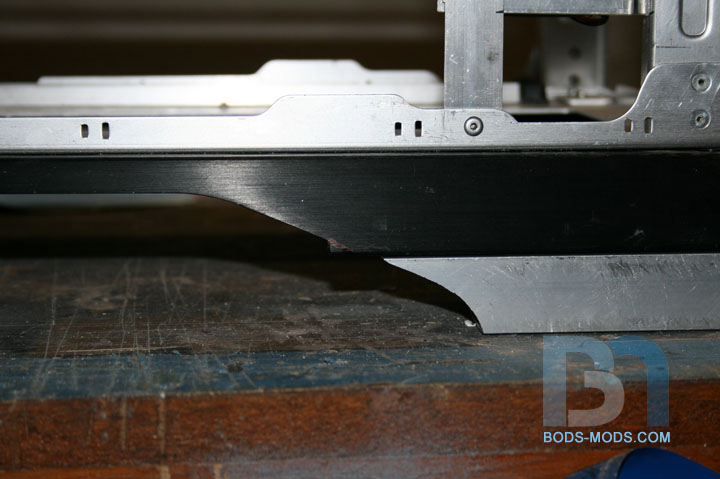
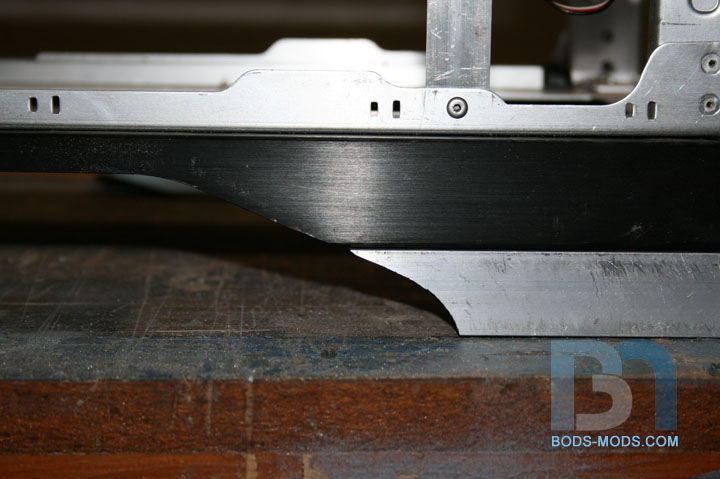
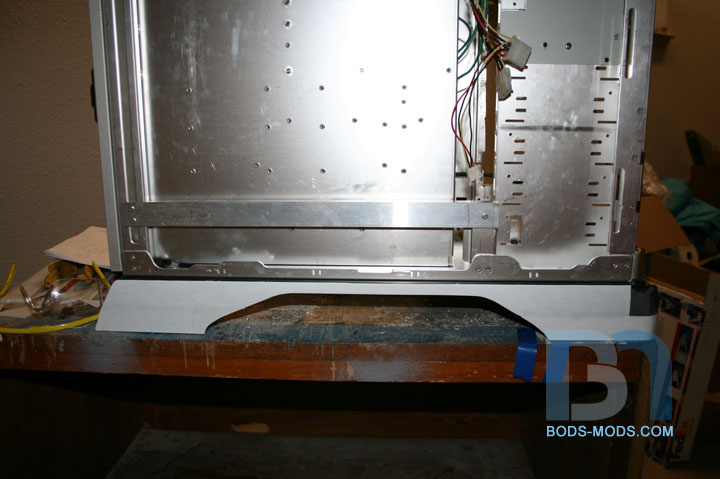
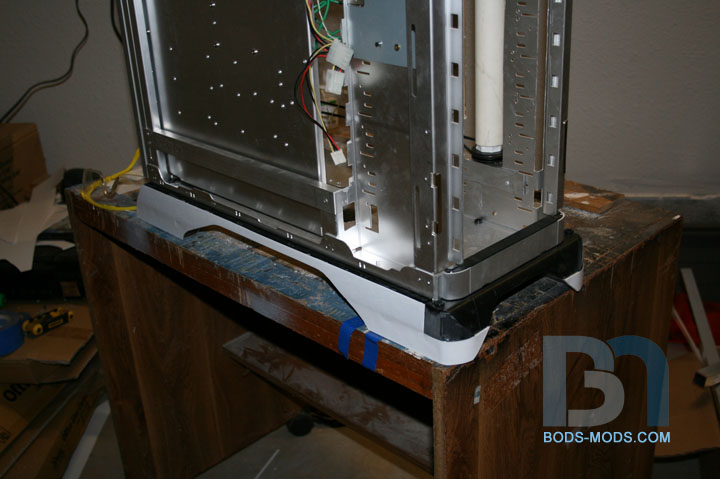
If you'll notice, the base comes straight down a bit at the very bottom. This will need to be rectified in order to
continue that angled body line. Before...
And after.
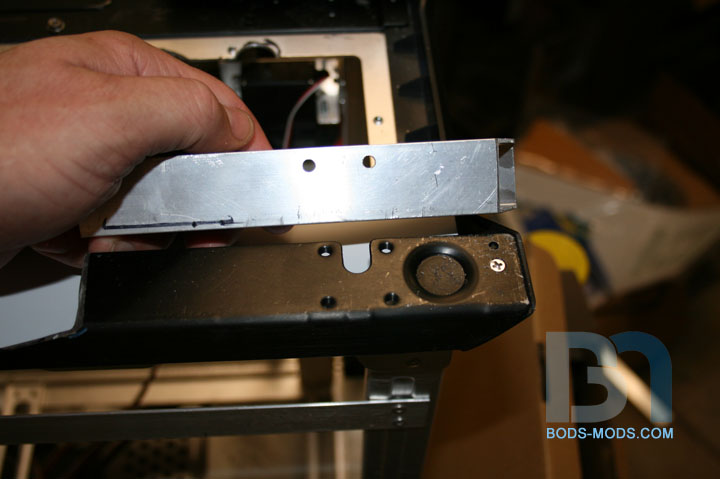
For mounting, I was able to pick up a few of the existing threaded holes originally meant for the wheels that
came with the case. So after I marked the hole positions on the bottom, I drilled them out.
And in order to get the screws in, I drilled out oversized holes on the top. one done, three more to go!
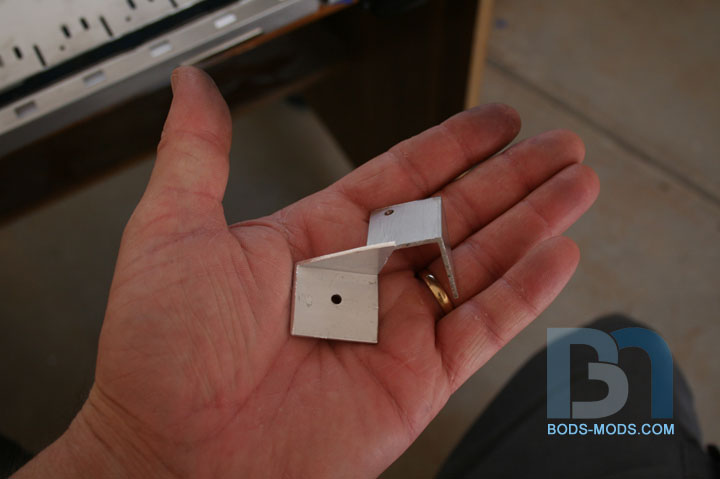
Once the extensions were mounted, I moved to the front of the base. I need to do something there as well, otherwise it will look funny. So I made a couple pieces out of angle bar...
...And mounted them in place. Now the body line below the front bezel continues down to the bottom of the extension.
I will be finishing up the base tomorrow, so expect another update real soon!

Honey Roasted Peanuts Ingredients: Salt; Artificial honey roasting agents; Pressed peanut sweepings.
wow nice work mate that looks really nice
Really nice extension of the case feet, they look very natural.
Project: Elegant-Li *NEW*
Project: Alpha FINISHED
Project: LEXA Revival FINISHED
Project: LEXA FINISHED Bit-Tech MOTM Nominee October 08
BASE EXTENSION PART 2:
Having finished the extensions yesterday, I was able to skin the whole thing with styrene today, complete
with armor paneling.Here I am gluing down the base layer of styrene. I roughed up the metal
surface with the dremel, using a cut-off wheel, to make the glue stick better.
After the glue set up, I trimmed the excess.
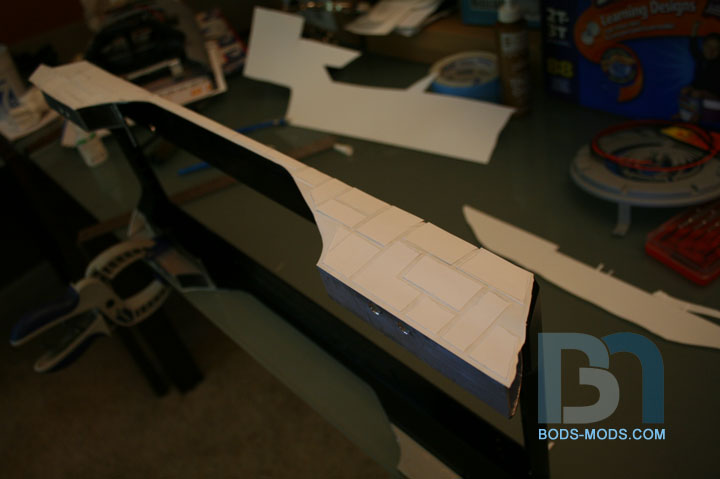
I then removed the base from the case and brought it inside to apply the armor paneling. I did it just as before:
sketching out a random pattern, cutting the panels out almost completely, gluing them down, and cutting away the remainder.
Now I just need to go back and glue all the edges down and this side's done.
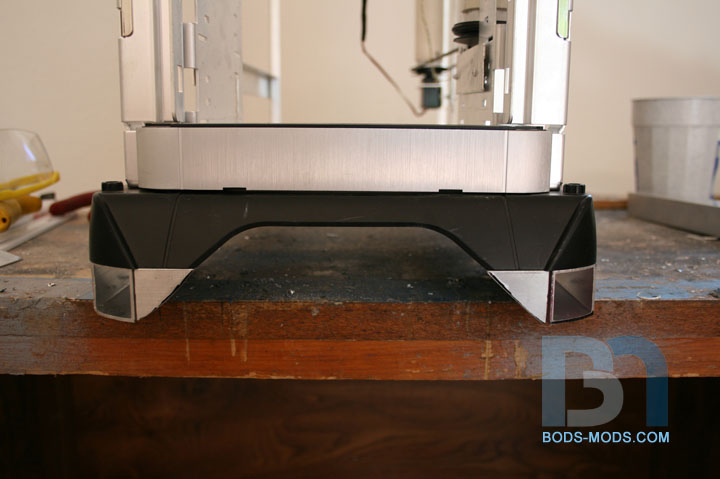
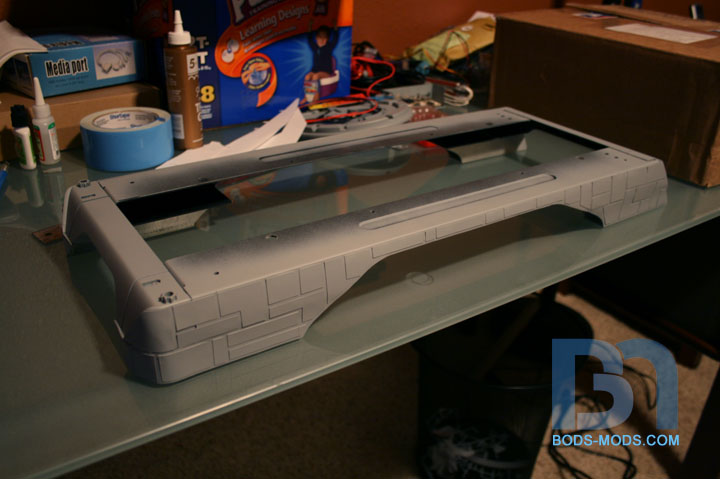
With both sides done, I shot it with some primer.
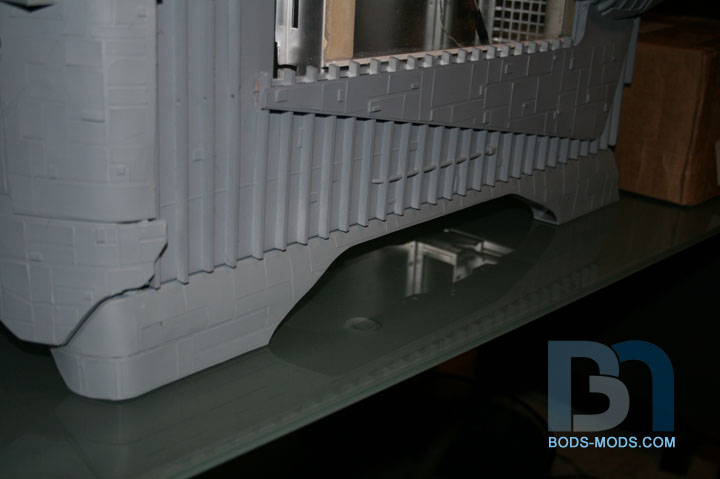
Stuck it back on the case, and threw on the front and side panels for kicks to see how it looks.
Pretty good I'd say. At first glance you'd never know it was extended, which was my goal.
Honey Roasted Peanuts Ingredients: Salt; Artificial honey roasting agents; Pressed peanut sweepings.
 Posting Permissions

 Reply With Quote