Page 1 of 2 12 LastLast
Results 1 to 10 of 12

Thread: Project: Jeep By FoRmEd

  1. #1

    Default Project: Jeep By FoRmEd

    I made a Thread a little while back and it was delayed because of
    the judging. So here it is...

    The Judging is over and I won the Contest!
    First Place $250!
    http://www.overclock.net/case-mods-g...n-winners.html

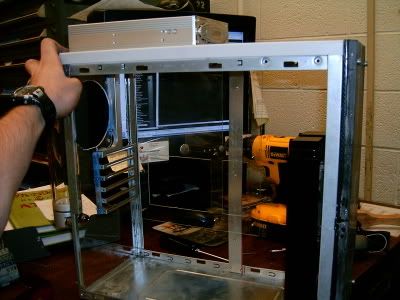
    I will be uploading my worklog momentarily!

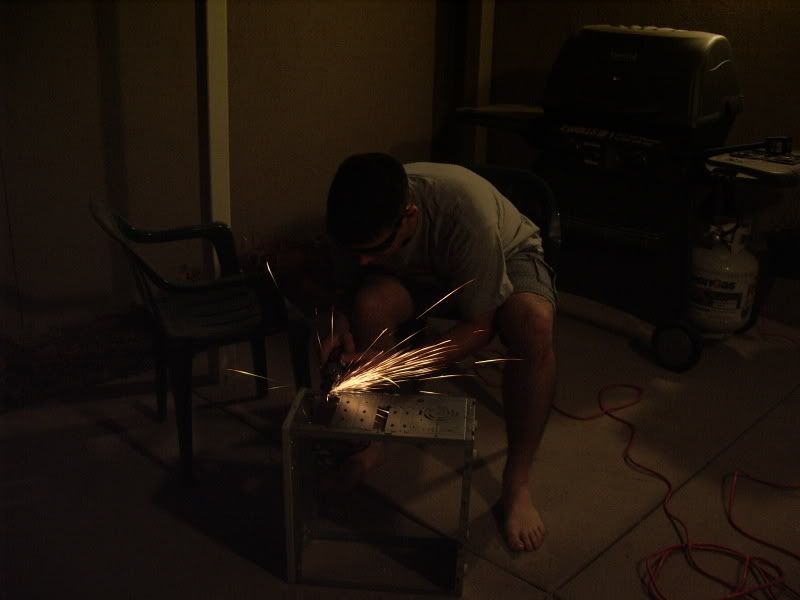
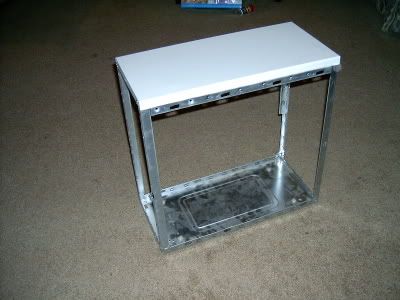
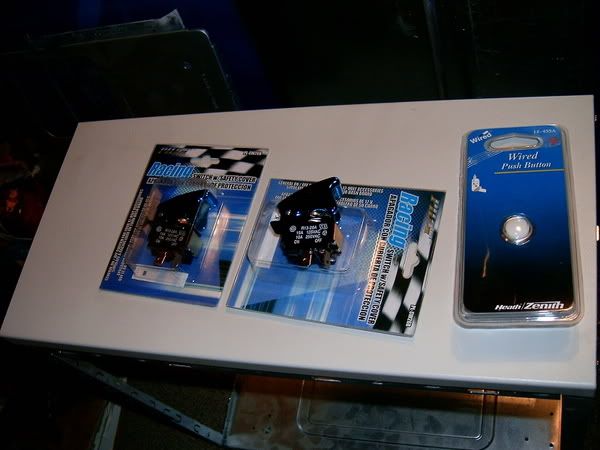
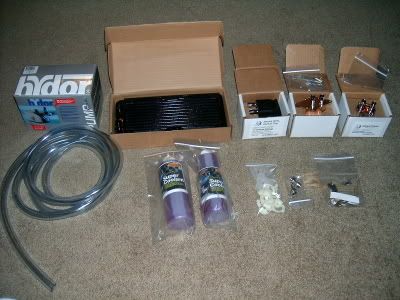
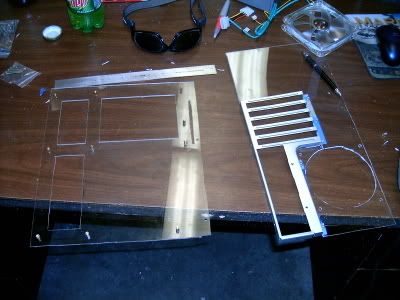
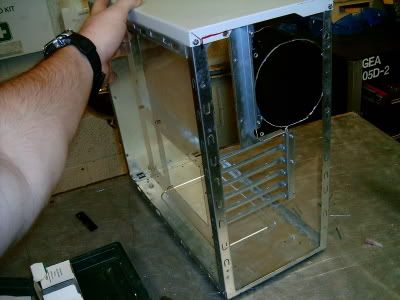
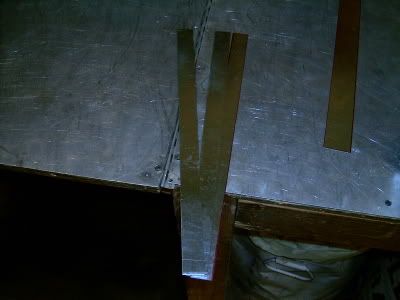
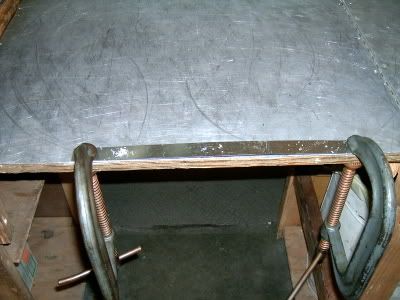
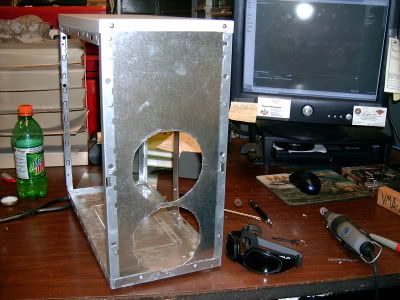
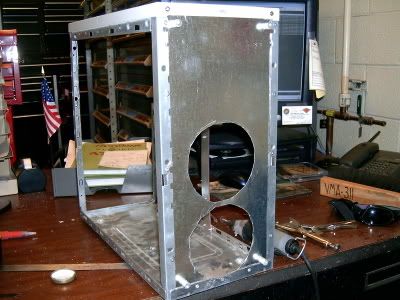
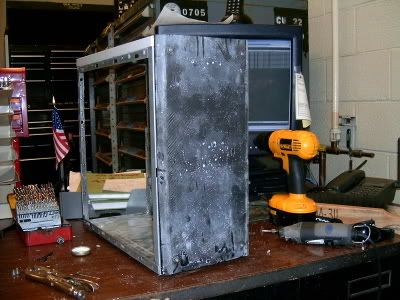
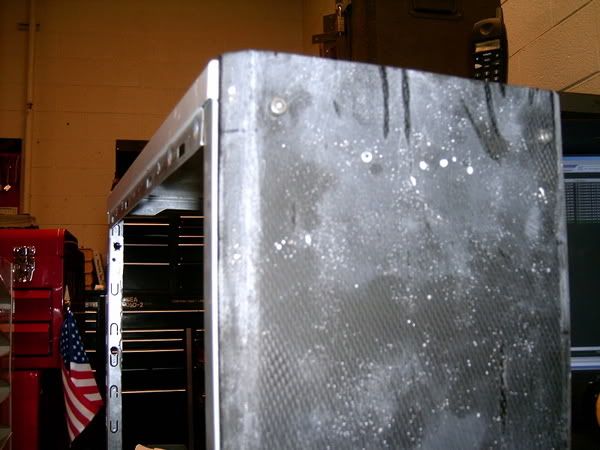
    WARNING DSL KILLER 100+ PICTURES

  2. #2

    Default Re: Project: Jeep By FoRmEd

    Ladies, Gents the Jeep by FoRmEd


    My resent purchase of my Jeep Grand Cherokee inspired me to start
    a case Mod to look similiar. Heres my front sketch.


    The case that I am using was from my first build 4 years ago.
    It was a 750mhz AMD 128 RAM, to embaraced to tell the Rest.


    I already took out alot of the crud, and the front bezel. So the next
    step is to pull her apart. Hence the drilling of rivets!:laughings


    So then I made sure that I could pull it apart.


    Time to start fabrication!

    My first order of business is make all the outside skin! The
    Side panels are there(need fab, but there) so I need to make
    a new front bezel.

    First I got a piece of metal and sized it to the front of the case.


    Then I put a small curve in it, so that it was raised from the front of the case.


    Then I just mixed upsome real toxic stuff, laid down a sheet of composite and
    FoRmEd it around the metal that I already bent! I then repeated 2 more times. Finishing product was this, now I just need to cut and sand!


    So I started to sand and found that the mixture that I used was very strong.
    It took two hours to flaten out the front bezel.


    Ok now It is time to remove the generic front plate and back plate to
    make room for the ones I am about to fabricate...


    See the Propane tank in the back? Ya... what a noob... he's going to blow himself up...


    Finished with that...


    I just got in my materials for the case... here they are.. the black
    roll is my mesh.. the blue thing is my plexi... the metal rod is for the supports,
    the sheet metal is for the grill and some internal braces for DVD burner,
    and the high speed triggers are for the power and clear cmos, then the door
    bell is for the reset button...


    I recieved my WC today...


    Now I am just waiting on my modular kit, reservoir, sleeving, hdd cooler case, and molex kit...

    Today I made my motherboard mount plate... All I did was line a piece of plexi
    up with my mobo and draw... I made those big holes for more ventilation...


    Time to work with the Front Bezel Again...
    First to make the Metal that is going in the Front...
    I cut a piece of Zinc to the Size I needed then drilled holes to fit right..


    Time to Rivet it in...

  3. #3

    Default Re: Project: Jeep By FoRmEd

    My buddy decided to help real fast... LOL...


    This is what it looks from inside the case....


    I then cut a piece of Plexi to fit for my back plate...
    And compared it the Mobo Mount plate..


    I then put it in the case to see what it would look like...


    Now I need to make a support beem for the Mobo Mount plate...
    So cut 3 pieces exactly the same...


    Then drilled 3 holes through all of them...


    Then I riveted them together...


    I then mounted the support beam in the case...


    Time to make the holes in the front bezel.. So I mounted the fans so I could
    get the exact measurements...


    Then I made stand offs with a aluminum rod...
    I cut them, drilled them, then Taped them to the right thread...
    Then I mounted them to the front bezel...


    Then I mounted the actual front bezel that I made out off composite...


    I wanted to see what the case would look like...

  4. #4

    Default Re: Project: Jeep By FoRmEd

    Time to make the spot that the DVDRW will sit...


    And after it is cut out...


    And after I cut the front plate so I could slip it all the way through...


    And now I need to make the Sheet of Zinc that will sit on the front
    and have the Jeep logo on it!
    So I drew out were I needed to make the cuts and bends...


    And after I cut it and added the bends...


    Then again I made more stand off and got it ready for mounting...


    Then mounted it...


    I then cut the front Zinc just like the composite...
    And I am getting ready to mod the Rack to only hold the one
    DVDRW...


    And after I cut it...


    And after it is mounted....


    Ok it's time to make the Jeep Logo

    First I needed to find a good sized logo on the internet then print it.


    Then I taped off my metal of were it was going.


    Then I made sure that I drew square lines around it and got the
    proper tools. My intension is to take cut out the black.


    And this what I did...


    After I cut it out I taped it onto the metal with the tape on it.
    I need to trace it so I can draw a grind onto the layer of tape underneath.


    Then for two hours I took a size 52 drill bit and drilled holes in the
    intersecting lines.


    Then I finished the Drilled adventure and removed the tape.


    AND THE BEST PART!!!
    Time to see what it looks like with light under it.
    I used a jumpered Power Supply and a 120mm TT Thunderblade.


    Ok ...

    Time to move on to the well know Grill...

    I found a piece of metal from all the scrapes that I have...
    I measured the spot that I desided to put it and mark the metal accordingly...


    And then I started the fun part... cutting a whole out with a dremel...


    Once I finished the holes, I wanted to see what the head lights would look like..

  5. #5

    Default Re: Project: Jeep By FoRmEd

    Once I was happy with the head lights, I made the grill more visually stimulating...(curves)


    Then I cut out the lines and again added the gauges...


    Back to the top piece...
    mock up of switches...


    Then after I drilled holes and mounted them...


    Now the top plate wont mount because of the switches...
    So I am going to cut out holes so they will flush up...


    Then once it was done I was able to mount the front plate.


    I wanted to see what the lights from the fans on the Radiator looks like...
    So I mounted the fans, and power it up...


    Then the Radiator in the case made cool lighting affects!

  6. #6

    Default Re: Project: Jeep By FoRmEd

    Lined up the grill , drew the dots and measured it out... Cut and there it is...


    As usual I want to see what it looks like so I mounted the radiator for lights...


    Brought out the Modded Musketeer2, and made sure that I needed to cut some more stuff in the back...


    Then with the Gauges in!


    Now I need to Mount the Radiator for real...

    SOOO...
    I cut 4 pieces 3/4" width... and I added some cardboard for temporary washers...


    Time to get the Side window done, so I can get the case painted...
    This is what I want it to look like!


    So I measured out the diameter of the window and came in 1 1/2"...


    Won't see more of the side panel until after paint...

    I decided to put a 120mm fan on the top of the case...
    So I measured it out and cut...
    WARNING: Be careful after you cut with hole saw, VERY SHARP...


    I also need to add a hole for the cables to run down from the Hard Drives...


    I want the HDD's out of the case...
    So, I am going to be putting them on the top in a tradional crate that is well know by Jeep...
    I went to the local Hardware store and some really small pieces of wood...
    The crate needs to look poorly made so I will do my best to make it look cruddy...

    Mock up...


    Cut wood and placed it on the Hdd Coolers...


    Measured (sorta) and pre-drilled the top wood but did not pre-drill the bottom ones in hopes of
    cracking the wood..


    Worked!


    Cut and mounted the side panels then cut the bottom and mounted that also...


  7. #7

    Default Re: Project: Jeep By FoRmEd

    And the case mocked up...


    Ok the case is off to get painted by a good friend at work!!
    THX LBC!!!!

    So while the case is off getting painted I went ahead and started to make my Power Supply Modular...
    First I cut all the cord to length...


    And this is what it looks like after I finished....


    Got the case back!!!!

    I had him put the mud on the side and I went to the local Jeep Dealership and bought a
    Jeep Logo from the Parts Counter...


    Side window...


    Front...


    Now that I have the case back I can get the Side window going again!

    So, Time to measure and cut for the mesh that I want to add for more intake air...


    Added the OC Flame and mounted it...


    I retrieved the Resivior from my big box of parts and got it ready to mount...

  8. #8

    Default Re: Project: Jeep By FoRmEd

    Mounted the Radiator and all the 120mm fans...


    Decided to put mesh behind the Jeep Grill!


    Had a friend tackle the front pieces of metal by giving them a brushed look!


    I assembled the front bezel and moved on, forgetting to take a picture...
    But here is the grill.


    Ok so I decided to junk the door bell I was going to use for the restart button,
    I went to frozencpu.com and bought a button.


    And this is yet another mock up...


    On too the Musketeer 2...
    I decided to put it on the bottom of the case and gaurd it with mesh...


    The Power Supply needs to be braced, so I cut some zinc and bent it...

    Put it in the case and riveted it down.


    Placed the Power Supply on the plate, marked the screw hole, drilled, and then screwed it in...


    Time to cover the Power Supply with mesh...
    So I cut the Mesh, and started to bend...


    Then after it was done...


    I removed the front bezel from my DVD Burner, and painted it black.


    Cut the plexi for the new front bezel...


    Cut the mesh...


    And the Burner mounted....


    Time to start with the Water... So the video card is first...


    This is the chipset...

  9. #9

    Default Re: Project: Jeep By FoRmEd

    The rest of the work log is here:

    http://www.overclock.net/case-mod-en...ep-formed.html

  10. #10

    Default Re: Project: Jeep By FoRmEd

    Time for the final pics!


    Edit:

    Special thanks go out to all the members on Overclock.net that helped me when needed...
    And to those Awesome Members at TBCS that helped with my LED's!

    Special Thanks to the honorable Weasel70 for his dire atempt of Quality Control.(I didnt listen sometimes.)

Similar Threads

  1. Project Nighthawk: Skunkworks F117-A Worklog
    By Crimson Sky in forum Paul Capello's Worklogs
    Replies: 98
    Last Post: 02-17-2009, 05:26 PM
  2. Project: KNS-01 19-AUG
    By Kumo in forum Works in progress
    Replies: 35
    Last Post: 11-14-2006, 05:29 PM
  3. Jeep by FoRmEd
    By FoRmEd in forum Works in progress
    Replies: 17
    Last Post: 12-18-2005, 04:06 PM

Posting Permissions

  • You may not post new threads
  • You may not post replies
  • You may not post attachments
  • You may not edit your posts
  •