looks like this is coming along nicely!


looks like this is coming along nicely!
Centurion 5 Mod <<--- ON HOLD FOR THE WINTEROriginally Posted by Omega

Looks like you made a stencil its the reverse of the cutout. I think it would look better if you outlined it with a permanent marker or made a outline with an engraver.

Very nice sketchups, nice work. I'll be watching this.
Project: Elegant-Li *NEW*
Project: Alpha FINISHED
Project: LEXA Revival FINISHED
Project: LEXA FINISHED Bit-Tech MOTM Nominee October 08

Thanks for the support. More incentive to work on this.
@Eclecticos - I may try outlining it. If anything it would look nicer with a cleaner edge.
Update 5 - Just a Small Update
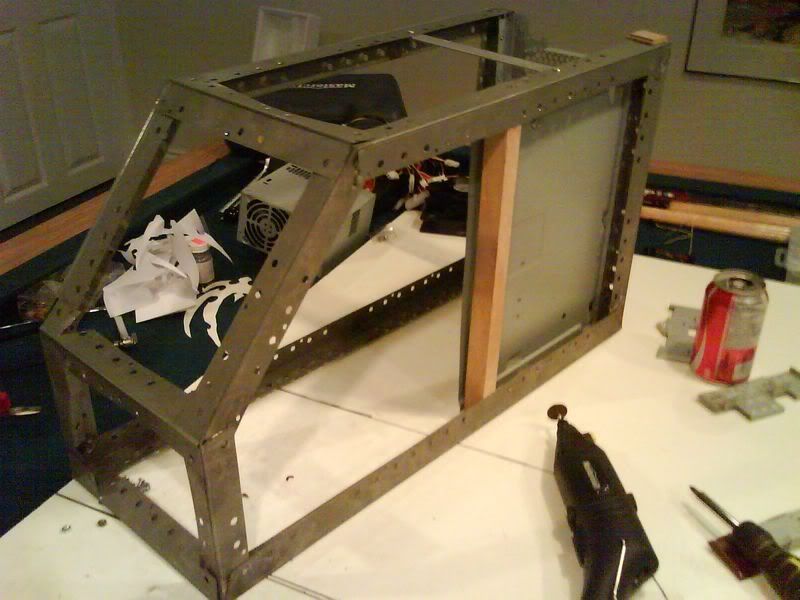
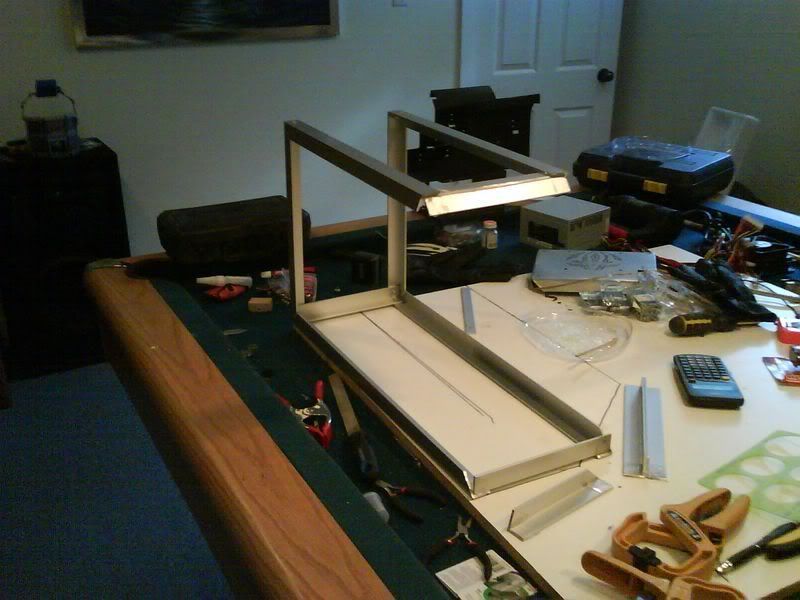
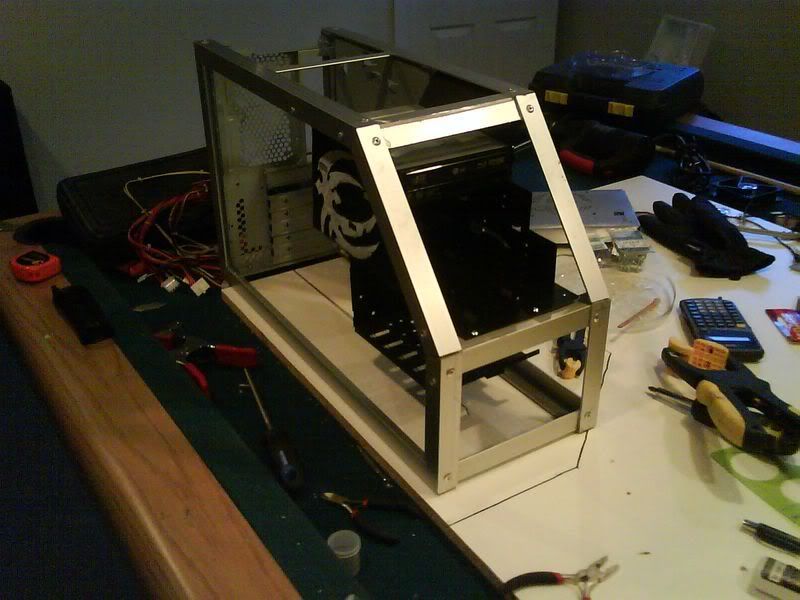
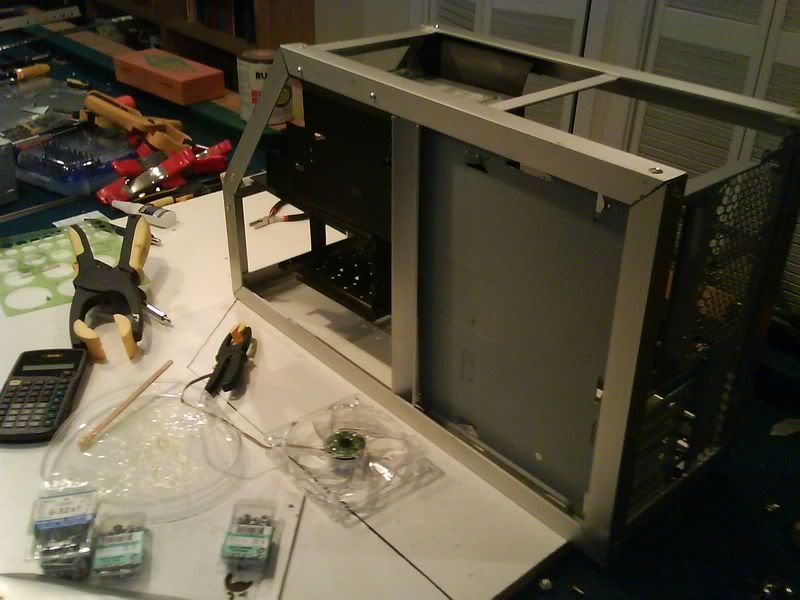
Not too much work was done today, but it was important work. I began to attach the motherboard try and back panel to the frame. I haven't finished this yet since I don't have all the supplies I need to do it at the moment, but I'll get it fully attached preferably before next week.
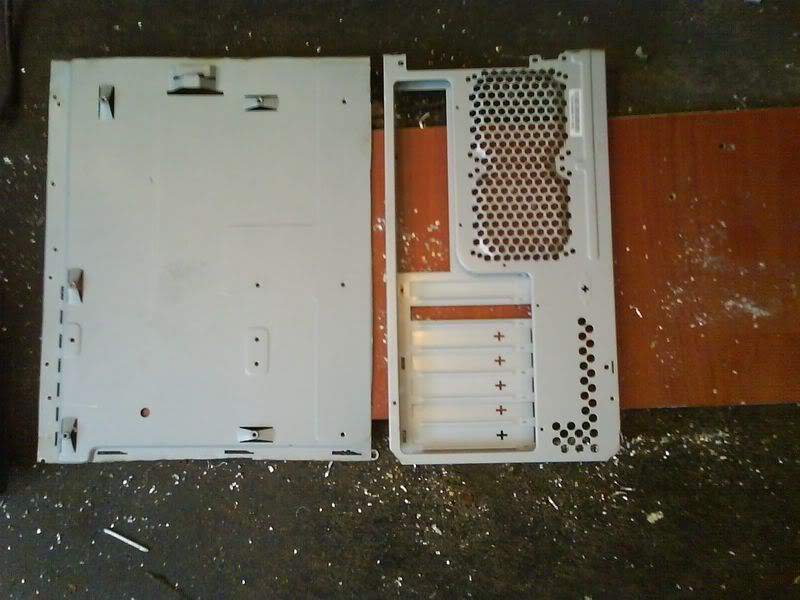
Also, I took out the drive bays, and front panel for today so I wouldn't damage them, so this is just the frame.
The cross beam at the rear top wasn't working out so well. It turned out that this beam was sitting too high for me too just trim it and put in the power supply. What I originally want to do was to cut out a small chunk of the beam and have it frame the power supply, but in order to fit the supply in with the back panel I'd have to completely cut through the beam.
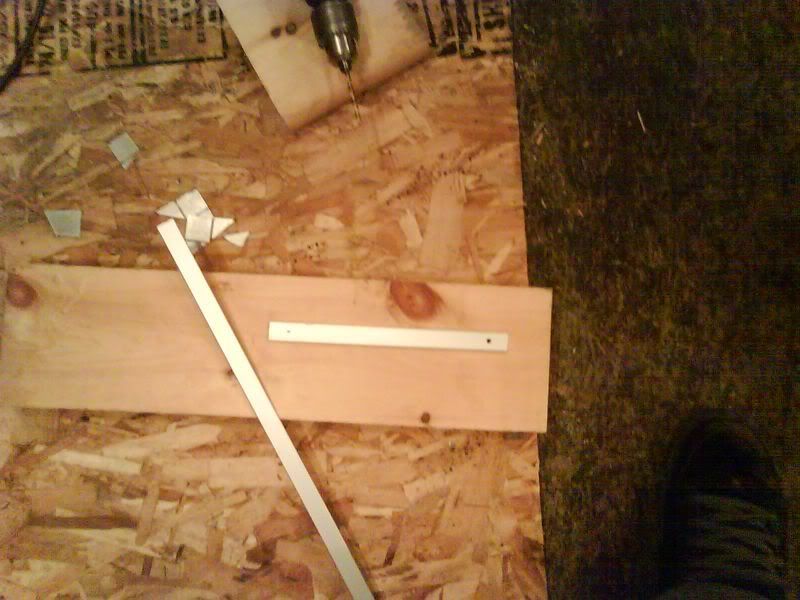
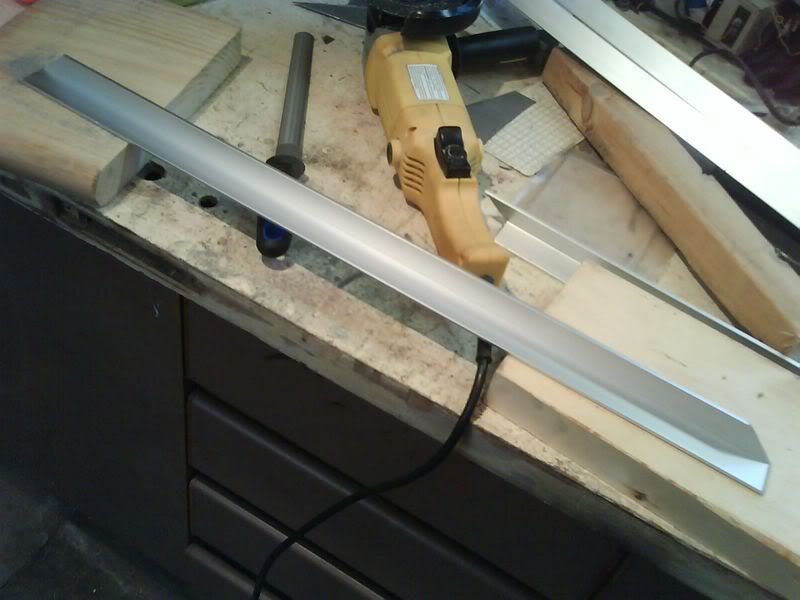
So I tore it off and began to prepare a new beam, one that would sit further forward:
That's the nine inch segment of bar I'll be using for the cross beam with holes marked for me to drill.
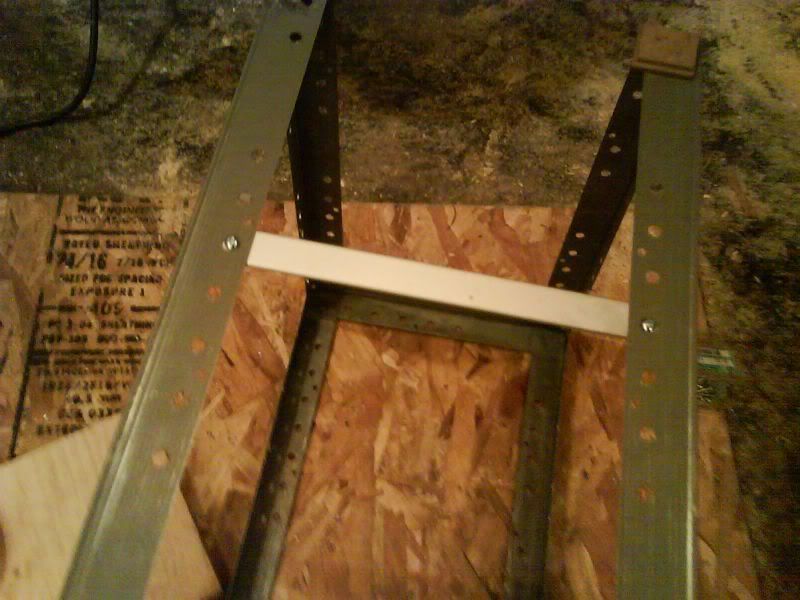
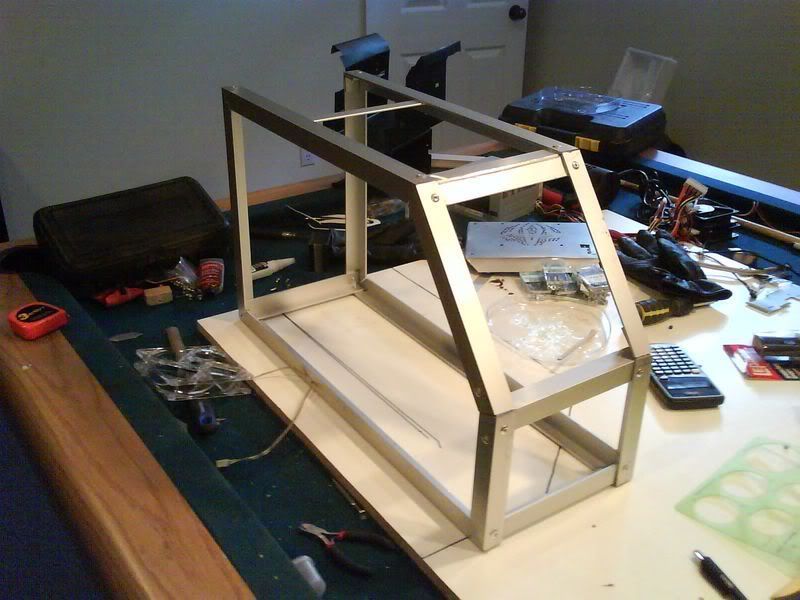
Well here it is attached to the frame. I positioned it 6.5", or 16 cm from the rear of the frame:
This gives me clearance for a standard PSU, including the 650W Cooler Master PSU I'm going to be using in this system. And If I get a larger PSU, there's plenty of holes in the frame, so I can just move it forward, since it's bolted in place.
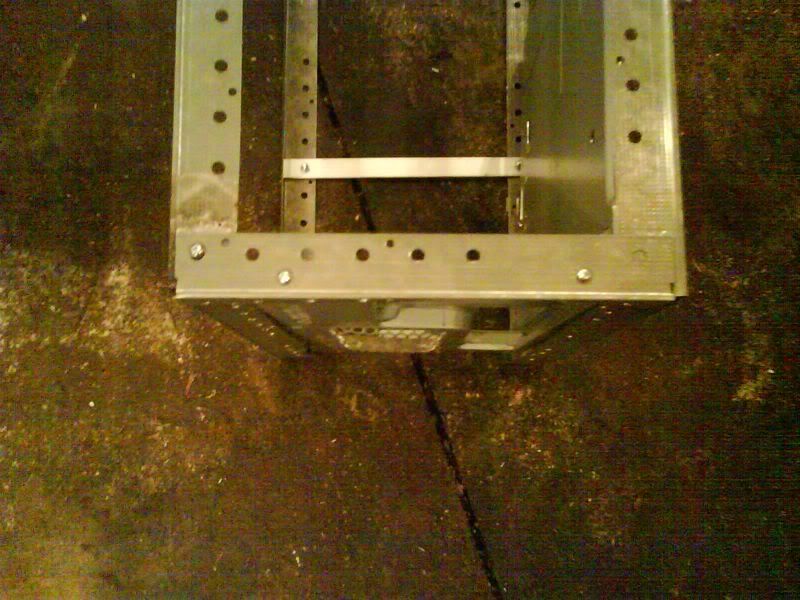
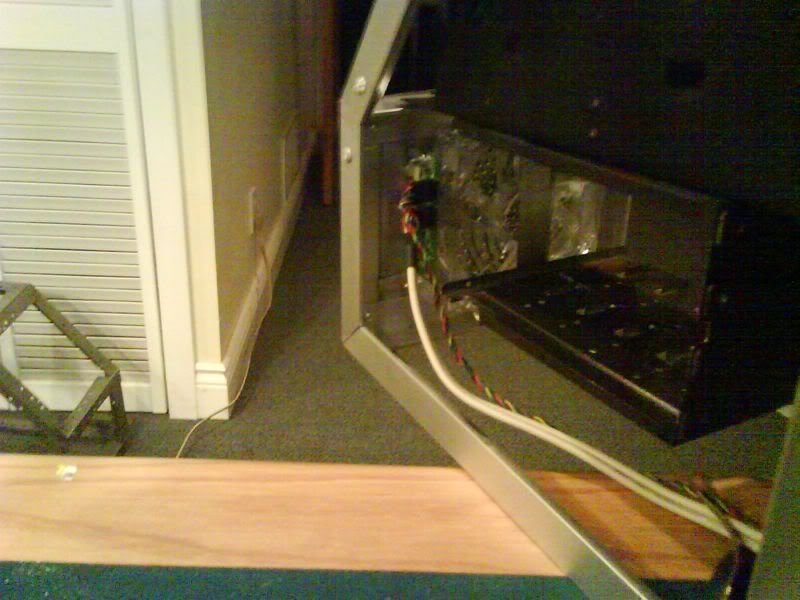
I also bolted the bottom of the rear panel to the base of the frame:
I also had to bolt the corner since the glue decided to give up.
Yay, but the cross beam caused some problems. The mobo tray couldn't fit under it, so I marked off a segment for grinding:
I don't have any images of the final product, but it fits.
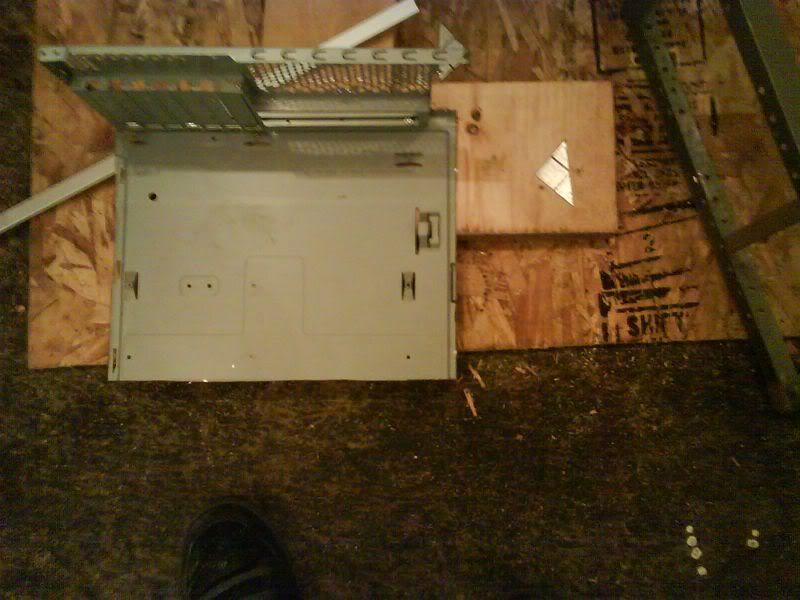
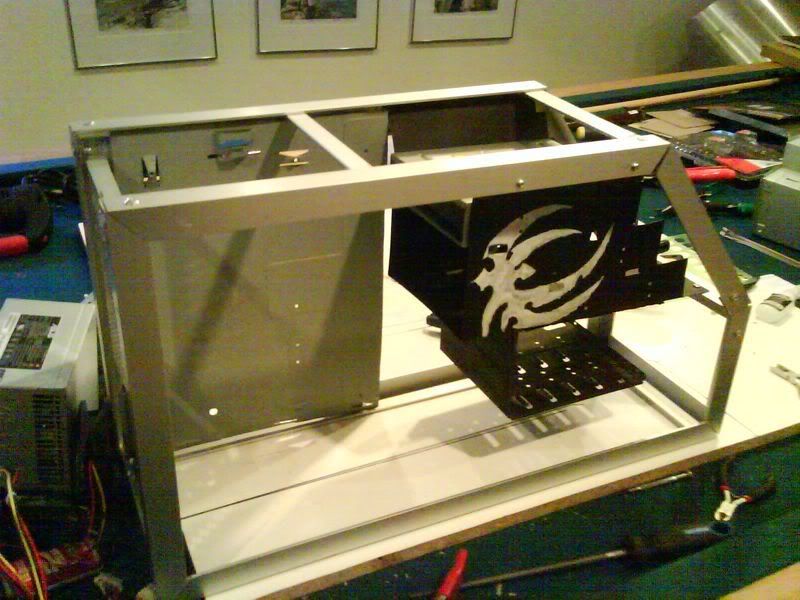
Finally I made a wood block to attach the mobo tray to the frame, and to support it:
I used wood because it's strong, easy to work with, and is nice and thick. Also, it won't be seen much, so it shouldn't be a problem.
I will bolt through that wood to hold the mobo tray in place, but I need to go and get some 1" bolts, which I don't have. And since there is not enough room to bolt or rivet the rear panel to the frame on the back, I'll use epoxy to stick it on, also something I have to go buy.
So that's the work I did. I also wanted to make my to do list:
To Do
- Finish installing mobo tray
- Make power and reset buttons on front panel
- Make the rest of the paneling (bottom, top, and sides)
- Figure out how to hinge front door system
- Make front door system
- Make fan holes wherever needed
- Make windows
- Install lighting system
And probably a lot else I'm forgetting at the moment.
So I have a fair bit of work ahead of me, but I'll enjoy doing it.
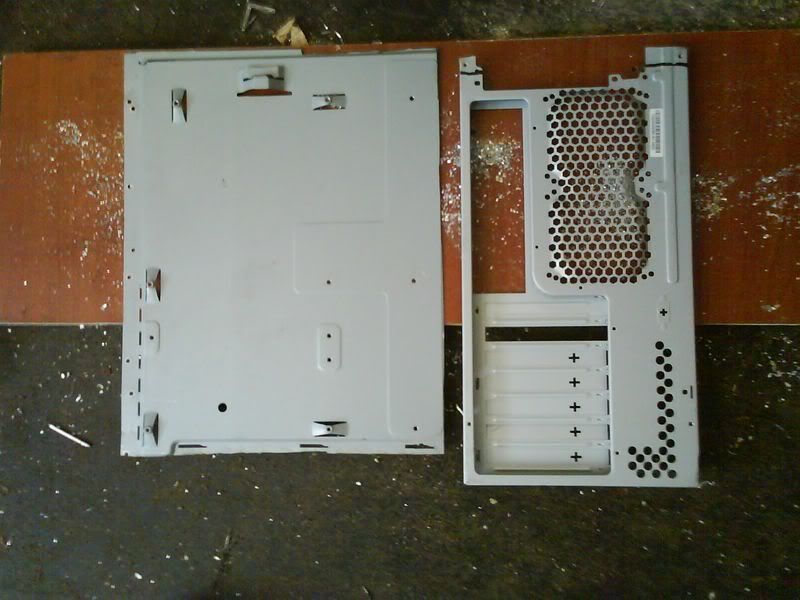
Also, I got a new goodie today:
A big piece of 5mm smoked plexi courtesy of my dads garage. I can use this for the drive bay doors, the power / reset buttons, and some other windowing.
So that's it for tonight. Sorry it's a small update, but I know how much you guys like to be kept up to date. It's my March break now so I should have a lot of building time, so if I get the rest of my supplies together I should get a lot of work done next week.
Cheers


header added, though it's not very elaborate. I may try something else later.
"At the midpoint on the journey of life, I found myself in a dark forest, for the clear path was lost..." -Dante Alighieri
Thanks for the new header, it looks good.
All right, I don't have an update for today, more an announcement of my plans for this build.
I have found it to be frustratingly difficult to create slide off panels that will actually attach to this frame I've made. The material used on the frame is far too malleable. It just twists and bends, and breaks apart whenever I attempt to modify it or attach a panel. So I shall be making an entirely new frame, this time out of proper 1" angle. I will be purchasing this angle tomorrow, and since I have the week off, should be done the frame on Tuesday. The angle will probably be 1.5 - 2mm thick, and aluminum if I can find it. Otherwise I'll use steel. It will be held together with 3/16" rivets, so should be nice and strong.
Today wasn't a total waste, I did do some supply shopping. I picked up some high quality dremel blades, sand paper, files, epoxy, rivets and rivet gun, and some other stuff that will be necessary in this build.
Not all the work I have done so far will have been a waste either. The drive bays I made will still be used, and remain the same, and the front panel should be salvageable. I do not want to drill all those holes again. Of course remaking this frame will also benefit this build. The current frame is ugly as sin. The new one should be far more attractive, and far stronger.
So I apologize to those who have been watching this build, but the new frame will be even better. So with a little patience, on my side, this will be a good turn of events.
Cheers
Update 6 - A New Frame
Sorry for my silence, but the work I did took a lot longer than I thought it would
As was stated in my previous post I decided to redo the frame. Well a few days ago I purchased some aluminum angle. It's 1" X 1" X 1/8". Beautiful quality stuff, but it was a huge rip-off. It cost $4 per foot, and I bought 24 feet, so I'm hugely invested in this case now.
So I prepared the first bar:
This is one of the bars for the base; the longest piece in the frame.
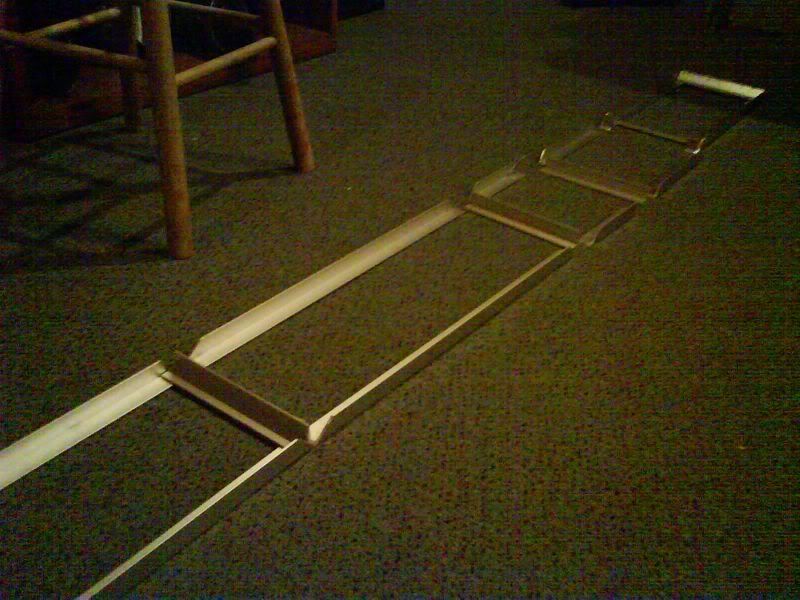
Well I didn't want to bore you with a picture of each piece I cut out, so here's all of them together:
That took a LOT of hours to complete; far too many hours. This stuff is hard to work with, and I had to do every cut with a hack saw to boot. But I got them all cut out. One major problem was the fact that I lost my protractor. I had to prepare every angle using trigonometry (thank you math class), and I was never sure of it was correct. So there are several defects in the corners with angles and such, leading to some gaps, but I'm not worried about those.
And so we commence with the assembly. I glued each part together first, then drilled out the holes for rivets, and finally riveted the frame together:
Now that's a frame I can be proud of.
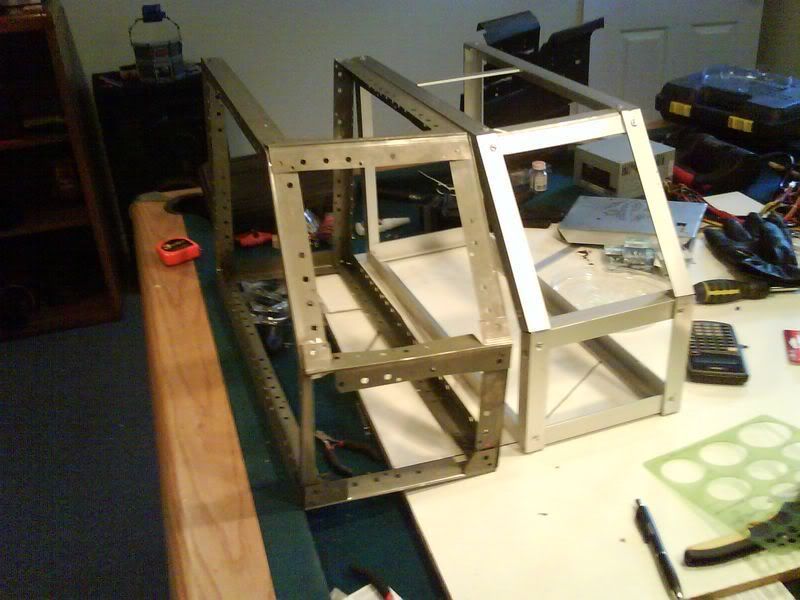
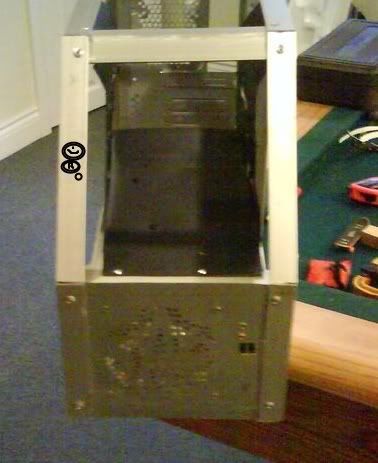
And here is the new frame (right) next to the old one (left):
So, so very much better. Now I'm actually happy with this project
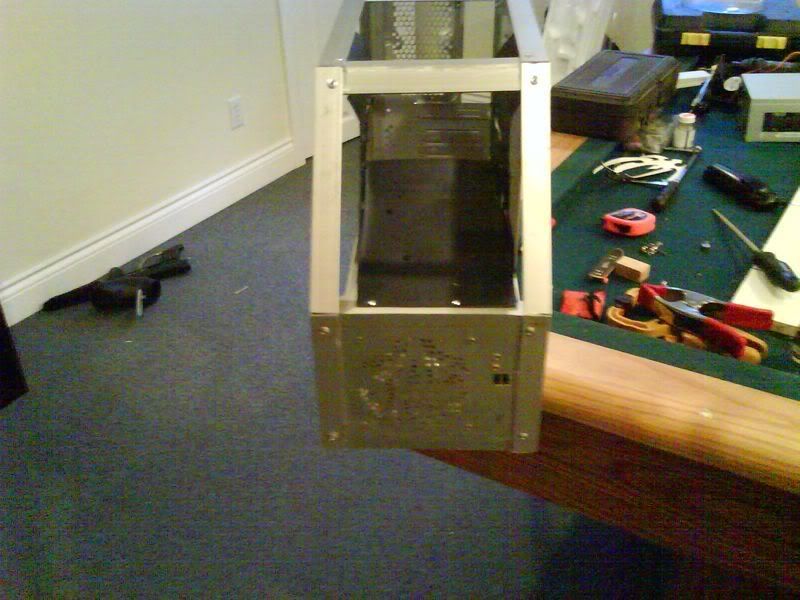
Now the frame needs it's back panel and mobo tray. But the ones I have were too big and needed a bit more trimming:
Now it will actually fit.
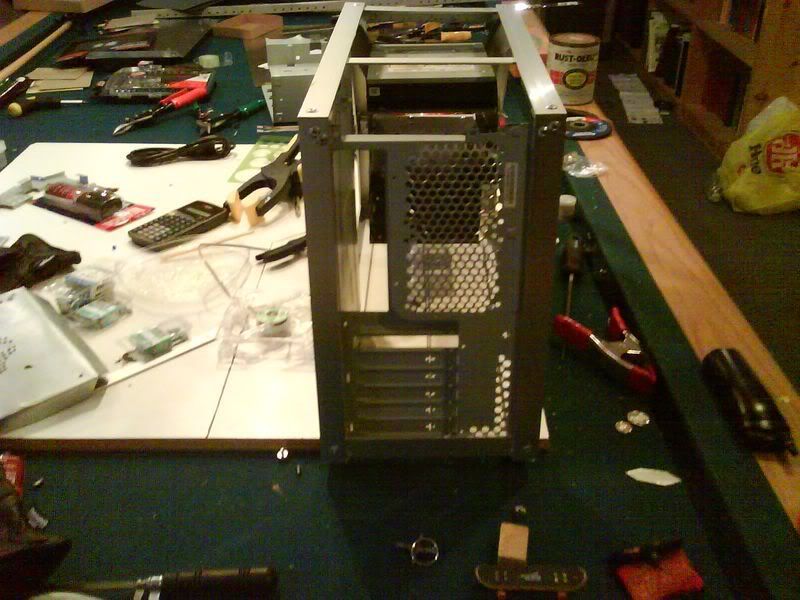
So some boring work later I attached the mobo tray (with rivets) and the drive bays (with bolts) to the frame:
It's gorgeous. A work to do TBCS proud. And I still have 6 feet of angle left.
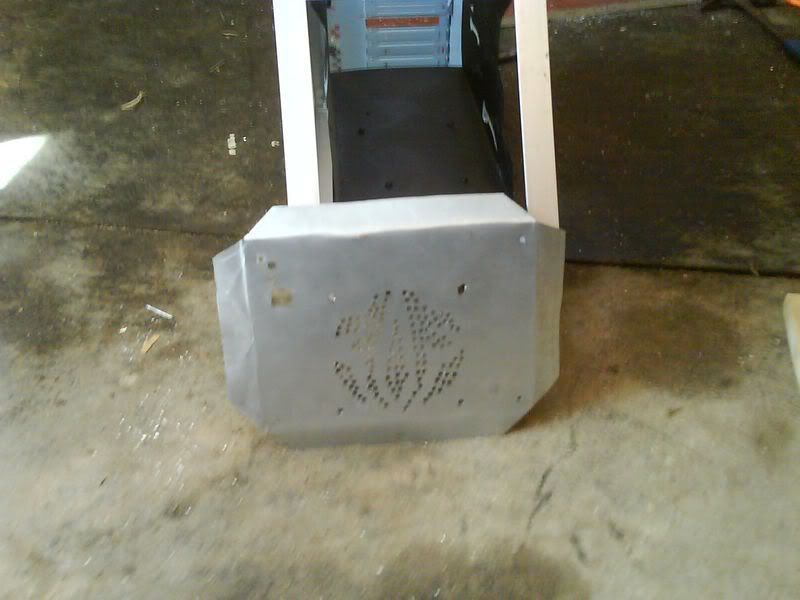
But that's not all I did. I also prepared the front panel from the one I previously made:
As you can see it is far too big.
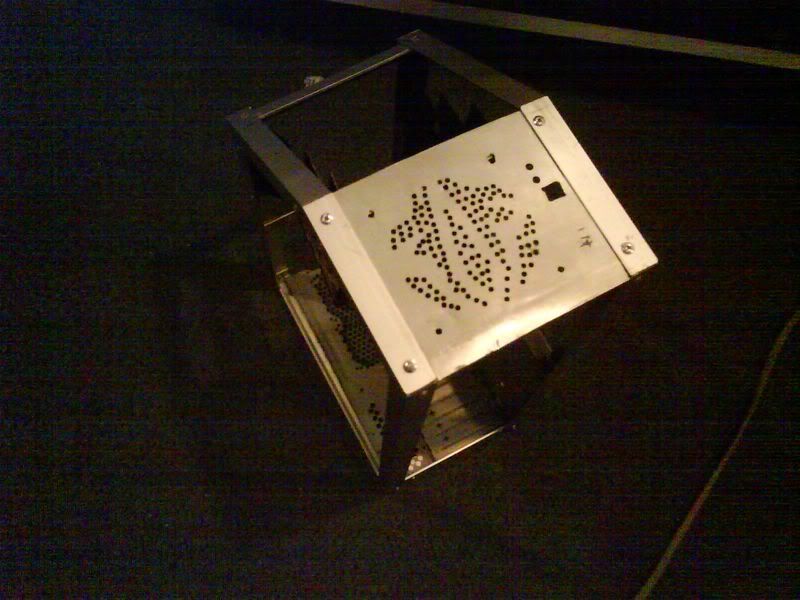
So I trimmed it:
So now it fits. I had to remake the holes for the audio and USB, but that was easy.
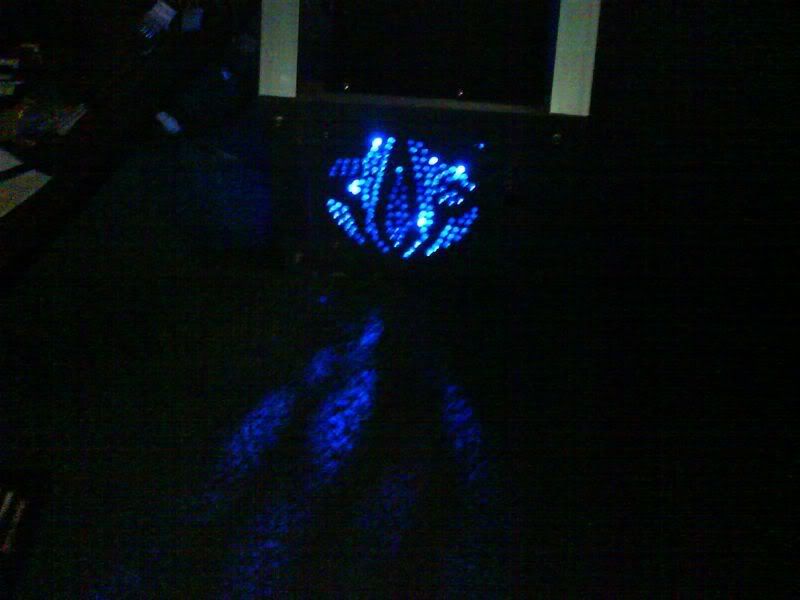
So here it is with the fan and front ports attached:
Since the gap behind the front panel is actually slightly shorter than a 120mm fan, I used the fan to hold the front panel on. It fits like a charm, and I don't have to drill any more holes
I decided to hook the fan up to my current computer to show you what this will look like:
Now that is sexy.
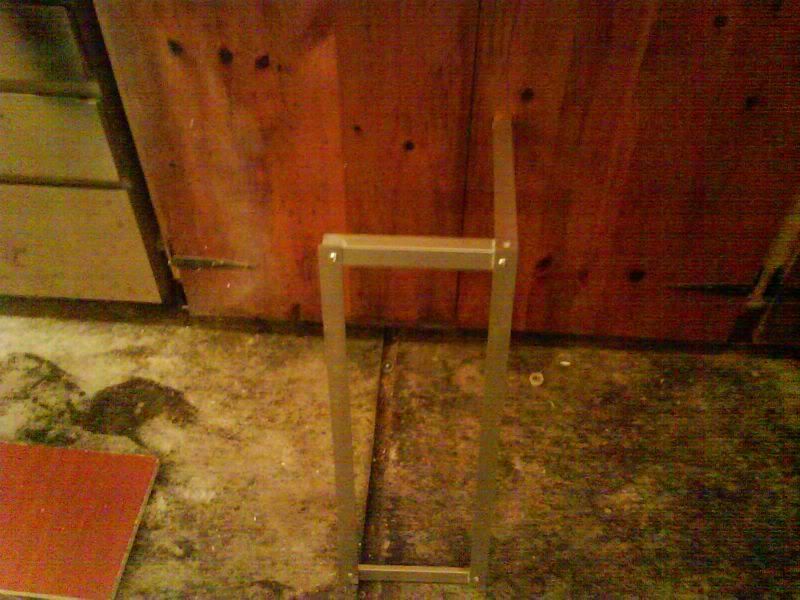
And after 3 days, and more work than I care to think about, I have a new frame, with all the fixing attached. Now all I have to do is make the rest of the panels, and mount the power and reset buttons. I'm thinking I shall mount them on angle beside the drive bays, facing forward, like so:
Crappy photo, but it gives you the general idea.
So that's what I have now. I really wish I had a better camera, but I'm stuck using the one in my cell phone. I hope the shoddy picture quality doesn't turn you off this build.
To Do
- Make power and reset buttons
- Make the rest of the paneling (bottom, top, and sides)
- Make front door system
- hinge front door system
- Make fan holes wherever needed
- Make windows
- Install lighting system
Cheers

new frame is so much better
is that a 120.9 raddy on your case, or are you just happy to see me?
METO V.1
METO V.2
METO V.3
PC-Beto
Project M8 [WIP]

i may have missed this, or maybe you just didnt need to say it. One thing i'm thinking is the mobo tray aligned so that when risers and what not on there the back of the mobo its self will fall into the back panel correctly. Probally worth checking it still fits
Looks much better than the original frame, nice work.
Project: Elegant-Li *NEW*
Project: Alpha FINISHED
Project: LEXA Revival FINISHED
Project: LEXA FINISHED Bit-Tech MOTM Nominee October 08
 Posting Permissions

 Reply With Quote