-
Overclocked


 Re: Project : XTC Retro Laptop
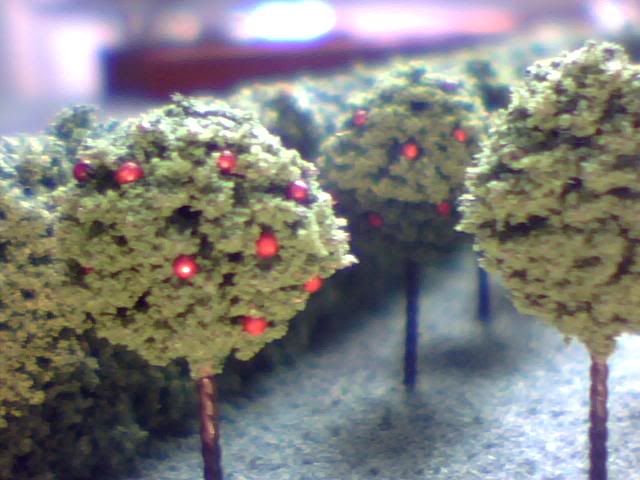
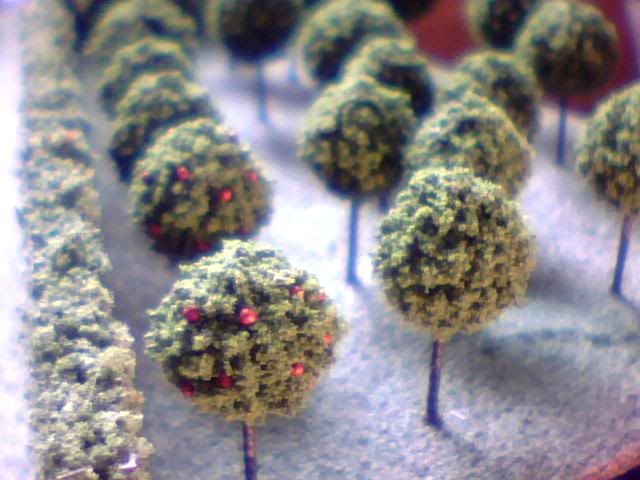
It seems I've neglected this thread longer than I thought but I've only just sat down to progress on it so not much has been missed. The only thing I did some time ago was to start putting the apples on the trees! It's a very slow process but it looks perfect so it's well worth doing. Here are some typically bad pictures of the first few I did but I now have half of them finished. I used little 0.5mm fimo beads which I painted in a dish before individually securing each one with some simple PVA (white) glue!
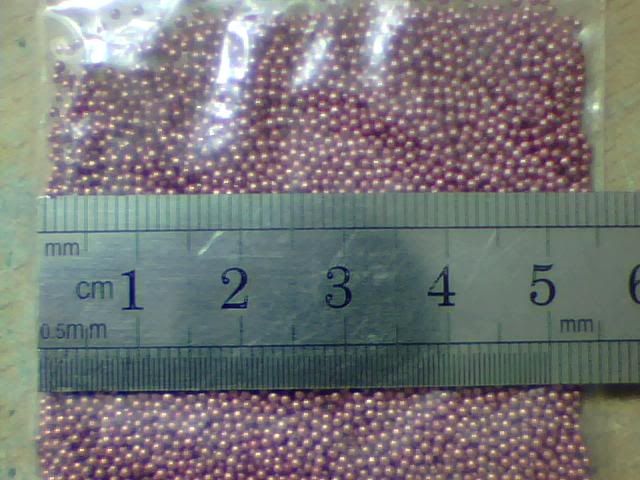
Here are the tiny beads I used before they got painted a nice dark red...
And after! Forgot I took this pic...
And finally here's the end result of the first few trees.
But anyway, that was done a long time ago. I've been working on the Mammoth Tank project lately so this has been sadly neglected! Some of the guys on the X-Com website have been bugging me for progress though so I thought I'd have a go at the screen. It's come on pretty well but it has practically no detail so far. Just the easy bits done...
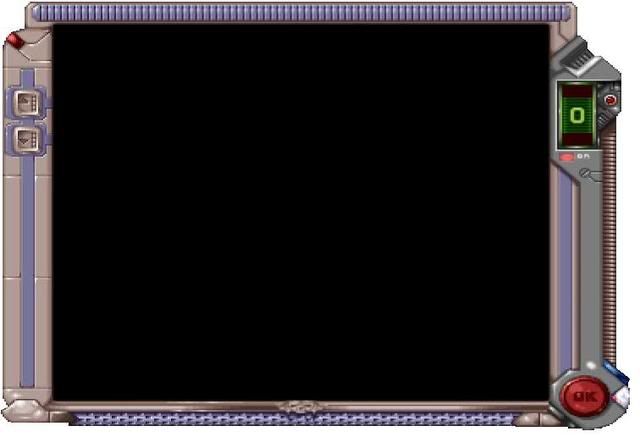
Here it is anyway, I'll explain the steps as I go! First off here's a shot of what I'm trying to recreate. It's the in-game graphic which surrounds the map of the tactical levels, though I've resized it here so it fits my screen without looking totally out of scale...
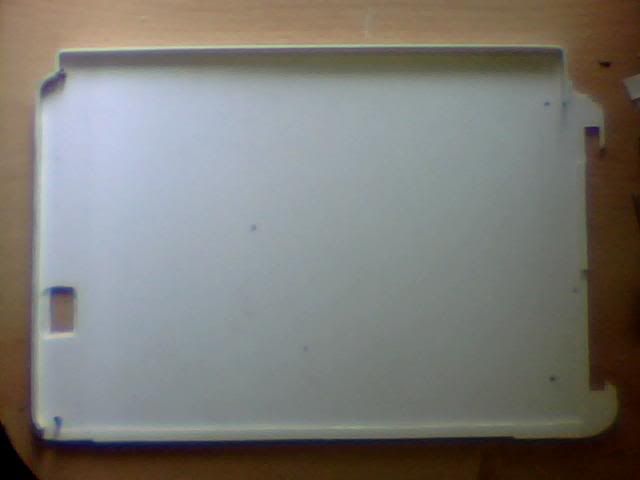
I started off where I left off a few months ago when I'd cut a couple of pieces but not done much with them. One long straight piece needed to be curved and fitted to the backpiece to create the left most part seen here.
This is a closer shot of that same piece and it also shows a few metal pins that I've used to replace the screws in the two left holes. They'll be sandwiched between the top and bottom parts of the case and the open ended locating holes on the screen will simply slide onto them like locating lugs!
Here's a shot of the top piece which had corners at both ends. It took a great deal of holding and clamping and such and no small amount of patience on my part!
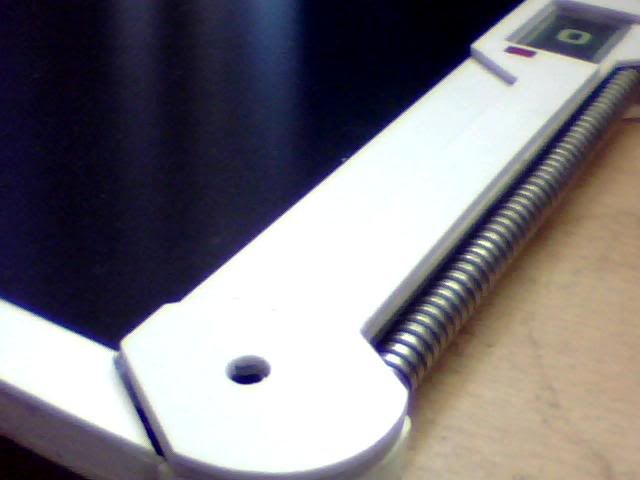
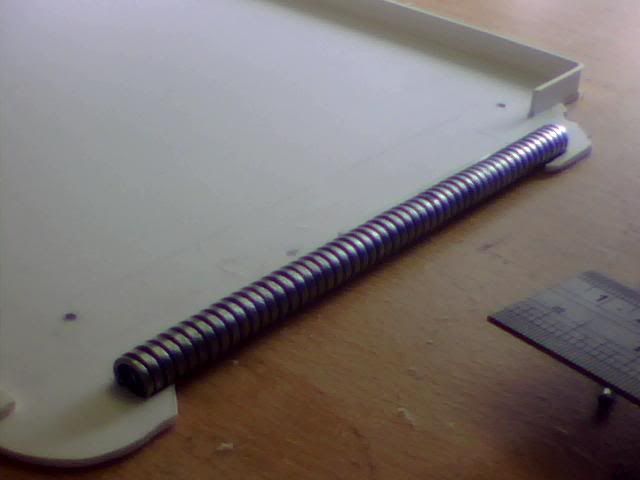
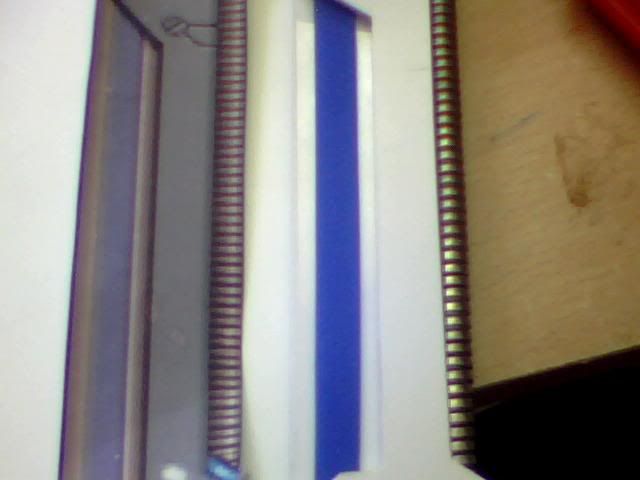
On the right side of the case is a wierd looking wirey type thing. I have no idea what you'd call it... For me though it looked kind of like convoluted plastic tubing so I tried that first. It probably would've been ok but isn't too easy to work with as it comes off rolls. Not ideal for making straight lines! Thankfully I was sent some pressies by a very generous Frenkie after I commented on the metal pipes he was using for Project Charge. So I cut a length from one of them and used that instead for a perfect result!
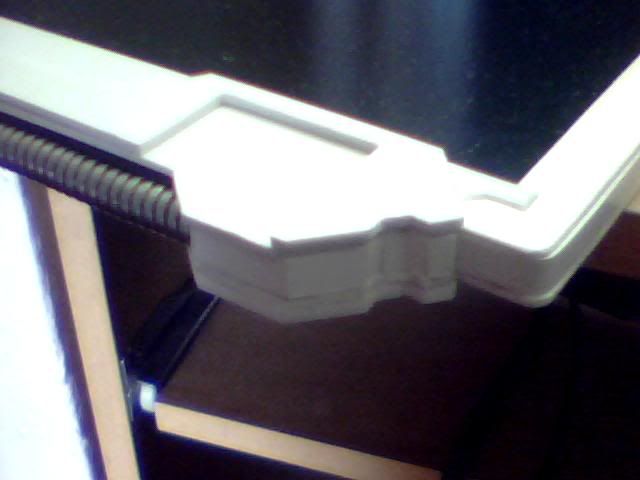
Next I decided to cut the most complex pieces of the casing, the darker grey part on the right hand side which enclose the pipe and displays and such. These parts form a primary handhold (in my opinion!) and are thicker than the rest of the assembly so it took a few layers to make it right. I ended up making one bottom piece to extend the grip out to the rear and a second piece to form the top of this side of the case with a third one to go atop this one and form the front of the grip.
Here's what I mean by the two top pieces, the larger one forms the whole side of the case while the smaller top piece is just part of the grip.
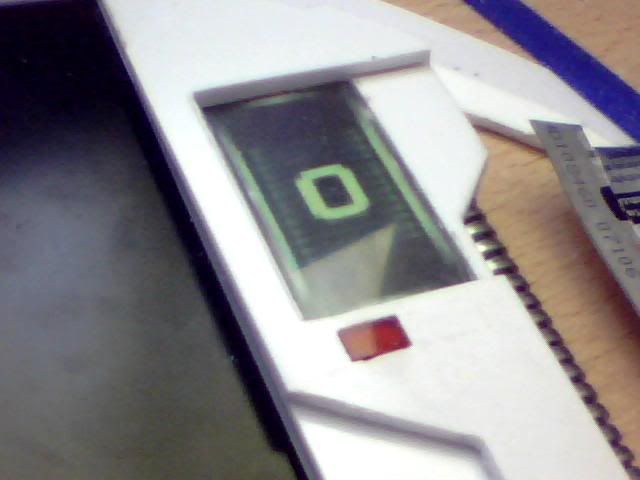
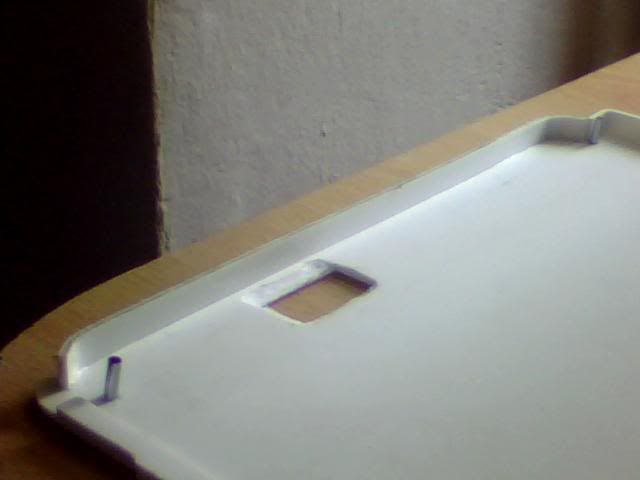
The top front piece of the casing was easy to make and can be seen here. The funny angles I cut into it can be seen on the adjacent image so they were necessary. The image also illustrates the purpose of the gap which will house a display (which will be artificial)
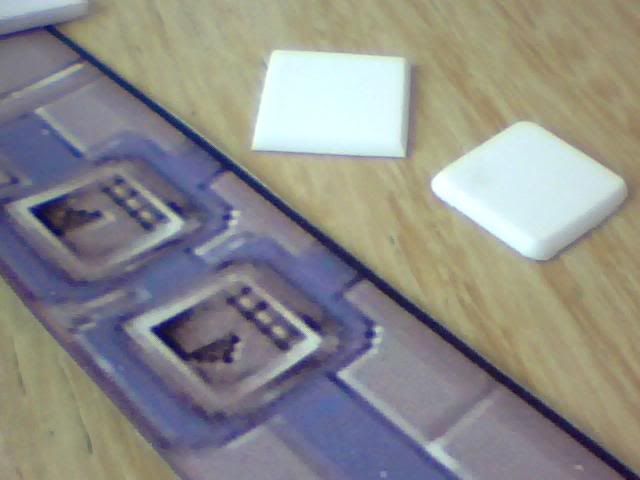
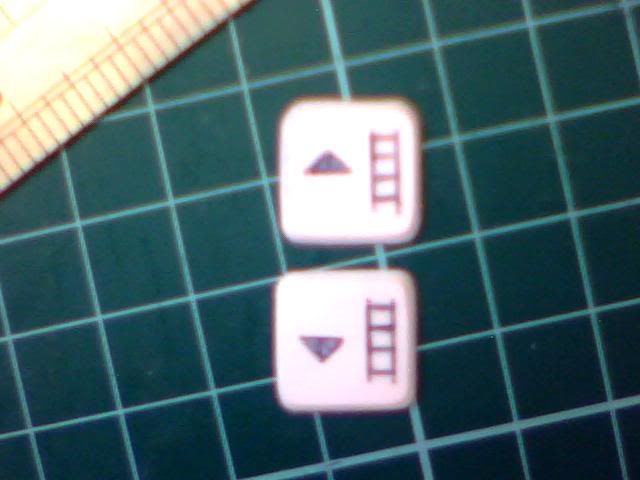
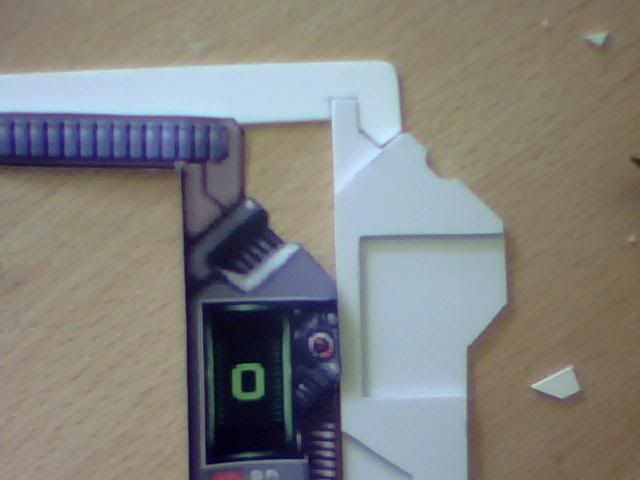
I started to think a little bit about the various detailing next and that includes the buttons on the left, the power (OK) button on the right, 3 pieces that look like lights, the '0' display and it's neighbouring mechanical part and finally the blue stripes... I figured the blue stripes are raised friction material or similar... I went to the cheap shop in town and picked up a few bits for the mammoth tank and got hold of something that was intended to put hot pots on I think... I chopped a few strips out of it to get the material I needed and this is one of them in place (mock only)
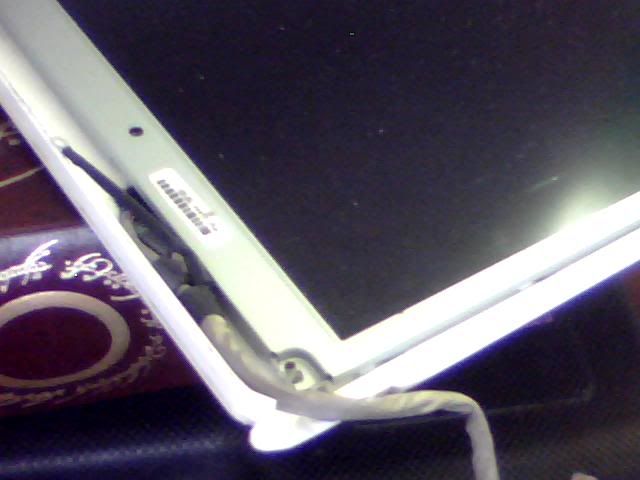
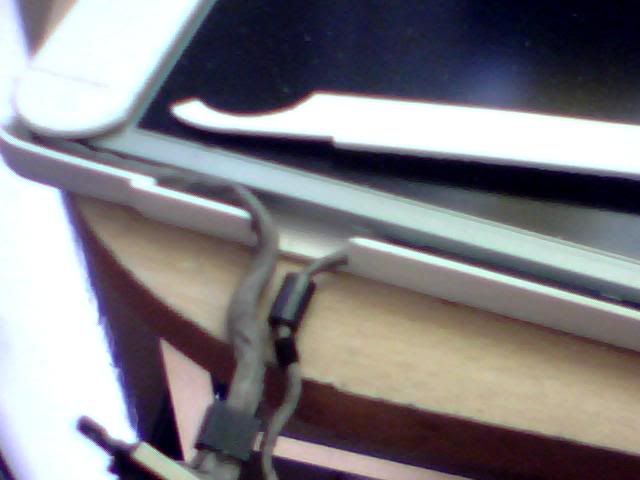
About this time I decided to continue building with the screen in place. Here it is with the cable plugged in but not much else.
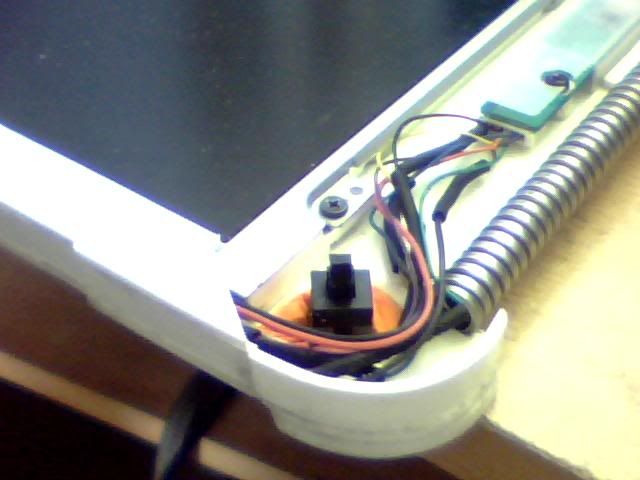
This is the bottom after a lot more work has been done. The left side piece will clamp the lower pin in place and the piece visible in the middle of the picture is the bottom piece. It's removed here to show where the wires run. The 2 for the power switch aren't in place yet.
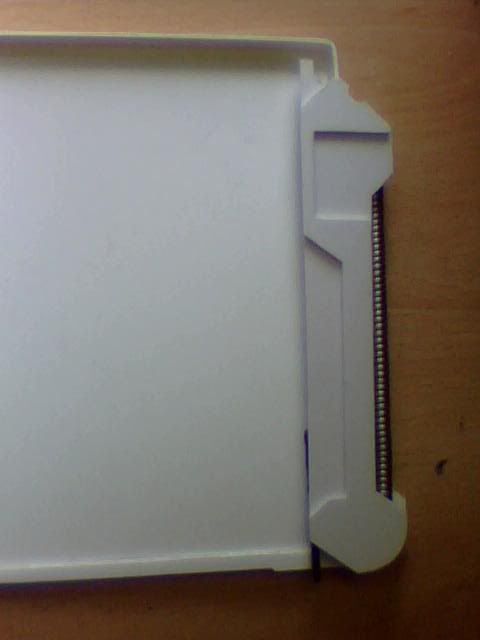
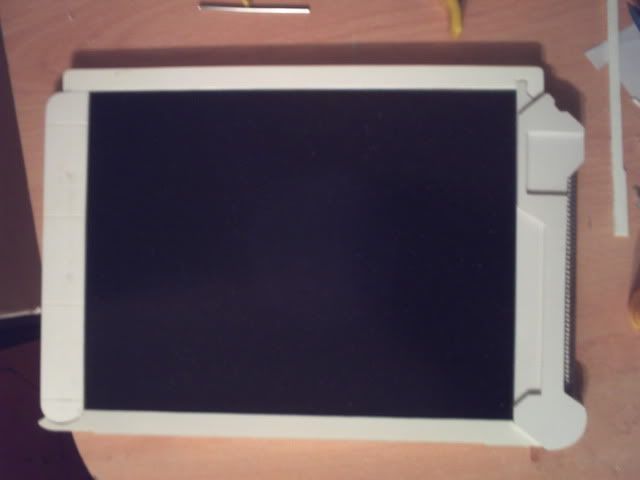
I seen to have skipped a few steps but here is the current state of affairs and I'm pretty pleased with it! All of the sides are in place (though I'll fit a final piece behind the metal pipe as there's a gap right now) and all the top pieces are cut too. It's all about detailing now so I'm going to get on with that now.
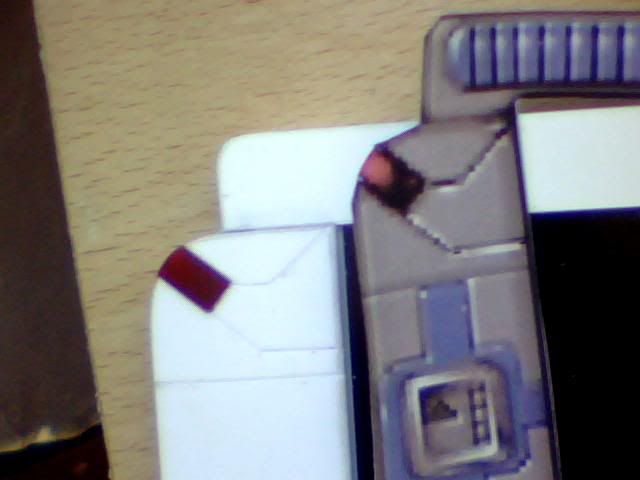
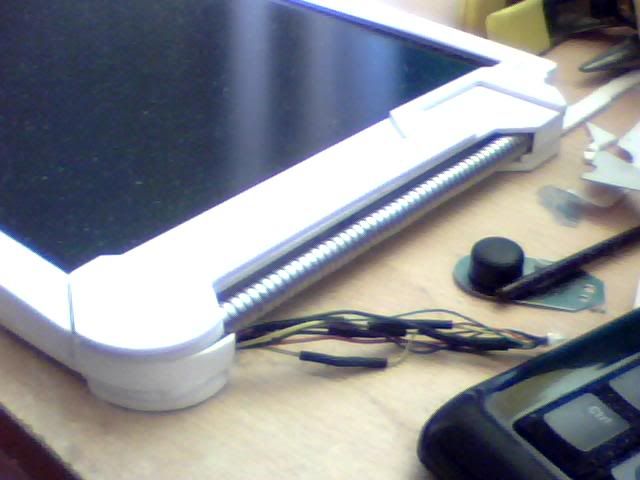
HEre's the right side where I faced the most serious curve of the project! I left it overnight and it's not bad this morning, will need a little fine tuning though... These wires are way too long so will need cutting again and soldering shorter. I'll add the wires for the switch at the same time but right now I don't HAVE a switch... The silver thing seen to the right is the innards of a 'dog clicker' used for training I think. I was hoping to use it as the top part of a switch but it's too big and would be in constant contact with the earthed screen. While I could make that work I'd rather keep it as a separate circuit and use a simple 2-wire switch so I changed plans...
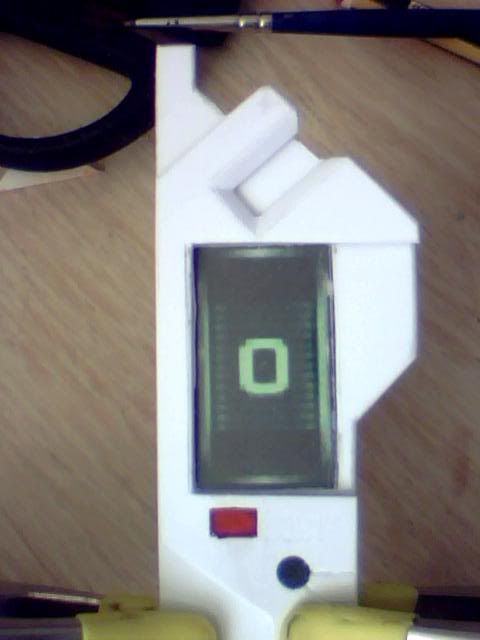
Last image of the day, this top piece will need some filling and shaping as it appears to be a vent or speaker in the graphics. It can wait till later though!
Will update again when I manage to figure out the switch and buttons and such. I can't really finish assembly till those bits are done though and I need to be thinking about painting too but that needs the whole assembly to be complete so I can fill and sand it to a nice finish first.
Meh, I'm off to dismantle some hardware for switches anyway! That's something I'd like to get done as soon as possible. Will post progress when I have some but I'm working on the tank as well so won't be too soon!
-
Re: Project : XTC Retro Laptop
damn man, you are very skilled with modelling! 

Originally Posted by
Omega
ber is id elicous
Centurion 5 Mod <<--- ON HOLD FOR THE WINTER
-
 Posting Permissions
- You may not post new threads
- You may not post replies
- You may not post attachments
- You may not edit your posts
-
Forum Rules


 Reply With Quote

 Prepare for some Ctrl+C, Ctrl+V action!