SECTION: Introduction
Hello my names Jeffrey Watt or Jeff for short.
A little bit about me. I live in South Australia; I have been following the modding scene since around September 2007. My first project (still unfinished) is called Moditor the concept for that is to take a CRT monitor and build a computer into the housing of the screen. This project has been but on hold as I am having a break from that mod for a while (until this case is complete). I started Moditor in December 2007. I am born on the 9th of September 1993. I have enjoyed working on my computers ever since I started.
But enough about me.
This work log will not be in the order of when I made these pieces but I will explain and make one part before moving to the next. This will make it easier for the reader to understand rather than skipping from place to place.
This is my newest project; I started toying with ideas for this case around 25th of November in 2008. I have done countless hours of work on this and still have many hours to go.
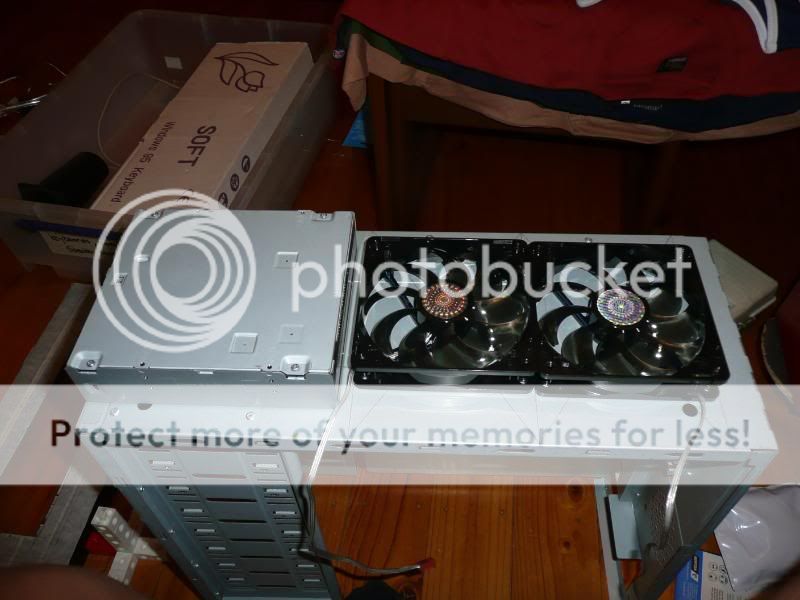
Ill get the main ideas out first. The reason I have decided to make this case is because of the major heating issues some computers have, as I did not want to get my computer to fry I have decided to make the coolest case I could think of (pun intended). The main airflow pattern in this case (if you know about that) is all fans intake and then the air is forced out of the side and top vents to create a reverse suction pattern. This case when complete will have 5 120mm fans; 2 long life silent coolermaster (located in the base) and 3 120mm long life silent blue led coolermaster fans (on the front bezel) and last but not least (fan wise) it will also have 1 92mm silver stone FM83 calling it home.
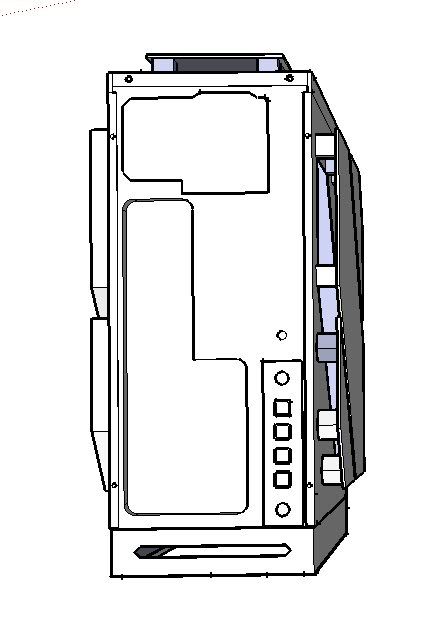
As for this project I am taking of the generic bezel and making my own vented, fan holding bezel I needed to relocate the switches. So I moved them to the back of the case (as you can see in the bottom right of the first CAD) this is also to stop those oh wow nice computer! What does this button do? AHHH moments..
SECTION: Design
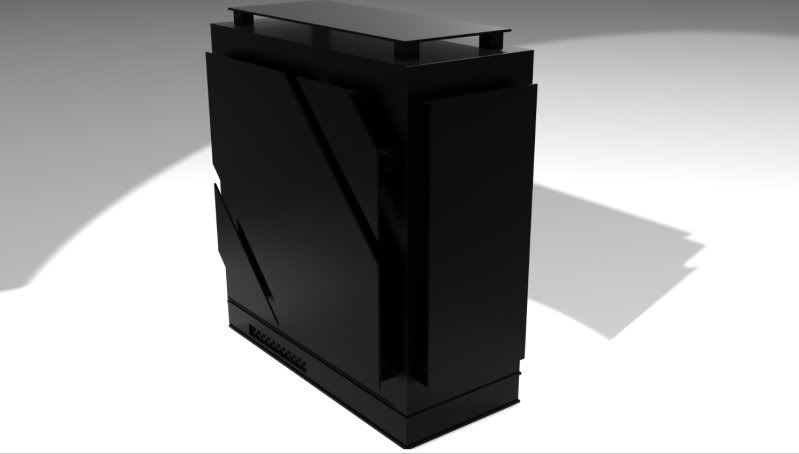
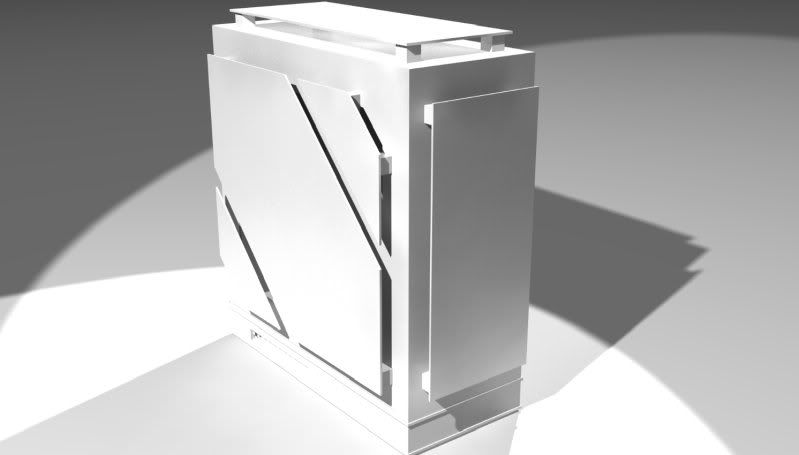
So without further ado I bring you... Project Vento!
Some renders a friend did for me. In black (final colour will be black)
In white just to show you it in white I guess
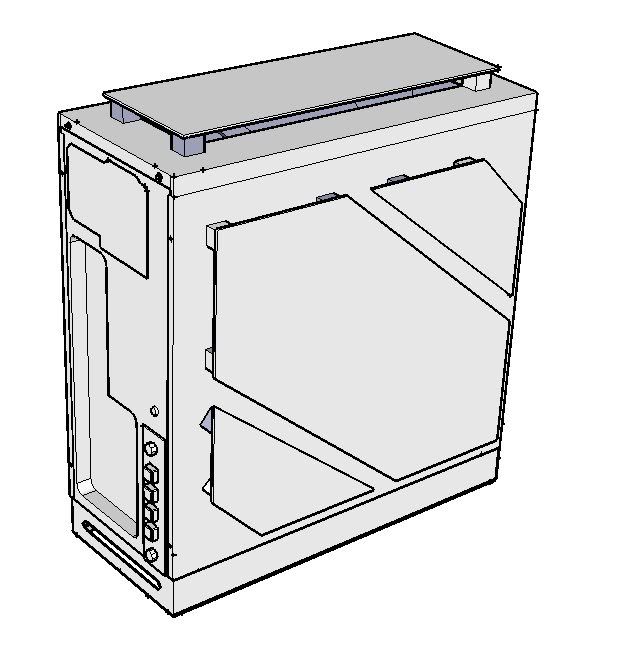
Using Google Sketch up 7 I made some perfect scale CADs (computer aided designs)(not 100% detail)
These two show the back (with I/O panel and PSU) also this shows the top and side
The Side design. Notice at the bottom that there is an extra part added. This is the custom base I will be adding later. It will house the CDrom and two 120mm silent Coolermaster fans.
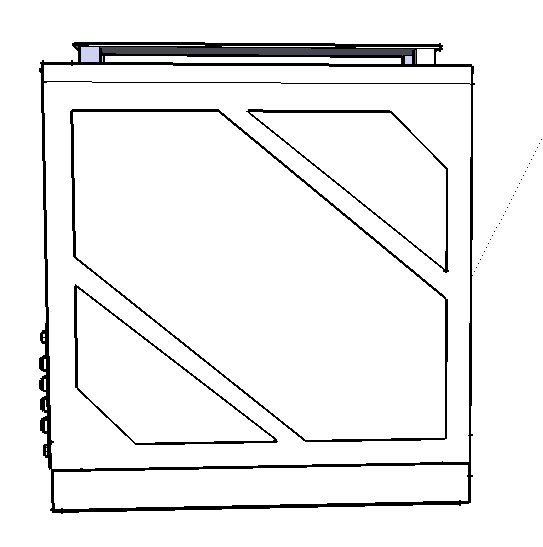
Here are some of the Design pics and measurements.
And some of the front designs.
Black = raised panels
Green = raisers
Red = base aluminium
Green hatch = base
SECTION: Left and right side panels.
A lot of the designs for the side panels are shown above. So showing them again would just be pointless..
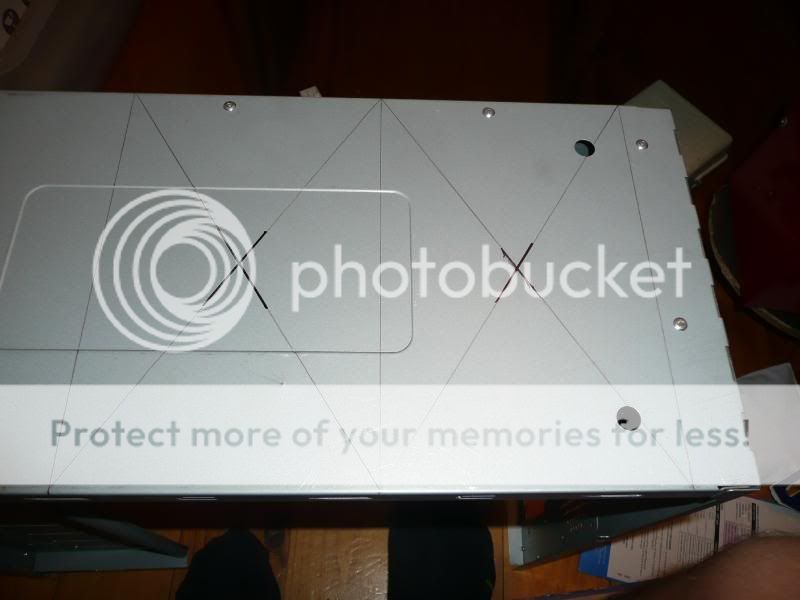
MARKING OUT
when it comes to marking things out. These 2 objects are your best friends. A sharp point sharpie and a roll of masking tape
Here is one of the panels taped off and ready to be marked out.
Here is the panel all marked out and ready to be cut out.
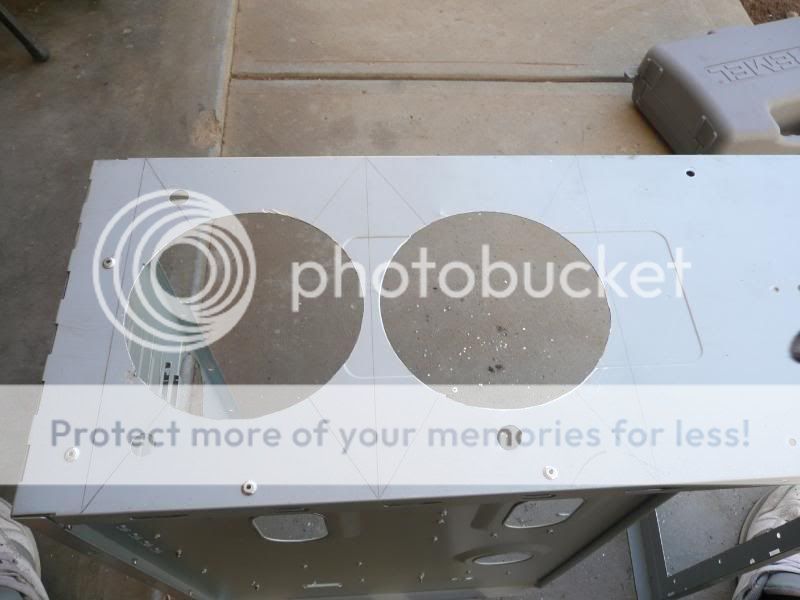
CUTTING OUT
Now most normal modders would use a dremel or a jigsaw to cut out this panel. But me I am far from normal. (plus didnt have my dremel with me and didnt know how well jigsaws worked on metal) so I used a technique I thought of
HAMMER AND SCREWDRIVER!!!
Now the trick is to get a large headed screwdriver to speed up the process (if it is an unneeded screwdriver feel free to sharpen it)
This is the screwdriver head compared to my finger.
It is safe to say that this takes forever! (around 15hours to cut two panels) for anyone planing to do this.. if anyone is as crazy as me.. do not line the screw driver up on to the line as this will create a bur that may need to be cut up to a centimetre back so cut 1cm inside your line
The two smaller holes cut
All three holes cut and ready to be de-bured.
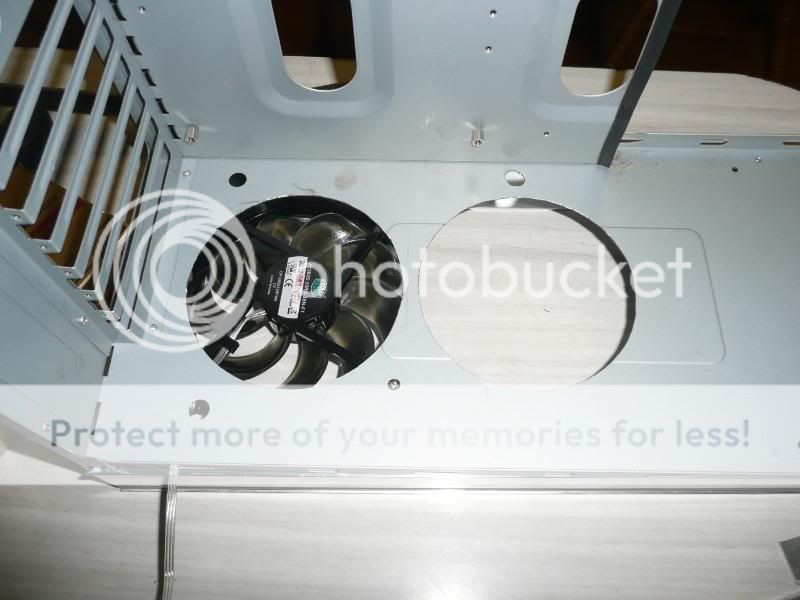
By using tin snips to cut along my line I have taken the bured edge away. This leaves me with the shape I want although the metal is still sharp (ill fix that later).
But because of the glue masking tape uses you do not want to keep it on a surface for too long. This is why I have re taped the side panels.
(notice the original vents, I will fix this later)
(There are still some edges I need to touch up with the dremel)
Thats the first panel done. Heres a pic of it sitting next to the second panel waiting to be cut.
Just repeat this process for the second panel. (Is done but no photo).
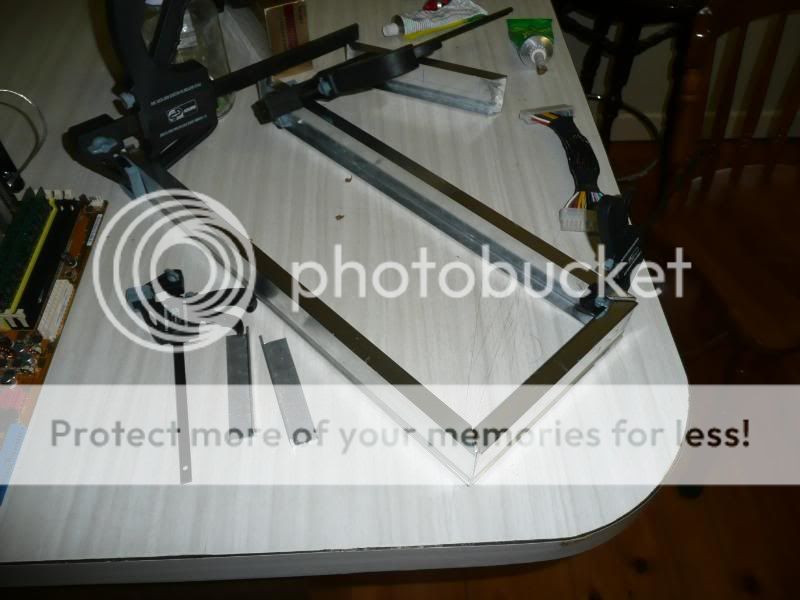
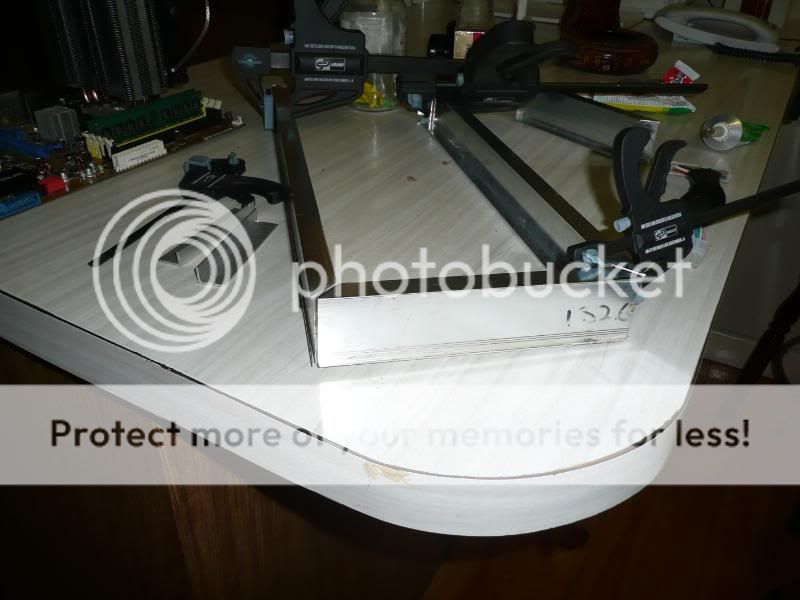
MAKING THE RAISED PANELS
The next step for my side panels is to make the raised panels shown in the original CADS.
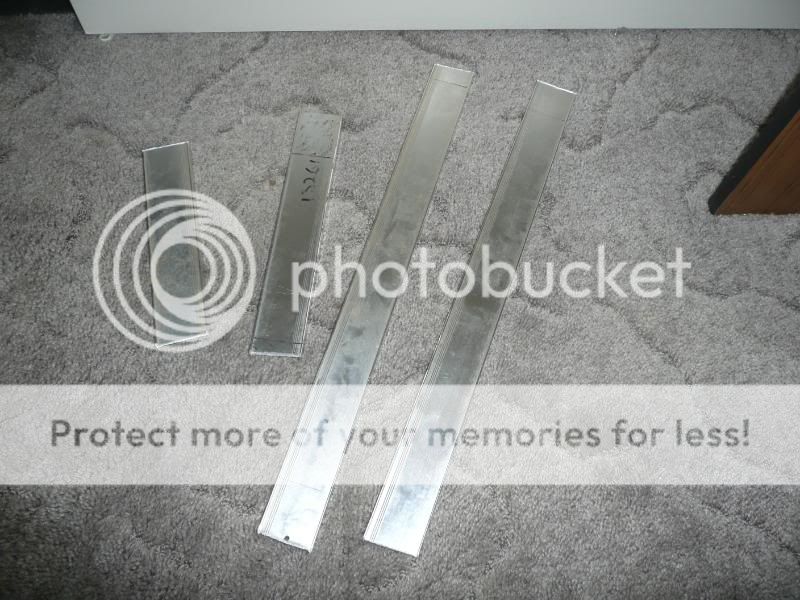
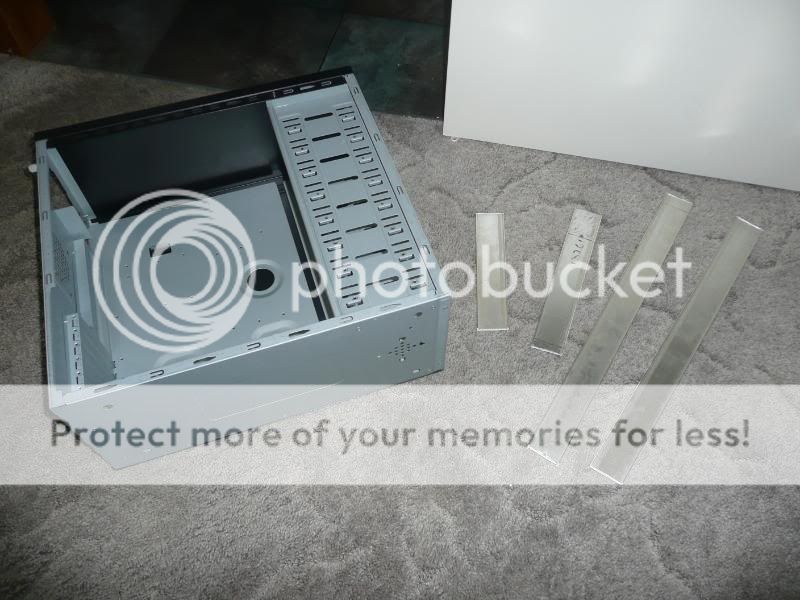
These raised panels will be made with 3mm Aluminium. The place that was nice enough to give me some supplies LEquip build and repair trucks, so this is quality material. The owner of this business Steve, a friend of my fathers let me go through the scrap bins to find what I was after.
Heres what I came home with
Side panel for size reference
And also this lot too!
I am very appreciative to his kind donation and the only thing he wanted in return was to see a teenage boy actually doing something for himself.
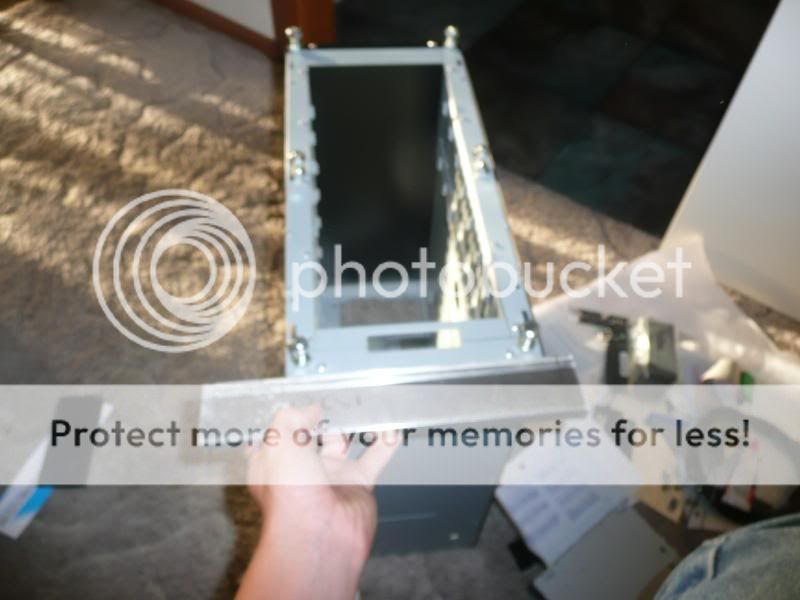
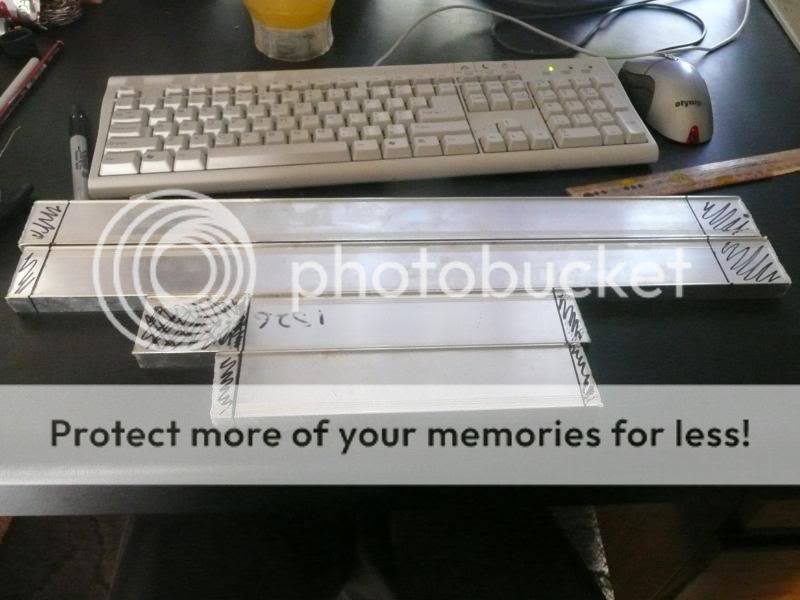
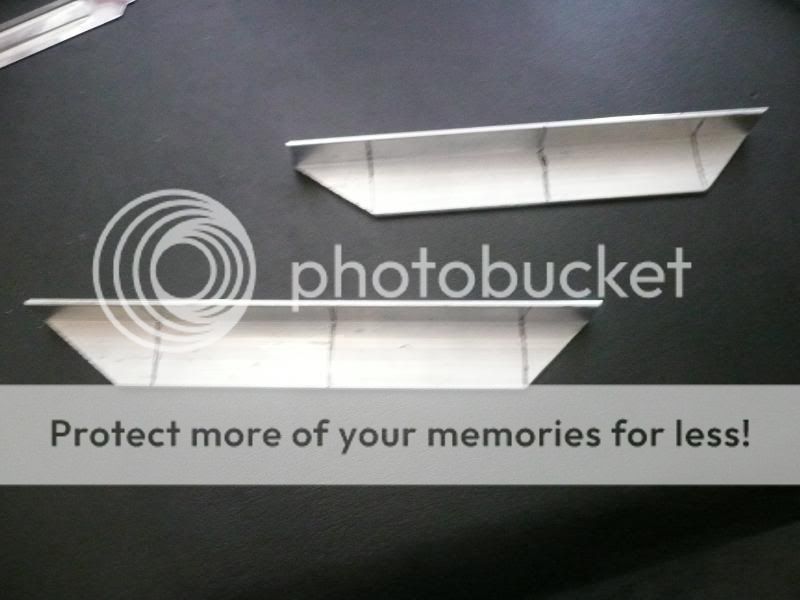
Next marked out the size of the panels needed, then added the exact cut line with a pen and ruler.
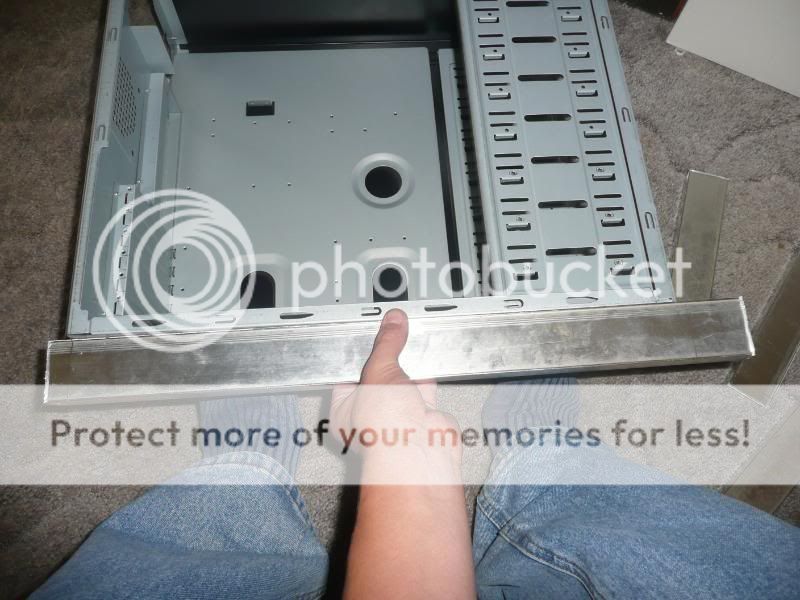
HDD for size reference


 Reply With Quote