Finally time for another update. Havent done much on this lately no excuse this time, I have just been lazy. Plus the garage is a bit cooler these days, stupid winter!!!
I did this little bit the other night but it was so small I couldnt b bothered doing an update for it.
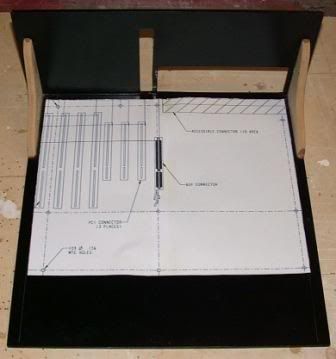
I started to mark out the mounting holes for the mother board. Then I thought there must be an easier way. So I went to www.formfactors.org downloaded the ATX spec guide type thing. Opened up the page with the motherboard layout on it in photoshop. Then copied the pic to a new document that was the size of a mother board and stretched it till it fitted nicely. All I had to do after that was put the pic in place on the mother board tray and drill. Much easier then trying to measure and mark everything out.
I didnt take anymore pics of this as you couldnt see much detail so there was no point. I did take the motherboard out of my computer to test fit it and it fitted perfectly. Unfortunately I forgot to take pics of that.
The night before last I just marked out some holes I needed to cut for the fans radiator and psu. Again no pics of that because they would be very boring :p
Last night was a little more productive. Time goes fast when youre in the garage with no watch on and your mum falls asleep in her chair watching TV so isnt around to yell at you to pack up I got in from the garage at 2am :p Didnt really feel like updating then.
Here is what I got done
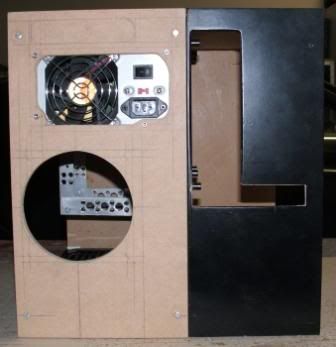
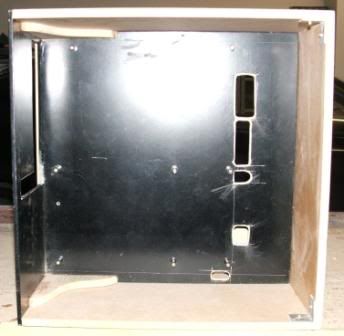
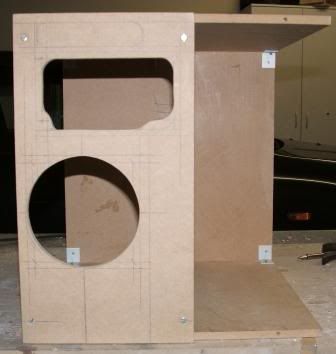
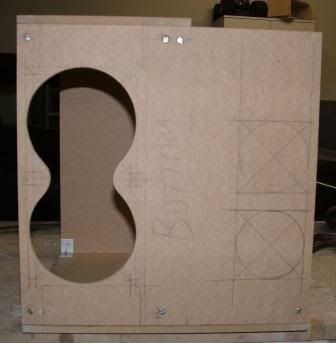
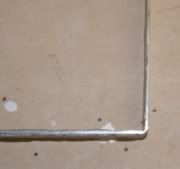
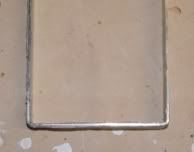
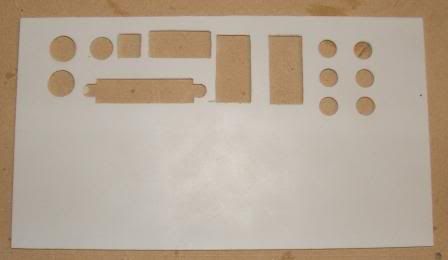
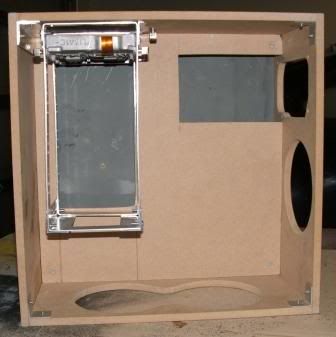
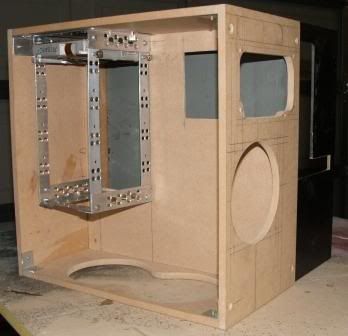
First I cut out the bits that I had marked out the previous night.
Didnt cut out the 80mm fan holes on the right as Im not sure if I will use them yet.
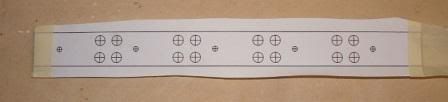
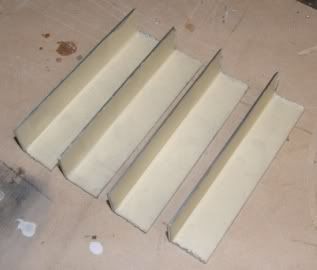
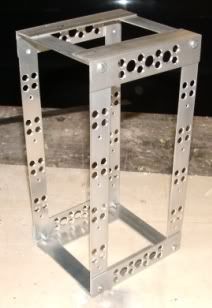
After that I started work on the hard drive rack.
Earlier in the day I had drawn up some rough plans on auto cad. So I stuck the template to the 20x2mm aluminum sheet that I got my brother to cut out earlier in the day at his work. Unfortunately they were 25x2mm and cut roughly on the band saw so I had to do a little trimming and smoothing. Still cant complain to much as it didnt cost me anything.
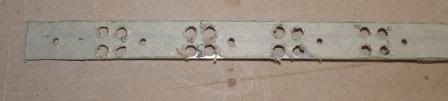
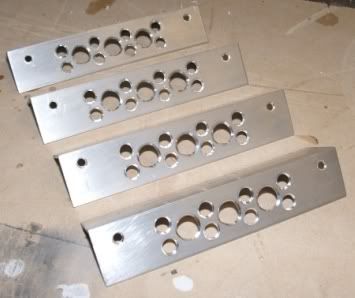
After that I went through with a screw and hammer and went through and punched little holes in the centers to make it easier to get the drill in the right place. It seemed pointless to take a pic of that so I went ahead and drilled the holes.
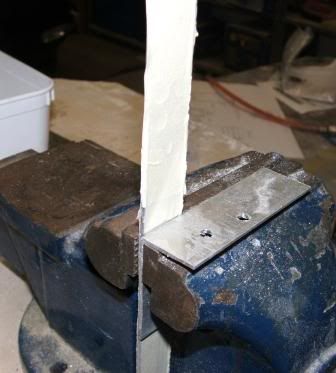
I used my high tech bending device, also known as a vice and a off cut of angle to make a couple of bends.
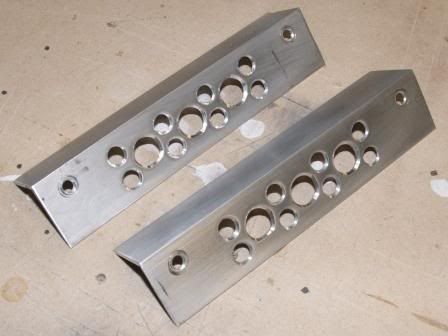
Skipped a few steps here as they are all basically the same. I also used a countersink bit I had to neaten up the holes and take the burs off. Oh and I did it all again to make a second one.
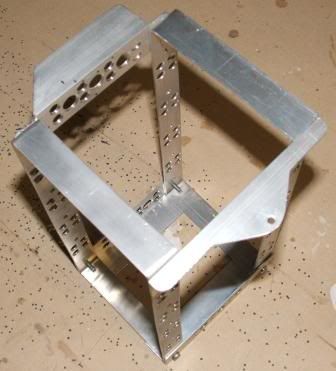
Next I need some angle to join the two.
Used the same method as before for drilling the holes. This time you can actually see that I have cleaned up the holes before I took the pic.
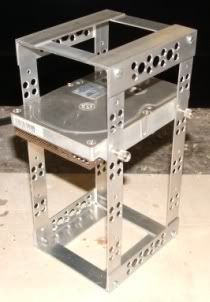
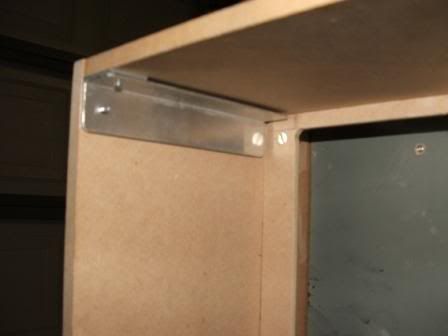
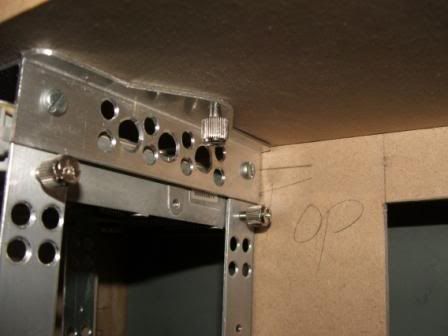
Bolt it all together and you get.
Wooooo the hard drive fits!
I realized after that I had a couple more holes to drill that were covered by the angle at the bottom. Once I drill those It will fit 5 hard drives with 20mm spacing between. All the holes are there for better airflow as the rack will be mounted side on to the fans plus they look kind of cool :p All thats left to do on this is drill those holes, polish it (my dremel type tool is broken at the moment so I cant do that yet) and mount it. All that and you wont even see it once the case is done.
Going back out to the garage in a few minutes to do more. Hopefully be in before 2am this time :p


 Reply With Quote


 Hard work keeping this up to date :p