Hey, i'm currently in the middle of a worklog that i would like to share with you all,
I'm new, so i'm seriously not trying to break rules
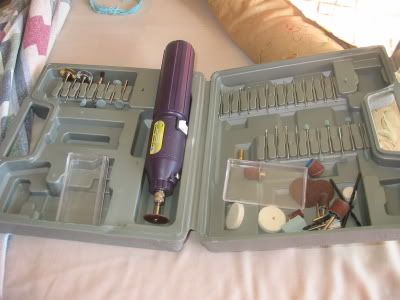
i have withheld the first couple of pages, because they are messy
This thread has been taken from http:www.speedlabs.org
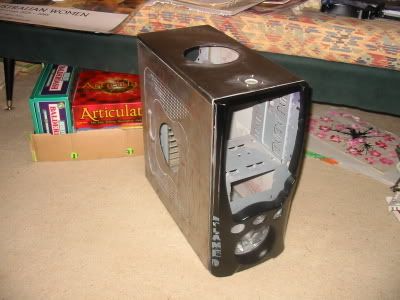
Hey, i have been working on this mod for a while, however, i have found my feet now and so we should see some good progress.
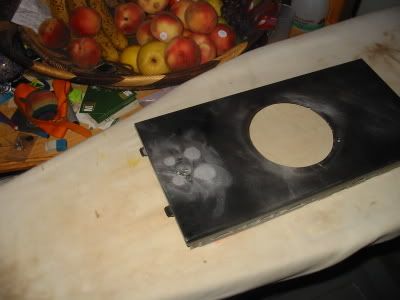
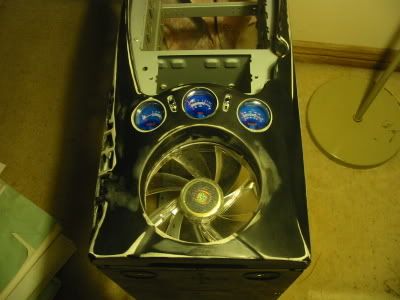
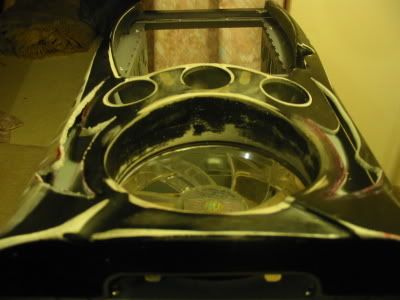
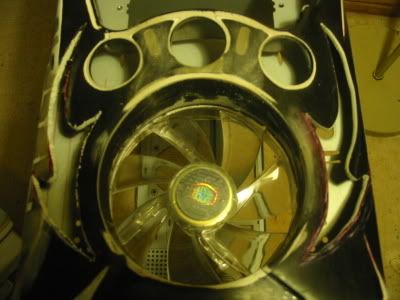
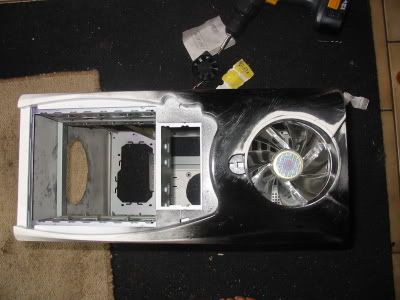
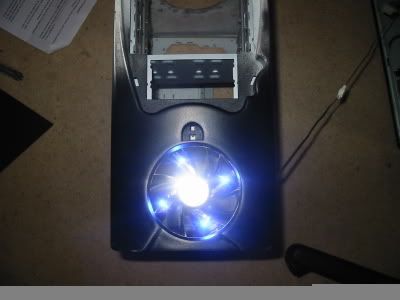
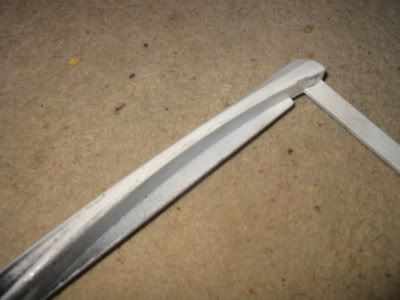
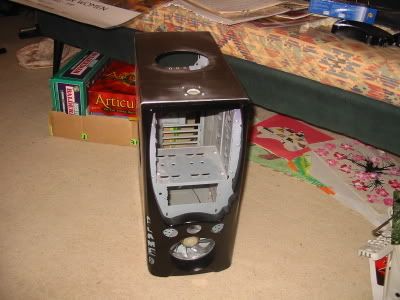
The first thing i did was to cut out a fan hole and line it with PVC pipe.
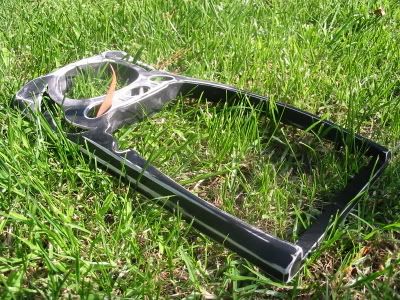
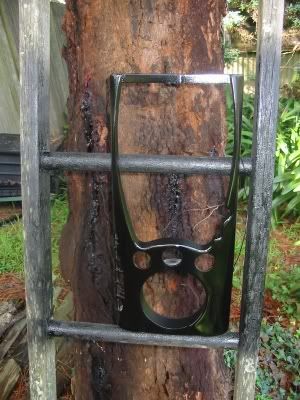
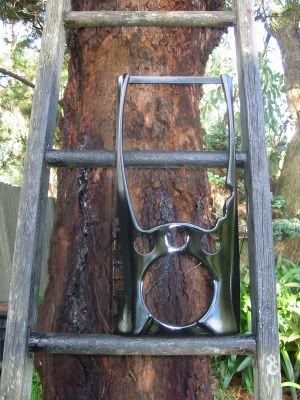
Here are the first pics after i cut the excess pipe down and sanded it to the surface of the bezel
YOu can see the fan i am going to use as the bezel is on the case.
with flash
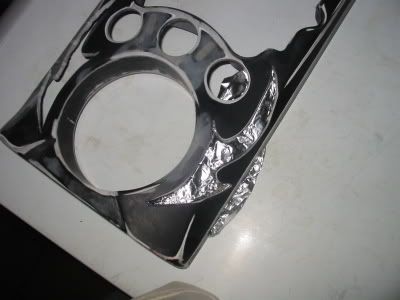
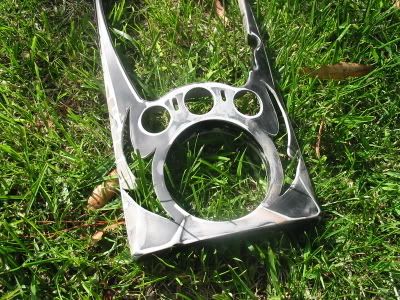
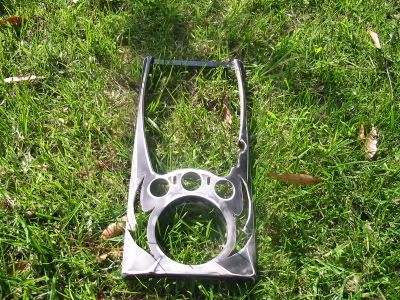
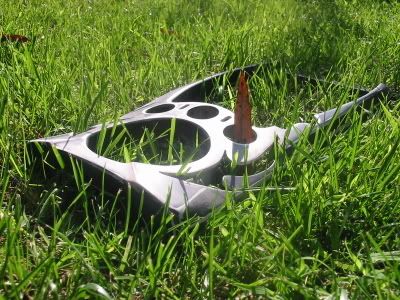
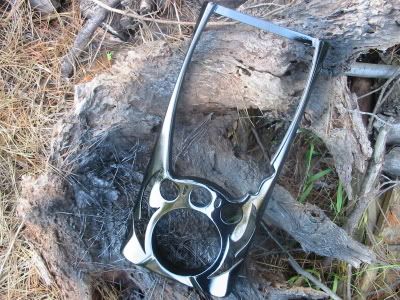
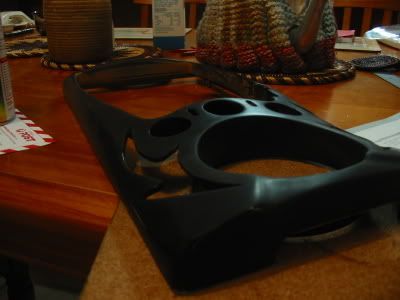
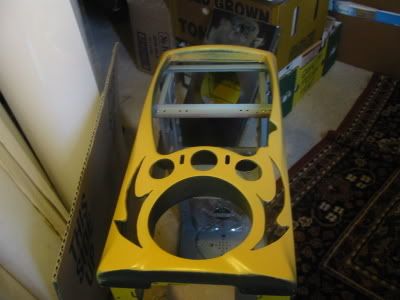
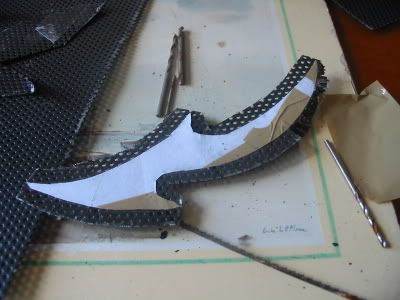
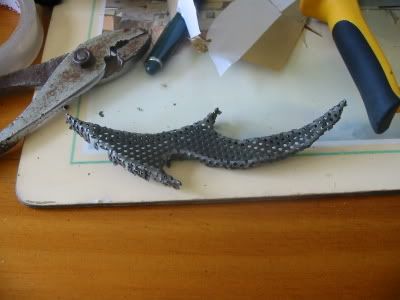
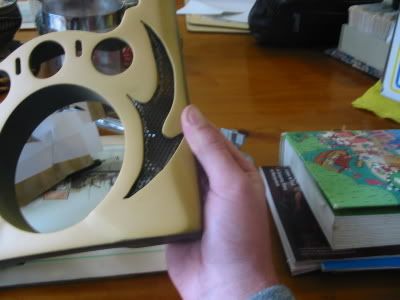
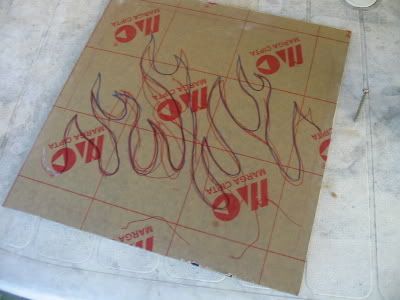
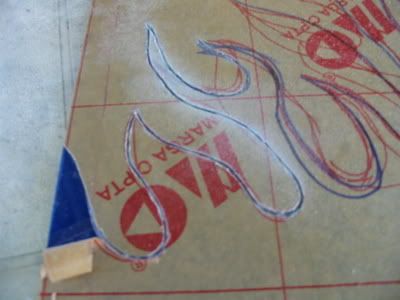
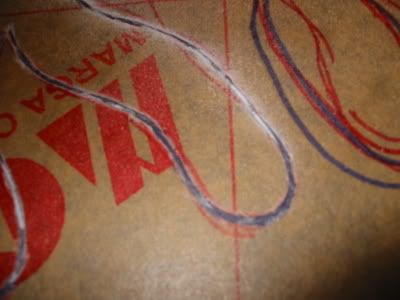
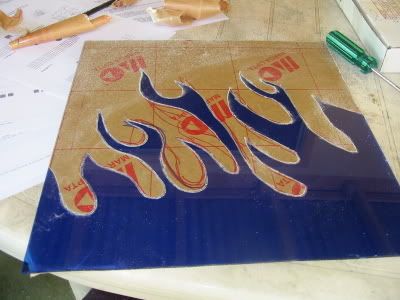
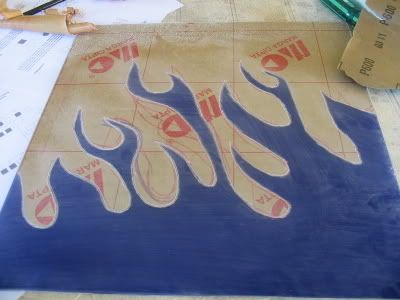
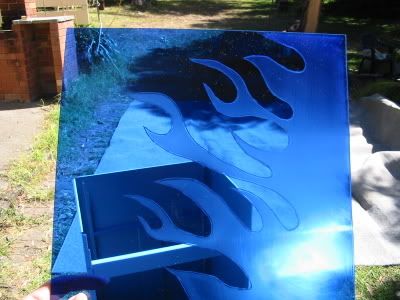
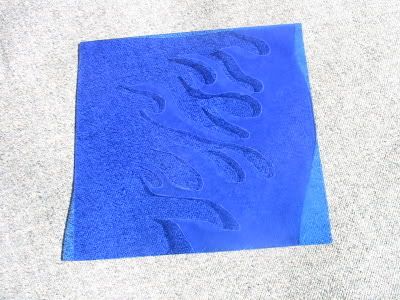
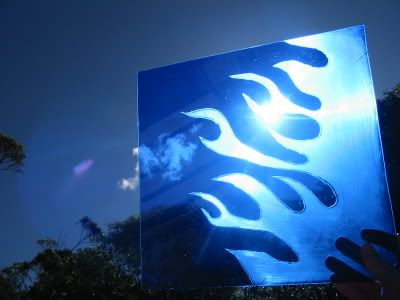
The vision for the next bit of the bezel is something i have never seen before.
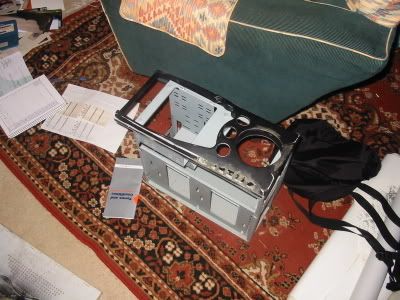
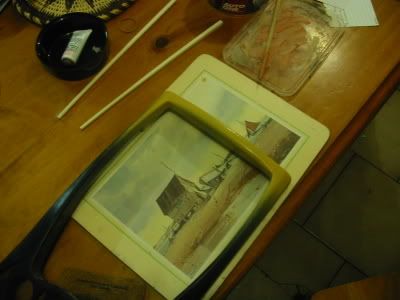
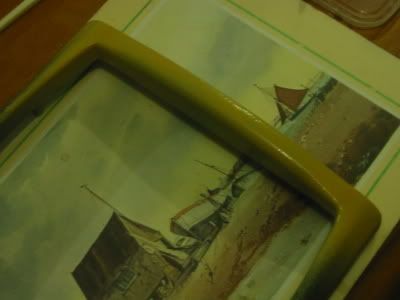
This involves the empty part of the bezel that usually contains CD-roms and DVD drives. THe basic idea is very simple, i want to fill that area with three layers of blue perspex, in the shape of flames. Where there are more layers of perspex it will be darker and less layers lighter.
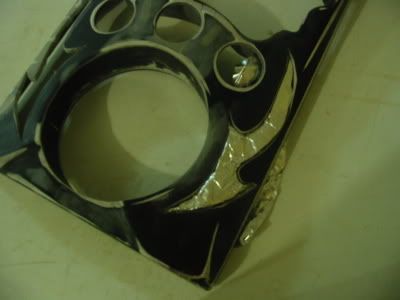
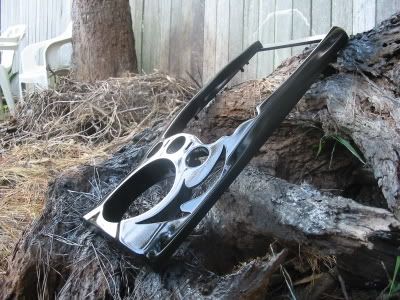
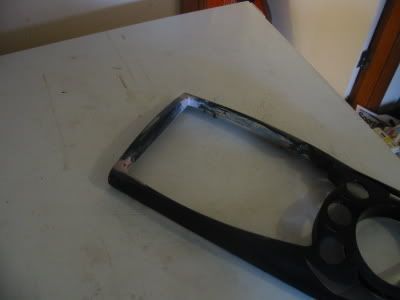
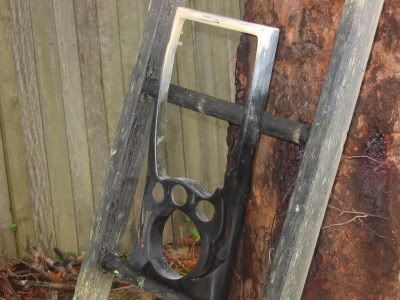
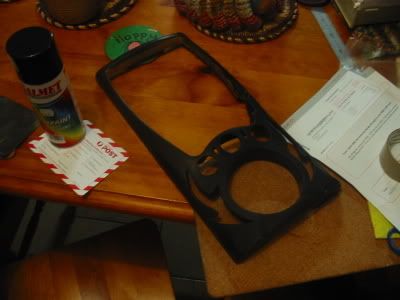
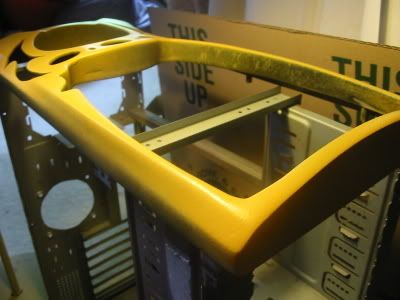
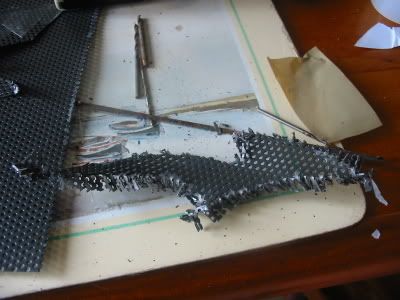
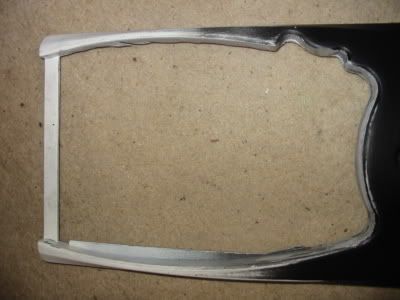
The first thing to do was to cut away the plastic that provided support for the insert in the bezel.
This was difficult in parts and i cut in a bit too much,
but it's ok, cause it will be covered with flames eventually
shiks
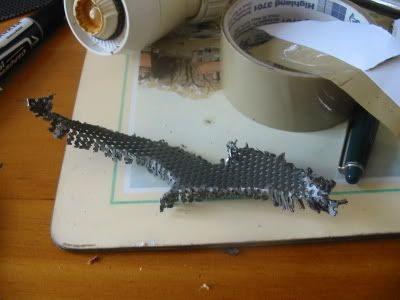
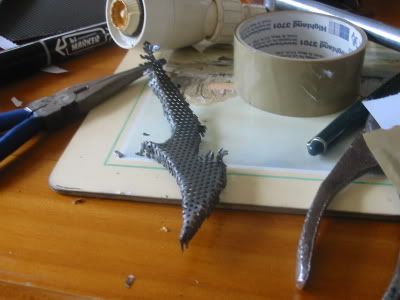
will update again when i have fully sanded back and am ready to start on the flames
UPDATES,
Well, it's about time i got my act together and stopped playing Battlefield!!
Anyway, i wasn't able to keep a very good work log for all of this, as the camera's memory card was on hollidays
so
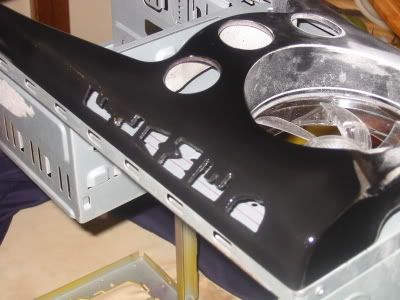
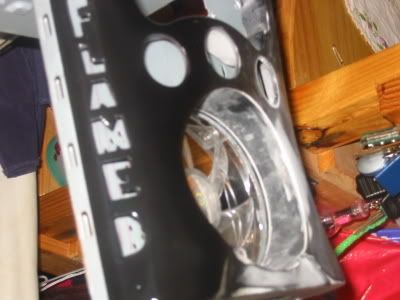
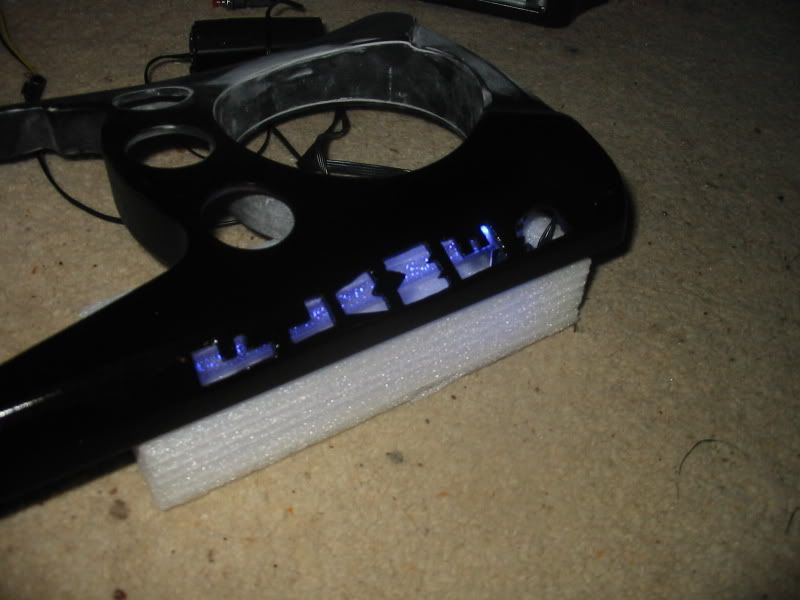
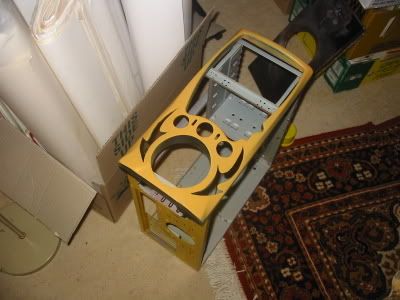
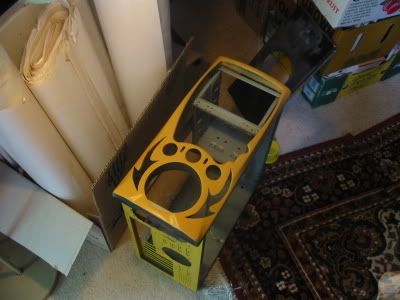
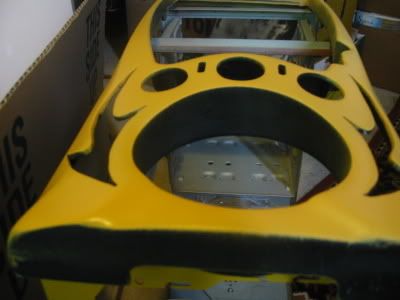
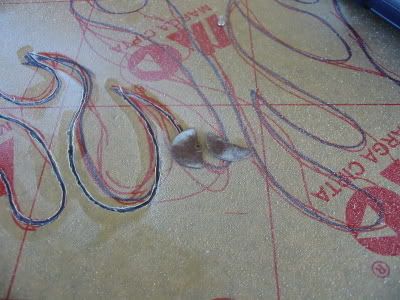
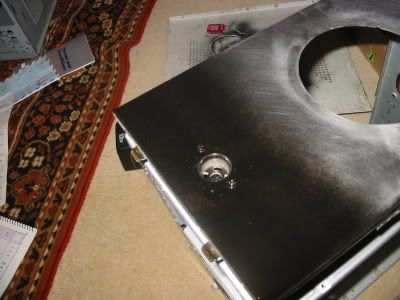
I have cut the name of the case (flamed) out of the side, the intention is that it will be back lit and have perspex behind it, i have almost finished it, just have to smooth it off more
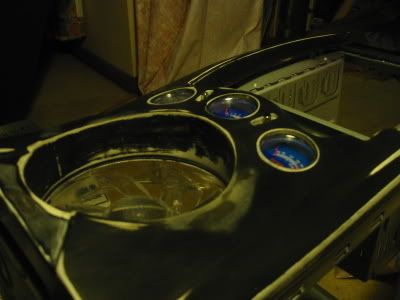
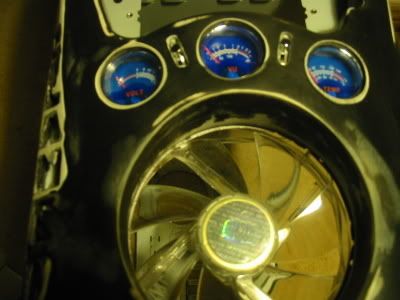
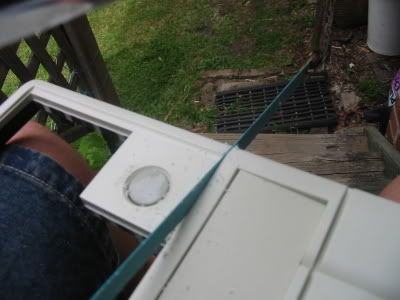
Yesterday while i was in sydney i bought a fan controller/temp gauge/cool audio needle. Anyway, the analouge dials are going to be mounted into the front of the case, just below where the flames will go
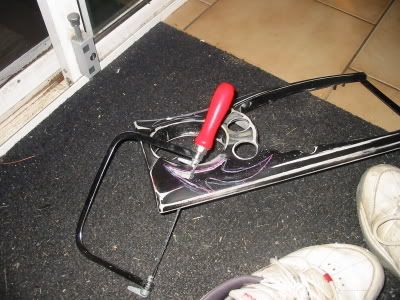
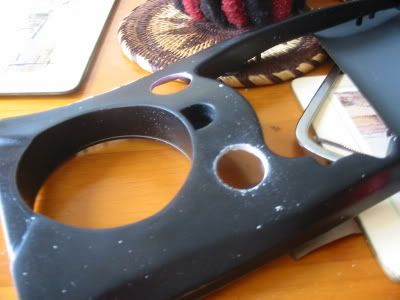
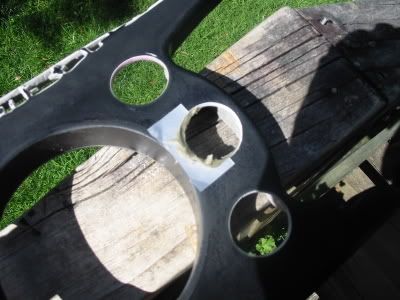
Firstly i marked where i was going to cut the holes, then drilled an entry point.
THen i enlarged this with my trusty coping saw, and dremmel sanded it with my drill.
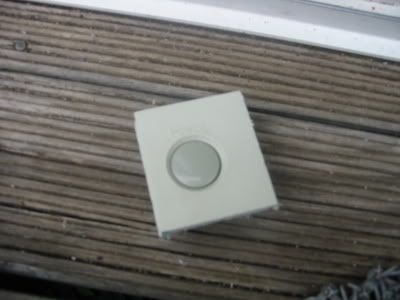
A bit of sanding to smooth off the raggy bits, and in goes the gauage
cool eh?
Now for the other one
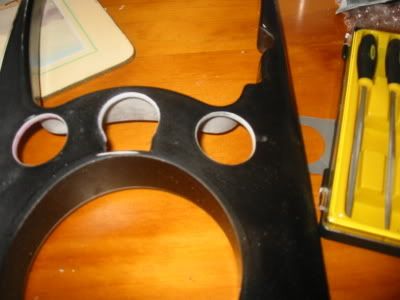
The one in the middle will be the hardest, because of the old power button, next update = bondo to the rescue
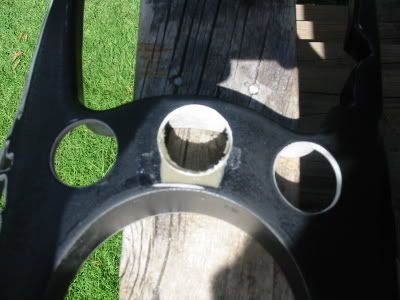
Well, the middle Analouge piece was the hardest because of the old power switch,
However i used the same procedure, marked it out, and drilled a hole
around the markings i cut again with my coping saw, straight through the power switch markings
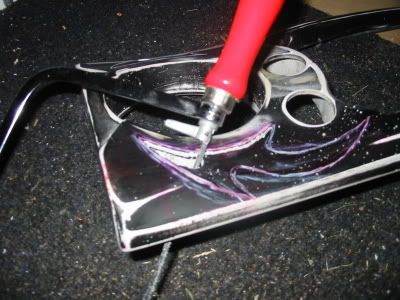
I sanded it back with the drill dremmel until the display fitted into the hole, as you can see, due to the power button, there is a small gap there.
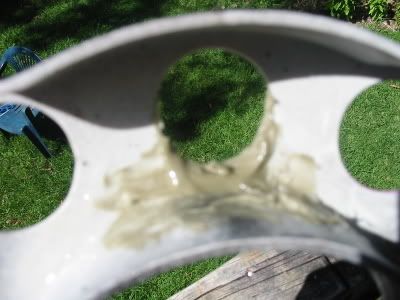
I tooK a small piece of plastic that came with the unit and cut it to size. That i stuck to the front over the place that required filling. I used sellys filler for the job, which hardened in about 10 minutes
I tooK a small piece of plastic that came with the unit and cut it to size. That i stuck to the front over the place that required filling. I used sellys filler for the job, which hardened in about 10 minutes
I then pulled the plastic off revealing the nice smooth finish below
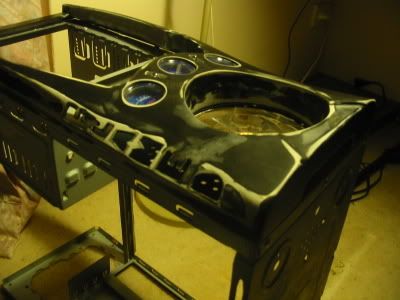
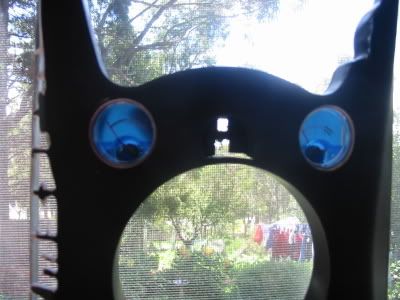
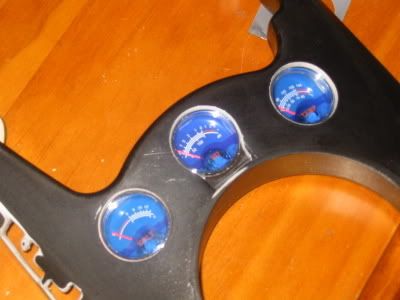
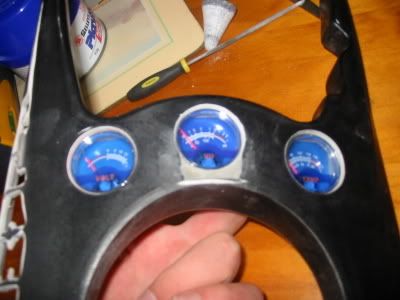
Put the gauges in for a look see, sexeh!!
THere were a few small gaps, so i filled them in with a small amount of filler.
After that dried it was sanded back
and boy does it look pretty!!
I then attacked the whole thing with wet 'n' dry to get it ready for painting
The first coat of paint, nice i think
All i have to do to this particular piece is to get a nice refective finnish on the paint
Feedback is welcome and very appreciated
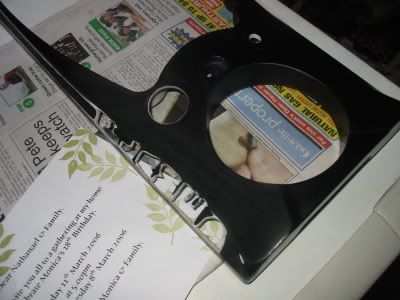
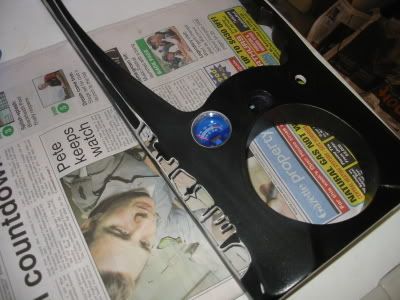
]..::UPDATES::..
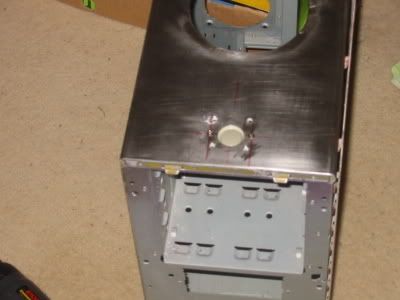
Roof inlaid power button!!
Ok, as i have used up basically all the available room on the front bezel, i have decided to mount the power button on the roof panel.
Firstly i found the button i wanted, this is a very old one, from a very old case, as it is an old power button, it requires a little modifiaction to fit the usual power button in.
Then i marked out the area to be cut on the case, used a 10 cent coin to trace around.
Drilled a small hole
enlarged that
and enlarged again with tin snips.
Started removing jaggy edges with dremmel/drill
Soon the hole was nice and round
I then marked the holes to be drilled, unfortunately, the drill moved while drilling and they are not straight, so i will have to do them again
These pics give an idea of what it will eventually look like
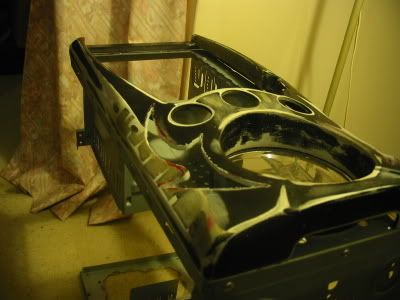
Some shots of the entire thing
blah, not working how i want, however you may see my progress
First i drew it up and drilled the new holes and screwwed the swich in again
Then i removed the other screws and covered the holes in putty
That puttty, was then sanded down, annoying cause it keeps crumbling at the edges and not lying flat
Then i gave it a quick coat of paint to try and settle the putty
slowly getting there, i just need to pinstakingly sand the lumps down now to make it nice and smooth


 Reply With Quote