That's one good looking comptuer. Cool wife too for letting you spend all the money that must have cost.


That's one good looking comptuer. Cool wife too for letting you spend all the money that must have cost.

It didn't really cost much. Total sponsorship is about $1K and my money was only $300-400.
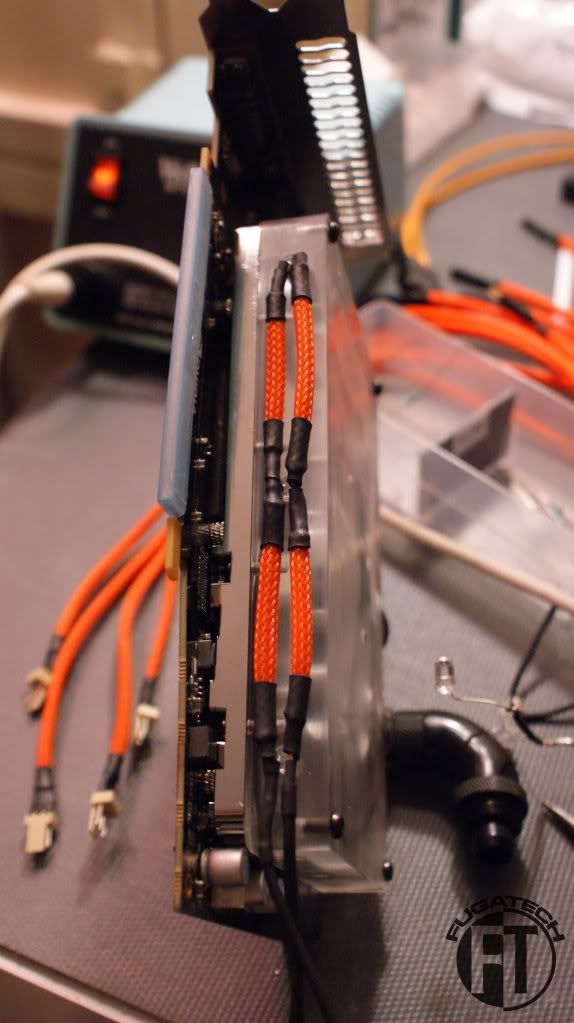
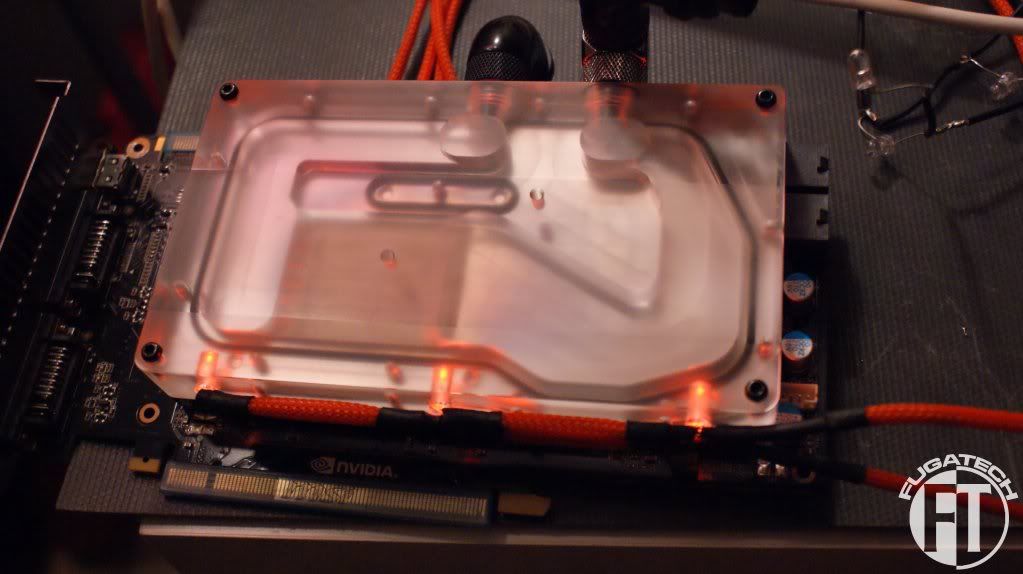
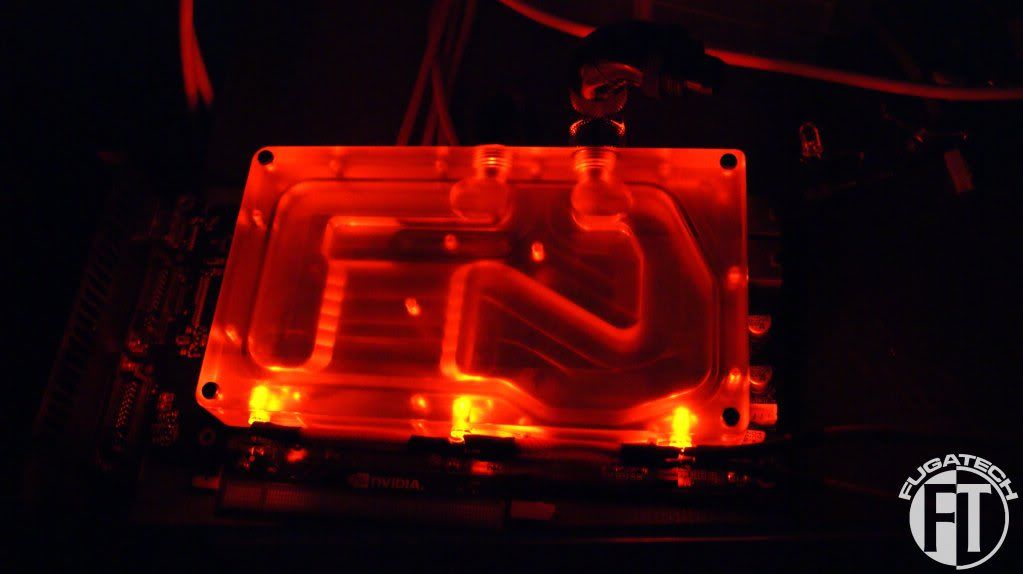
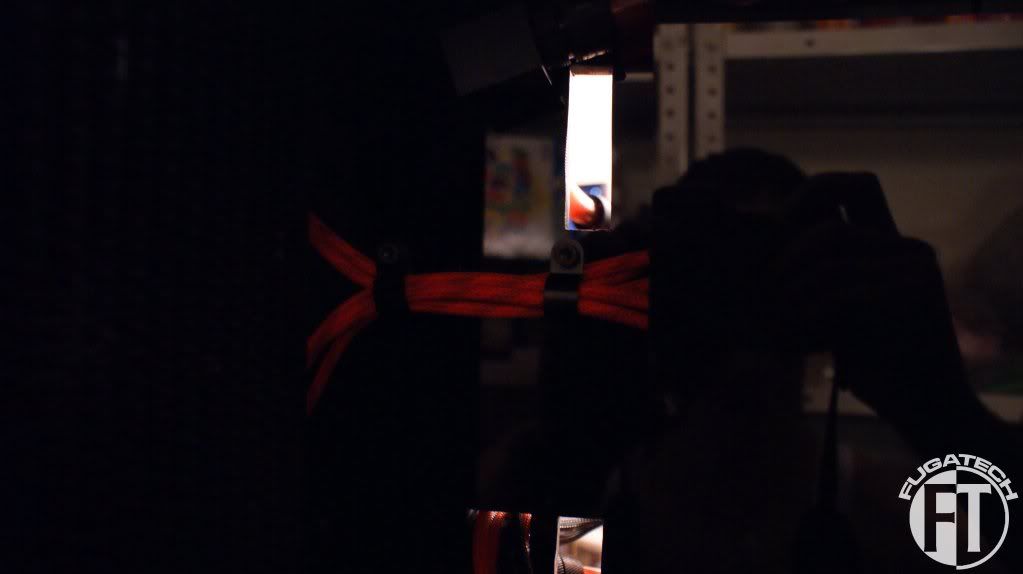
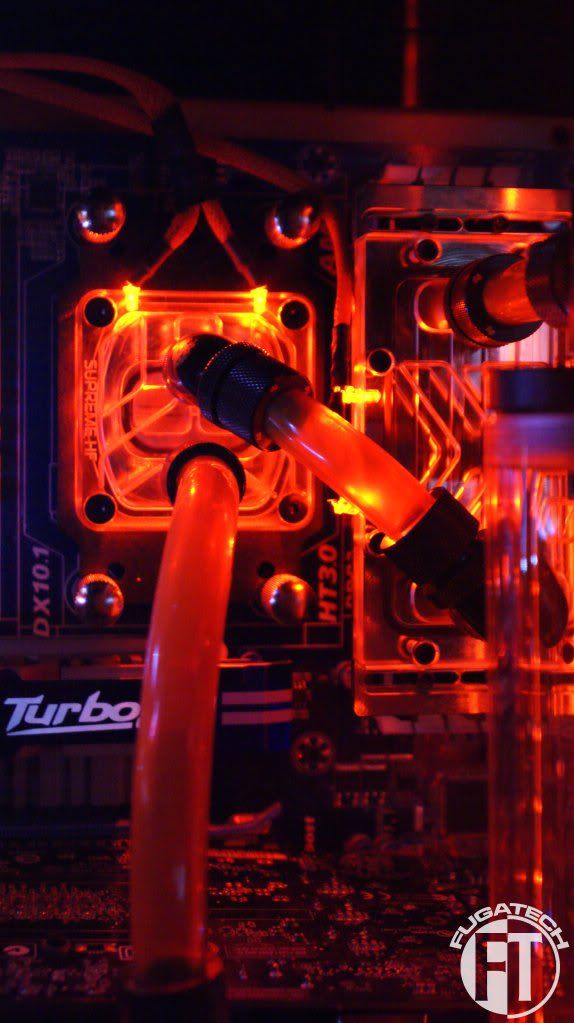
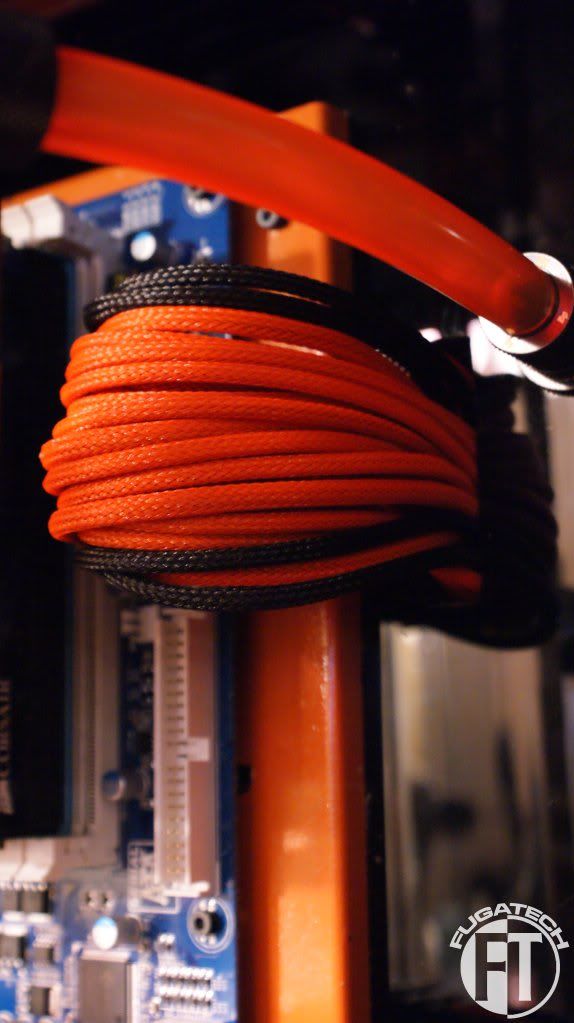
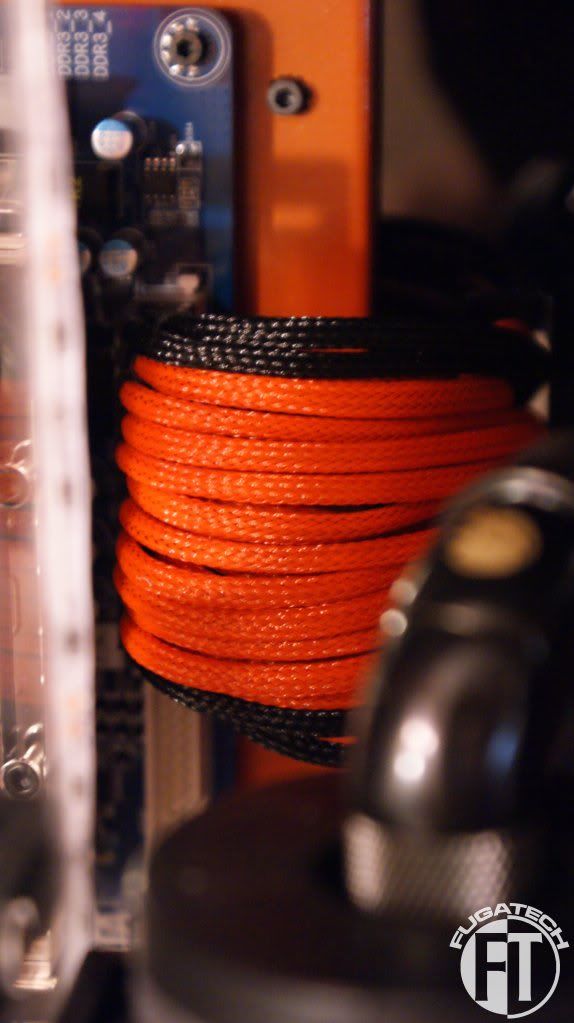
I started wiring up the waterblocks with LEDs.
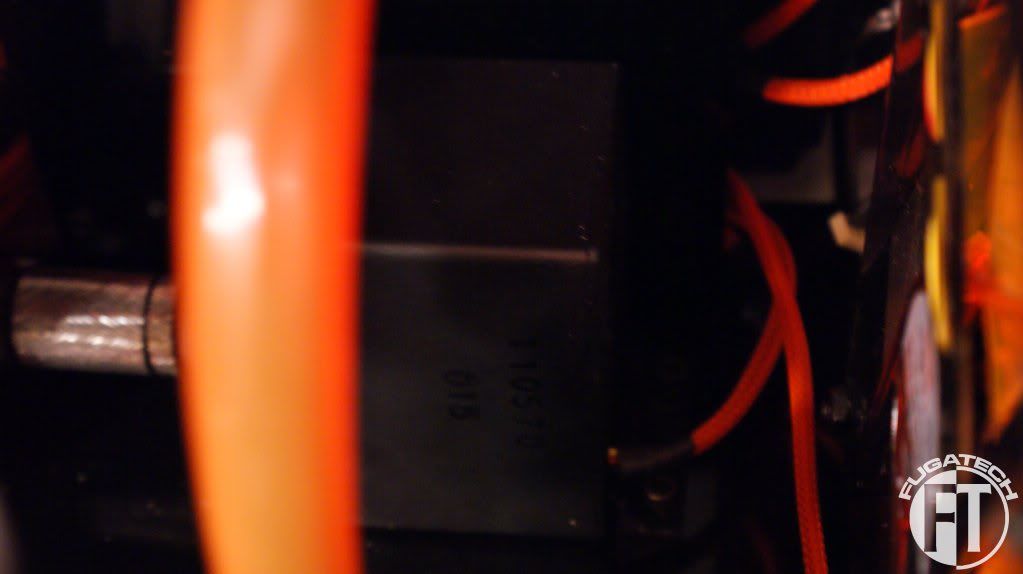
GPU Block
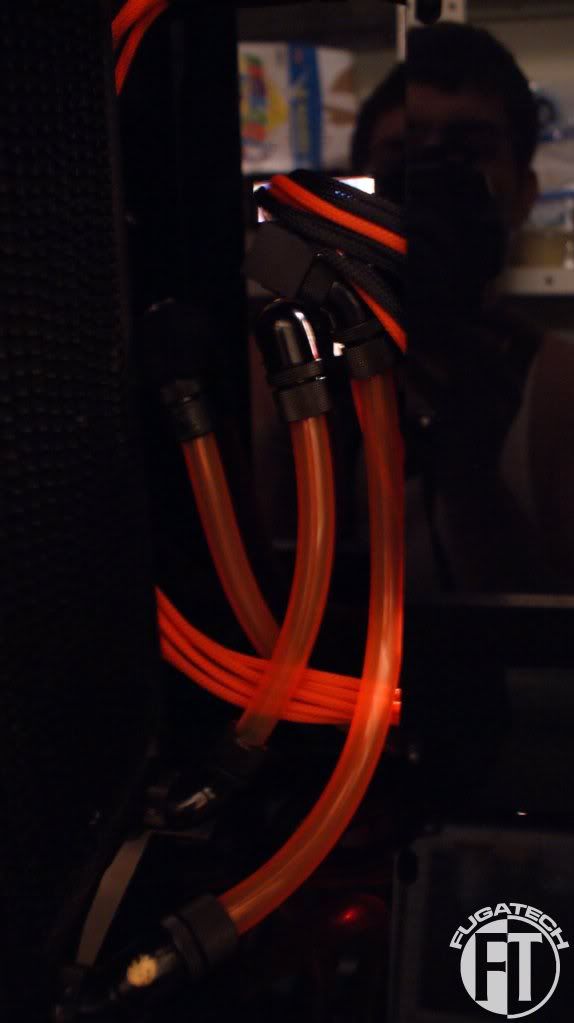
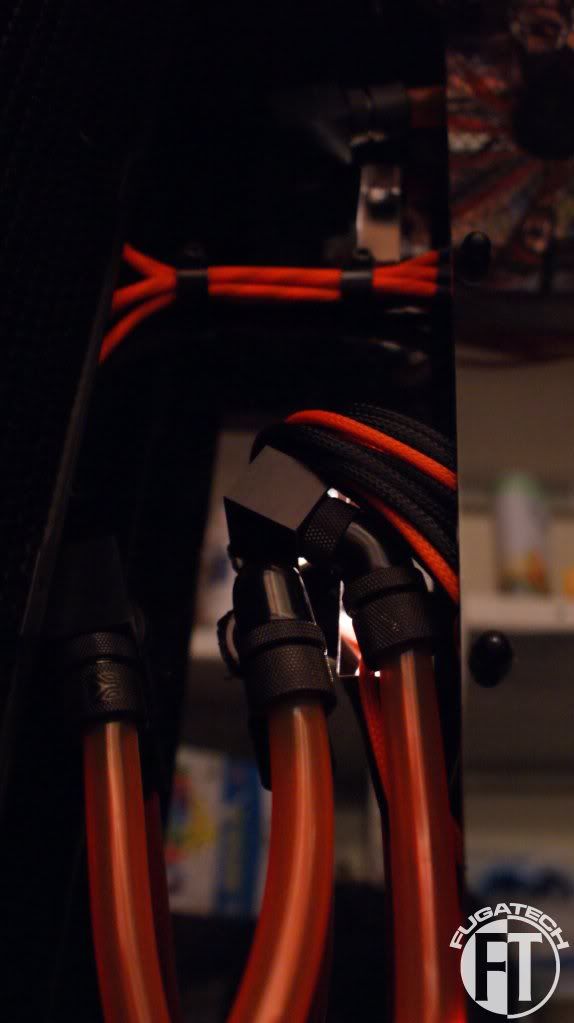
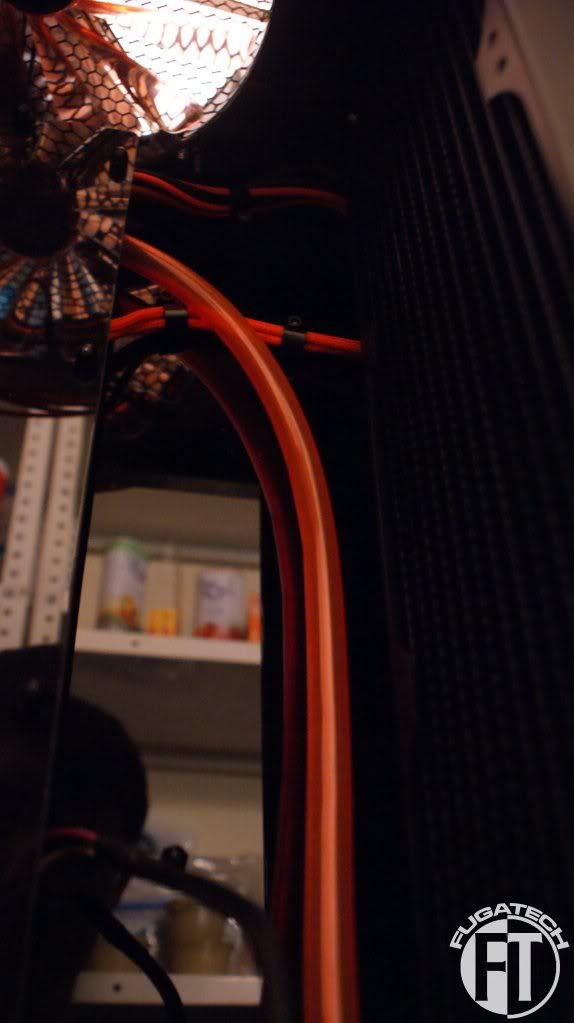
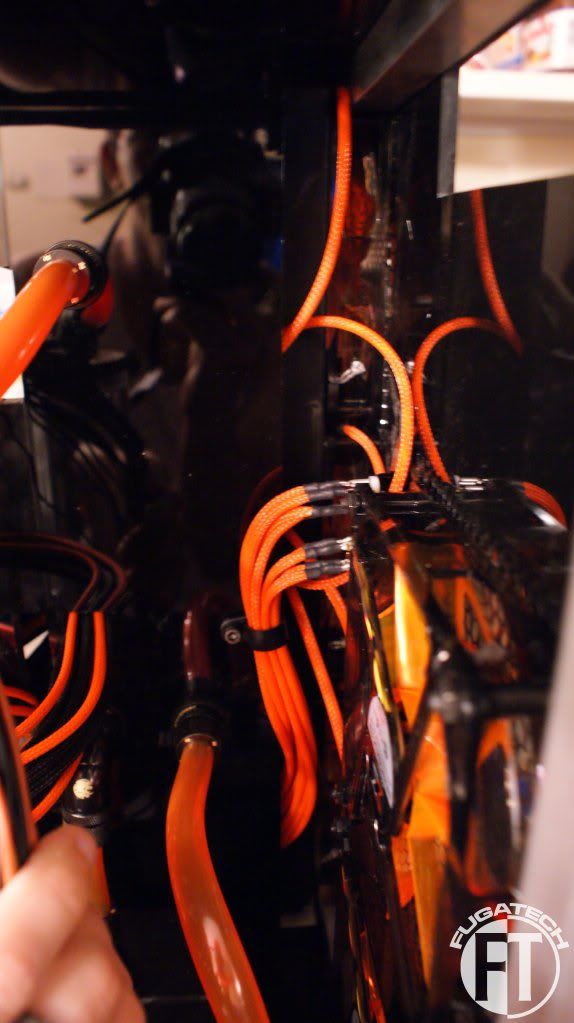
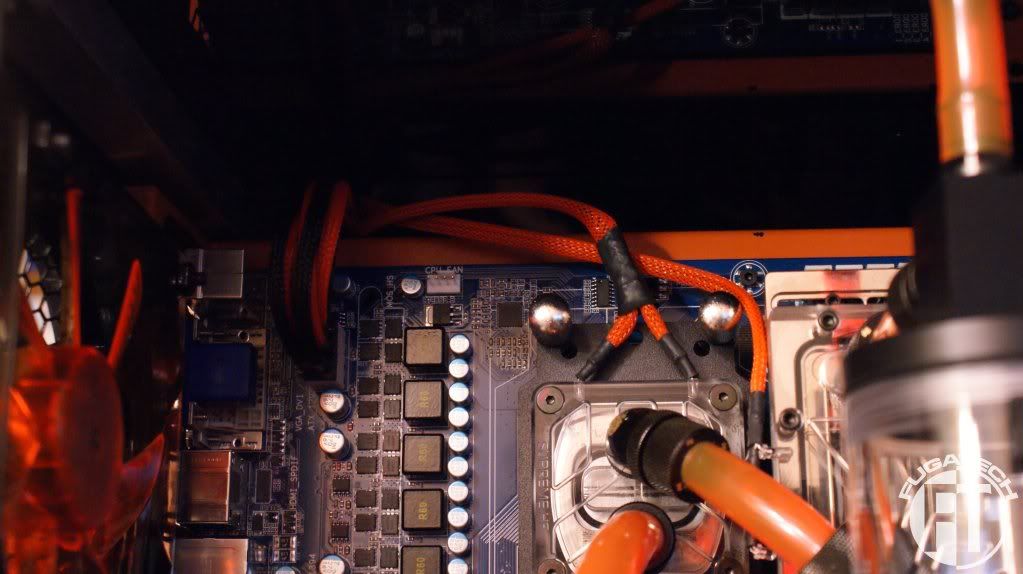
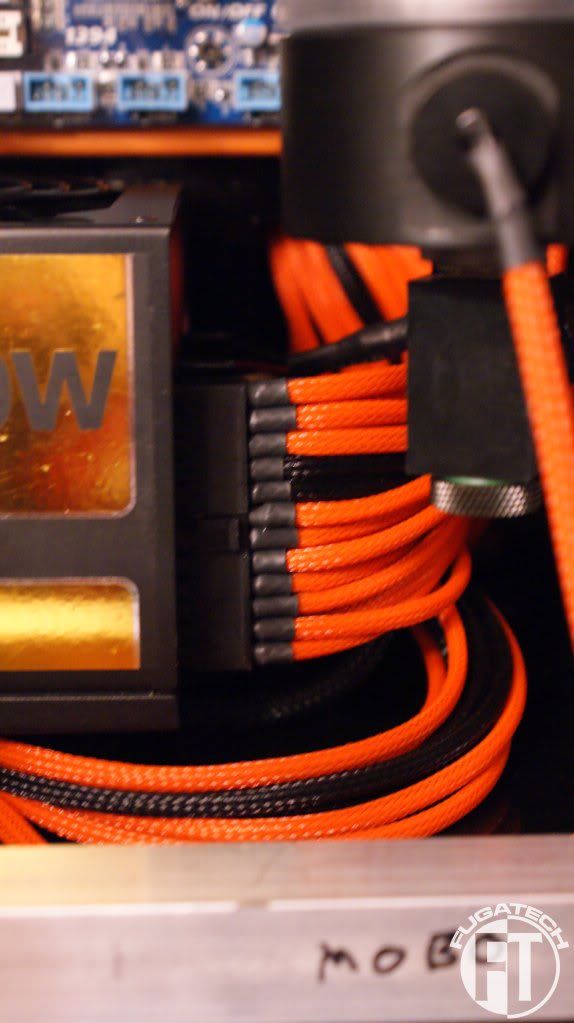
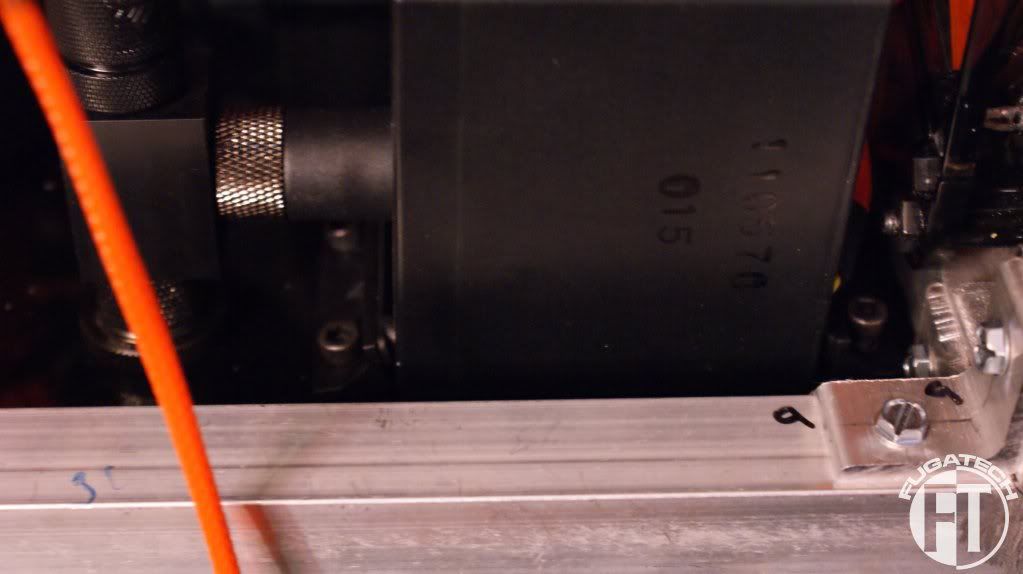
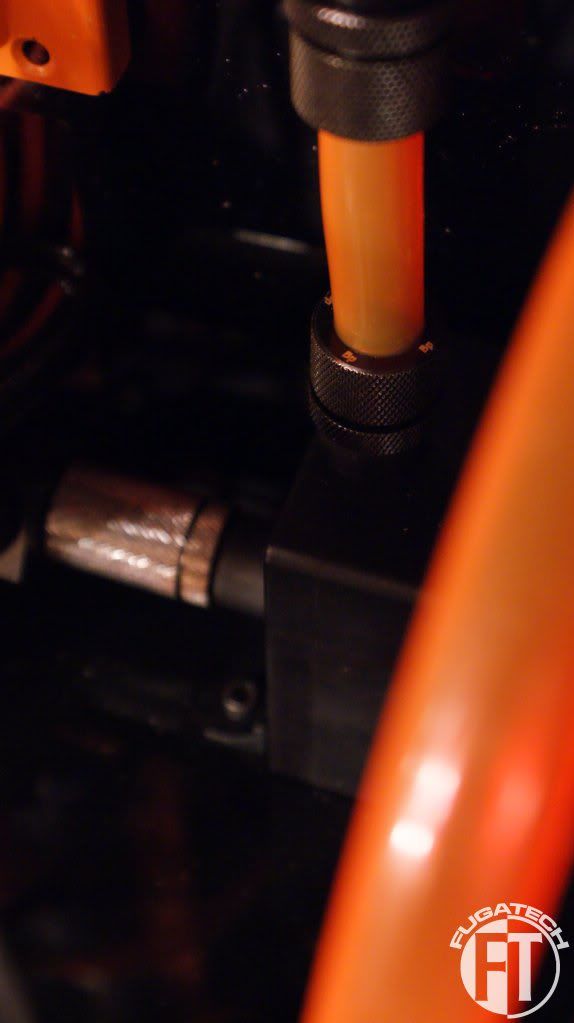
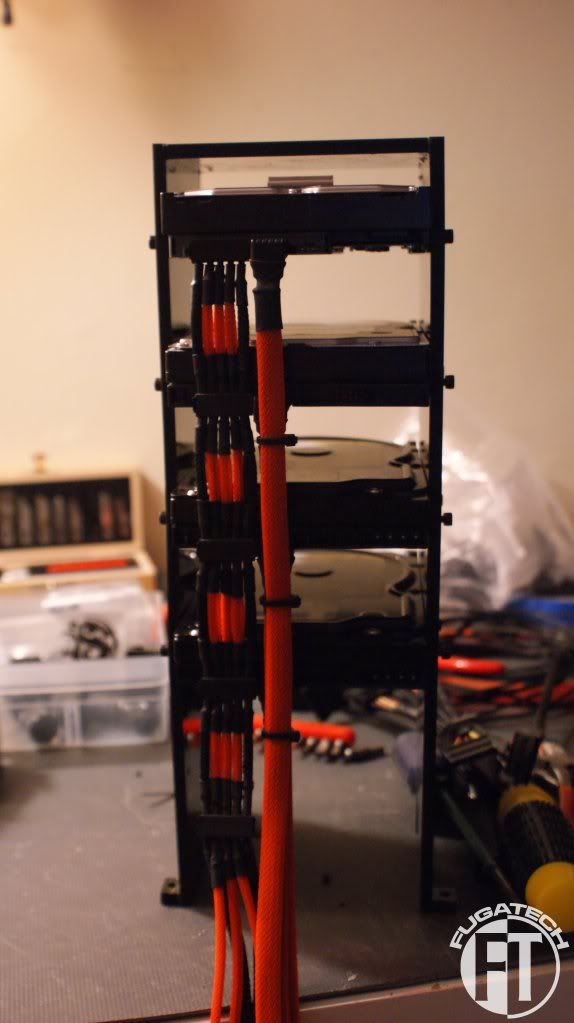
Cable management time! I'm using P clips from MDPC-X which are working rather well. I also finished up the pluming.
Back fan cables
Front fan cables
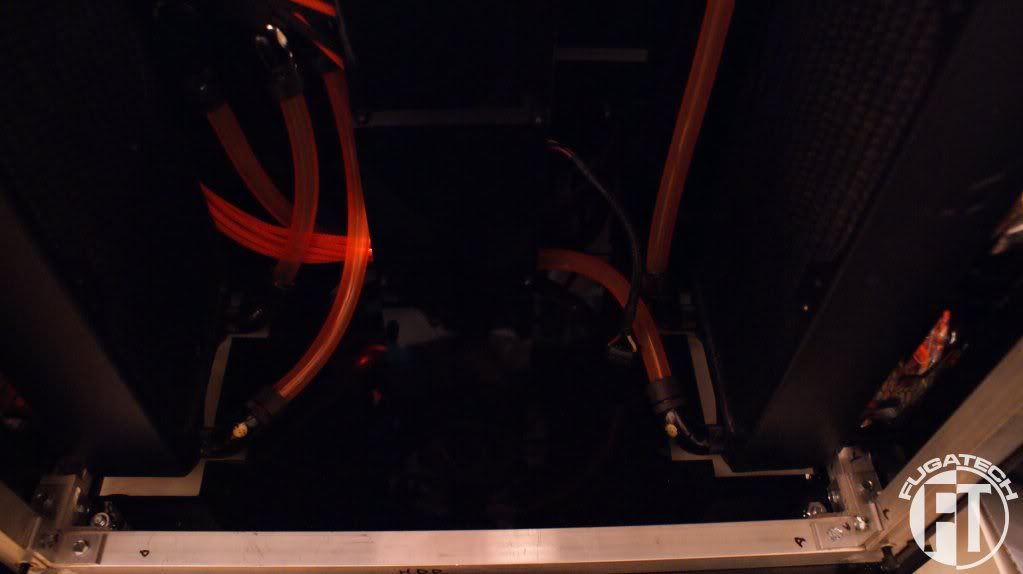
Left side of HDD cavity where most of the pluming comes through the center of the case
Another shot of the right side of the HDD cavity
Bottom of the case
Some cable management on the mobo side
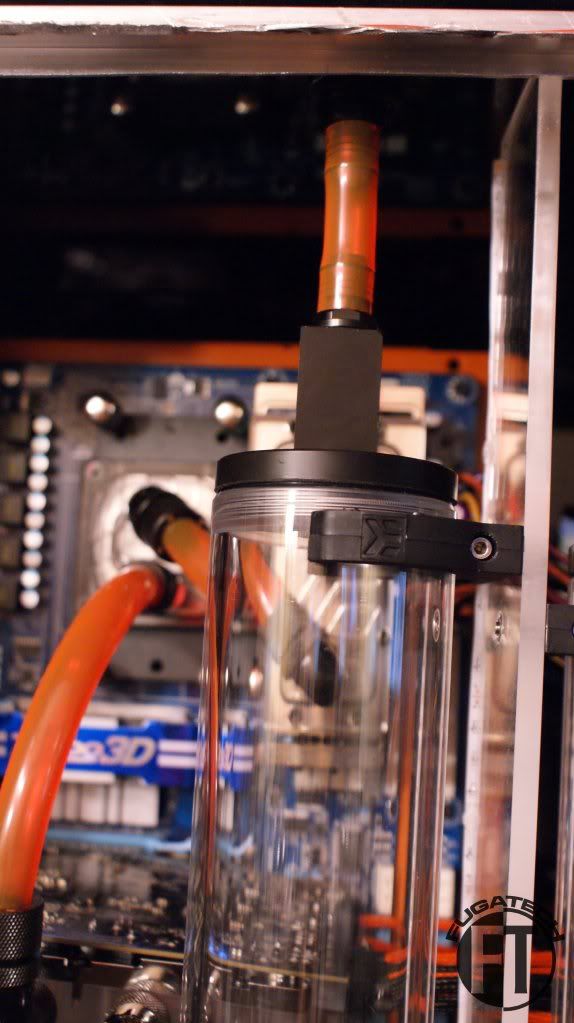
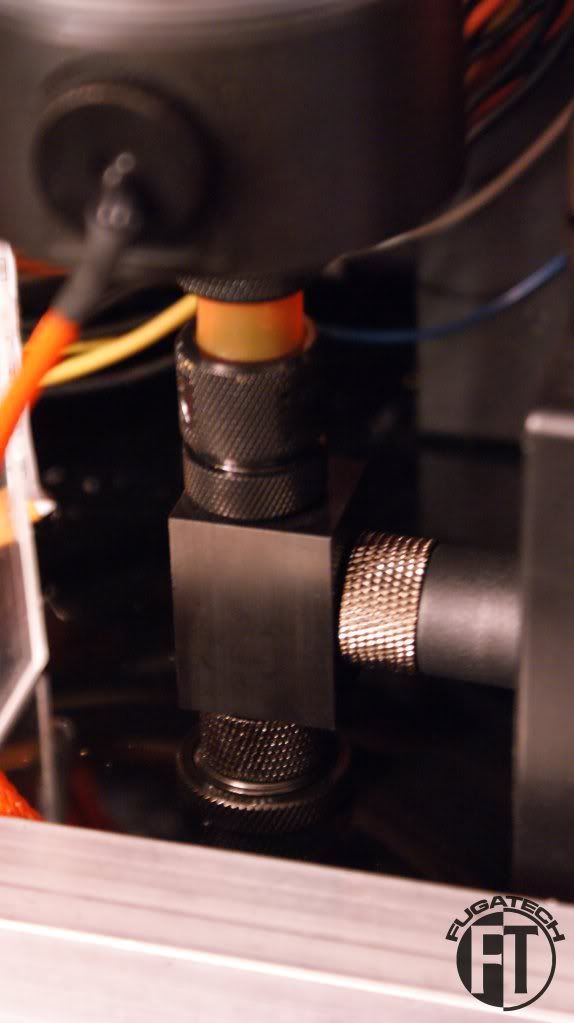
T-fitting on top of the mobo loop res. This attaches to the fill port on top of the case
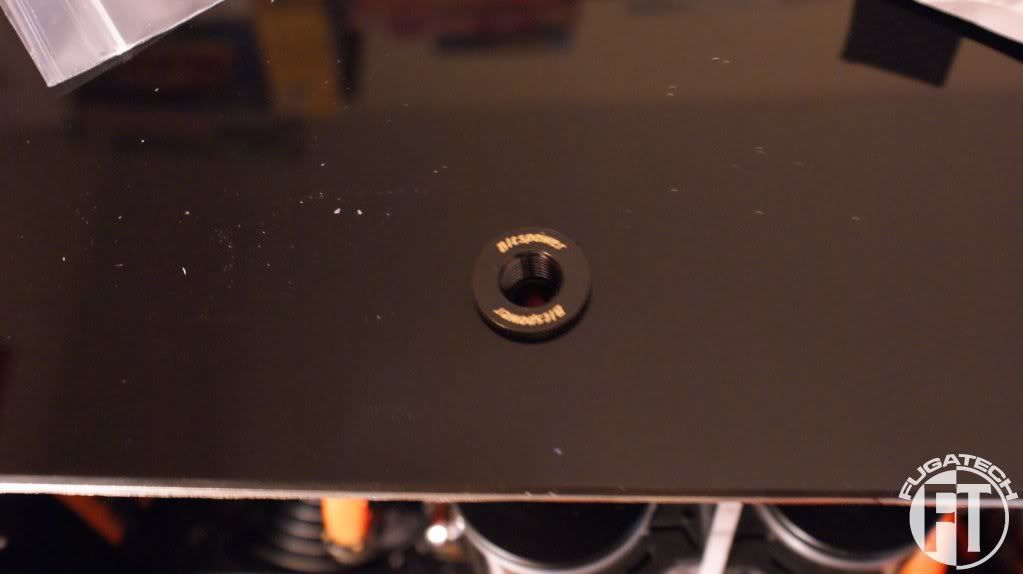
And here is the drain port for the HDD loop res. Luckily I was able to use fittings and no tubing which made the installation super easy.
I'm doing lots more work this week.
Cheers till later!

Wow, the overall result is so much more spectacular than the sum of the parts! And the parts looked amazing by themselves. Great work!
TheMainMan

AMAZING WORK! fud, this is awesome! i like the gloss black when off, just gotta worry about scratches...
"The very existence of flamethrowers proves that sometime, somewhere, someone said to themselves, 'You know, I want to set those people over there on fire, but Im just not close enough to get the job done. -George Carlin
Fighting for peace is like screwing for virginity. -George Carlin
Originally Posted by DynamoNED
 Thanks guys!
I finished the LEDs for the CPU and RAM blocks.
I'll clean up the cables a bit later.
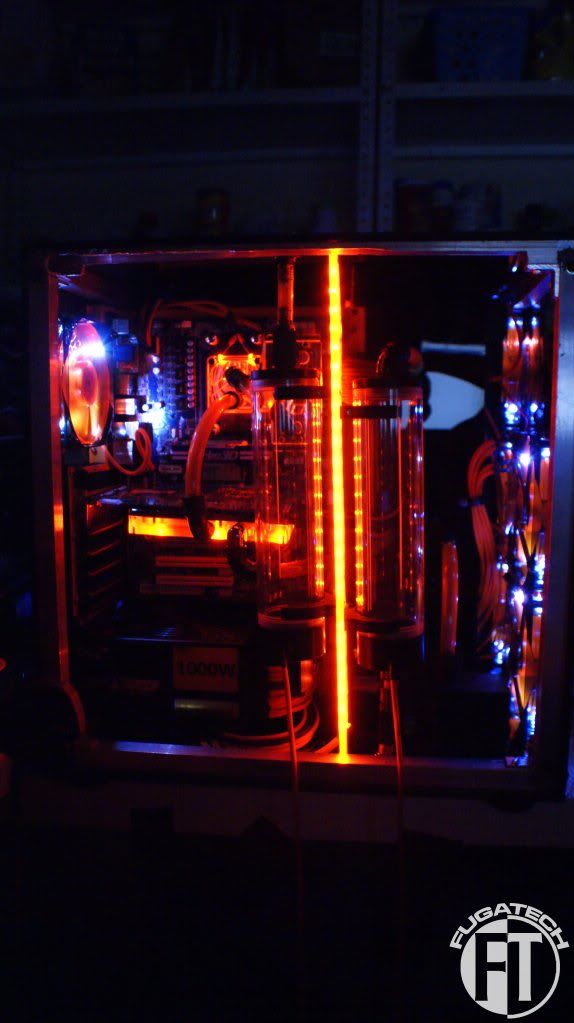
And so far it all looks pretty good.
All that is left for LEDs is the ones that go in the bottom of the reservoirs.
I finally finished and installed my custom ATX power cable. It still needs some work because it is bunched up. But that will come later.
And here is what it looks like connected to the PSU
A very tricky task was to mount the pumps. Since I have no hand room inside the case at the bottom, I had to remove the entire bottom panel, mount the pumps, then put it back on. Here is the final result. (A bit hard to see...)
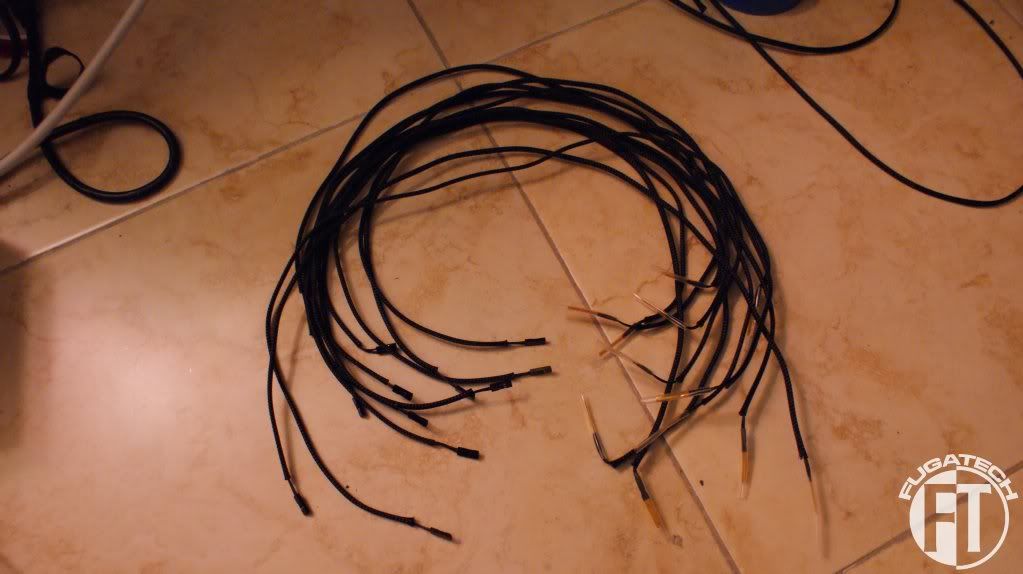
I started sleeving the temp sensors. There are a lot of them!
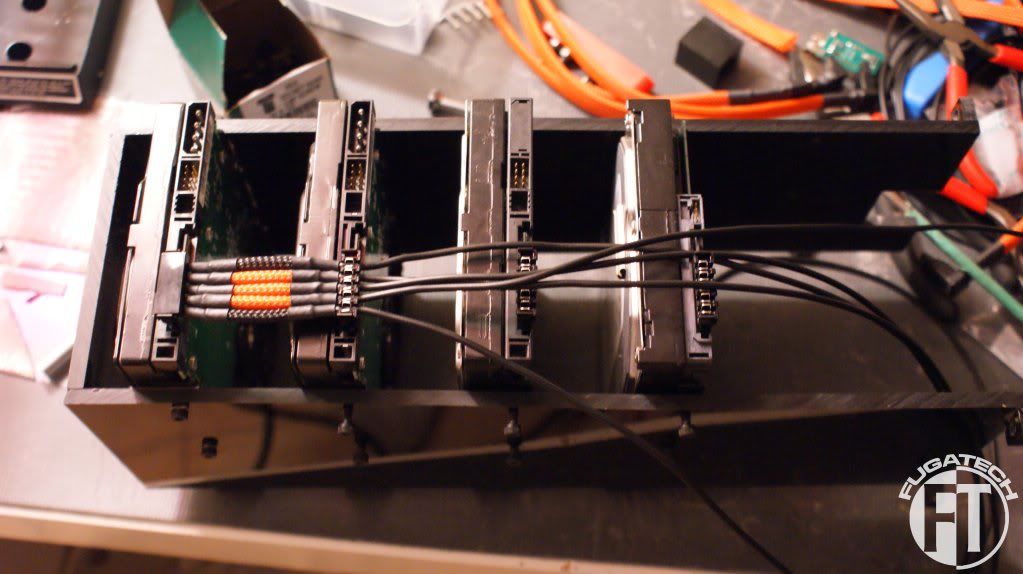
And finally, I had Will make a fan buss for me. The only problem with it is that I had to extend the power connector because where it is at is an extremely tight space and I can't get my fingers back there to connect it.
Cheers till next time.

looking good!!
Arctic Cat * Maximum Security * Cribbage Board * Rockin Case * Armor Redux
Tempest SXR * Power House * Red Comet * ICHIWZ * Acrylic Headphone Hook
Continuing sponsorship support from PCBoard.ca
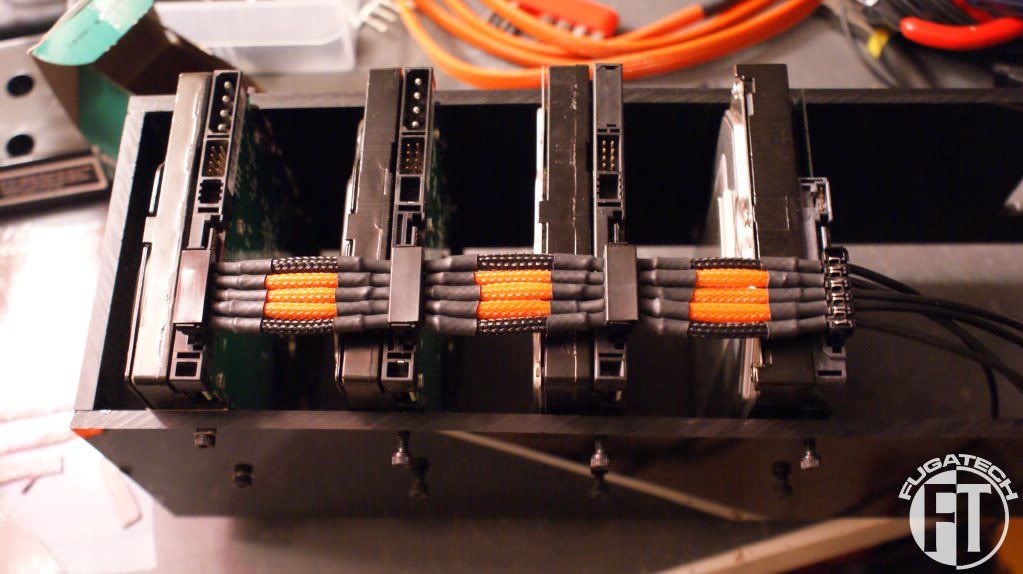
I started making my SATA power cables.
First, I installed all the drives. Put the SATA connectors on them. And started running the cables.
First section done.
More done.
I had to move a drive down so I could measure the last section correctly.
And the final product with the sleeved SATA Data cables installed and zipped.
I'm happy with how they came out. I did the same thing for the other HDD cage but I ran out of heat shrinkso I put another order in for it at MDPC-X. My ATX pin remover is also starting to go... I think I need to spend the money and get the good one.
Cheers till next time!

that looks greati think i might give something like that a crack in my new mod.. maybe.. ahaha looks brilliant but my patience wears thin very quickly,
 Posting Permissions


 Reply With Quote