-
Anodized

 HTPC in a Nintendo 64
Hi everyone
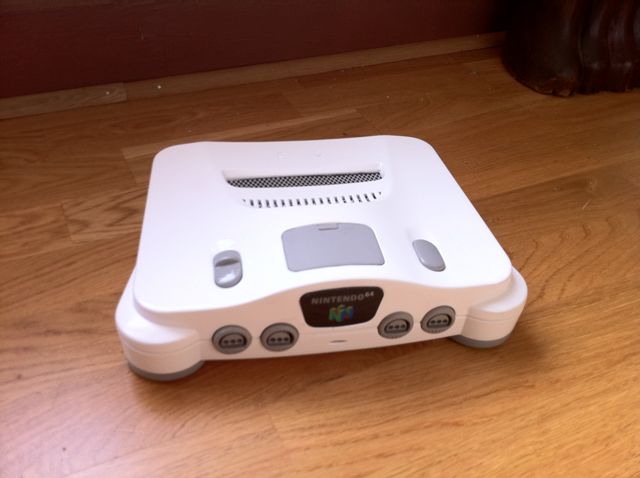
this a mod of the legendary Nintendo 64.
The job is finished but I'm sharing it with you.
I used to play a lot with this console years ago...
I got this console for 15 in a flee market
The objective is to make a PC for the living room, to watch media and some internet surf. Ultimately I'll be installing OSX on it since I only have macs at home.
thus it must have the :
appropriate connectivity
Not necessarily a big hard disk
(I have a Wifi network already setup at home, it is very fast (Wifi N) and reliable. Sharing files or streaming media between computers at home is very easy.)
Very responsive, but not necessarily powerful
And Silent
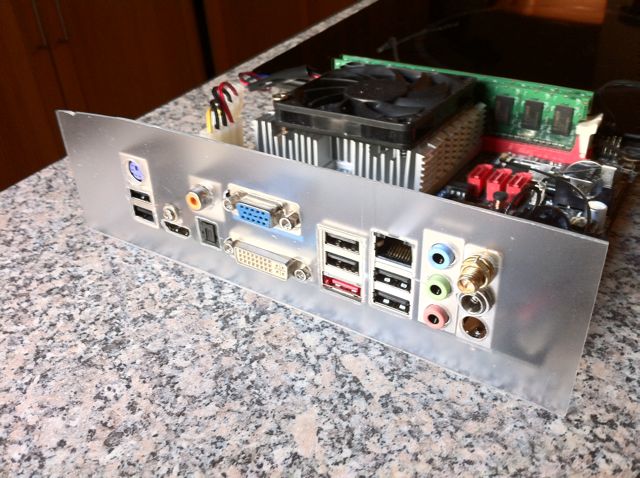
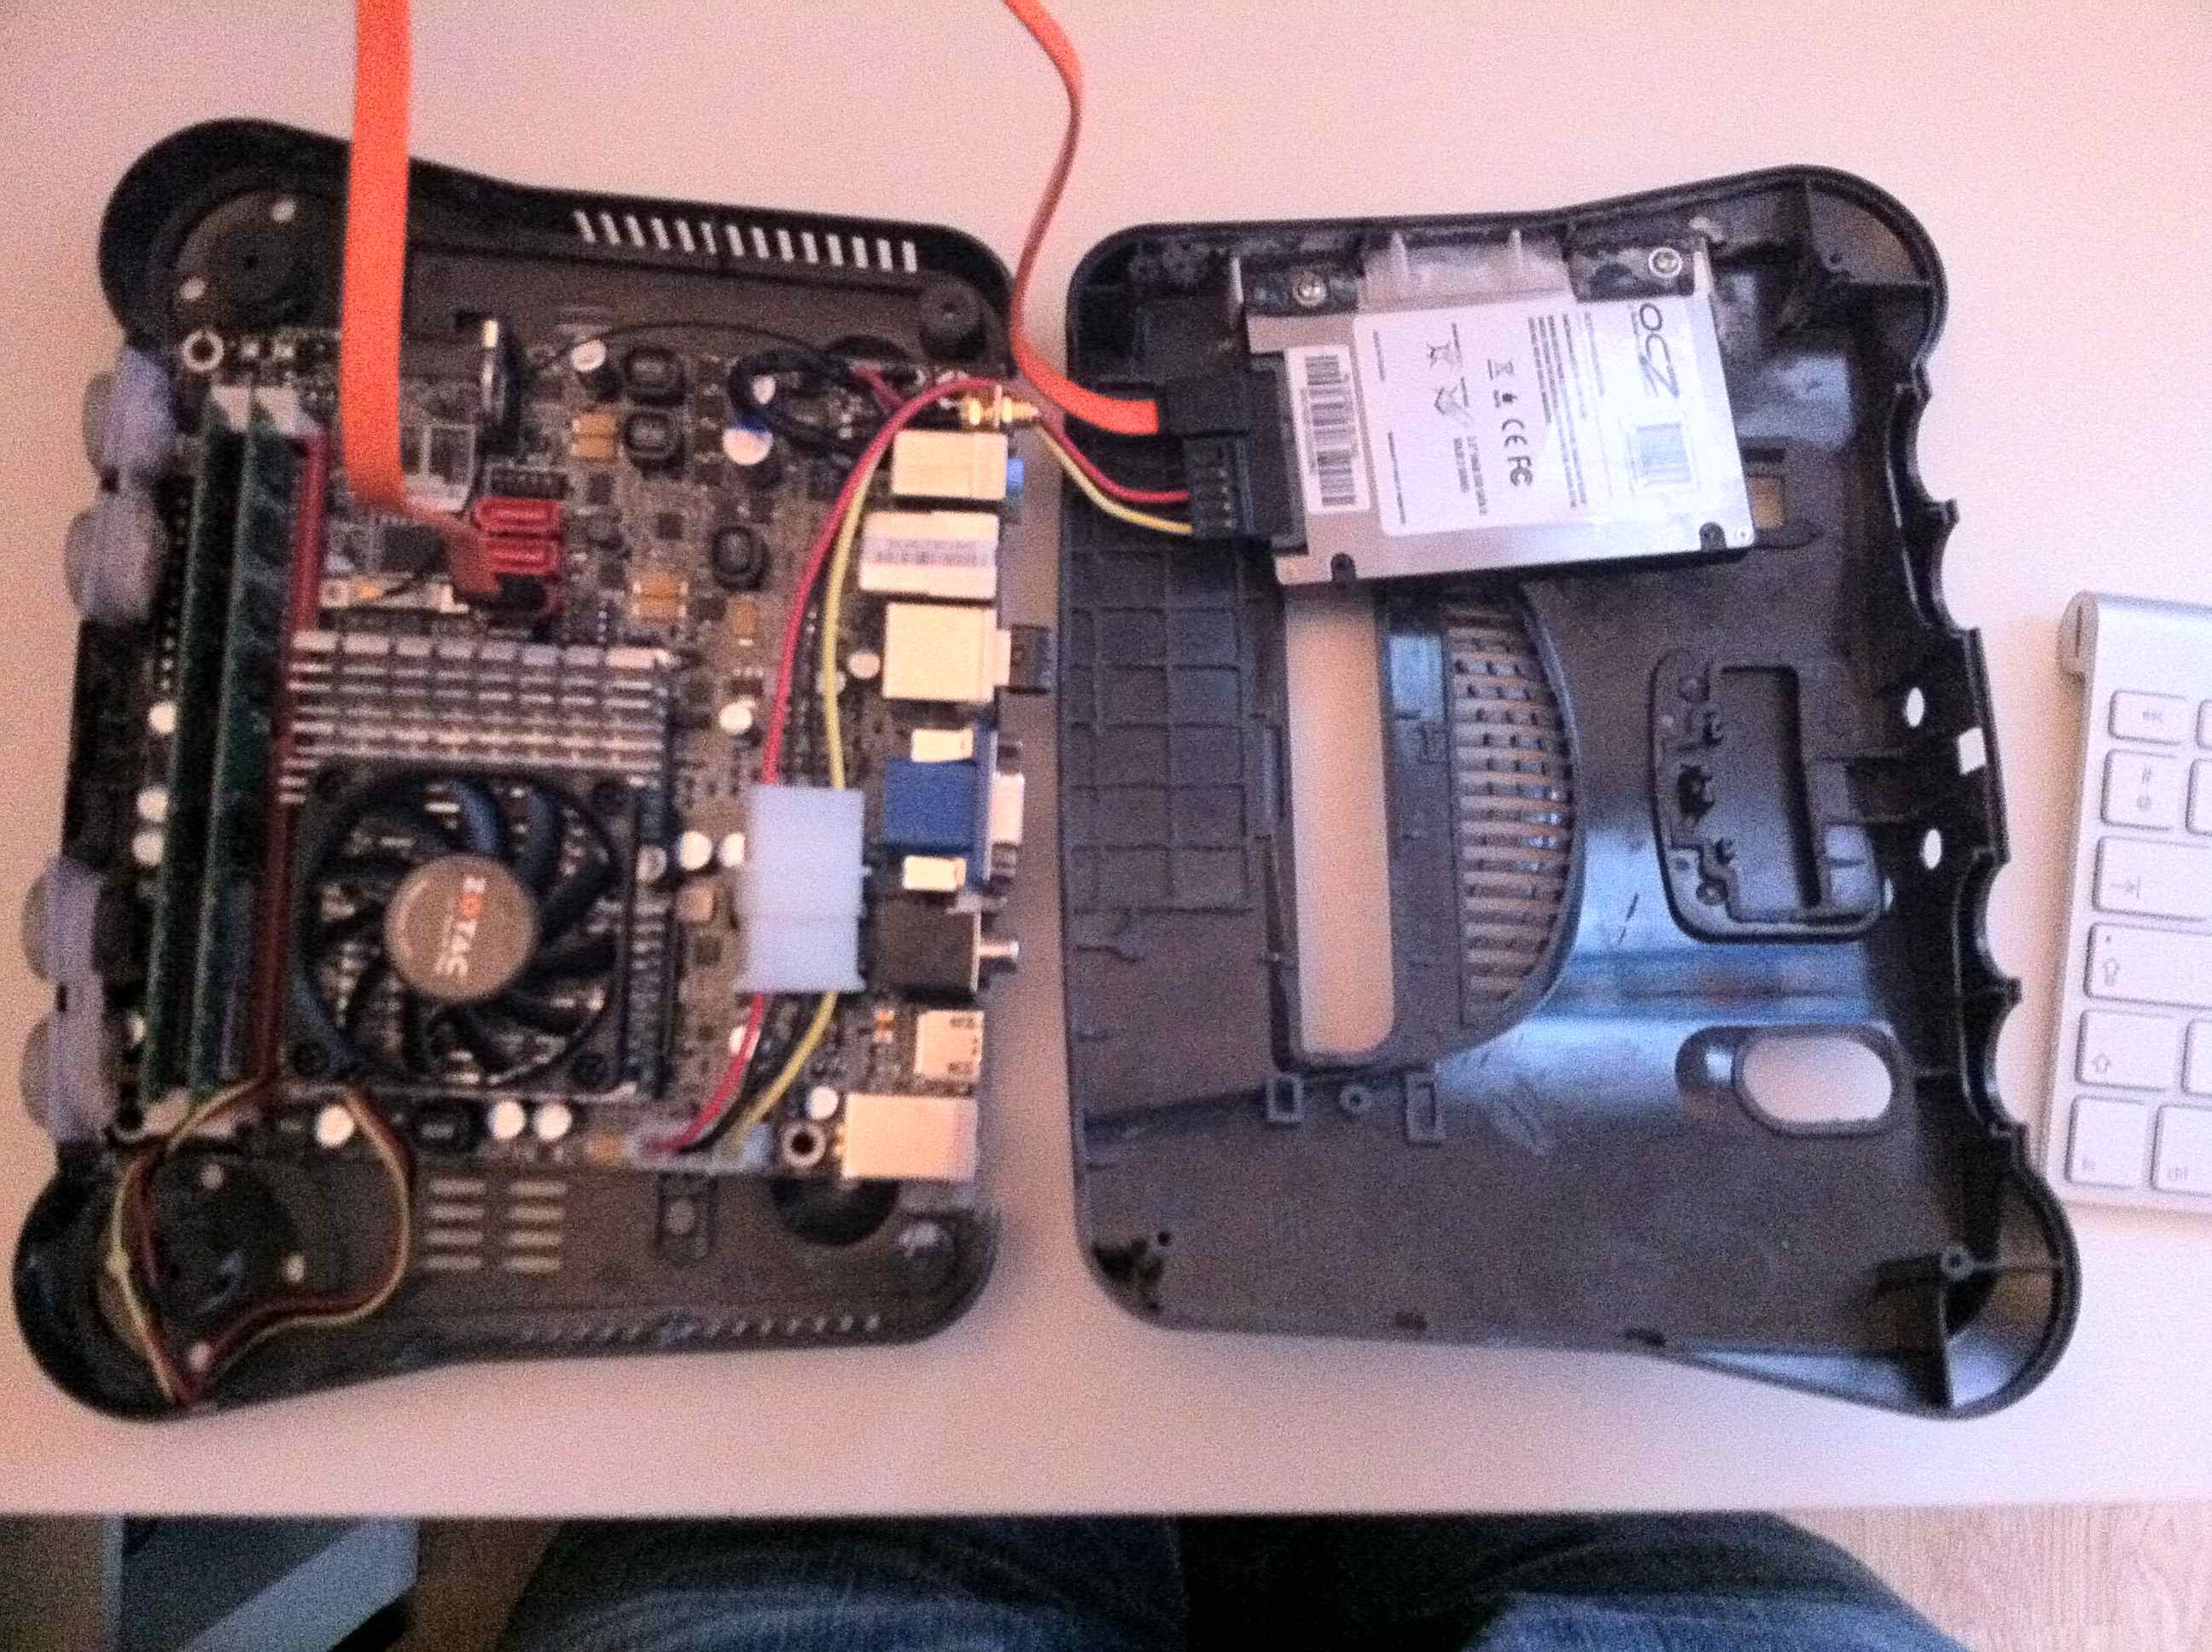
considering all that, this is the hardware I choose
is pretty simple :
Mobo: Zotac ionitx A - E
2x 1GB of ram
1 SSD 30GB
this zotac mobo has almost everything needed (sound, graphics, CPU, connectivity HDMI, Wifi N, optical out etc ), has a CPU that can work with out fan, has external power unit and fits nice inside a N64
2GB of ram is enough for the tasks that the computer will have to do
The 30GB SSD drive will ensure less noise, and a responsive system.
-
Anodized
Re: HTPC in a Nintendo 64
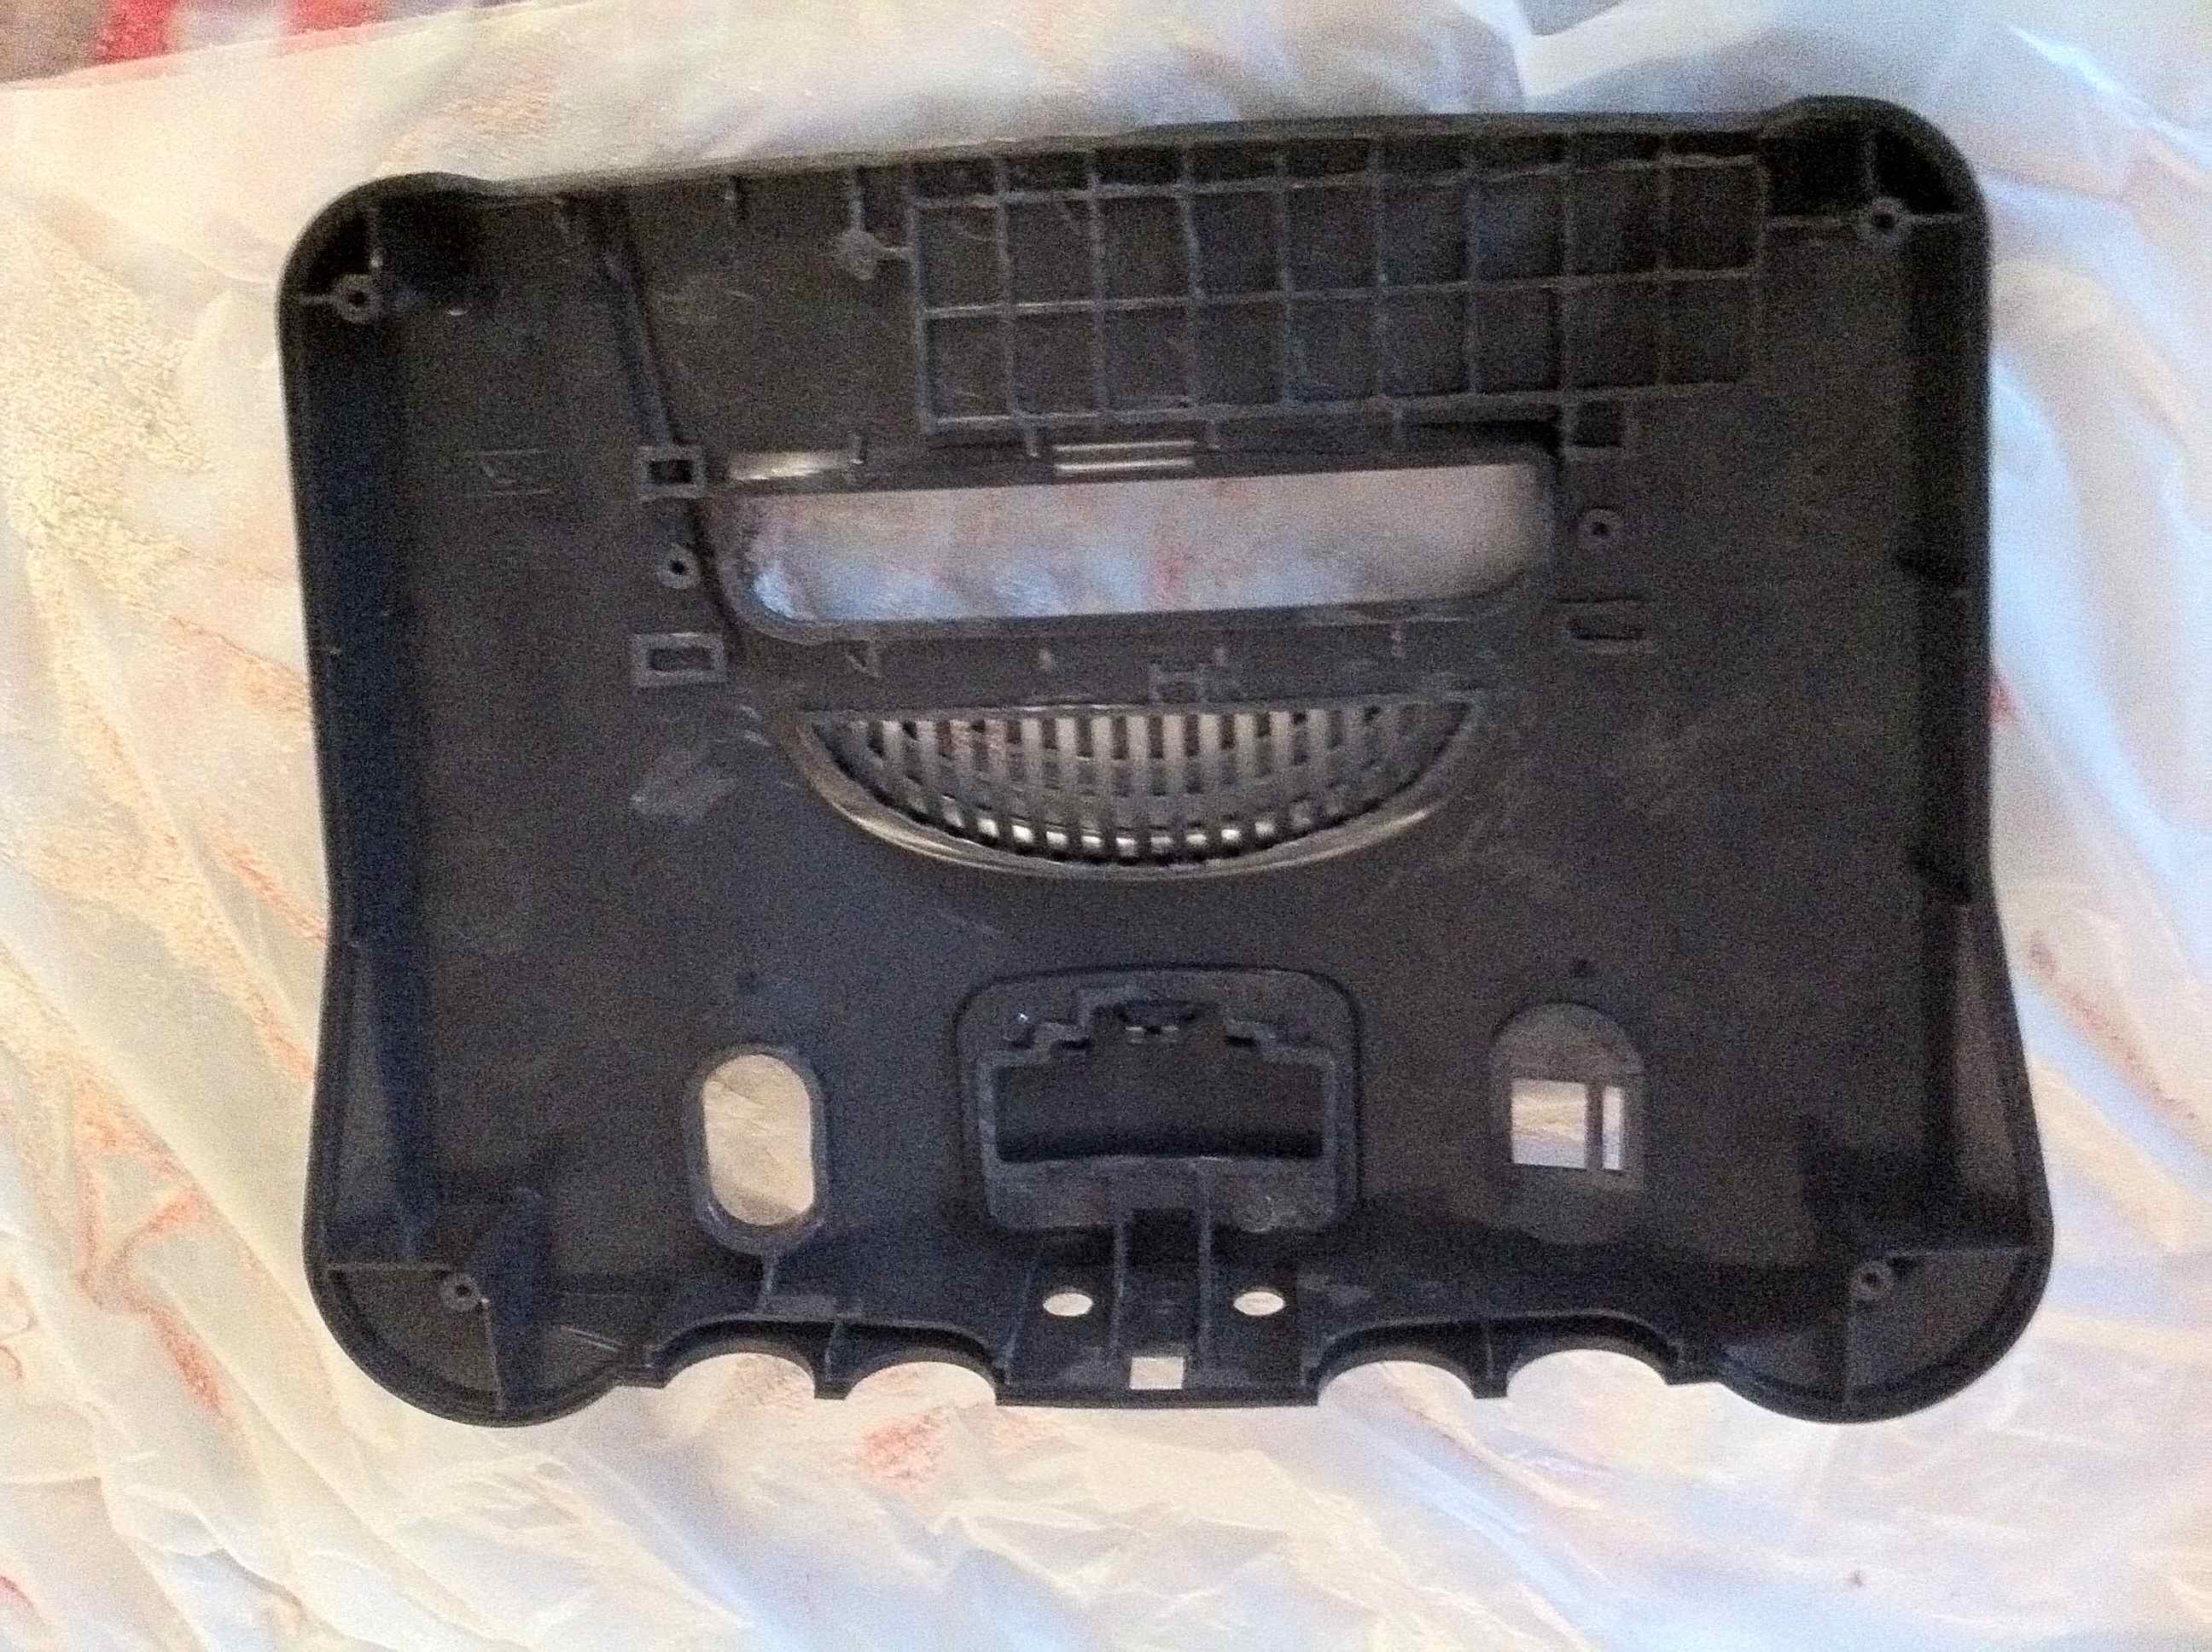
First of I opened the N64, removed everything inside of it and cut a lot of the internal parts of the case
I lost the pictures of this step, but you have a look at this thread this part is basicly the same:
http://www.thebestcasescenario.com/f...ad.php?t=24038
dcattena have interesting ideas
I only have this picture of the top case cut
in addition had to cut the controllers ports to fit the mobo
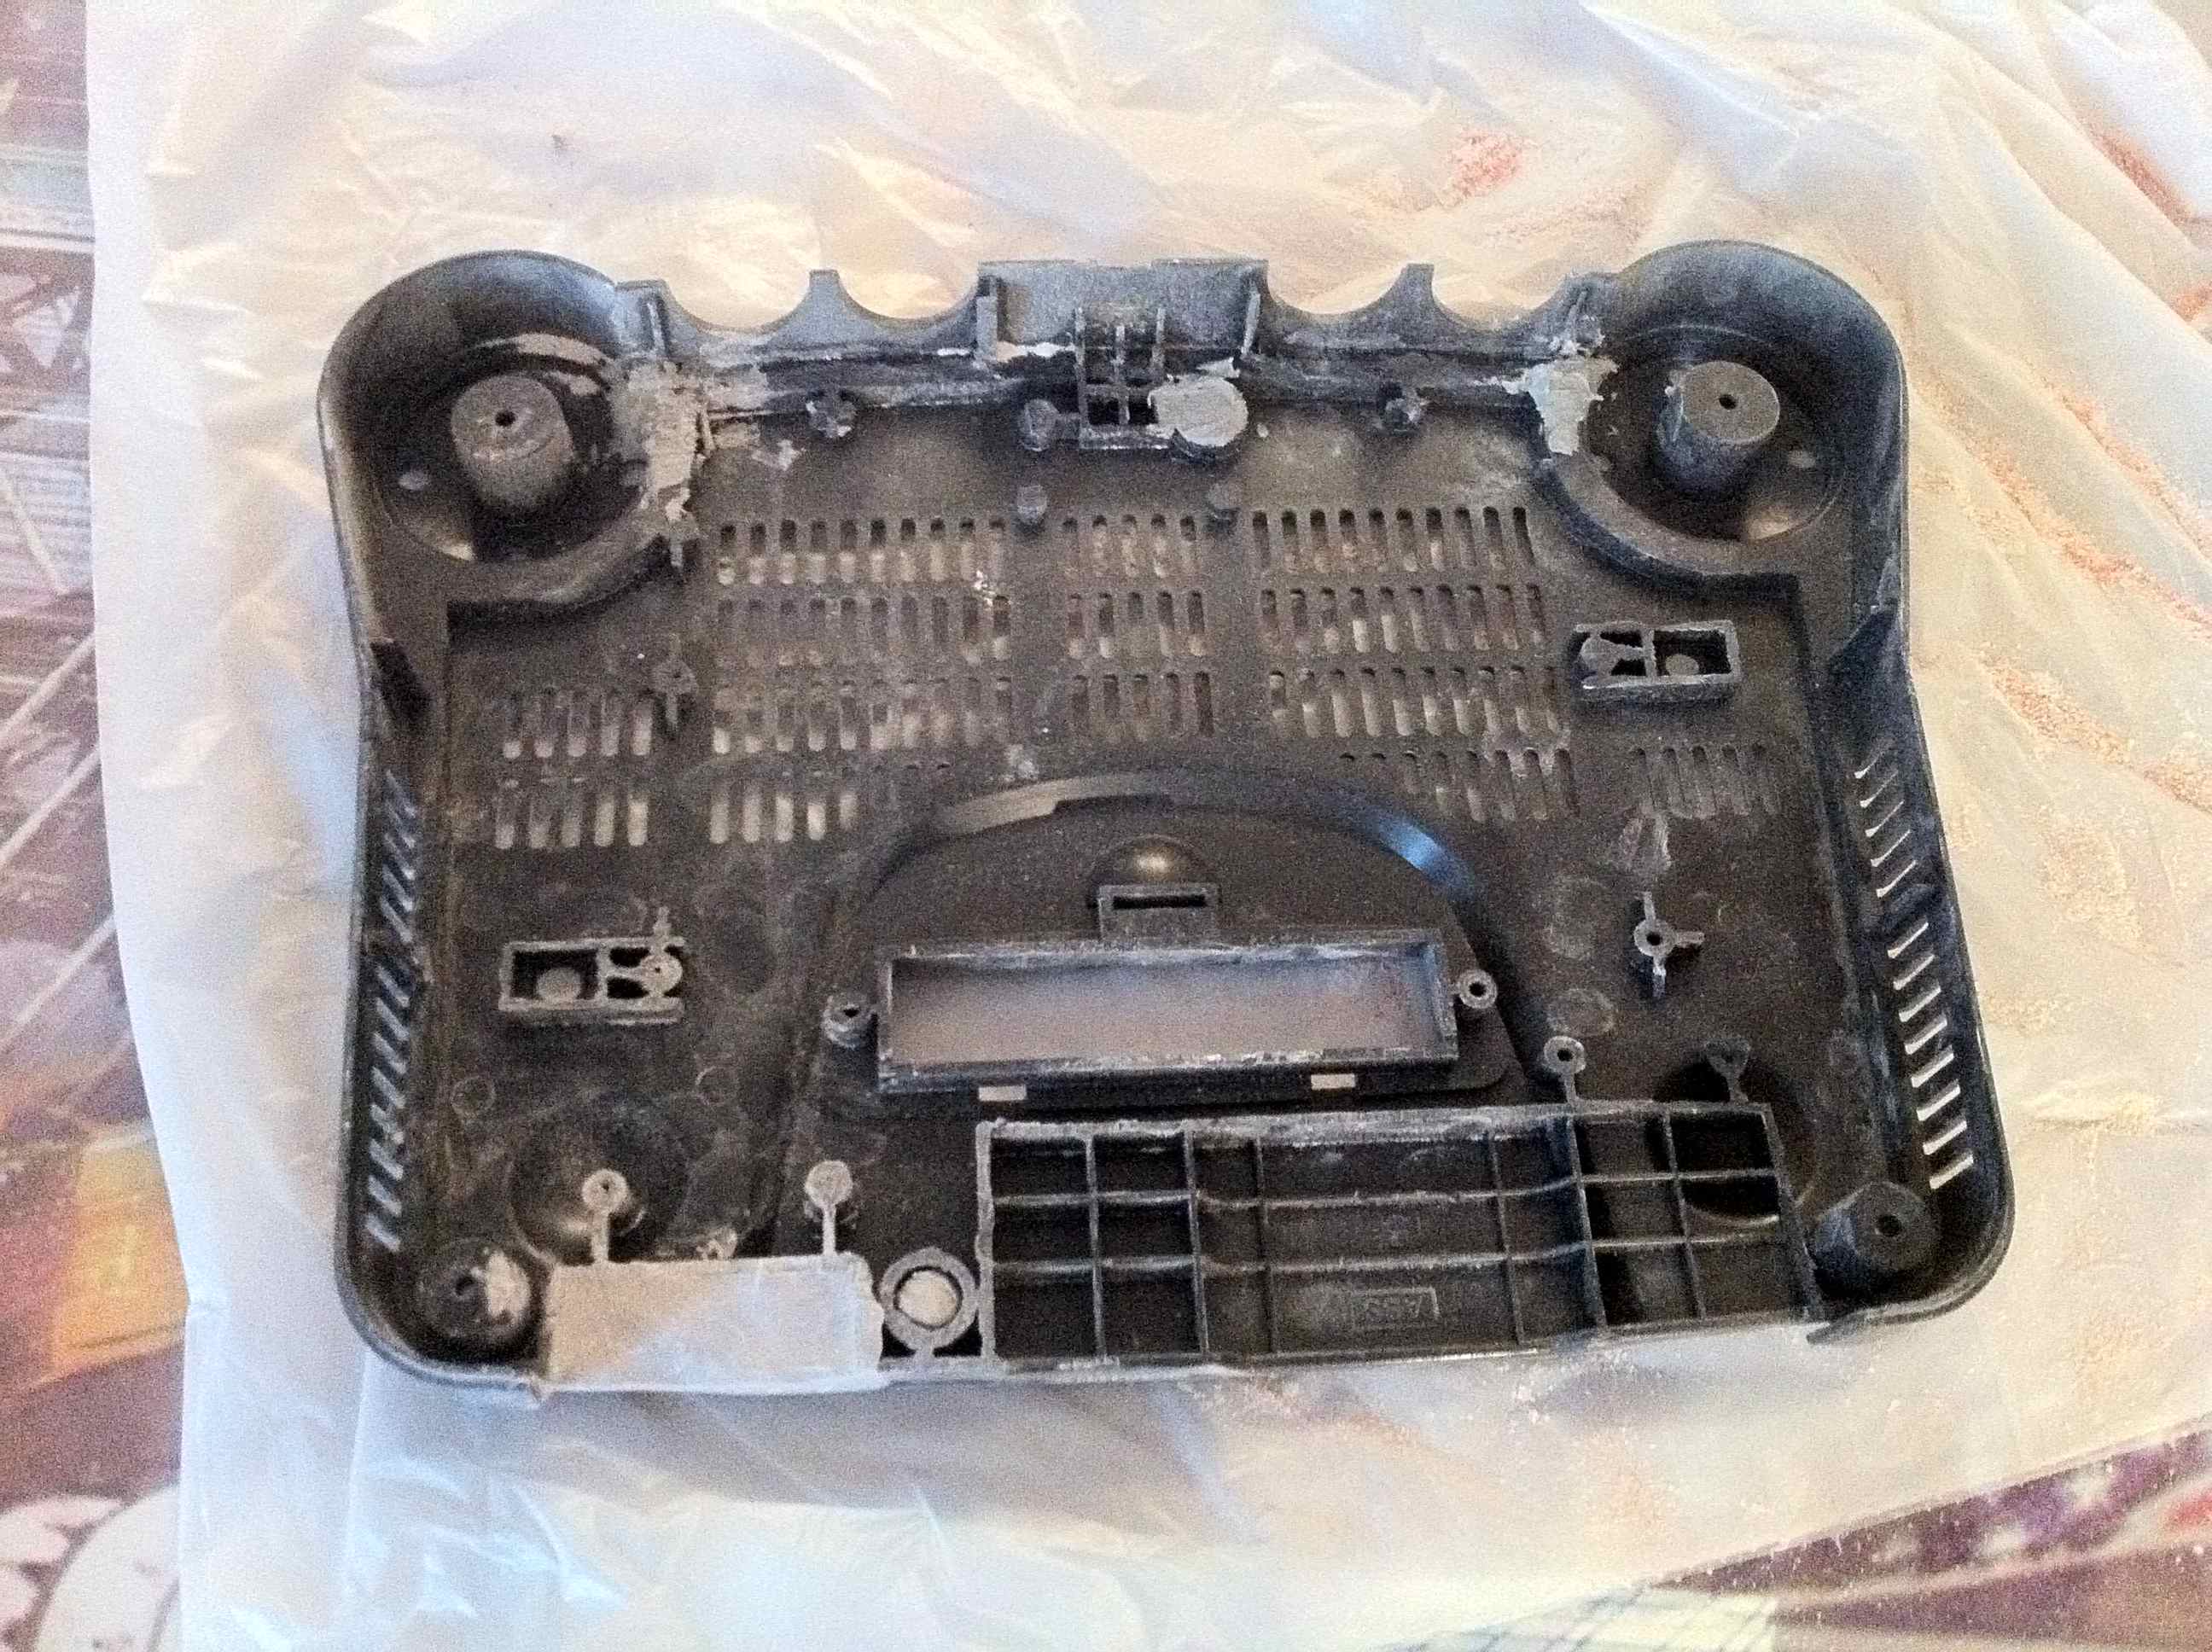
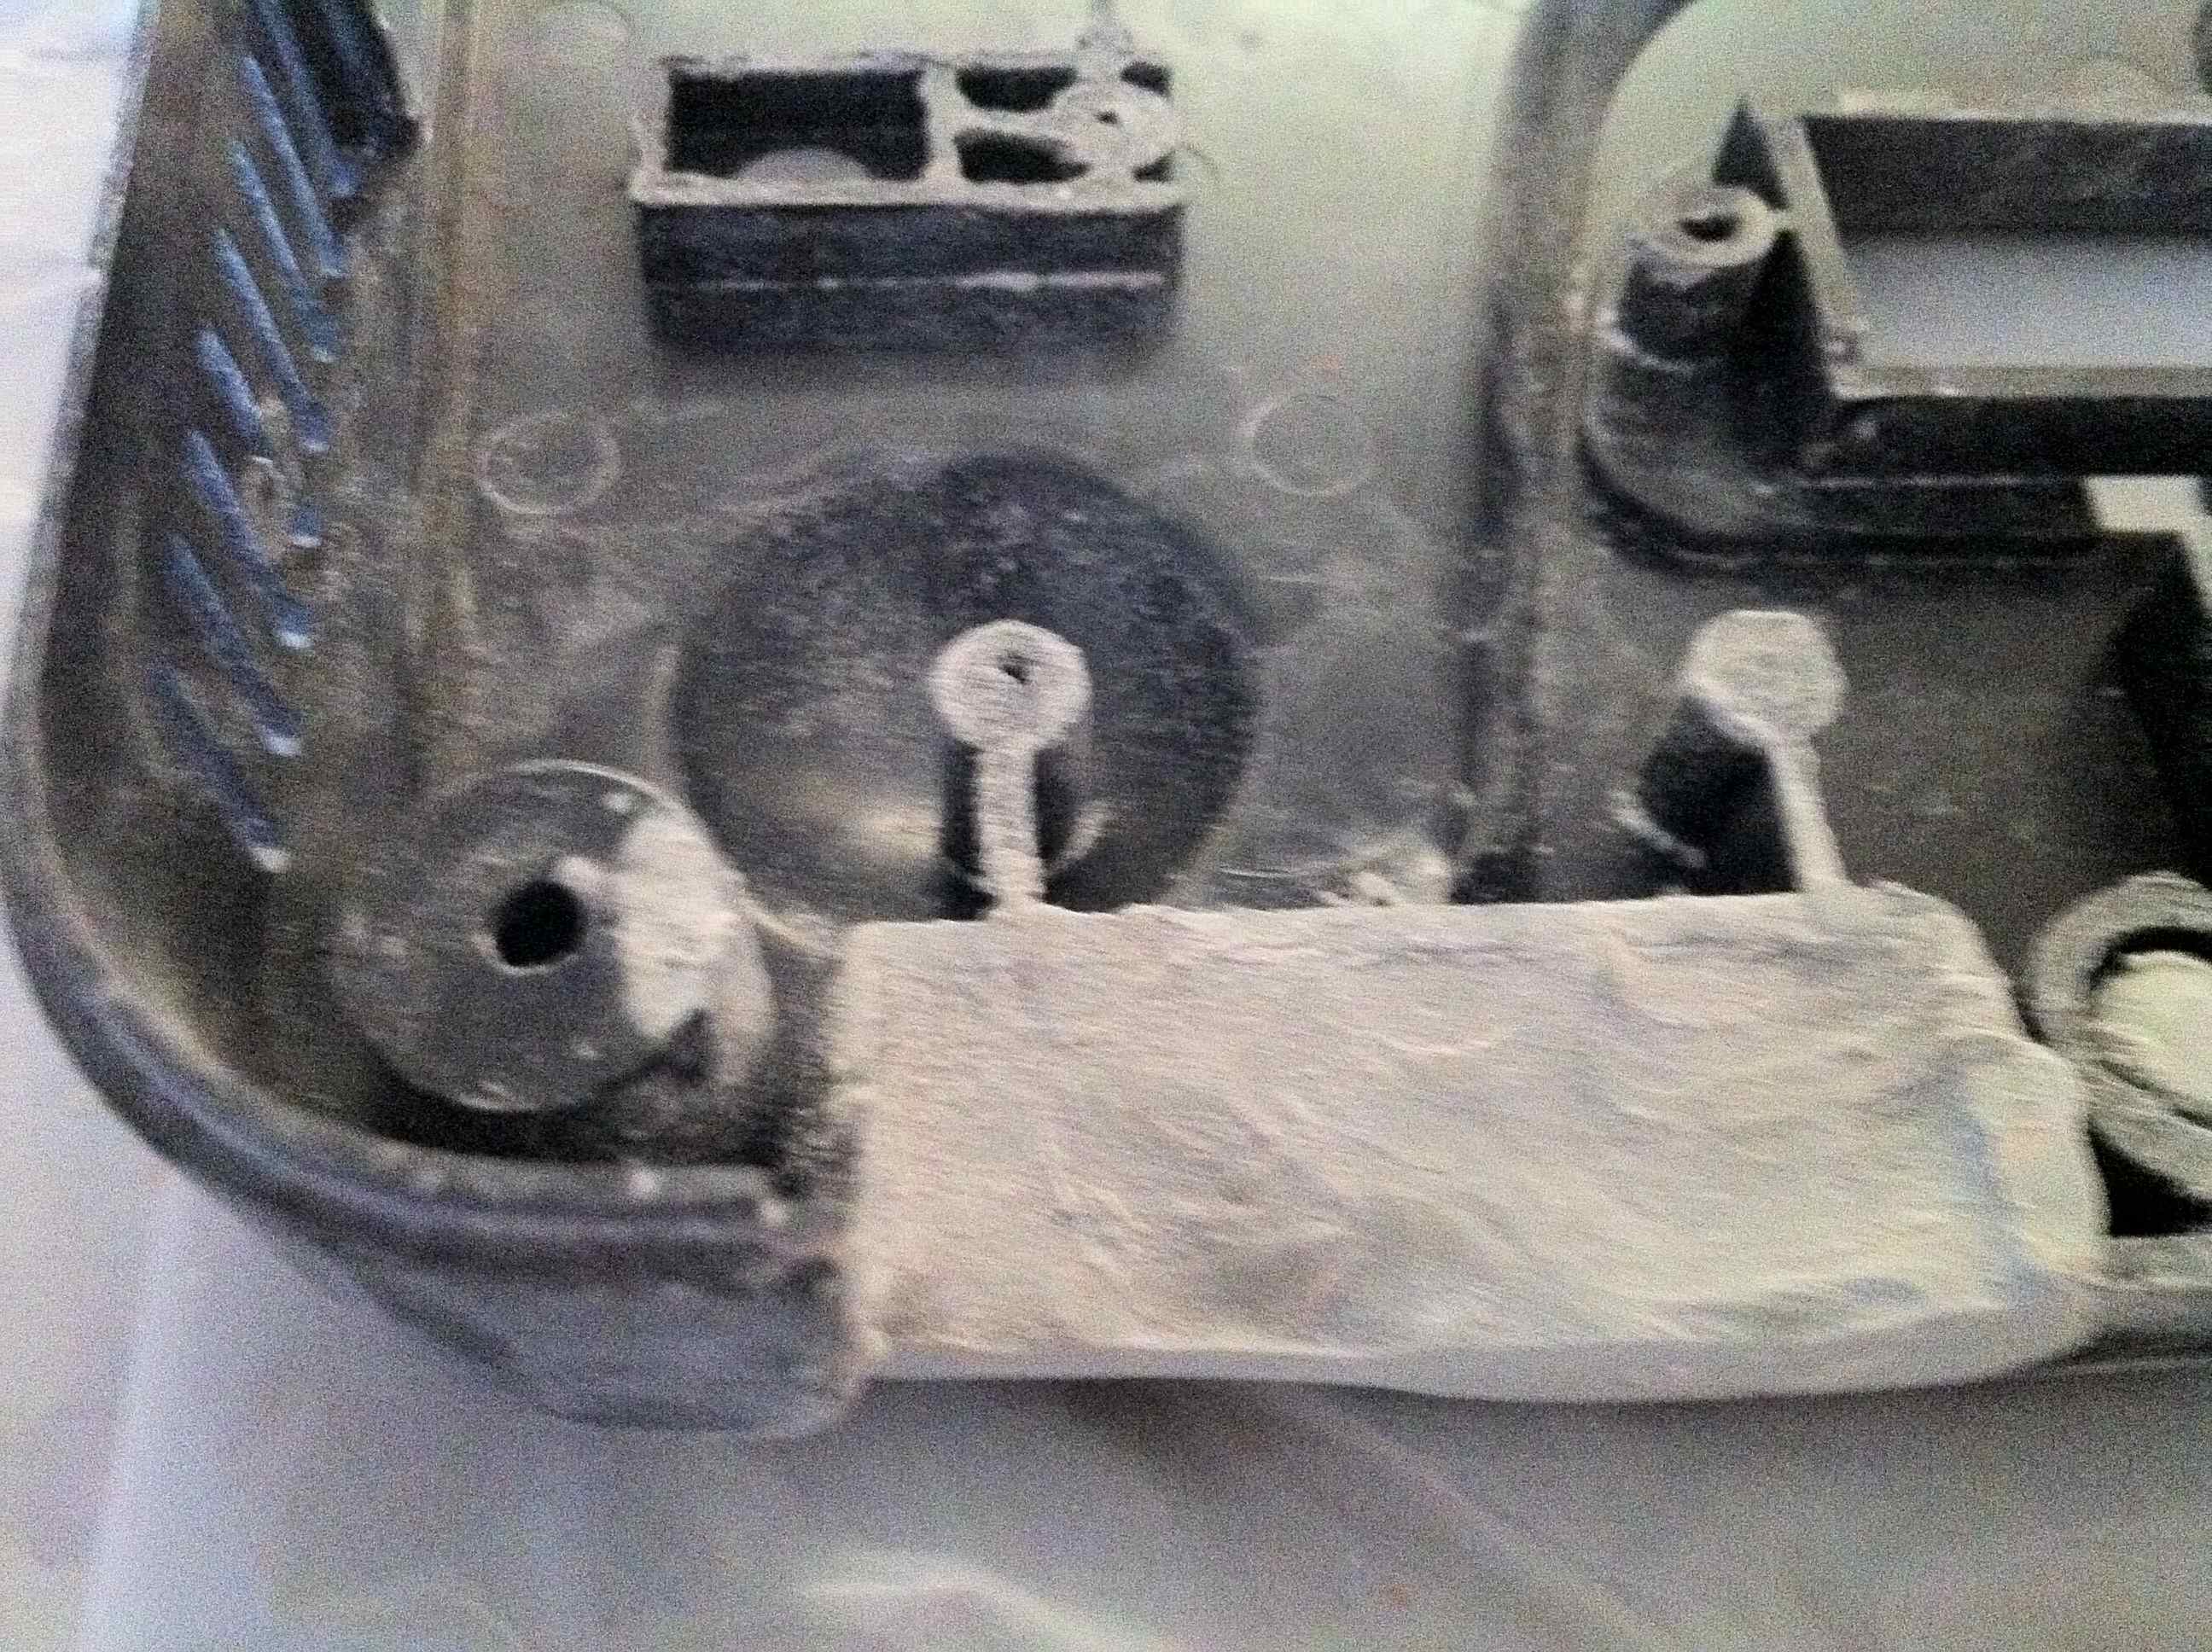
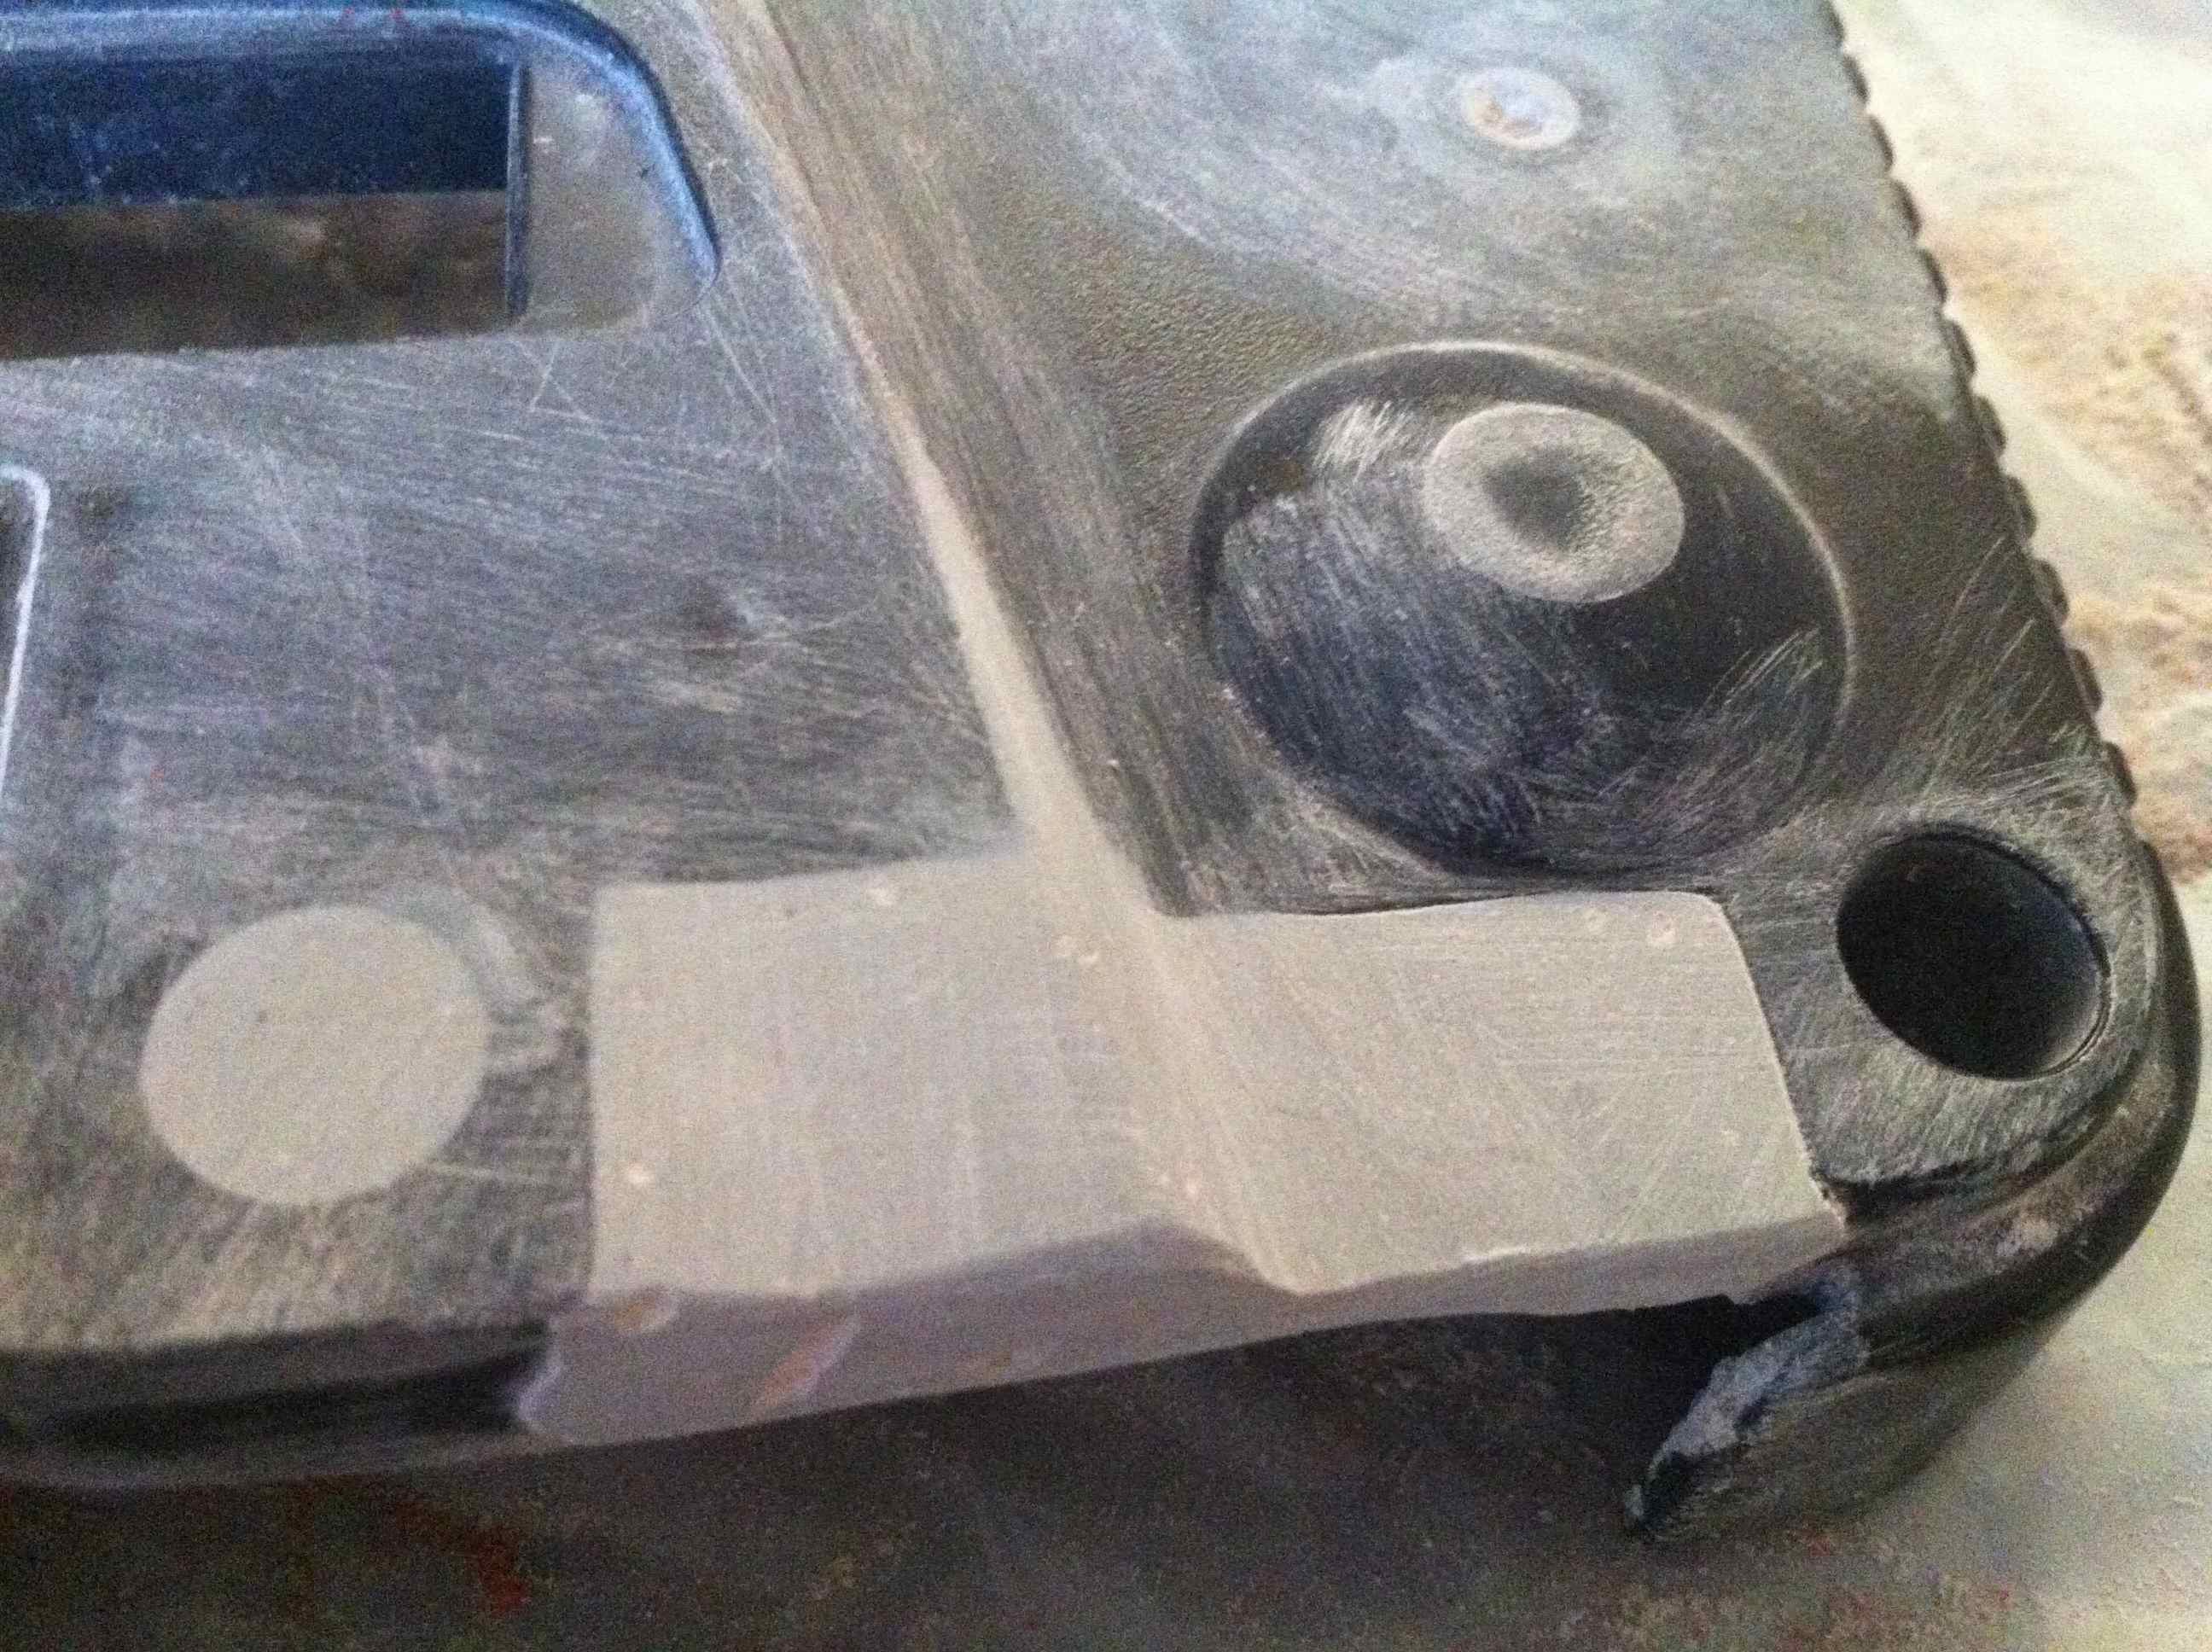
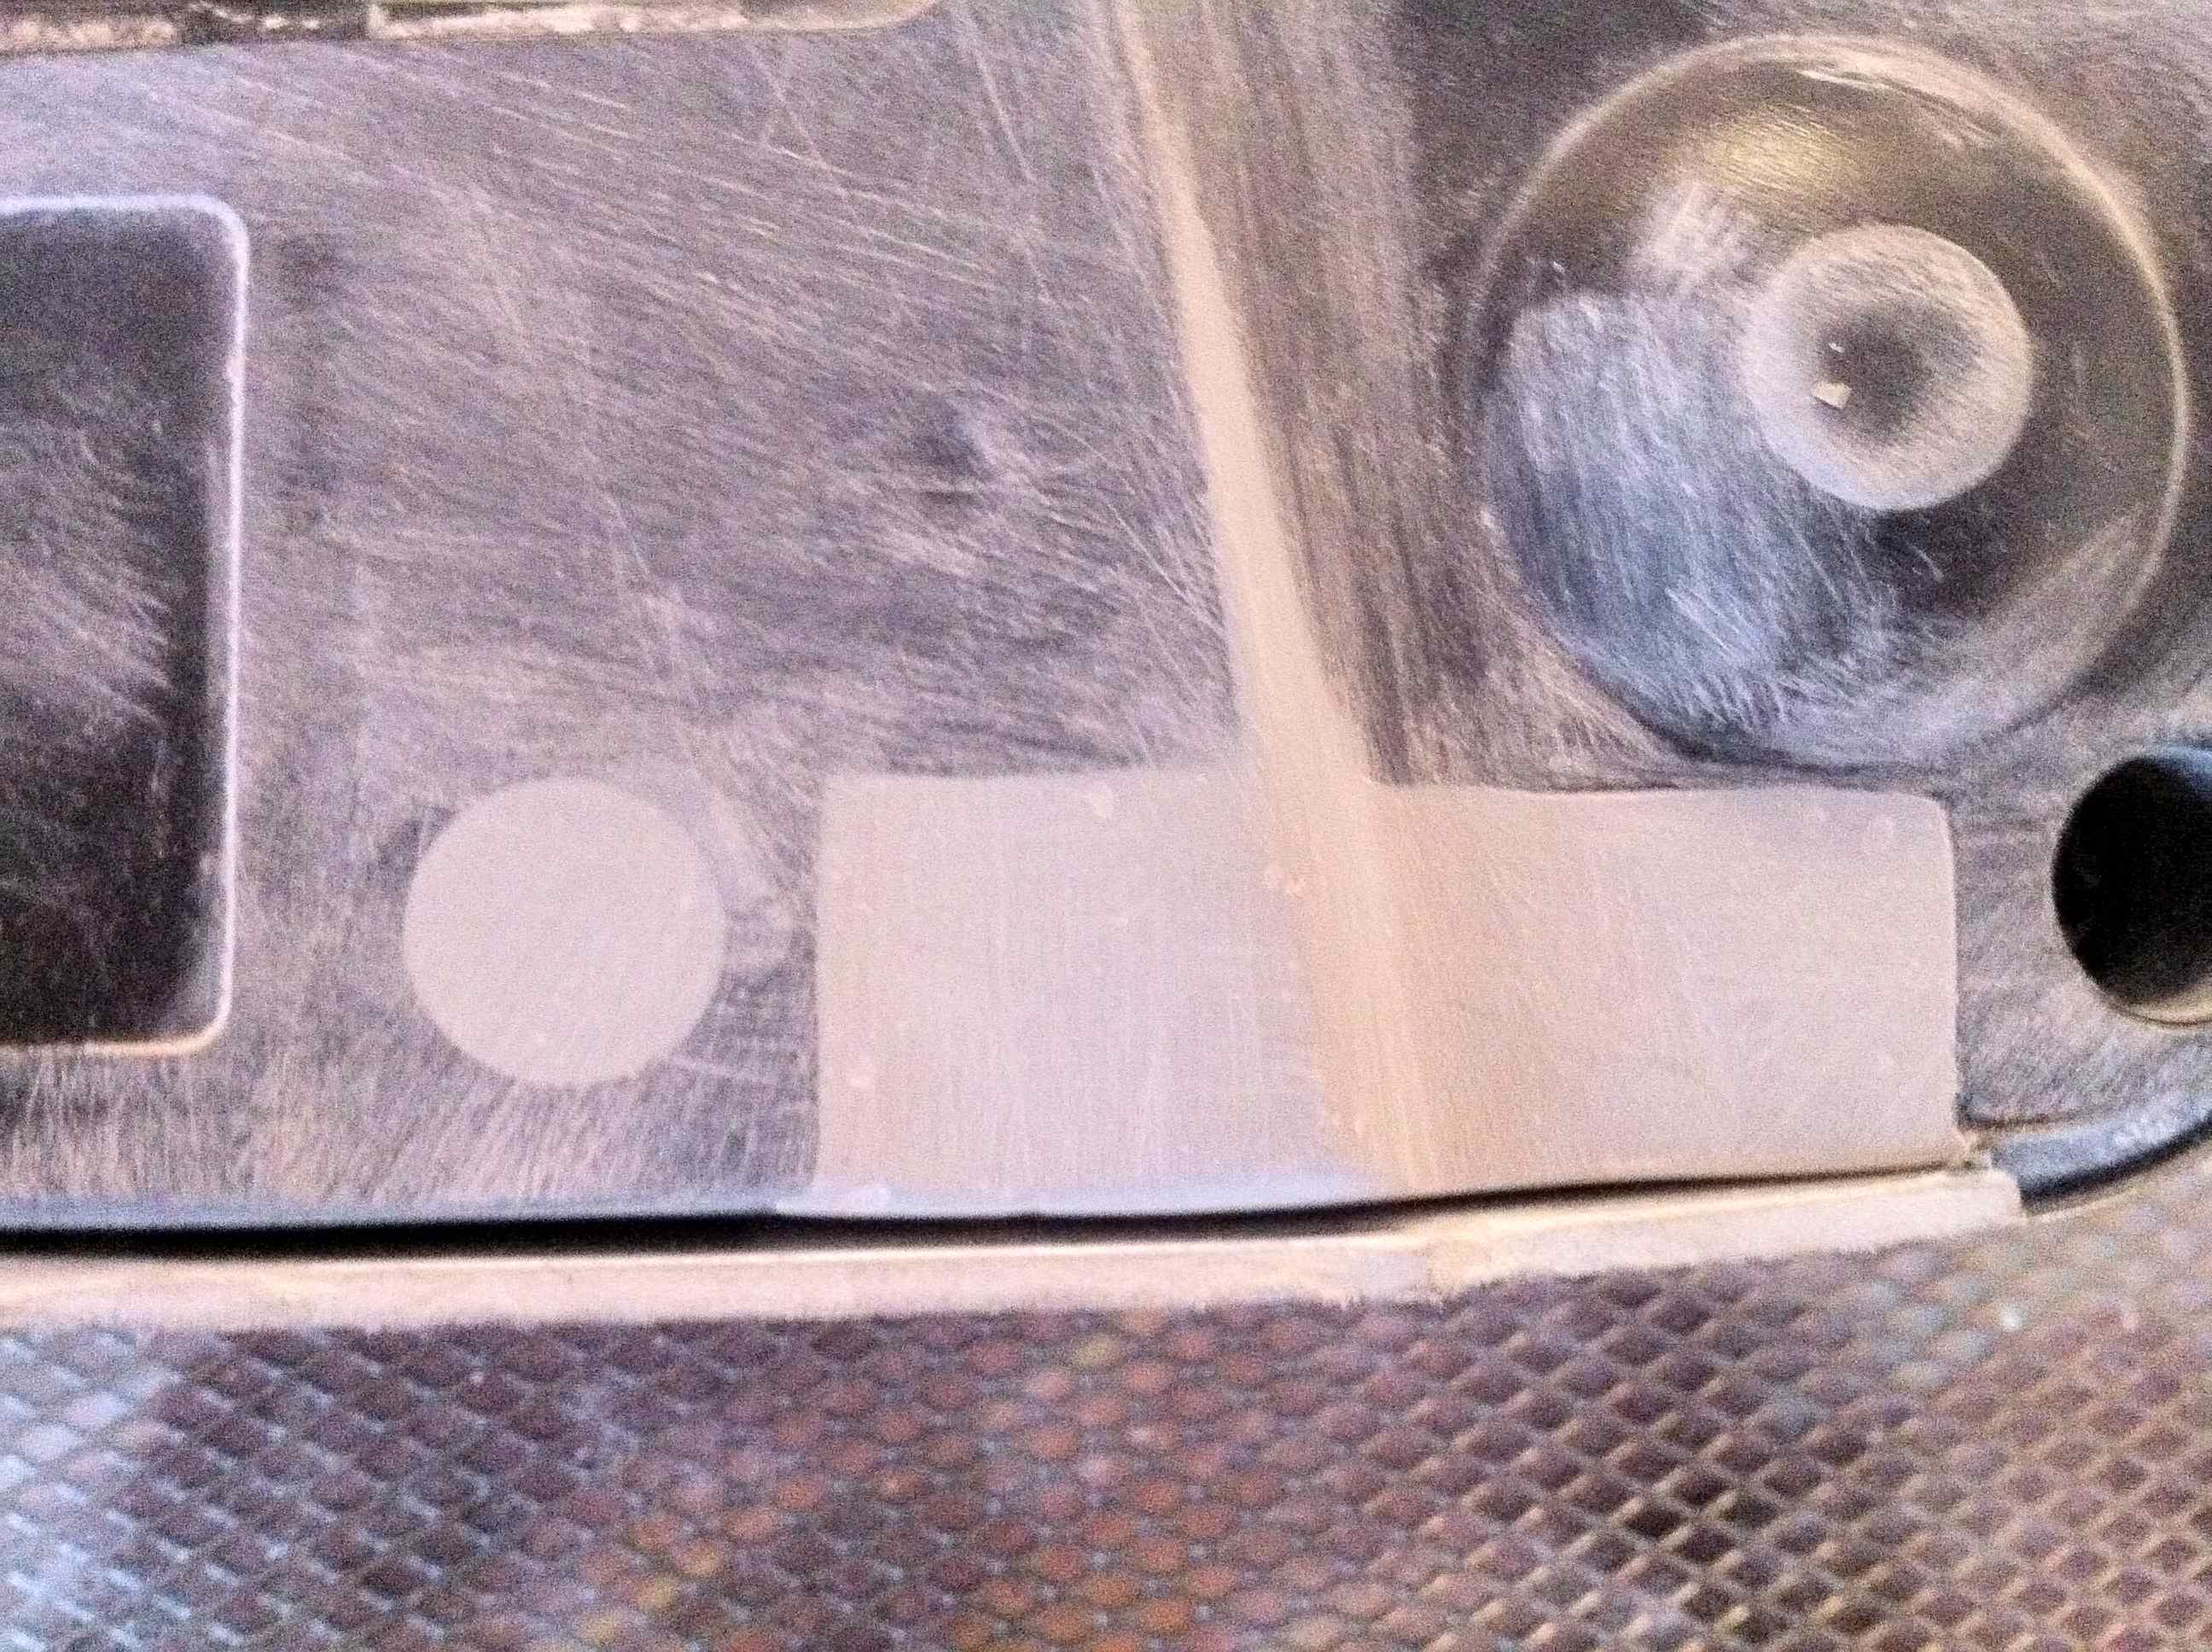
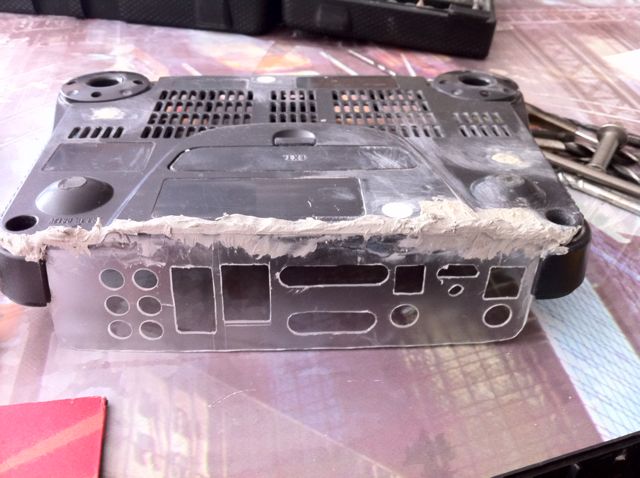
Any how here are the pictures for the following step which consist on rebuilding the rear left corner of the console :
I used a polyester mastic for that. I think this material is quite good, is hard, sticks very well on plastic, can be sanded machined and drilled. It also stand 120°C temperatures .
I mold it and I'm used sand paper for finish To make the shape. I also closed the unnecessary holes of the lower case.
-
Anodized
Re: HTPC in a Nintendo 64
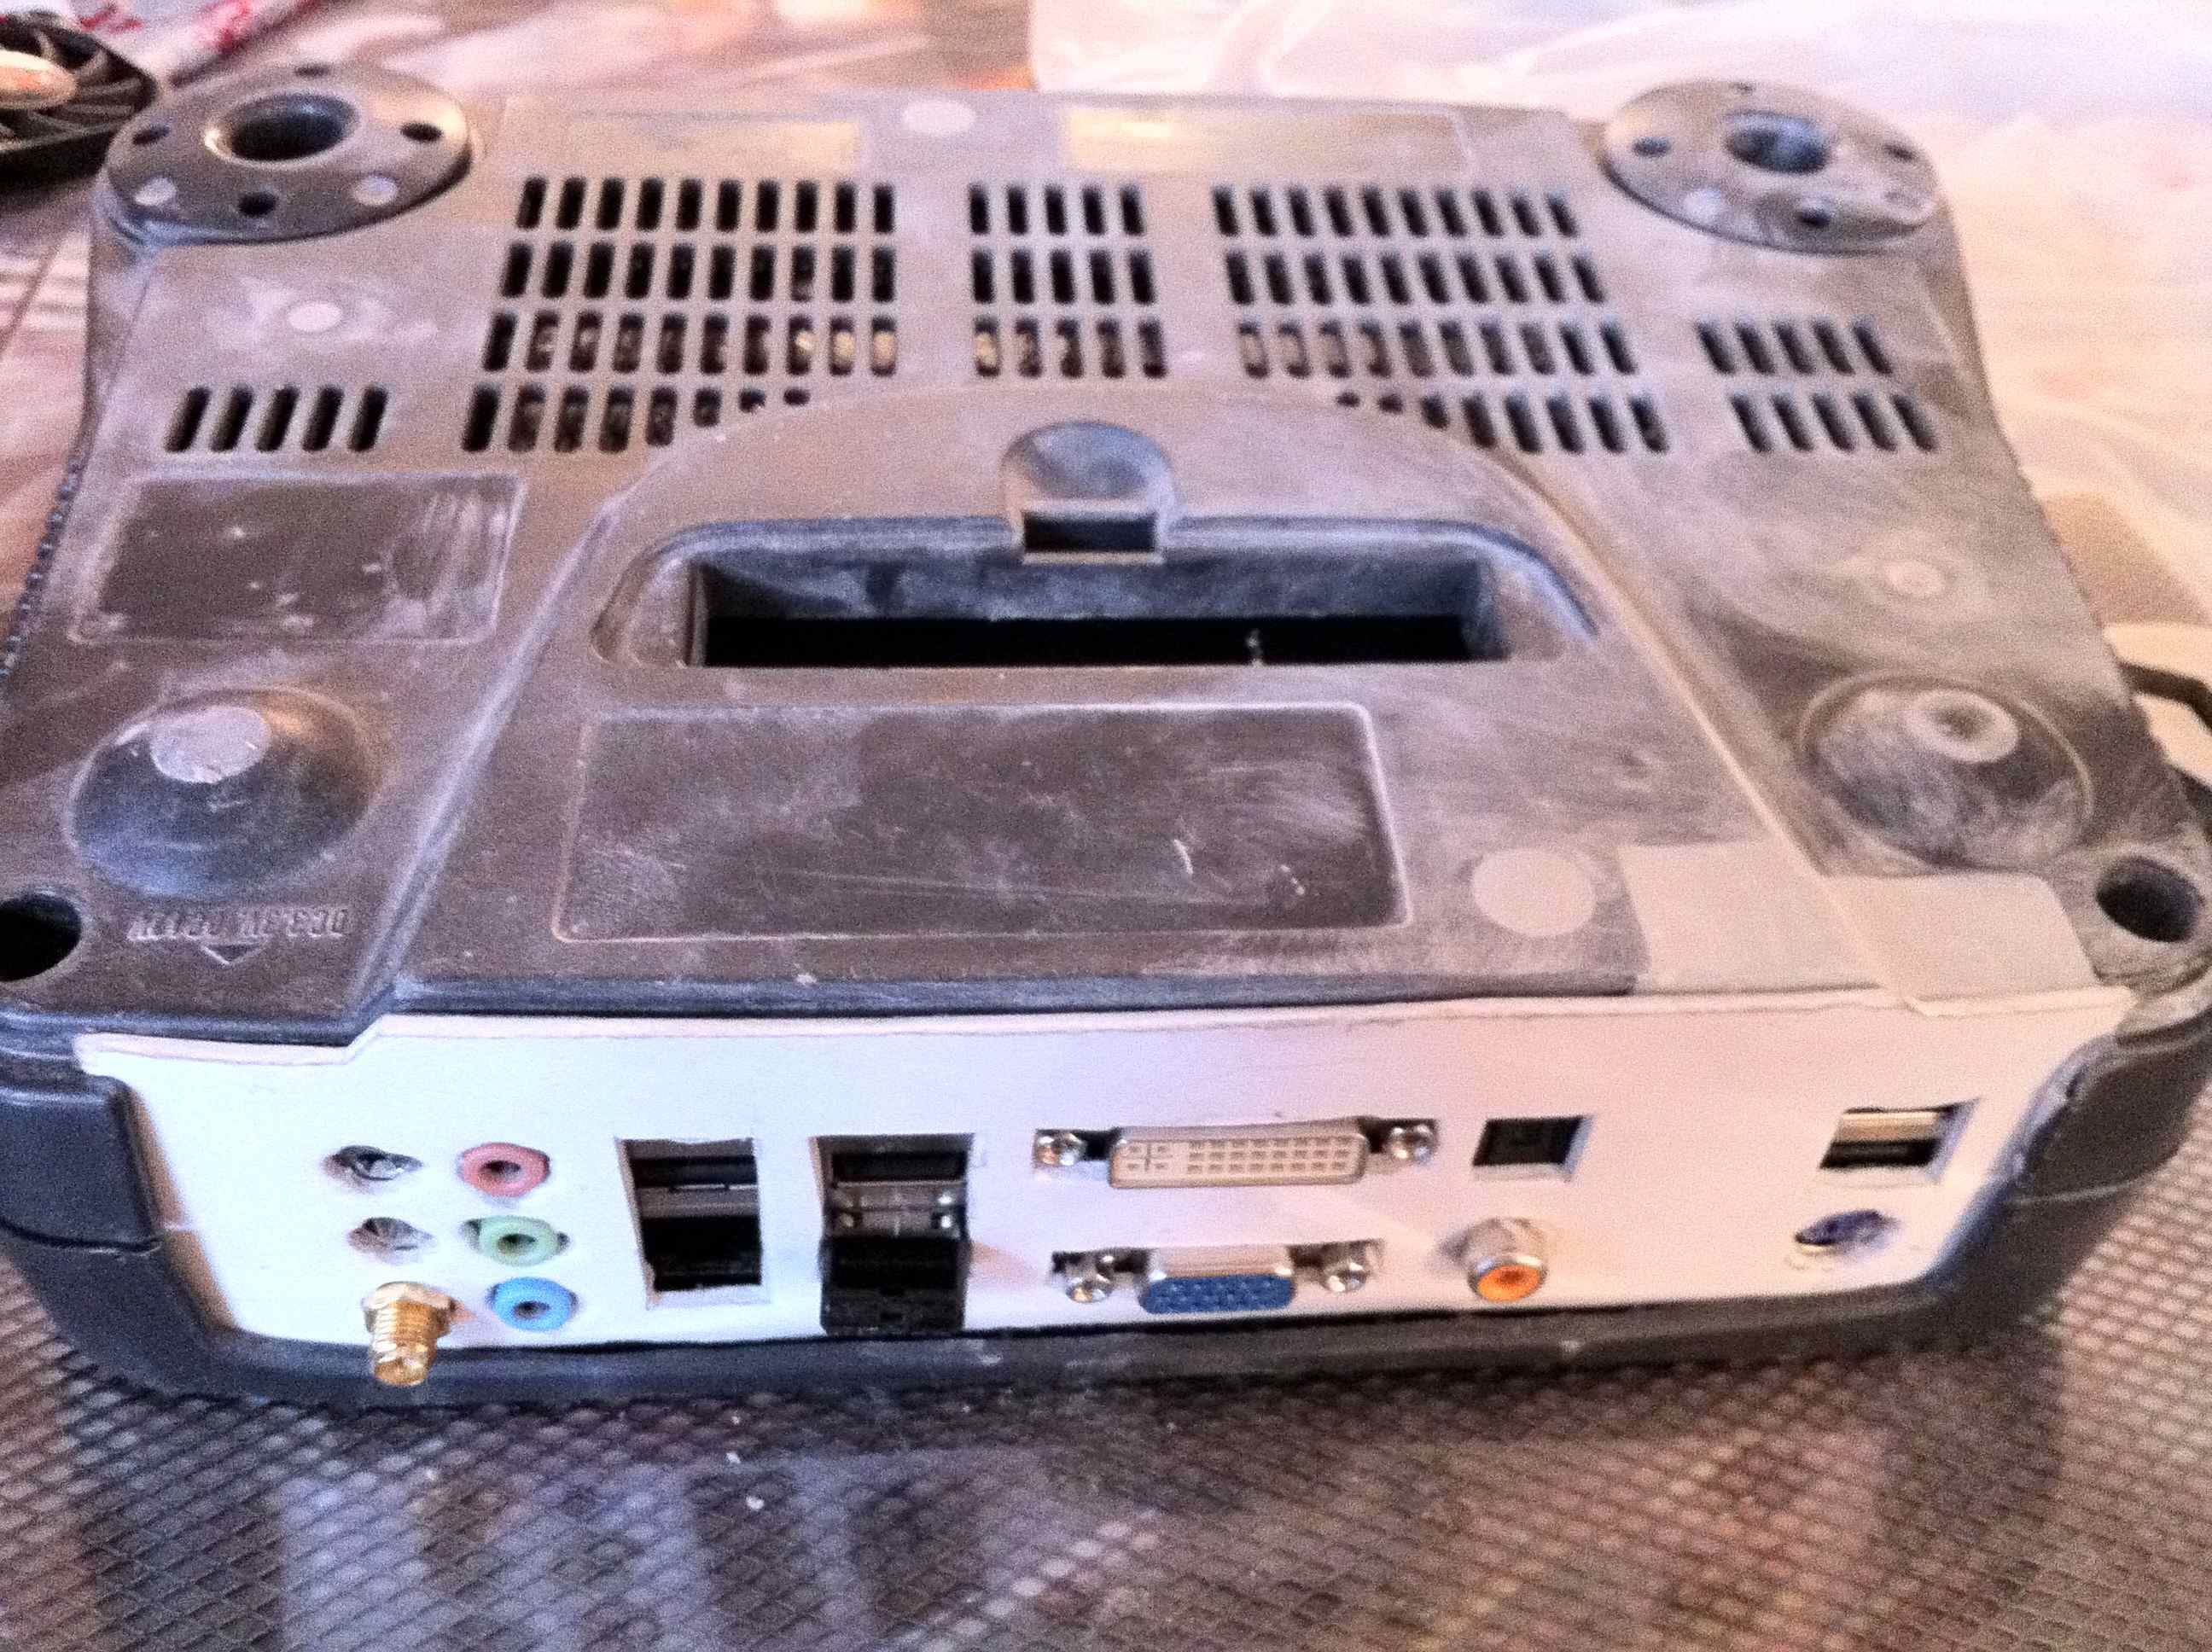
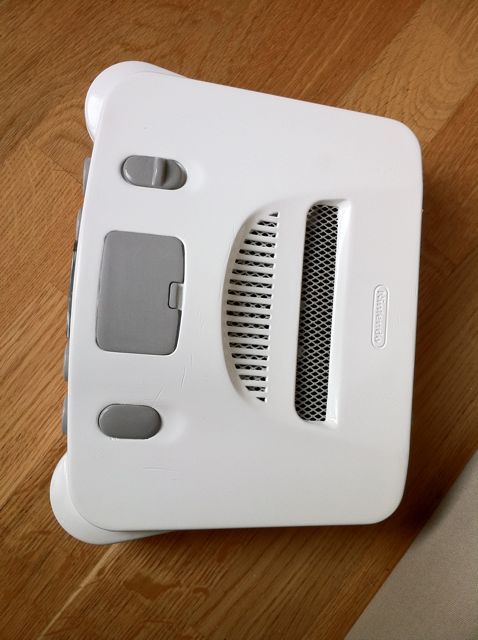
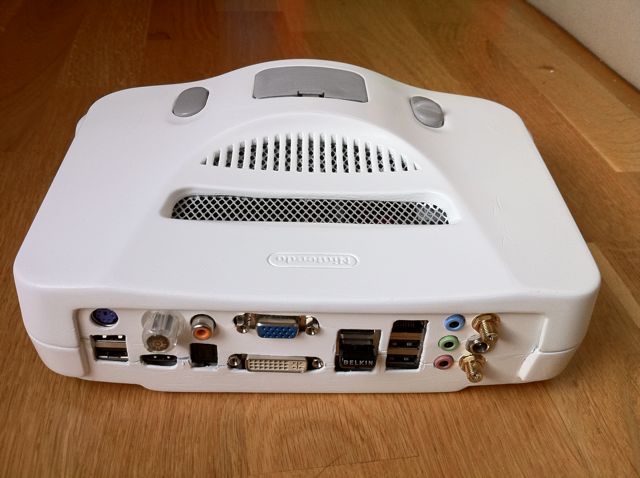
Back Panel
I decided to make a custom plastic back panel.
I started with a template
and then the real one
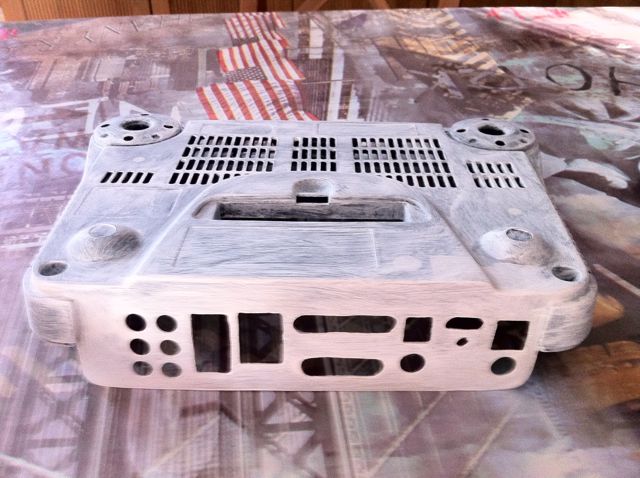
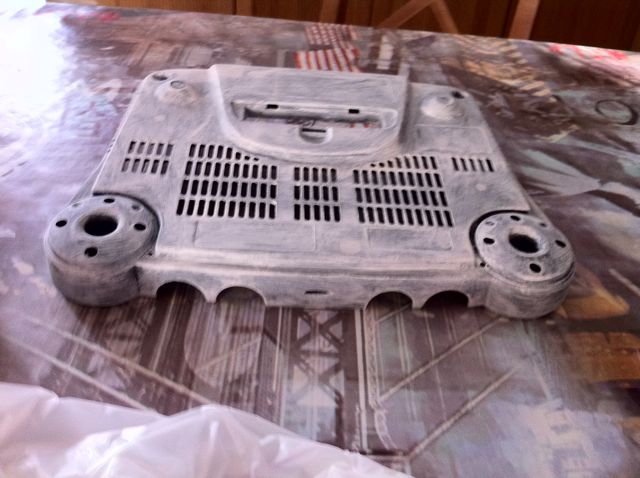
after cutting it, I pated it to the lower case and applied the magical polyester mastic.
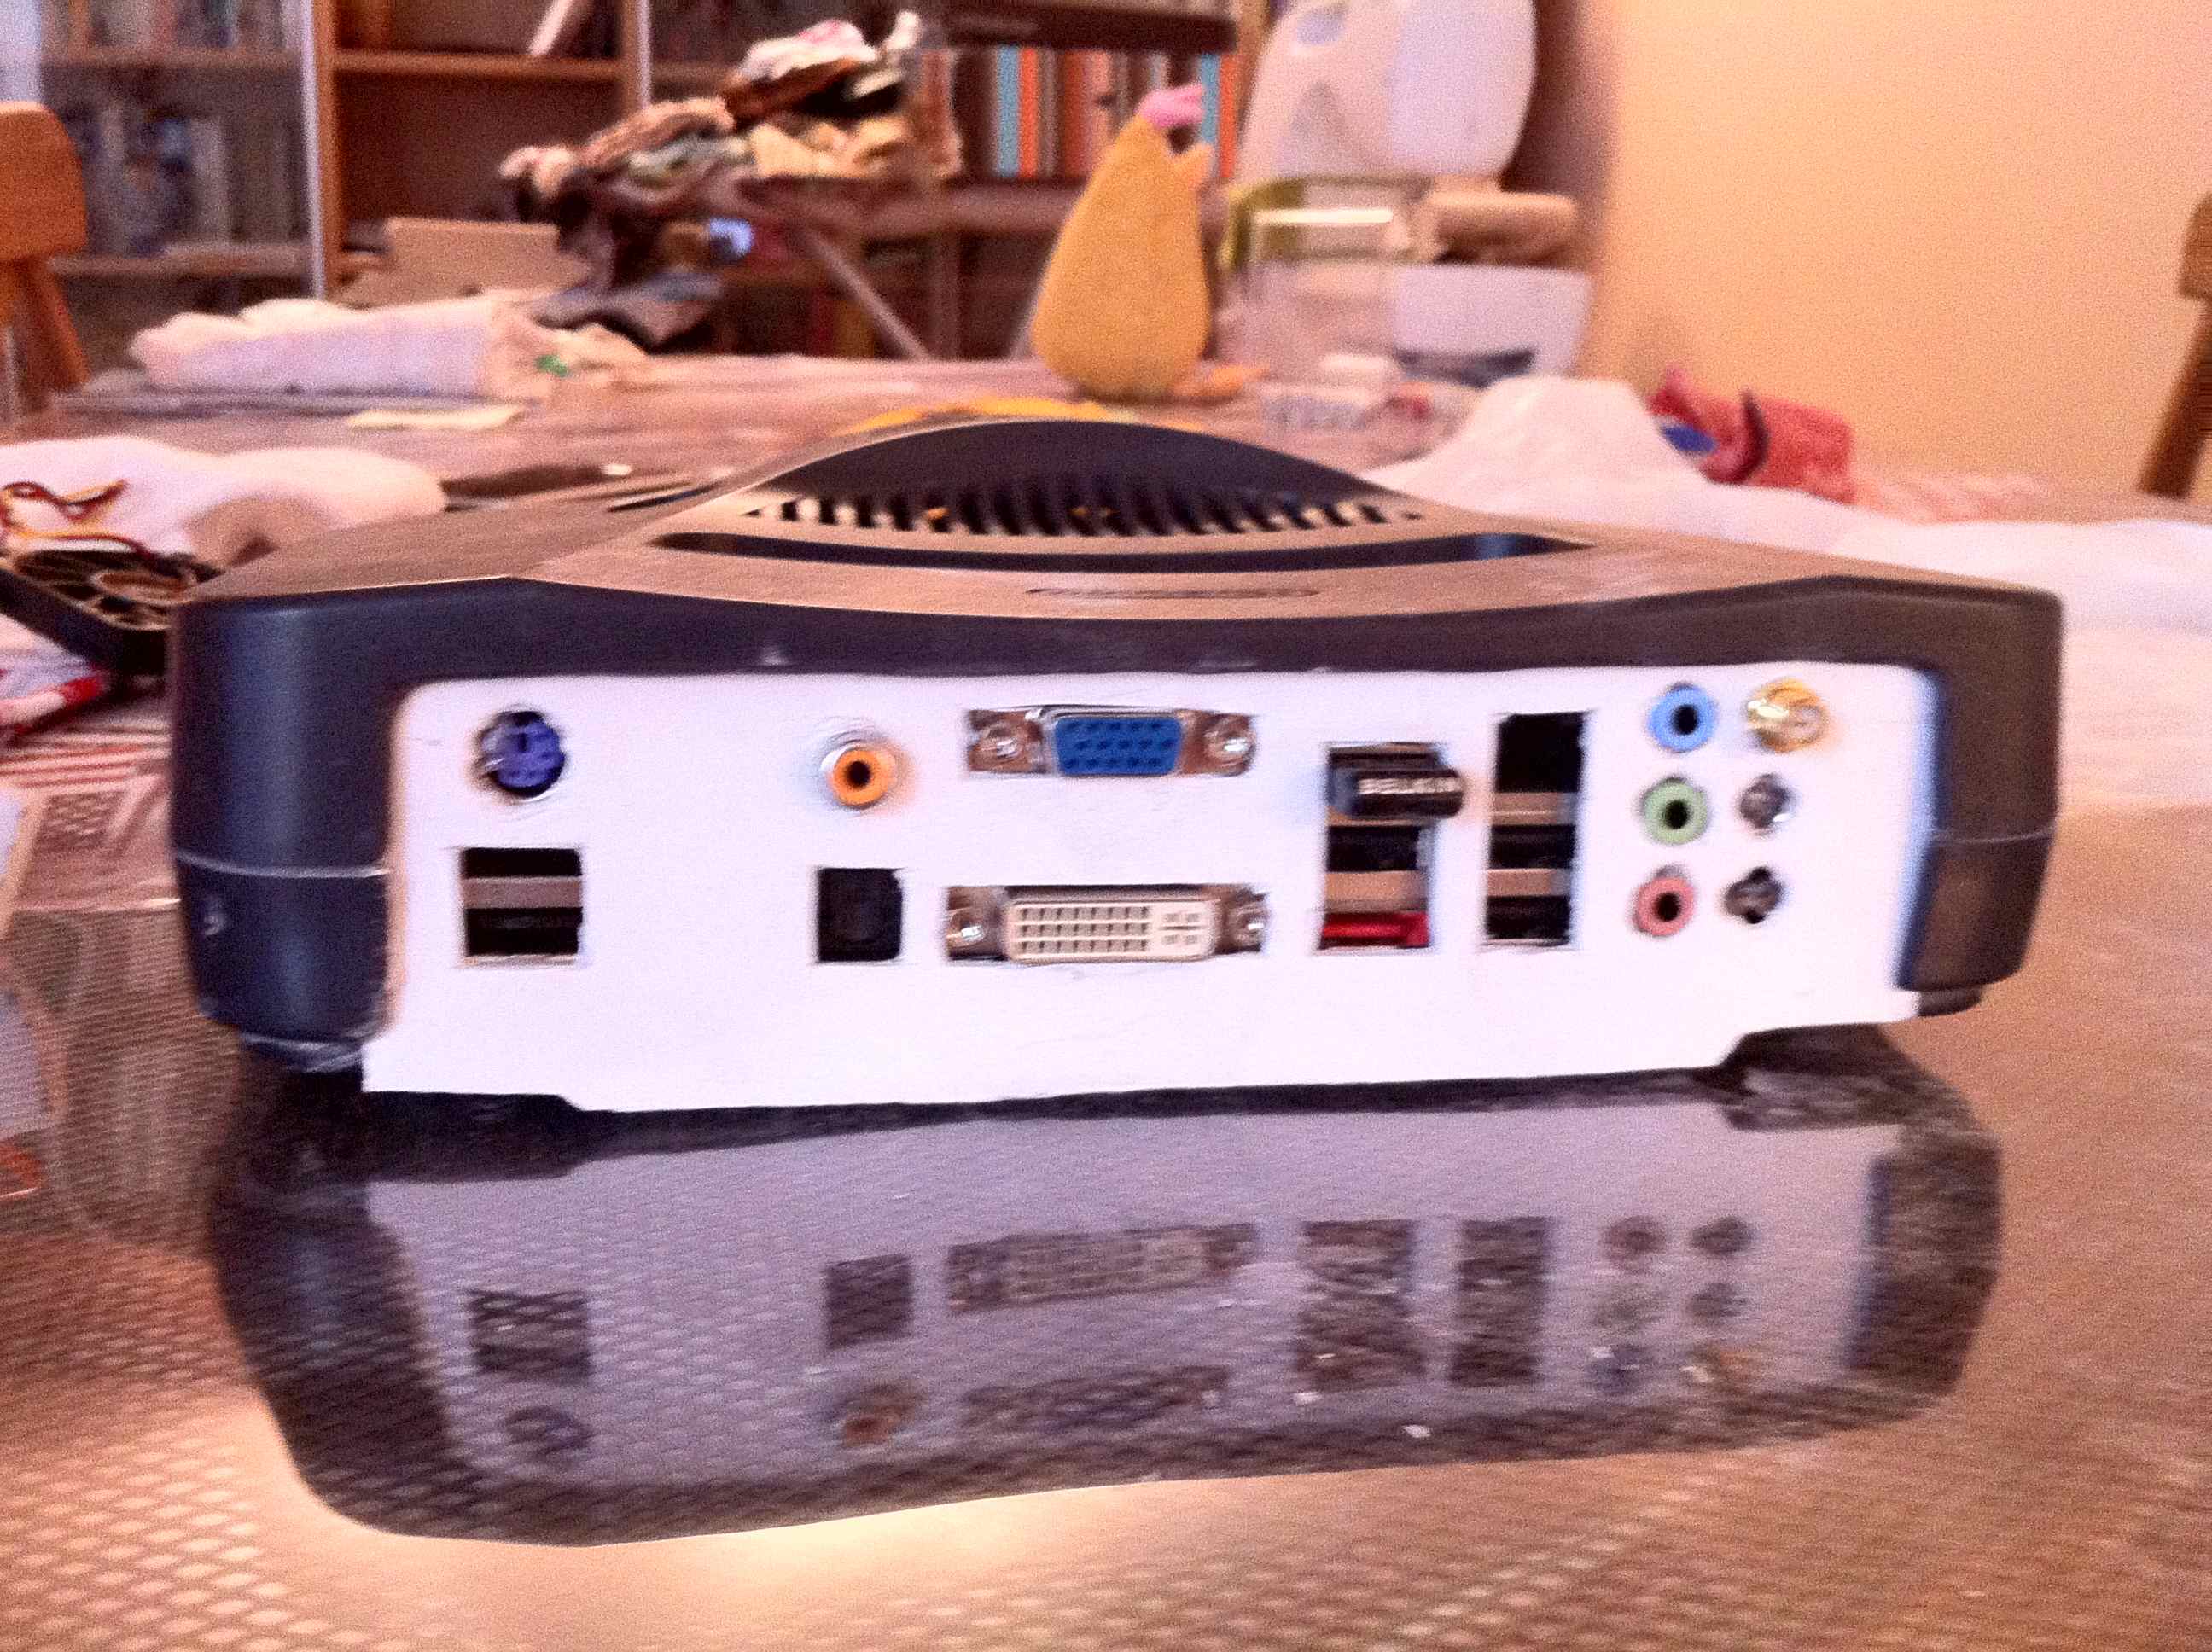
I sanded it until I cot a nice shape and started paint
-
Anodized
Re: HTPC in a Nintendo 64
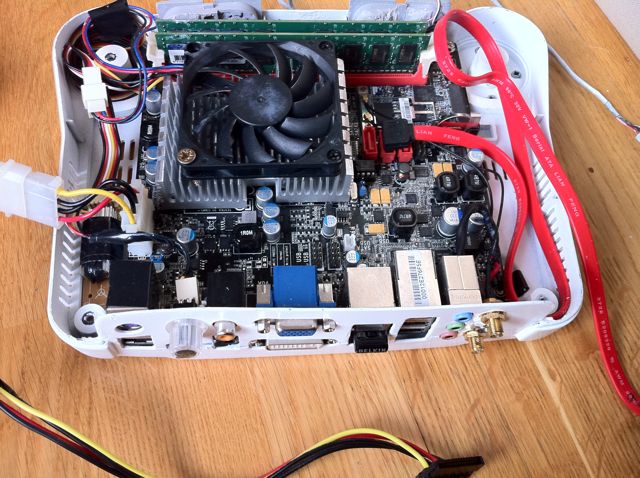
at That moment I made some software tests.
With the N64 case closed, the processor reached 90°C
Is sad But a fan is needed
I tried the fan delivered with the mobo ( diam 60mm ; 10mm thick)
and it did't fit so I cut 10mm off the heatsink (not even scared)
later I put a fan 10mm thick 70mm diam at a slower speed
Conclusion : the temperature drooped to 40° in normal usage
-
Anodized
Re: HTPC in a Nintendo 64
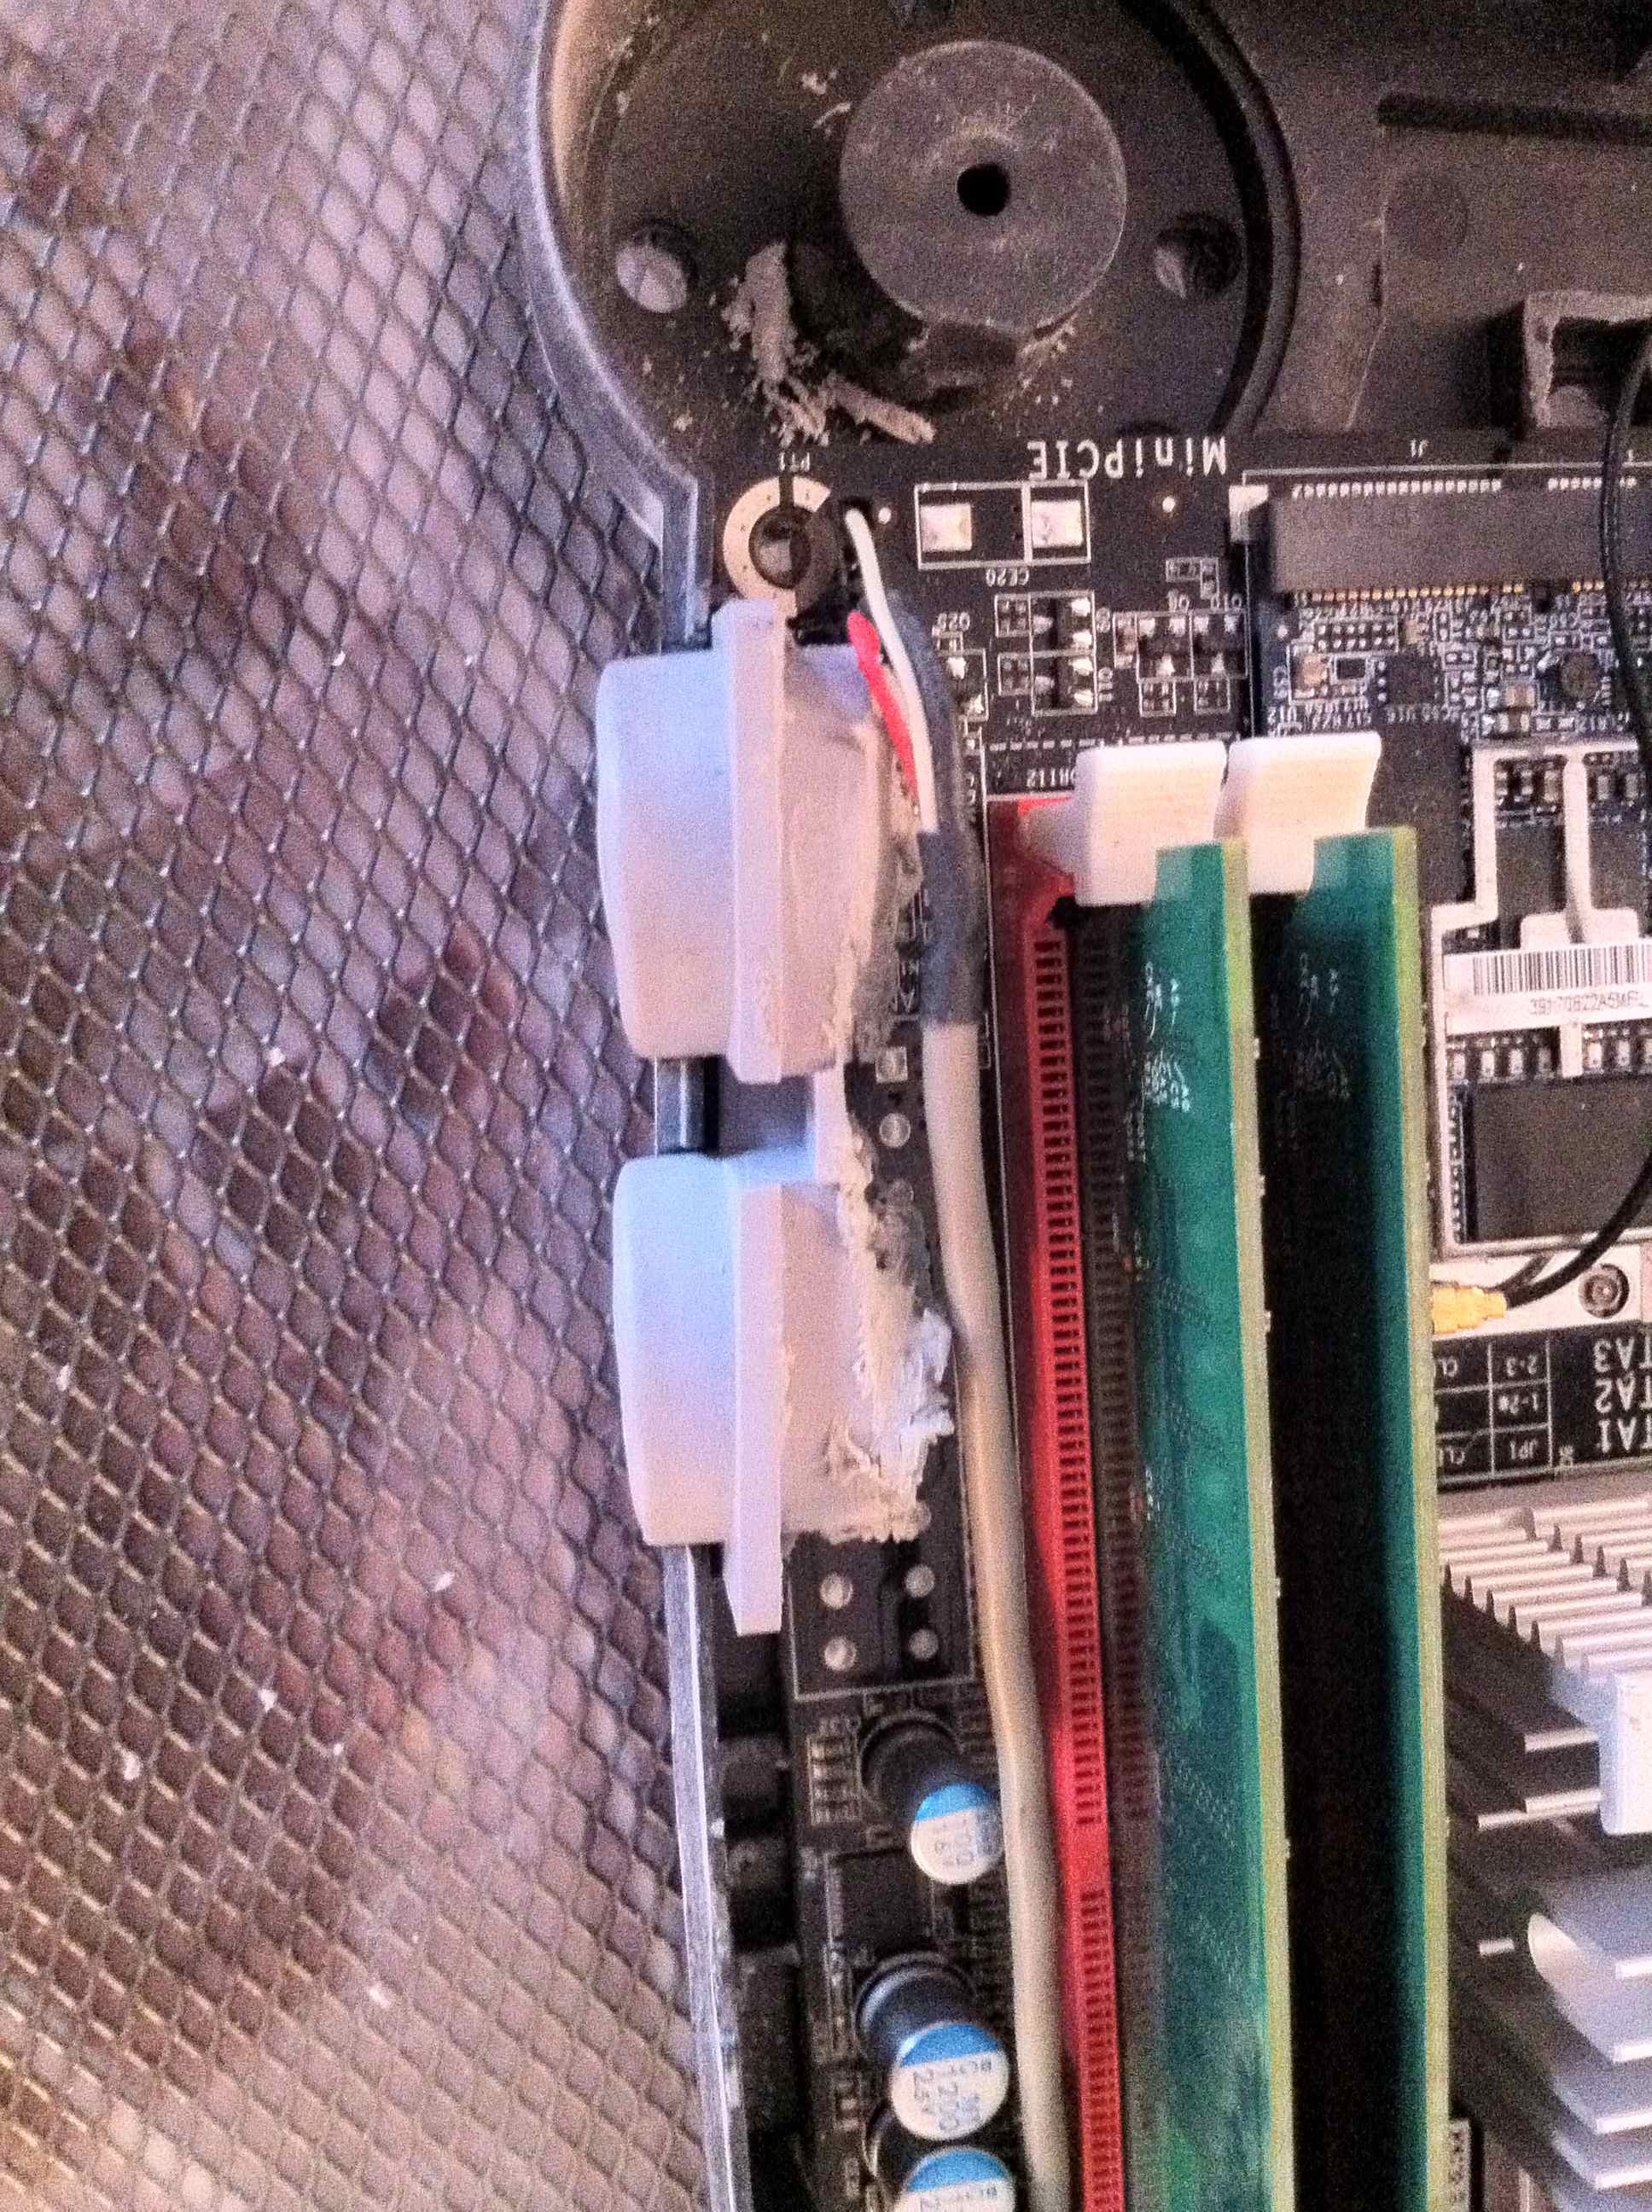
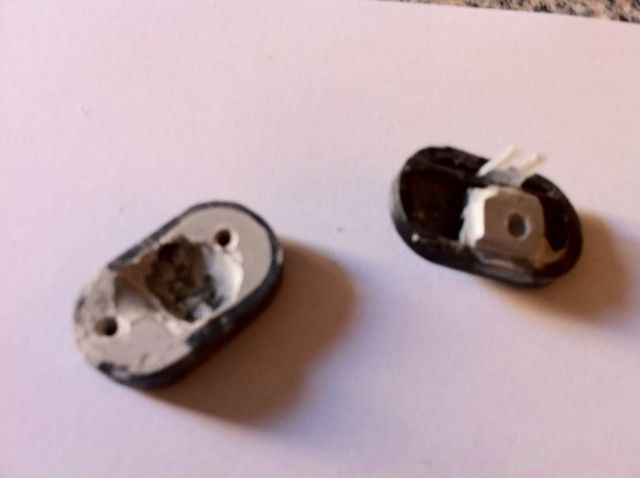
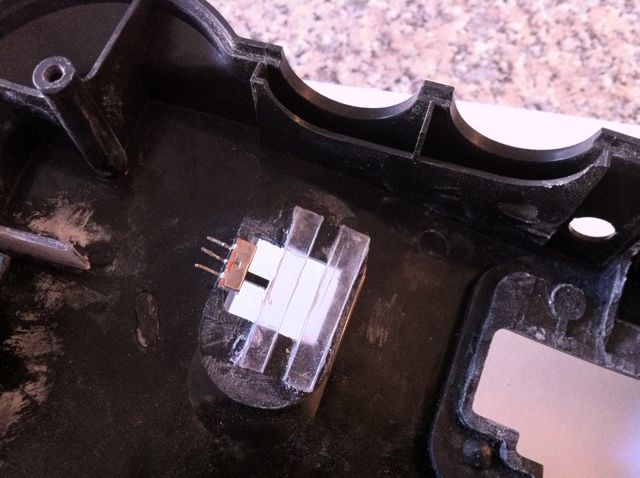
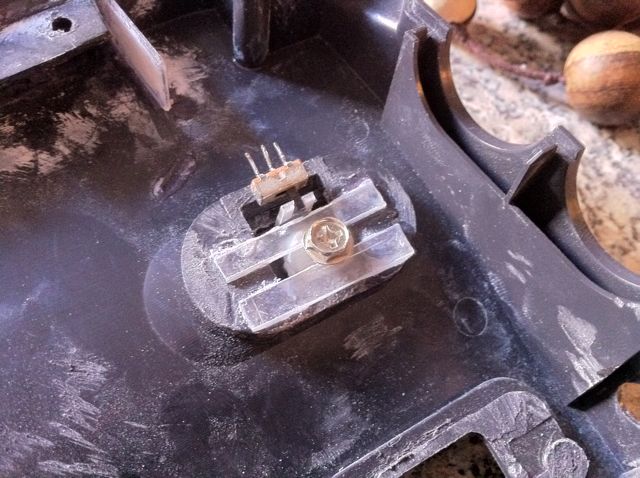
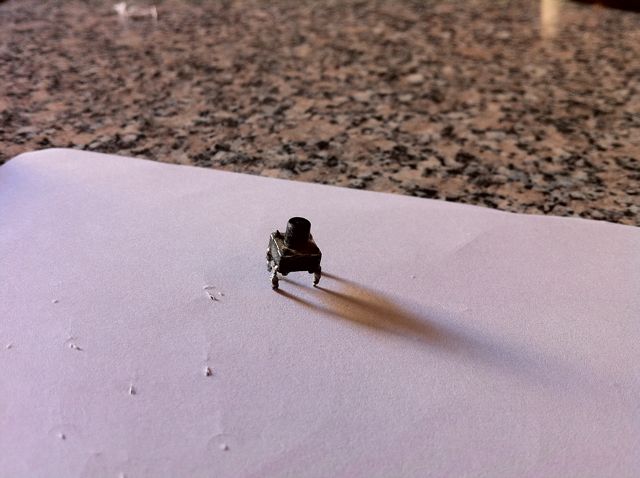
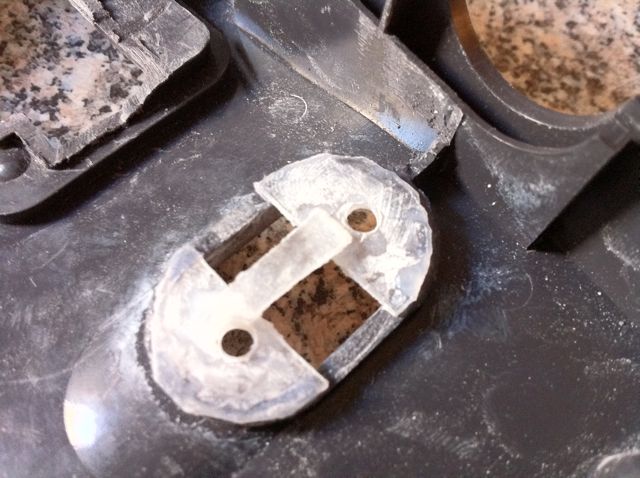
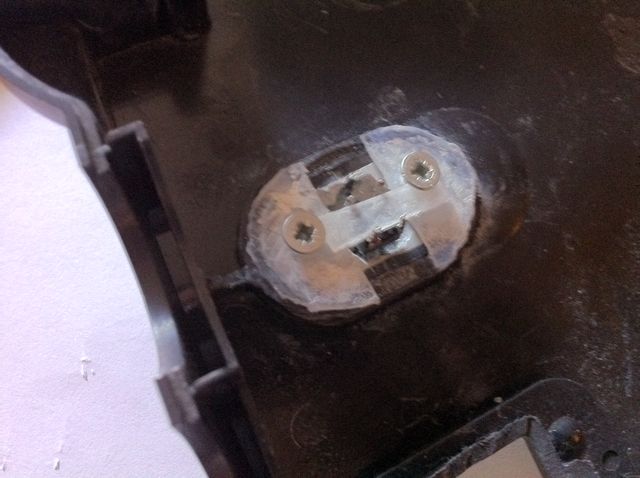
ON/OFF and Reset buttons
this was a bit tricky because I wanted to use the original buttons of the N64
And the proble was that the buttons ar just on top of the RAM
So this is what I did
(for the reset button it didn't work well ... I'll show you the final version later
-
Anodized
Re: HTPC in a Nintendo 64
-
Anodized
Re: HTPC in a Nintendo 64
I almost forgot! The hard drive :
I always knew that the hard drive would have to be on top of the mobo
so I fixed it on the top case
-
Anodized
Re: HTPC in a Nintendo 64
-
Anodized
Re: HTPC in a Nintendo 64
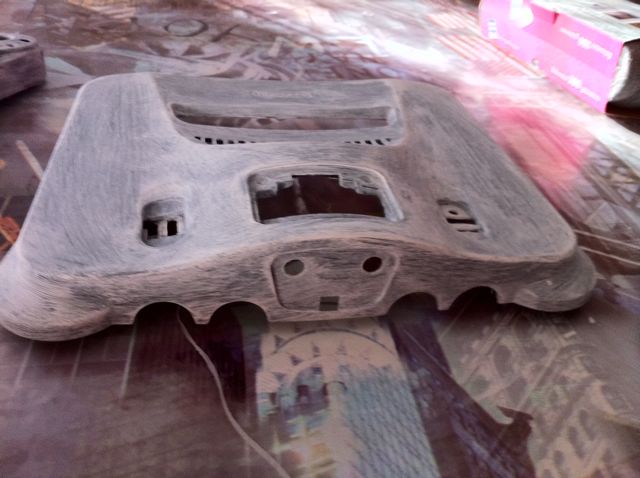
well getting a nice finish is difficult, I had to do it twice, and if you look closely you'll see the finish I got is not that good... I didn't follow the rules  I think the layers of paint are too thick. Maybe I'll do a third time some day...
I had some reading about the subject.
In many forums the say :
first you need to sand paper the surface you want to paint, wash it to get rid of dust, dirt etc
then apply a primer sand a bit
after 3 thin layers of paint (sand a bit before doing each), you have to wait at least 1h between each layer to let the paint dry properly.
and finish with gloss (some people do 2 layers of gloss)
you can find the primer, paint and gloss in spray
In my opinion it is important to use good quality sprays and very thin grip sand paper.
there are some good tutorials here
http://www.360-hq.com/xbox-tutorials-70.html
http://www.instructables.com/
 Posting Permissions
- You may not post new threads
- You may not post replies
- You may not post attachments
- You may not edit your posts
-
Forum Rules