-
 Re: HTPC in Onkyo style
Meanwhile i spend some time to become familiar with the anodisation procces.
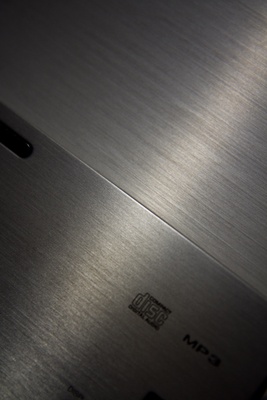
Here's a picture of the CD player with the old sidepanel on top. As you can see the sidepanel is slightly brighter:
The type of aluminium and the way it has been brushed will affect the end result. I know my product can't be a exact copy of the one onkyo used. But i'll try to get it as good as possible.
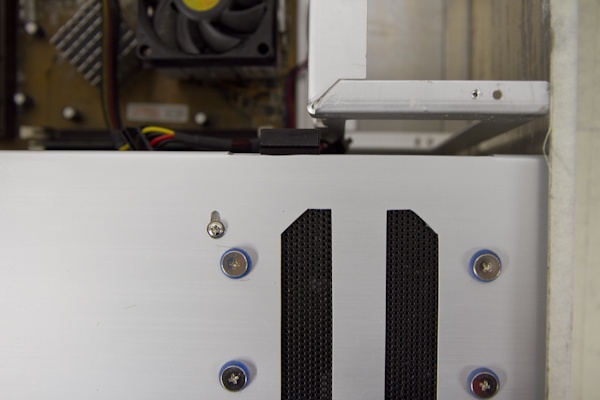
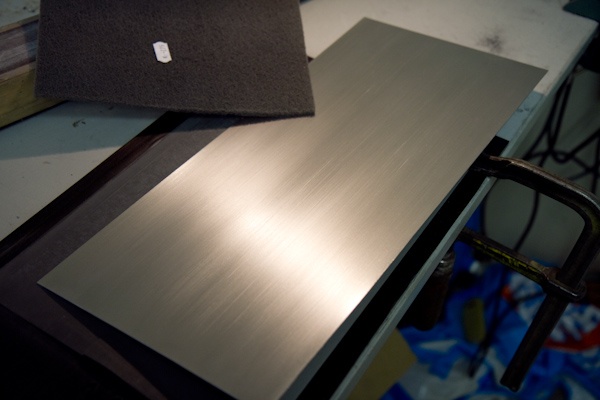
This might be the new front panel. I started with k400 sanding paper. But had some problems with getting a equal finish at all points. So went on with a M3 sanding/skotch bright kinda thing.
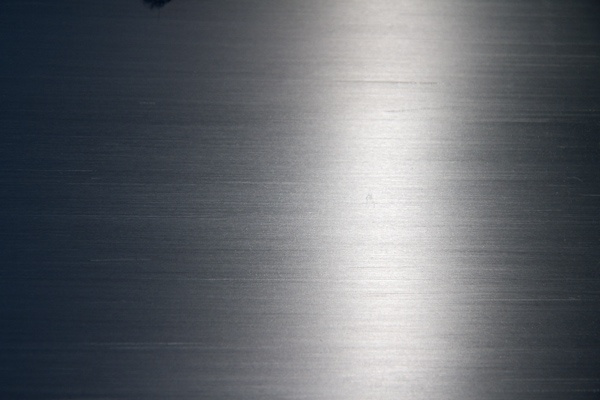
Detail shot.
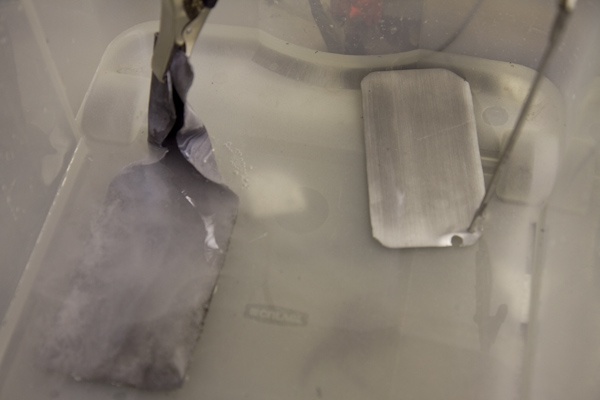
Started anodizing with a sample piece. I was worried about the blueish kind of color on it. But it was gone after a while. I had to go for work (This week a 24/7 standby for emergencies) and left the anodisation procces running. So it might ran a bit too long. Don't know if it can run for too long? I expected the amperage would be lower once finished.
Meanwhile i went on with some other parts:
Another bracket has been cut. Picture was taken while filling it down to the exact size. Quite funny, I dropped 1 by accident, and it was directly broken. Although it was 8mm thick and +/- 1,5cm wide. Guess it was some kind of weak spot.
Getting the m3 thread into it
And finished after polishing
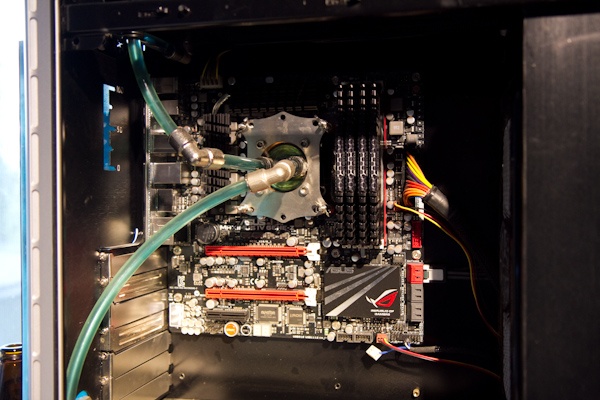
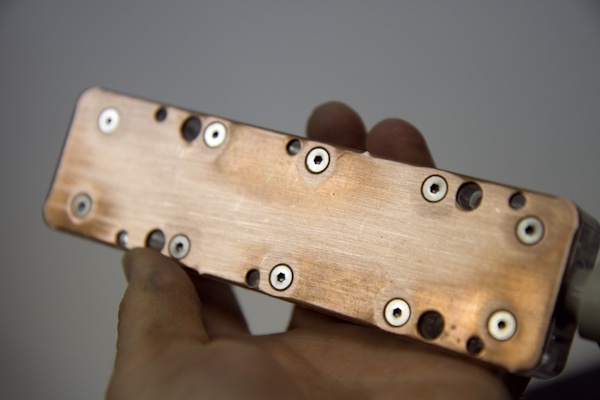
The blocks were made of machine-pressed copper, very uneven, so i first tightened the screws and sanded them down a bit. The remaining space will be filled up with cooling paste 
The connections were made for 13mm OD hose. I always use 10mm hose with 1/4G push-in connections. Quick, cheap, and i have quite some of them in stock. With this addition a can use the connections and hose i always use
Meanwhile the anodisation was done for me. The blue color was gone, and a shiny metal color was there.
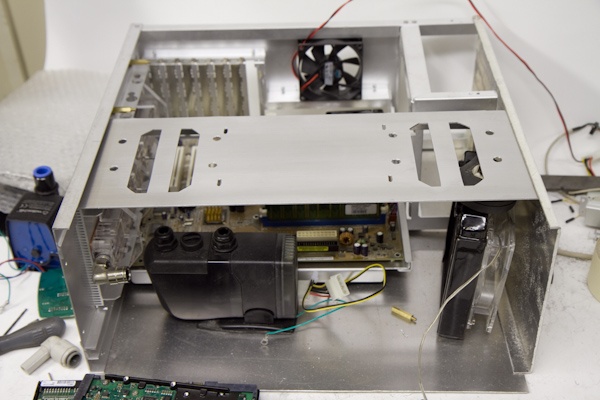
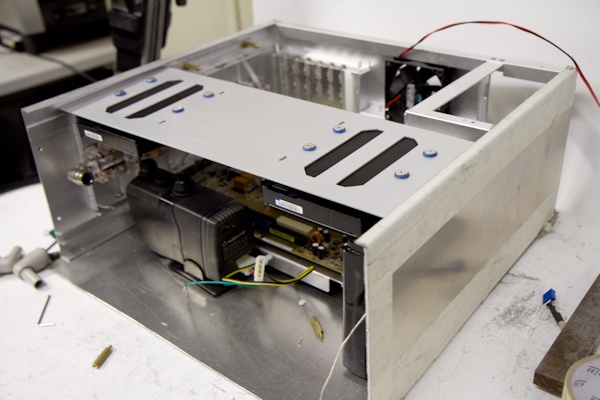
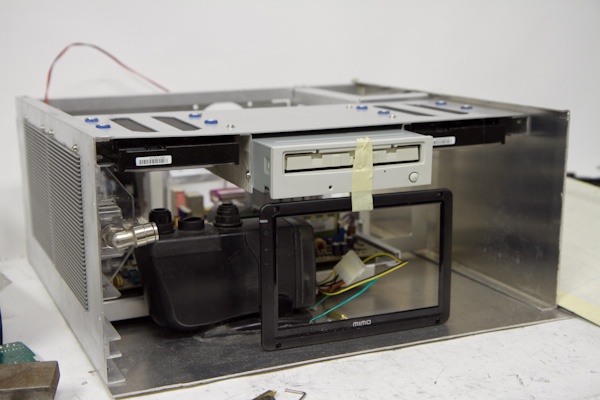
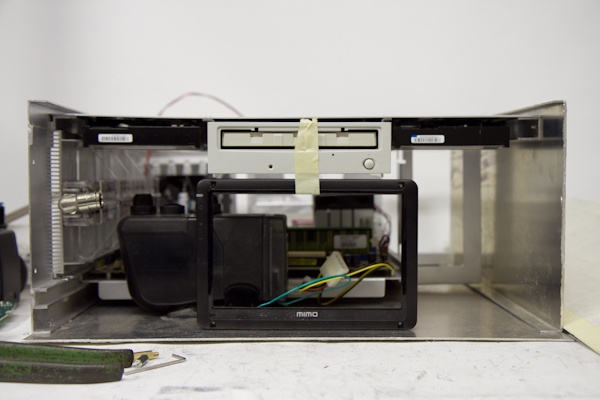
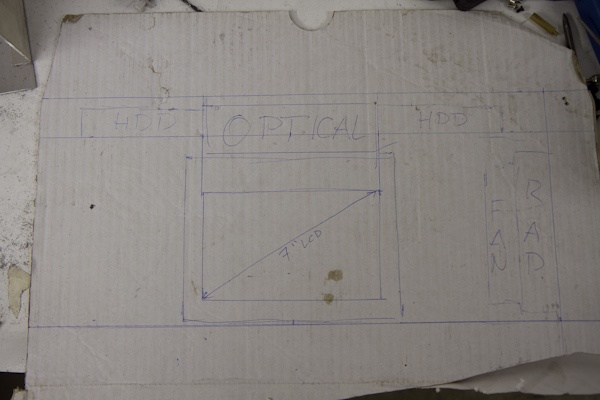
While working i spend some time on the lay-out. It might end up like this, a optical in the center. Like the cd player has. With space for HDD on the left & right side. I think that will be enough. At least there is space for more by making another bracket if i need more capacity.
I ordered a Nanovision MIMO 720F which hopefully fits beneath the optical drive. The PSone display has a slightly lower resolution, no digital input, and bummmtrssss... no touch screen. I think that's an awesome addition... Opening winamp/WMP/foobar/whatever on the display and controlling it with the touch screen.
Finished the anodisation procces. The small vertical lines are made by me, to see if it has any scratch protection. It was comparable with other brushed aluminium products.
Need to fine-tune the process a little, anodisation was maybe too long, and the sealing time with boiling water was maybe too short for that.
After anodisation and flushing it had a thin film of .... on it, felt a bit like oil.
And after flushing it with boiling water it came out matte-white, like it was painted with thin layer of white paint. After cleaning it with a sponge it was OK  Looks good, usable for the front panel.
I think i'll paint the side+top panel, since the top panel is too big to anodize in this set-up. A layer of grey paint with some metallic effect will be fine as well.
-
-
Re: HTPC in Onkyo style
-
Re: HTPC in Onkyo style
That's really cool. You're making me jealous because you are doing a bunch of the stuff I wanted to do for a build, like anodizing and making a scratch built case. I really like the fins on the side of the case. I might have to steal that.
-
Re: HTPC in Onkyo style
Ordered some missing parts... only 2 for now
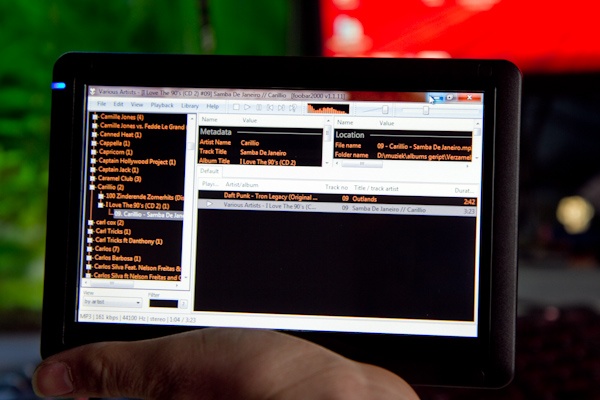
Looks like a tablet,but it's not. A 7" touch screen. Only 1 problem: Which software is good? I was thinking about some kind of "app" to browse files and large buttons for play/pause etc. But the video should be on the TV screen. Windows media center shows it all on the same screen... useless.
Any suggestions on this?
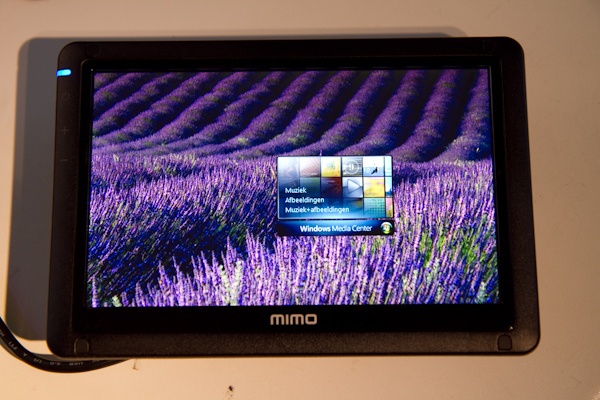
Works great, image quality is good. wide viewing angle, especially from above, which is the position we'll be watching it.
Ordered this one as well. Looks (and cools???) better then the one in my workstation. Think i'll swap them out.
-
Re: HTPC in Onkyo style
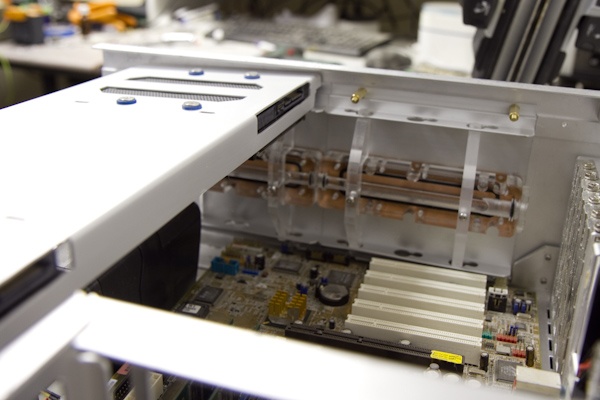
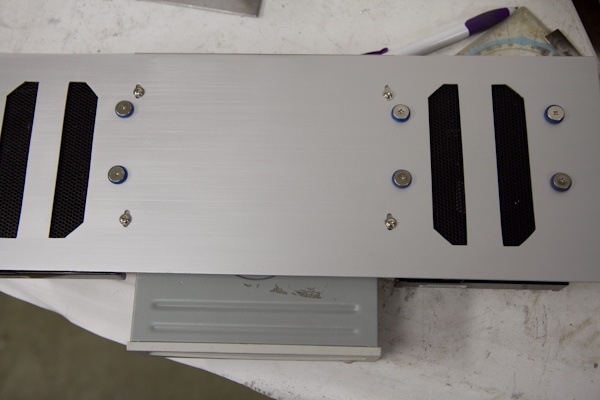
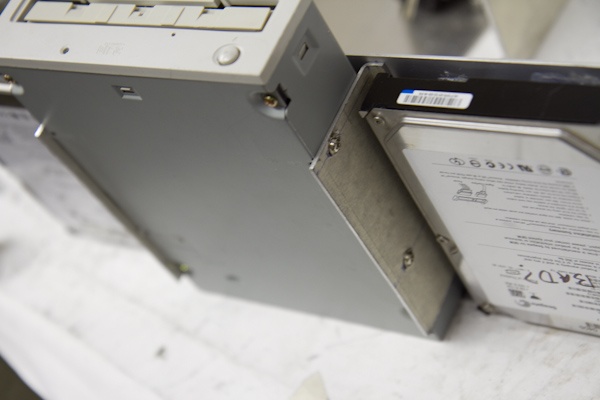
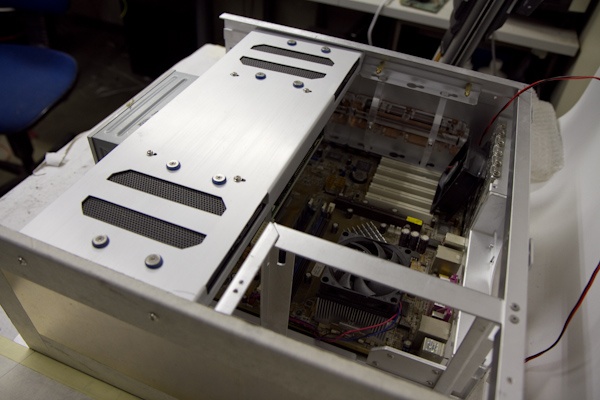
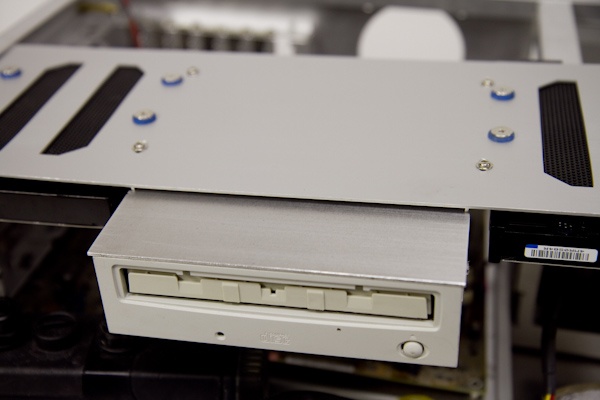
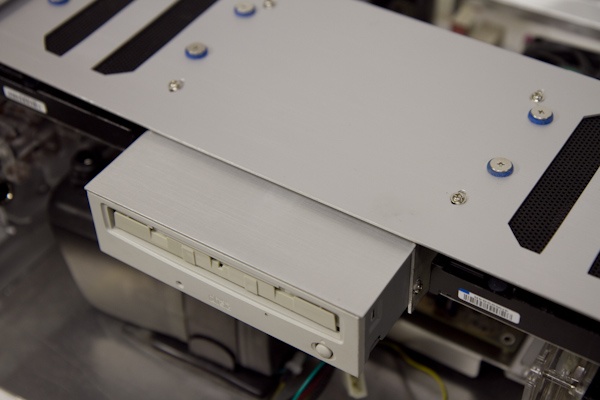
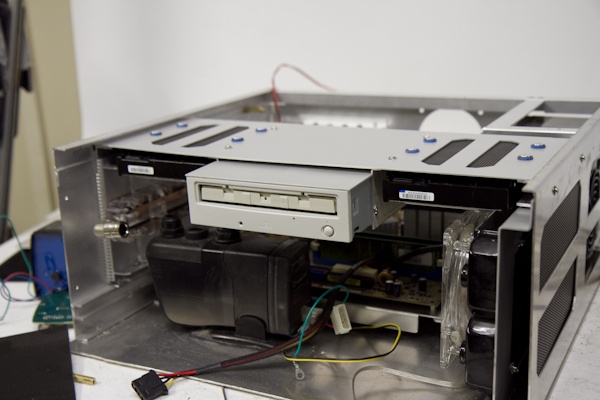
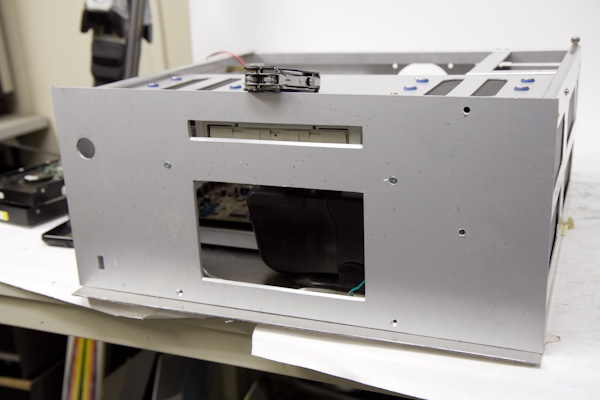
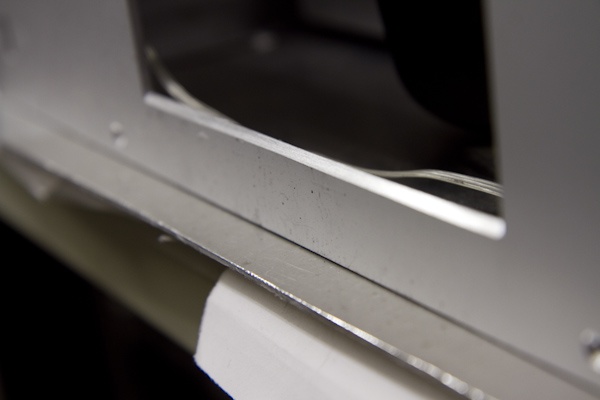
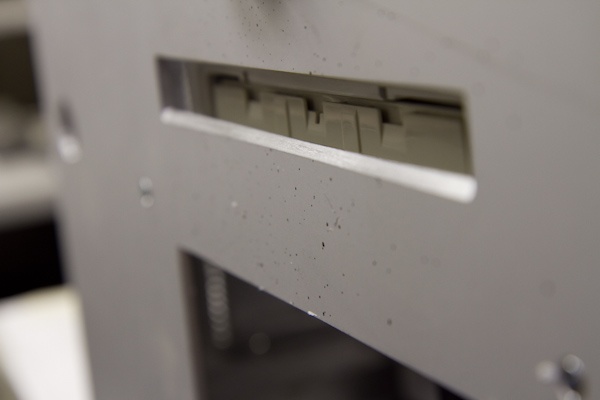
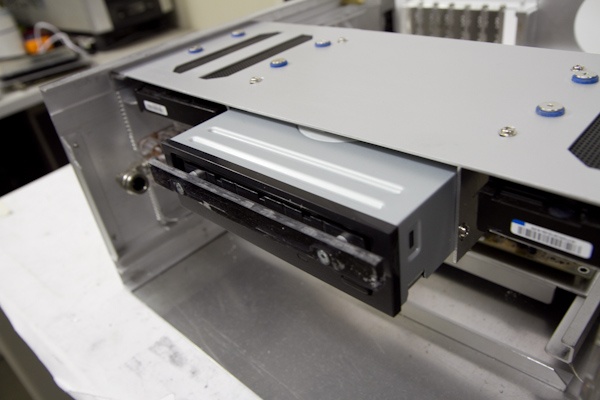
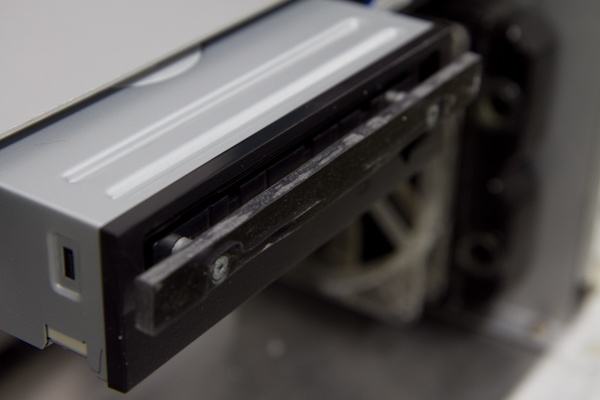
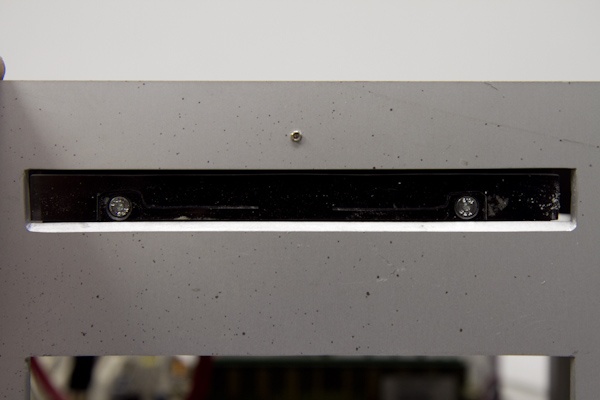
Last ting to do for this frame was getting the optical in place. As you can see i can move the optical for a couple of mm, in 2 directions. Want to be sure that it will allign perfectly with the front panel.
The 7 inch touchscreen will fit nicely, about 1cm left
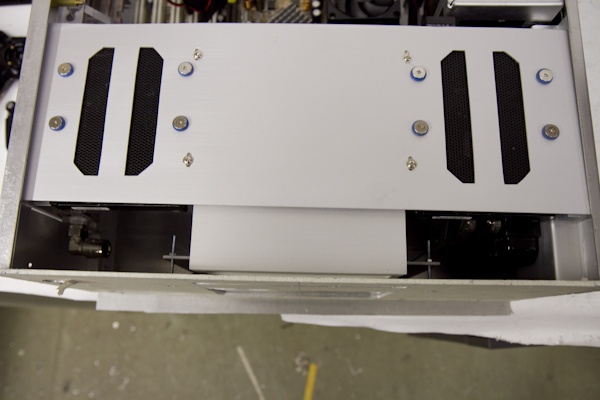
On the back of the HDD there's enough place left for the powerplug. This build is not planned, just working and designing at the same time. It works faster, but you might points where parts won't fit. Luckily it's all going well.
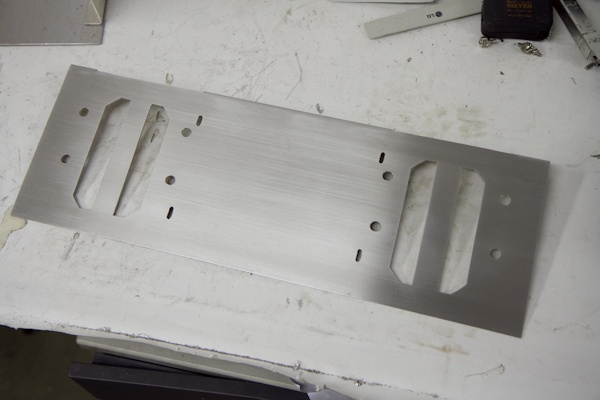
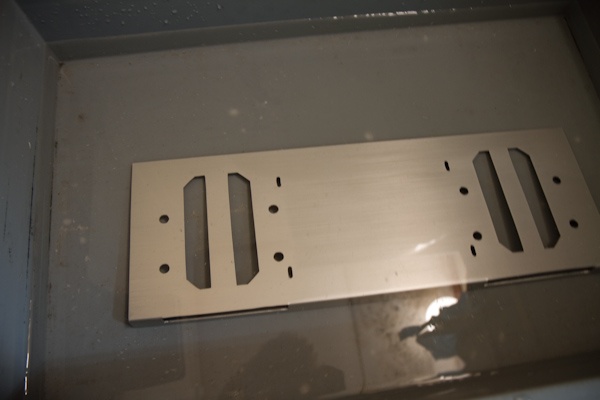
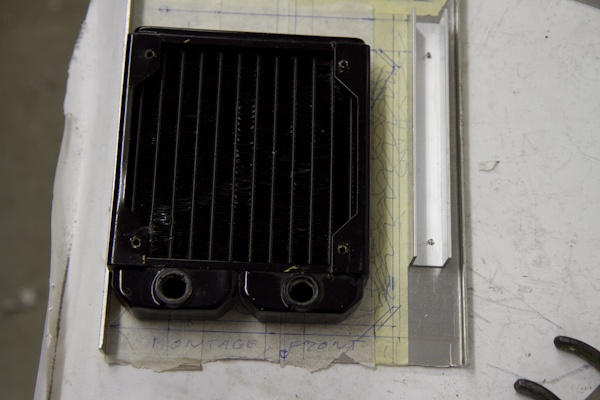
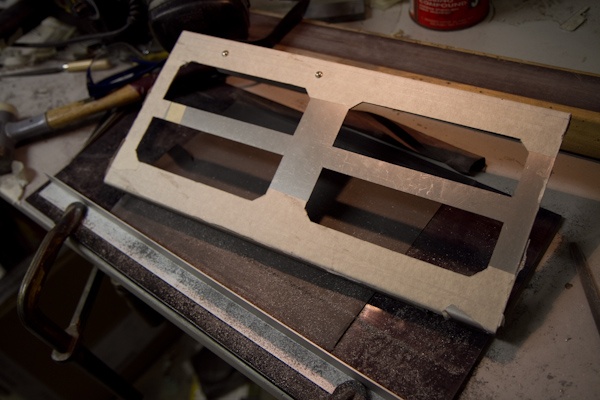
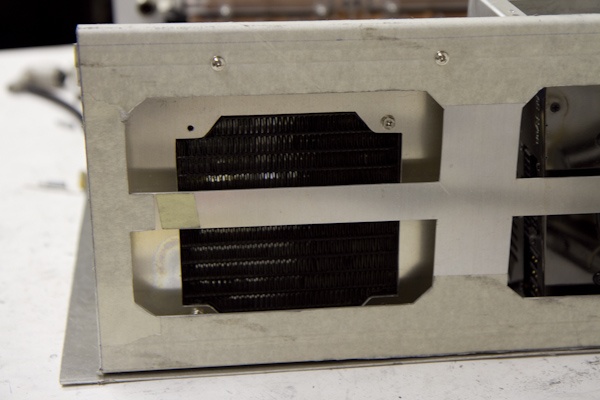
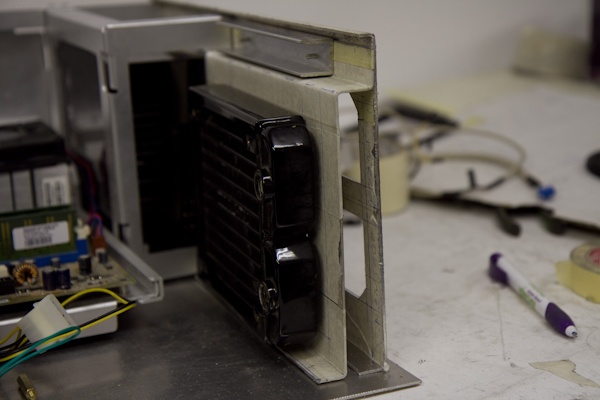
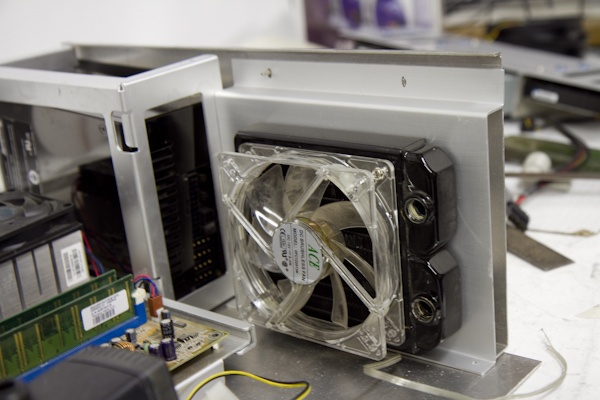
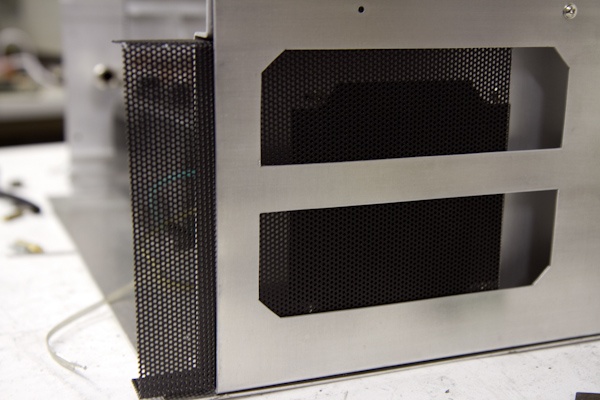
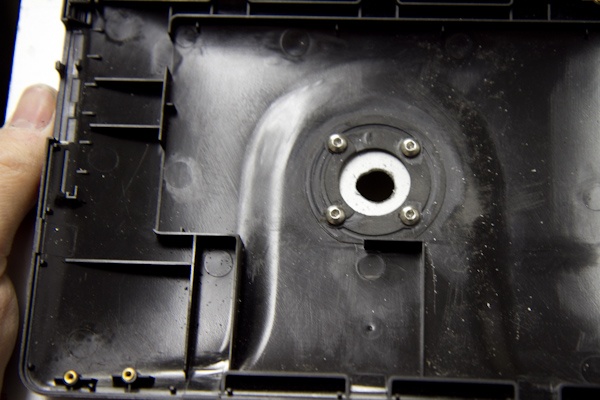
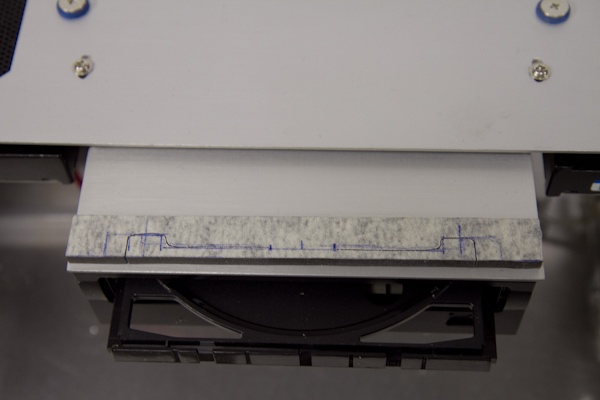
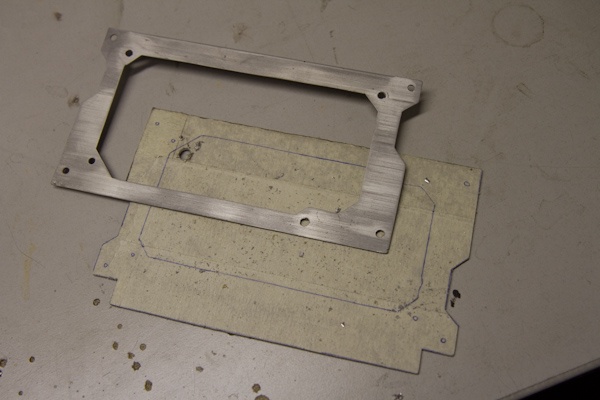
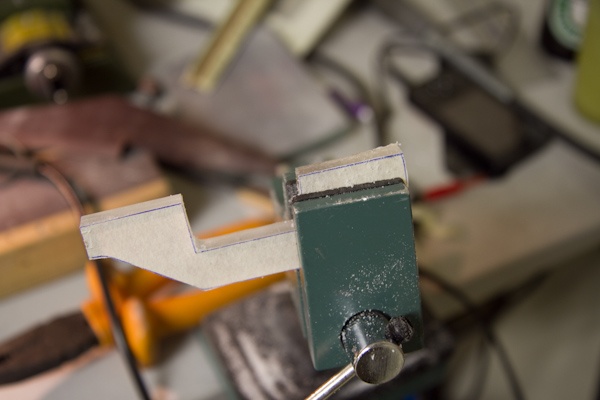
Next thing is the radiator. I wanted to hide the radiator because they're not very stylish. Especially this one, since it has a couple of dents. Anyway, mesh would restrict the airflow. So i decided to make a bracket. This way i can increase the surface area of the mesh, and use the same design for the PSU intake as well
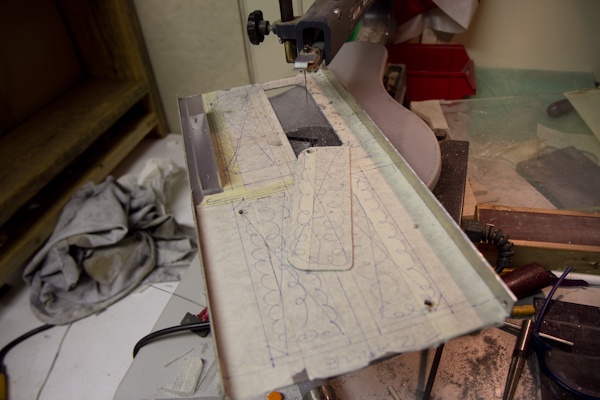
So lets cut it out
Filing down to match the exact dimensions.
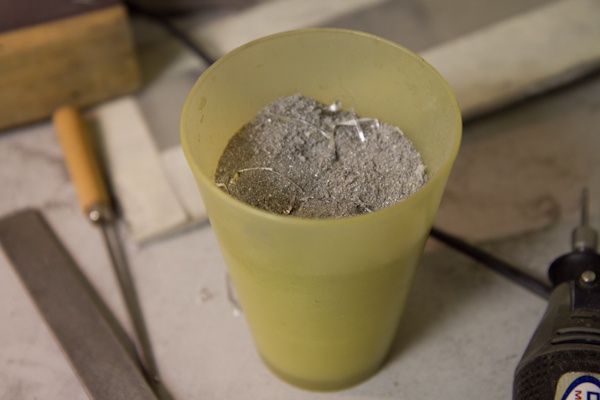
And what to do with the remaining parts?
\
We should clean it up with the aluminium magnet off course! But i have none, otherwise i would have much more then just 1 large cup
Et voila.
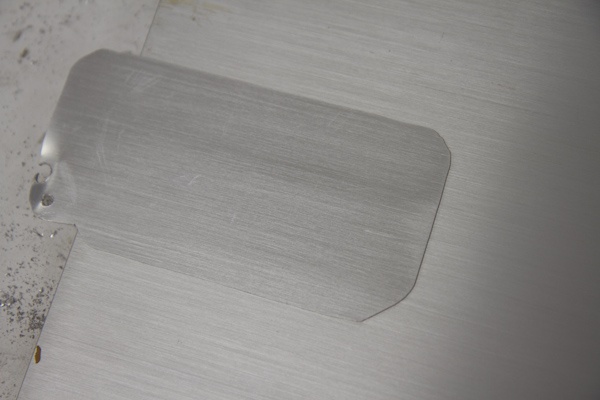
I wanted to cover up the ugly optical drive. This aluminium sheet will do the trick. Here you can see the difference between pre-and-after anodisation.
And after anodisation. Looks much better, right?
Removed the masking tape, and anodized the bracket.
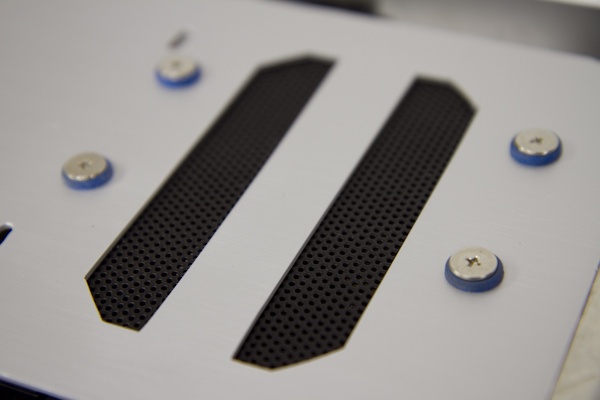
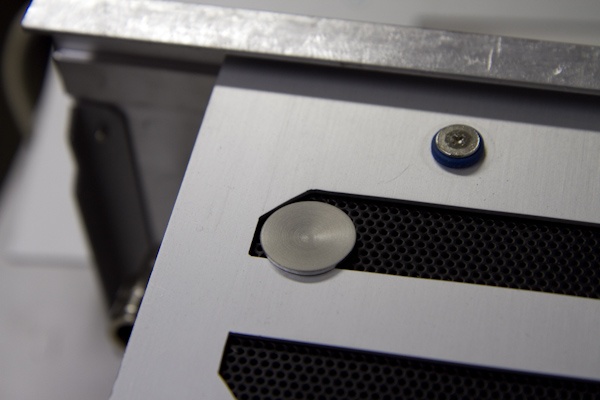
And i can put a sheet of mesh into it. No glue or screws necessary, it's clamped between the sidepanel and bracket. As you can see the blank aluminium behind the mesh is visible. I should paint that side.
Overall view.
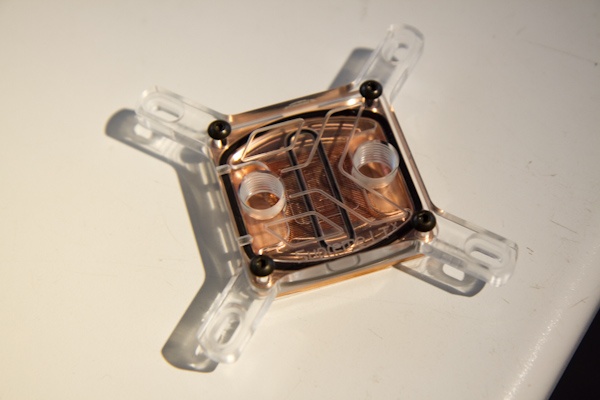
The cooling block i bought was better looking than my old one. So i decided to swich them:
Old.
New. Including better cooling paste my stressed temp dropped 10*celcius from 50 to 40. Nice
Next job will be the frontpanel
Probably with the following parts:
- Power button
- eject button
- display on/off button
- power led
- dvd drive
- 7" display
- 1 USB connector
- IR receiver. I might combine that one with the power LED.
-
Re: HTPC in Onkyo style
looking good man! nice work with the aluminum as well, super clean 
-
Re: HTPC in Onkyo style
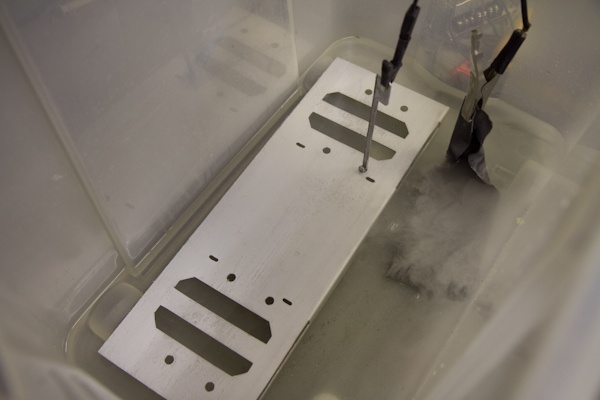
Hmm, looks like i'm having a problem with the anodisation:
As you can see the aluminium turns very dark, uneven, and well, not the way i want it 
Does anyone know how this is possible? I was thinking that the acid might has lost power. So i have to mix up a new bath? Last time I bought 2 bottles of 38% acid, and 2 bottles of demiwater. I don't know how long it will last in general?
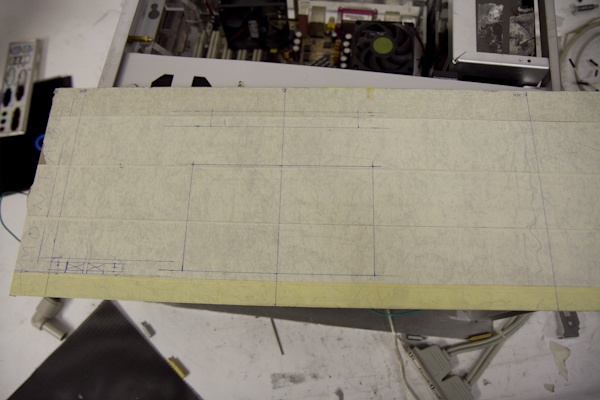
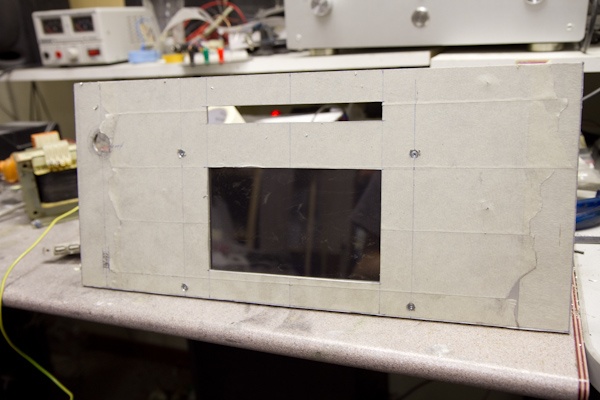
Anyway, i cut the holes in the front panel. Not that this is the base panel, so after this one is done i can finish the second one which will be anodized and glued on top of this one, so you won't see those screws and stuff.
Also send an email to Onkyo repair center, to see if they can provide me a power button and onkyo logo.
-
Re: HTPC in Onkyo style
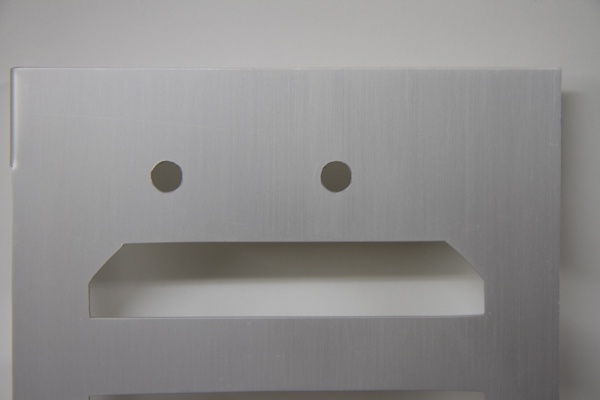
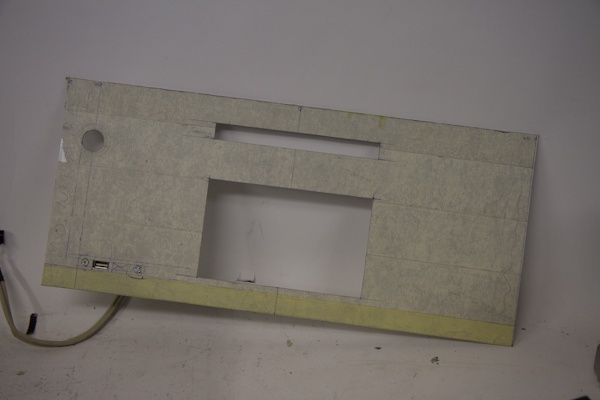
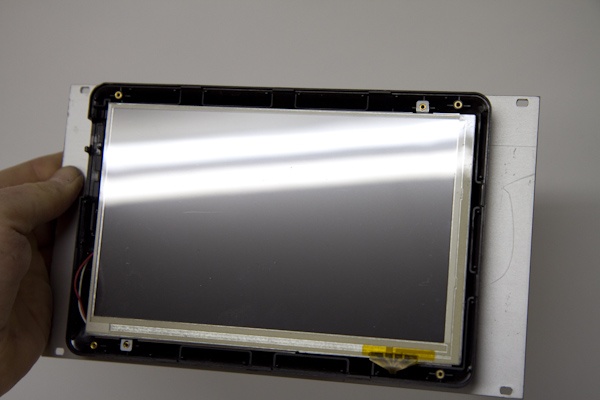
Continued working on the front. First of all I created a way to mount the LCD screen.
I had a couple of 19" rack blinding panels, strong and thick anodized aluminium. And it was the perfect height for this monitor. Including the mounting holes
4 screws, 4 holes with m3 thread, and a hole for the USB, and we're done!
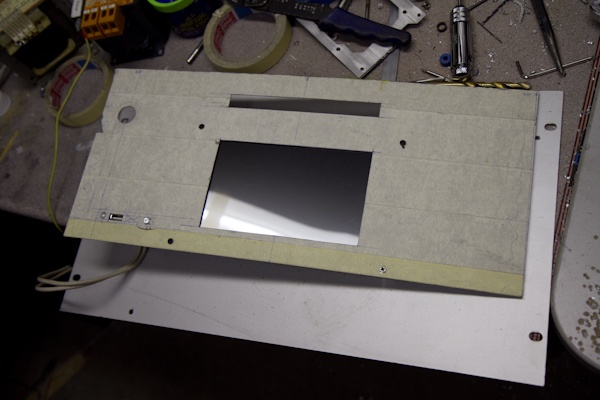
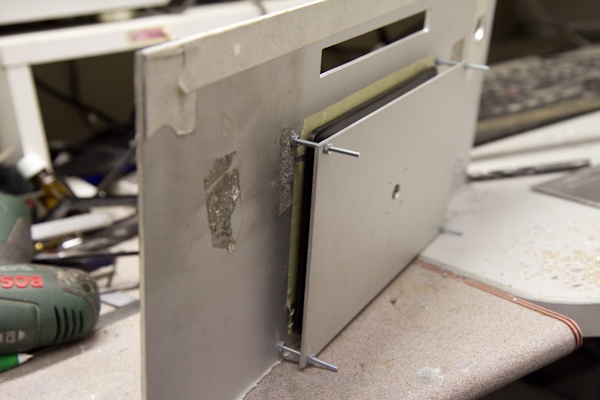
Although the front was going fine, i decided the sheet of aluminium was not strong enough to be a real front panel. So i took another 19" panel to create a new one, this one is +/- 2x thicker, so it won't bend, sounds much more massive, and it's much better when using countersunk screws. Together with the top-front panel it will be as thick as the 5mm front i have on the amplifier.
Really need to clean up some day....
New panel is almost done. Note that i flipped the USB. makes it better aligned with the powerbutton.
Perfect mounting for the LCD.
And it fits (although it's not correctly aligned on the photo).
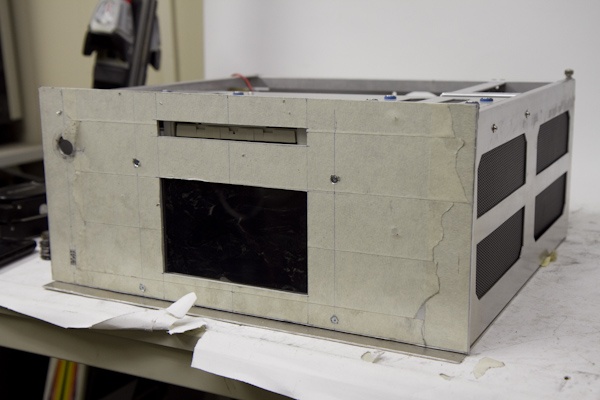
So after removing the tape, and filing down the edges at the bottom of the LCD and dvd slot i got this. The amplifier has those edges as well. And although it's a precision job to do it by hand, it turned out great.
That's it for now. Bought more acid today, hope to fix the PSU bracket soon with some fresh anodisation!
-
Re: HTPC in Onkyo style
Since most of the "rough stuff" has been done, i spend some time on smaller bits and pieces. In general i could describe it as boring parts, like cutting and mounting some aluminium profiles, cut the bottom panel to the right size and stuff like that. So, i havn't got any pictures of those. But i made enough pictures of other steps in this procces:
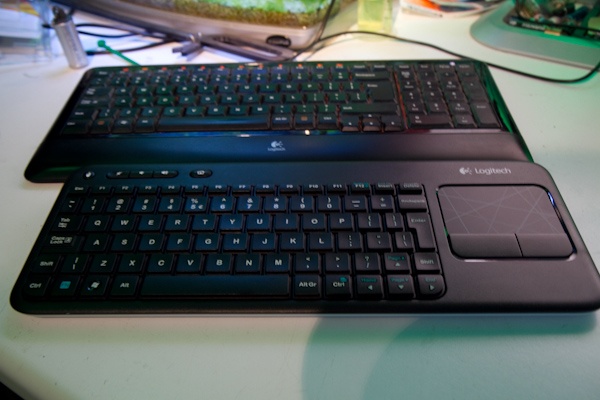
Bought the blu-ray and wireless keyboard, should be pretty usefull for couch-surfing
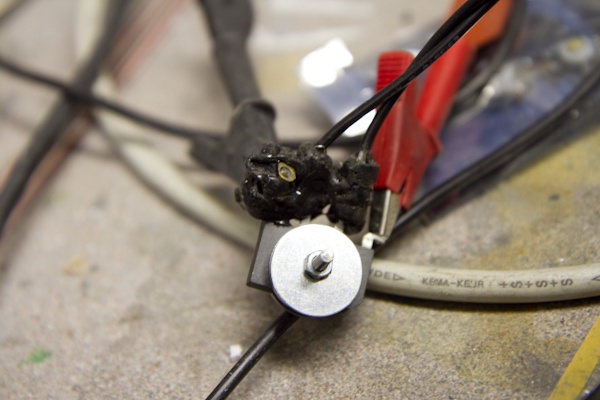
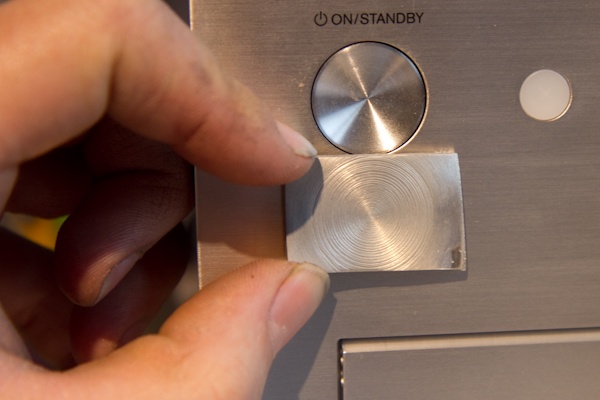
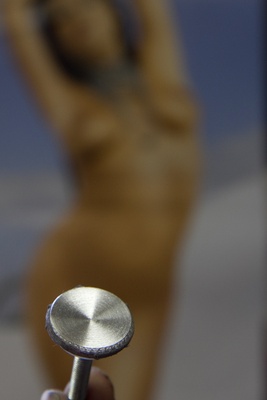
Couple of days i tested a bit with the powerswitch. It's nice, but i had something different in mind then the actual button was looking like.
Anyway, i could post another 100 pictures of creating the power button. I tried several techniques. But every time i failed. In general, it was not the acid creating my problems, but the aluminium itself! I had some pieces of aluminium i bought at the local store, guess they have a different alloy.
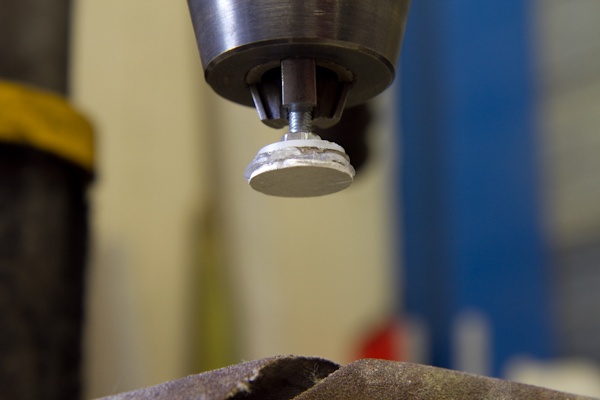
With some trial & error i made this adapter to glue a piece of aluminium on. And put it in the press drill due to the lack of a lathe
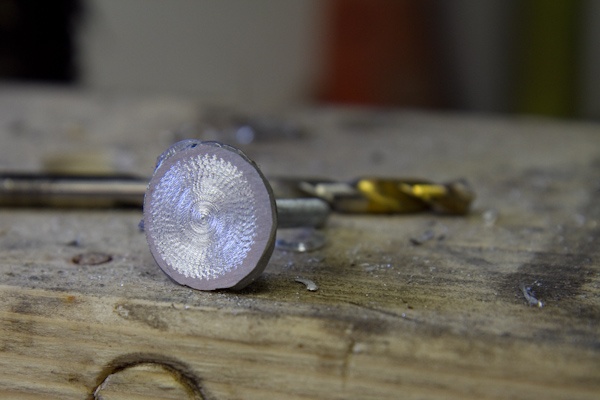
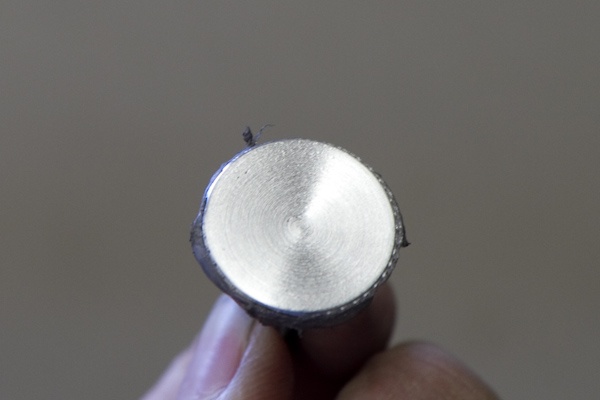
With the dremel some material will be removed to get the V-shape in the button.
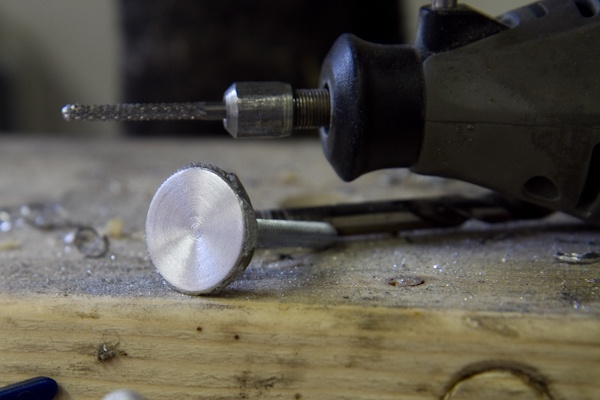
And sanding it down to get the correct looks.
And the finishing touch with the scotch bright stuff.
The edges will be done afterwards.
Oops... left it to long in the anodizing setup. Like he did too much tanning I'll redo it.
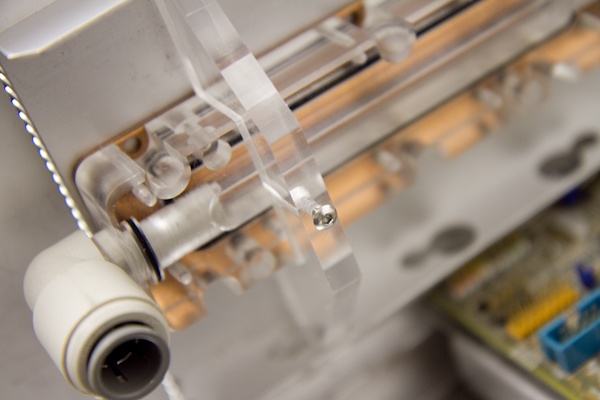
I've spend some time on the blu-ray. The cover should fix exactly, but on the same time i should be able to bend it slightly, to trigger the eject button. So i made this piece of acryl, which can act as some kind of spring between the cover and tray.
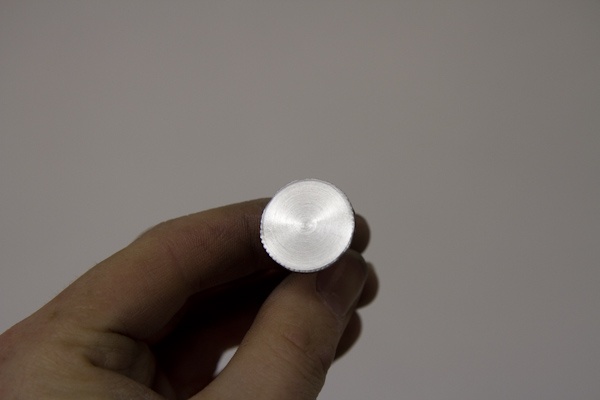
New button.
While anodizing (on the right time setting ). Result was OK
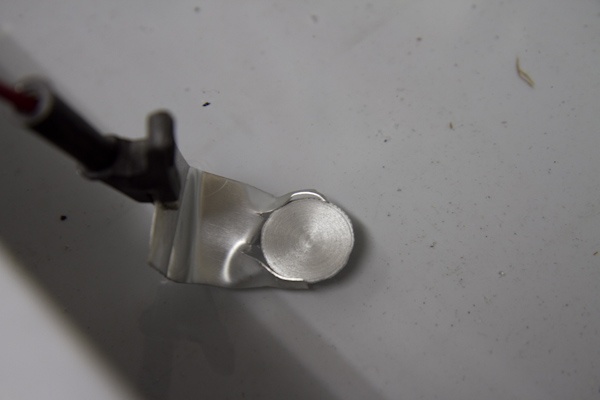
Got the spring mounted. I heated and bend the 2 parts which are mounted against the tray. Don't know if this thing will do the trick. It was my first idea, and there's only 1 way to find out
And it fits very well. Not much space left, so i should be able to align it.
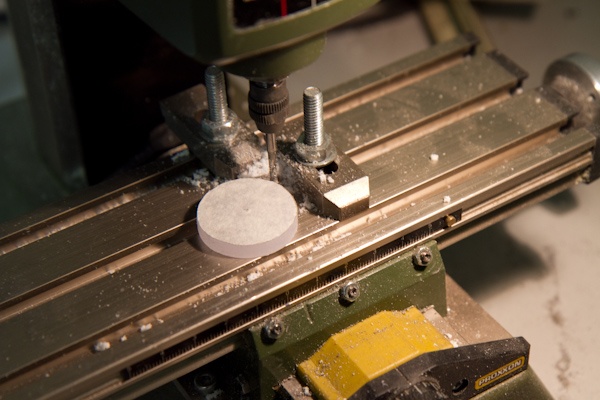
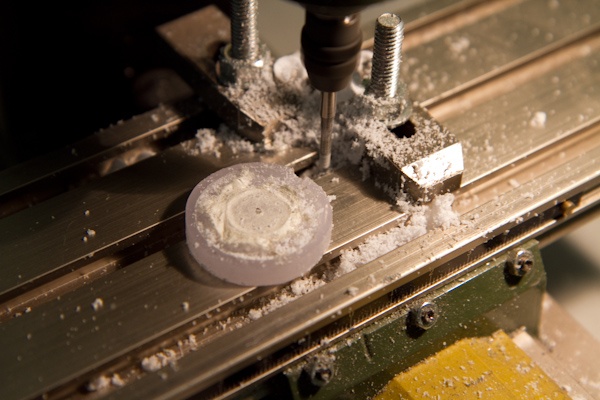
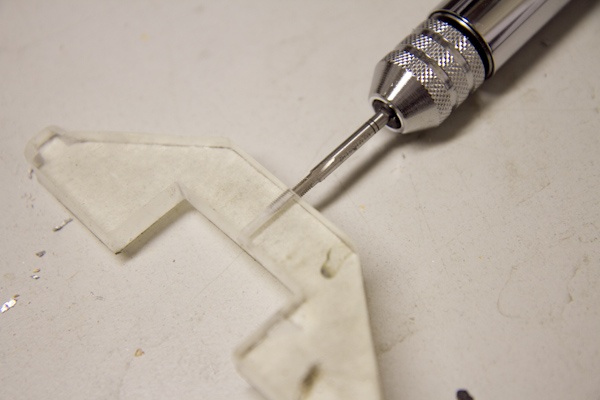
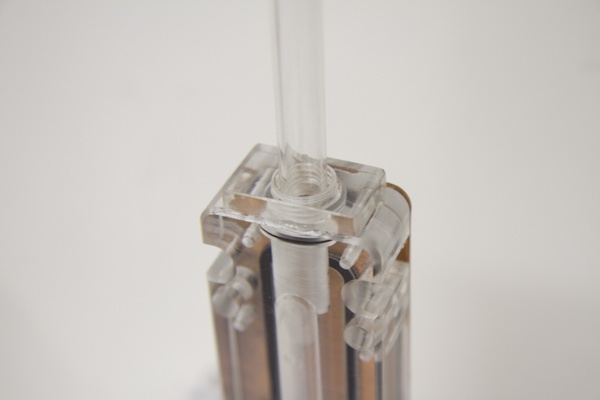
Started to milling this piece of acryl. See pic.2 if you want to know what it will be.
PSU bracket... alloy problem.... not satisfied...will redo...
 Posting Permissions
- You may not post new threads
- You may not post replies
- You may not post attachments
- You may not edit your posts
-
Forum Rules


 Reply With Quote