Come on Boddaker, come out of your hidey hole and do some more modding.


Come on Boddaker, come out of your hidey hole and do some more modding
Project: Elegant-Li *NEW*
Project: Alpha FINISHED
Project: LEXA Revival FINISHED
Project: LEXA FINISHED Bit-Tech MOTM Nominee October 08

HOLY CRAP AN UPDATE!!!!
Ok, it's been way too long since I last updated, and I apologize for that. Life, as they say, got in the way
and I was extremely hard-pressed to get myself into the garage to work on this project.
So enough with the excuses, let's get on with the goods shall we?
Last time I posted, I had just thrown the case together temporarily to get up to PDXLAN. None of the special
features of the case were funtional (blast doors, mini lcd's, landing bay), it was just a case with a bunch of crap
glued onto it lol.
Well, these last few weeks I have been silently working on the blast doors. And they have proven to be a lot more
difficult than I had originally anticipated. The basic idea was to have them roll up onto spools that are housed in a
removable module mounted in the drive cage, with the spools being connected to servos. Well, rolling them
up is not the problem. The servo motors are more than capable of reeling up the doors. Where I ran into a bit of
a snag is when the motors are reversed, and they attempt to push the doors back closed. Being as flexible as
the doors are, this was not to be an easy task, as they would just buckle at the first sign of friction, regardless of
the fact that they were contained in a set of tracks.
So I devised a plausible solution: add another spool and servo on the opposite end that will pull the door closed.
This is the main focus of my come-back post.
Now that I have given you more than enough back story, I can proceed with the pics!
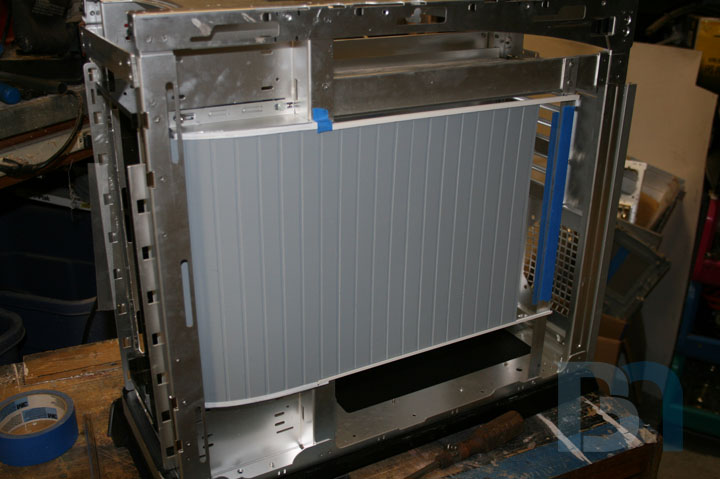
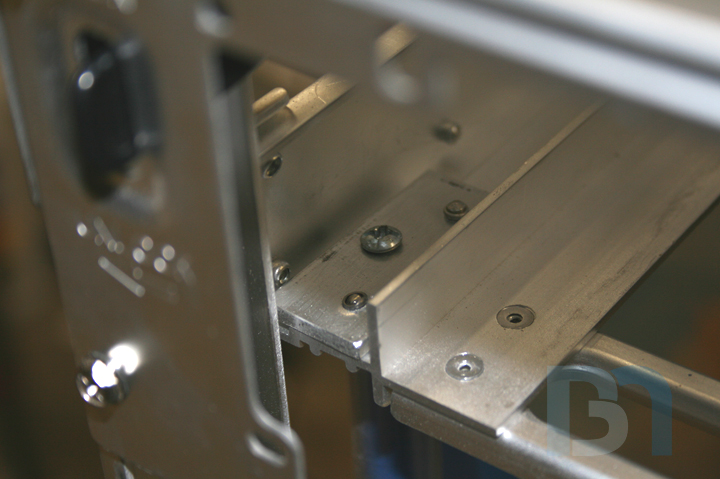
Here is a shot of the blast door in its tracks. You can see I added a 1/16" aluminum flat bar support on the right side,
and some bracketry to hold the tracks in place along the drive cage.
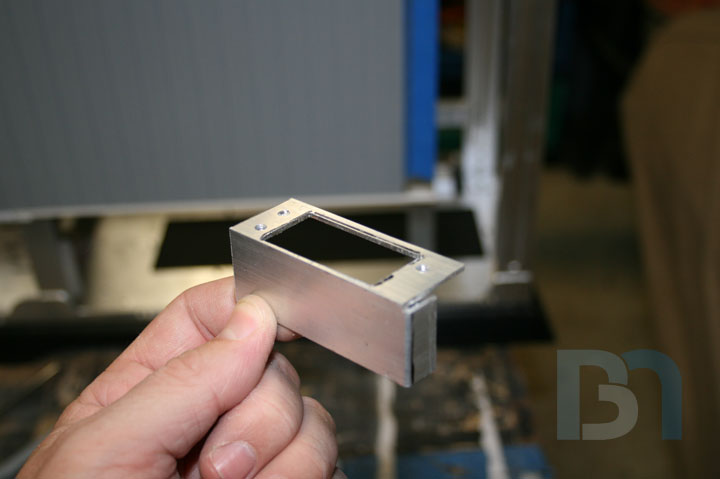
Here is the bracket i made to hold the servo for the closing spool.
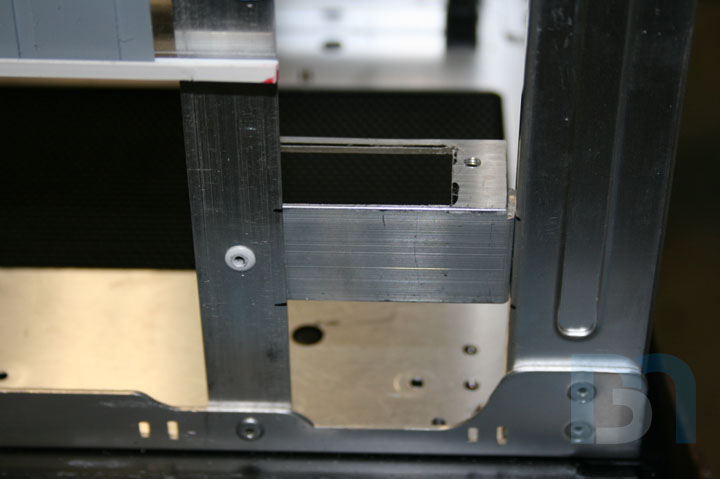
The bracket riveted to the vertical support bar, and case frame.
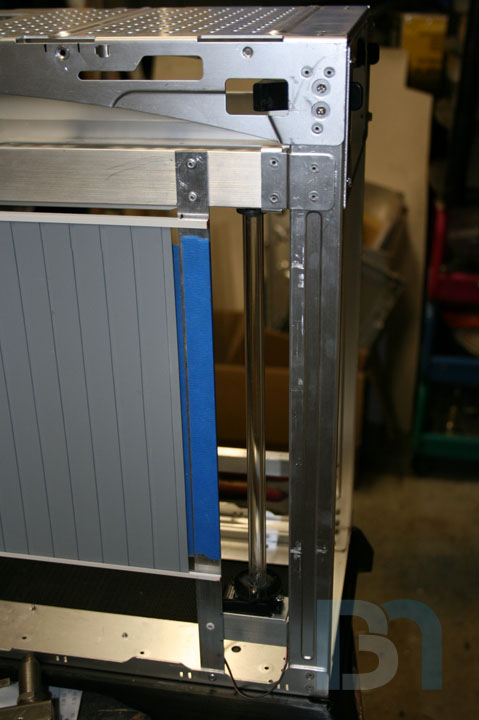
The servo mounted in the bracket.
And here is a shot of the closing spool mounted onto the servo.
It doesn't look like much, but trust me, you're looking at a month's worth of work here! Granted my modding time
has been severely cut down to nil, but I still think it was a lot of work!I will show more detailed shots of the
spool later, and how I devised the upper pivot point, which happens to also be the means of removing the spool.
Next update sometime this weekend! (I promise!)
Glad to be back, and I hope to keep trucking on this until its finished!

Honey Roasted Peanuts Ingredients: Salt; Artificial honey roasting agents; Pressed peanut sweepings.

lookin good bod!
Originally Posted by intergalacticman

HOLY CRAP AN UPDATE. Looking good mate.
Project: Elegant-Li *NEW*
Project: Alpha FINISHED
Project: LEXA Revival FINISHED
Project: LEXA FINISHED Bit-Tech MOTM Nominee October 08

Hey, finally an update
I feel with you. Same at my mod. You put in one week of work, and basically you don't see the difference. But you know the difference
Waiting so see the doors moving!
congrats boddaker....keep up the good work!
Congratz on the front page mate. Excellent work.
Project: Elegant-Li *NEW*
Project: Alpha FINISHED
Project: LEXA Revival FINISHED
Project: LEXA FINISHED Bit-Tech MOTM Nominee October 08
Wow thanks you guys! It's great to be back in the modding seat, and you all have given me even more motivation to forge ahead and see this thing through to the end. I very much appreciate that!

Honey Roasted Peanuts Ingredients: Salt; Artificial honey roasting agents; Pressed peanut sweepings.
Ok, finally another update! I know it's not as frequent as I promised before, but at least it hasn't been
2 months like last time! Anyways, I'm slowly making progress on this blast door, creeping ever closer to
a fully functional system.
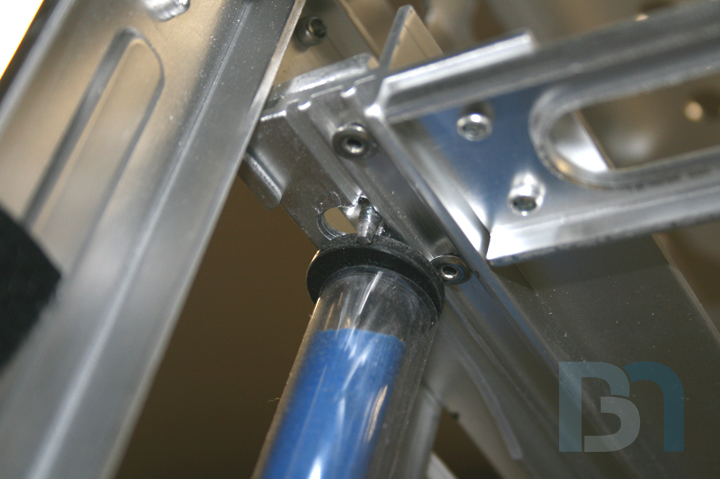
I wanted to show you how I made the pivot point for the smaller spool. Here is a shot of the piece I added
above the spool that has a screw in the center. It's just a small piece of 1/8" aluminum riveted in place and tapped.
Here's a shot from below looking up.
A shot from below, with the spool disconnected from the pivot screw. I removed the threads off end of the
screw so it wouldn't screw into the top of the spool. You can also see that huge factory-made hole to the left
which was why I had to add that extra piece of aluminum over it.
And here's the top view of the spool showing the center hole where the screw sits. To remove the spool,
I simply unscrew the set screw and lift it out.
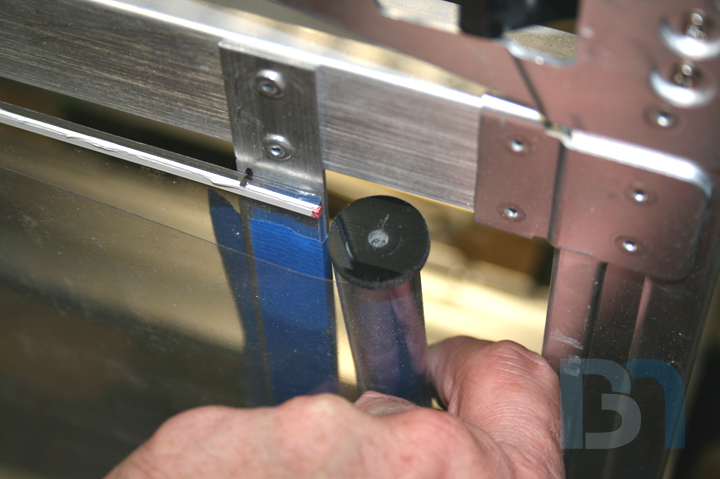
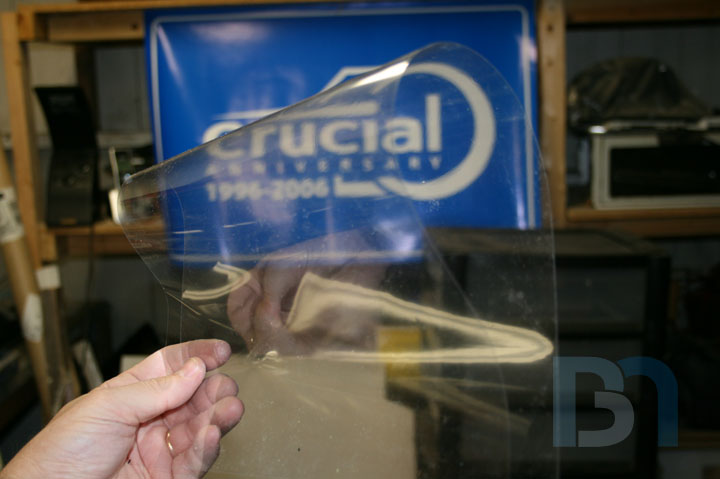
Ok, so with the smaller spool in place I added the clear film. Got this sheet from my local drafting
supply store. It's 5mils thick.
Taped one end to the blast door, and the other I wrapped around the small spool. Sorry for the pics,
but it is quite difficult to photograph things that are completely transparent!
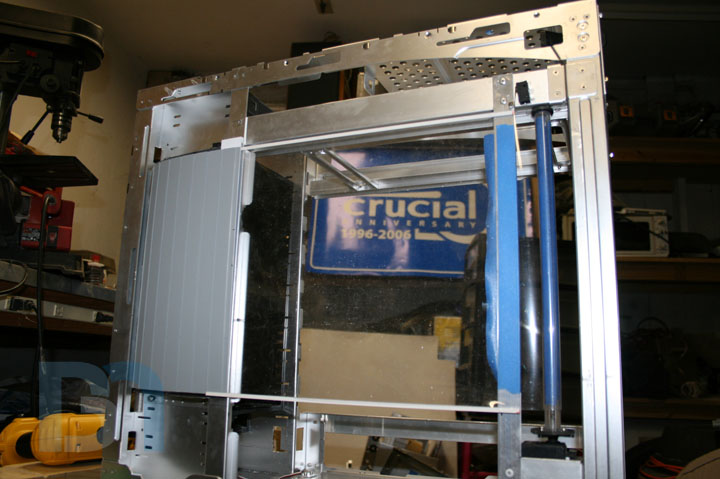
This shows the blast door open with the acetate stretching across the window opening.
I opened the door a bit wider so you could see the extra pieces I added on the left for the door to glide on.
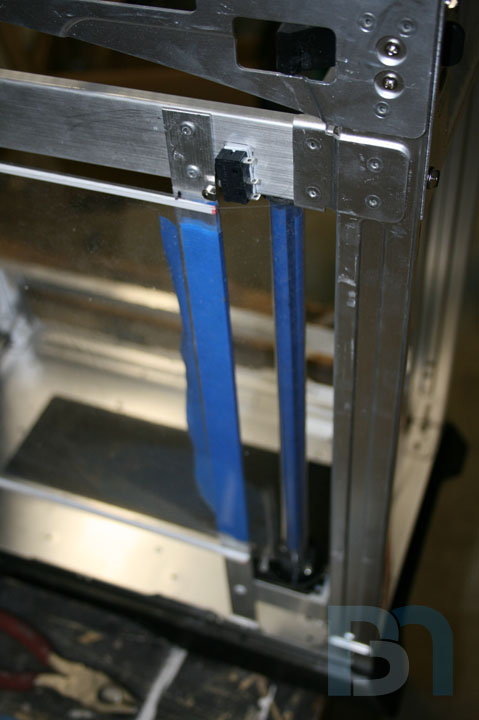
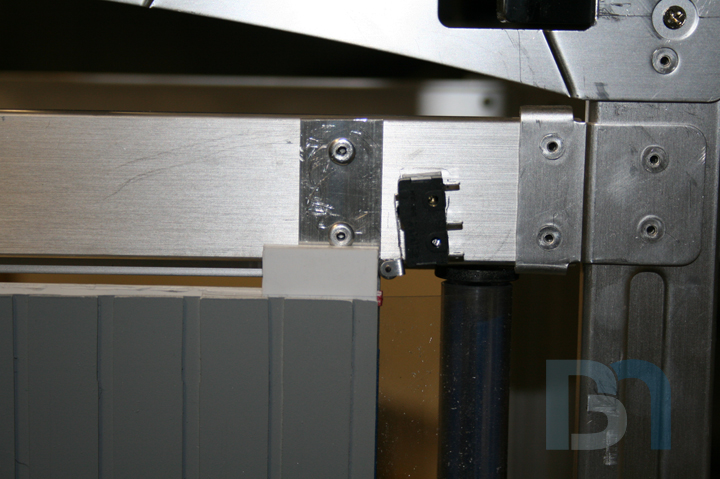
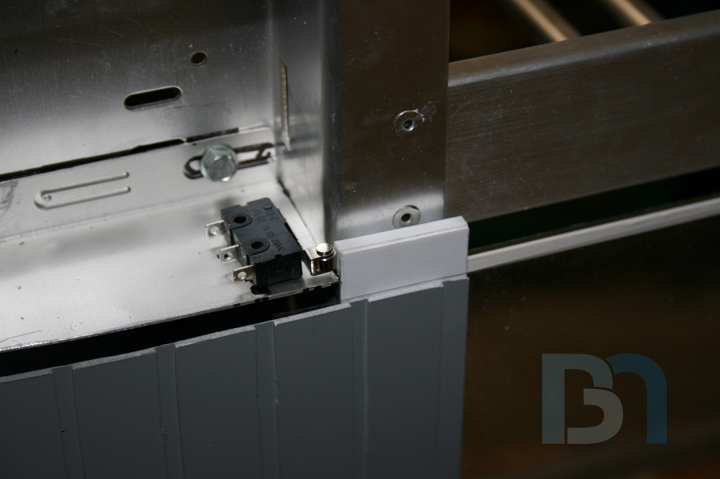
Next, I got the limit switches mounted. They "limit" the movement of the door by cutting power to the servos
once the door reaches a set position. This one will stop the door after it has closed fully.
And this one will stop the door once it has opened fully. I extended the leading edge of the door with some
styrene, which will serve to trip the limit switches.
Now all that's left is mounting the controller board, and a bit of wiring and it will be ready to rock.Video is definitely
forthcoming, hopefully by this weekend if all goes well.
Honey Roasted Peanuts Ingredients: Salt; Artificial honey roasting agents; Pressed peanut sweepings.
Awesome. You so have to make a vid of this working once it's done.
Project: Elegant-Li *NEW*
Project: Alpha FINISHED
Project: LEXA Revival FINISHED
Project: LEXA FINISHED Bit-Tech MOTM Nominee October 08
 Posting Permissions

 Reply With Quote