hmm
what about people that move over there... i might move...


hmm
what about people that move over there... i might move...
Originally Posted by Drum Thumper


First update on these forums.
First of all I want to excuse me because my English is not so great :p.
That’s why you won’t see a lot of description around the pictures
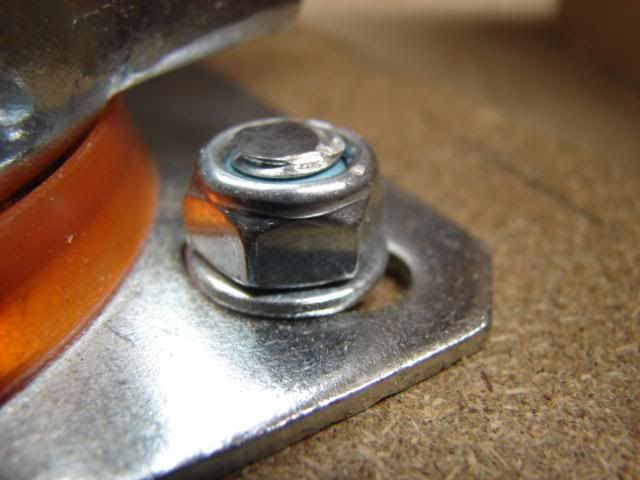
There are new bolts and nuts on the wheels. Not for fun, but for details.
Wheels are steady and ready :p
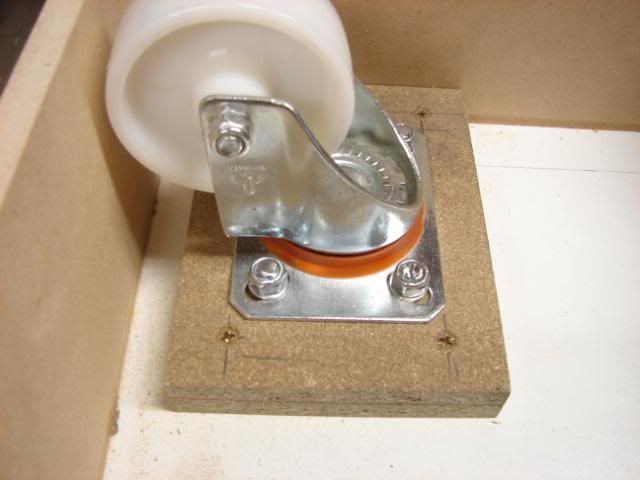
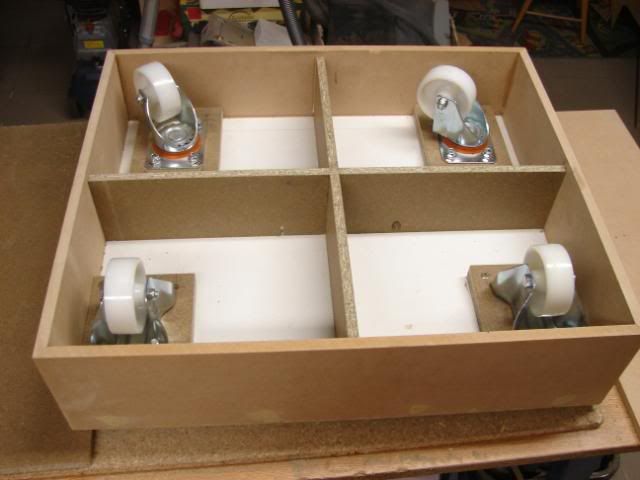
I also made a frame in the bottom, reason ? to make it stronger
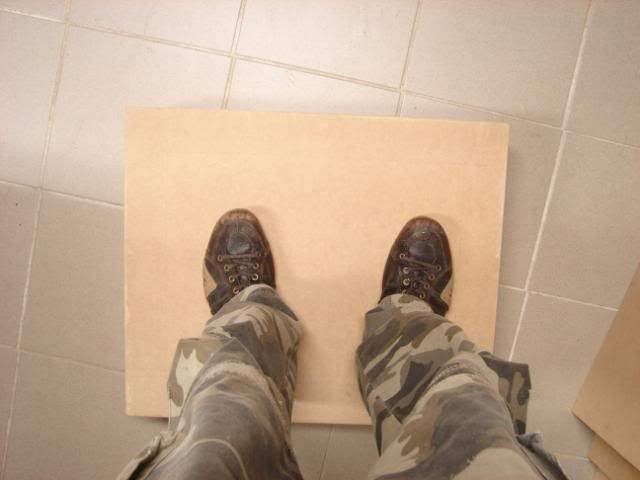
It doesn’t move an inch ! (or whatever dimensions you know :p )
http://i183.photobucket.com/albums/x...1/DSC05132.jpg
I also made the other bottom plate stronger with some bolts.
This because the whole construction will be heavy.
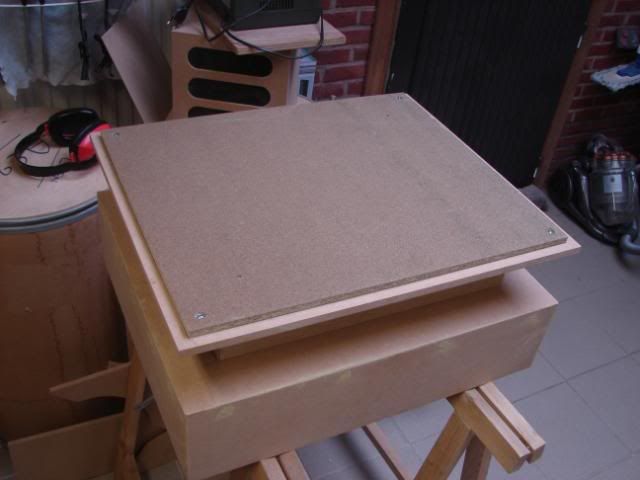
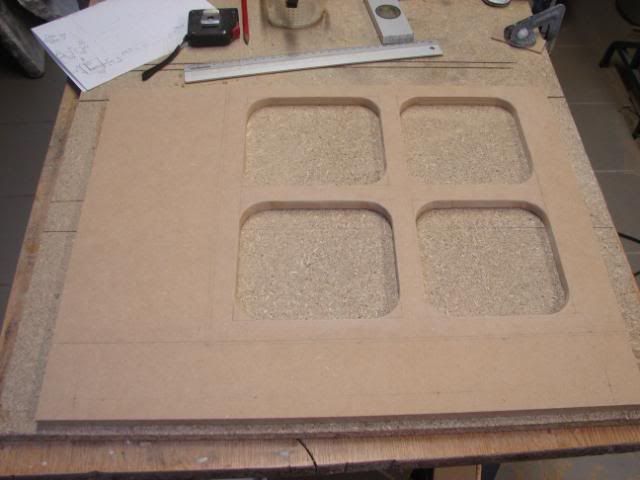
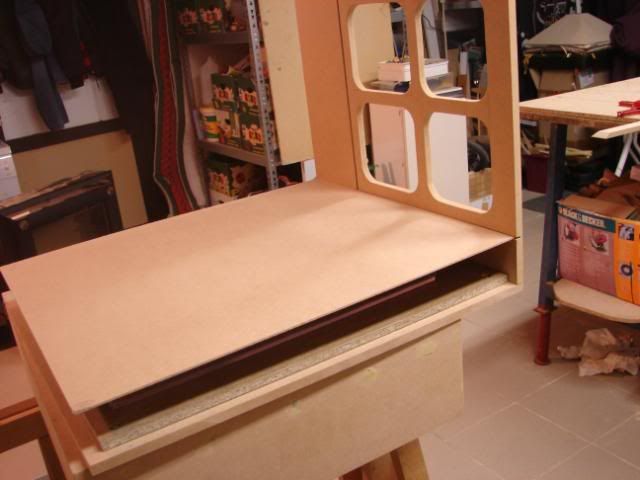
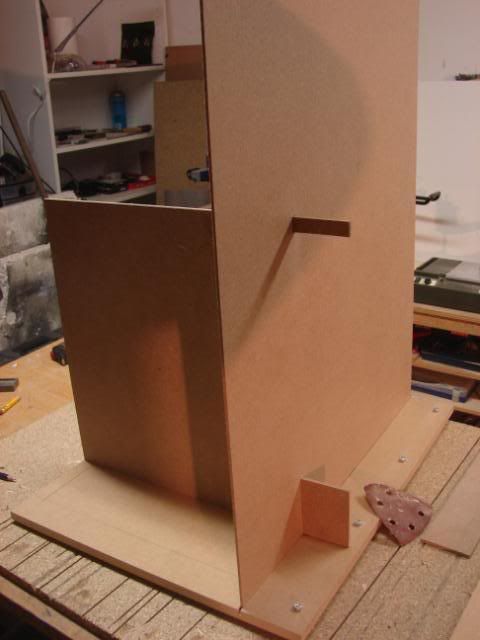
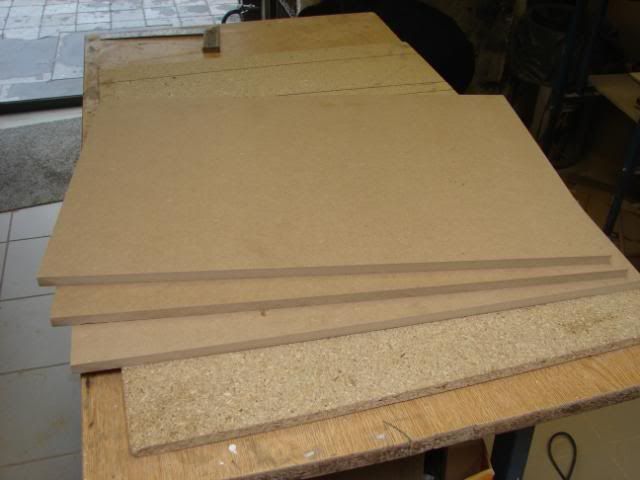
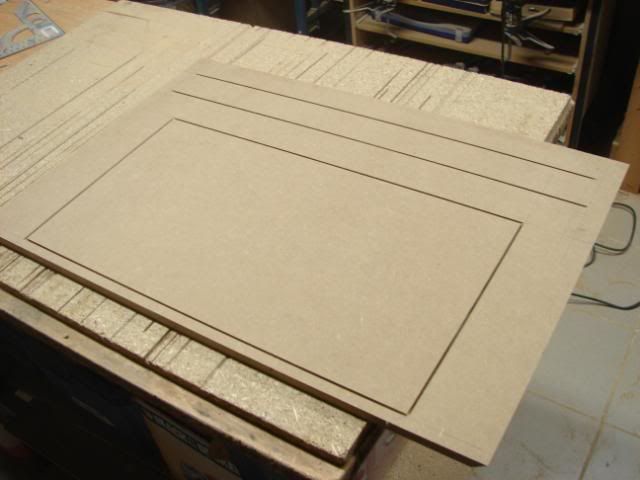
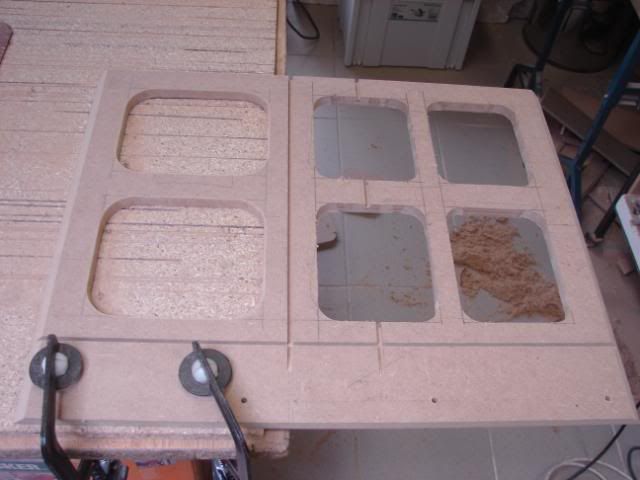
The first sidepanel:
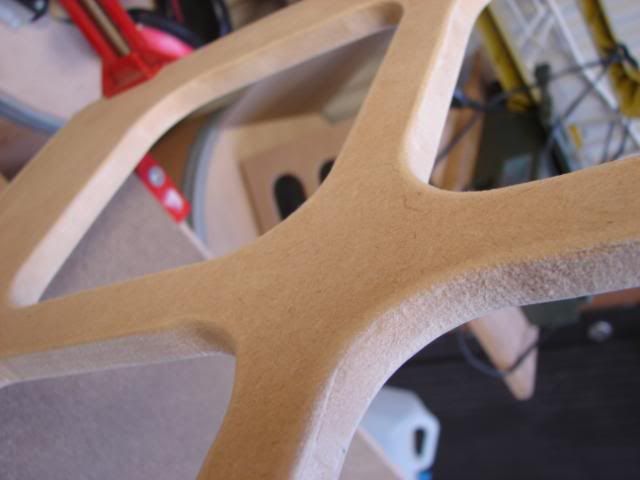
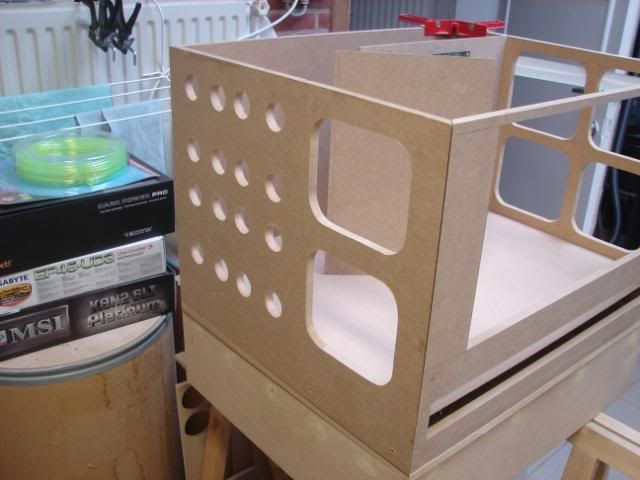
I’m gonna make holes in it, to make just a little bit lighter.
And some “gaps” … In these I can put a motherboard panel and bottom panel.
You won’t see the MDF wood I’m using right now, because the outer side will be made of plexi and the inner side of aluminum.
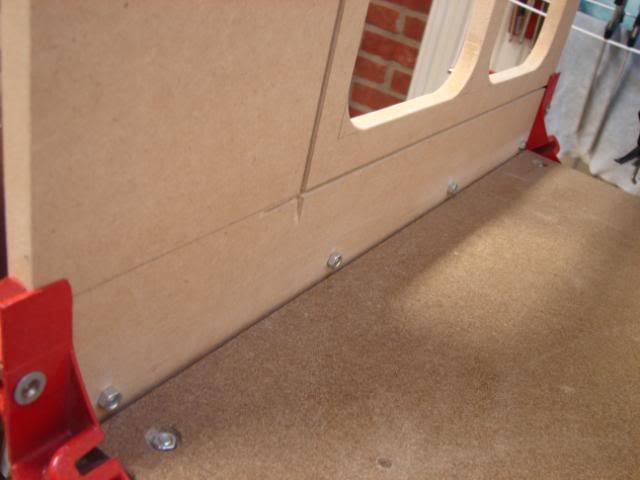
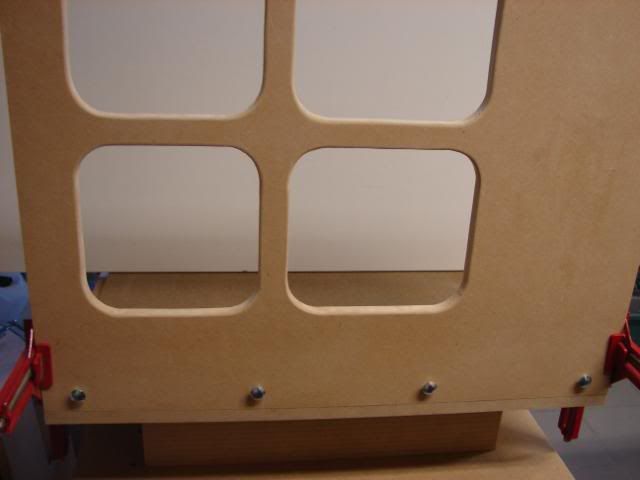
To attach the plexi I’ve used some bolts.
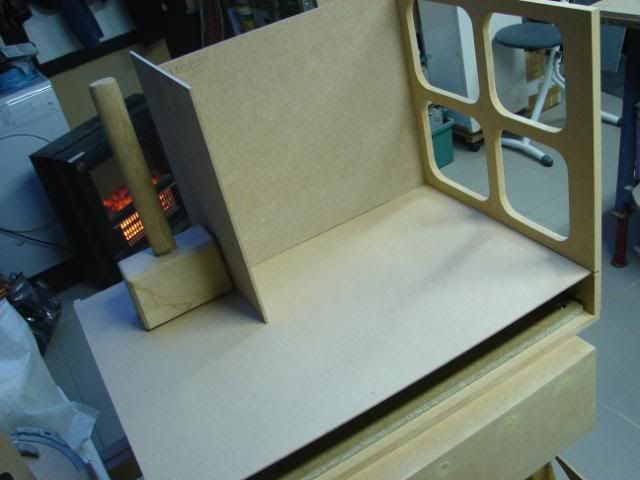
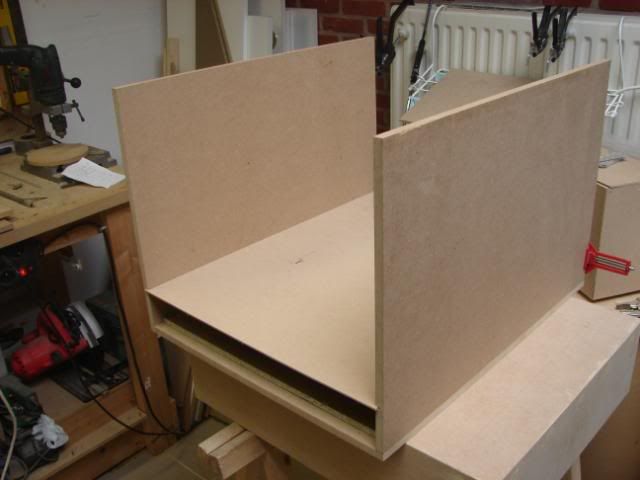
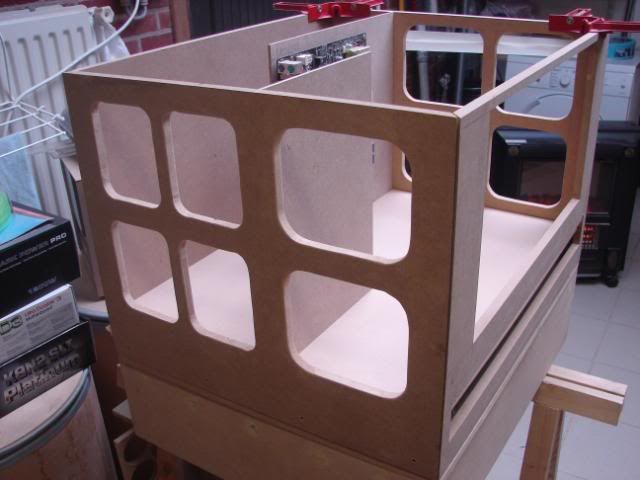
Here you can see how the bottom will be (and under the bottom the plexi reservoir – just for eye candy - )
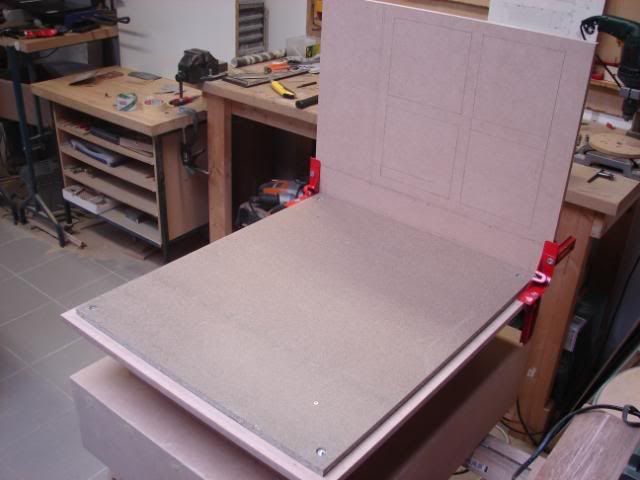
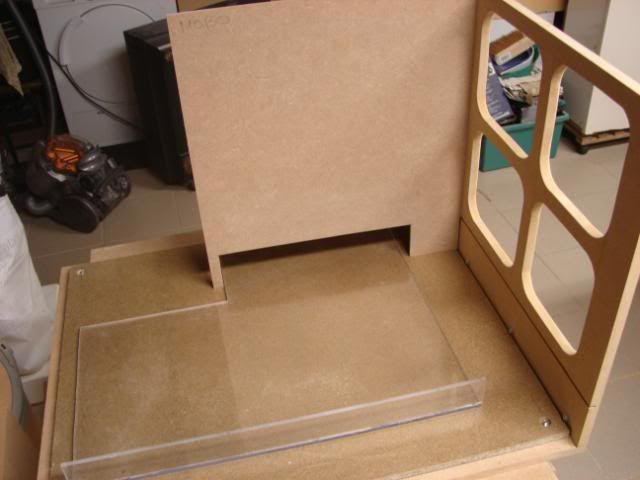
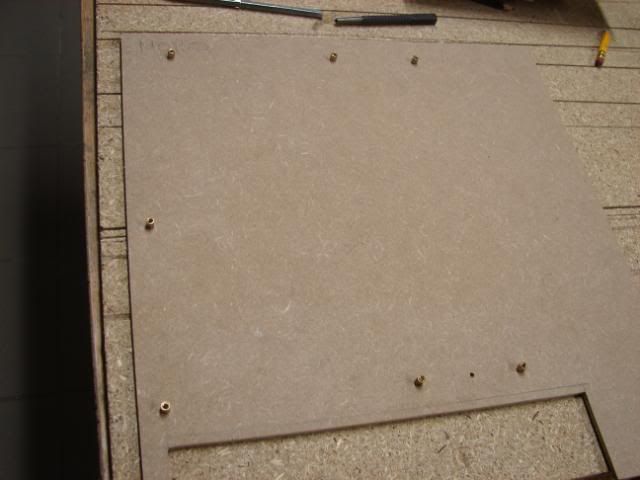
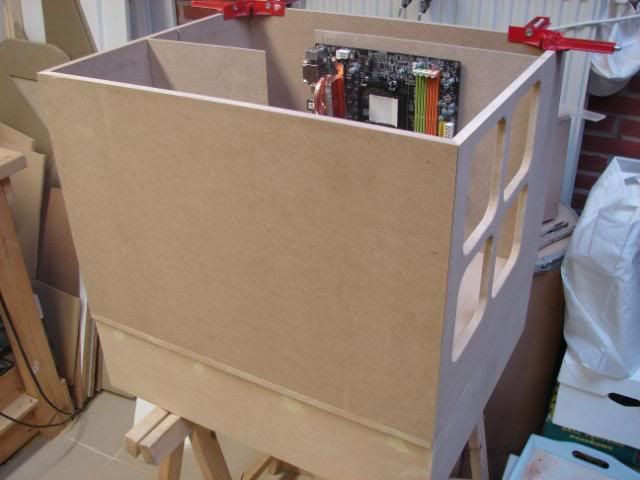
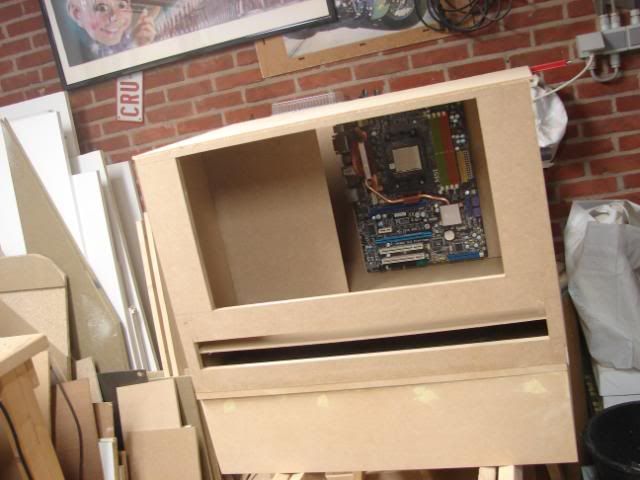
I also made the motherboard panel… and you can see that I already made some holes in that as well.
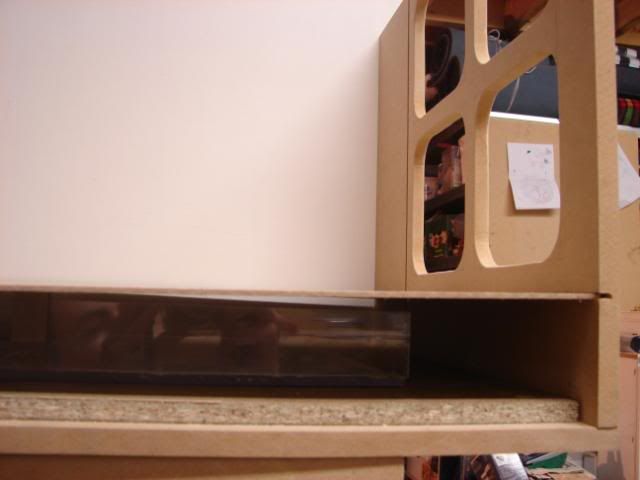
My intention is to click the panels. So they are attached to each other.
As you can see the panels fit well …
I hope to get some sponsors soon ... Yes I know there is a worldwide crisis ^^ but I really think I can work this project out very well.
Cheers
Tomcatt

That looks very good, and I love your idea. Dont worry about your english, we've got a couple of people here that dont speak much, if any english, so dont sweat.
Keep up the good work man, I love it!
and if you have no idea what you are writing use ur own language and some one will translate for us... we have bilingual people here... like me... i know english and profanities(like all canadian and usa hockey players)
hehe thx guys !
just the truth


lookin good, keep it up
Arctic Cat * Maximum Security * Cribbage Board * Rockin Case * Armor Redux
Tempest SXR * Power House * Red Comet * ICHIWZ * Acrylic Headphone Hook
Continuing sponsorship support from PCBoard.ca
Hey ! I’m back
And I got a load of pictures with me.
I think I stopped with this picture.
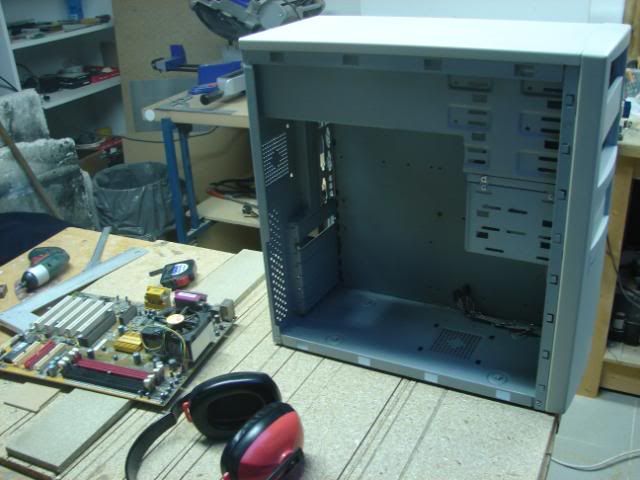
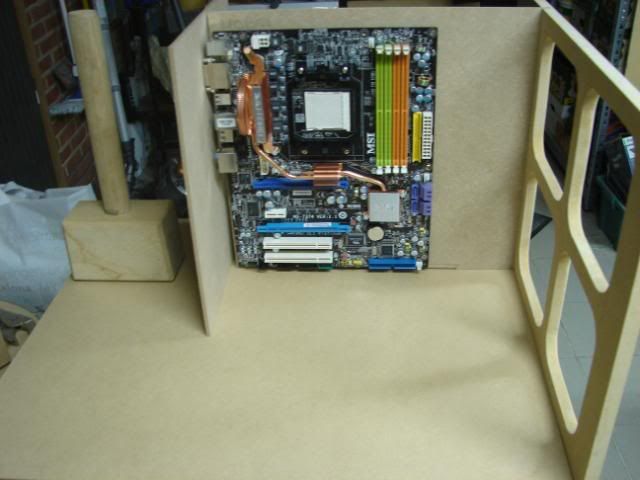
Now, I need to find myself some dimensions of an ATX mobo, and some spacers to place the motherboard.
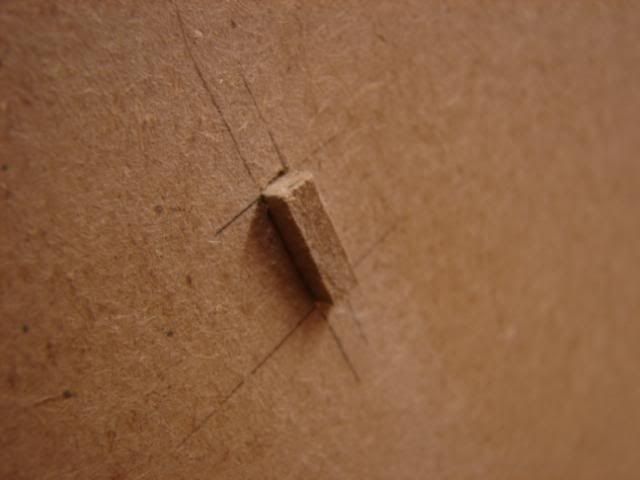
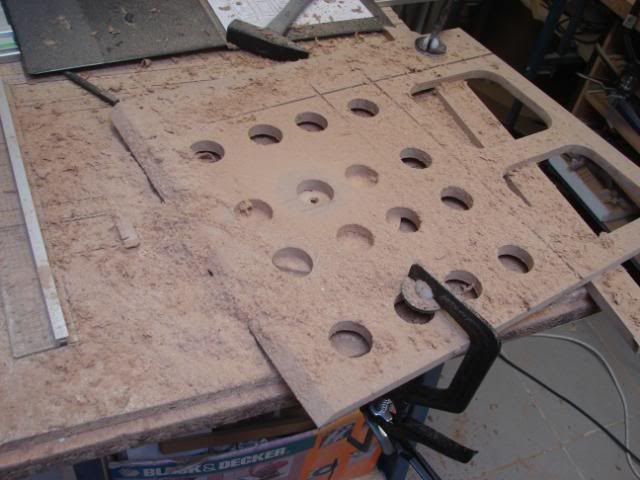
Here is our victim
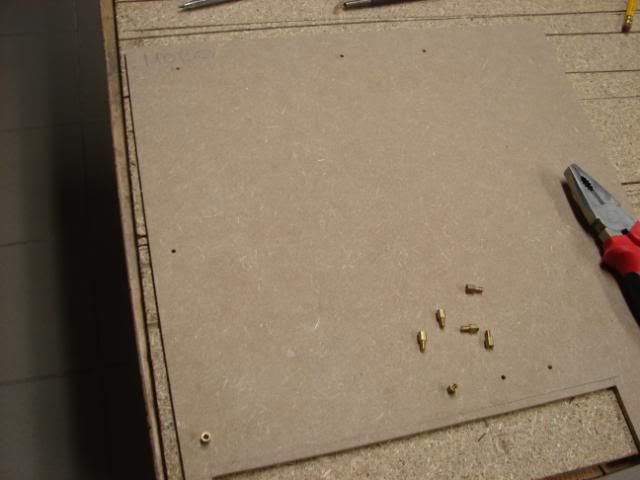
I just made holes in the wood, a little bit smaller than the spacers are. So the spacers are very steady in the wood.
http://i183.photobucket.com/albums/x...E/53699847.jpg
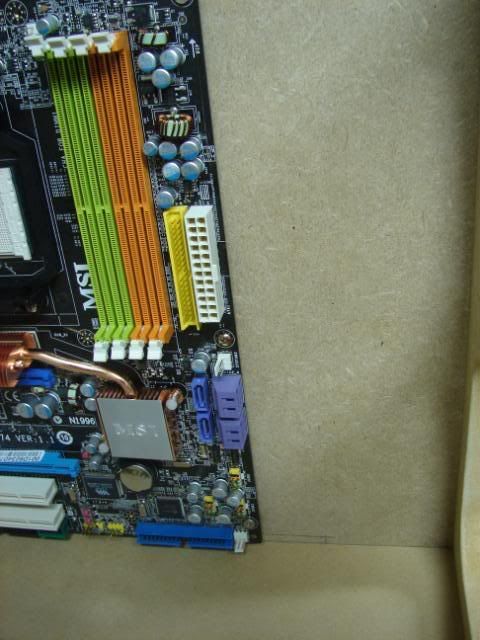
I let some space where I can put my cables. I’m going to make a hole, and then put the wires to the back of the motherboard tray.
I also got some space for my 24pins and SATA cables
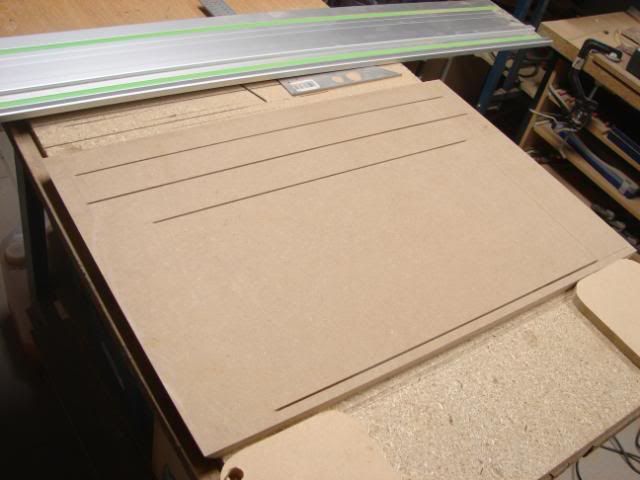
After this, I made the other panels.
I used the saw at 45°, so the panels would fit correctly.
Making the window in the front panel:
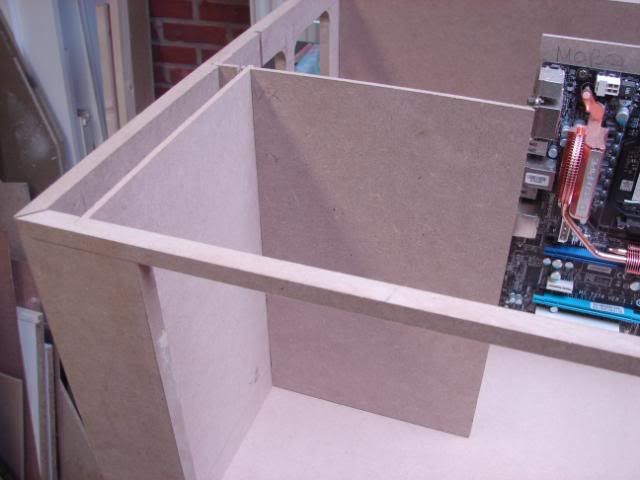
Now the other side panel.
And to finish this update… I’m going to use a “secret space between the wooden panels” … euhm, here I can put my cables so nobody can see them in the end.
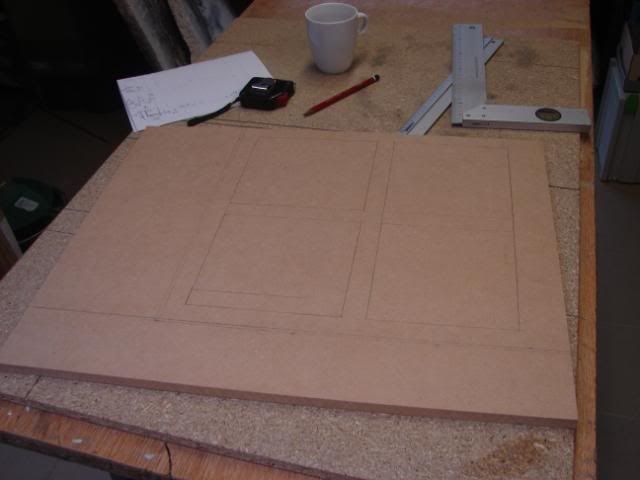
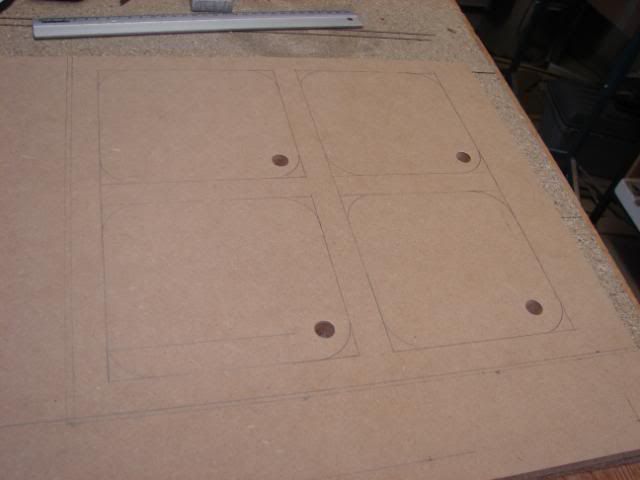
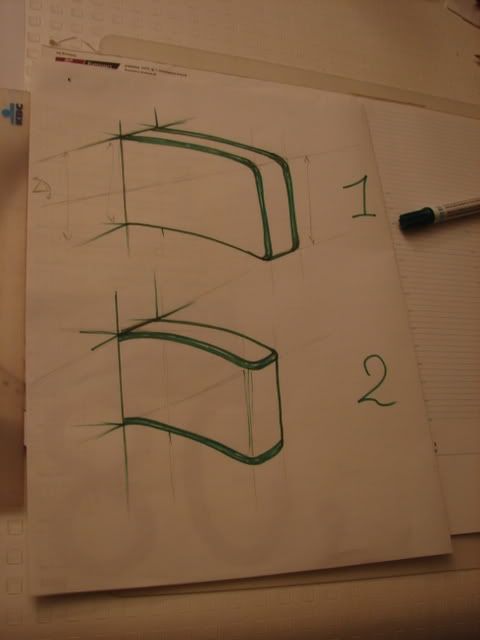
I also sketched 2 different designs for the hard disk casings.
Cheers
nice work, shes coming along nicely
Arctic Cat * Maximum Security * Cribbage Board * Rockin Case * Armor Redux
Tempest SXR * Power House * Red Comet * ICHIWZ * Acrylic Headphone Hook
Continuing sponsorship support from PCBoard.ca


Coming along very nicely, and those hard disk casings have me intrigued. +rep
"At the midpoint on the journey of life, I found myself in a dark forest, for the clear path was lost..." -Dante Alighieri
 Posting Permissions

 Reply With Quote