-
 Re: the golden sail
nice work! looks awesome. should have skipped the gelcoat and done the first layer in carbon fiber 
-
Re: the golden sail
Hello, after I had to noticed that my gelcoat-action went wrong last week, I brushed the sticky surface with polyester resin. When the resin was dry I had at first a surface that doesn´t stick anymore. The surface wasn´t indeed so smooth how I want, but it was still acceptable for me.
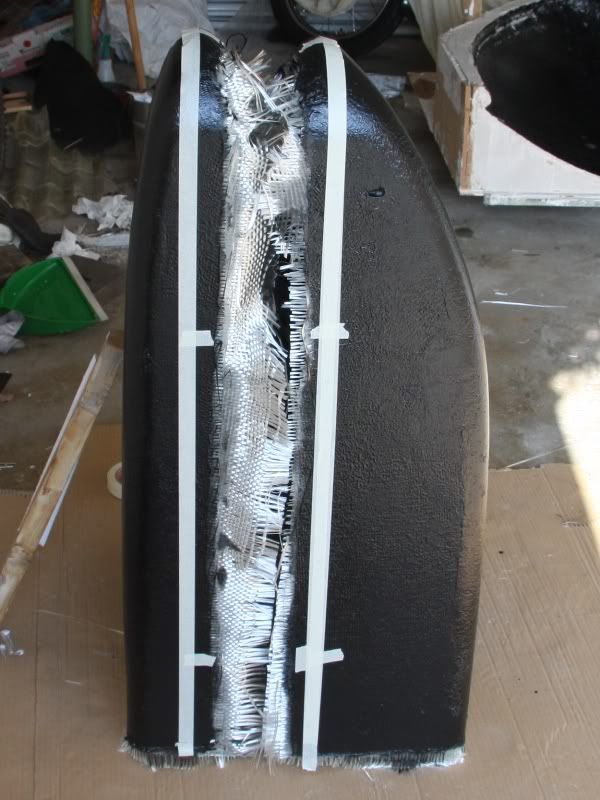
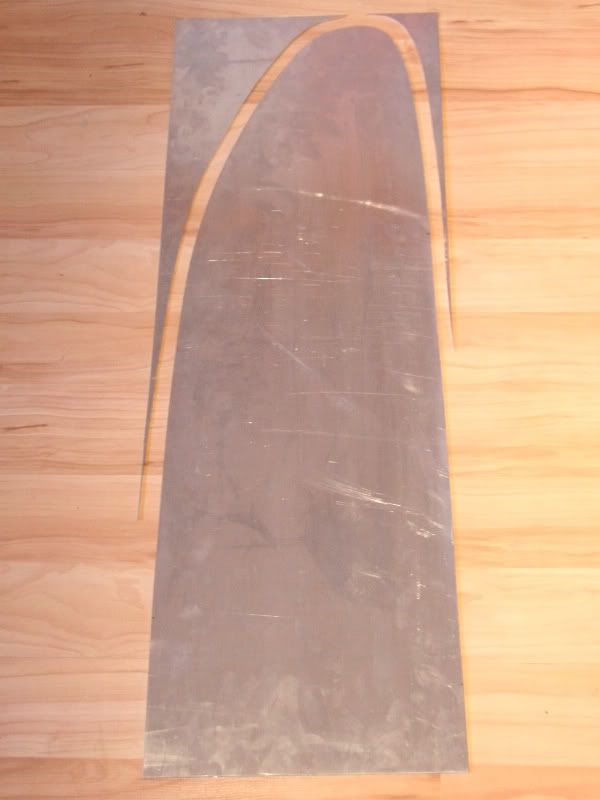
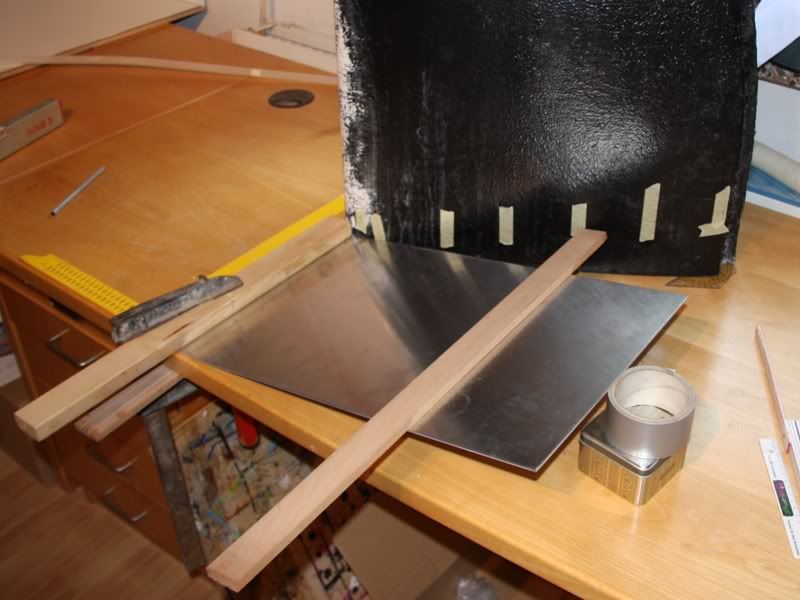
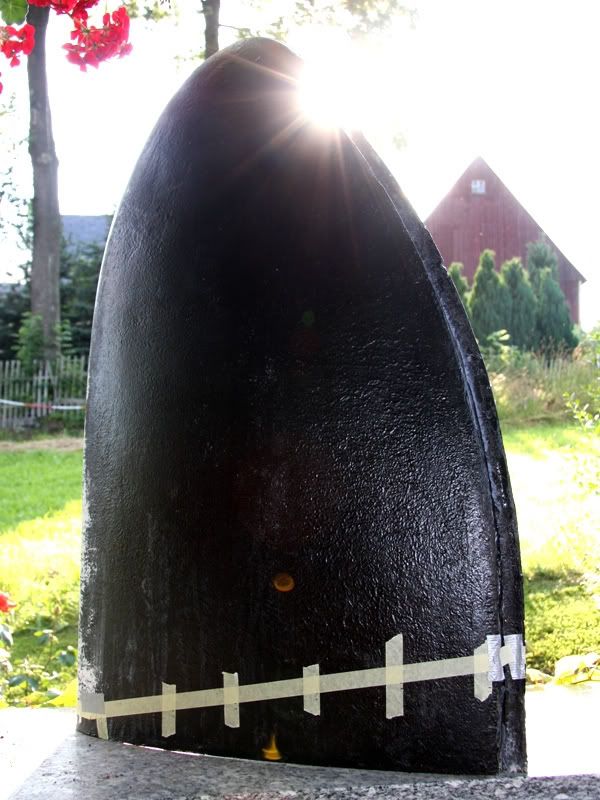
Now I could continue with working on the two forms. At first I marked the cut edges.
To get a clean edge I used a Dremel, which I got warmly from the company Dremel. At the beginning I wanted to use a angel grinder, but I´m happy that I scraped this idea
;-)
After the two form were cut I washed them.
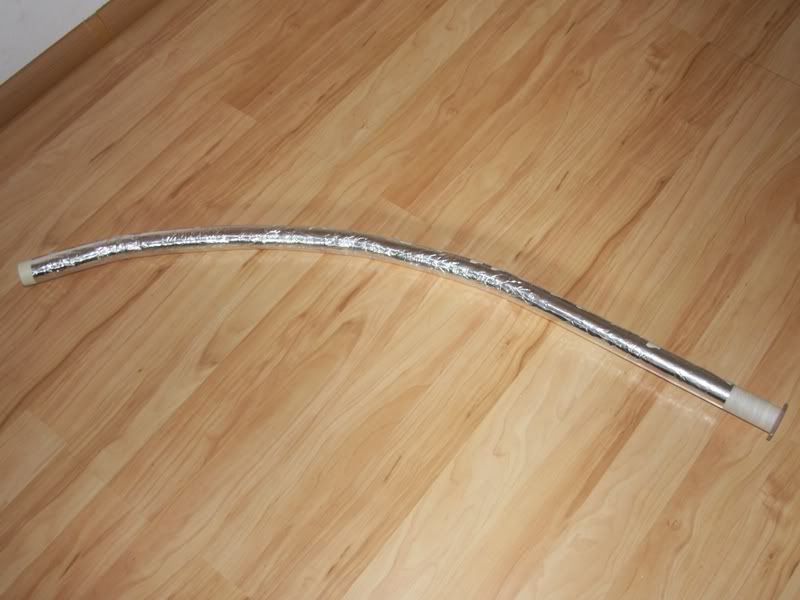
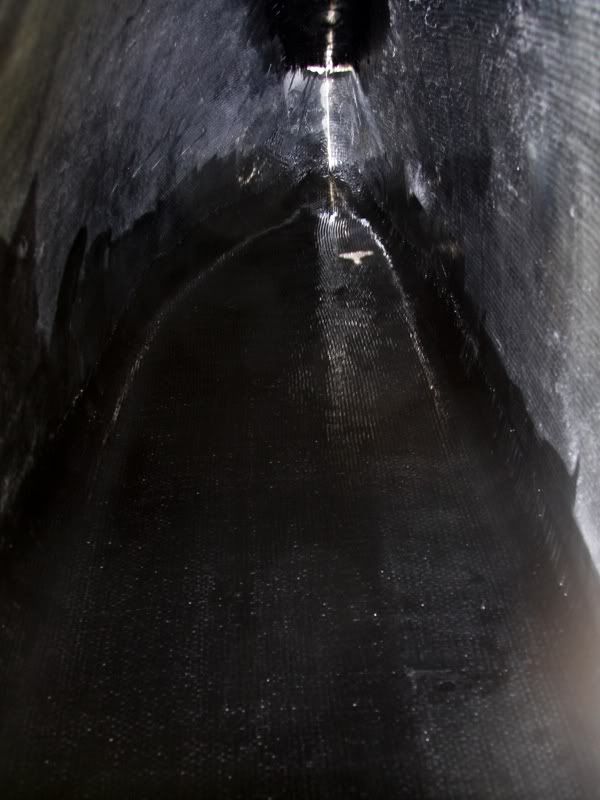
And now I stand in frontof the question how to get these two forms together to one. Beside the fact that the backside had to be completely flat it was very important, too that the tube in the front fitted exactly at the end. Therefore it was inevitable to use the tube during the glue-process. That the tube wouldn´t be damaged I wrapped it with kitchen foil.
Ready with this I could adjust the two forms. For this I screwed on the forms with the backside on a flat board made of wood. Therefore I could be sure that the backside would be really flat at the end. After this I inserted the tube a fix it with cello tape
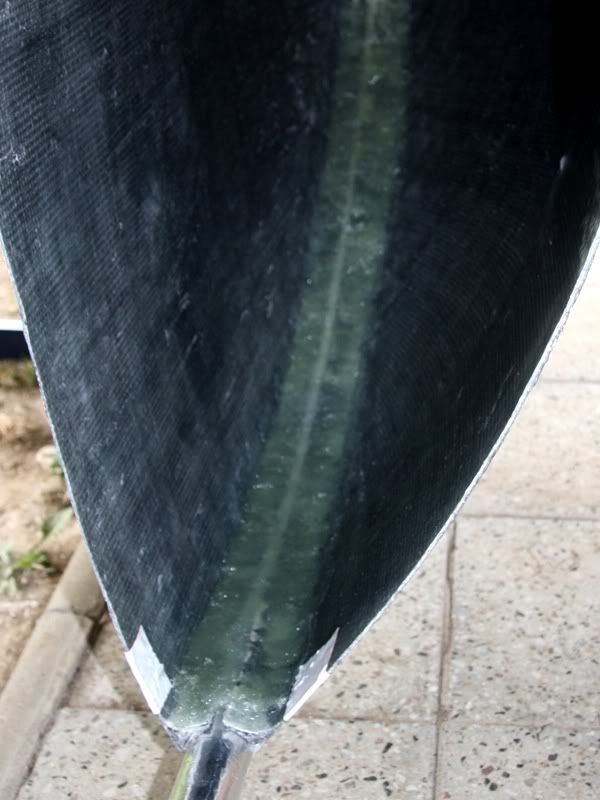
Now I turned the board with the form, because at first I would stick the front edge together. At first I laminate on layer GRP over the slot. After it was dry I touched a pulp made of polyester resin and fiberglass chips. This pulp I daubed at the inner surface of the front edge.
Over the dry pulp I laminate on layer GRP to get a smooth surface.
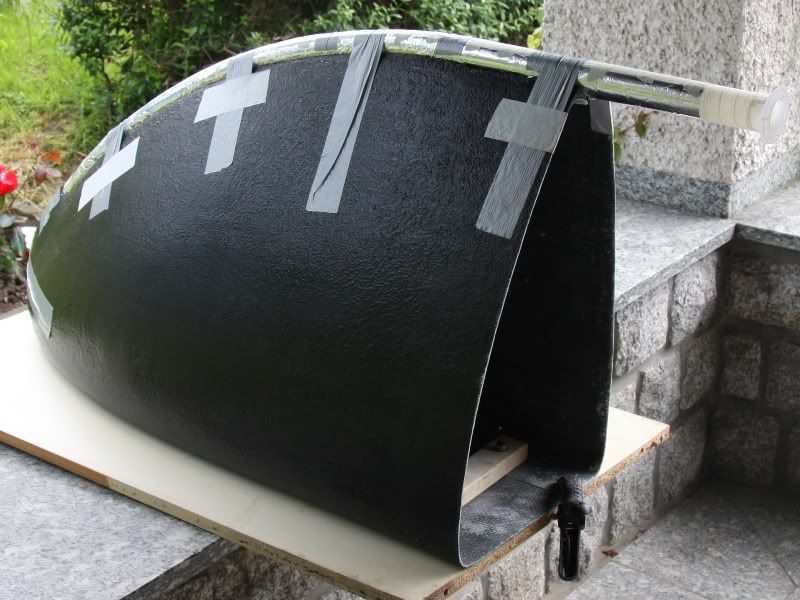
And now the sail with the tube in the front looked so.
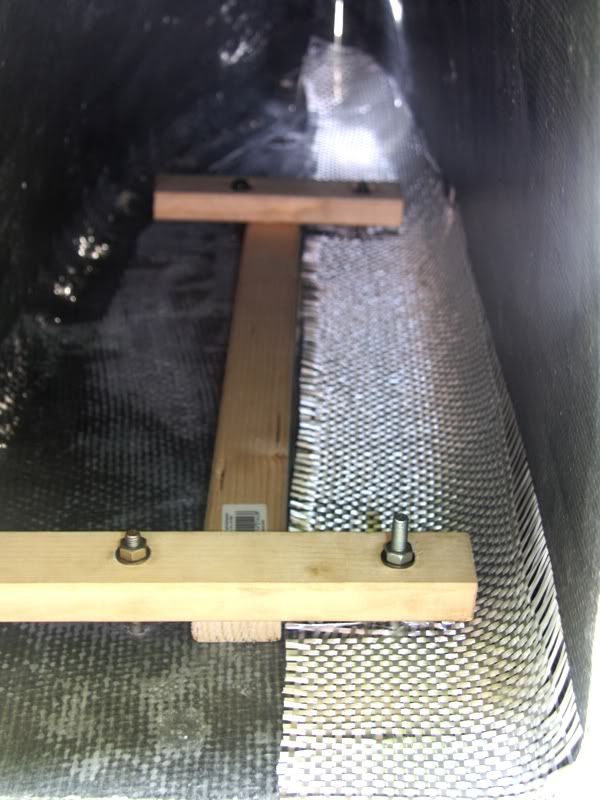
After the front edge was glued I could devoted to the backside. For this a had to change the stretch appliance, because with the first version I couldn´t glue the whole edge
Ready with this a laminate at first the right side. When the GRP was dry I could unscrew the stretch appliance, because the sail couldn´t change his form anymore. At least I laminate on thin GRP layer at the inner surface of the backside.
After the edges were all sticky a reinforced the laterals with GRP, because in my opinion they were to flimsy.
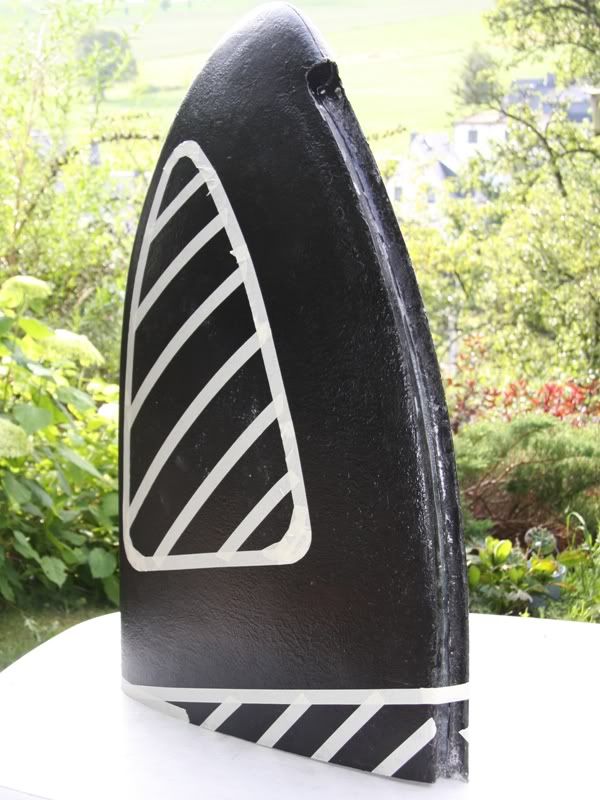
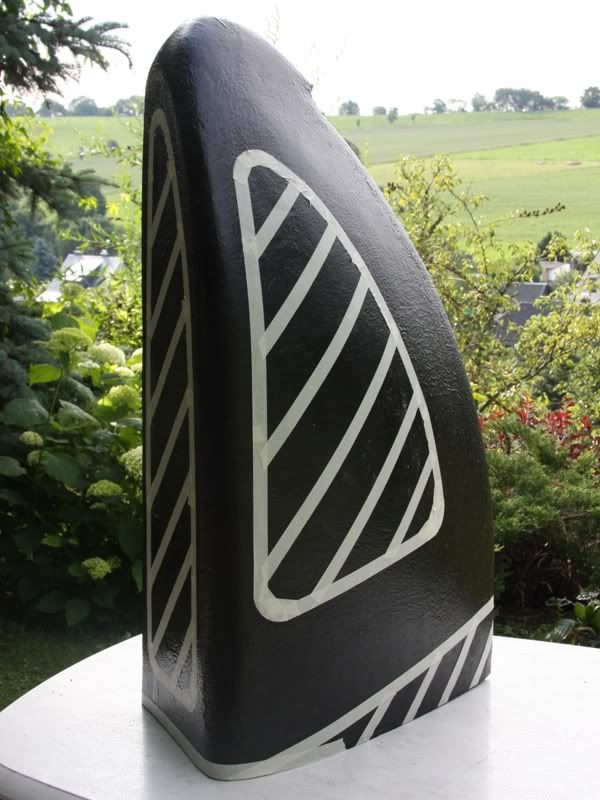
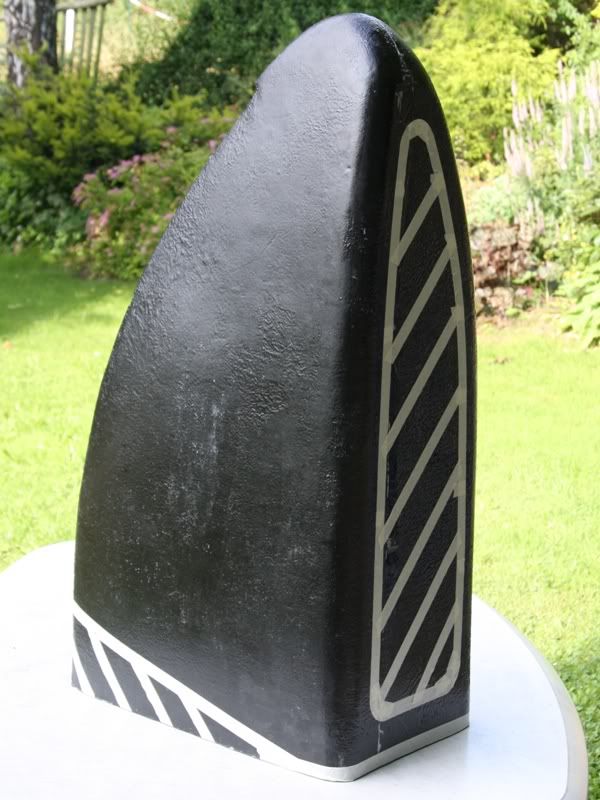
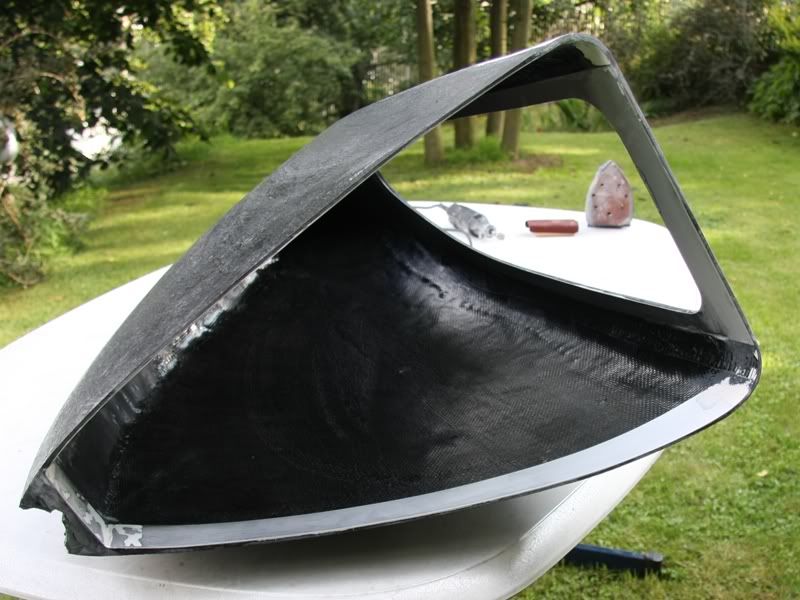
When the GRP form was solid enough I could start with mark the things I had to cut out of the form. At the following pictures you´ll see what I´ll cut out next weekend.
I´m actually really satisfied with the form and hope that I´ll have enough place for the hardware in it.
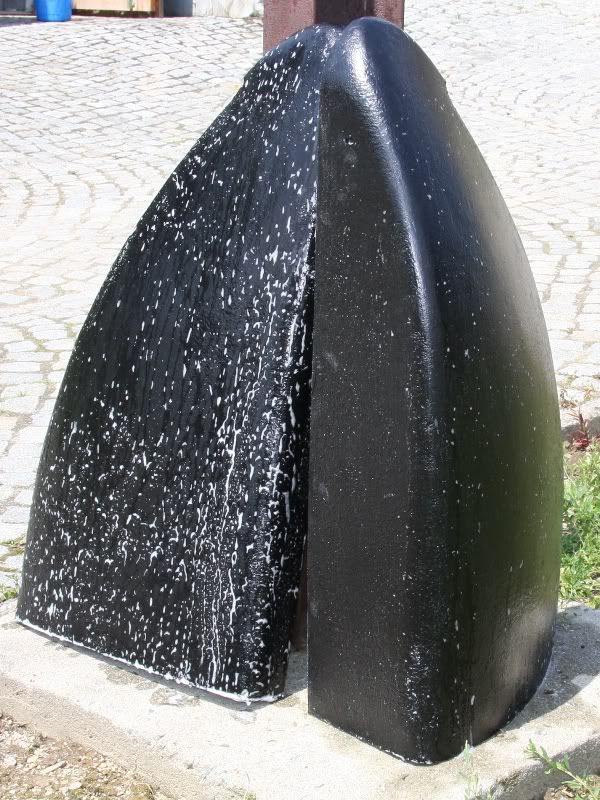
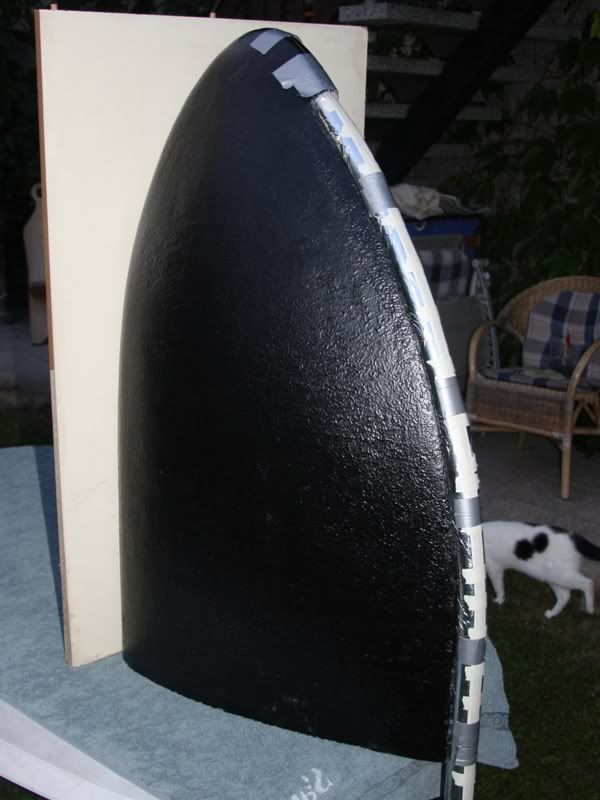
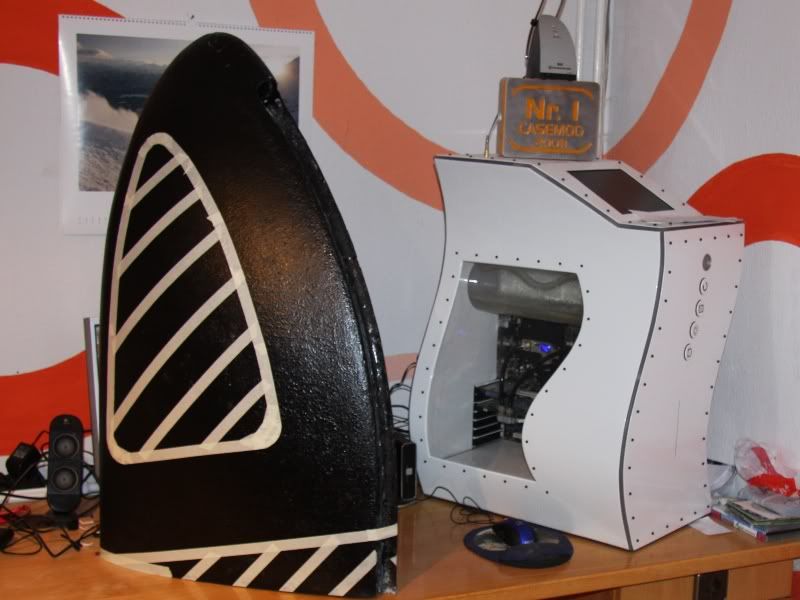
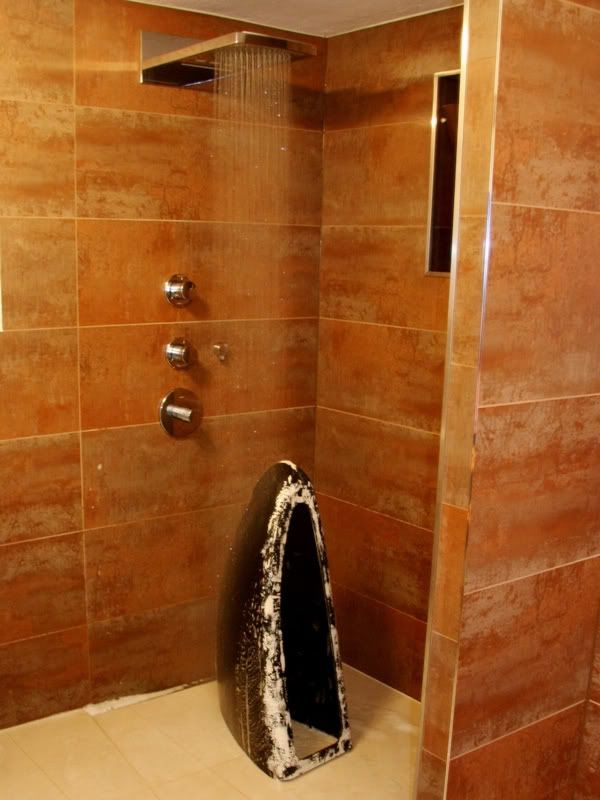
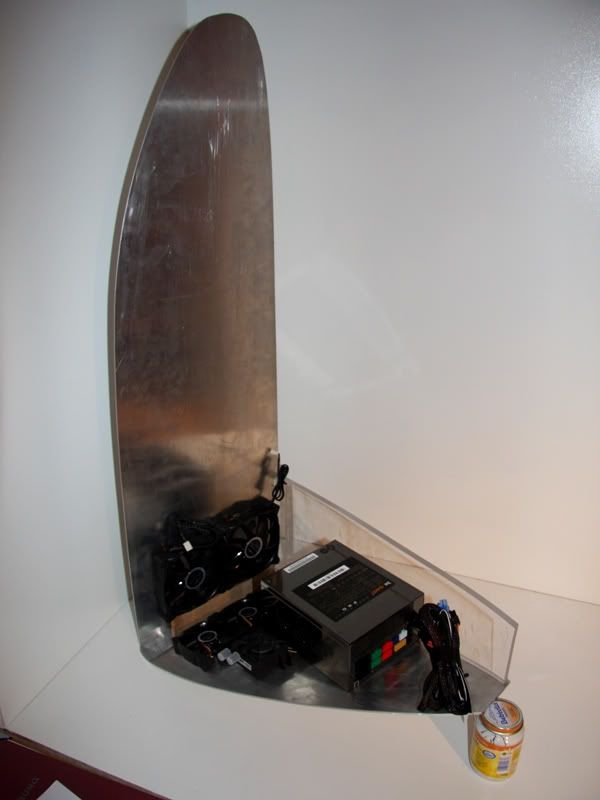
To get a better imagination about the dimension of the golden sail I put the form besides the sinecurve (a PC that I build 2 years ago). The sine curve is ca. 70cm high but how you could see at the following pictures this PC would be a little bit bigger
if you consider that under the sail will come a 7cm high socket made of high-grade steel you´ll know that the PC would be really big.
And now we are unfortunately at the end of this update
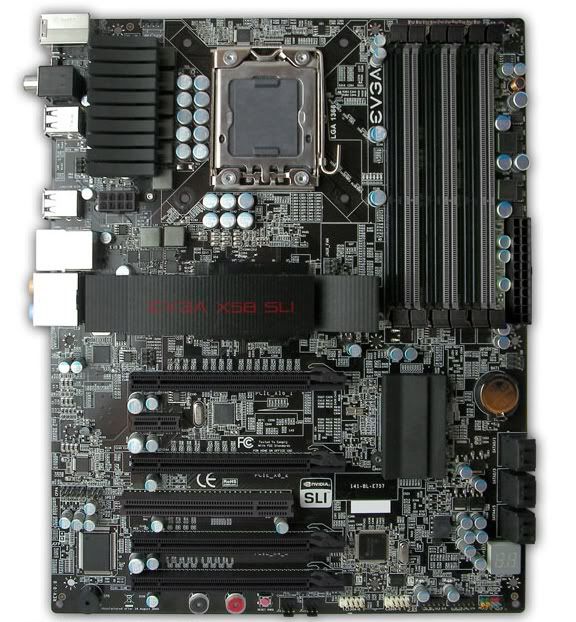
:-(. Well one little hardware news I have for you. Namely I won´t use a Asus Board, but to 95% this hot thing.
@SXRguyinMA: I think the carbon would upstage the 24 carat gold. And so the sail would be true black at the end. But maybe I´ll use carbon in one of my next cases
;-)
-
Re: the golden sail
looks awesome  nice job!
I used carbon in my rockin case project...speaking of which I need to finish that thing lol
-
Re: the golden sail
So after the weekend is over it´s time for a new update.
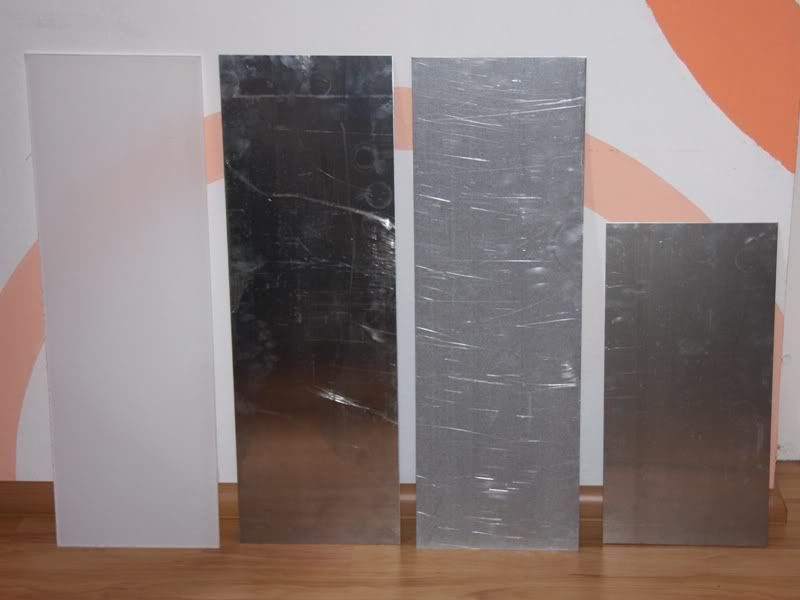
The weekend started with a small but mighty consignment of aluminum and Plexiglas
That´s 8mm Plexi and 3mm, 2mm, 0,8mm aluminum.
The 0,8mm aluminum I used to get a really plan surface at the inner side of the backside. I know another alternative was to grind the GRP, but I thought it would be too troublesome and inaccurate.
After I took the measurements from the GRP form I could start with cutting out the aluminum, and after with filing and grinding.
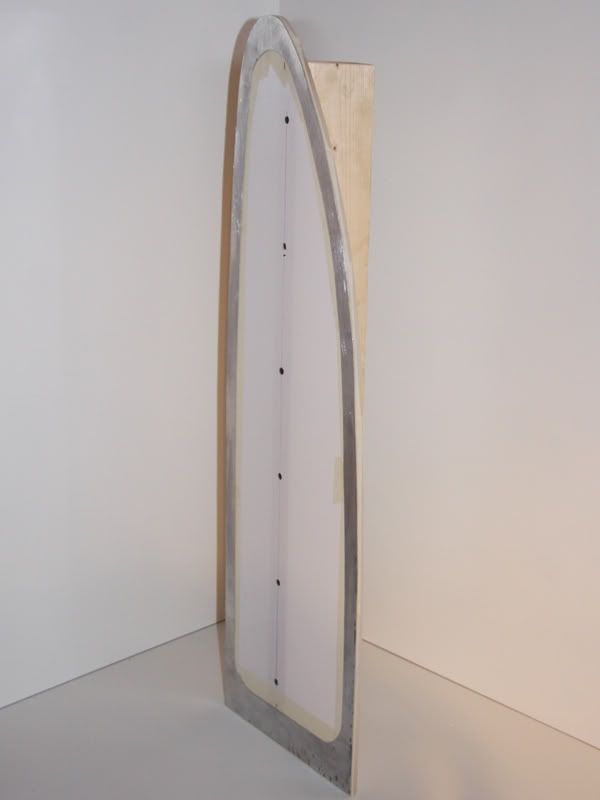
Ready with this I could bother one´s head about pasting the instable 0,8mm frame made of aluminum at the GRP really plan.
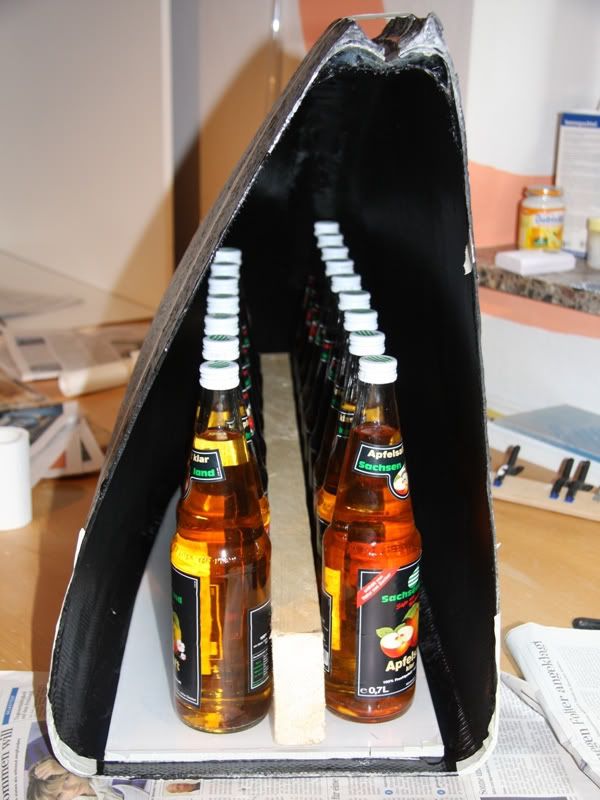
At the end I decided to glue the frame at the 8mm Plexiglas plate, but not absolutely secure, because after the glue was try I had to remove the Plexiglas plate. Moreover I screwed on the plan piece of wood at the Plexiglas to get a better handling and any more stability.
To stick on the frame exactly I marked the position at the GRP and then I brushed polyester resin on the GRP. Than the resin was everywhere, where it should be I pressed the frame with the Plexiglas and the wood at the resin and ballasted it with juice bottles.
After the resin was dry I removed the Plexiglas plate with the wood. This proceed without any problems. Now I could start with cutting out the hole in the Backside with the aid of a Dremel.
To get an accurate edge I treated it at first with a file. Unfortunately the aluminum frame removed at two sites during I worked with the file. Because of this I put it away a take my Dremel. At the following picture you see the big hole in the backside after I had grinded it.
How you could see, too, I started with filling the radii at the backside.
After the hole was nearly perfect I could started with Plexi plate. This plate is for the lightning of the backside. At first I cut a hole that was 8mm smaller than the hole in the backside in this plate. The 8mm at each side I needed for shaping a 8mm radius on it.
In the outside of this plexi frame I´ll bore about 100 holes for LEDs in it. I know 100 LEDs are a lot of, but I needed so much, to get a very consistent lightning.
After the Plexiglas was adapted I could start with the 2mm aluminum plate that should be the back panel of the case. At first I cut it out and filed it that I adapted exactly.
In this alumium I´ll bore a lot of holes (>100) through that the hot air from the case will stream out. Moreover I´ll cut and file the holes for the mainboard blind and the slot blinds.
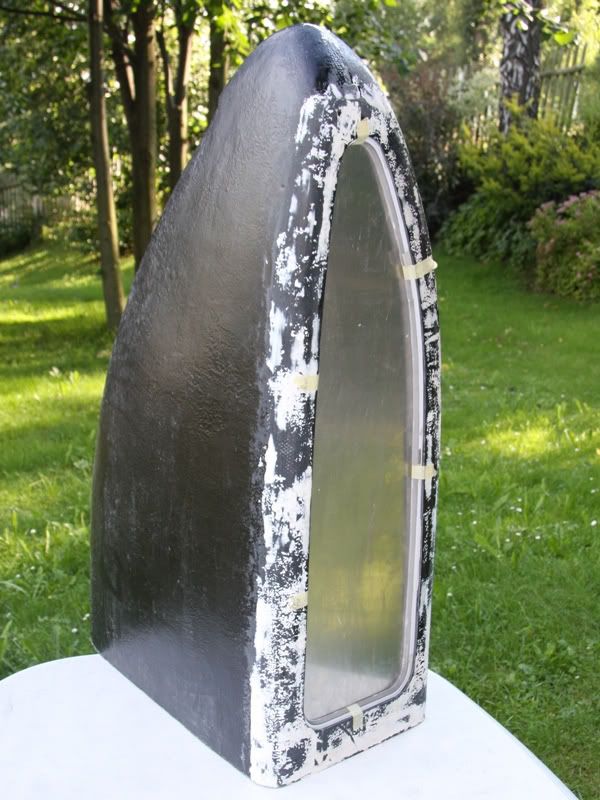
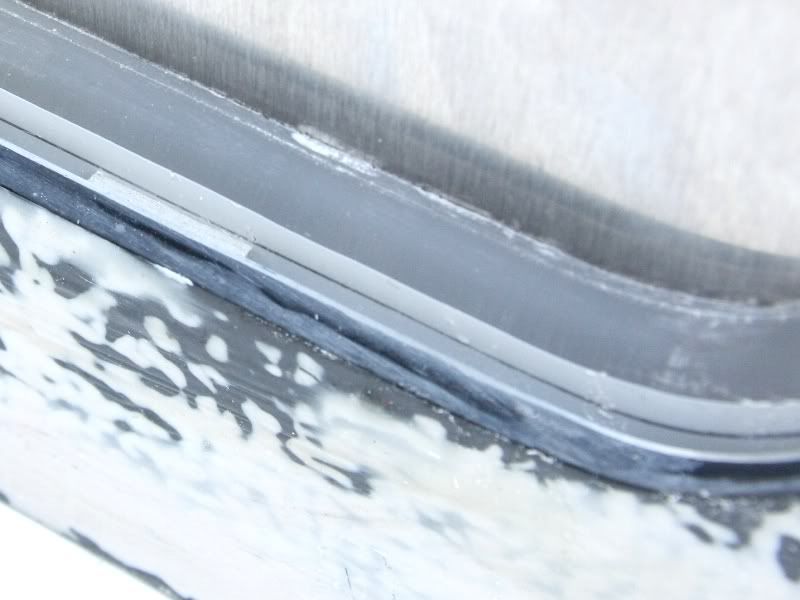
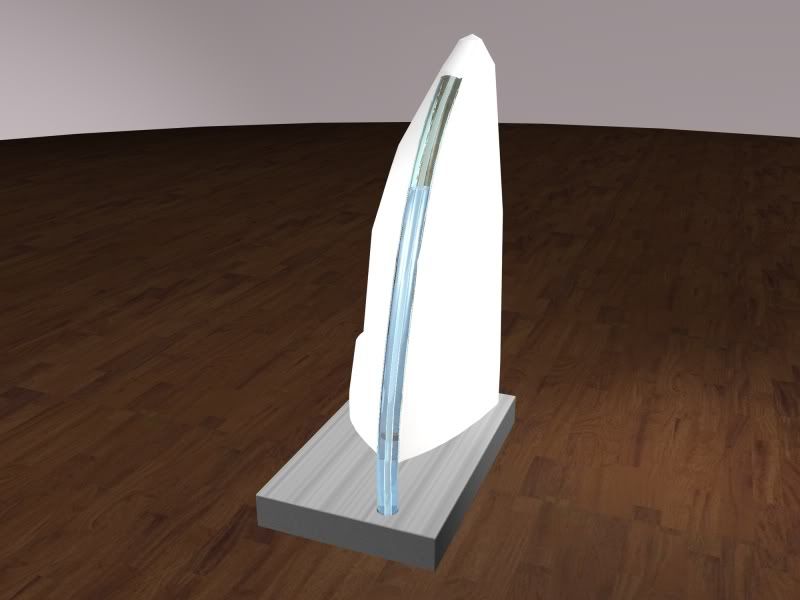
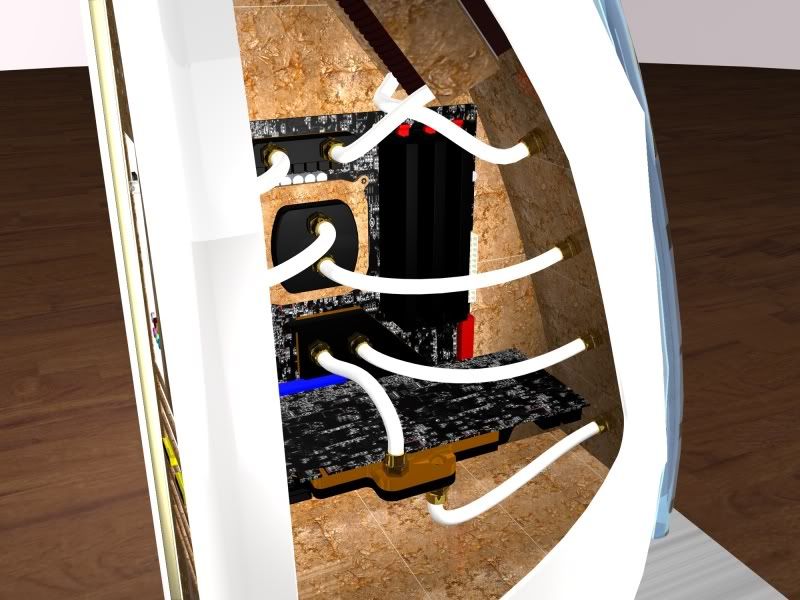
At the following two pictures you see how the backside will look at the end
At first it´s to say the radius at the Plexiglas isn´t final, that means I´ll grind it exactly later. Additionally the piece pasteboard that is between the GRP and the Plexiglas will be replaces by a frame made of black cellular rubber with a diameter of 2mm. That rubber will equate irregularities of maybe to 0,5mm, I hope.
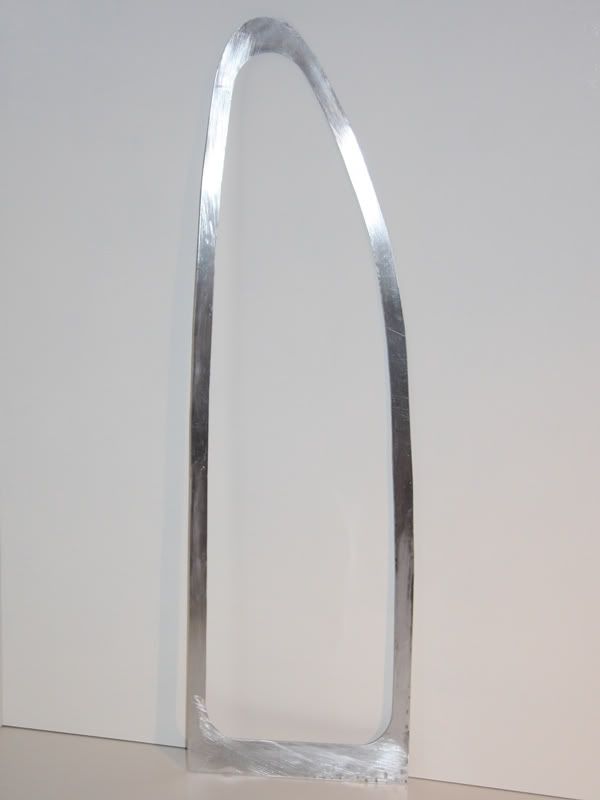
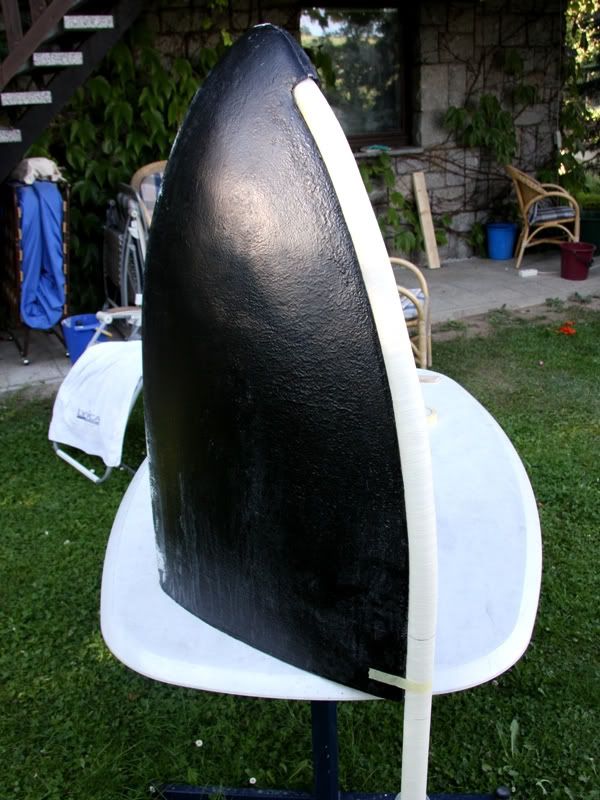
Well and now we are unfrortunately at the end of this update. At least I´ve a picture for you that shows the GRP from with the tube in the front. I hope I´ll have enough time the next weekend to adapted the tube exactly with surfacer to the GRP form.
-
Re: the golden sail
lookin good my friend, lookin good
-
Re: the golden sail
looking very nice !! love your work
-
-
Re: the golden sail
looks great 

Originally Posted by
Drum Thumper

you tease!
-
Re: the golden sail
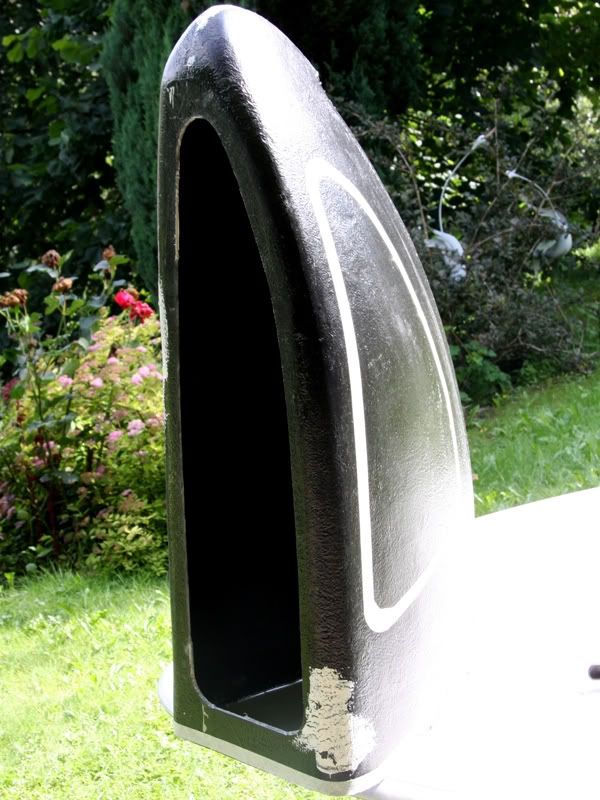
Well a little bit late the update for the last weekend, but better late than not at all.
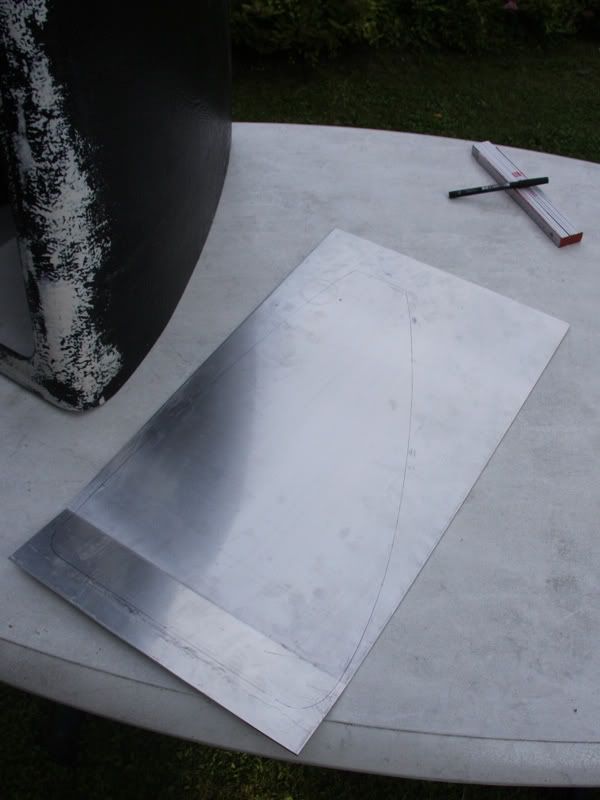
Last weekend I started with chamfering the aluminum for the bottom. After this I marked the angel from the aluminum plate to the GRP form
I bend at first the aluminum and after I marked that angel to the form, because it´s easier to cut the GRP form in the right angel, than bending 3mm aluminum in the right angel.
Ready with marking the angel at the form, the form looks so.
Now I could crop the wedge with the Dremel. Certainly the cutting edge wasn´t perfect after cropping. So I had to file and grind the edge, but the rework wasn´t really much. During I cut and grinded the form a lot of swarf dropped at the form. This swarf wasn´t really good for the next work stages so the GRP form got a hot shower.
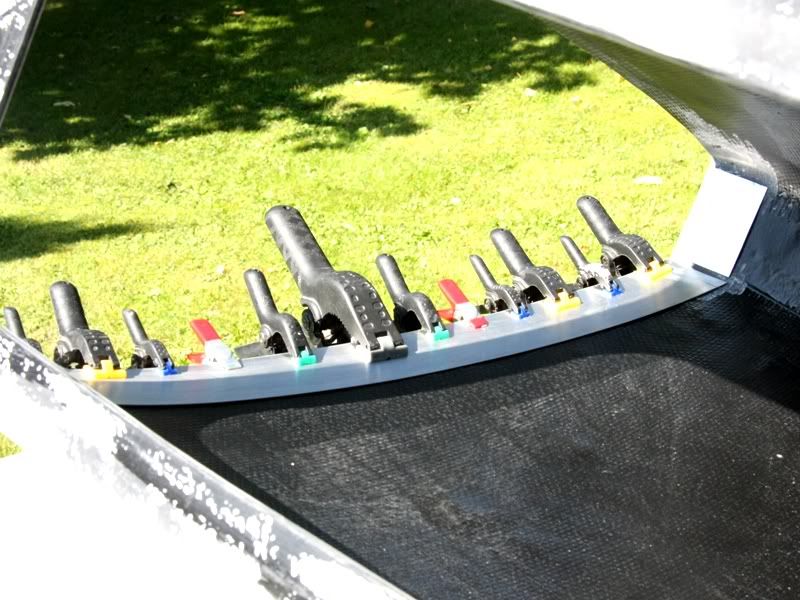
After the form was clean I could reinforce the cutting edges with a 0,8 aluminum stripe. Certainly I did it after cutting and not before like at the backside. Moreover I didn´t use polyester resin to stick that stripe at the GRP, but Rotabond 2000.
Thant he Rotabond was dry after 3 hours I could fill the interfaces with surface. I know, nobody would see this after the PC is ready, but my aim at this project is to make it nearly perfectly.
Now I could work again at the aluminum bottom plate, because the plate was indeed bend but not cut into dimension. So I put the GRP form with the aluminum stripes at the bottom plate and marked the dimension with a pen on it.
After cutting and grinding the plate fitted exact at the first dry. Unfortunately to exact, because after vanishing the case it wouldn´t fit, so I grinded of everywhere a little bit more.
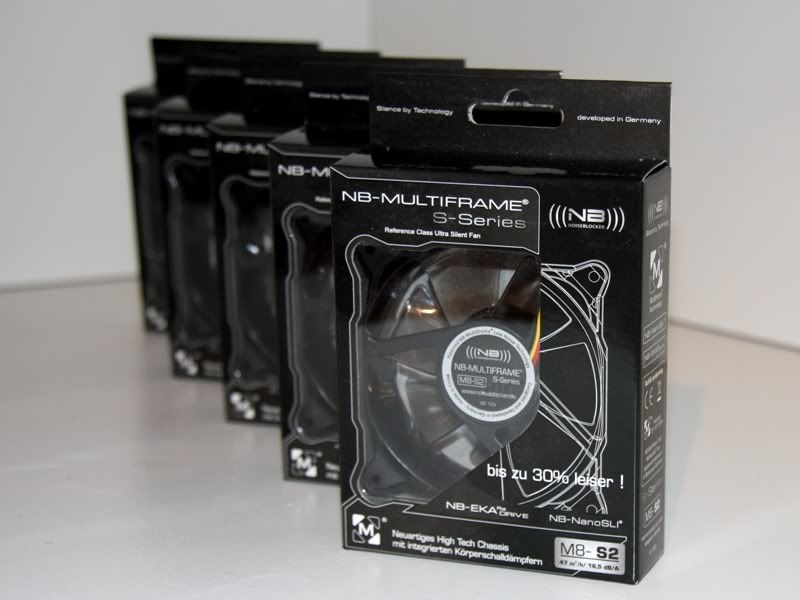
Ready with the aluminum plate for the bottom I could give thoughts to the things that will come at the bottom and above all where. For this I took at first the Noisblocker Multiframe MF8 S2, that I got warmly from the company Noisblocker.
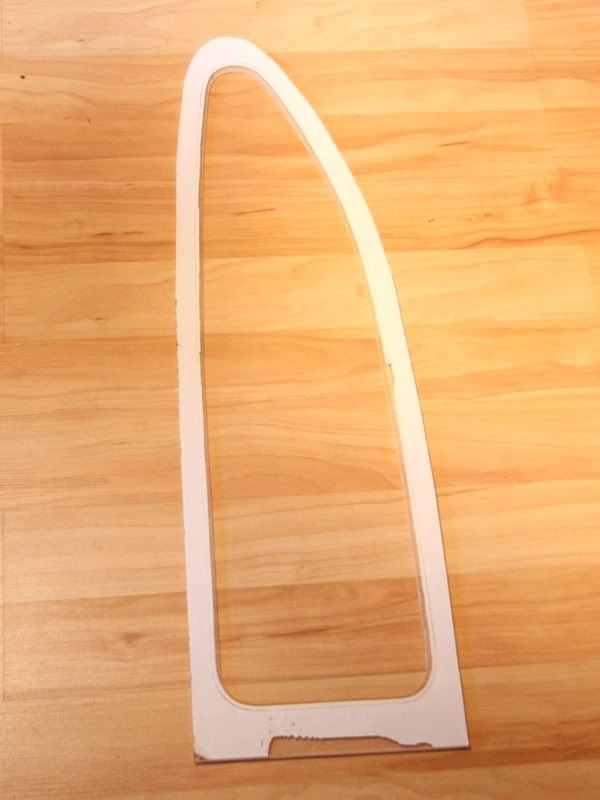
These fans I put at the plate to see how many place I´ll have at the end, because beside the 80mm fans 2 Multiframe MF12 S2 fans, 2 Freezone Elite radiators, one Laing DCC Pumpe, one be quiet Dark Power Pro 1000W PSU and maybe some other things had to find place their place at the bottom. Because it isn´t really little I decieded to make the inner bottom a little bit higher to 20cm. Because of this the window will have following measures that you could see at this picture.
With the final measurements in my head I thought to the problem how I´ll fix the inner bottom that you could see at the end through the window. Moreover the back panel had to be connected with the bottom, and this exactly in a 90° angel.
Because I thought a lot of you wouldn´t understand my explanation here 2 pictures.
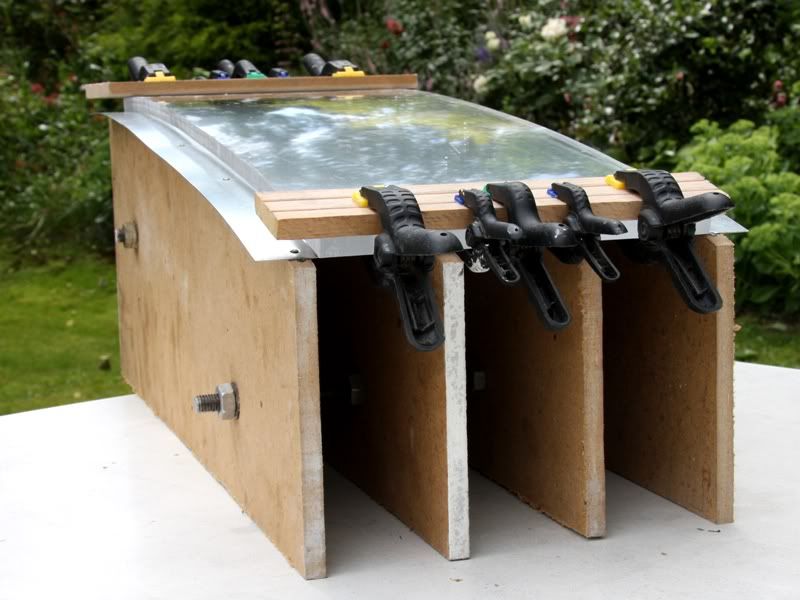
Here you could see the 10mm plate made of Plexiglas, that I heated up in the oven to 185° and after it was really hot and soft I bended it over a form.
After the Plexiglas was bended I cut it and grind it. Than the Plexiglas fitted perfectly I screwed it with M3 screws at the bottom.
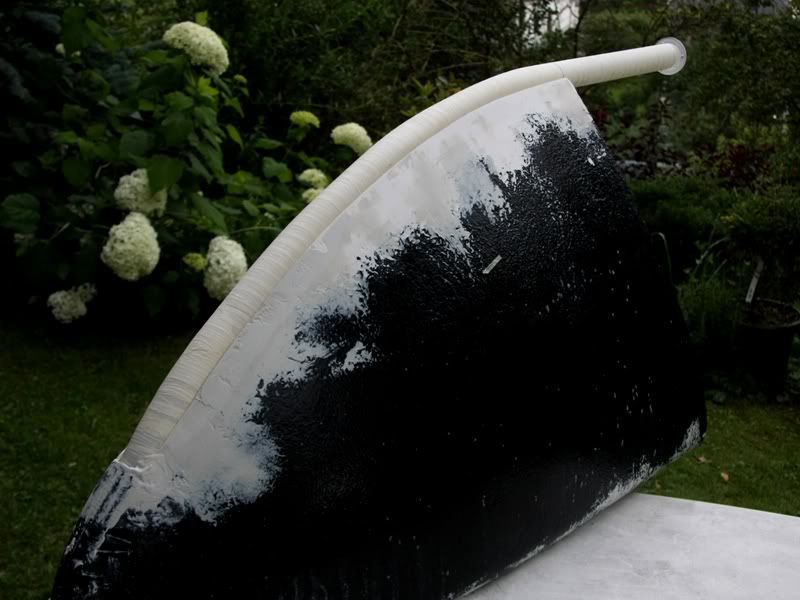
Naturally this wasn´t all I made the last weekend, because I started with adapting the tube in the front exactly.
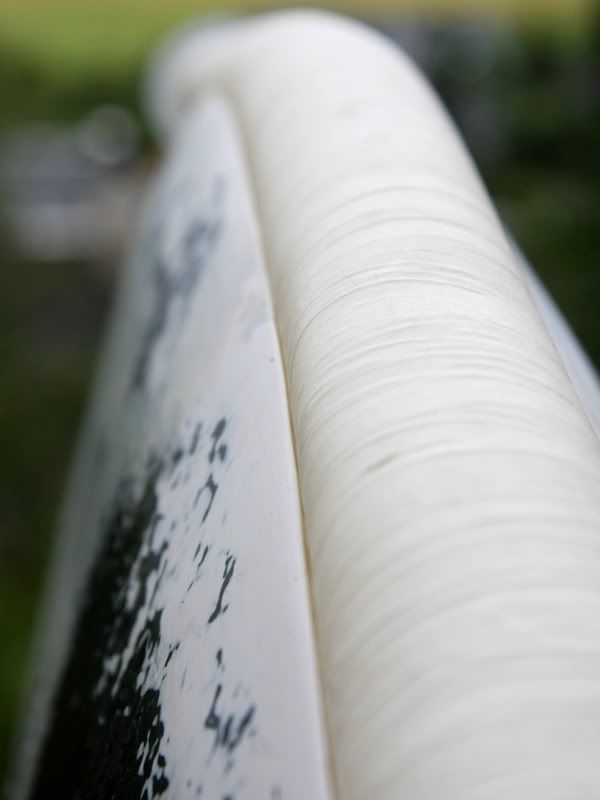
For this I wrapped the tube with baking paper and after I pressed the tube into surfacer that I put before in the immersion at the front. Additional I filled the sides with surfacer and after it was dry I could started with grinding. In my opinion the result is quit good.
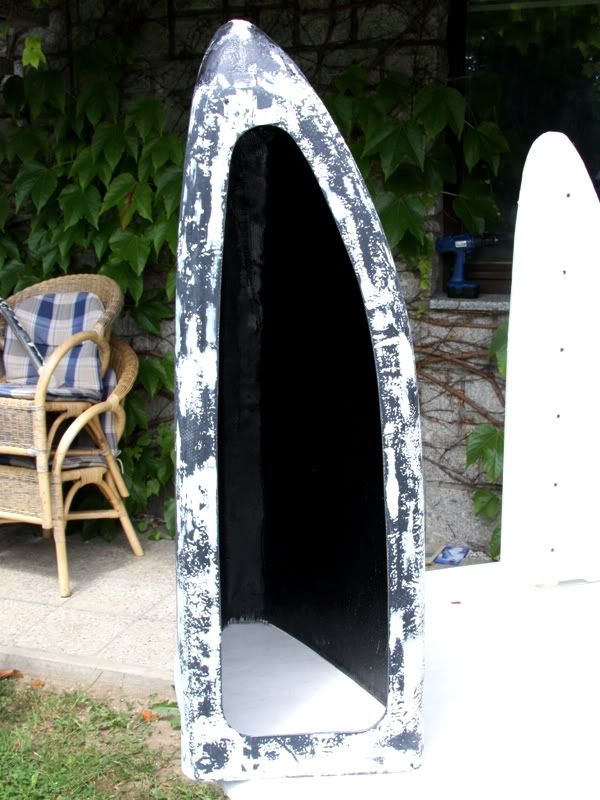
.
Maybe some people noticed at the last two picture that the white surfacer looks better than the black GRP, not only that the surfacer is really smooth in contrast to the GRP. In my opinion the color white is really impressive. Because of this I decided to varnish the case white instead of black.
In my eyes the sail get´s a optical lightness with the white color. And because the sail is still really big for a PC the lightness is good for the general impression at the end.
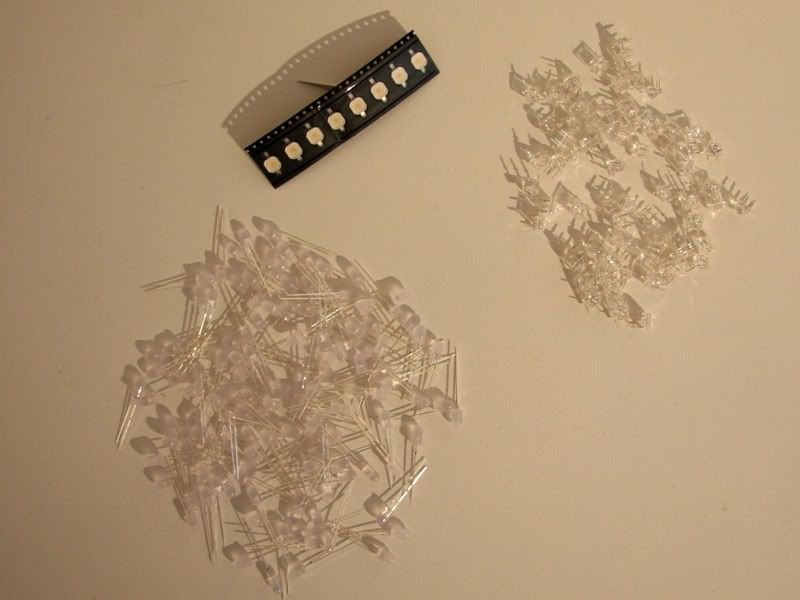
Last week I got also a package from PUR-LED with the following content
120xwarmwhite diffuse LEDS, 8x3W Power LED Samsung warmwhite and 70x Superflux LED warmwhite . For this big THANKS again.
-
 Posting Permissions
- You may not post new threads
- You may not post replies
- You may not post attachments
- You may not edit your posts
-
Forum Rules


, this is going to be fantastic, very original work
.


 Reply With Quote