lol thanks Drumthumper!
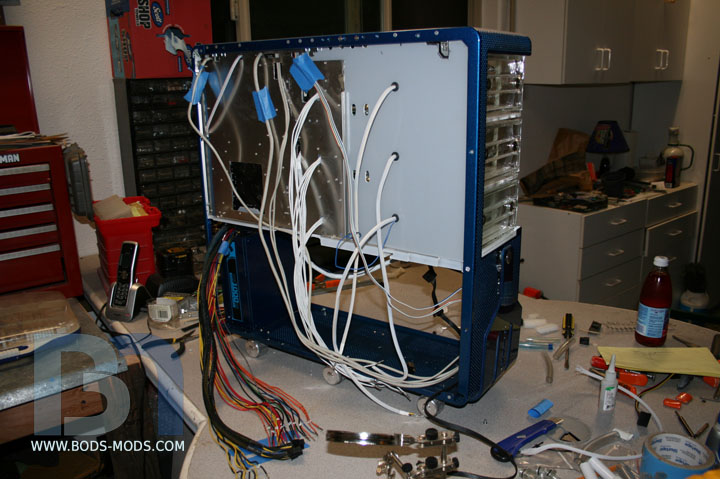
Welcome to my cabling nightmare!
I've been cabling for the past two weeks and I'm now officially SICK of cabling! lol
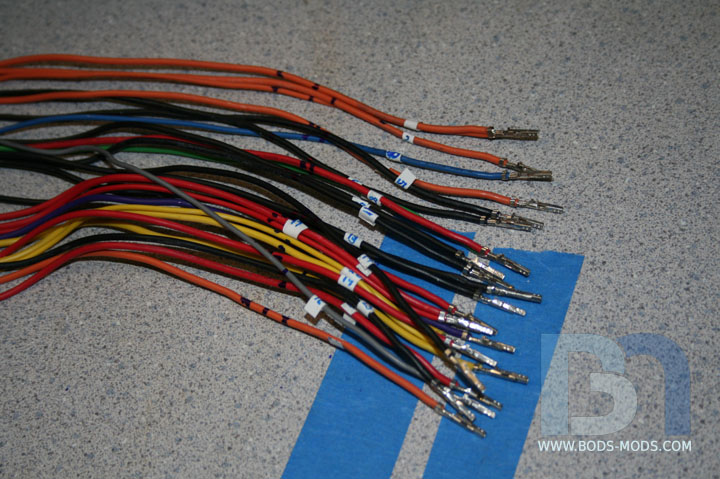
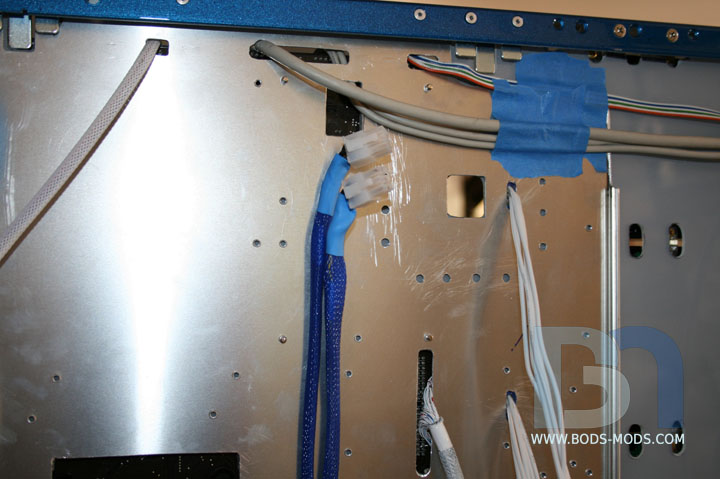
Here's what it looked like a few days ago, as I was just starting the arduous task of shortening the ATX cables.
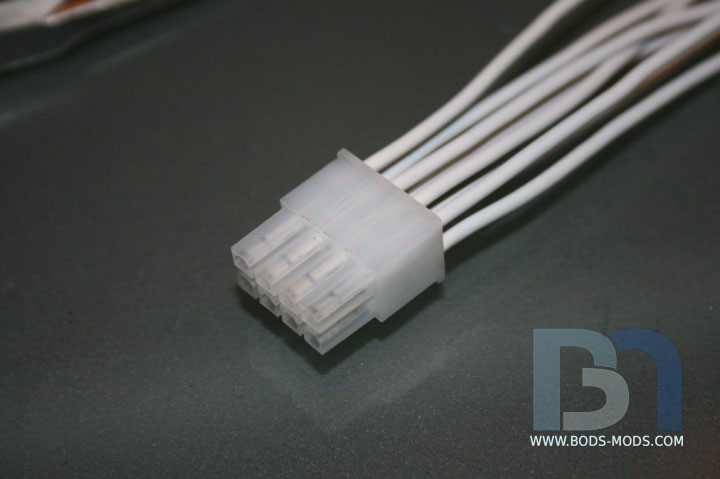
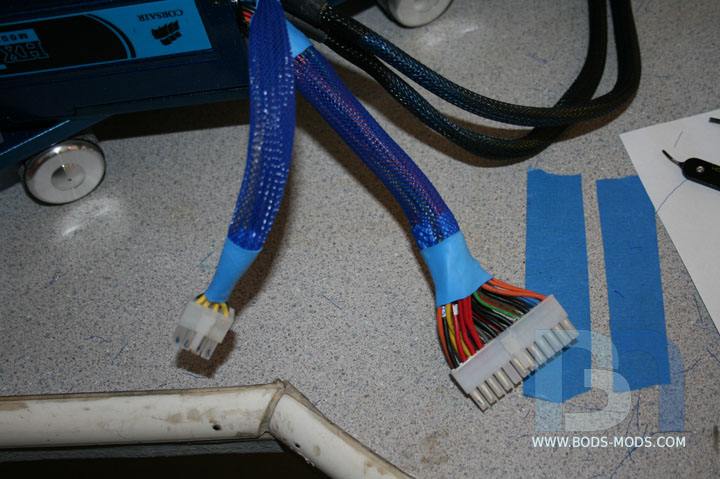
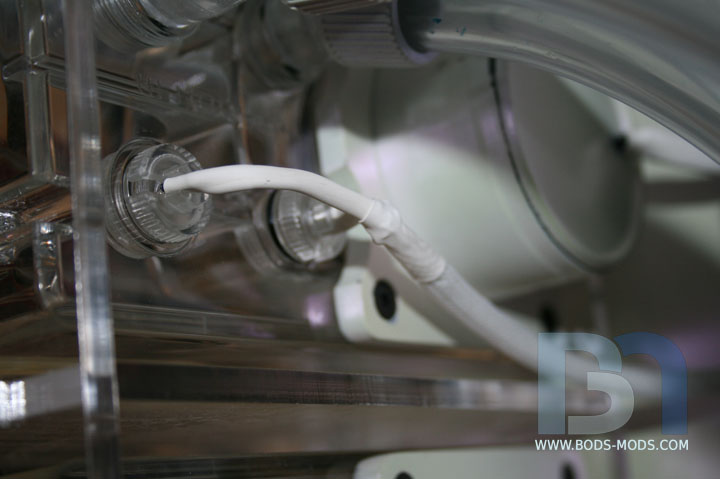
Not sure if I showed this before, but it's the 8pin cable extension I made using white wires.
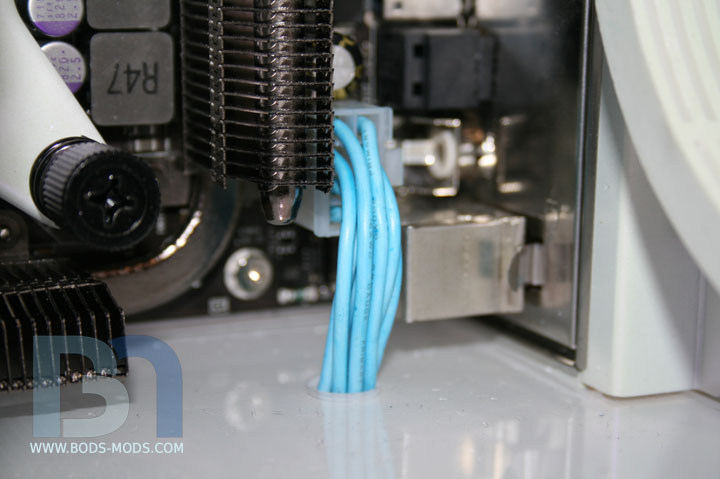
After coloring and installed through the floor.
Getting back to the ATX cable, I stuffed each color group through separate holes in the floor. Not as clean as I
would have liked, but it will have to suffice. I had originally intended on sleeving them with clear tubing to mimic
the watercooling. But it just didn't look right. I need some kind of triple boot to cover the end of the hose at the
connector. But that's for another update, I'm done messing with it for now!
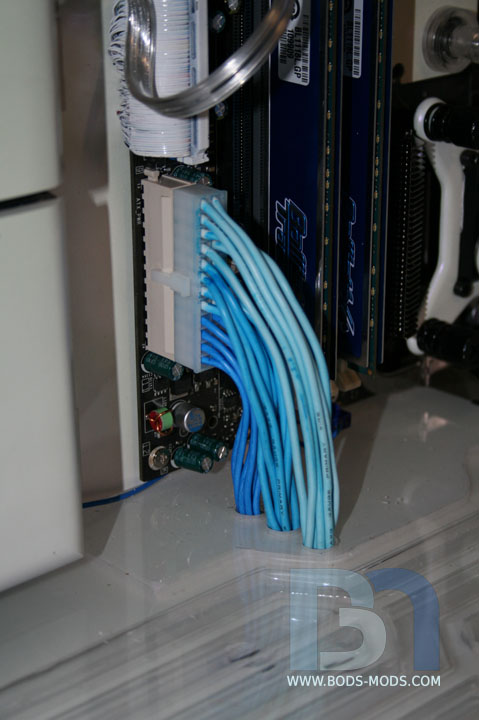
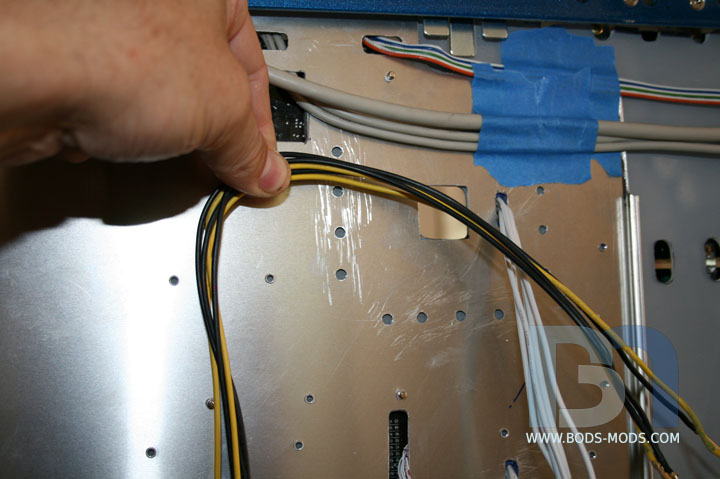
So after the wires were through the floor, I could put the other connector end on. Then I could measure and shorten the
cables from the psu.
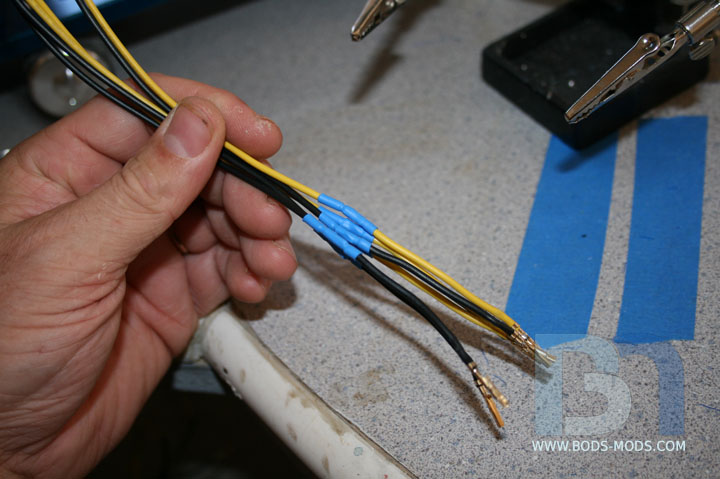
Instead of cutting and putting new pins on each wire, I opted to just cut out a section of wire out of the middle and solder
them back together. I put the connector back on after sleeving it. I did the 8-pin cable as well.
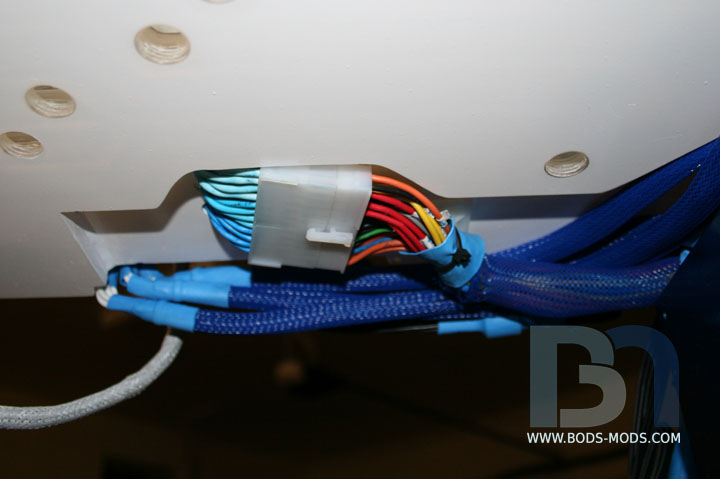
Here's a shot from the underside to show the connection. You can also see the recess in the floor to accommodate all the cabling.
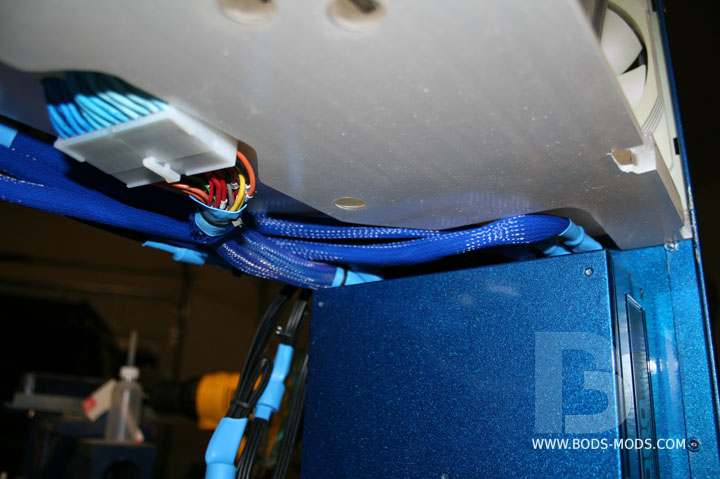
The cable recess from a slightly different angle. You can see the PCI-e cables as well.
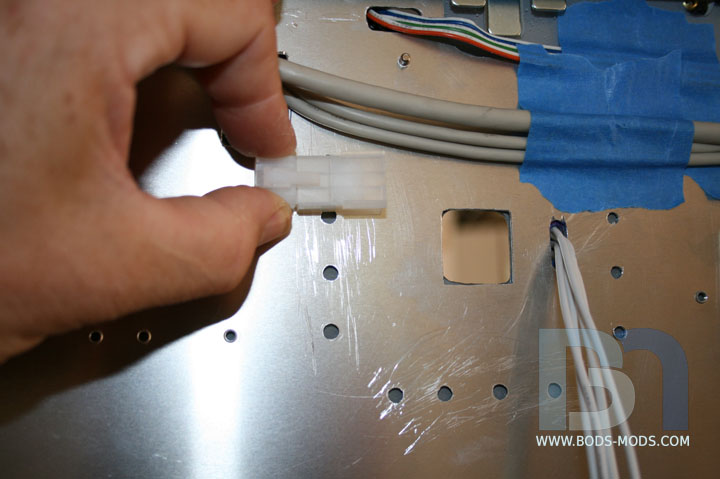
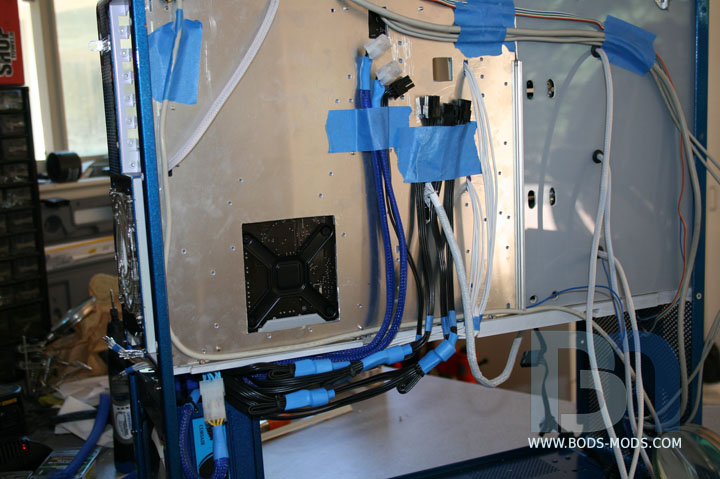
Speaking of PCI-e cables, here's a shot of the future location of the connection point between the psu and
extension cables. That large square cutout is where the extension cables will be coming through from the cards. I
drilled holes in the motherboard tray for the zip ties that will hold each connector in place.
Now I can shorten each PCI-e cable to reach the connection point.
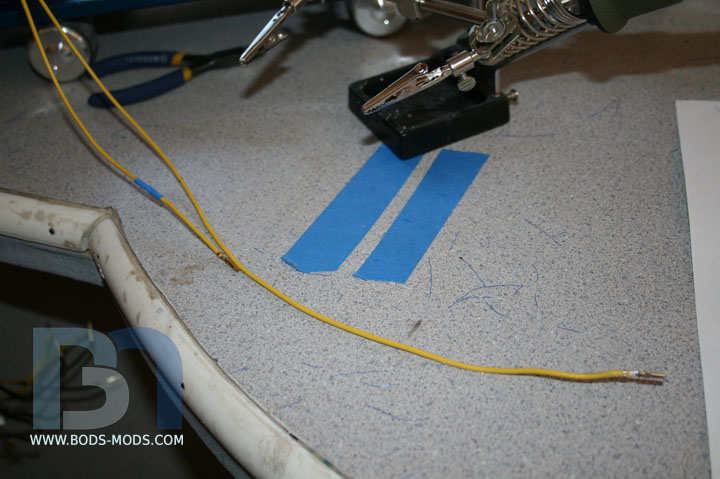
Here's a before-and-after shot to show the difference in length. Again, I cut a section out of the middle and soldered
them back together. One down, 35 to go!
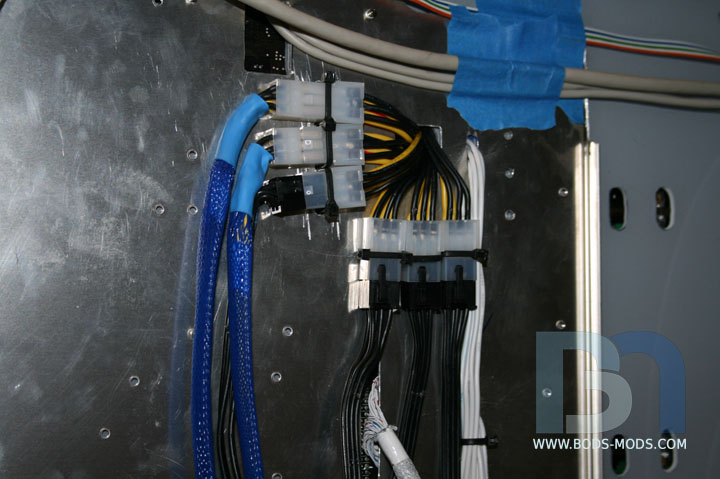
One group of six complete.
Got the two hard-wired PCI-e cables from the psu done. The other 4 are modular.
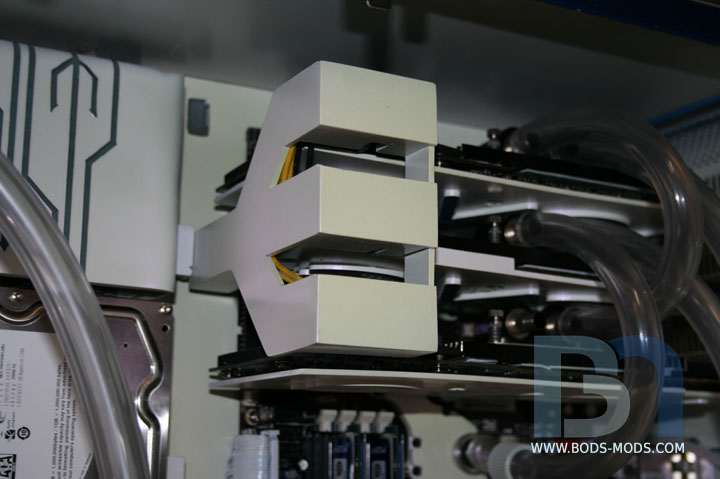
I temporarily folded the modular cables over to the correct length and tried a test fit. Well it turns out I won't need to
shorten them, I'll need to lengthen them. After placing the rad/fan/mesh box assembly in last night, there is
no more room on top, so I'll have to route them down under the mesh box and back up.
I finally got all the extension cables cut to length, pinned, soldered, and connected last night.
Here's a shot with the cover on in front. Looks like I'll need to do something about those yellow wires that are still visible.
A couple well-placed zip ties should take care of those unruly wires!
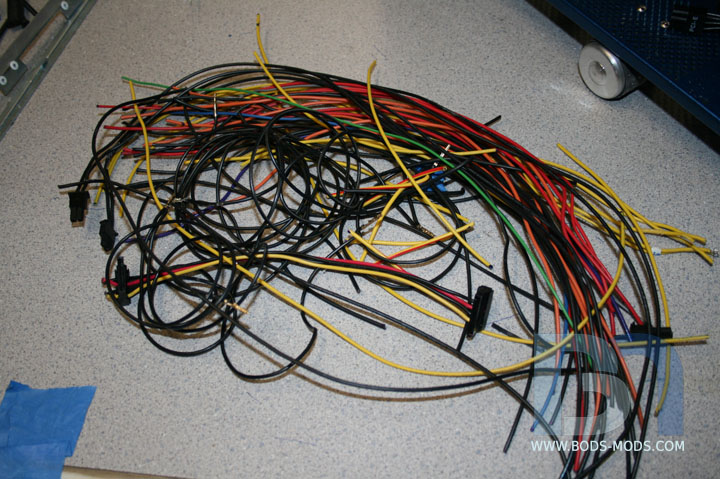
As a parting shot, I thought it appropriate to show just how much of the cabling I removed.
"I've lost the fat man and I'm runnin' lean!" -Kramer
Honey Roasted Peanuts Ingredients: Salt; Artificial honey roasting agents; Pressed peanut sweepings.


amazing
Arctic Cat * Maximum Security * Cribbage Board * Rockin Case * Armor Redux
Tempest SXR * Power House * Red Comet * ICHIWZ * Acrylic Headphone Hook
Continuing sponsorship support from PCBoard.ca

What he said.Originally Posted by SXRguyinMA


so far left of center i'm in right field

Mate that seriously looks cool, you definitely removed a lot of cable mess. I really like the recess in the floor for the cables, great idea. Shame that the 24pin power connector looks a bit "off", I do like the idea you tried of passing the wires through tubing, it would looks awesome with compression fittings and all lol. Perhaps you could make something similar to the GPU power connector covers? But then I guess you will have to do the same for the 8pin connector and that just wouldn't look right.
Project: Elegant-Li *NEW*
Project: Alpha FINISHED
Project: LEXA Revival FINISHED
Project: LEXA FINISHED Bit-Tech MOTM Nominee October 08
Awesome job so far! Intense coming in and reading through 31pages, but still a great read. I can't wait to try a mod of my own soon.

bod.. ur making us look bad.. just stop k mate
jokes..!!1 thats wicked keep going
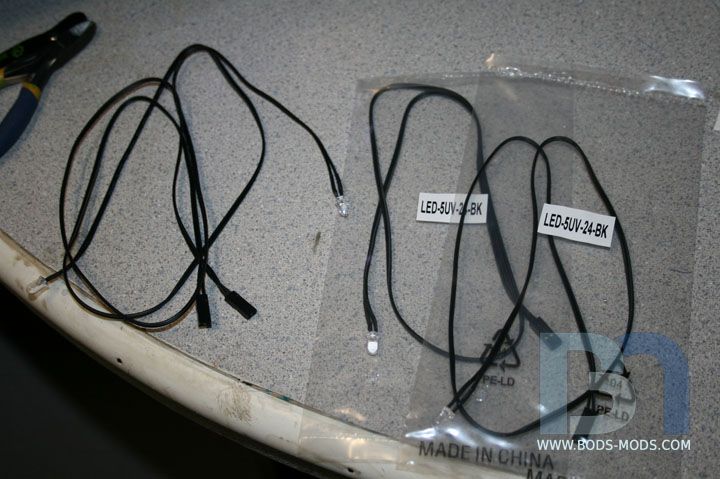
Moving on to the leds. Moddersmart sent me some of these killer led pigtails. They're just ready-made led strings that plug into...
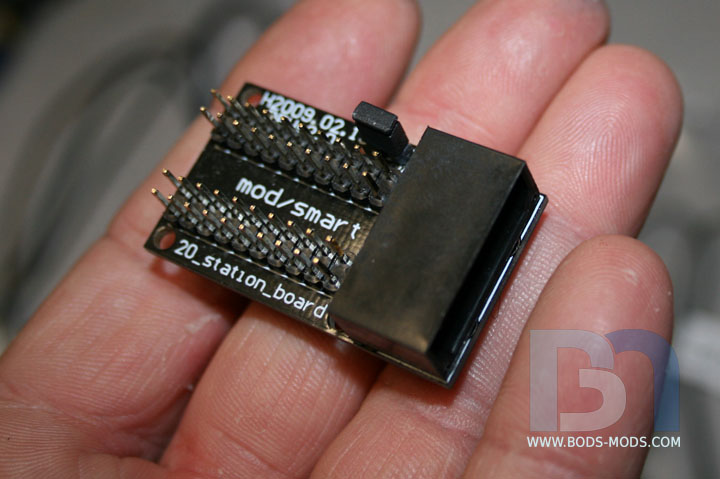
... this 20-station board. Has a standard 4-pin molex hookup and has the resistors incorporated into the pcb. No fuss, no muss!
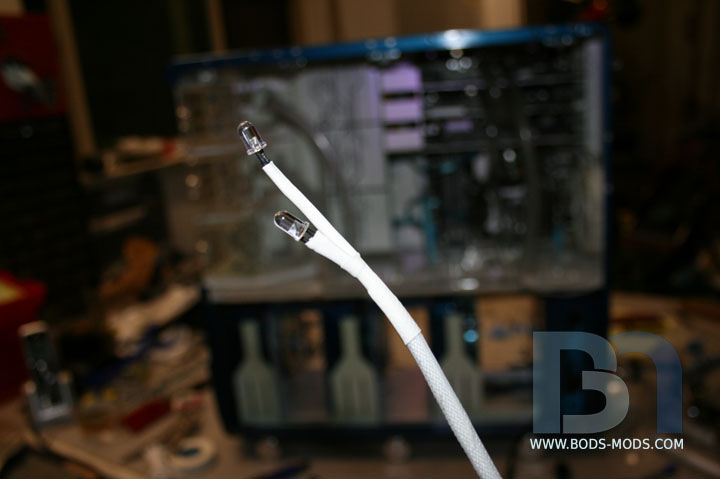
I strung two UV leds together and sleeved them,
So they would fit into the led holders that came with the T3 res.
Two more sets like this one, then I can move on to some accent lighting.

Honey Roasted Peanuts Ingredients: Salt; Artificial honey roasting agents; Pressed peanut sweepings.

thats a pretty sweet setup with the leds!
Centurion 5 Mod <<--- ON HOLD FOR THE WINTER
nice setup
Arctic Cat * Maximum Security * Cribbage Board * Rockin Case * Armor Redux
Tempest SXR * Power House * Red Comet * ICHIWZ * Acrylic Headphone Hook
Continuing sponsorship support from PCBoard.ca
 Posting Permissions


 Reply With Quote