Page 2 of 4 FirstFirst 1234 LastLast
Results 11 to 20 of 38

Thread: Project: Armor Redux

  1. #11
    Resident 100HP water-cannon operator SXRguyinMA's Avatar
    Join Date
    Jun 2008
    Location
    MA
    Posts
    5,865

    Default Re: Project: Armor Redux

    Ok, so I went through the trouble of measuring, drilling, grinding, etc, to end up with this panel:


    That I decided not to use. I realized that it wasn’t going to fit in with the rest of the front of the case. So I scrapped that idea.

    I ended up using one of the standard TT faceplates, and drilling/grinding it for the buttons and stuff instead. It was a lot easier to mount and looks much better IMHO.


  2. #12
    Resident 100HP water-cannon operator SXRguyinMA's Avatar
    Join Date
    Jun 2008
    Location
    MA
    Posts
    5,865

    Default Re: Project: Armor Redux

    Next up was stealthing the DVD drive. This went pretty easy. With a TT faceplate and some hot glue, it was done. I just had to drill a new hole in the chassis for the screw to mount it, as it sat too far back, but that was no big deal.

    Tray motor removed


    A few well-place snips and dabs of hot glue, and the wiring is done


    Faceplate work


    Open:


    Closed:


    Next up I sleeved the SATA cables to hide their red-ness


  3. #13
    Resident 100HP water-cannon operator SXRguyinMA's Avatar
    Join Date
    Jun 2008
    Location
    MA
    Posts
    5,865

    Default Re: Project: Armor Redux

    Then I did this neat little voltage mod to the MB that I found online. Apparently there’s a significant drop in the voltage between these two points due to a too-thin trace. So the remedy is to solder a thicker wire between them.


    also while the board was out I removed the heatpipes and heatsinks. I also read that these mobos have issues with overheating due to the use of thermal pads instead of grease, so I removed the pads and used grease, then reassembled it all. It was a spur-of-the-moment thing, so I didnt get any pics.

    I also sleeved the power/USB cables

  4. #14
    Resident 100HP water-cannon operator SXRguyinMA's Avatar
    Join Date
    Jun 2008
    Location
    MA
    Posts
    5,865

    Default Re: Project: Armor Redux

    Then came the OCZ memory cooler. I didn’t want the blue LEDs anymore, so I started by taking the fans out


    Then de-soldering the LEDs


    All sleeved up


    RGB LEDs soldered up


    Ready to go

  5. #15
    Resident 100HP water-cannon operator SXRguyinMA's Avatar
    Join Date
    Jun 2008
    Location
    MA
    Posts
    5,865

    Default Re: Project: Armor Redux

    I also had blue LEDs on the CPU cooler as well, but for these I just put a piece of heat shrink over them


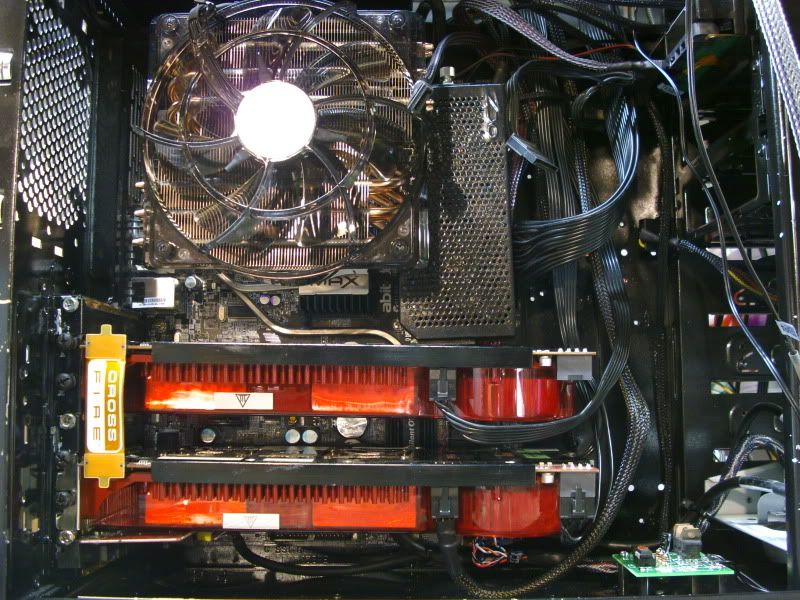
    Mobo, cpu cooler, memory cooler and a pair of 3870x2’s installed

  6. #16
    Resident 100HP water-cannon operator SXRguyinMA's Avatar
    Join Date
    Jun 2008
    Location
    MA
    Posts
    5,865

    Default Re: Project: Armor Redux

    My 5 leftover RGB modules from Rockin Case


    4 of these got mounted to the bottom of the case, and one to the side panel opposite the PSU.

  7. #17
    Resident 100HP water-cannon operator SXRguyinMA's Avatar
    Join Date
    Jun 2008
    Location
    MA
    Posts
    5,865

    Default Re: Project: Armor Redux

    Then I decided to do something I saw on the Dark Blade mod. I put LEDs inside the DVD drive.

    Board with LEDs soldered up


    And sleeved


    LEDs in place, with a few snips of the plastic housing


    Aw crap – the cover hits


    Oh well, break out the dremel


    Ahhh that’s better


    Sleeved up and ready for install


    I also got this nice little brown box from Hong Kong, and in it was this


    It’s a PIC programmer. I set up my spare mobo with Windows XP on it, because it’s got a serial port that’s needed to use this puppy. As soon as I can get it configured right, I’m going to try creating my own color sequences in the RGB controller. Look out for a different thread on that later on.

  8. #18
    Resident 100HP water-cannon operator SXRguyinMA's Avatar
    Join Date
    Jun 2008
    Location
    MA
    Posts
    5,865

    Default Re: Project: Armor Redux

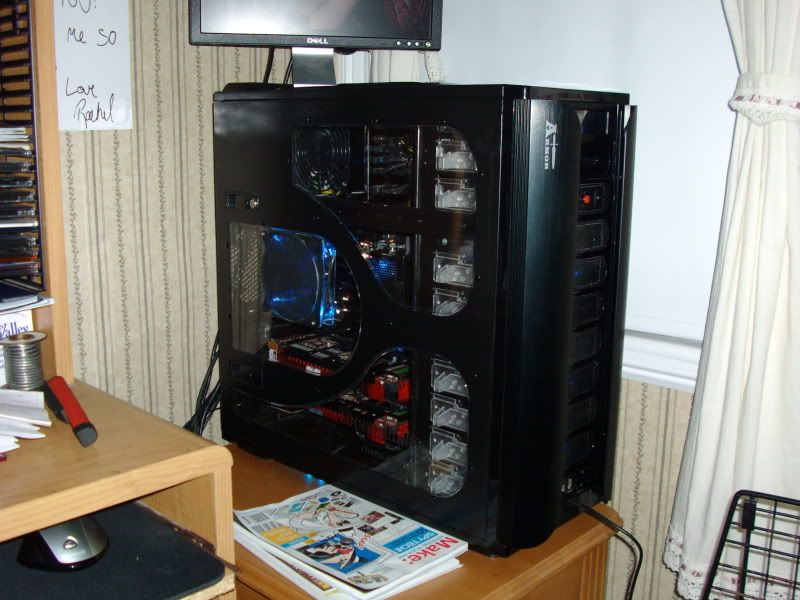
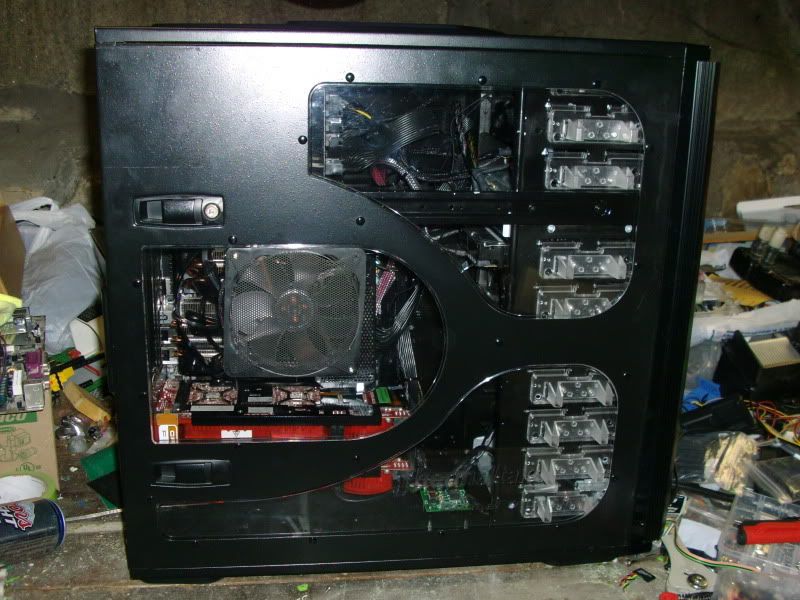
    And she’s done!


    And set back up


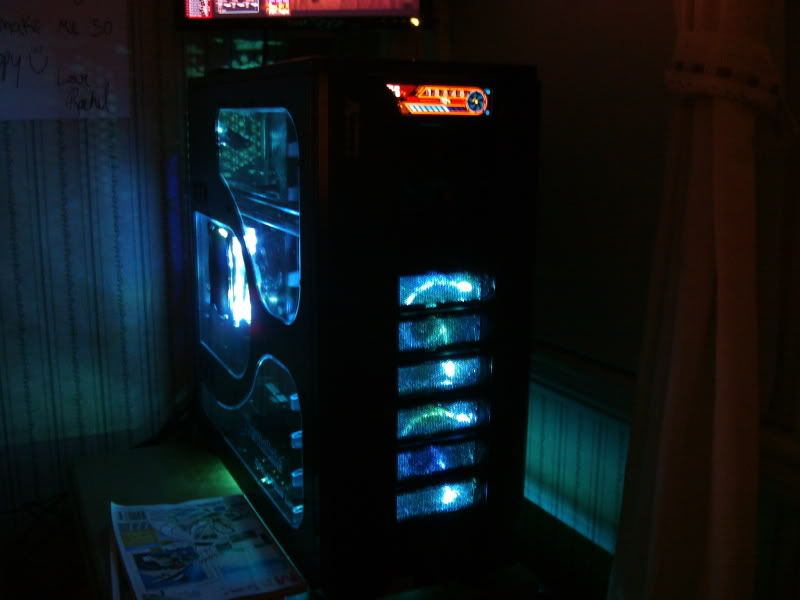
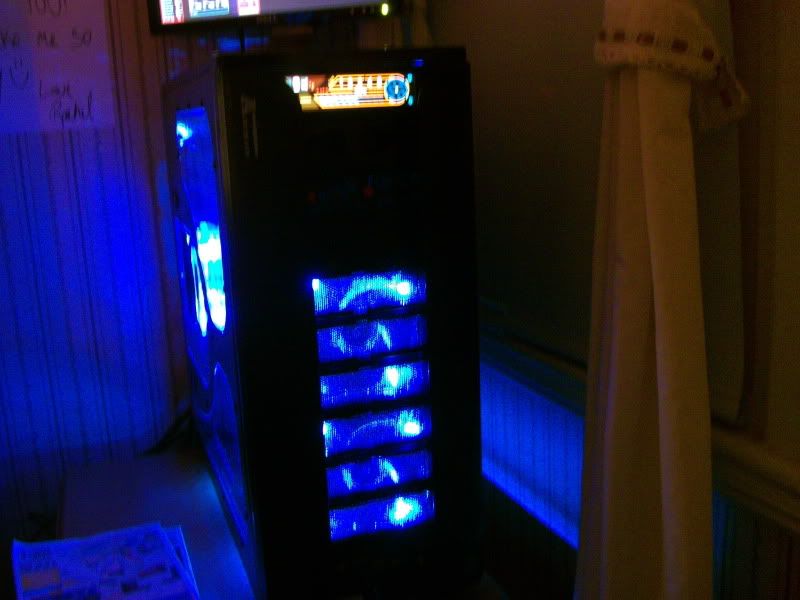
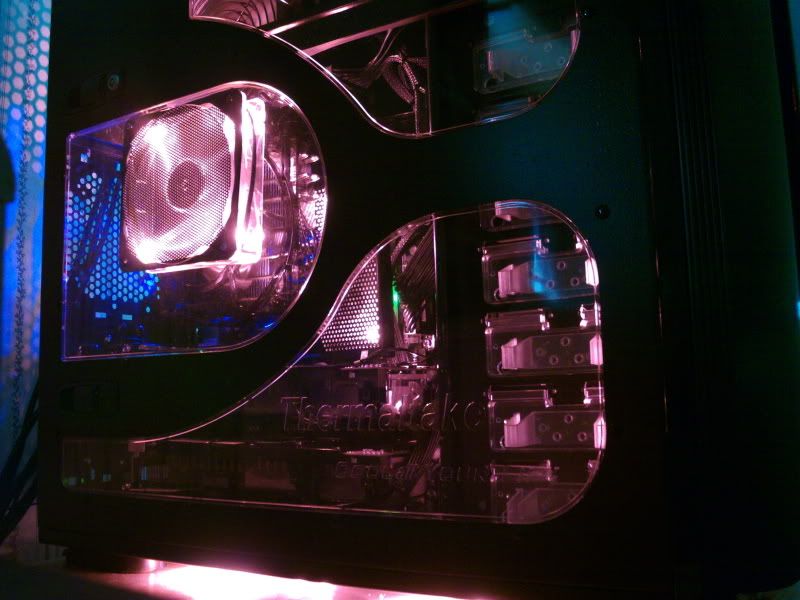
    And a few parting shots and a video. The camera doesn’t get the colors too well, it’s something you need to see in person, or wait until I can afford a nicer video camera lol.


    I’ll post the link to the video once it’s done processing

  9. #19
    Resident 100HP water-cannon operator SXRguyinMA's Avatar
    Join Date
    Jun 2008
    Location
    MA
    Posts
    5,865

    Default Re: Project: Armor Redux

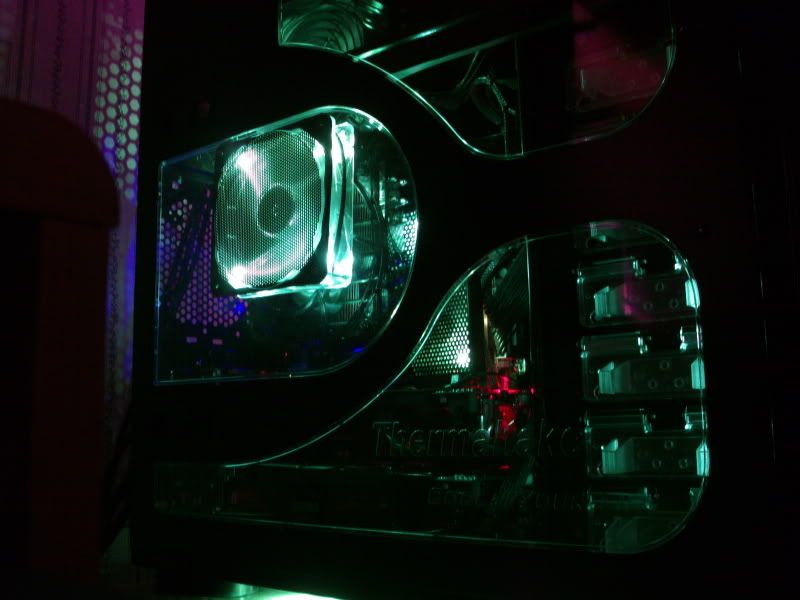
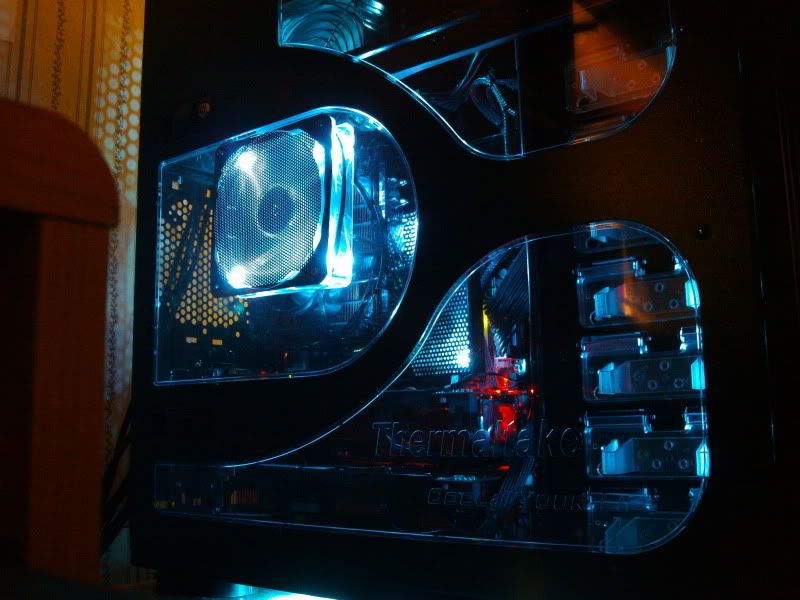
    I need a better camera. for some reason the colors on these pics all look lighter than they actually are lol

    Red:


    Green:


    Blue:


    And a vid:

  10. #20
    baaah. billygoat333's Avatar
    Join Date
    Aug 2007
    Location
    Idaho
    Posts
    3,331

    Default Re: Project: Armor Redux

    looks very clean and nice! I like the usage of the original tt bay cover for the switch panel.
    Quote Originally Posted by Omega
    ber is id elicous
    Centurion 5 Mod <<--- ON HOLD FOR THE WINTER

Posting Permissions

  • You may not post new threads
  • You may not post replies
  • You may not post attachments
  • You may not edit your posts
  •