Haha its a typoOriginally Posted by TheMainMan


Haha its a typo


Oh man that's sexy. (Response to the bent tubes... *drool*)
Err...not that tubes "do it" for me.. umm..
\m/ d(-_-)b \m/
R9 290X+Kraken+Corsair H90, Xeon 5649@4ghz, Asus P6T-WS Pro

Crap, another month gone by! I've been making progress here and there, but mainly on the back side and mounting things like the lower radiator and pumps. So let's get to it!
First thing I needed to do was make a sub-floor. This cleans up the area and allows for some stealthy cable management.
I cut the floor to fit, then added various holes for mounting and cable access.
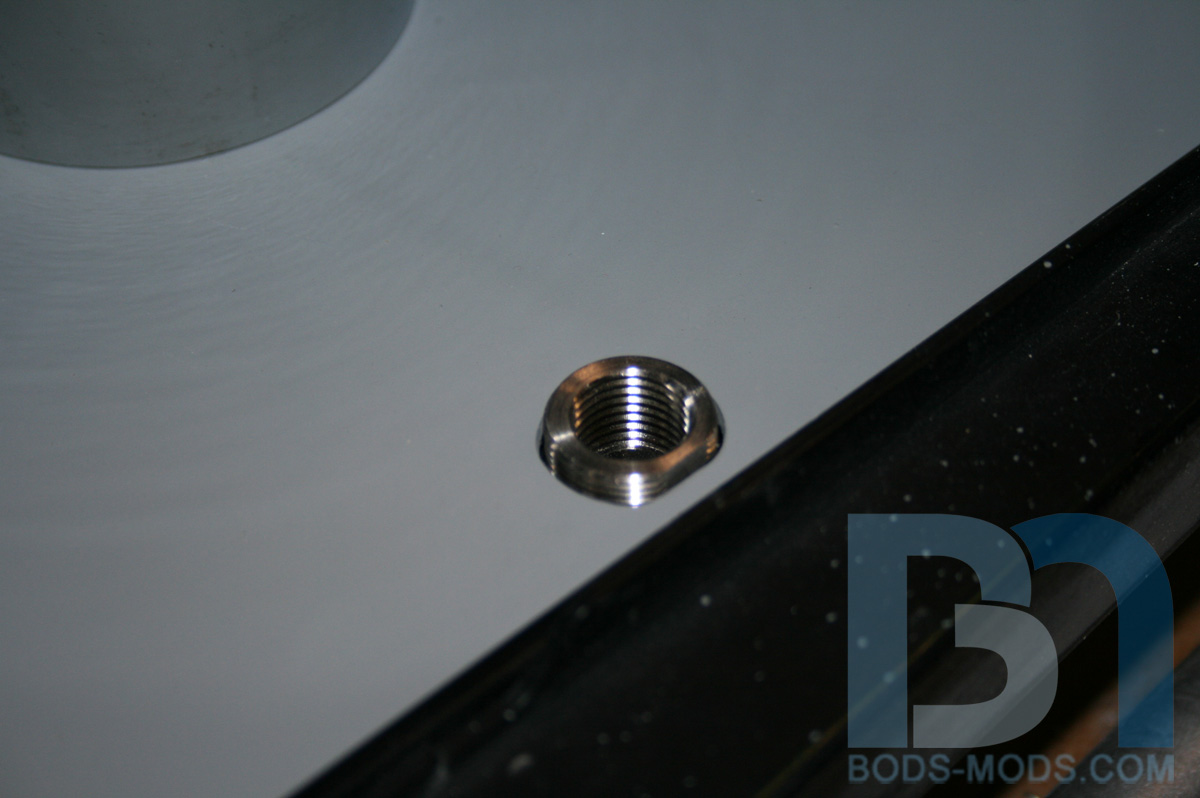
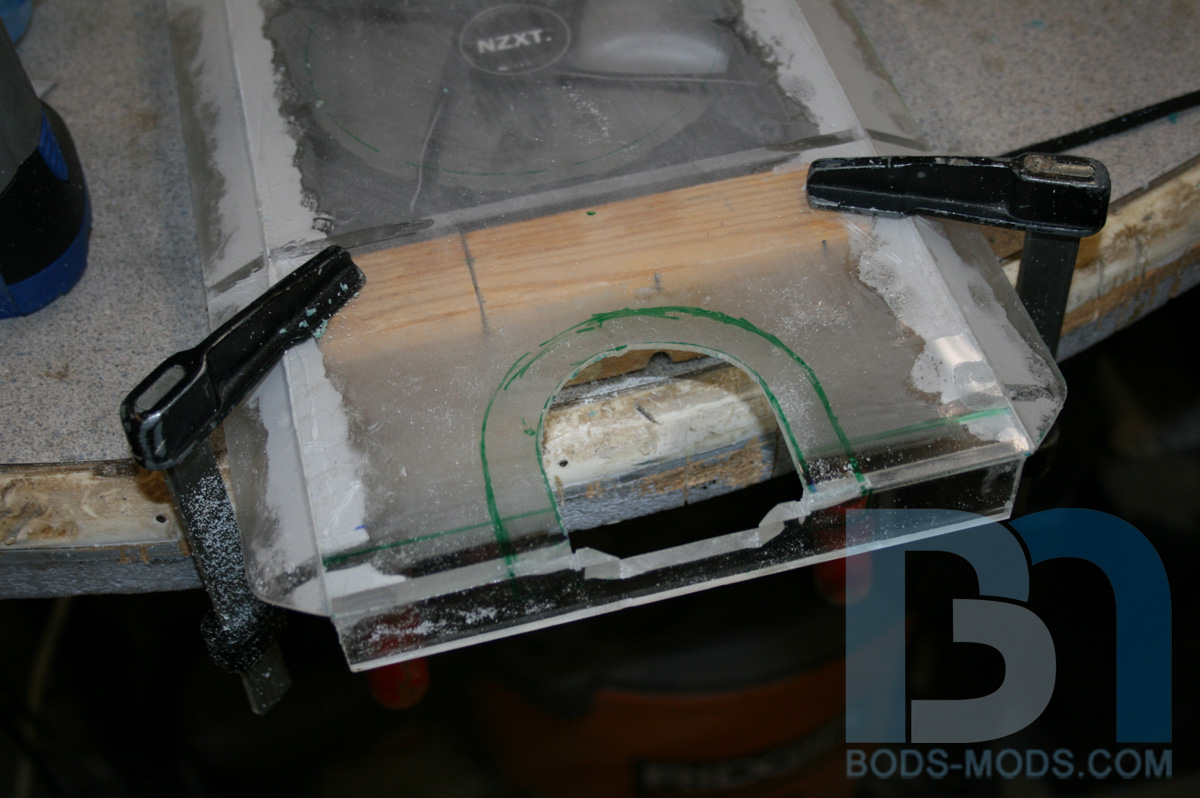
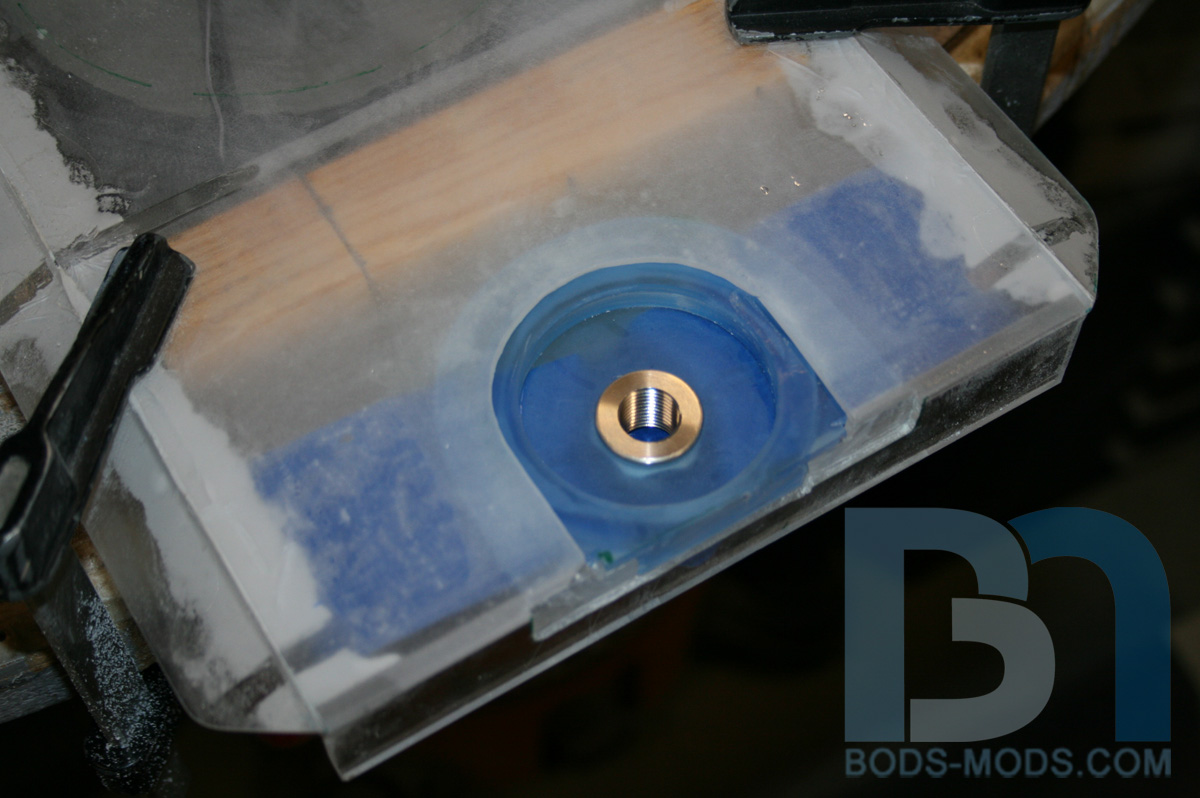
I also installed a pass-through fitting from Koolance, to serve as a drain for the WC system.
Here's a shot from below. I added a 45º elbow to clear the side bezel.
A close-up shot of the floor with drain hole.
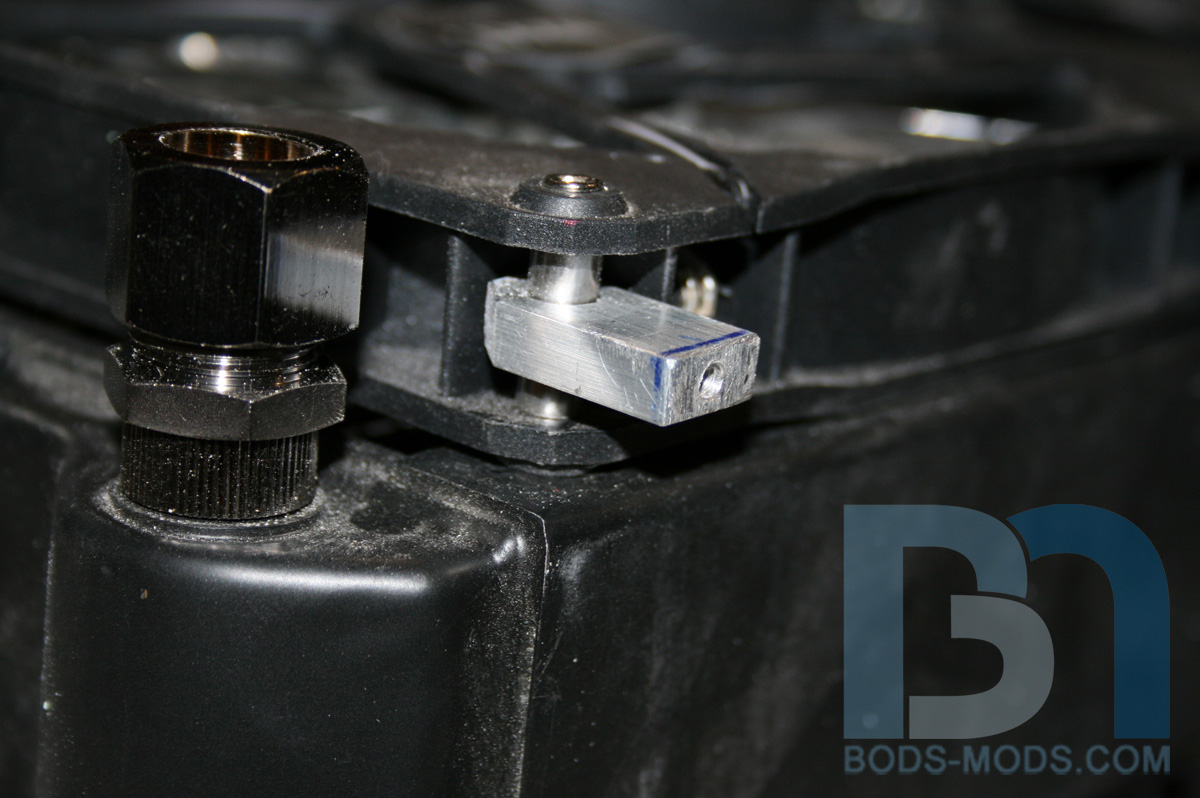
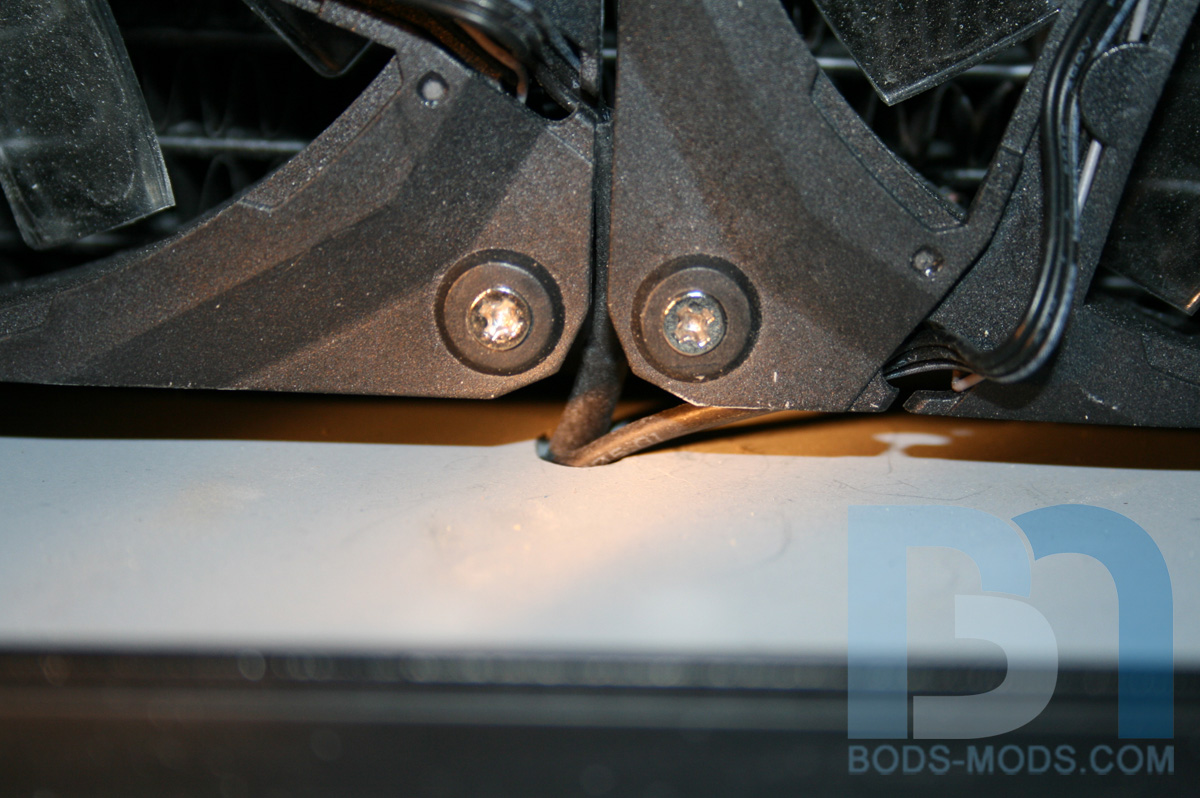
Now that the floor was done, I could move onto the mounting system for the lower radiator. I wanted something simple, yet stealthy. So I fabricated some aluminum posts that make use of the fan's mounting screws.
A closer up view shows the 3/16" tube that runs through the aluminum post. It's a pretty tight fit, so it doesn't float.
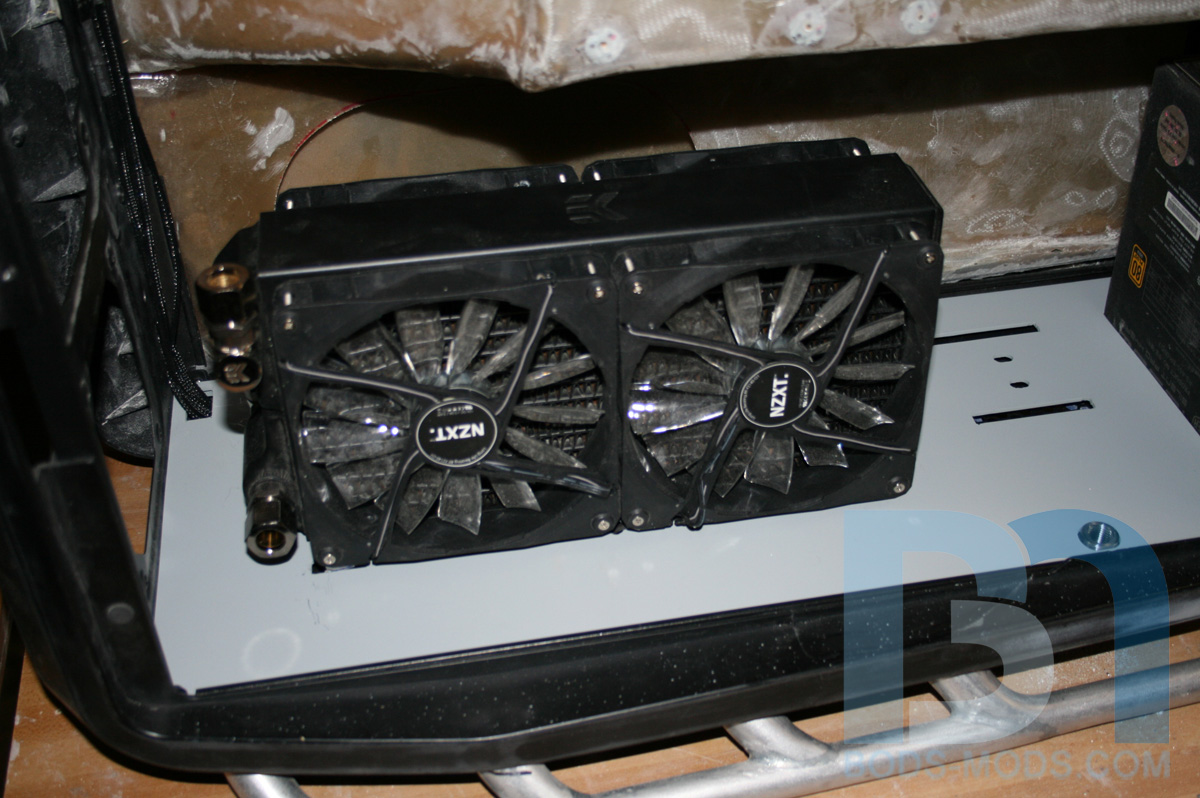
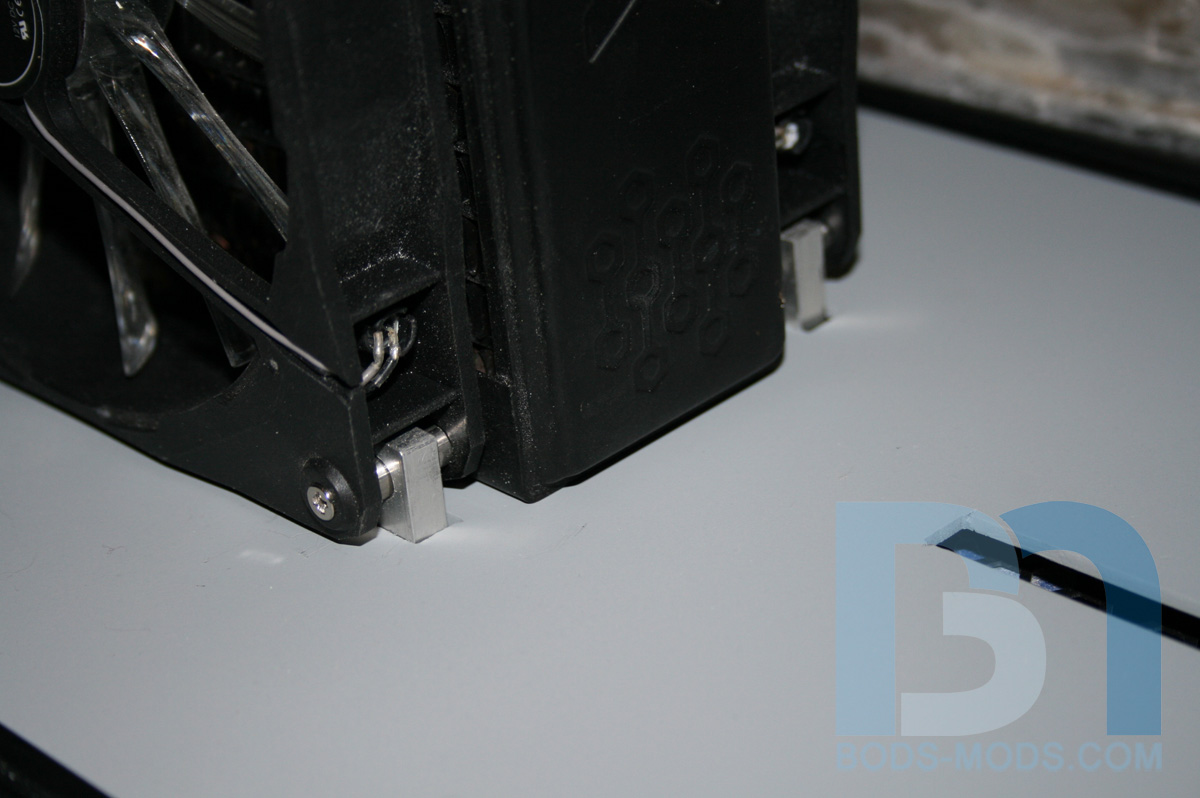
With the radiator in place, you can't really see the posts at first glance.
The posts go through the floor and fasten to the bottom panel with standard 6-32 case screws.
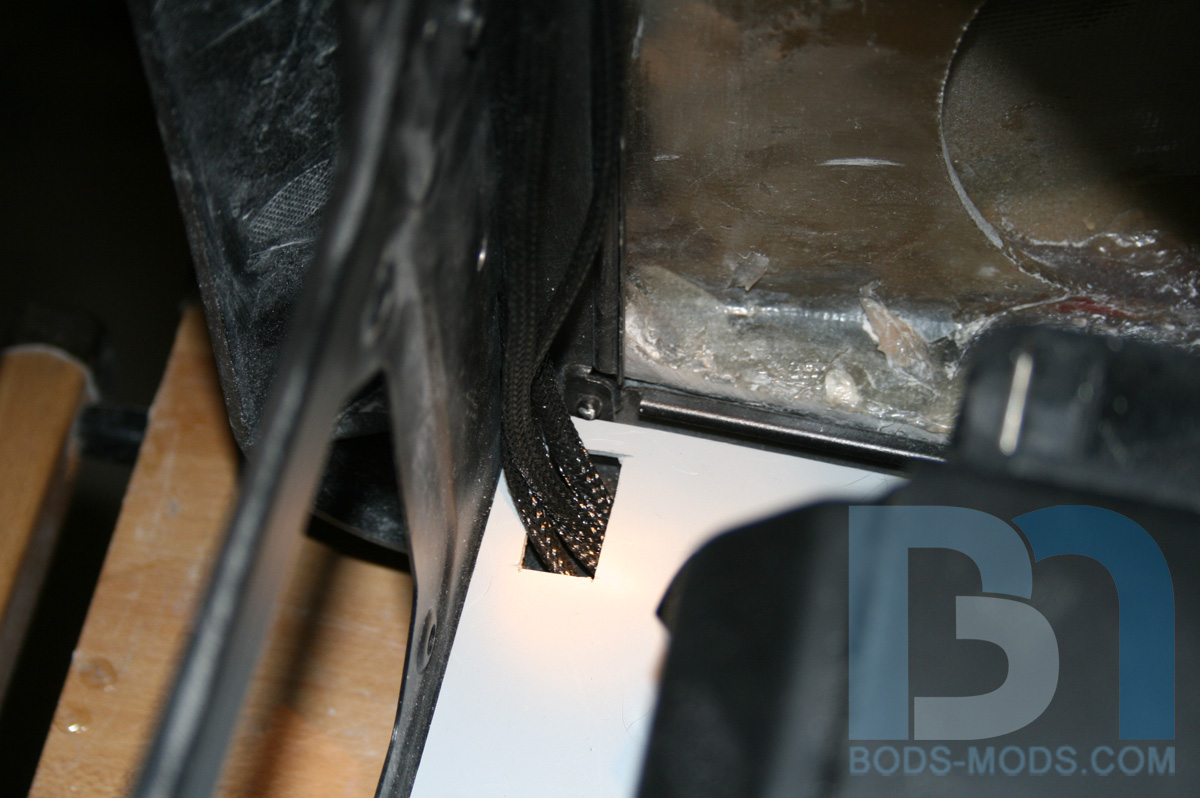
I made sure to include some cable access holes in between the fans on each side of the rad.
They travel under the floor to the front corner, where the cables will come up to the Lamptron Touch fan controller. I'll need to get (or make) a 3pin 4-way splitter to complete the connection.
Next up will be the pump mounting, and some pipe bending. Stay tuned!
Honey Roasted Peanuts Ingredients: Salt; Artificial honey roasting agents; Pressed peanut sweepings.
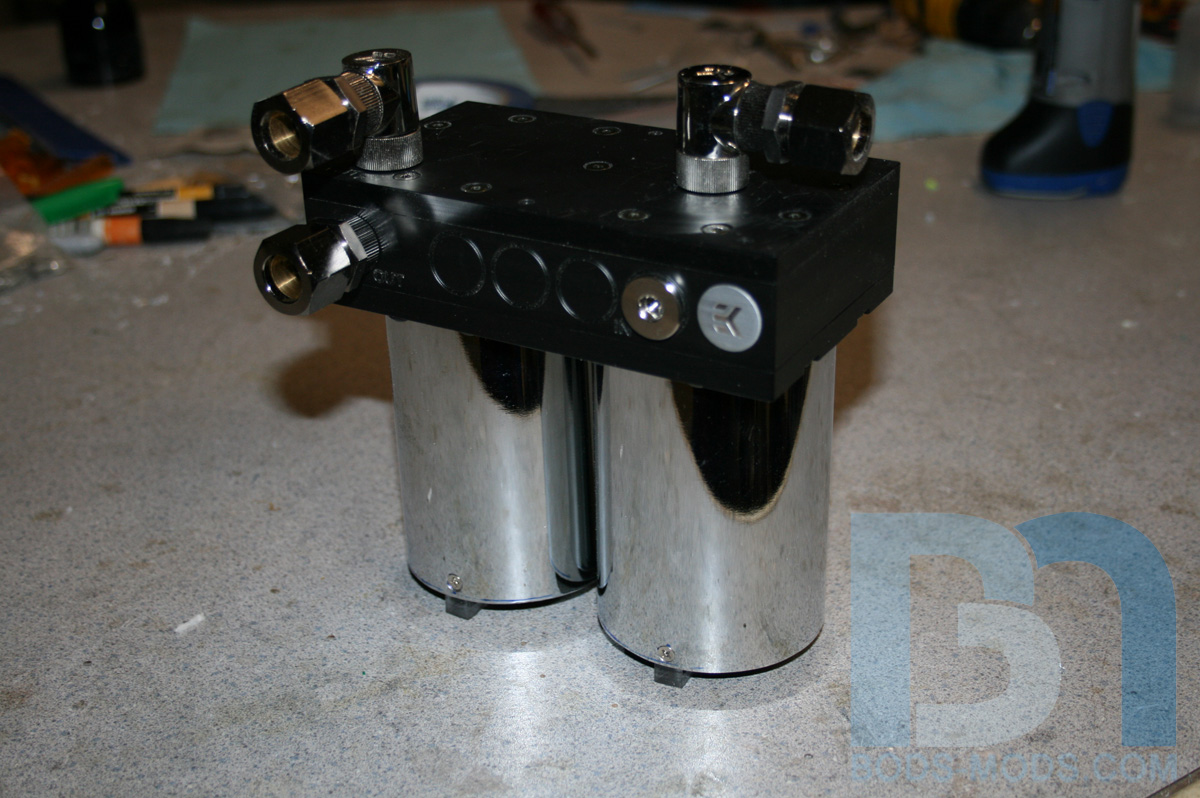
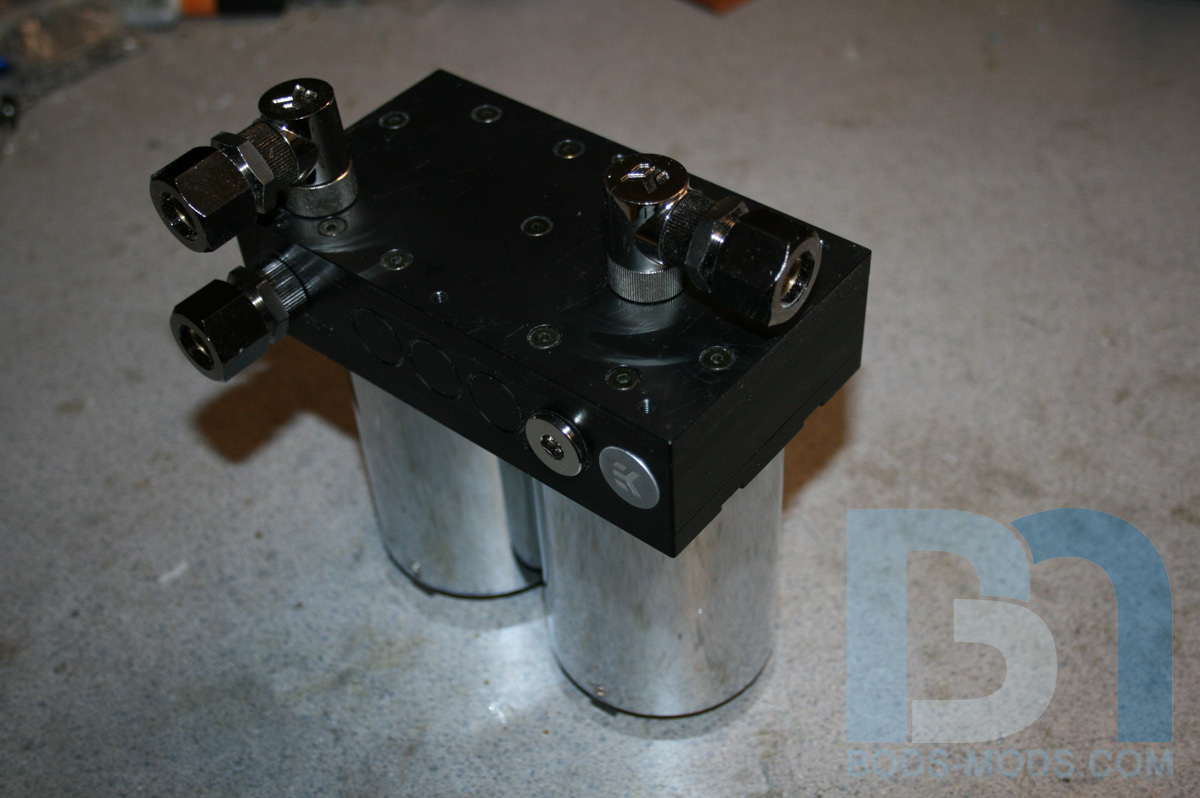
Ok, time to mount the EK pump top and D5 pumps, however, I did not want to use conventional bracketry. Keeping with the automotive theme, I looked at various oil system setups and noticed how there was a striking resemblance to a dual oil filter system. So I devised a mounting method that replicates that look.
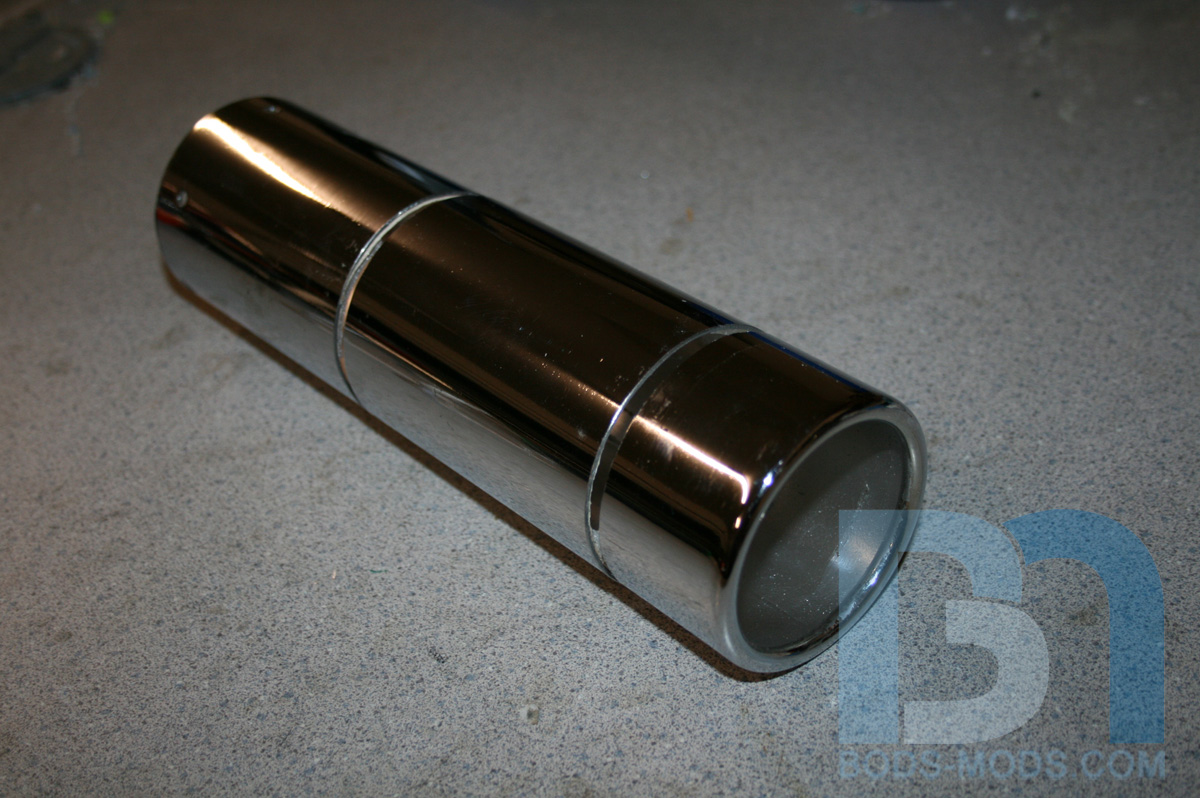
Of course I had to incorporate the requisite amount of chrome, so I found the perfect donor item for the pump covers: a 2 1/2" chrome exhaust tip!I wasted no time cutting it up into two equal lengths.
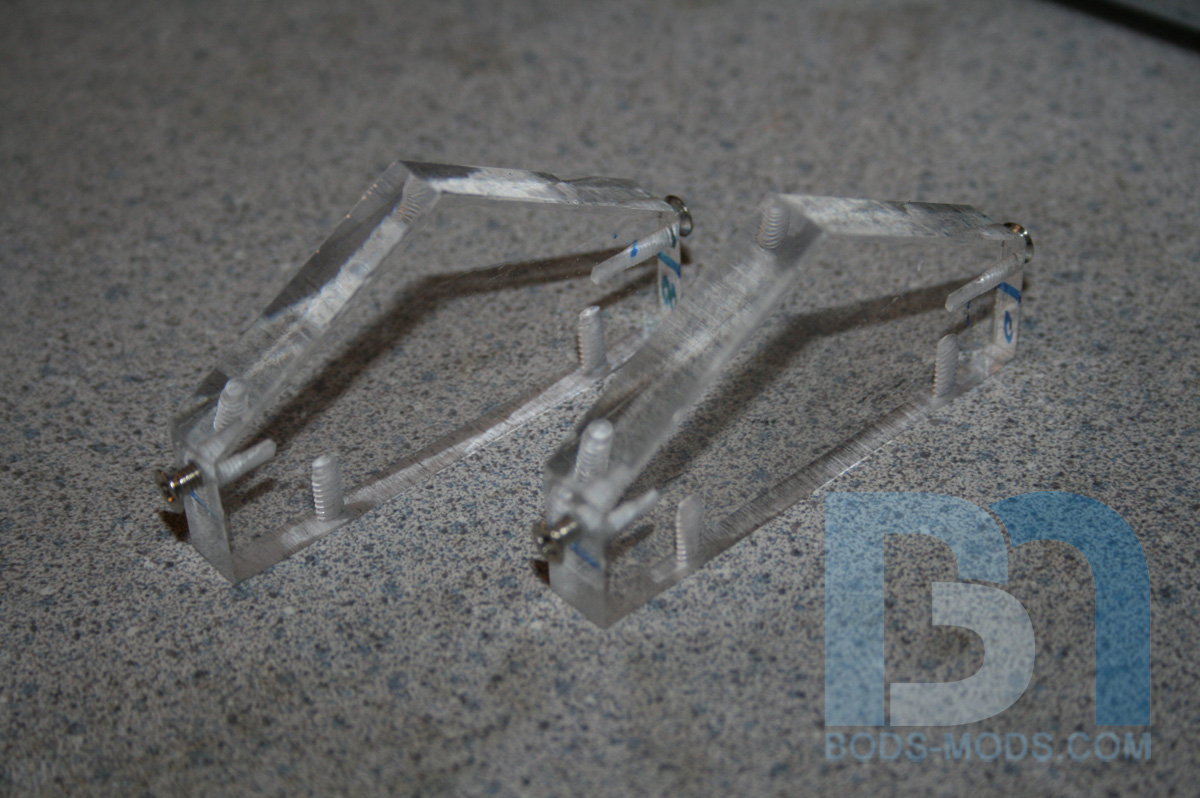
For the actual mounting, I used a piece of left-over 3/8" acrylic, cut it in half and drilled/tapped some holes.
They fit snuggly inside the covers. Some tiny flush-mount screws hold them in place.
The covers fit loosely over the pumps, so I had to add some o-rings to take up the extra space.
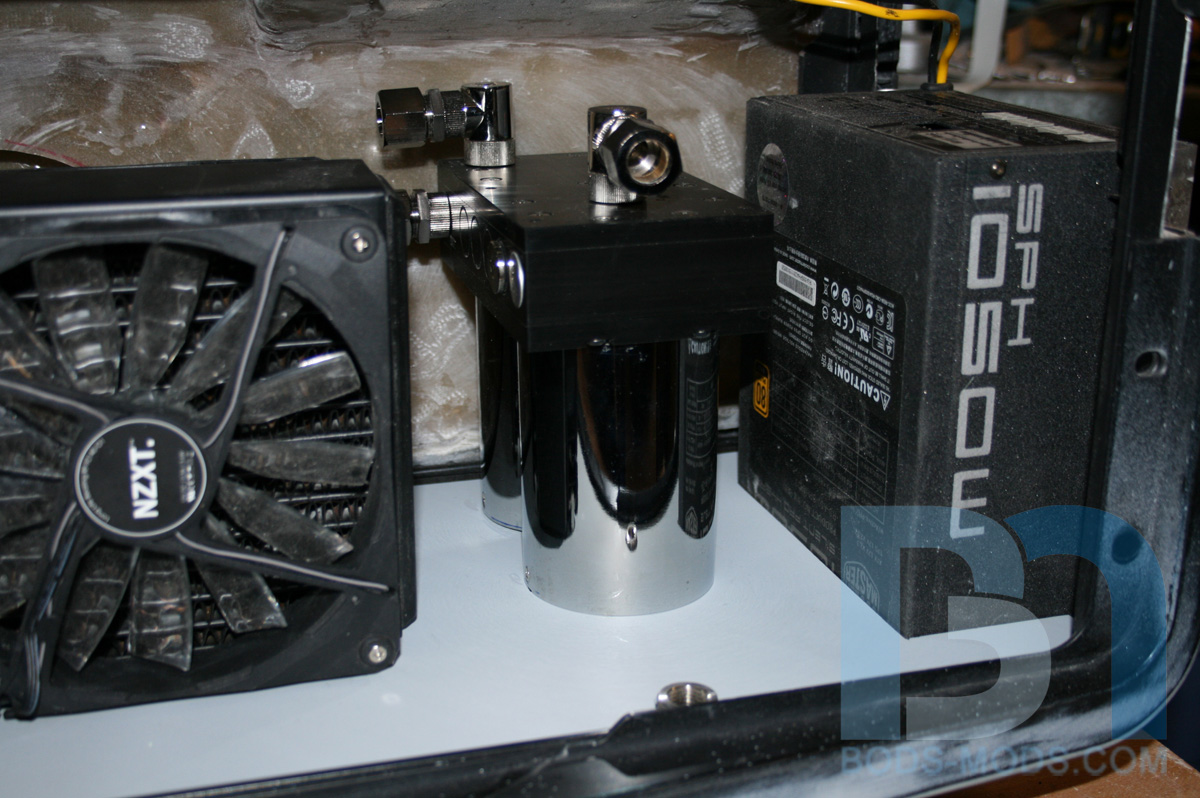
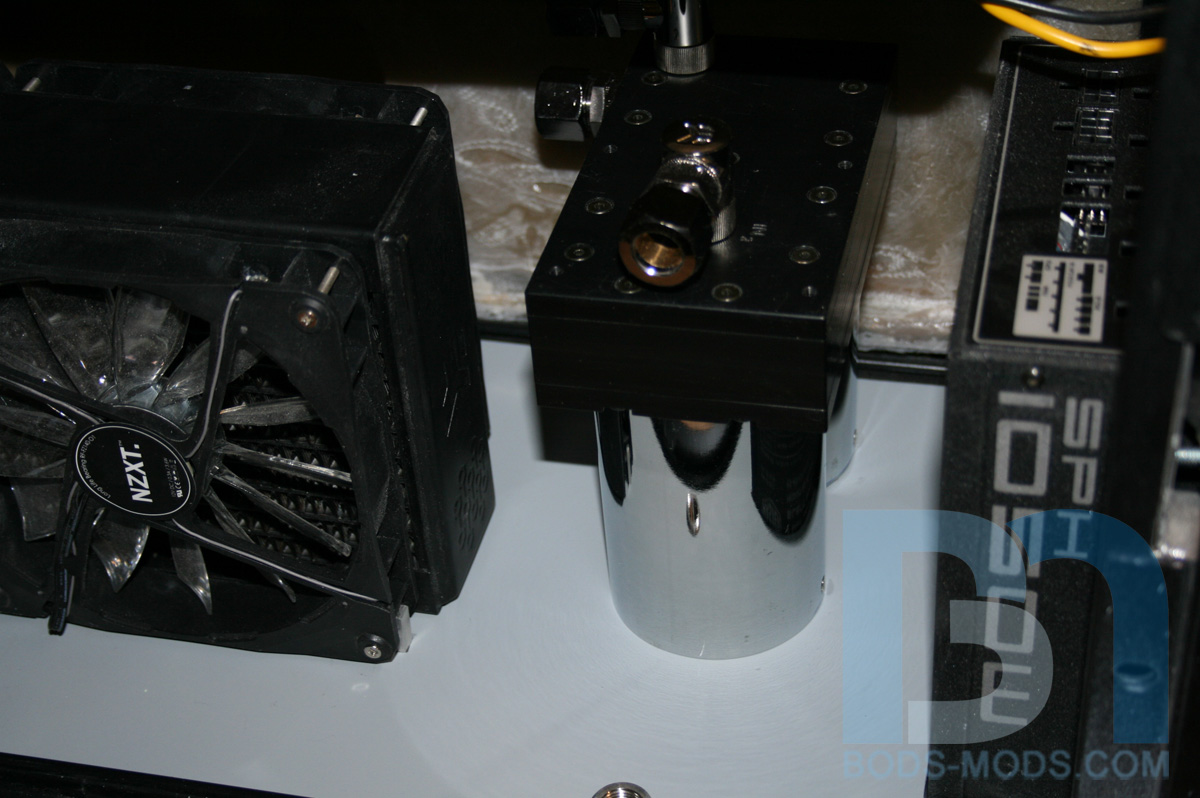
I cut slots into the sub-floor so the acrylic mounts would slide right in. They're secured to the bottom panel with a couple case screws.
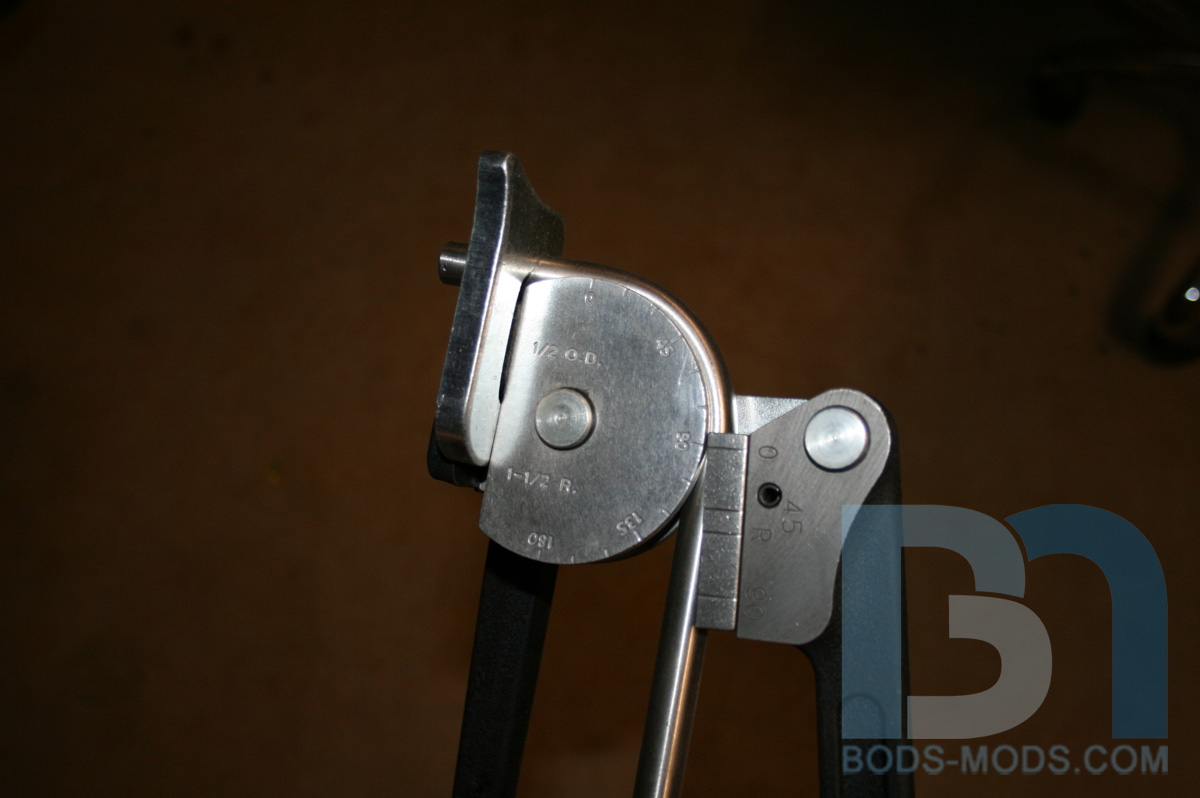
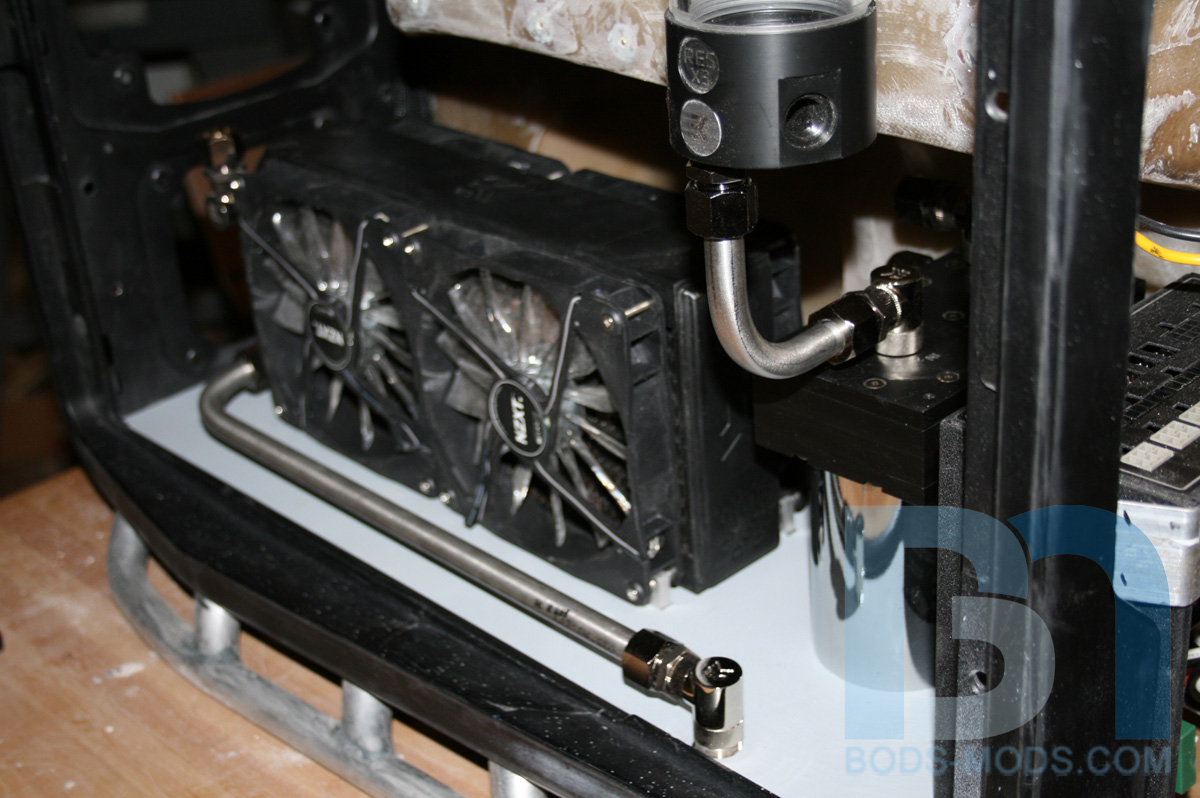
So with the lower rad and pumps mounted, I could finally start running some stainless steel tubing! Using the bender is a bit tricky, but after a few practice bends, I got the hang of it.
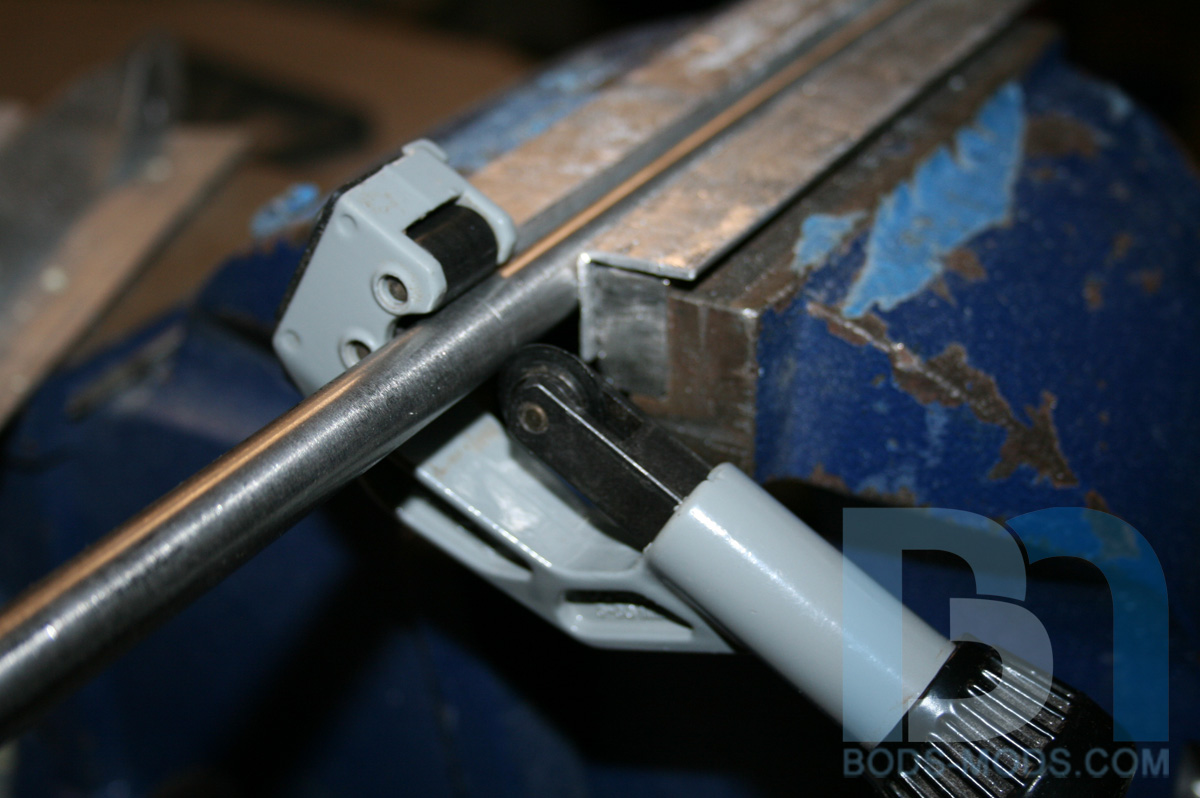
A pipe cutter is way better than a hack saw or dremel for cutting tubing. Well worth the money!
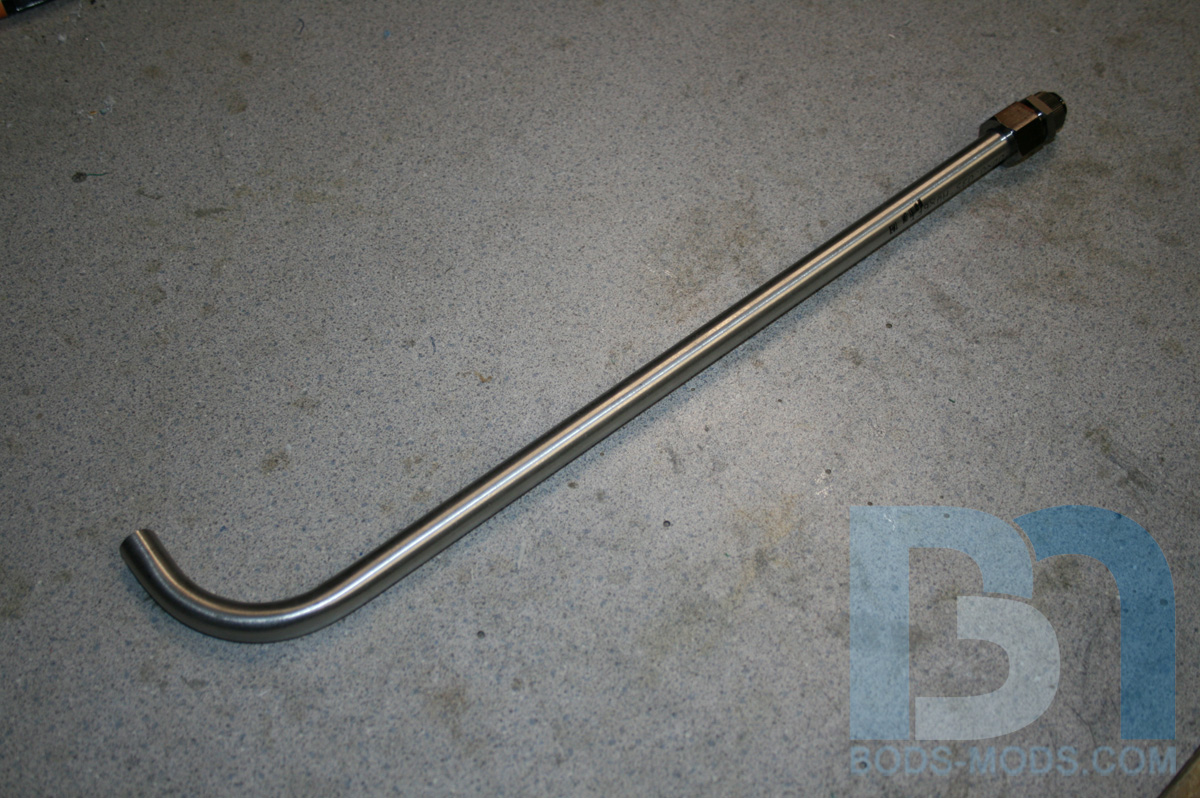
This is the lower drain pipe going from rad to drain.
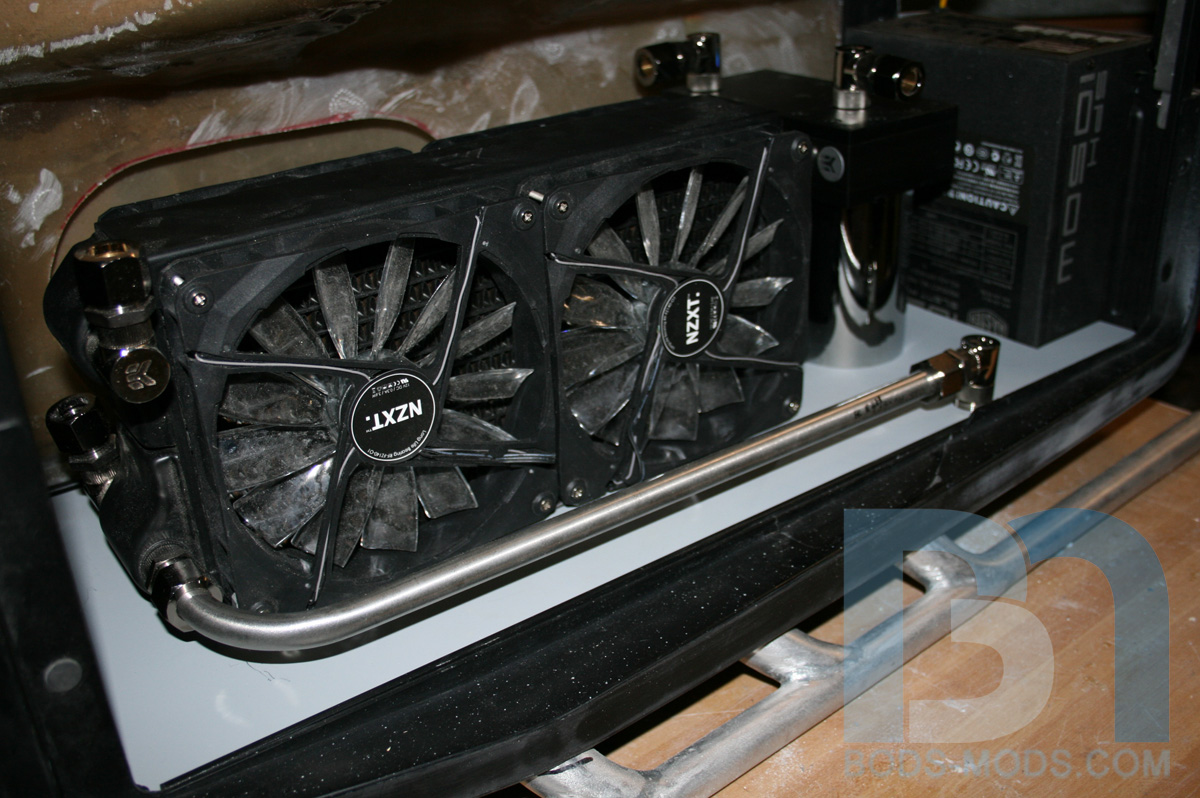
Pipe in place. I'm not tightening anything down just yet, since I still have much to do before final assembly.
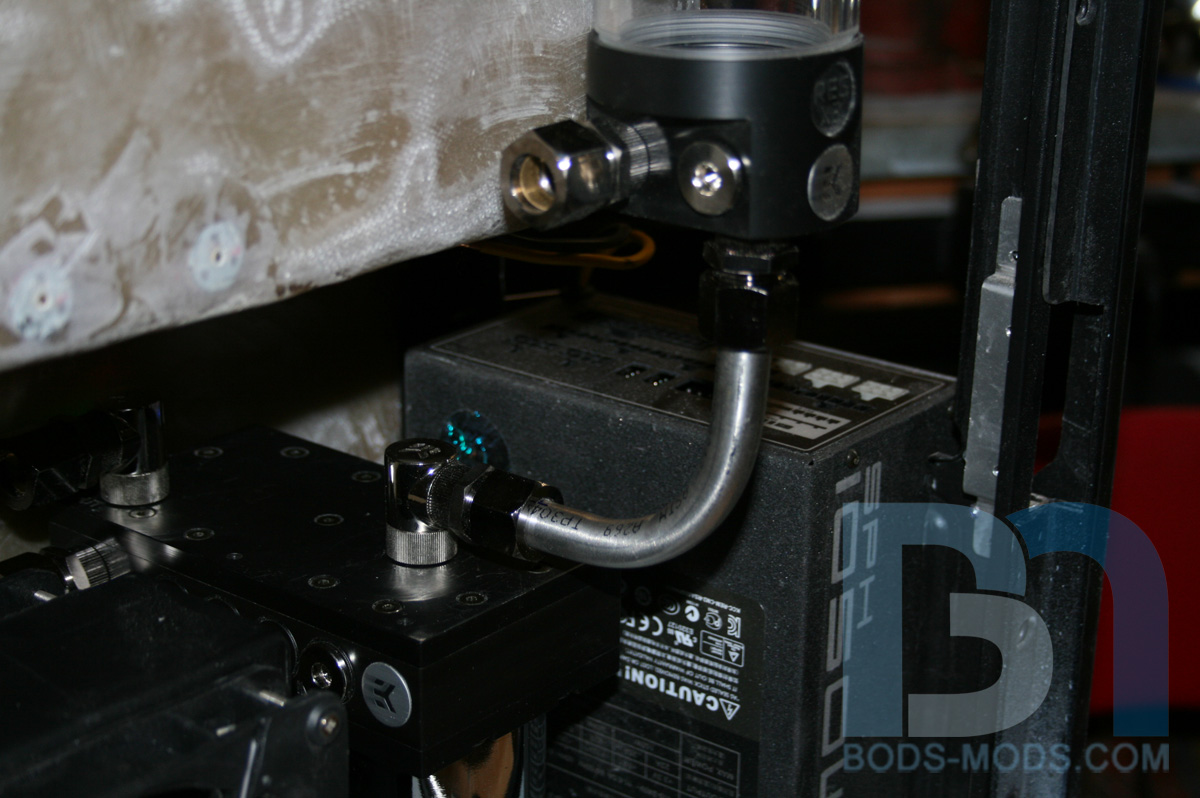
Next piece was the reservoir-pump feed line, which is just a simple 90º bend.
Another angle showing both pieces. I'm liking the look so far!
The next pieces will be a bit more challenging, with compound bends on the longer runs. Should be fun!
Honey Roasted Peanuts Ingredients: Salt; Artificial honey roasting agents; Pressed peanut sweepings.


Looking very nice. Super clean at every stage.
I have a hammer! I can put things together! I can knock things apart! I can alter my environment at will and make an incredible din all the while! -Calvin

Absolutely LOVING this every step of the way!!!!
so far left of center i'm in right field
Thanks TLHarrell & msmrx57!
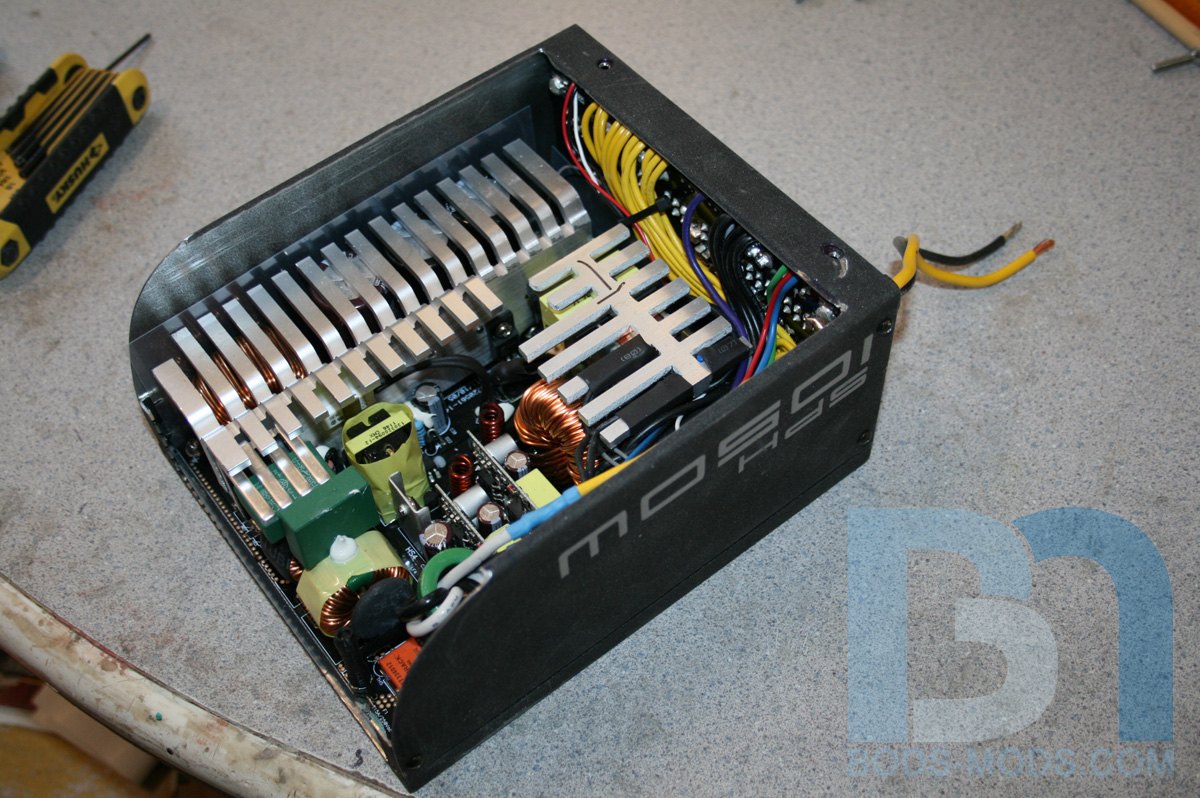
Ok, time for another update! Today I'll show you what I did to this poor power supply lol. As I mentioned on Facebook, I was not phased by the little sticker covering up one of the screw holes, put there by some dude named Warren T Void.
Upon removing the cover, I proceeded to cut pretty much the whole top and end away. Since the case has rounded corners, I needed to do the same to the PSU cover in order for it to fit as close as possible. I'm also replacing the stock 130mm fan with a 140mm NZXT orange led fan, which will be mounted directly to the back panel.
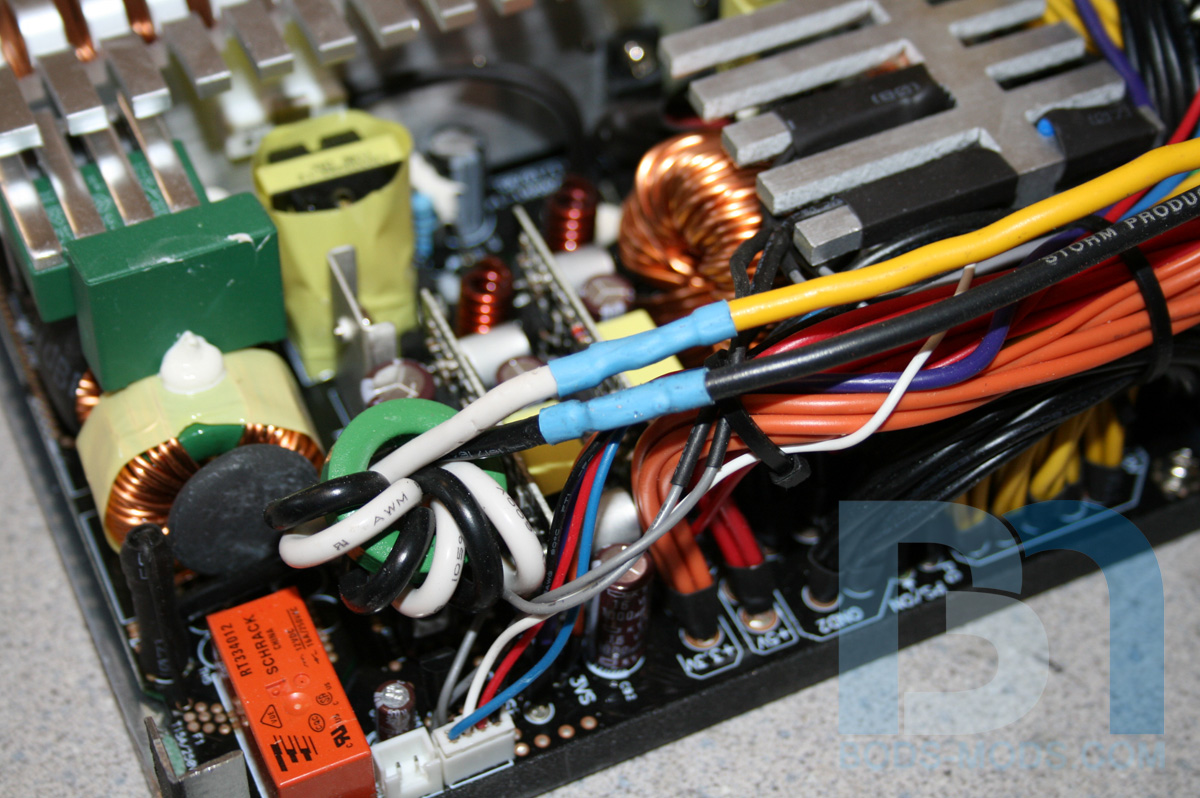
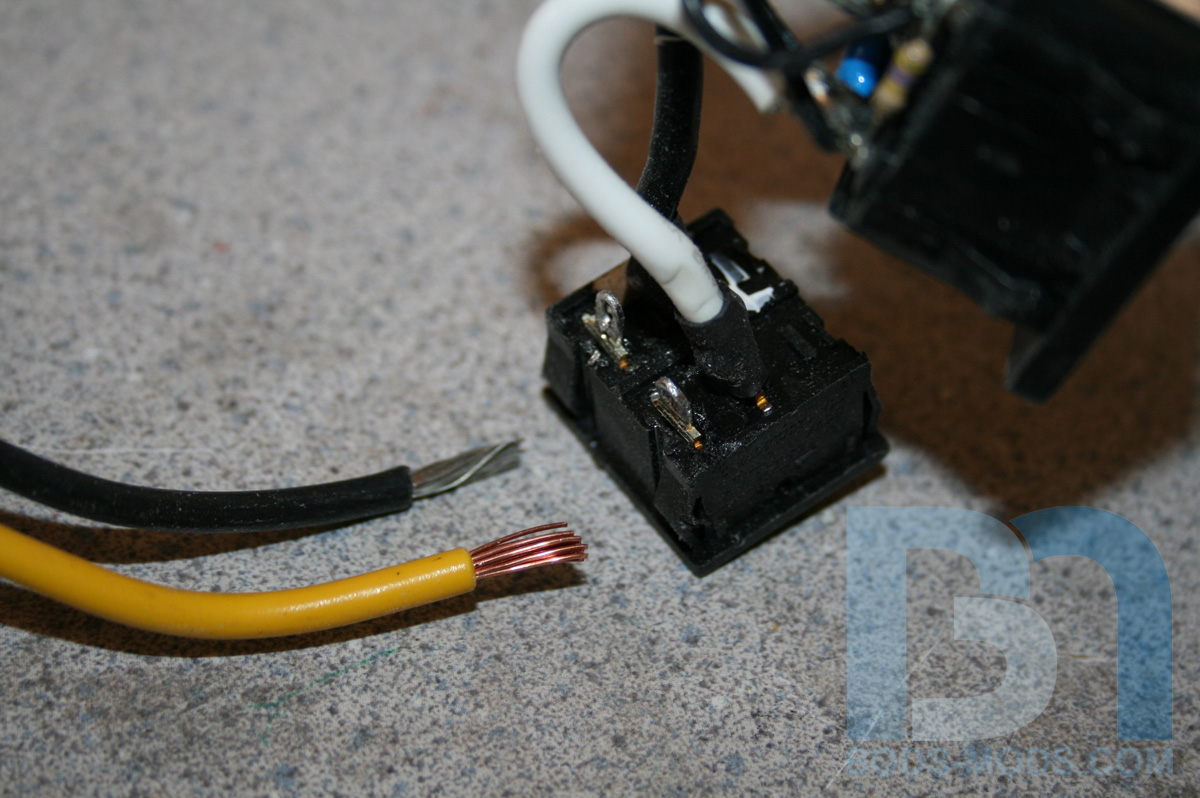
The power switch and plug will be relocated to a custom IO panel, so I cut the main wires and extended them.
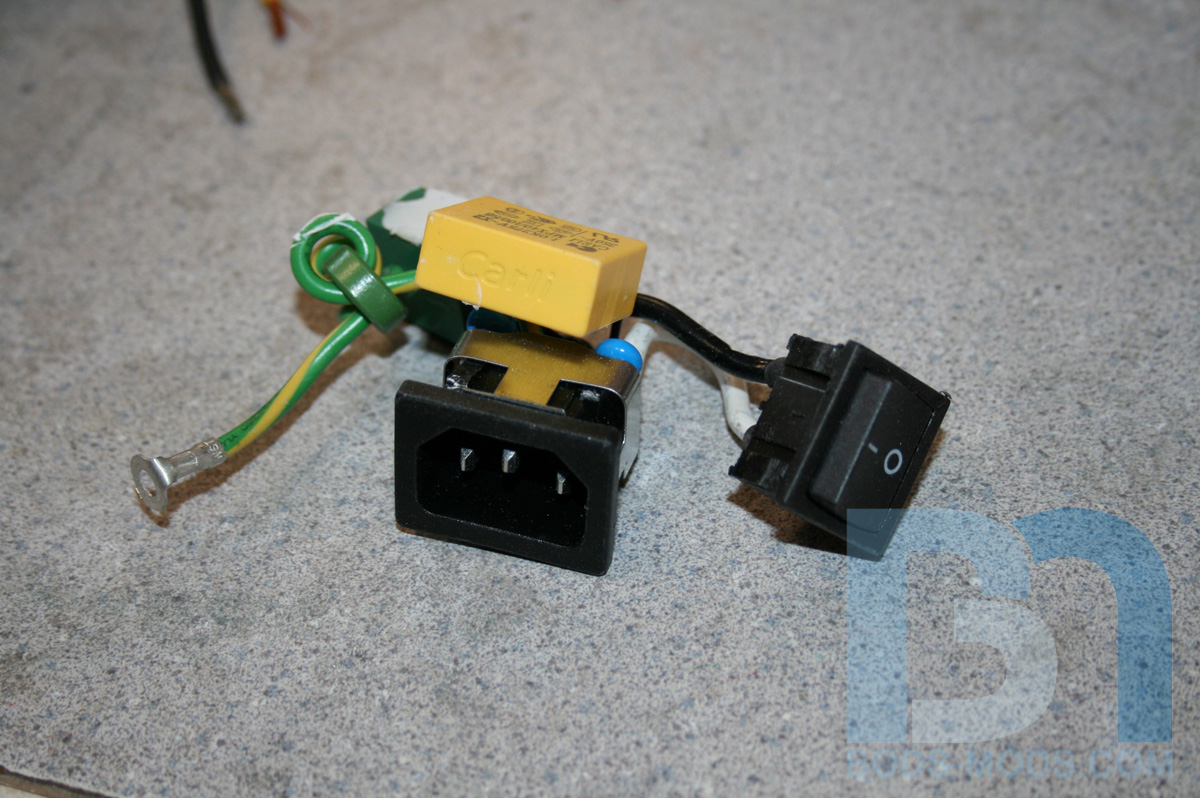
Here's the power switch/plug cluster that I de-soldered from the main wires.
It will be re-soldered to the extensions once I know how long they need to be. I won't know that until I get the switch and plug mounted to the new IO panel.
I routed the extension wires through the top of the PSU, insulating the hole with a rubber grommet.
Now that the cover has been thoroughly transmorgrified, I placed it back onto the psu. (Warren is going to be soooo pissed!)
To secure the PSU vertically in place, I whipped up a couple aluminum brackets. The PSU will rest on this one across the bottom.
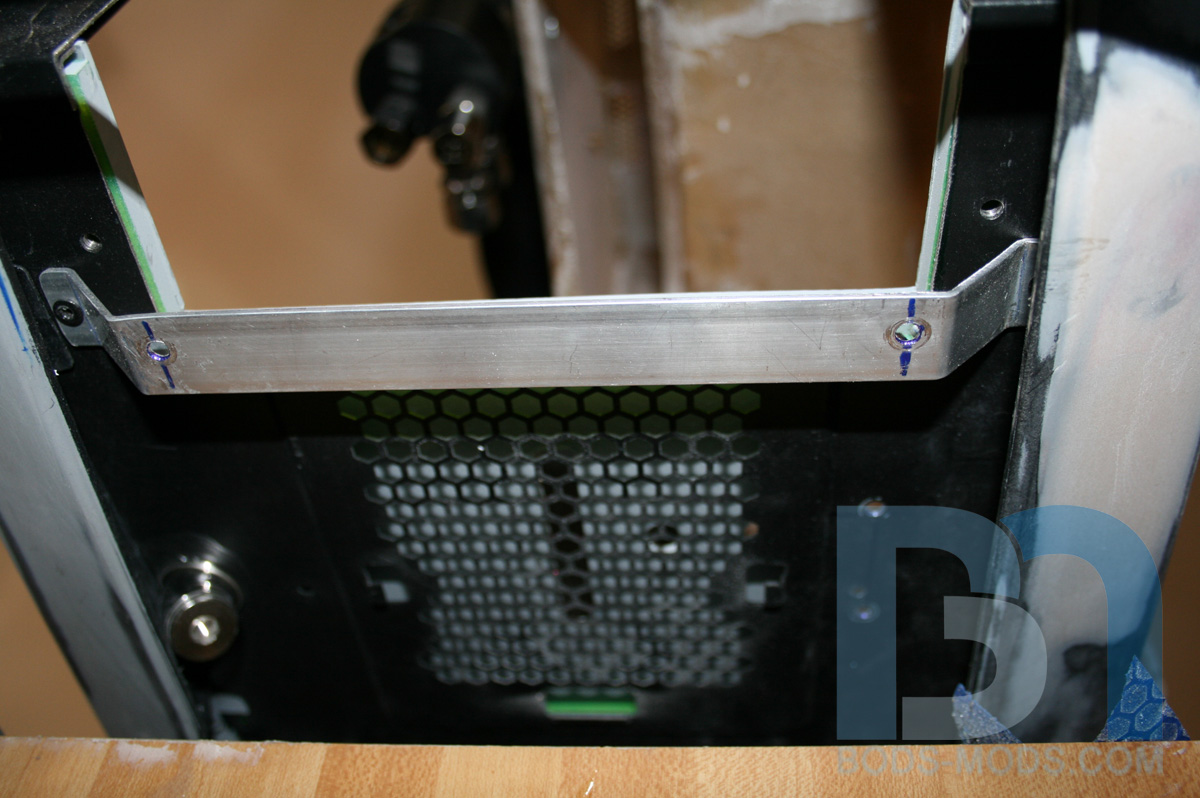
A shot of the bottom bracket from underneath...
... and with the PSU mounted..
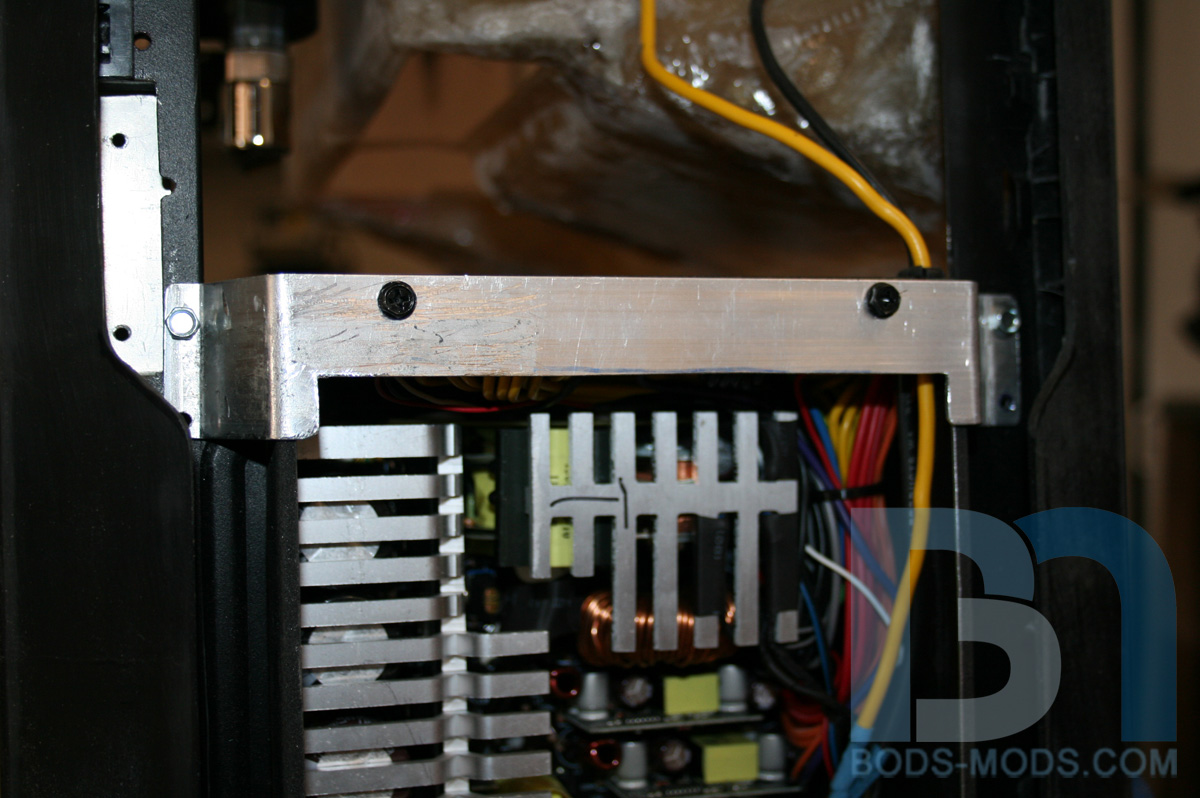
Here's the top bracket, mounted for a test fit. You can also see how the PSU matches the rounded corners.
In order for the 140mm fan to fit, I had to notch the top bracket just a little.
I've also been working constantly on the back panel for the last couple months. It's taken a while, but it's finally starting to come together. If all goes well, I will be able to show that progress right after the new year.
Honey Roasted Peanuts Ingredients: Salt; Artificial honey roasting agents; Pressed peanut sweepings.
Hey guys, I'm back again with some progress on the back panel. Originally I wasn't going to do much to it, but it quickly became clear it would be easier to just create a whole new panel, rather than trying to modify the stock one.
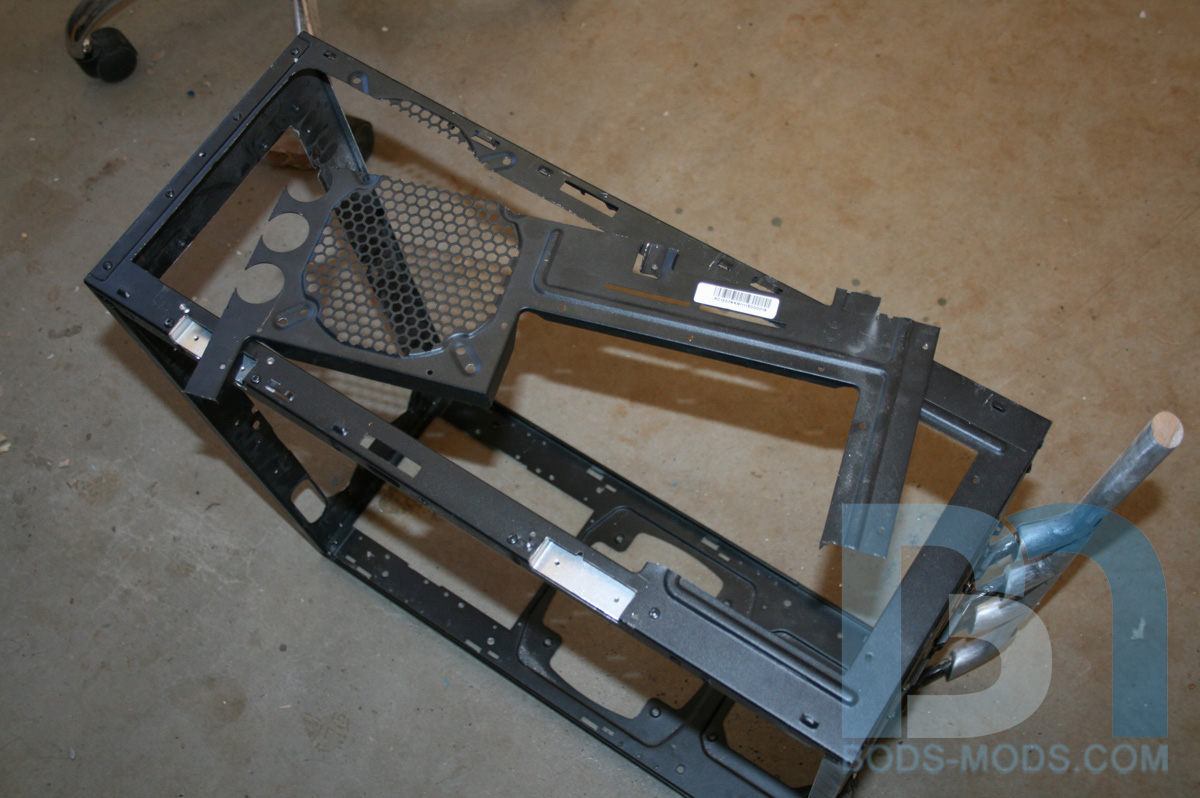
Here's a pic I took a while ago, cutting the stock rear panel away. I think I did this just prior to working on the suicide door and hinges.
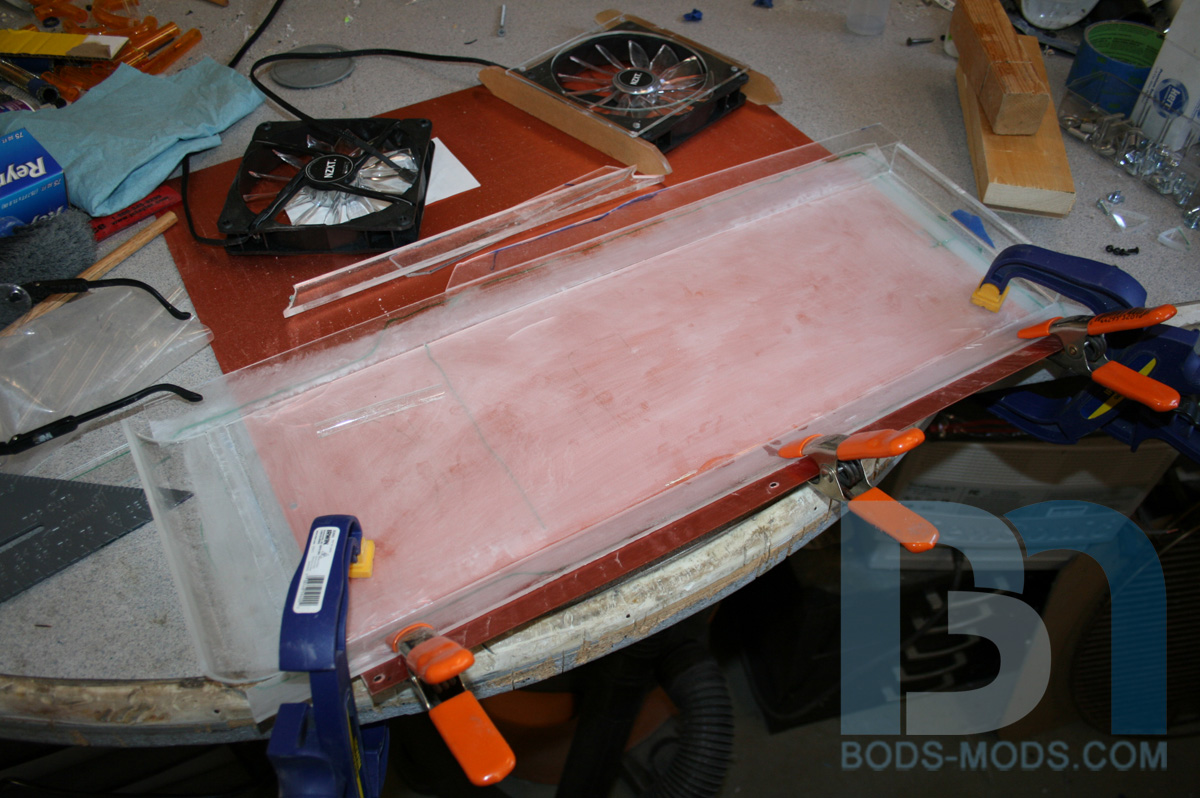
Using 1/8" acrylic sheet, I made the center piece along with two vertical pieces, a top mounting piece, and a curved piece on the bottom. Here I'm gluing the two vertical pieces at an angle to match up with the side panels.
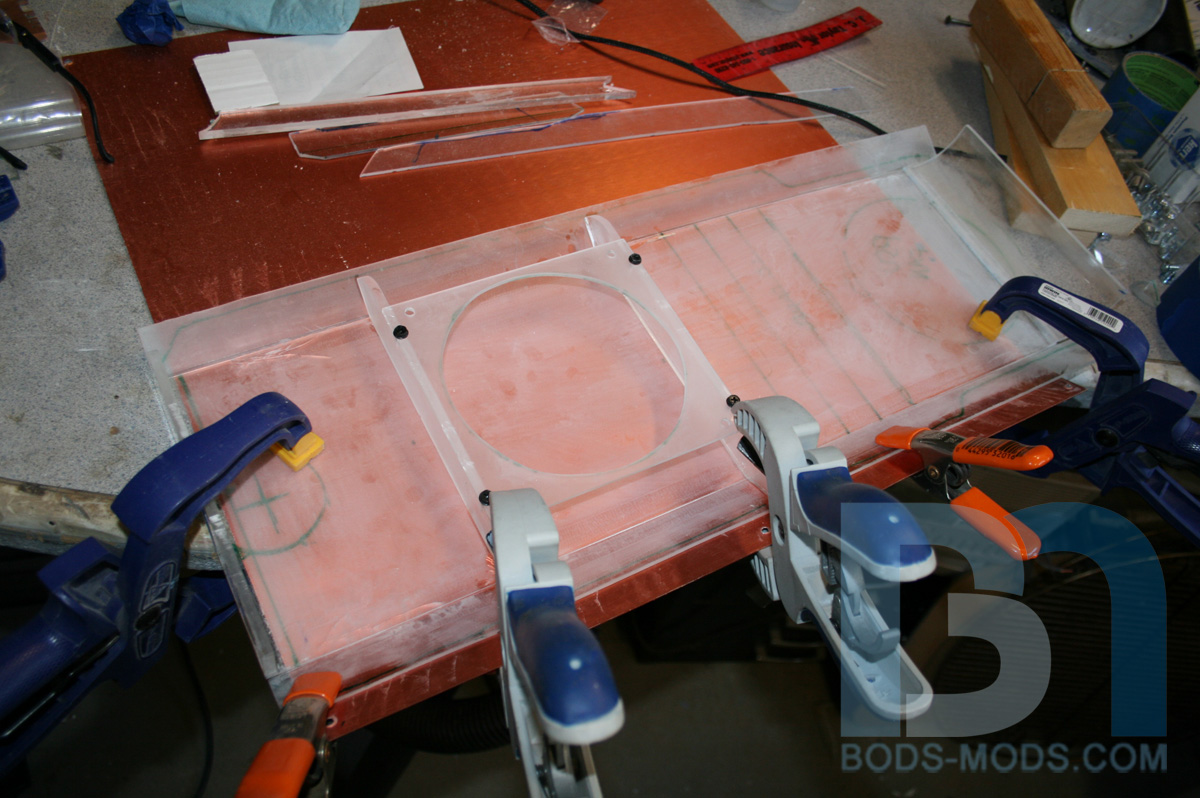
I made a couple fan mounts out of 1/4" acrylic that also serve as cross braces to give the panel some rigidity.
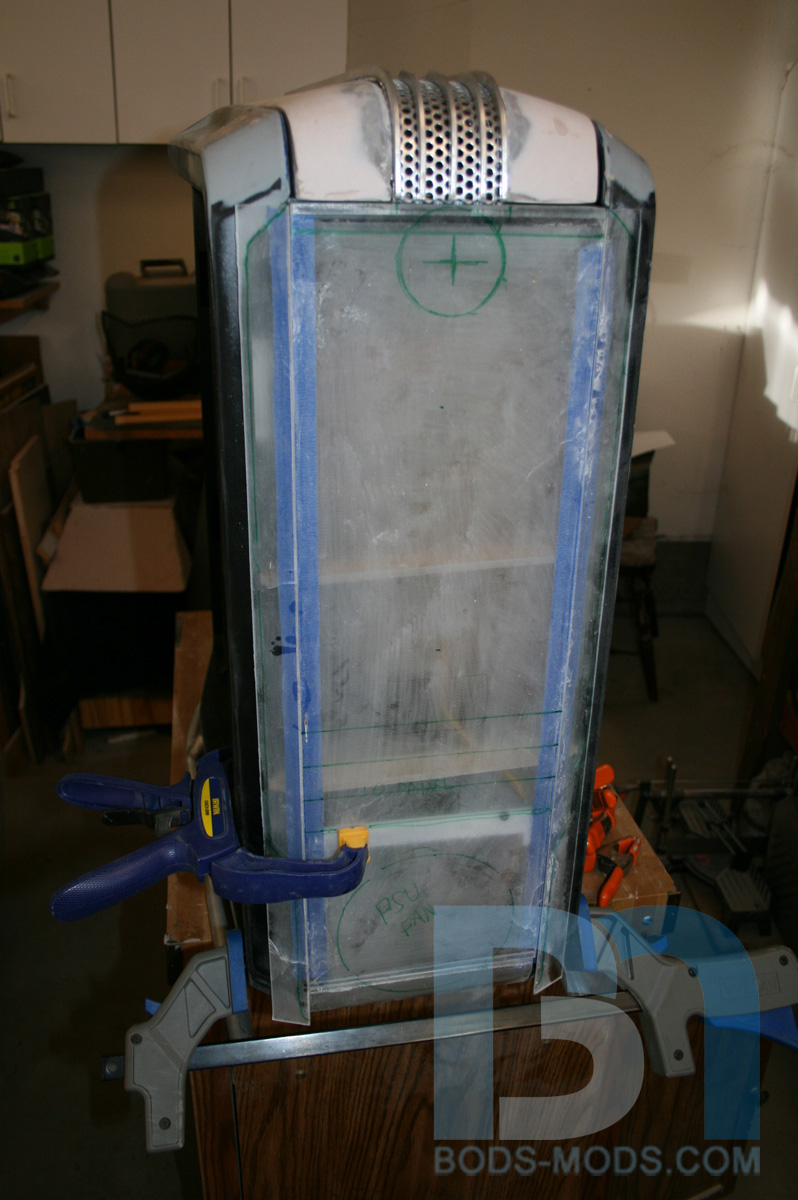
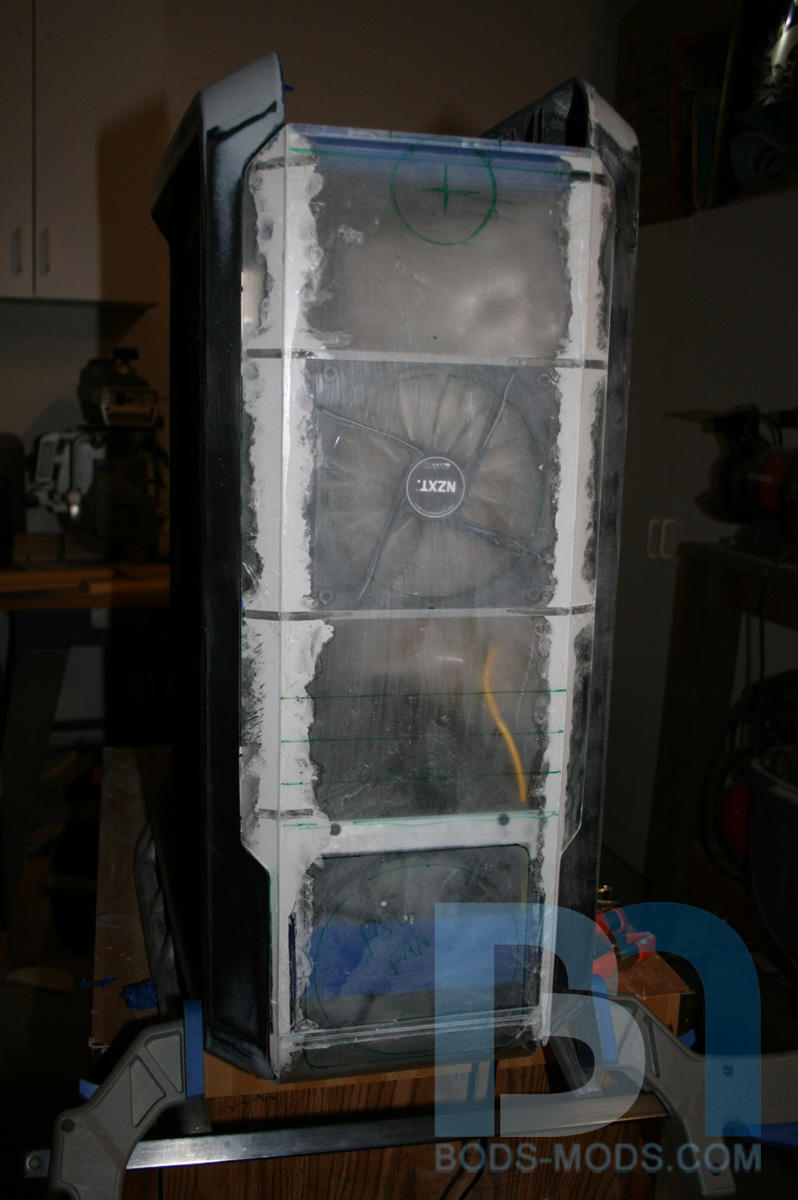
Trying the panel on the case, checking for fit and marking positions for fans, fillport, and the new IO panel.
Back panel trimmed, glued, reinforced, and fans mounted.
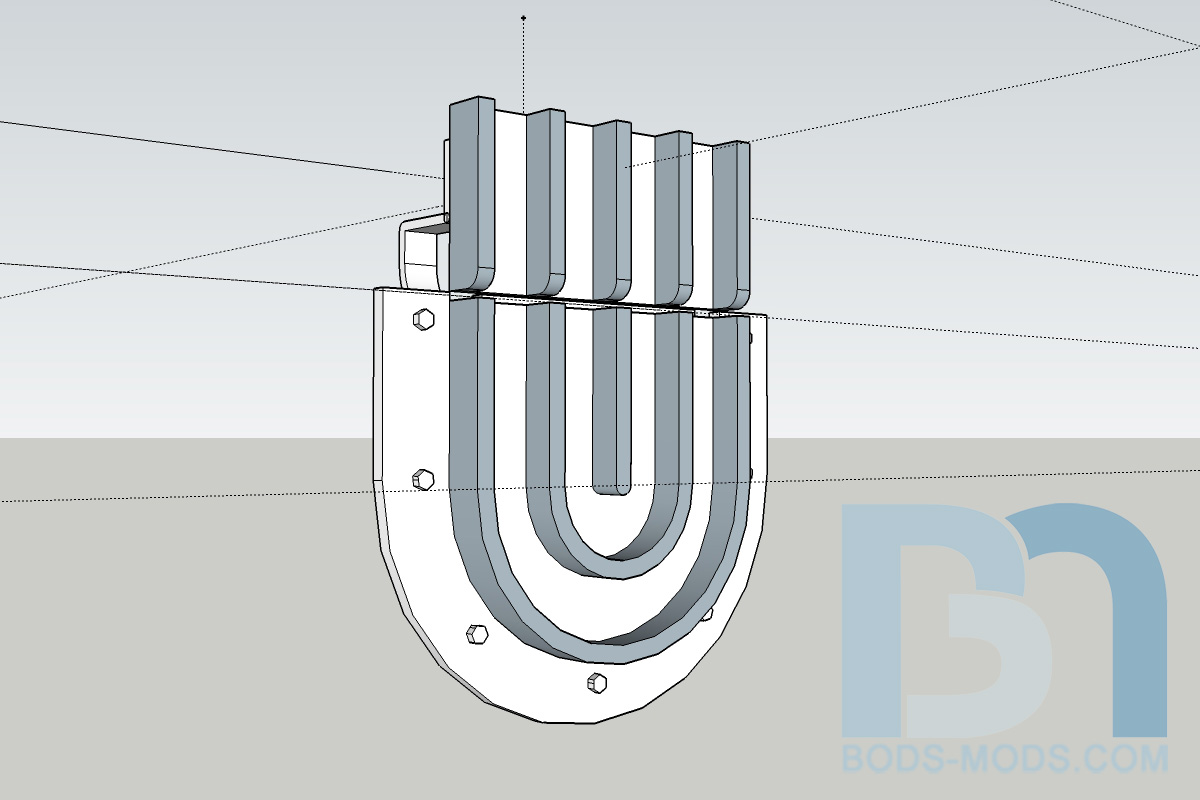
For the fillport, I was going to do something like those flip-up fuel doors on Dodge Daytonas, but I thought a hide-away system would be more appropriate for a custom rod theme. So I drew up a quick model in Sketchup...
The lid will continue the design of the top panel, with the aluminum bars ending in a half circle. Custom hinges will allow the lid to raise up over the bars on the top panel, revealing the fillport underneath.
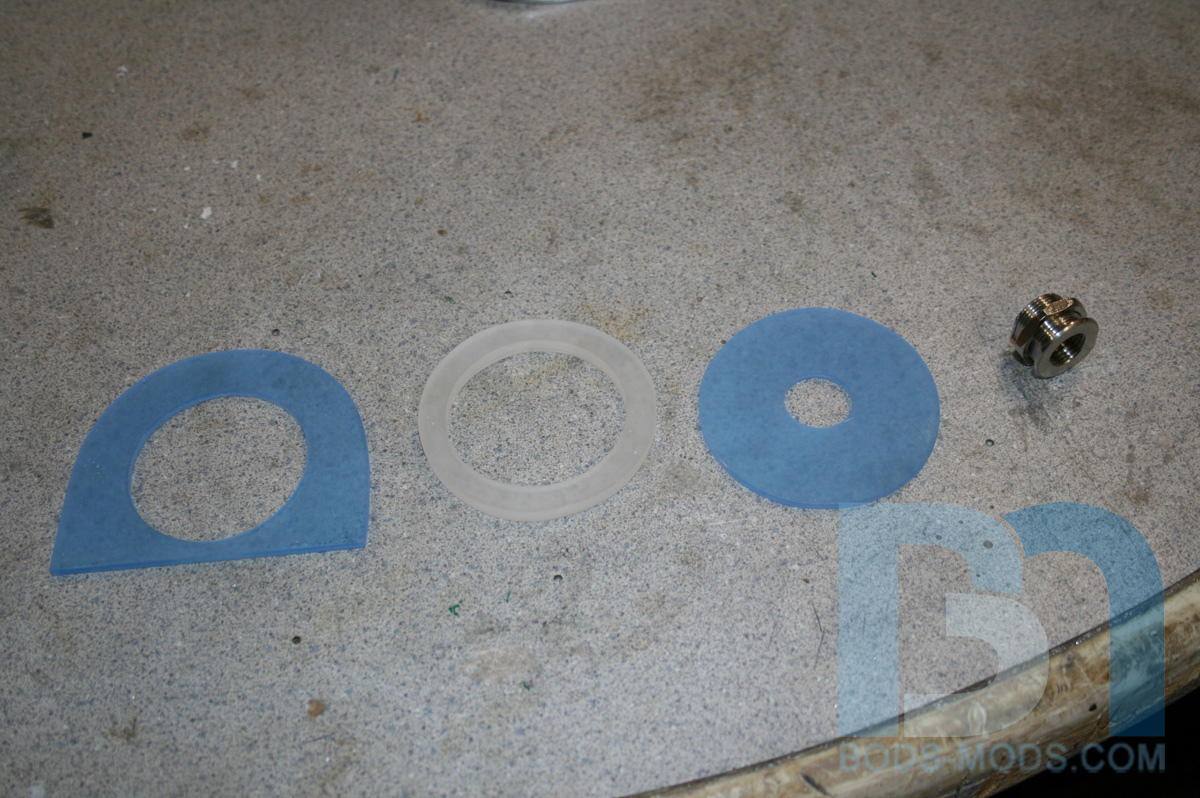
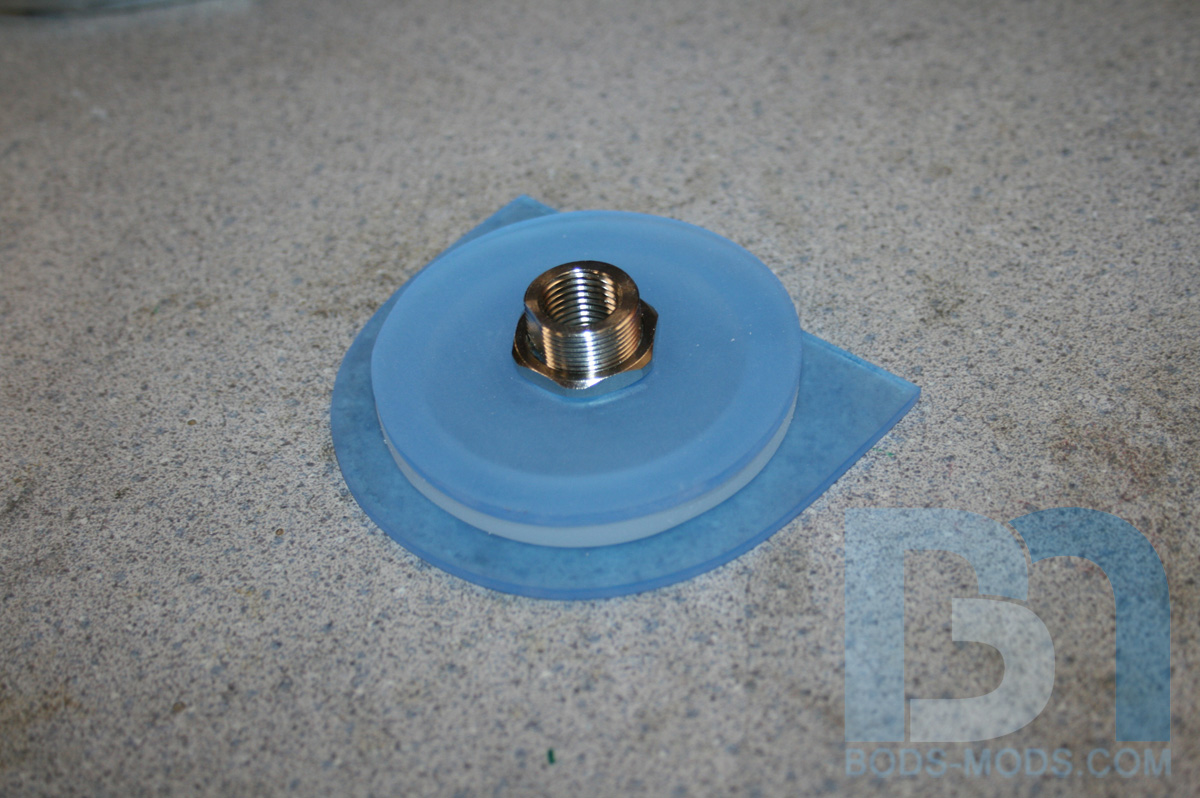
I grabbed some pieces of acrylic from my scrap bin and started making the pieces for the base.
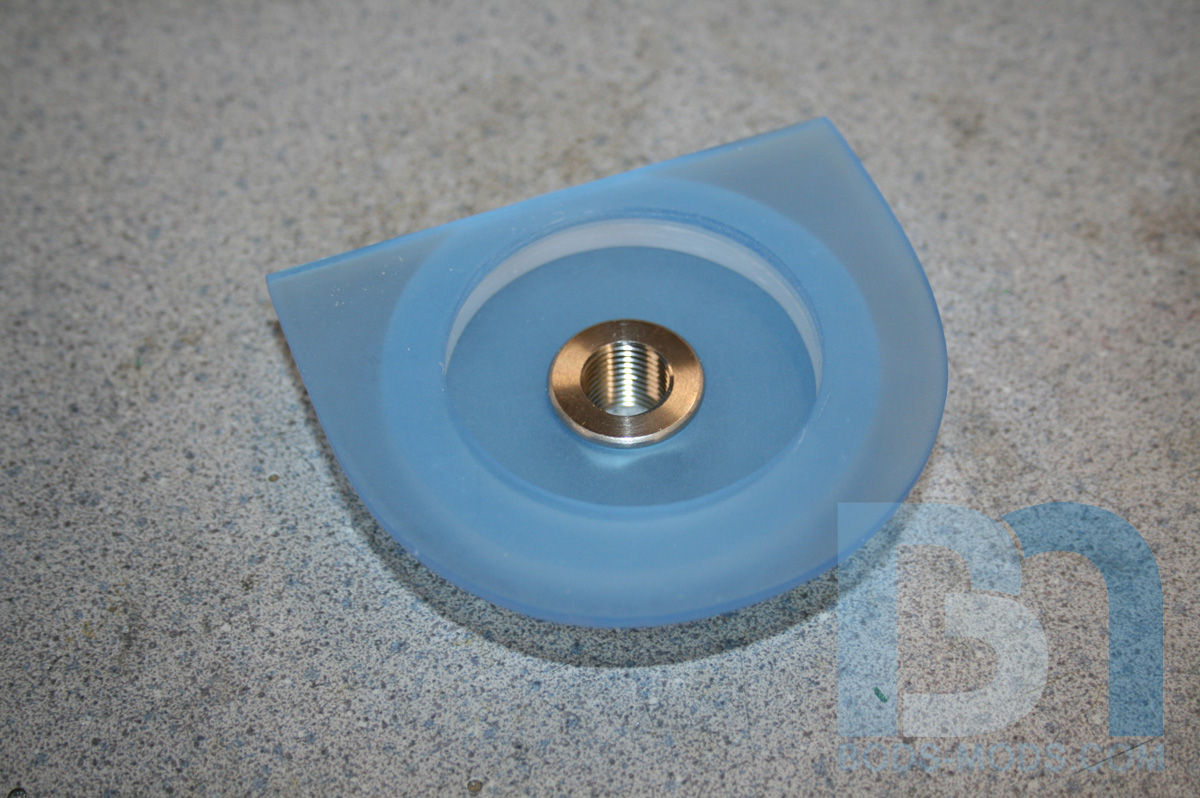
When assembled, they will stack up like this:
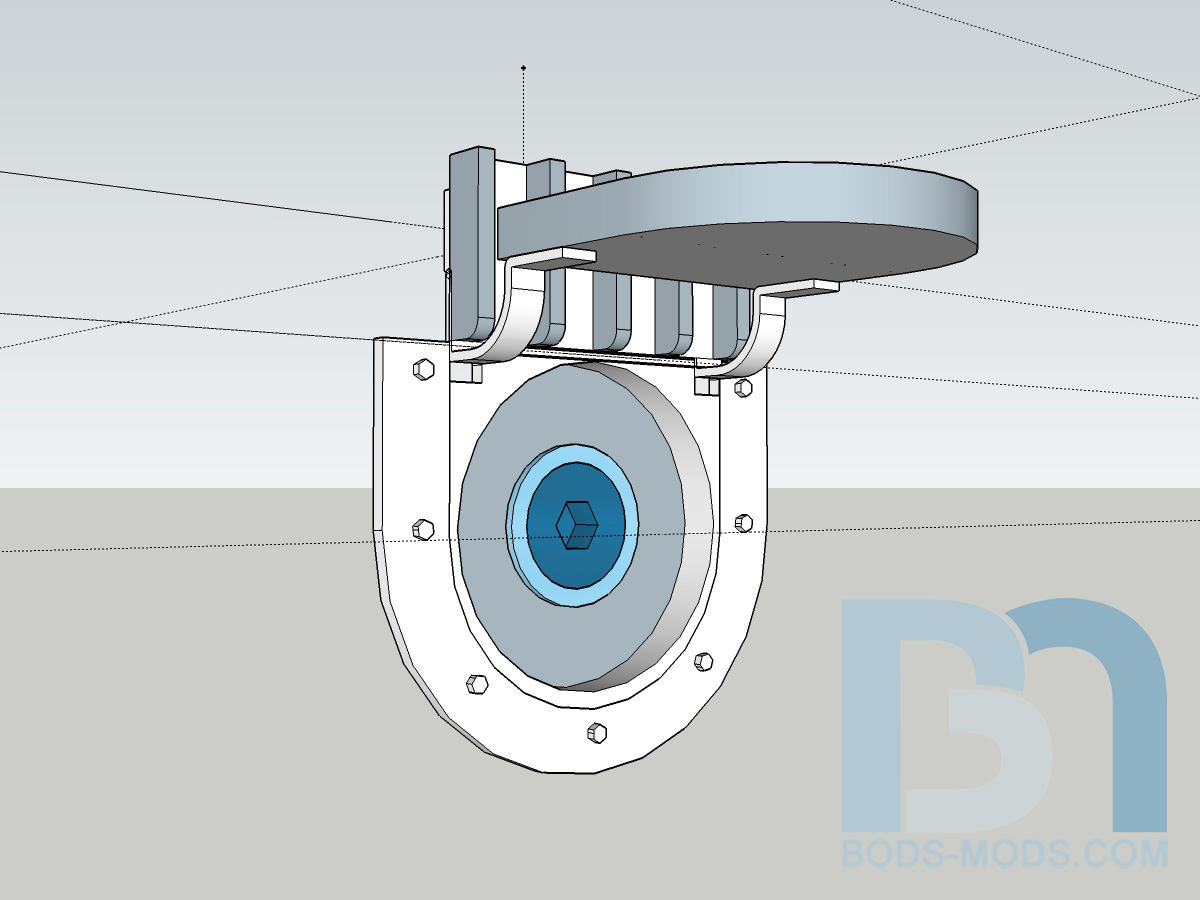
And top view:
Using acrylic cement, I started gluing the pieces up.
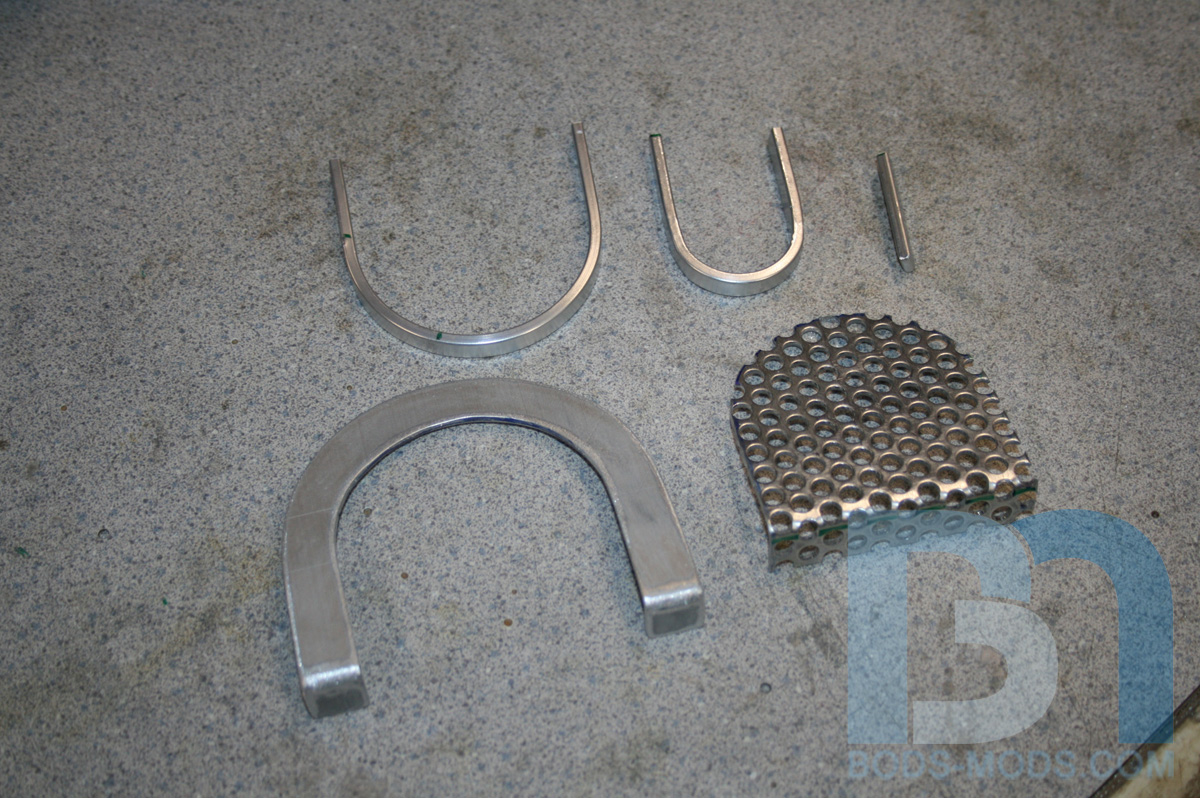
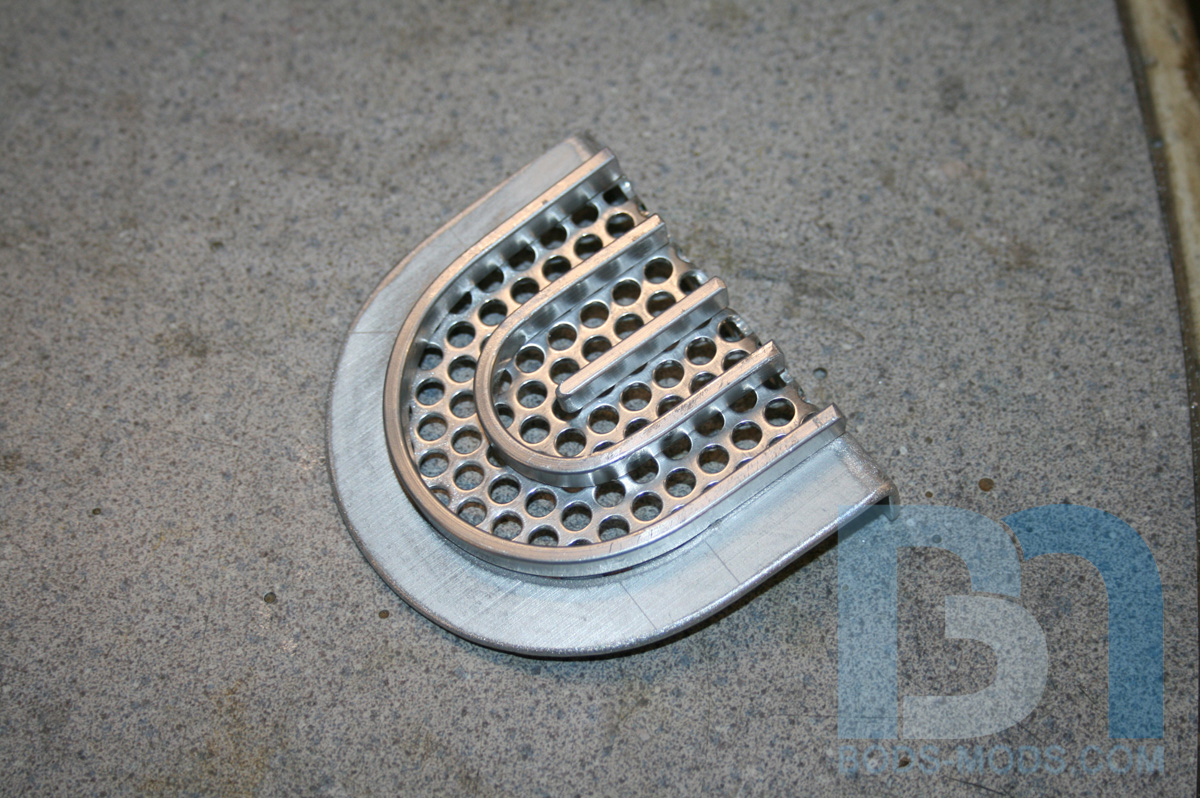
While that was setting up, I proceeded to make the lid, cutting the mesh, trim ring, and bending the aluminum bars.
I'm thinking I will use my alumiweld brazing rods to solder the bars to the mesh, rather than tapping/screwing them from underneath. Either way, they will look like this when done:
Preparing the back panel for the fillport...
Fillport set in place for a test fit..
..and with lid.
Now I have to tackle the hinges next. Looks like I'll have to modify the design a bit to accommodate the mesh, but that shouldn't take too long.
Thanks for reading, 'til next time!
Honey Roasted Peanuts Ingredients: Salt; Artificial honey roasting agents; Pressed peanut sweepings.
Awesome.
I have a hammer! I can put things together! I can knock things apart! I can alter my environment at will and make an incredible din all the while! -Calvin
What he said. Just speechless.......
 Posting Permissions


 Reply With Quote