Awesome work man! I know how frustrating it can be when something doesn't work out. My vote is to not let a little snag stop you from building this. +rep.


Awesome work man! I know how frustrating it can be when something doesn't work out. My vote is to not let a little snag stop you from building this. +rep.

Hey everyone!
Thank you for your support. As I fear FrooP and Doesi coming to my place and slapping me (), I ordered a new plexiglass sphere today.
Seriously, you all animate me to go on with the Orb.
Unfortunately I have a diploma exam on Robotics in September and I sould really put more time in it. So, from now on this worklog comes in much smaller pieces till september. But I worked out some nice ideas for the automatic opening and closing of the visor and some other gimmics.
So, I hope you stay tuned. See you,
Squelsh

good luck with everything!
Originally Posted by Crazy Buddhist

puh. won't get any vacation till winter, so I'm glad you continue this and we don't have to come around. Good luck with your exams!
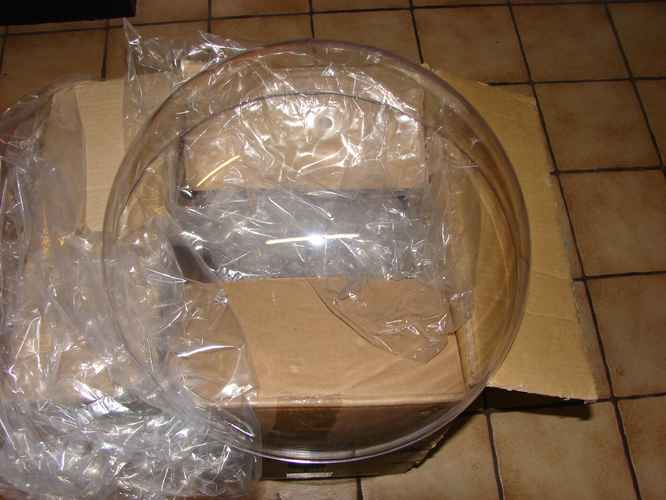
All right! Back on track: Today my new plexi-sphere arrived. With a 7cm scratch on it.But I thougth thats not worth all the paperwork and shipping-time to get a new one. I have to polish the scratch out later.
An other thing I had been waiting on is finally ready. It's this little controller:
Mäusekino. Thats German and stands for "Cinema for mice"It's a display controller with some I/O functionality I plan to use for the motorisation.
That's it for today. Pictures will follow tomorrow. See you.

Enough polishing and it'll be gone, shame it had it though
And a Cinema for Mice... Well ok...
Update time!
- Visor, the third (:
It's amazing, how big the speedup is, if you do something the third time. Within 6 hours I got almost all parts for the visor done! I saved the time that I needed for bending the plexi-spacers because this time I try something else. Also I could reuse the template for the smaller ones of the quarters.
Here are the pics from today:
The hemisphere as it arrived. I tried to capture the scratch, but the cam didn't focus right.
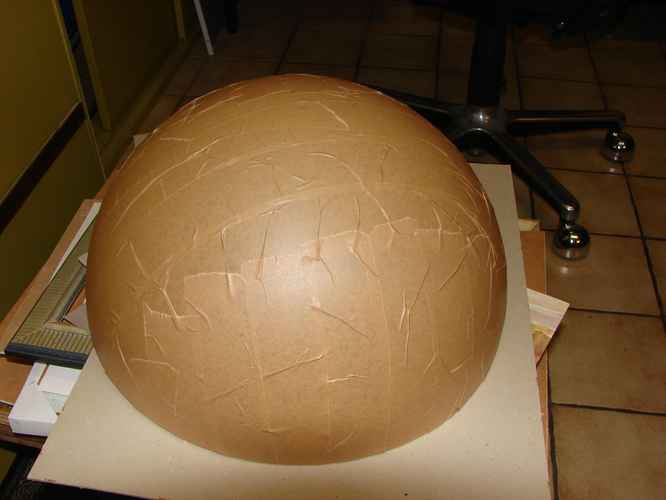
This time I was clever enough to cover it with tape:
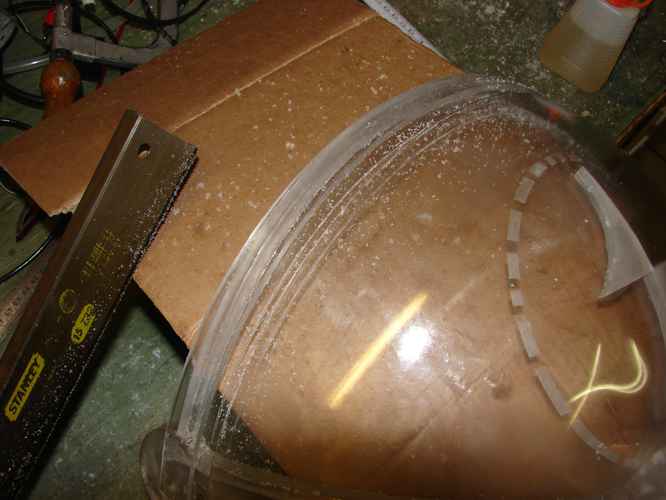
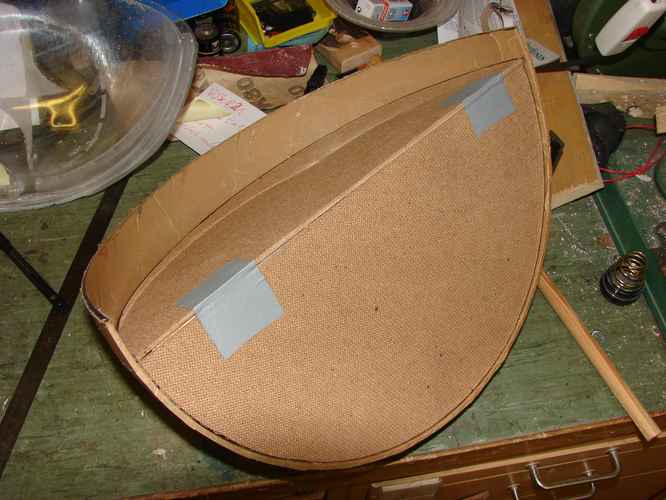
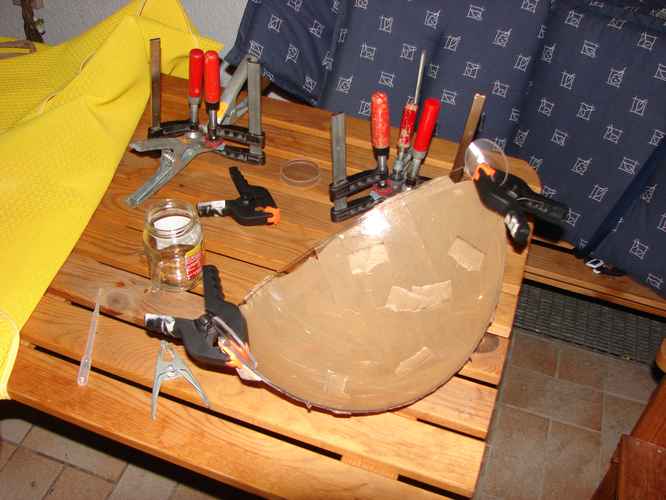
That hurts: Sawing through former work... I cut stripes from the side of the visor that did not melt down. Those stripes will act as the spacers between the spheres. So I don't need to bend more plexibars. I can tell you, that it's not easy to make a straight cut through a spherical object
As with all plexi-work I used lots of oil so that it didn't get too hot.
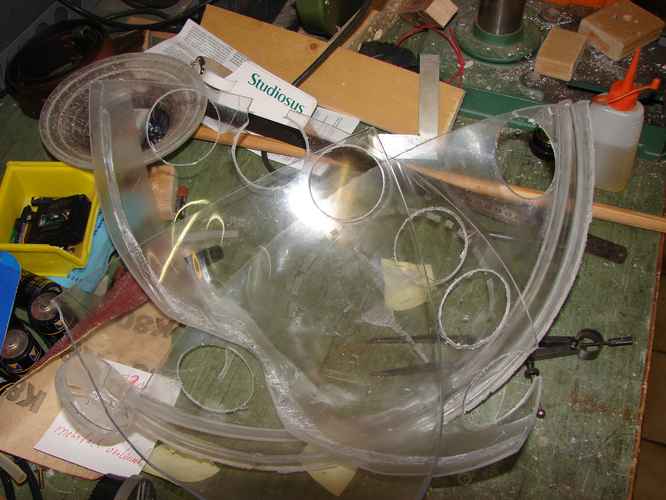
Those are two of four stripes I made from the old visor:
At my last try I fitted all parts perfectly together and then glued them. This time I try something else: Glueing the parts together and then put them on the sanding machine and fit them all in one working step. I hope this leads to a better result with less work.
Some pics are missing here
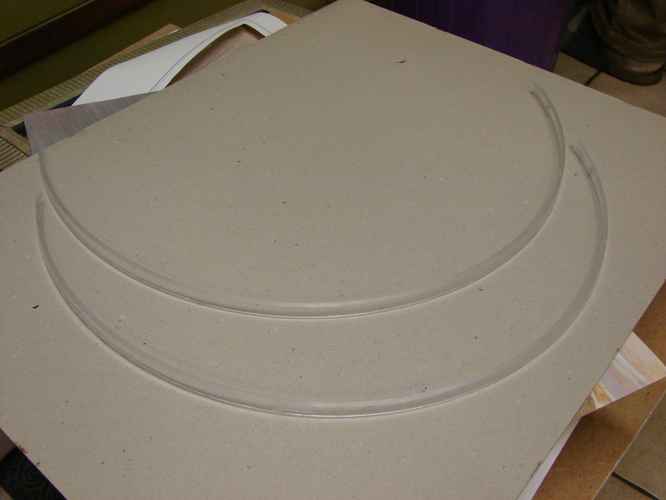
With the jigsaw I made out a circle first and then cut it in halve. The pices attached to the old template gave me the right diameter for marking and cutting the bigger quarter.
Template with attached halves:
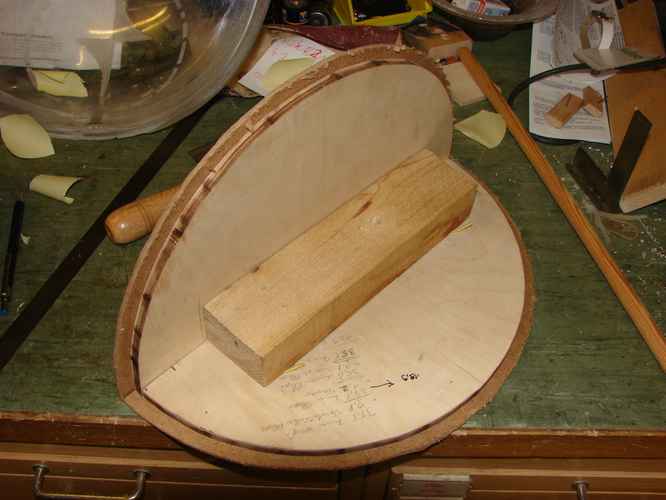
Temeplate inside the sphere:
All the plexi cutting was done in two hours of handwork with a normal manual saw *sweat*
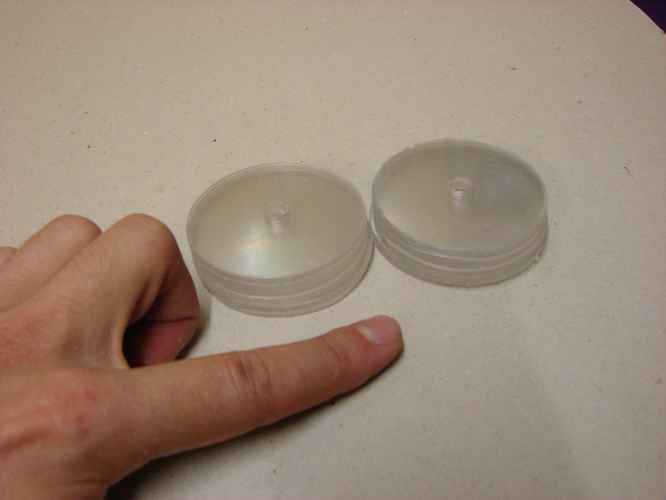
- The new hinges:
Last time I cut the circles for the hinges from 8mm thick plexi-sheets. I thought it would not be a problem to glue a flat piece of 5cm diameter to a sperical object with 40cm diameter as the gap between them was less than 1mm. As I recognized while disassembling this 1mm made a difference
So with some pieces of plexisphere left, the solution was obvious: Make the hinges from the leftovers:
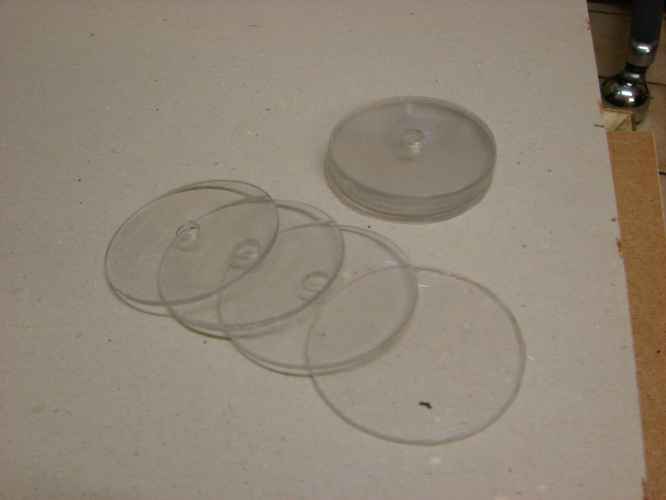
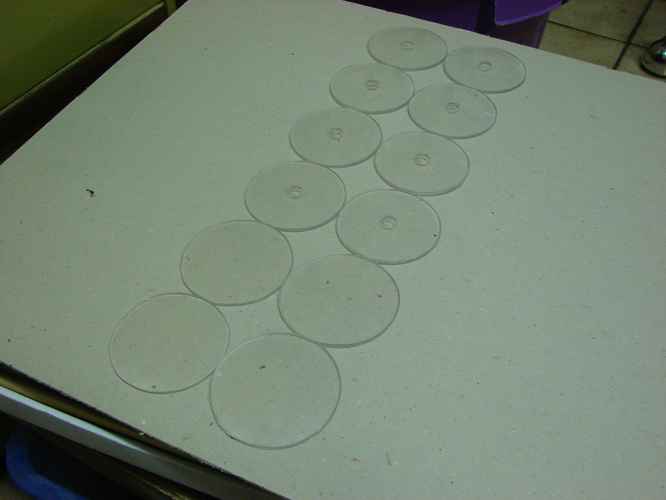
I need 6 layers for one hinge so the old visor looks like swiss chese now.
But with a hole-saw the circles came out nice:
More handwork was needed for the innermost circles that may not have a hole in the middle. But with some filing nothing is impossible
The stacks are made up like this (from inside to outside):
- Layer: Cirlce without hole as a cap.
- Layer: Cirlce in packman style with one quarter left for the inner sphere
- Layer: Cirlce with water duct
- Layer: Cirlce with water duct
- Layer: Cirlce in packman style with one quarter left for the outer sphere
- Layer: Cirlce with hole for water connection

Great job! I guess the third time really is the charm. Perseverance truly pays when it comes to art. + rep for continuing on.
My Webcomic: www.fknsrscmx.com
My Myspace Music page: www.myspace.com/ryokenryagnaroth
My Last.fm page: http://www.last.fm/music/Ryoken+Ryagnaroth
My deviantART page: www.ryoken-ryagnaroth.deviantart.com
My Weblog: gremlinbutts.blogspot.com/
 Posting Permissions


 Reply With Quote