All in all it looks good lol. Yeah I thought the case was an Antec one.


 Re: Project: Green Light
All in all it looks good lol. Yeah I thought the case was an Antec one.
Project: Elegant-Li *NEW*
Project: Alpha FINISHED
Project: LEXA Revival FINISHED
Project: LEXA FINISHED Bit-Tech MOTM Nominee October 08
 Re: Project: Green Light
Looks promising ! Keep it up !
 Re: Project: Green Light
Woo!! Front Page Thanks TCBS!!


 Re: Project: Green Light
it was well deserved, you are doing a great job!Originally Posted by Fuganater

"At the midpoint on the journey of life, I found myself in a dark forest, for the clear path was lost..." -Dante Alighieri
 Re: Project: Green Light
wow, i haven't seen thing case in a while and its come out really nice. i like that colour of green and the black. +rep and i gotta watch this more often.
CPU: Q6600 G0 3.5GHz@1.4v (4.2GHz max) / 4790k 4.8ghz @1.265v
GPU: 9800GTX /GTX780 hydrocopper
Ram: Samsung 4GB /gskill 16gb DDR3 1600
Mobo: EVGA-NF68-A1 680i (P32) /AsRock Extreme6
PSU: Enermax Galaxy 850Watt /EVGA 850 G2
HDD: OCZ 120GB Vertex4, Samsung evo 840 250GB
LCD: Samsung 32" LN32A450, Samsung 226BW 22" wide
Sound: Logtiech Z 5500
CPU & GPU: 3x Swiftech MCR320, 2x MCP655, MCW60 R2, Dtek Fuzion V2, 18 high speed yates @ 5v
Update 20
UPDATE - FRONT PANEL
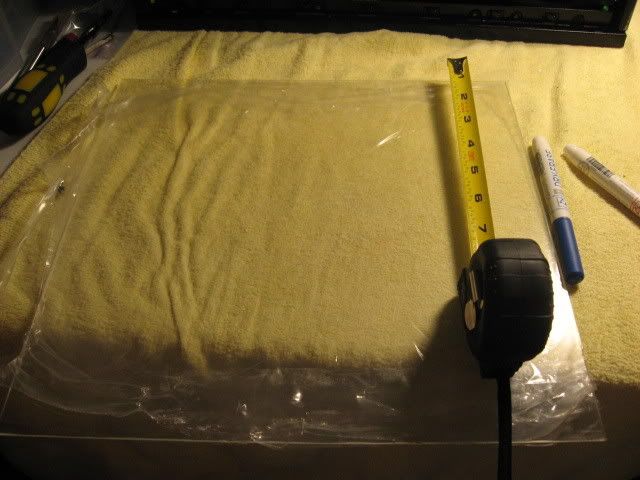
Here is my little sketch of the measurements.
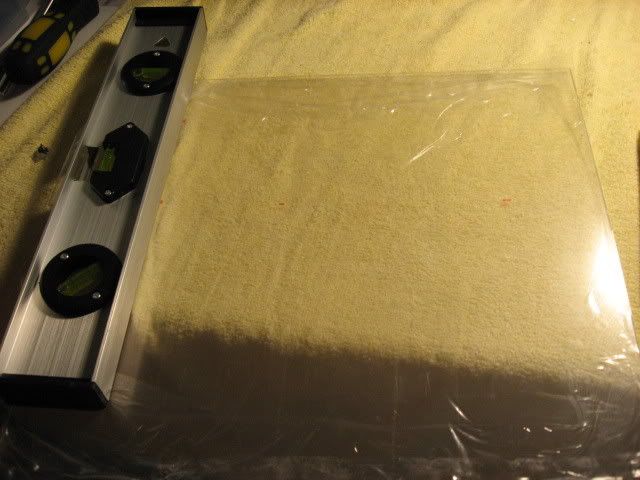
Measuring up for the cuts.
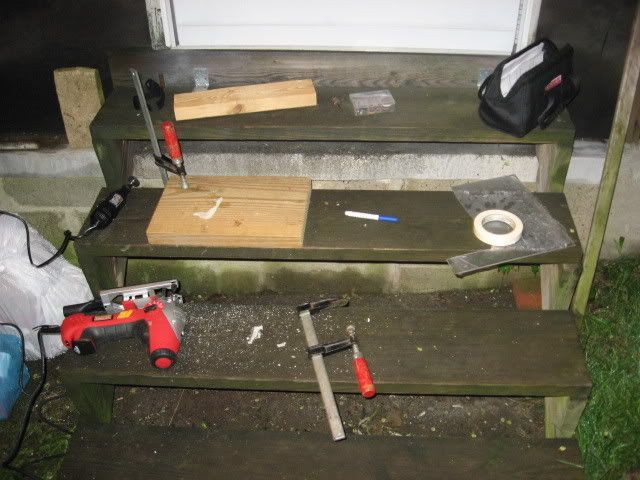
My workshop out side again lol.
(Man I wish I had a garage....)
After the cuts.
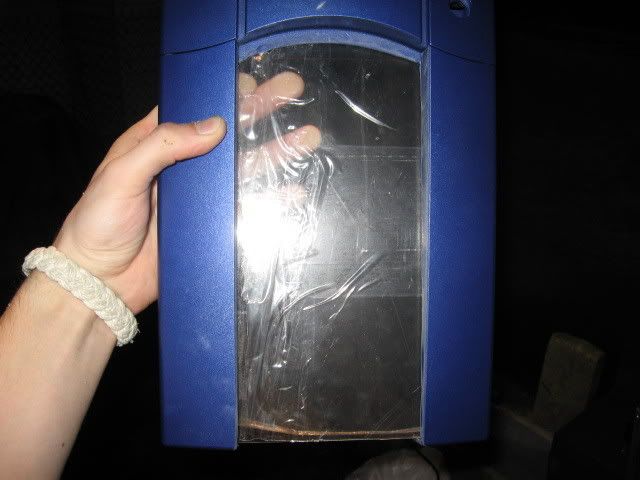
After it was all done it looks awesome! Left enough room for the epoxy to hold it on nice and tight. Now for more planning.
Here are some items I bought.
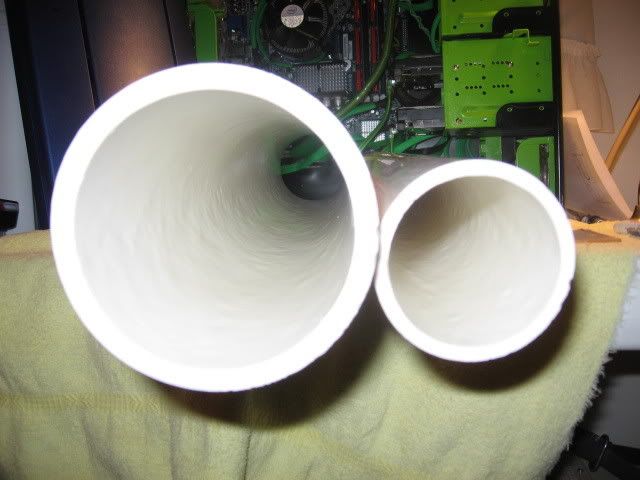
3" and 2" PVC Piping.
I got 2 sizes because I didn't know which one I would need.
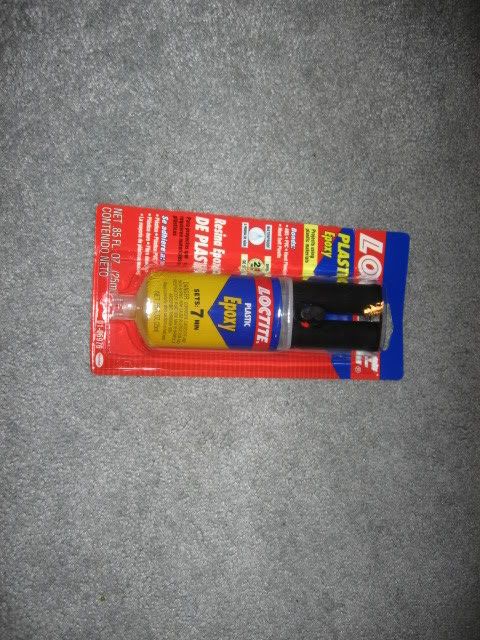
Epoxy
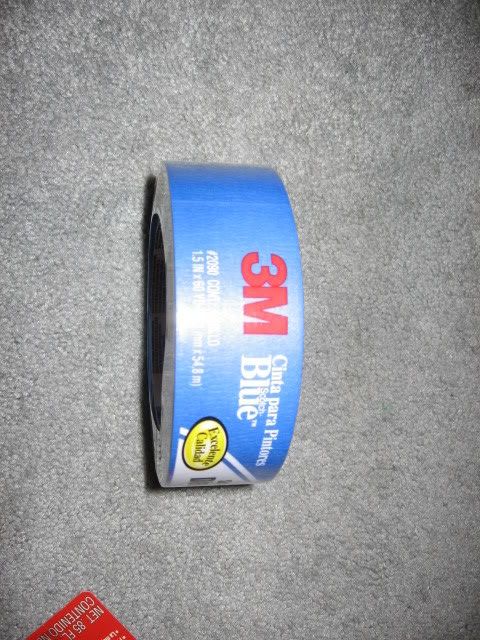
More painters tape.
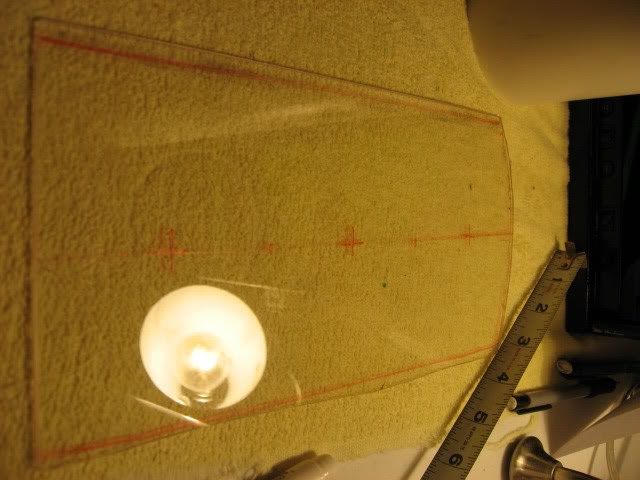
My marking for where the tubes will sit on the front pelxi.
My dad is going to take the 2" PVC pipe to work tomorrow and get the guys there to cut it for me on the band saw. The sections are going to be:
3- 1" sections
3- 1 1/2" sections
3- 2" sections
We figured because I have 2' of the PVC, mind as well use it. This way I can see what size looks the best in real life because its way too hard to tell in Sketchup.
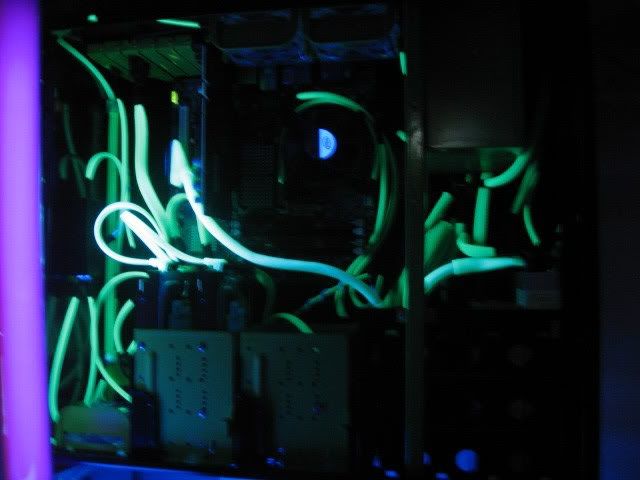
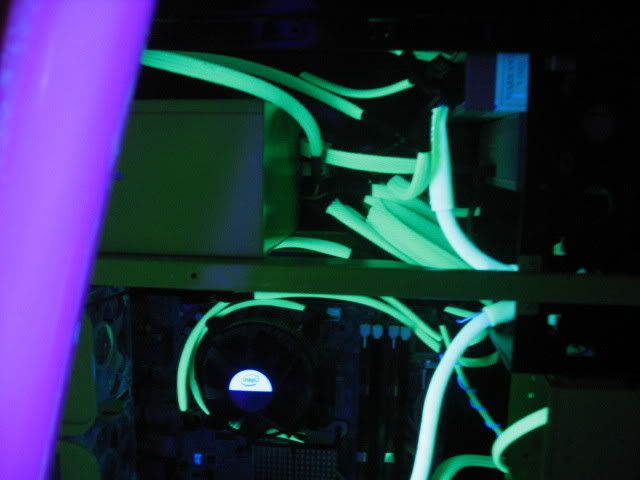
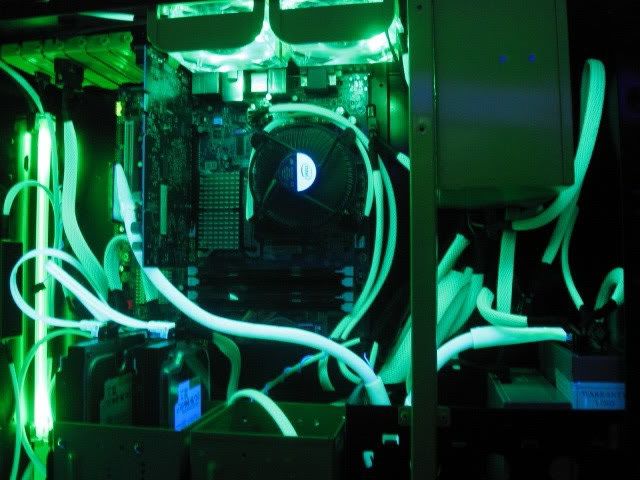
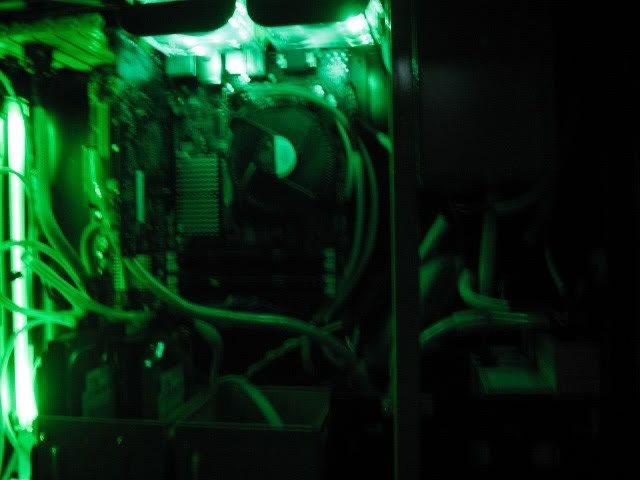
Now for the interesting part. I wanted to see what the case would look like if I had a UV light in the case. So I grabbed one of my blacklights off of my wall, dusted it off lol, (haven't used it in like years), and put it by the case. Here are the results.
UV light, Case Lights off
UV Light + Case Lights on
No UV Light, Case lights on
Which do you guys think looks the best? If I would get a UV cathode kit, it would probably be this one because it has a switch like the green lights do to turn it on and off. UV Cold Cathodes They are the exact same make as my green ones which I am EXTREMELY impressed with. And for the placement... idk. I would probably put one on the top of the case and one at the bottom. What do you think?
And don't forget TCBS! I still need some help finding a sweet fan grill for the top of my case. It has to kinda blend in. If anyone could "make one" I would be more that willing to pay for it and the shippingPlease post your ideas.
Great to see you watching again Spawn. You've helped me a lot earlier and now I'm going to be doing the LED's soon so I might need to call upon your services again
Now watch for an update Saturday or Sunday. I'll be doing some more measuring, adjusting, calculating and seeing what looks the best. If I can get a hole saw for the plexi I'll even be cutting this weekend.
Till then,
-Fuga
Re: Project: Green Light
Nice work mate. The sleeving looks great.
Project: Elegant-Li *NEW*
Project: Alpha FINISHED
Project: LEXA Revival FINISHED
Project: LEXA FINISHED Bit-Tech MOTM Nominee October 08

 Re: Project: Green Light
Man, this thing is lookin' good! I love the shade of green you chose, looks excellent with the black, more more more.
________
LINCOLN Y-BLOCK V8 ENGINE HISTORY
Last edited by blueonblack; 02-24-2011 at 02:34 PM.
Update 21
UPDATE - FRONT TUBES AND TOP FAN
Finally got the tool and stuff needed to get the front moving along.
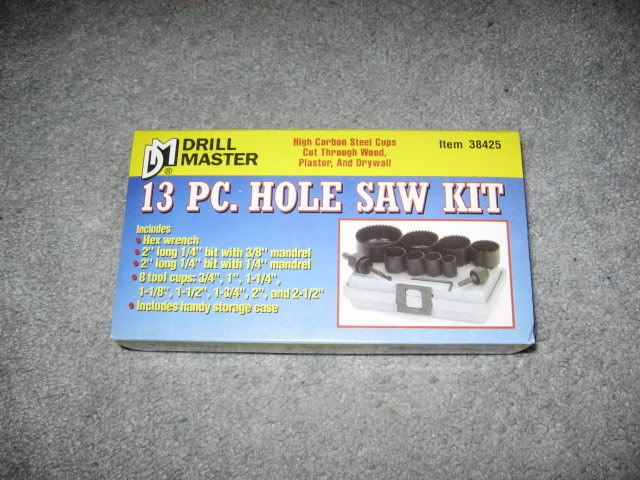
Hole saw set from Harbor Freight
Goes from 3/4" to 2 1/2".
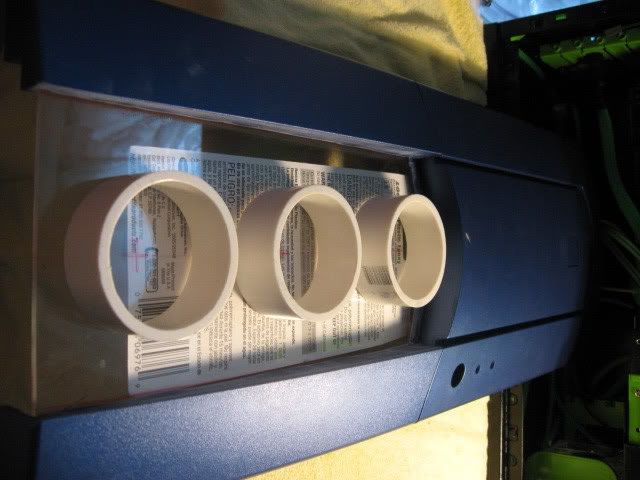
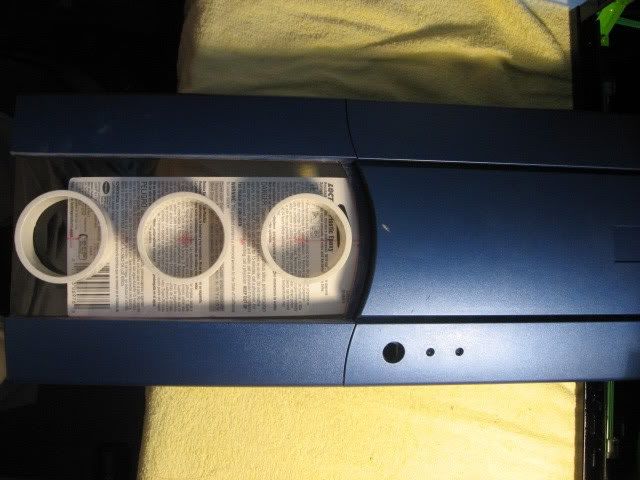
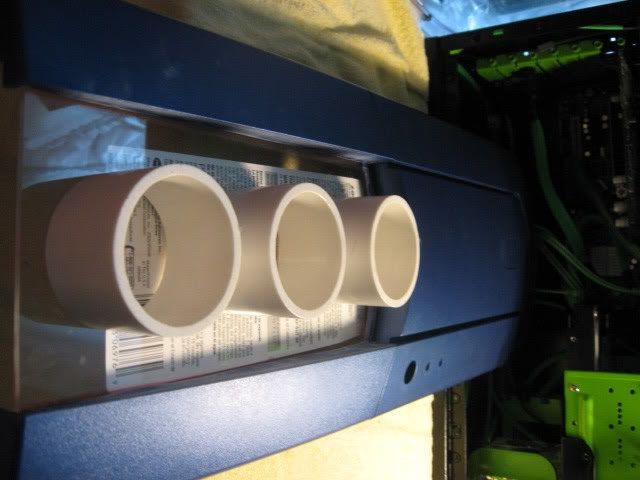
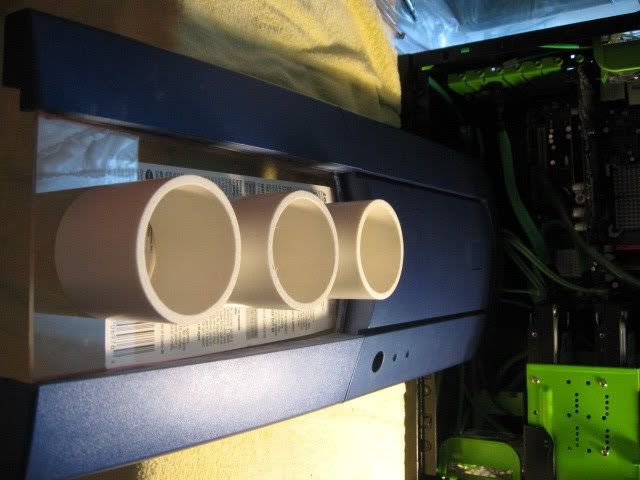
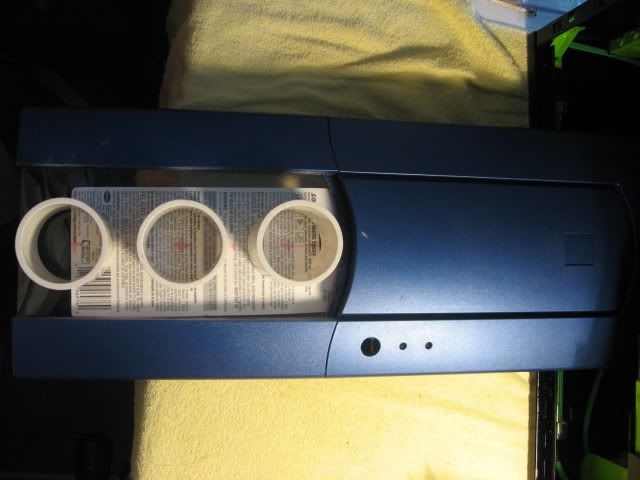
Like I said before, my dad took that PVC piping to work and the guys there cut it for me. Into 3: 1" pieces, 3: 1 1/2" pieces, and 3: 2" pieces. 3
So here are the pics that i used to decided on what size I was gonna use.
1"
1 1/2"
2"
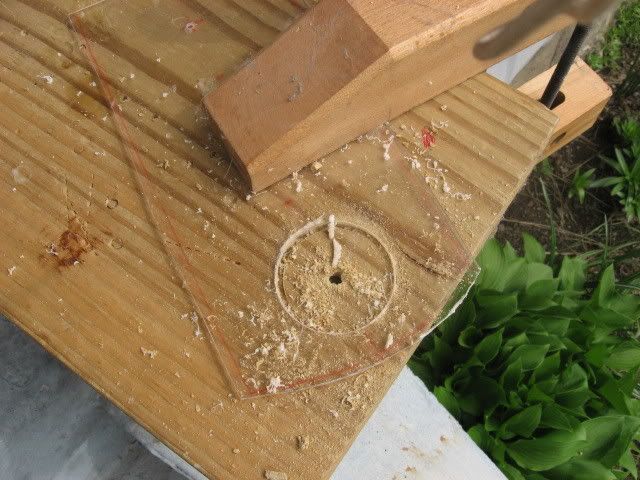
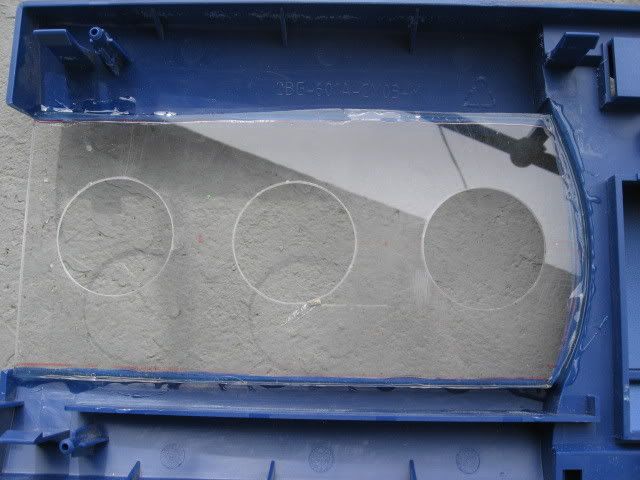
In the end I decided on the 2" tubes. They gave the best depth and anymore would make it look funky. So having decided on that I drilled the 3 holes in the piece of plexi that the tubes will be attached to.
Remember I have limited room... so anything becomes my bench lol. In this case its the edge of my front porch and a block of wood.
All cut and sanded smooth.
Epoxied to the faceplate.
I'll have some more pics of it when it finally dries. Takes 7 minutes to set but 24 hours to fully dry.
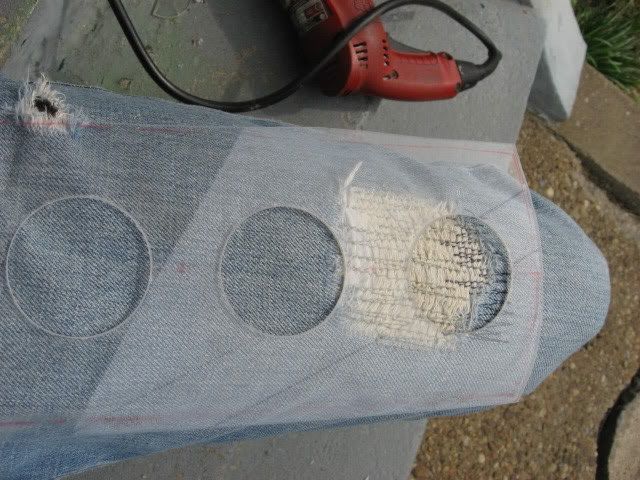
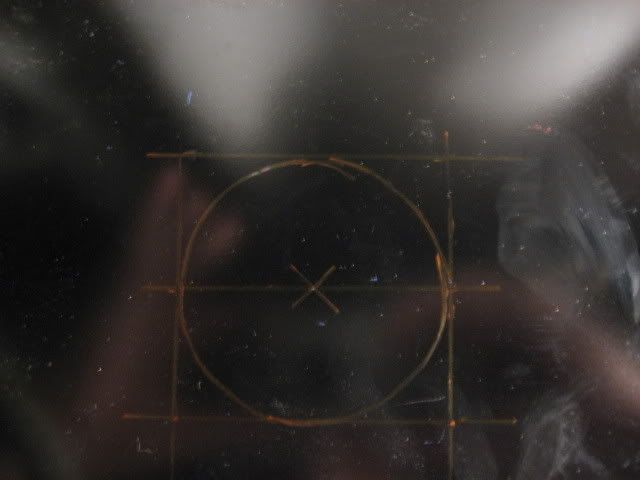
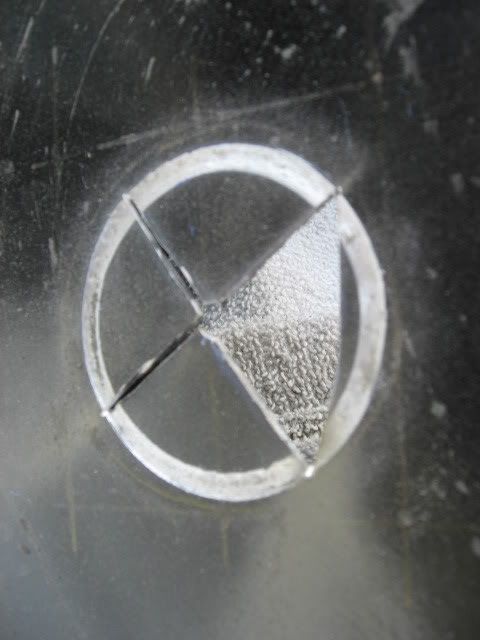
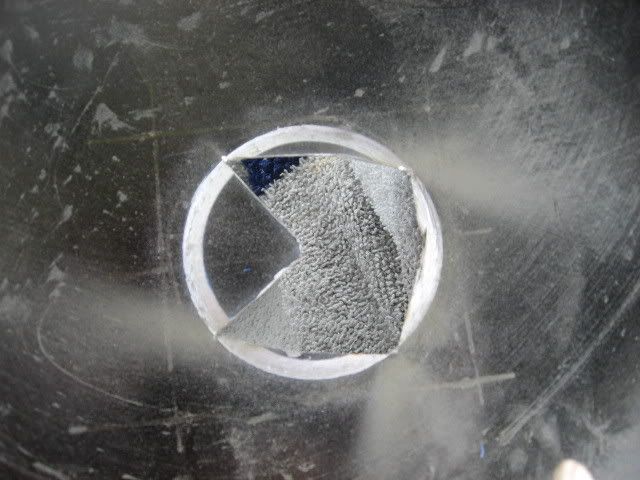
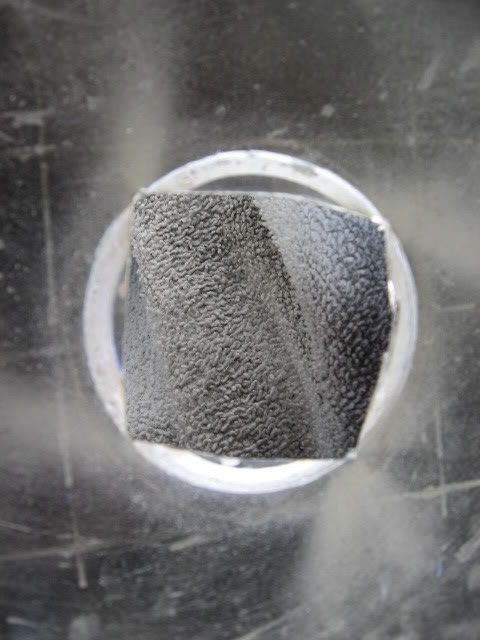
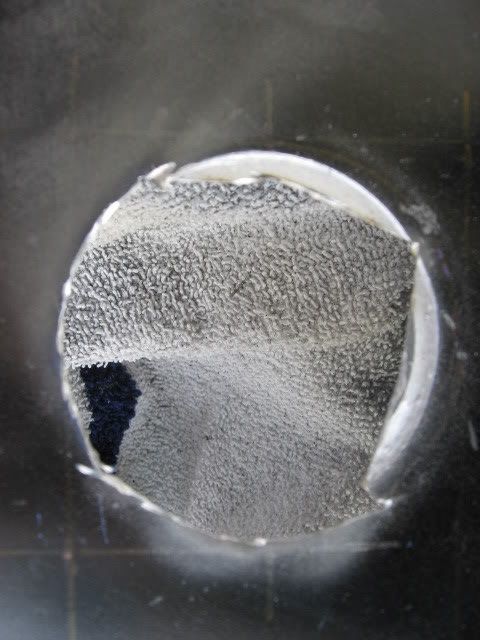
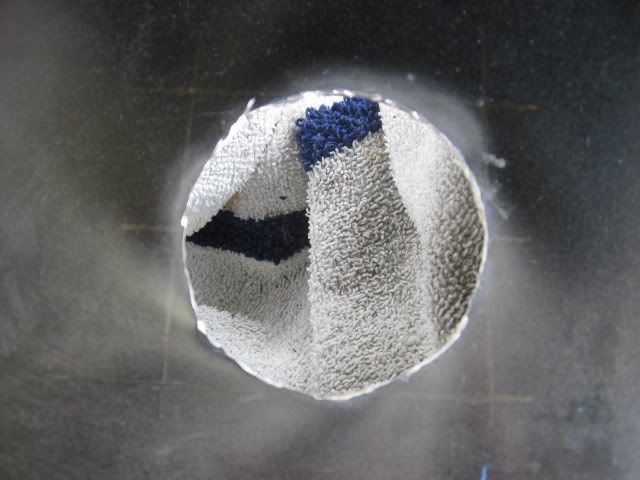
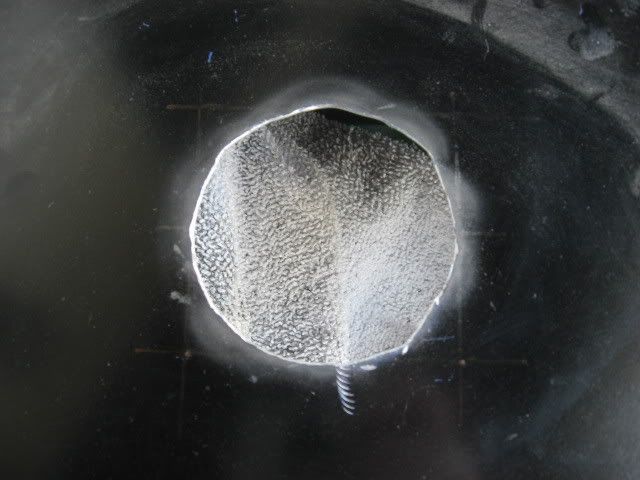
Now for the top fan. I've never worked on aluminum before so this was a learning experience for me. Here are my measurments plotted out on the top of the case.
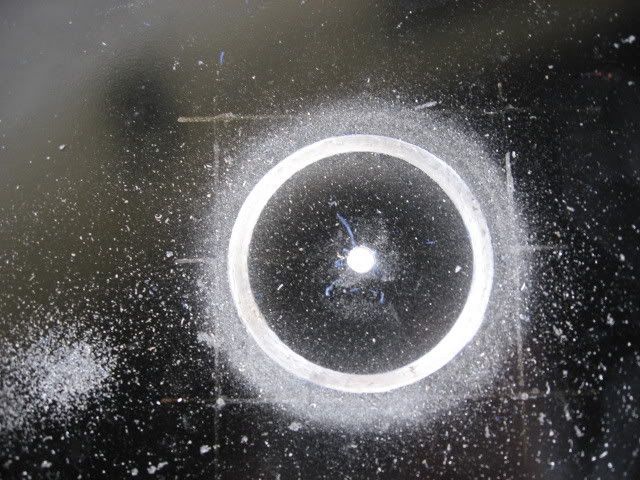
I tried to use the 2 1/2" hole saw to try and cut down the cutting, but the plastic and metal bit had little effect on the aluminum
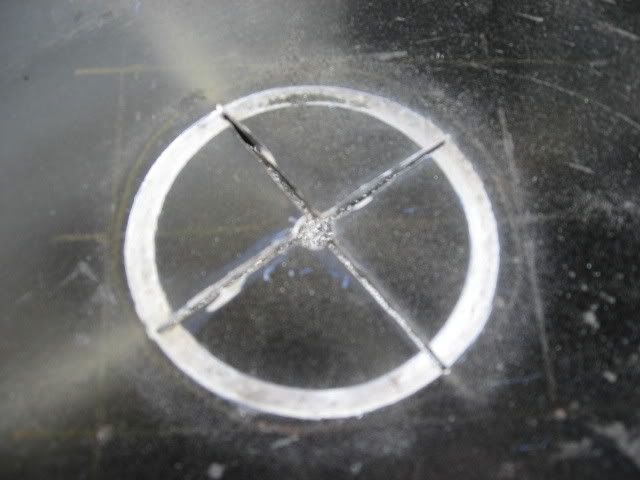
So we had to do it the hard way... they way I've never done before. Wait what am I saying?? I've never done ANY of this before lol!
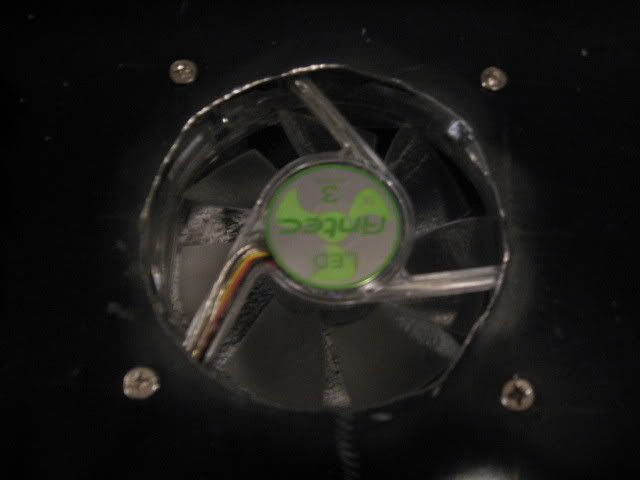
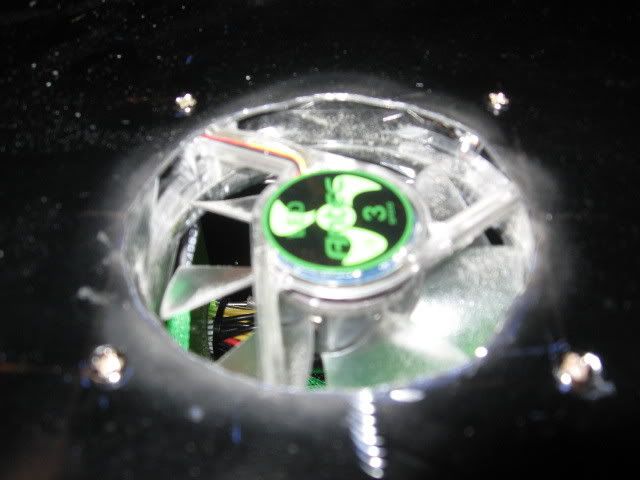
And this is where my dremel skills stop. I'm not that good with it so I did my best. So to cover my lack of cutting a circle skills, I purchased a case grill. I asked for suggestions but got none, so I just got a cheap biohazard one from FrozenCPU. It will cover up the edge so it will be ok.
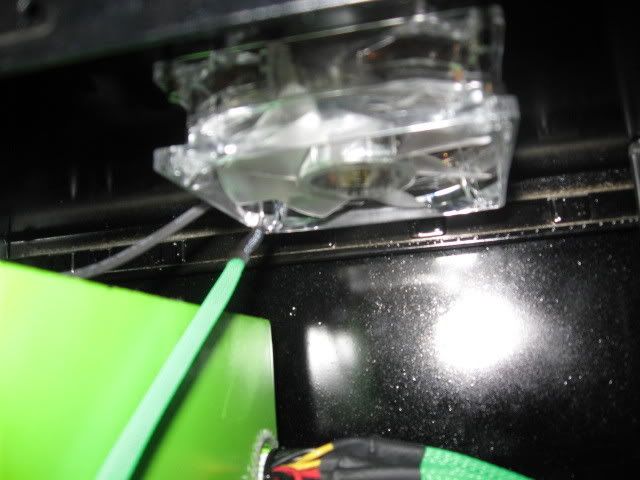
Here's what it looks like now with the fan in.
Oh ya.. and I messed up when drilling one of the holes... noob. So I hope the grill will cover that up too.
I also sleeved the wires for the fan.
And a top pic before the repaint.
Ill probably paint the screw green just like I did for the back of the case. Should look ok in the end.
I also ordered a set of 12" UV cathode lights from FrozenCPU that will give me a huge improvement on the inside look of the case. I asked everyone in my class and they all said with the UV and lights.
And the last thing I did today was paint the other side of the rear I/O panel.
I kinda forgot to do that before
One thing I am throwing around is redoing the switches for the power and reset. I found some that I like on Performance-PC's website that look good but idk how to do it or if they are the right ones. I'll be watching and searching other mods tomorrow to see if I can find some hints.
Well thats all for today. Got alot of work done
Till then,
-Fuga
 Re: Project: Green Light
i have a case just like that one so i am keeping an eye out here;P nice work
and btw. go for the green light and the uv! that looks wicked awsome!
is that a 120.9 raddy on your case, or are you just happy to see me?
METO V.1
METO V.2
METO V.3
PC-Beto
Project M8 [WIP]
 Posting Permissions

 Reply With Quote