This mod has been hardware sponsored by...
Crucial - The Memory Experts (RAM)
QuietPC - Make your PC Whisper Quiet and Hear Yourself Think!(Water Blocks)
AMD - The Smarter Choice (Processor and Motherboard)
Giga-Byte - Upgrade Your Life (Graphics Card)
A.C.Ryan - Pro Modding (Fans)
Custom PC Magazine - The essential read for Performance Hardware and Customisation (Power Supply)
Thankyou to all the sponsors for generous donations to the project.
Hi Guys, iv been a quiet (very quiet) member of these forums for some time now but iv been into modding for a little over 2 years or so, this will be my first major project.
The idea is to get hold of and old rust bucket PC case and completly strip it back and make it into something a little bit special. I suppose my main inspiration for this comes from the man himself, Defyant. I was totally blown away by his HP mods, so dont be supprised if you see a little bit of "defyantism" in my work, although i will perservere to be original as possible.
A little about me before i begin, im 25 years old and work for in a Military production facility near Milton Keynes, i live in a nice little house with my better half here in the UK, we have a little lad together who is 3 years old and a little girl on the way, i dont really have a workshop (i wish) so most of my fabrication is done by hand, usually on the living room table or outside if its nice weather. Anyway, enough of my mindless ranbling as this is quickly turning into a wall of text!
On with the show.
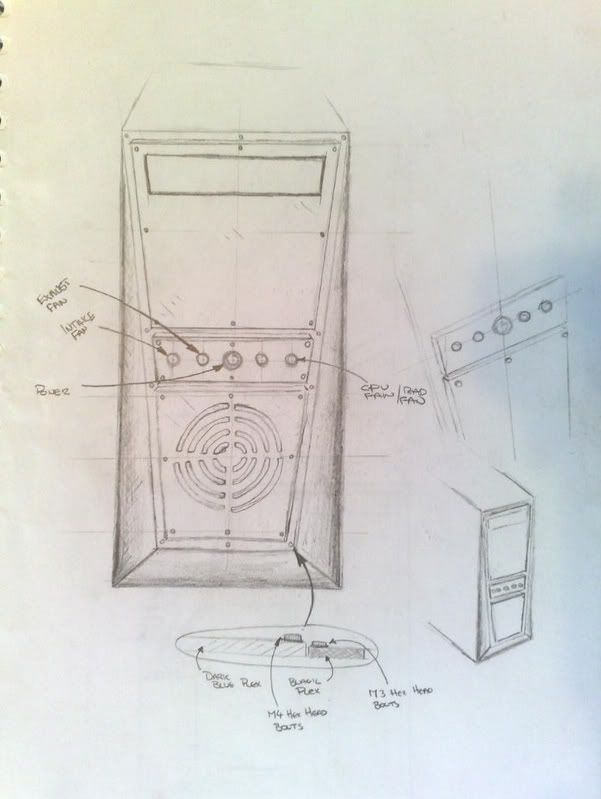
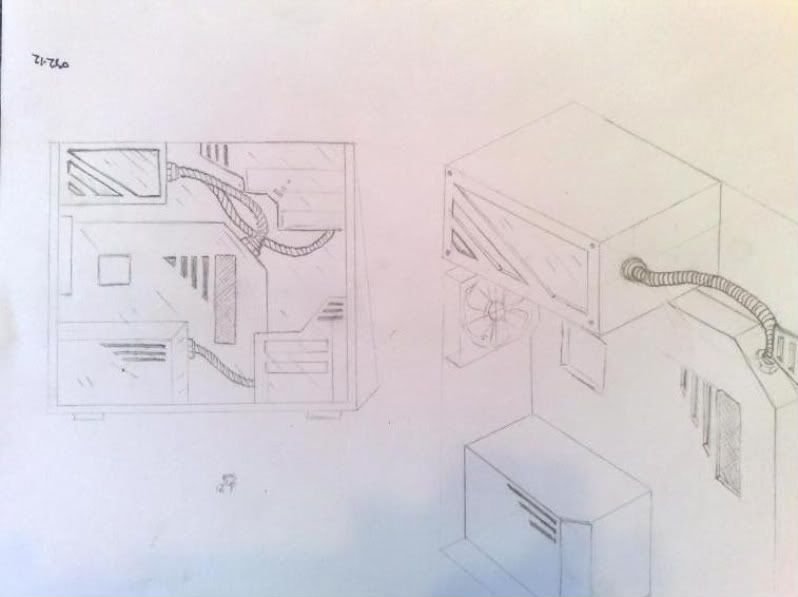
Here are a few rough concept sketches, i used a new fangled gizmo, a pencil and paper :O
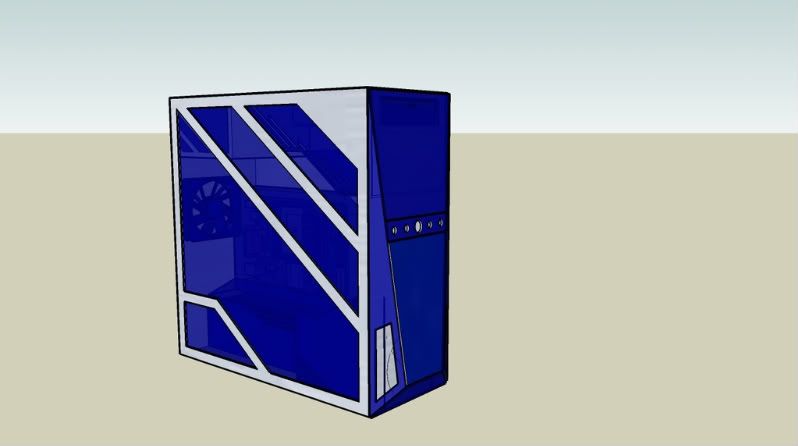
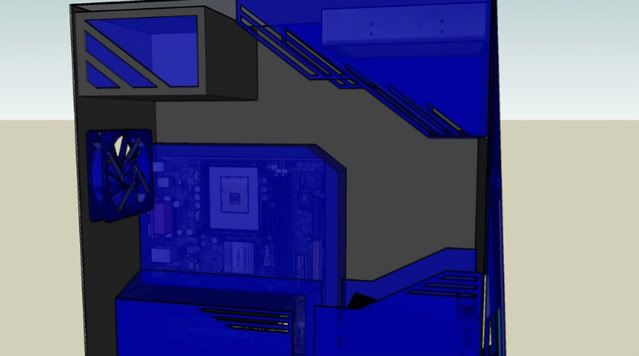
I wanted a nice clean mod, straight lines and precise angles with intricate cut acrylic details, after i had an initial idea i downloaded sketchup for the first time and knocked up a rough model. (Big thanks to the google 3d workshop for the use of there mobo, dvd drive 120mm fan and hdd premade models)
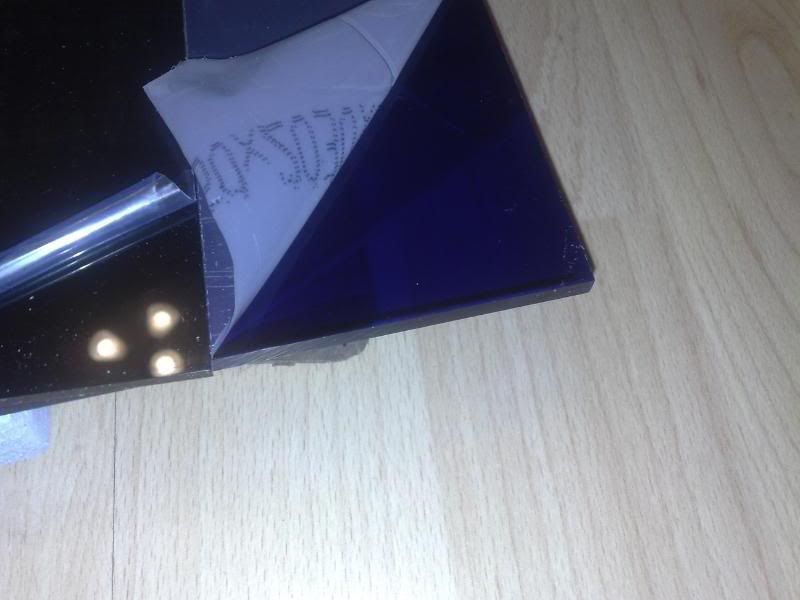
The panels will be transparent blue plex backed onto black plex, the panels will be illuminated, i want them to glow on the edges to show up the detail of the intricate cuts, im not sure of the method yet, maybe you guys can help me with the lighting.
I kept my eyes open for a few days once i decided to go ahead with the project, noticed this little baby poking out the top of the skip at work!
The Victim:
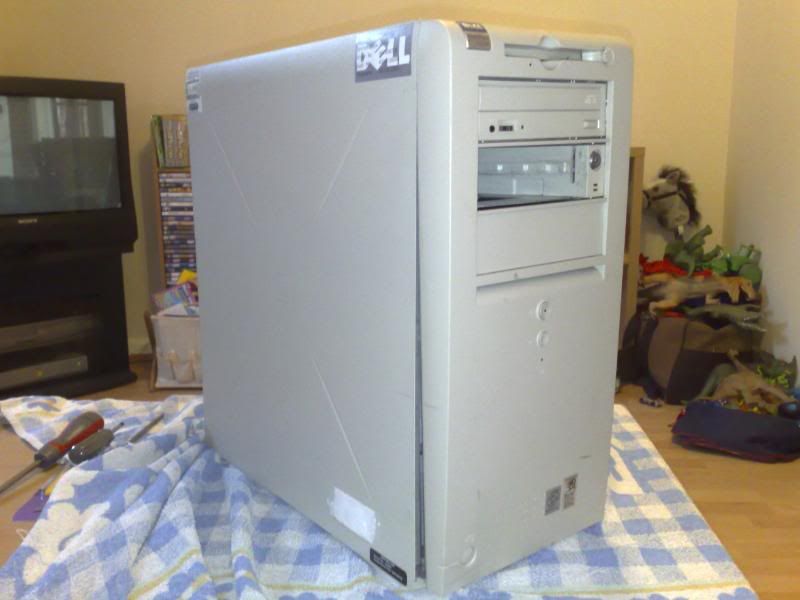
An old Dell Optiplex, look how innocent and unsuspecting it looks! Whats best is the panels are plastic, i should be able to cut these quite easily, hopefully they dont become to fragile when cut.
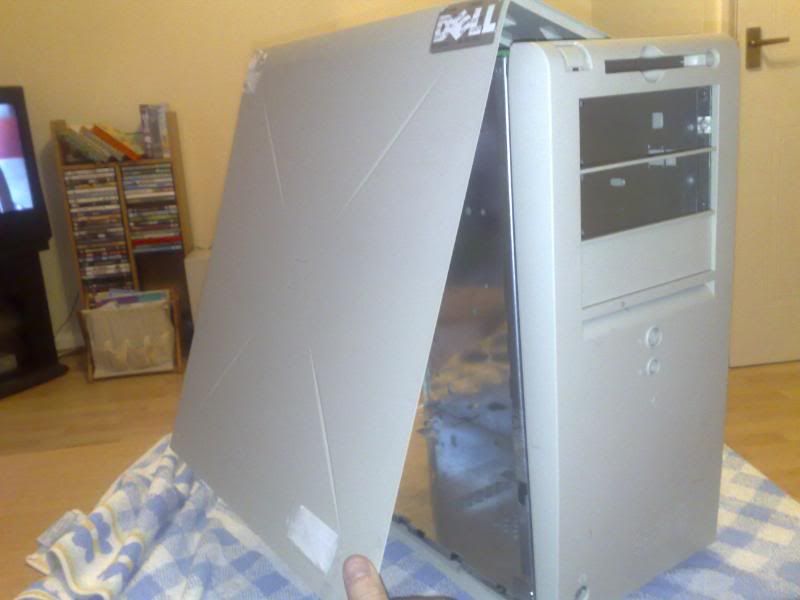
Wow, that was difficult! I had to look up on the net just to get this thing open! Theres a little button on the front (bottom left corner) and a catch on the back that allows the side panel to open up, good for security i suppose. Man this thing is HEAVY, all the panels are steel lined!
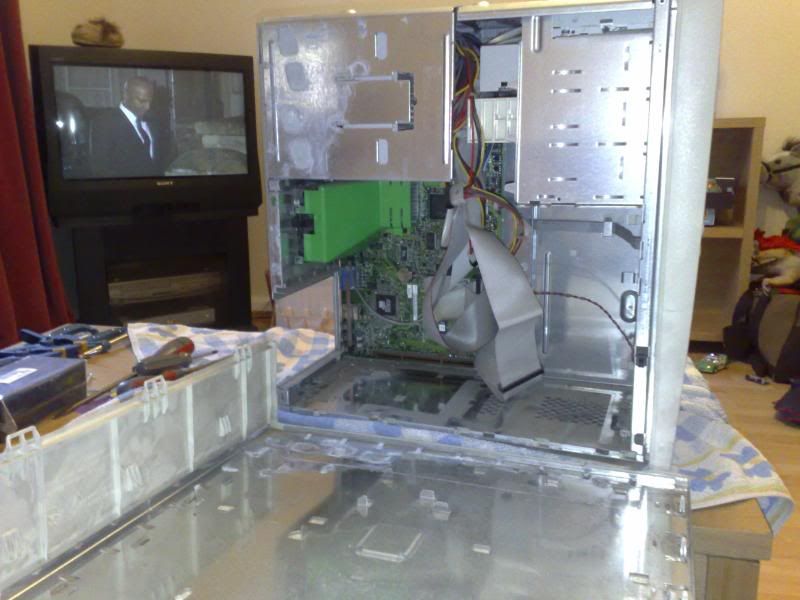
EWWW! SHOULD OF LEFT THE SIDE PANEL ON! Seriously, there was a whole family of spiders living in there along with a few of there dead relatives! They seemed to think if was some sort of extreme makeover, i gave them there eviction notice and they left peacefully out the window.
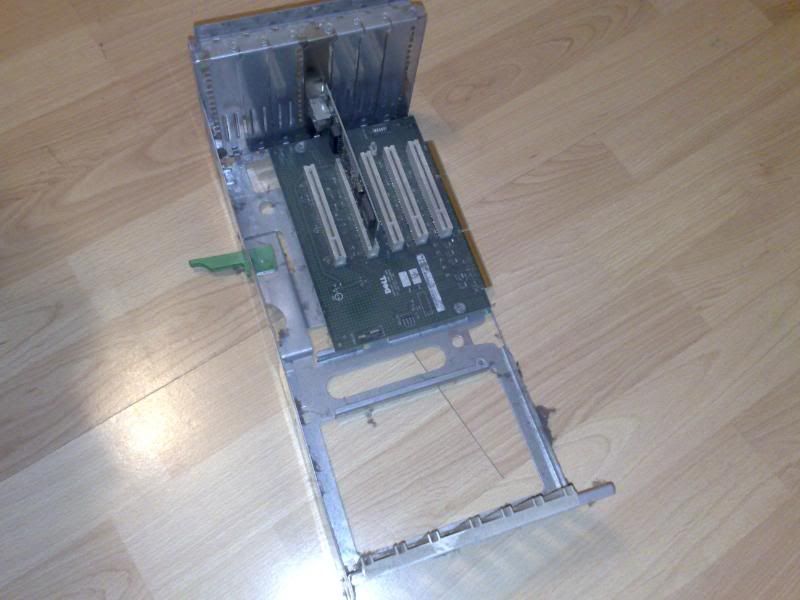
One of the many pieces of steel framwork to be cut from this old girl.
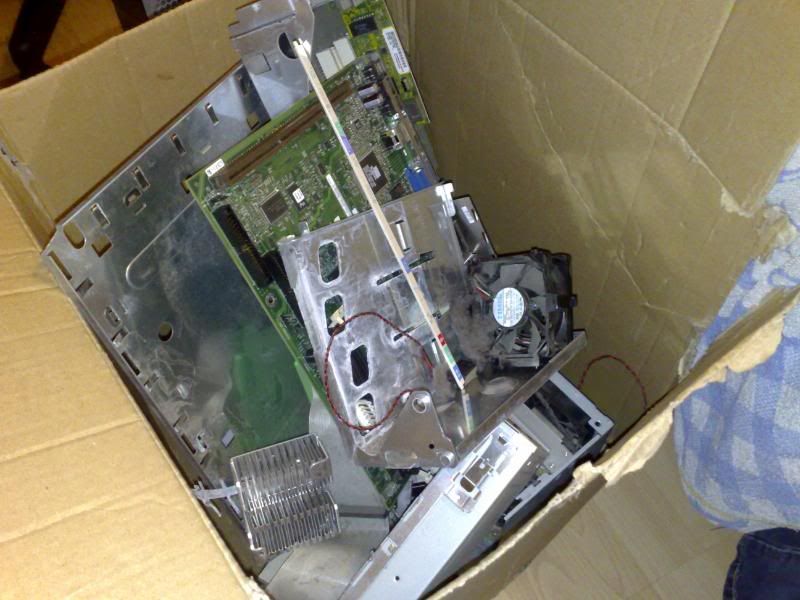
Man how did they cram all that stuff in this case!
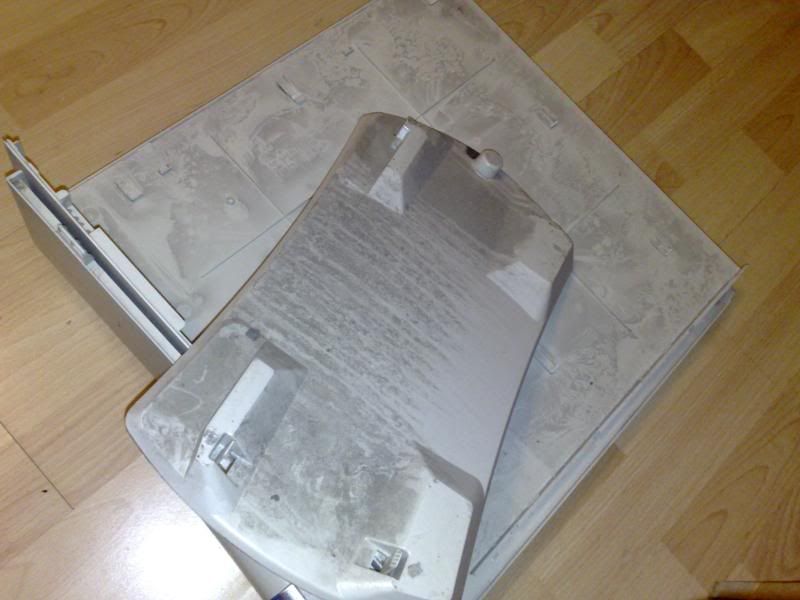
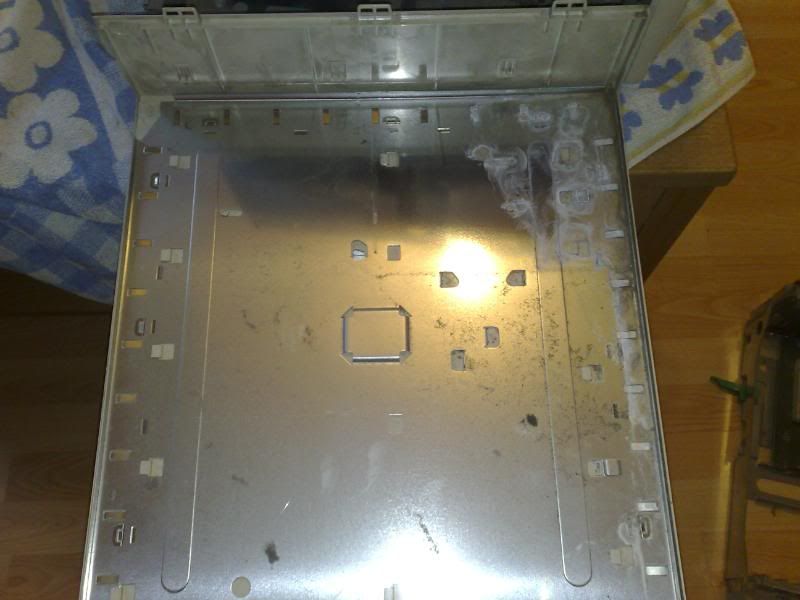
The previous tentants were not very houseproud.
Pretty filthy, nothing a good hose down wont fix though.
Havnt got a tap outside so i slung it in the bath! A good scrub with some bubbles and the shower hose got most of the grime and crap out of it, ill be working on it a lot so it didnt have to be spotless, just free of cobwebs, the bath looked a complete mess afterwards! My girl was going a bit mad! WTF ARE YOU DOING WITH YOUR PC IN THE BATH!!!? HAHAHAHA
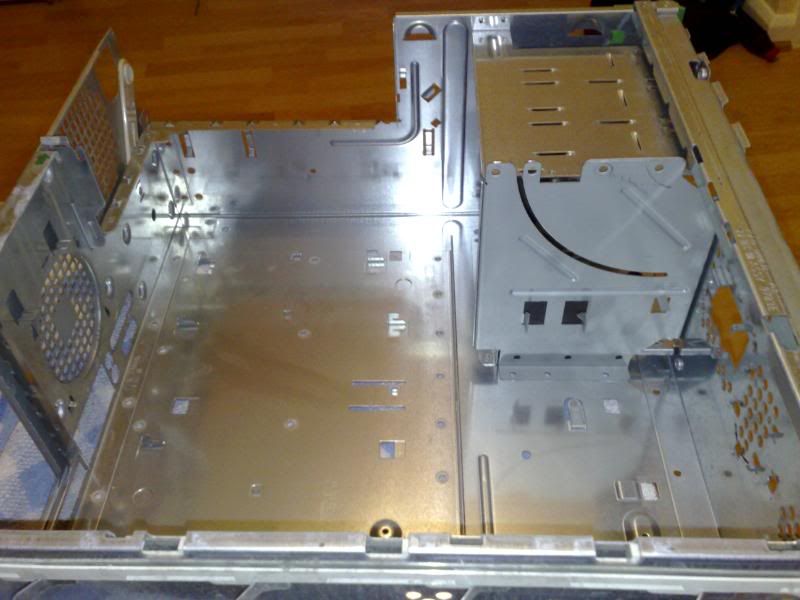
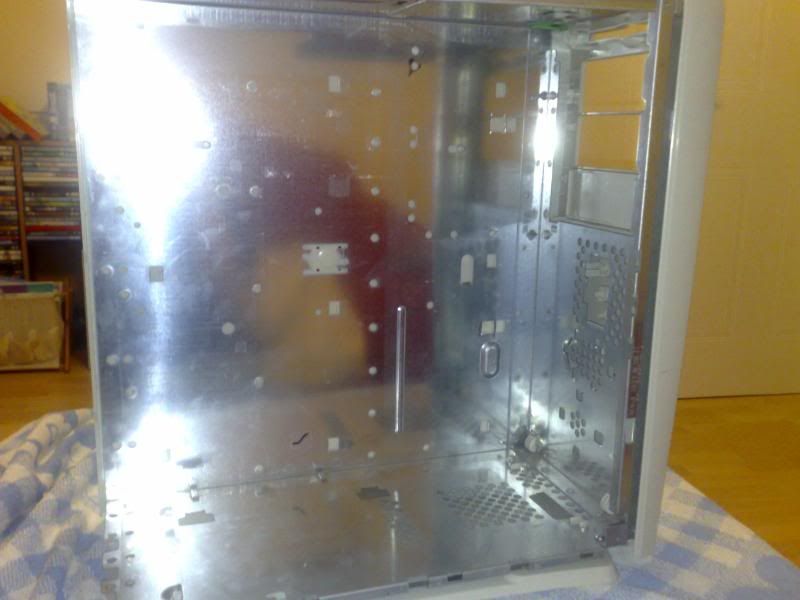
I cut away the rear I/O panel and the drive bays as these are all going to be remade out of plex and other materials.
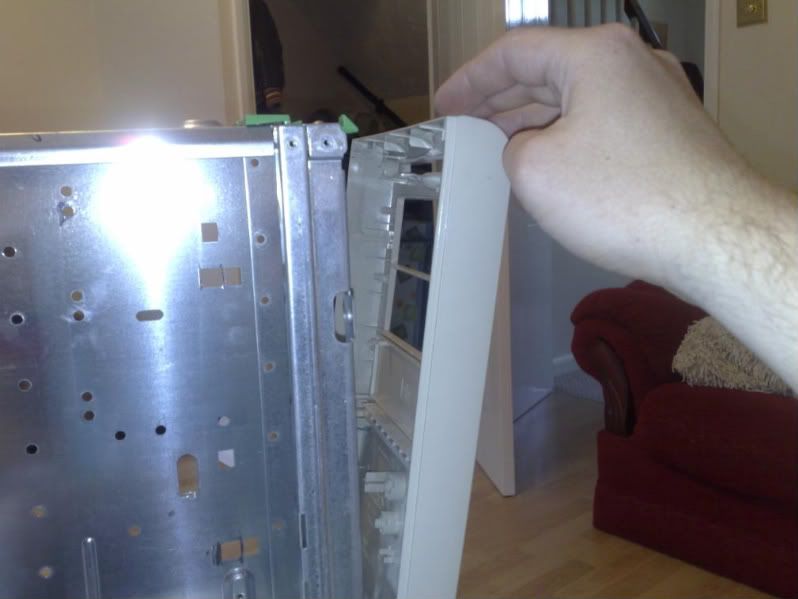
I liked the way the front panel was fixed on, if you look at the top you can see a green thing, thats the latching mechanism that holds the front in place and at the bottom...
are two hooks that fix onto the frame. I will keep these in place.
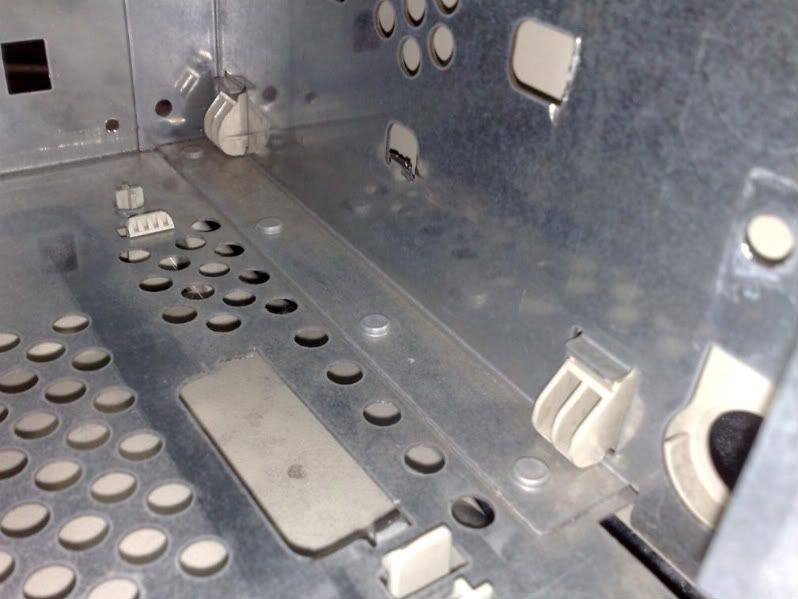
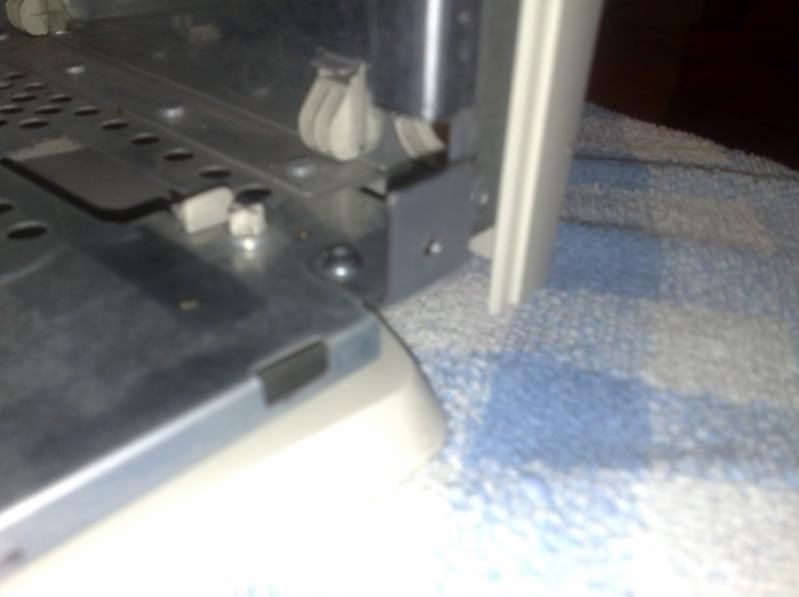
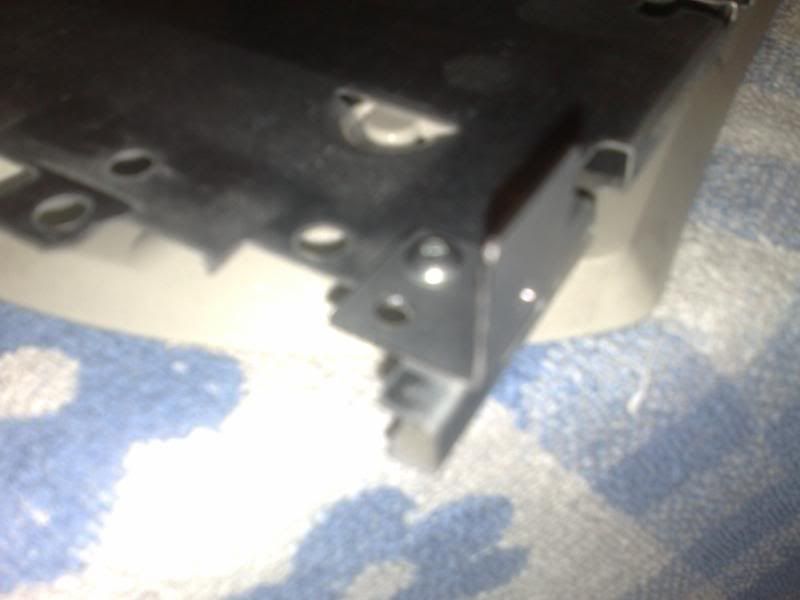
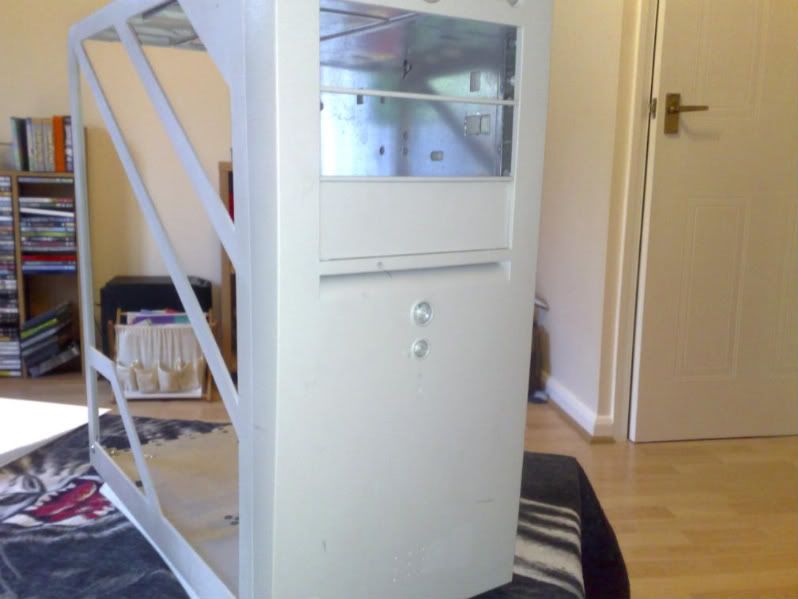
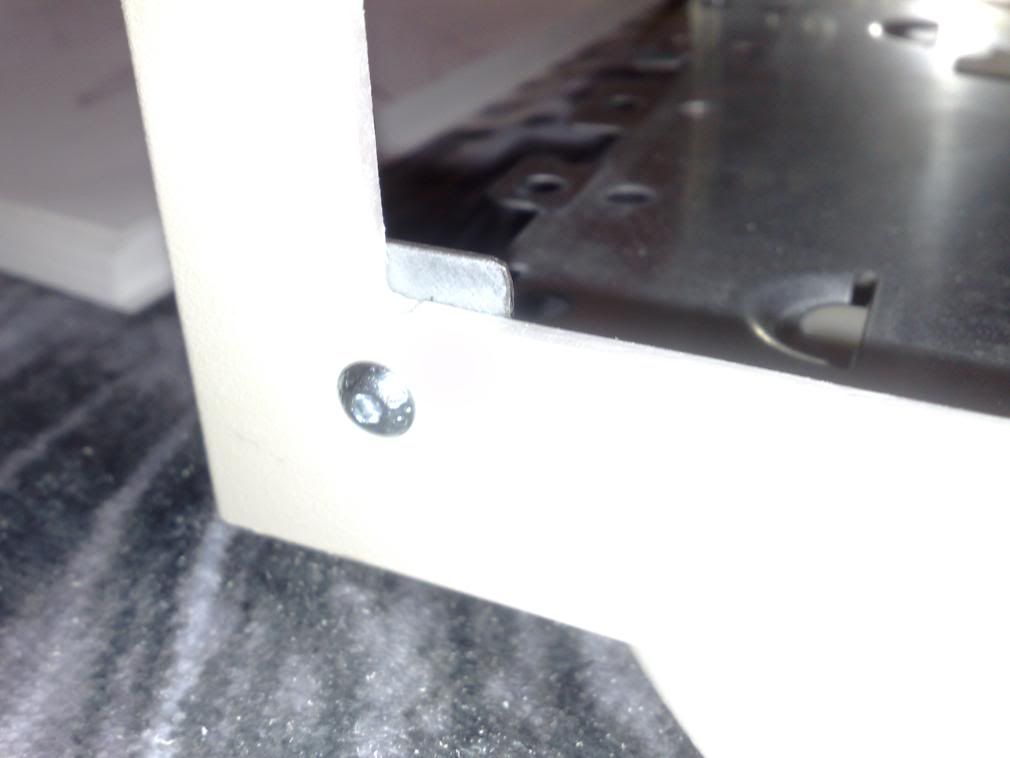
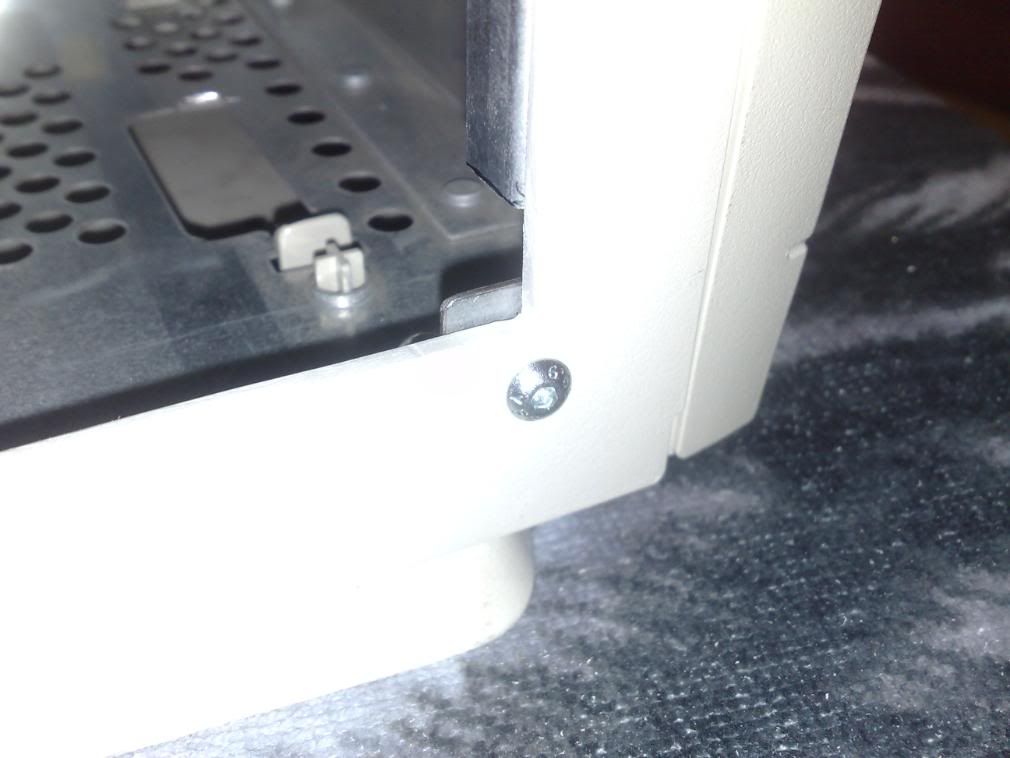
I had a slight problem, as i had removed most of the steel inside, including the locking mechanism for the side panels, the side panels had nothing to hold onto. I fabricated two small brackets to temporarily hold them on.
(Sorry for the Blurry shots, my cam phone has a rubbish macro mode on it)
Front bracket, drilled and tapped to M4, i added a locking nut to the backets, i dont want the brackets coming loose as id have to rip the case apart to get into it if they did.
Rear bracket, these are just temps, there way to big and will be visable through the window if i leave them. The plan is to countersink the screw heads and trim the brackets down so the bare minimum amount of metal is present.
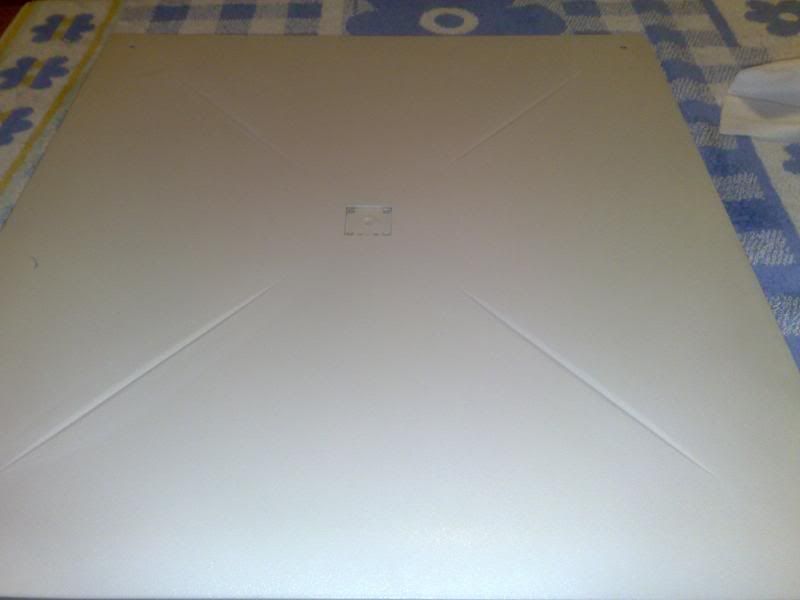
Looking closly at the side panels you can see a kind of indented design on it, this had to go, the grooves would be visible and look totally crap the way im planning on cutting these panels.
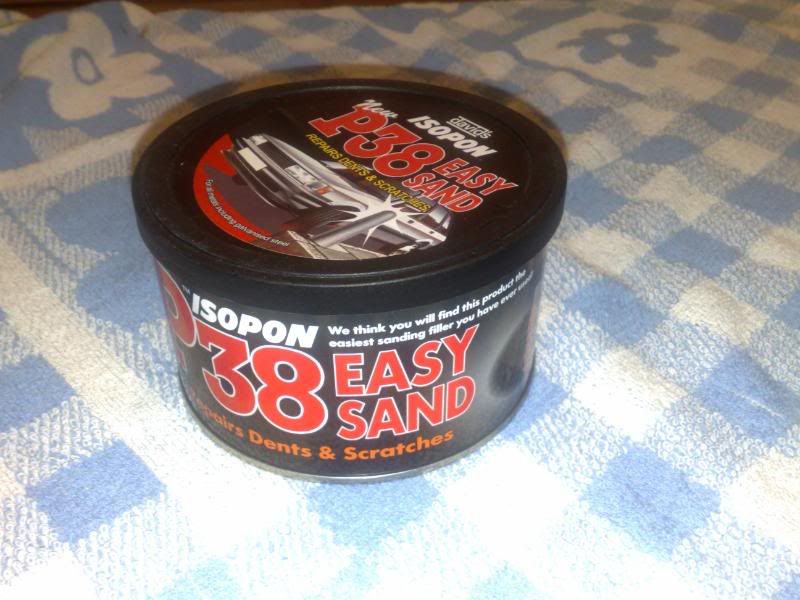
Time to break out the bondo, well we dont have it in the UK, so i drove to Halfords and picked up some Davids P38 from what i could see it was the same stuff.
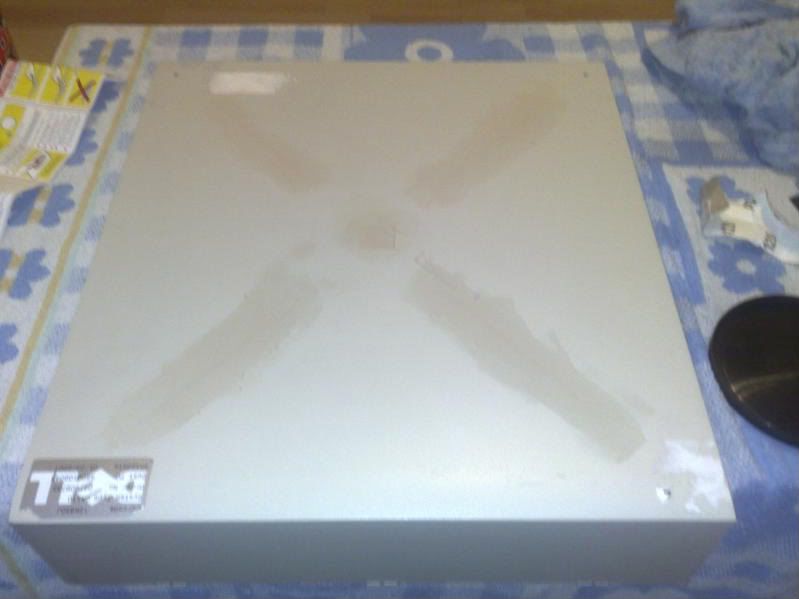
I sanded down the panels to give a really nice key, i really needed this stuff to adhere to those grooves otherwise it would all chip out when i cut the panels.
Gave it the first fill... MAN THIS STUFF STINKS! i mean REALLY stinks, i felt high after about 5 minutes of working with it, had to open the sliding doors for my health!
I gave it a thin coat at first and left it 24 hours the sanded and refilled. Another 24 hours later i sanded again, then wet sanded from 240 grit up to 1000 grit, man this stuff is silky smooth! I closed my eyes and ran my finger over the panel and couldnt feel any bumps at all.
I needed to get those dam labels off, took me ages at first using a sponge and some warm soapy water, then my friend came over and suggested i use some WD40, MAN this stuff kicks ass! Not only does it eat rust, it also eats sticky goop left behind by security labels too! Within a few seconds it was mush and i just wiped it away!
Whilst i was at halfords i also picked up some Filler Primer. This will help me get a really smooth undercoat.
After 1 test coat, i left it dry for 24 hours then ran my hand over it, totally flawless! Once im finished cutting the panels and im near completion i will give it 3 nice smooth coats of this before the real paint goes on.
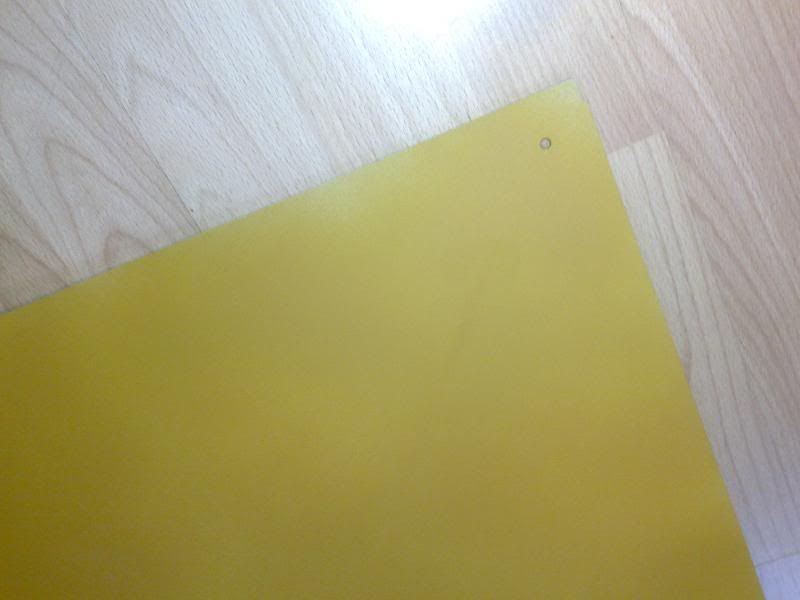
Colour is nasty eh? Kinda like mustard



 Reply With Quote




 njice work keep it up


